
International Scout 800

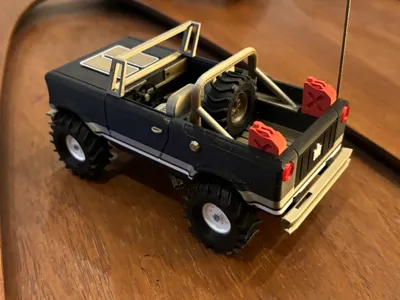
Print Profile(6)


Description

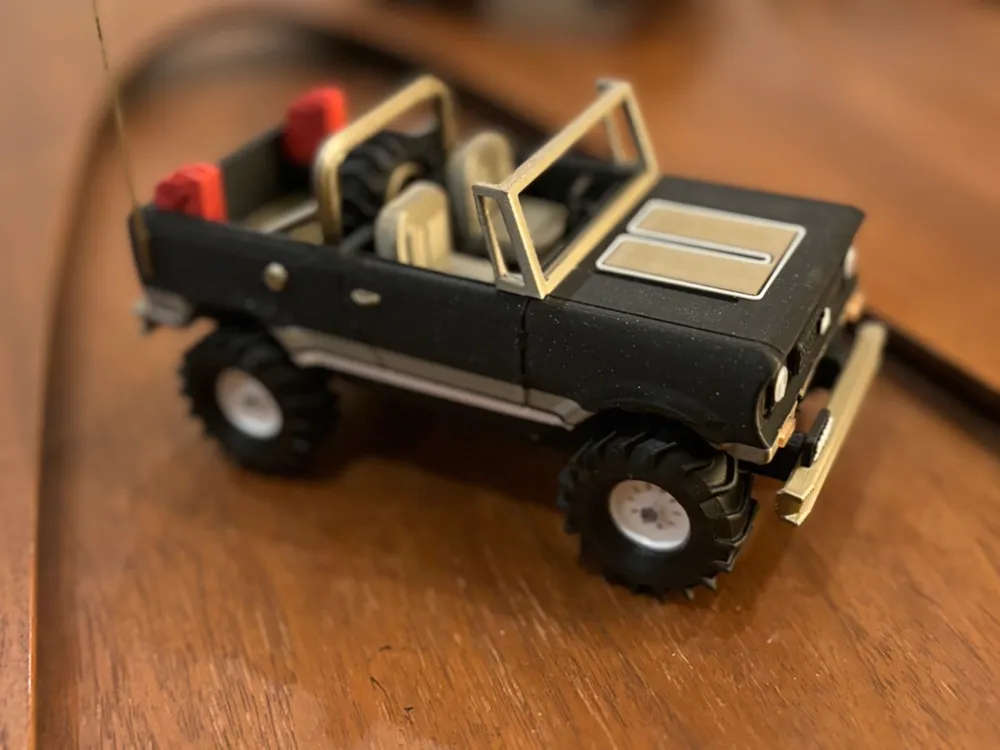
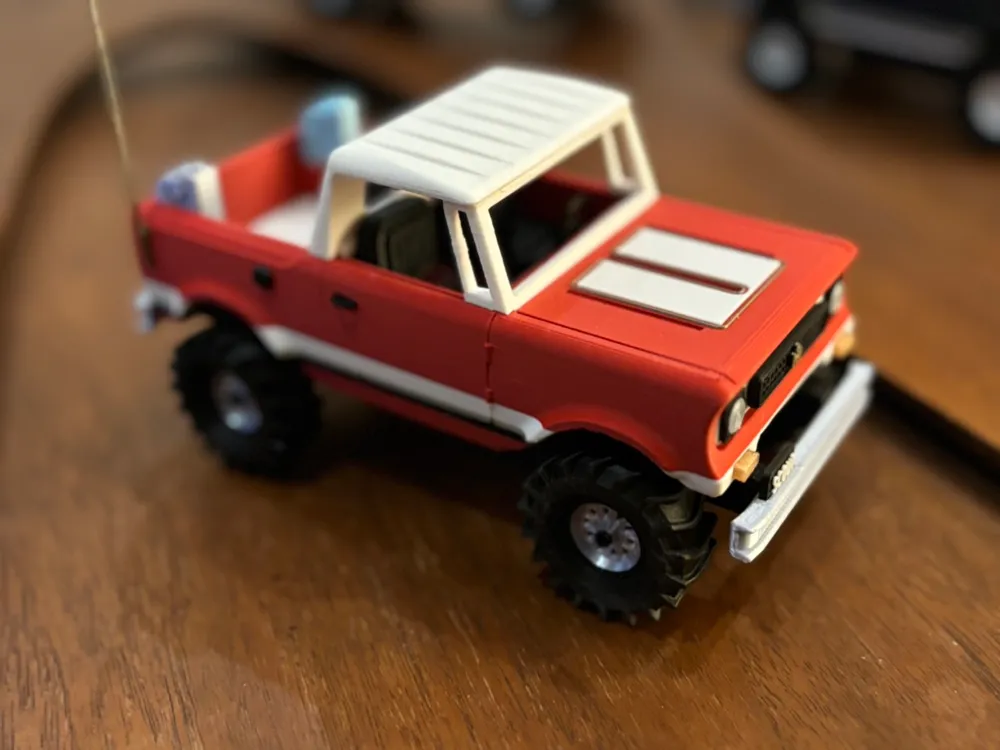
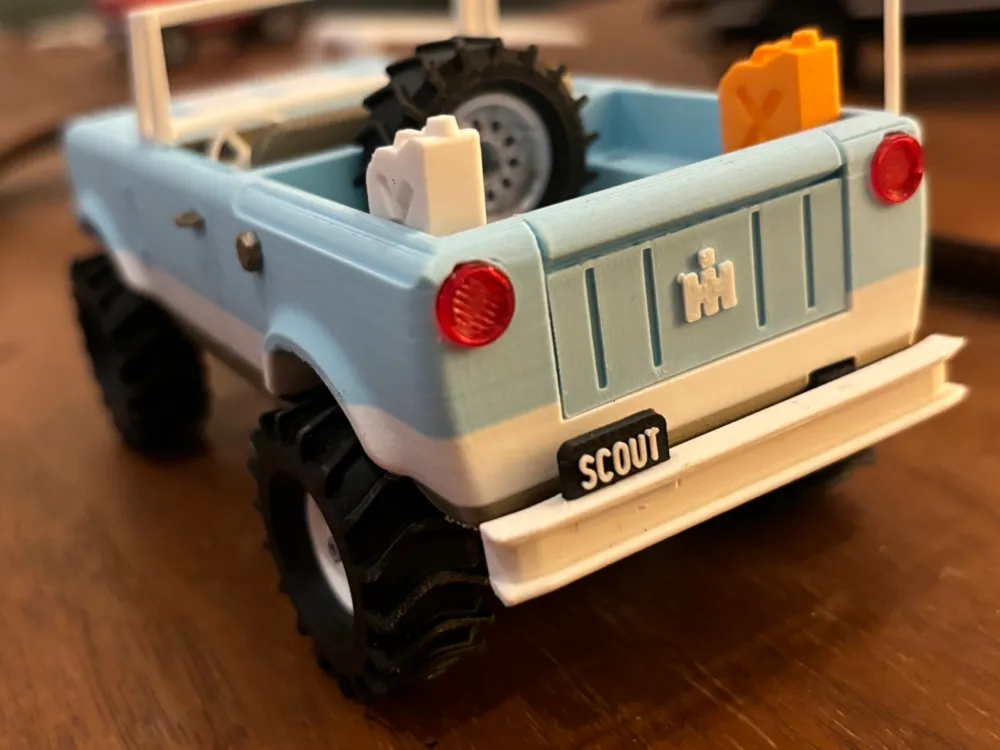
International Scout 800
The Scout 800 was produced by International Harvester - a company known for producing tractors - from 1966 to 1971. It was designed at first for farmers, as a working truck that would "replace that last working horse on the farm." It has since become beloved by country and city folk alike, known for it's versatility, hardiness, and charming mid-century design while having an innate ability to transform from truck to roadster to SUV if the task calls for it.
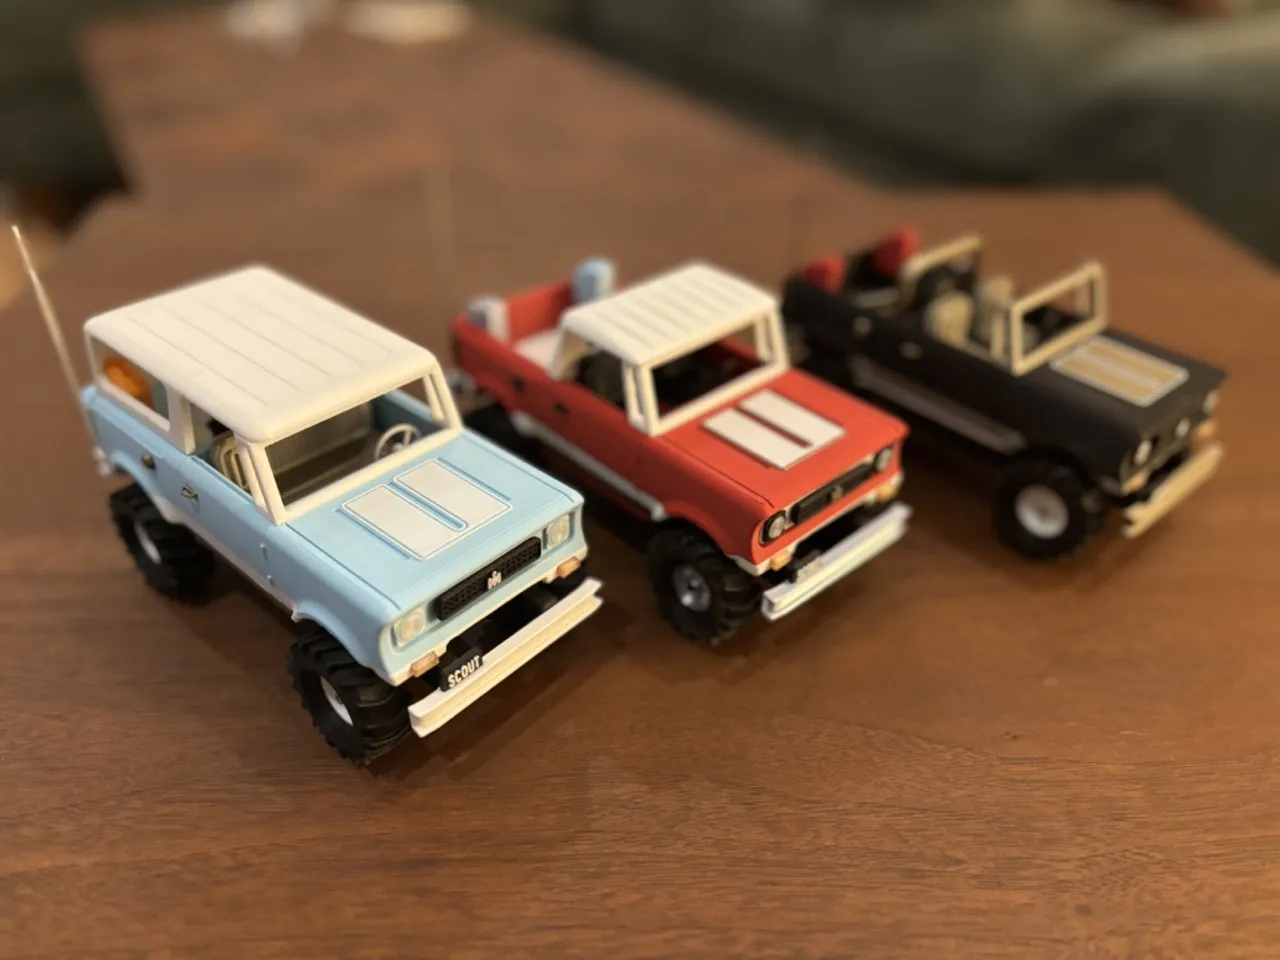
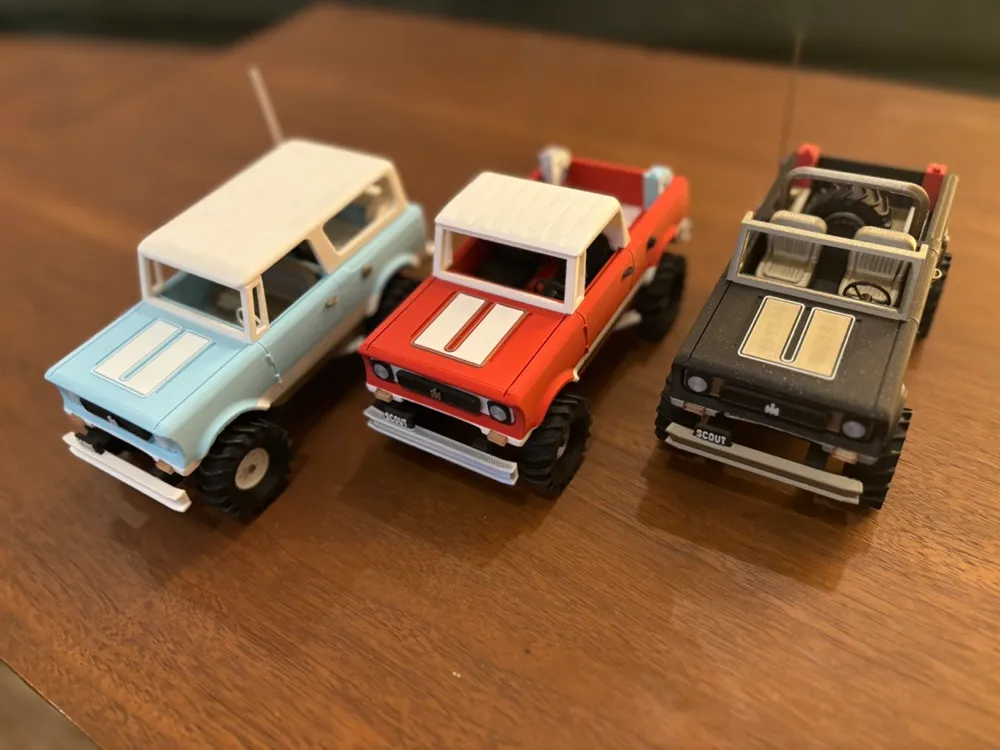
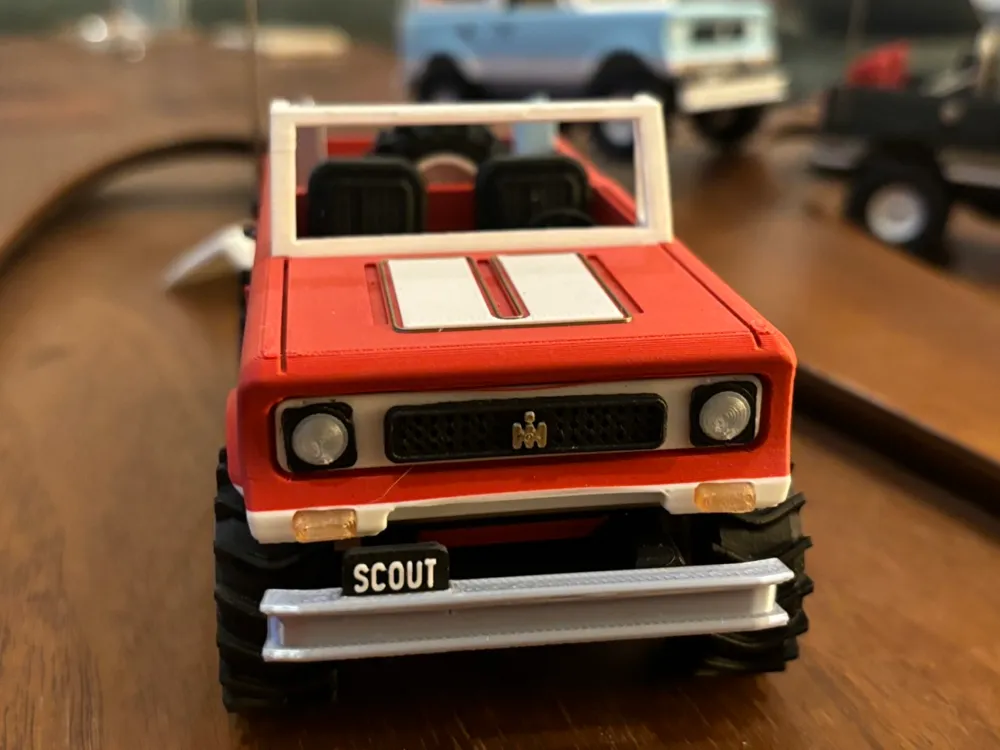
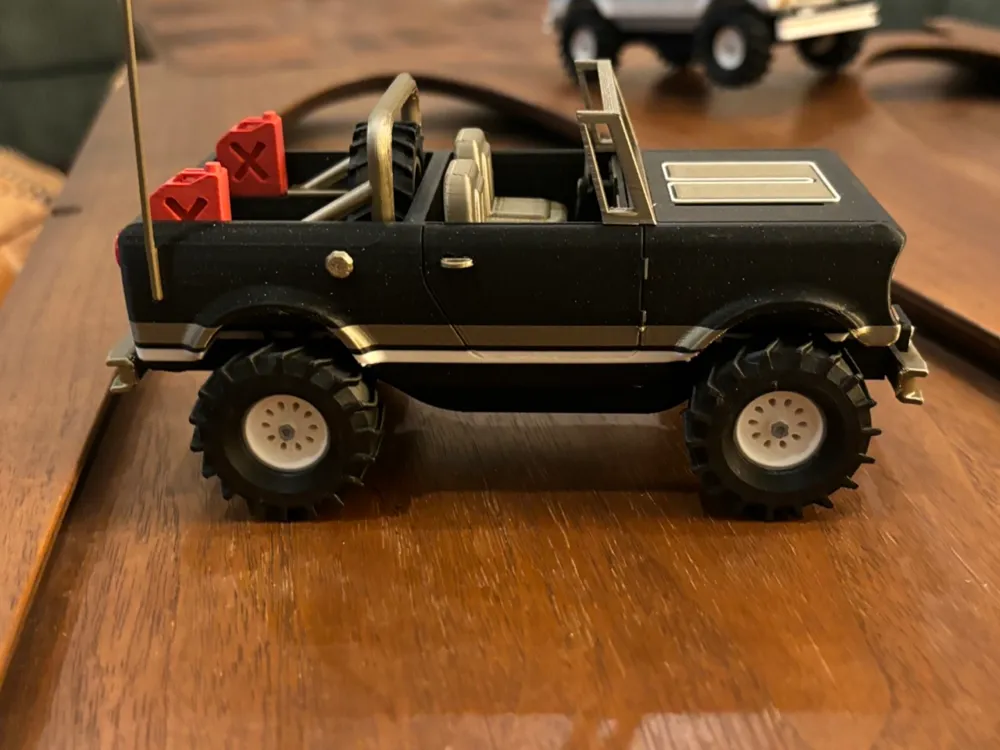
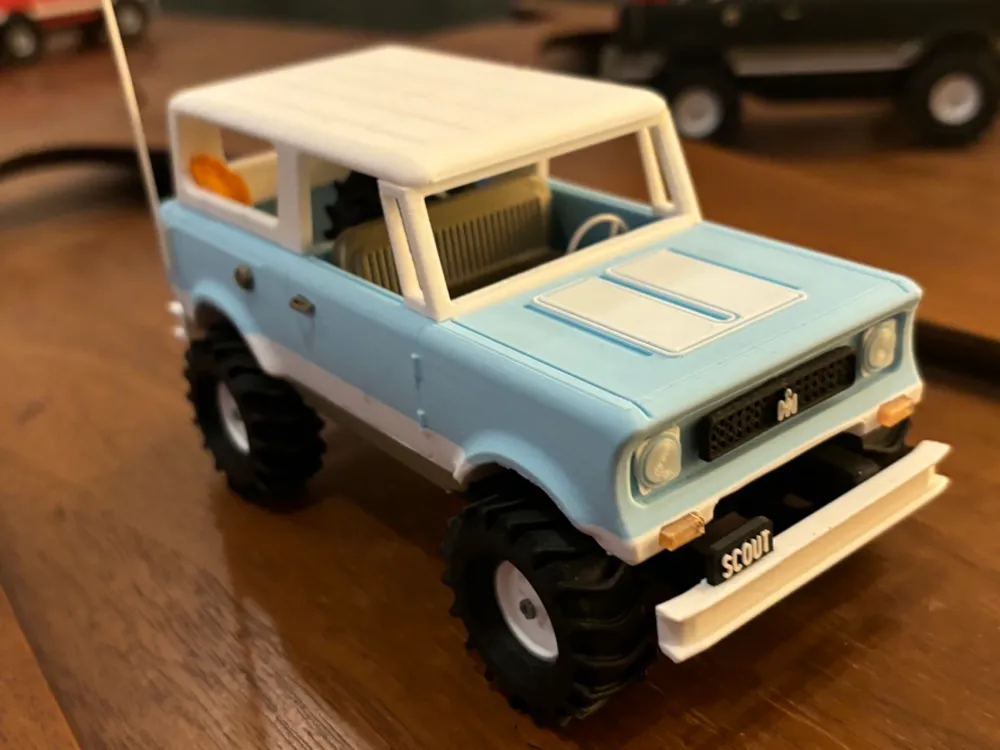
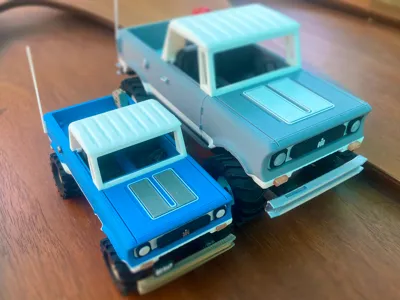
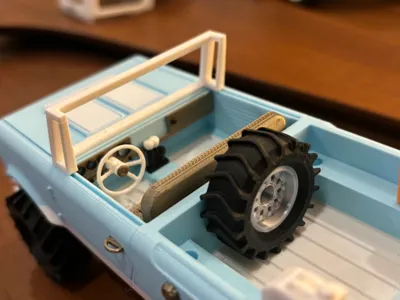
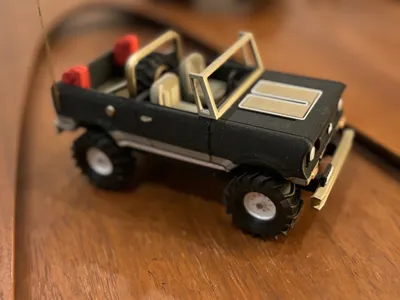
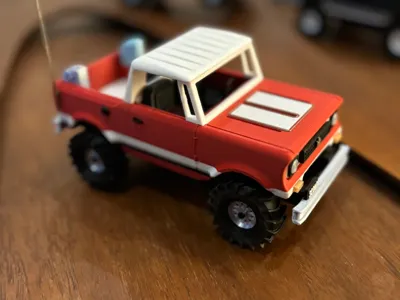
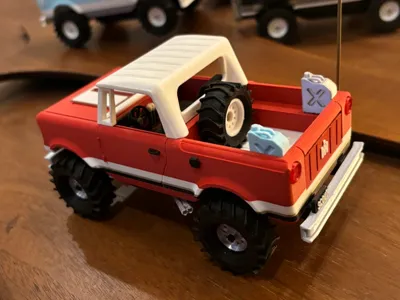
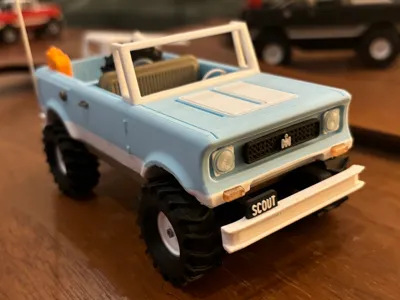
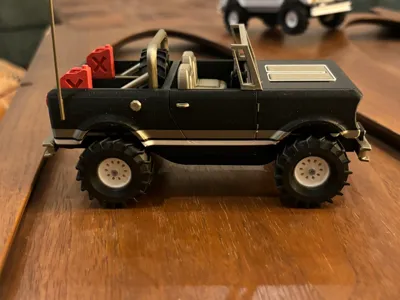
This model Scout 800 is a 1/24 scale replica, and lets you easily change the entire look of the vehicle by adding or removing tops, changing seats from bucket to bench, and adding other accessories just like the real Scout can.
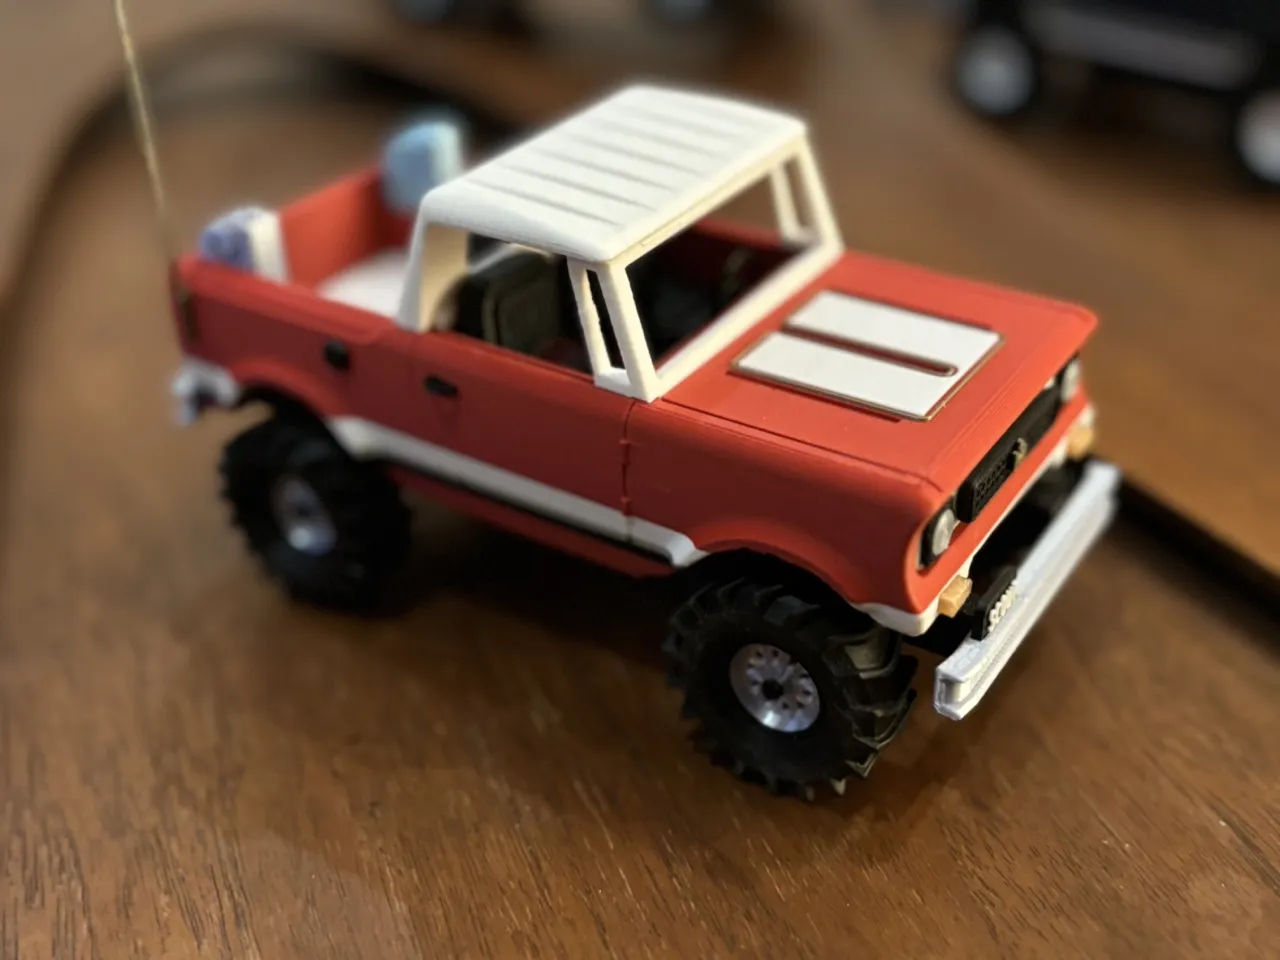
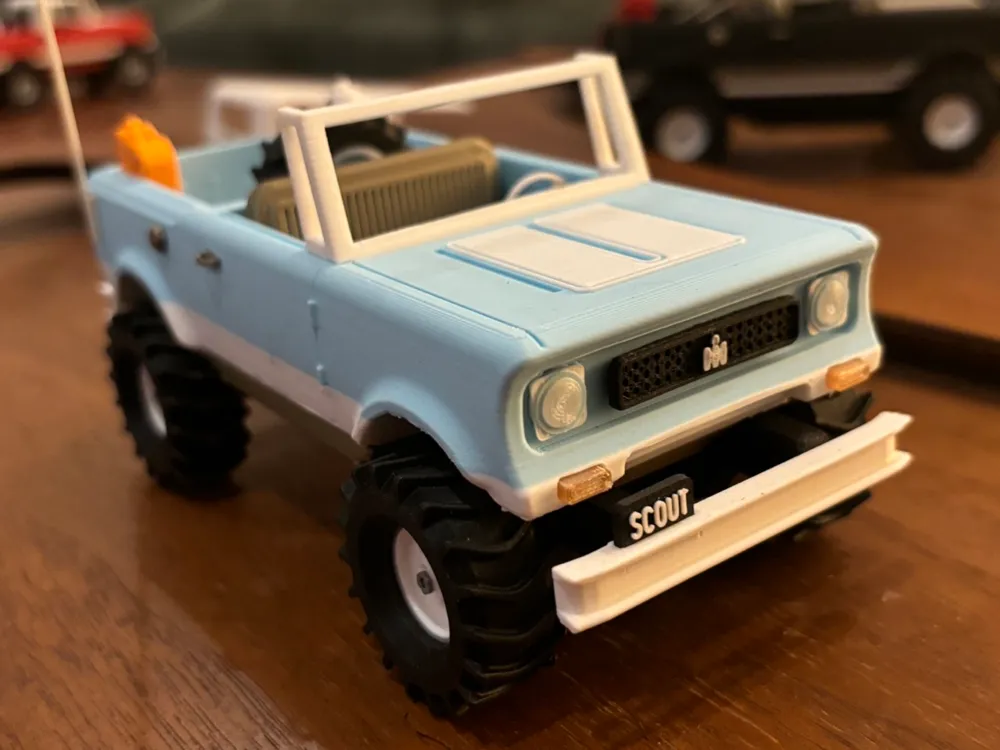
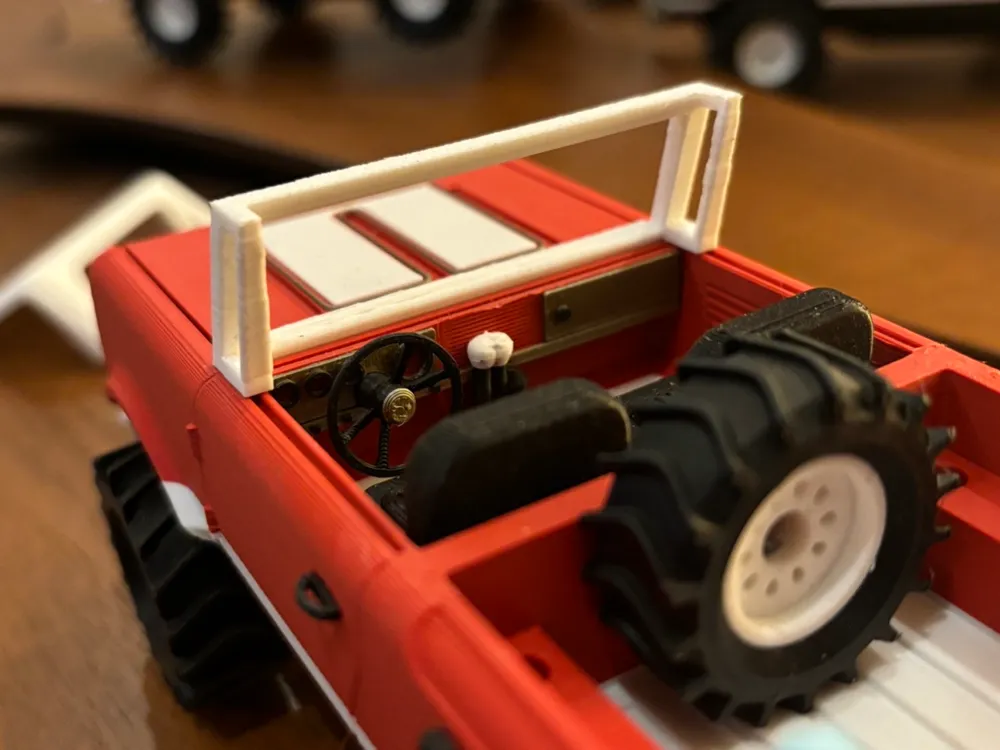
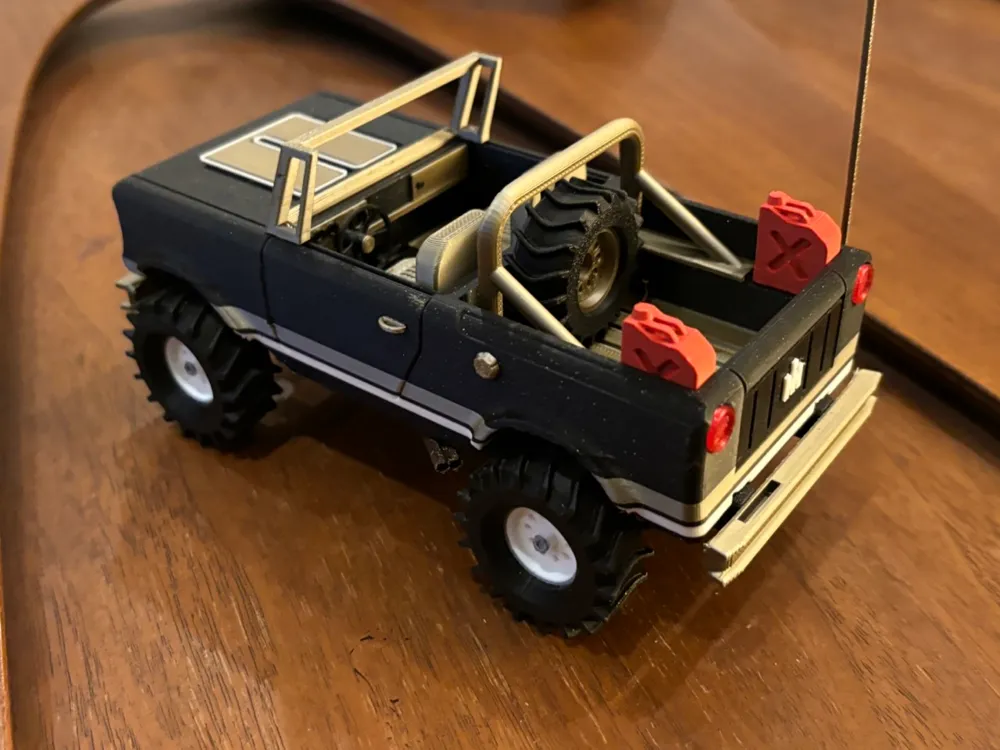
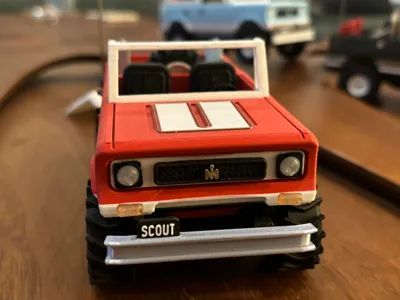
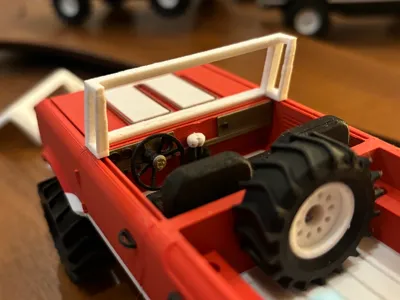
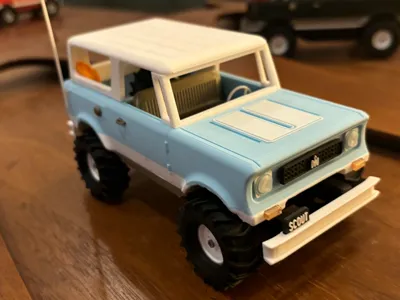
The main profile includes the Halfcab (truck), Traveltop (SUV) and Roadster (topless rollbar) versions.
The main body and most other parts print well at 0.16 line width. The pin striping on the hood is easily color customizable as the main and outline are 2 part separate from the main body. The side white pin striping also controls the 2-tone interior - if you would like to keep that in your model, don't lower the top of the white pin striping, anything else can be changed.
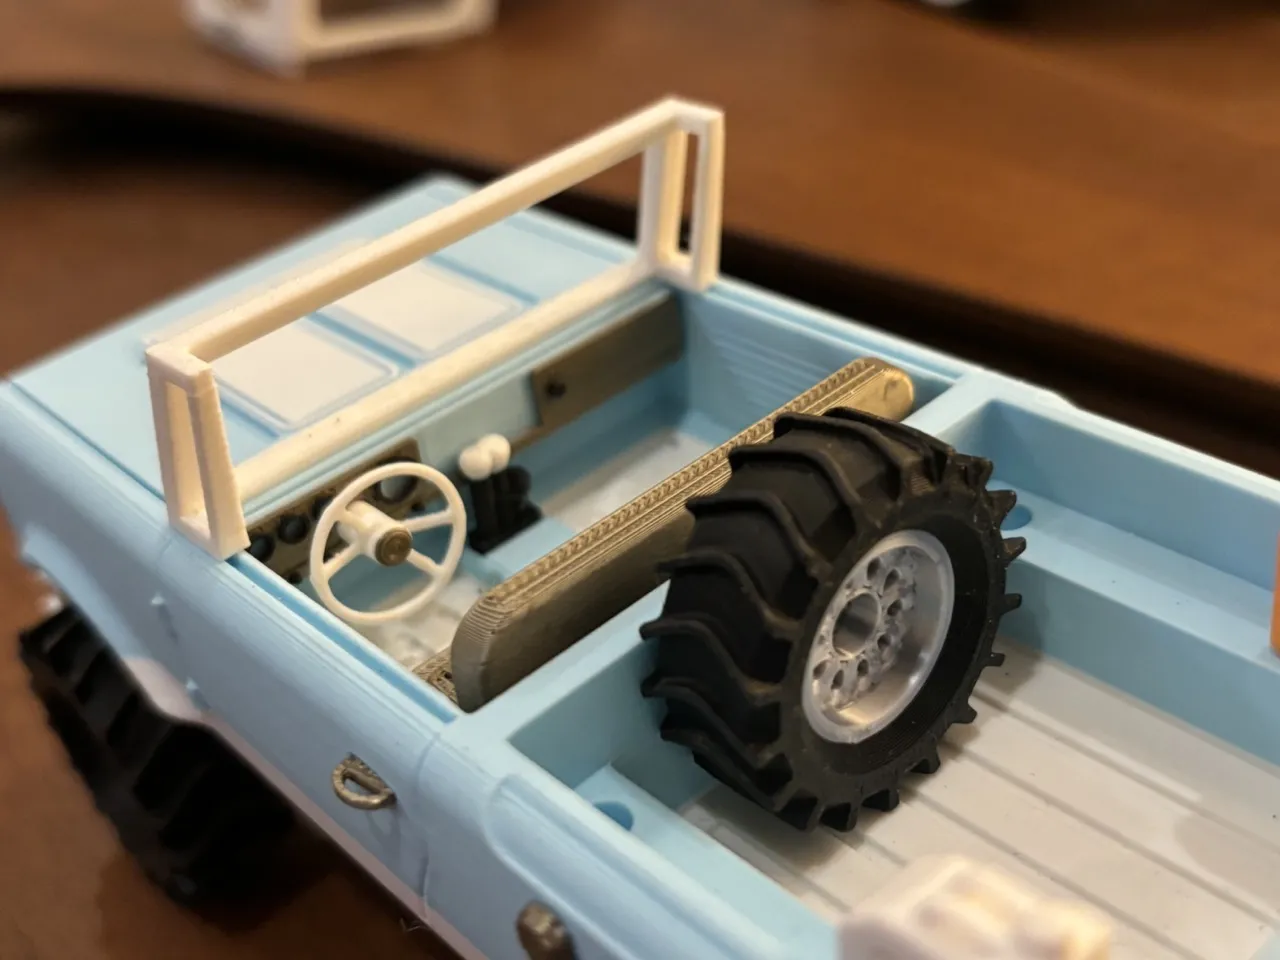
No glue is necessary, but some parts are tighter than other, a lot of it will depend on the filament you are using. Keeping the same type of filament ensures a better fit, but that's not always possible - but be aware.
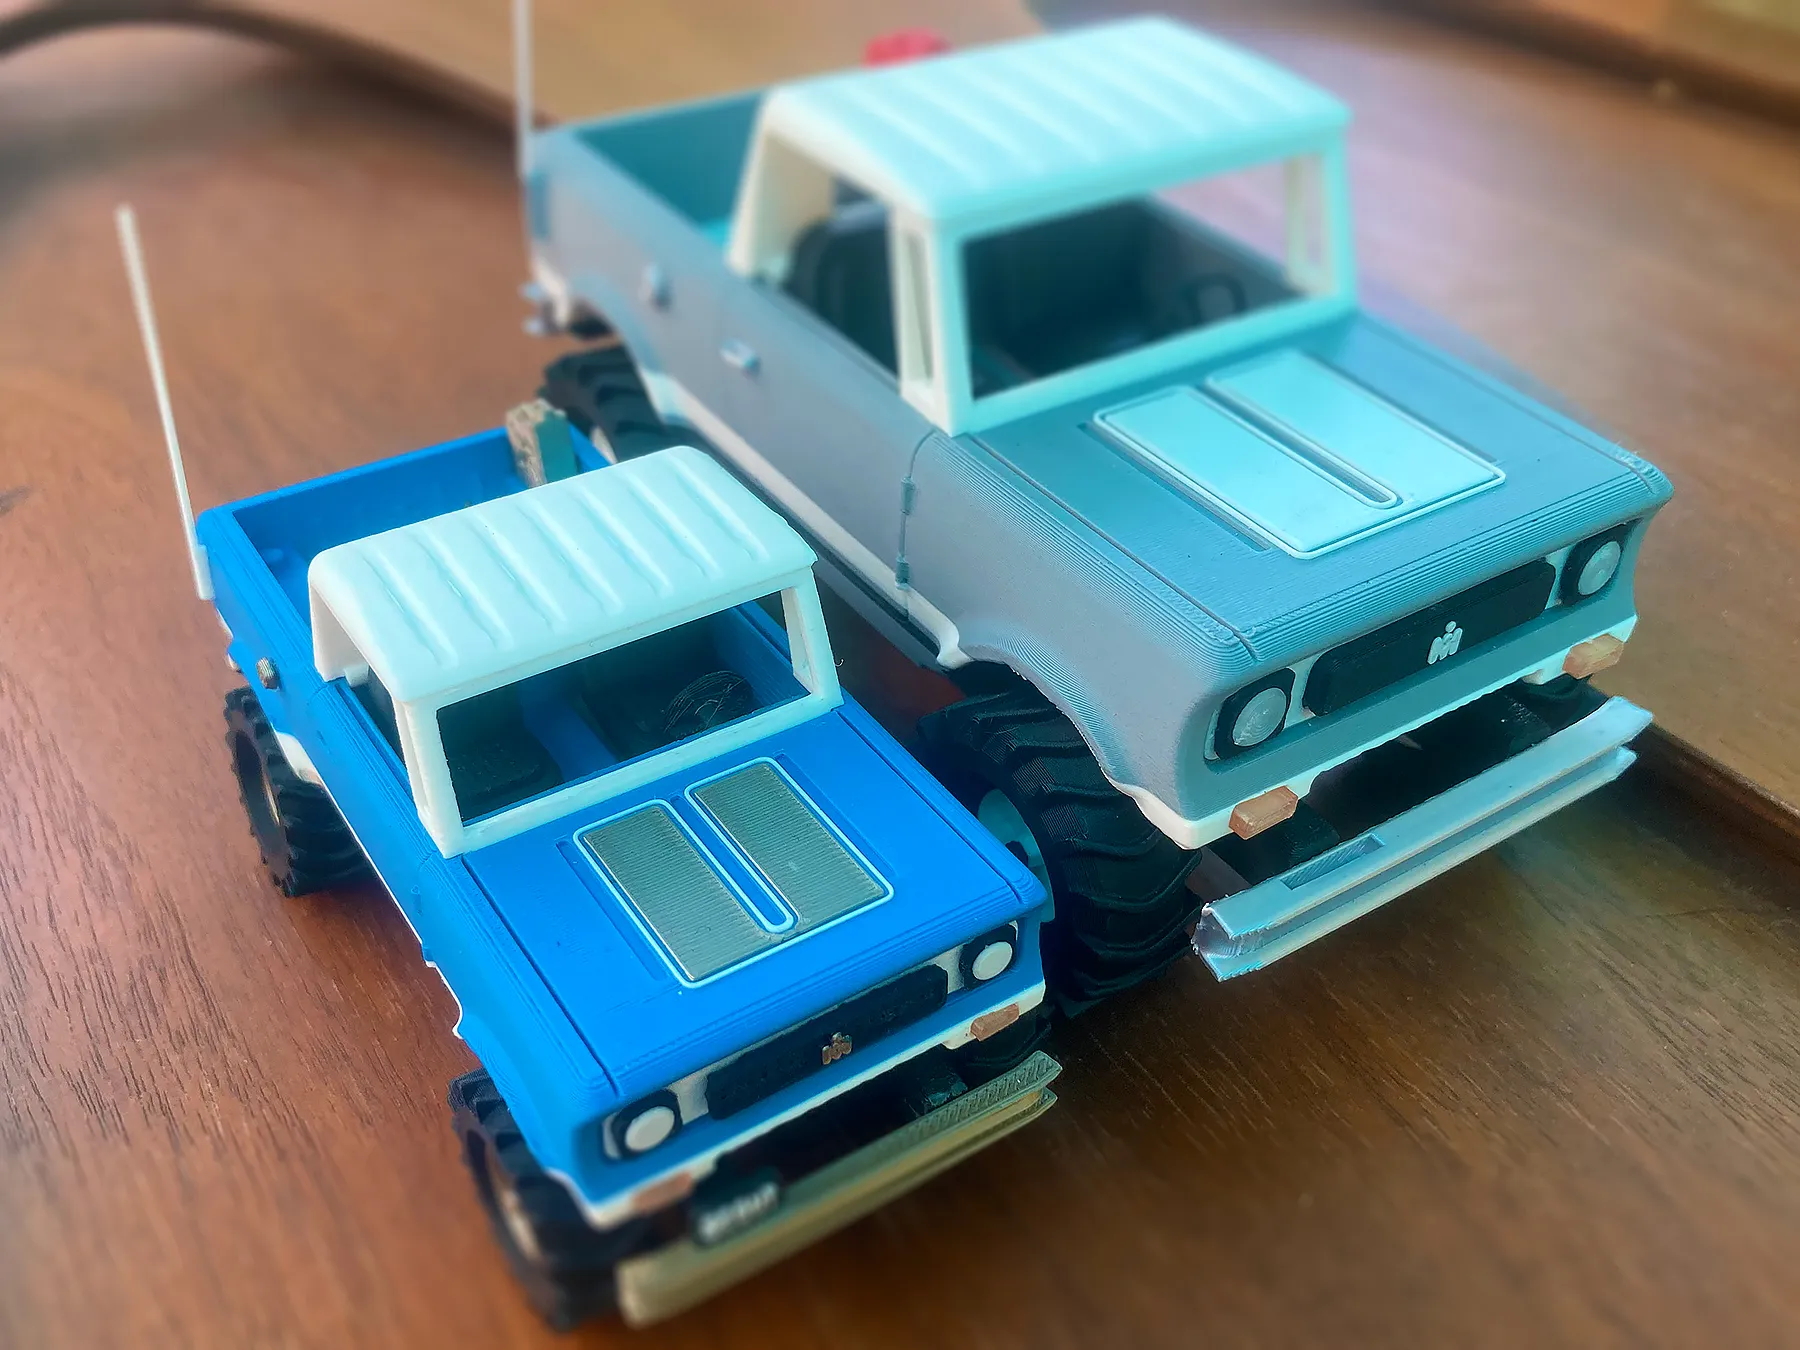
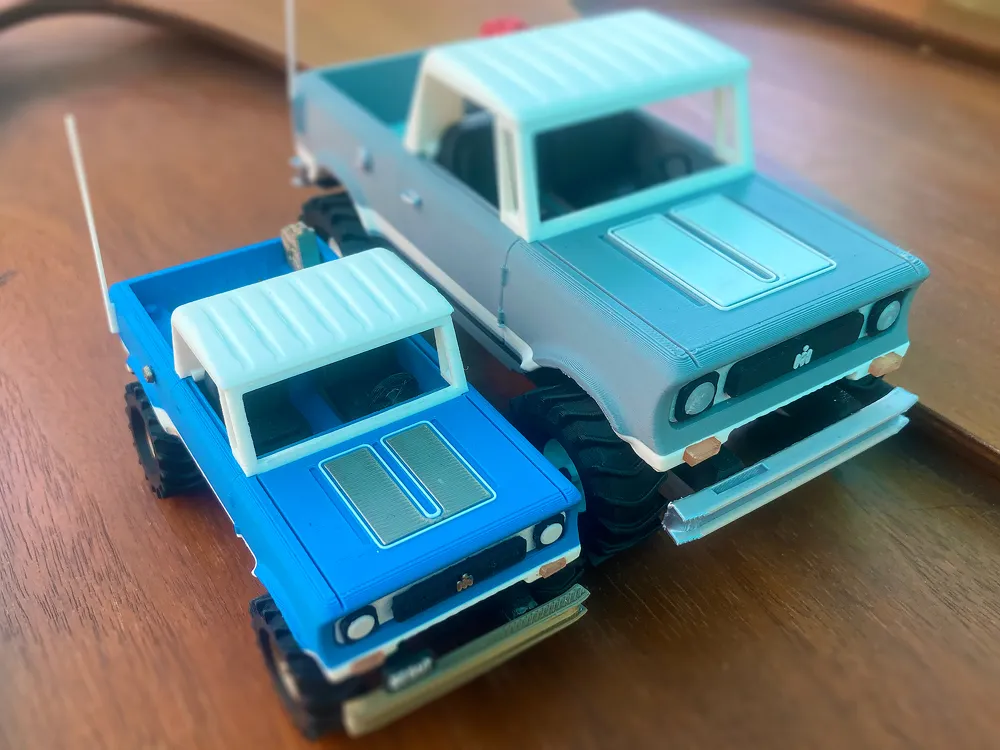
70% profile vs 100% profile.
Assembly Hints
- Most slotted parts are put in by barely inserting the tip of the part into the slot, sliding it to the bottom, and rotating it in with a little force.
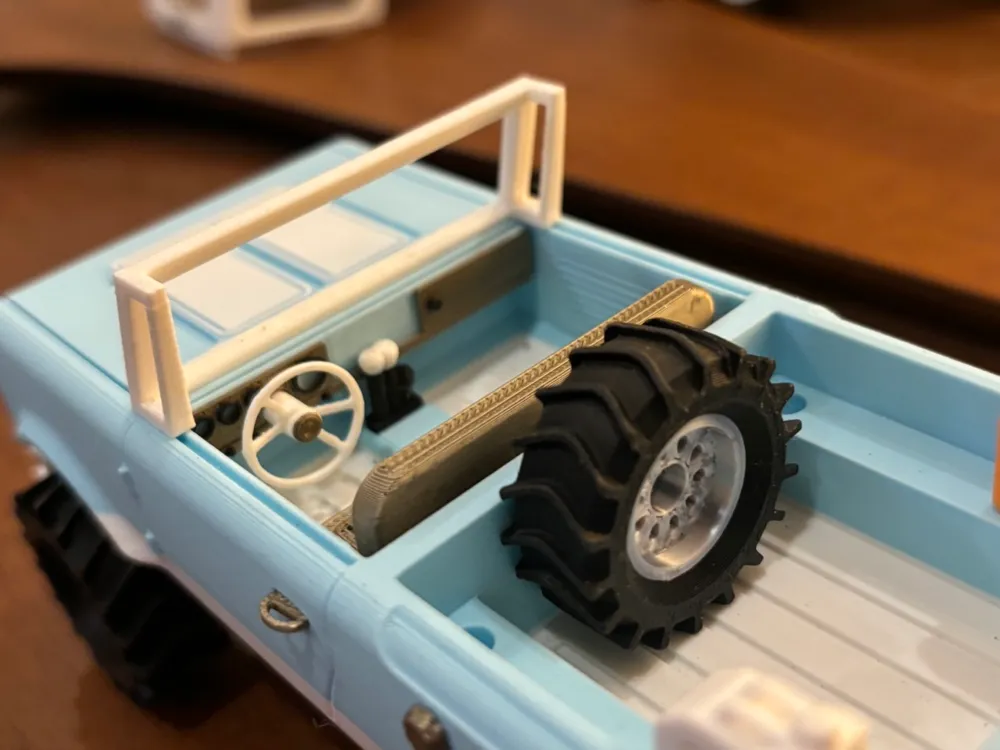
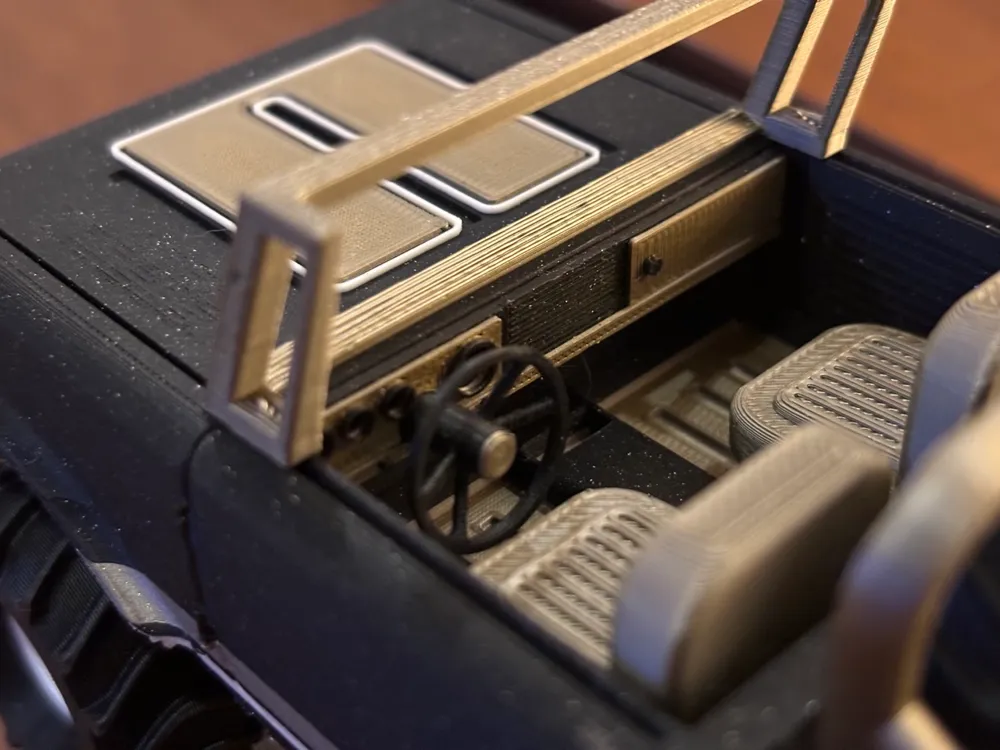
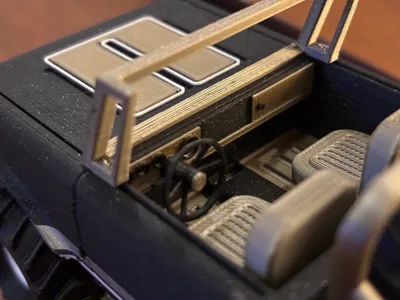
- The dash has tabs that fit into the interior of the Scout. Insert one tab in, and bend the dash carefully bowed outward and slot the second tab into the other side.
- After the dash is in, the stick shift will need to be slotted. Get a corner in, and use a thumbnail to even it out and slide it in - it will lean against the dash and make it more secure. Now put the steering wheel in, and then seats.
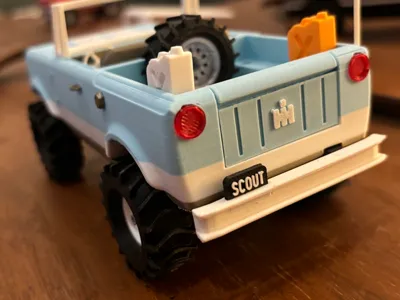
- The door handle and gas caps (yes, the Scout had 2 gas tanks!) are small and easily dropped and lost if you are clumsy like me - use some tweezers!
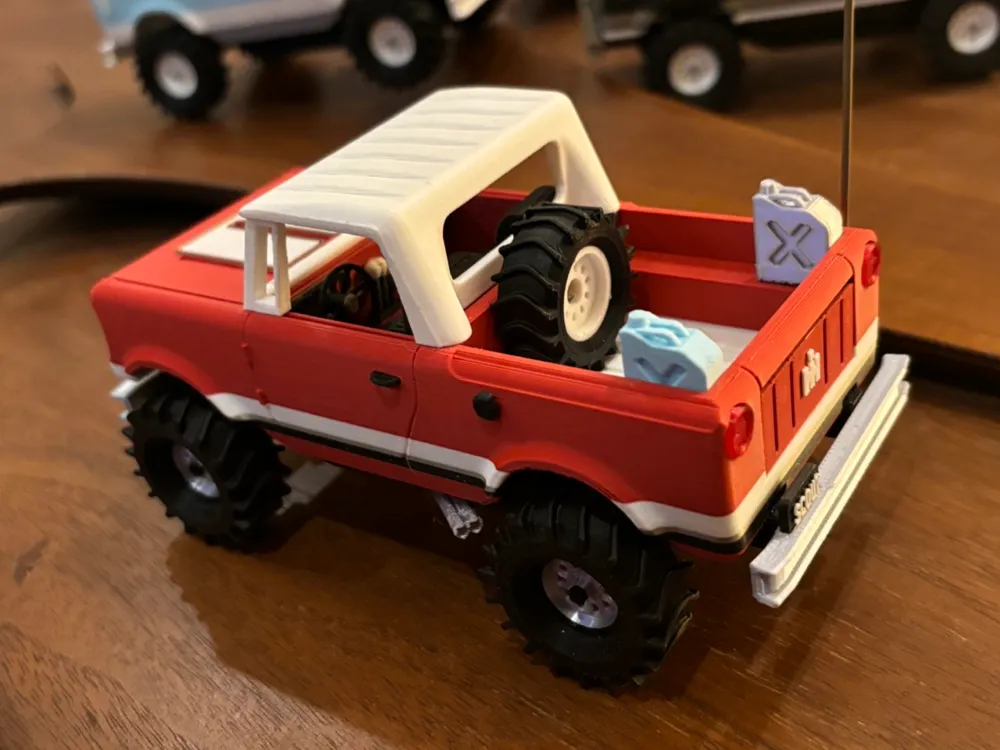
- The spare tire wheel is in 2 parts as we are showing both sides of this wheel in particular.
- The windshield should slot in tightly even with the strangest filaments - push with your thumb on top of the bottom frame to avoid breaking it. I've just tweaked it a little so it shouldn't be too hard now.
- The front turn signals are small and tight and sometimes stubborn - use tweezers again (especially for the 70% profiles)!
- I'm always breaking antenna - print a couple back-ups.
- The Jerrycans have 2 holes - place the jerrycan in angleside back if using the captop or rollbars, and angleside forward (not touching tailgate) if you want to use it with the Traveltop.
- On the 70% version, the spare may need a dab of glue if you want to hold it securely. The turn signals are VERY SMALL but fit in nicely!
- Also on the 70% profile, I wouldn't print the antenna in metal or other more exotic filament - it's very delicate! Use a basic PLA.
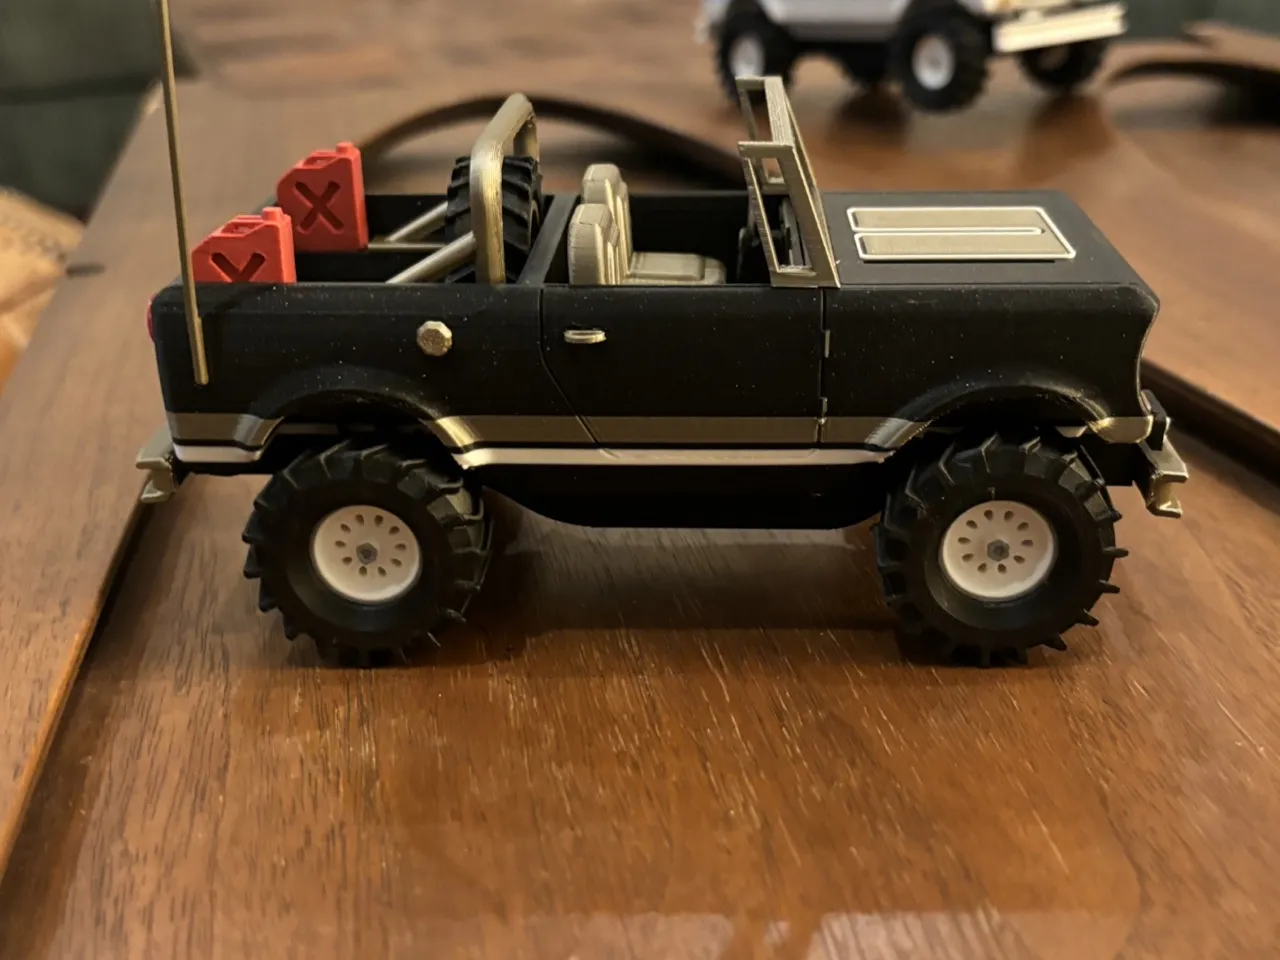
Printing hints
- The body prints nicely without concern at .16 or .08 using matte PLA. If you are printing with metal or sparkle PLA, I've found that turning on ironing is a great way to get the hood looking smooth.
Painting in the UI is fine using the Height Range, but for more accuracy and to shave about 20 minutes off of your print, use the filament change modifier in the preview screen to paint on the pin striping.
I change filaments like this:
Red truck version: 1 Red • 65 Black • 88 Gold • 96 White • 148 Red • 286 White
Blue Traveltop version: 1 Gold • 70 White • 148 Blue • 286 White
Filament Colors
I just love the Matte and Metal PLA from Bambu (send me more!) - the Scout colors you see in the photos are:
Main colors:
Secondary colors:
- Metal PLA Iridium Gold
- Matte PLA Charcoal
- Matte PLA Ivory White
- Matte PLA Mandarin Orange
- Sunlu Silk PLA Silver
Lens colors:
- PETG Translucent Brown
- Overture PETG Transparent Red
Font
The typeface that I use for the license plate is called D-DIN Condensed Bold as is available freely if you would like to make your own license plate.
Boost Me (for free)
Help me produce more models of older vehicles that once inhabited this world. Every boost counts!

Conclusion
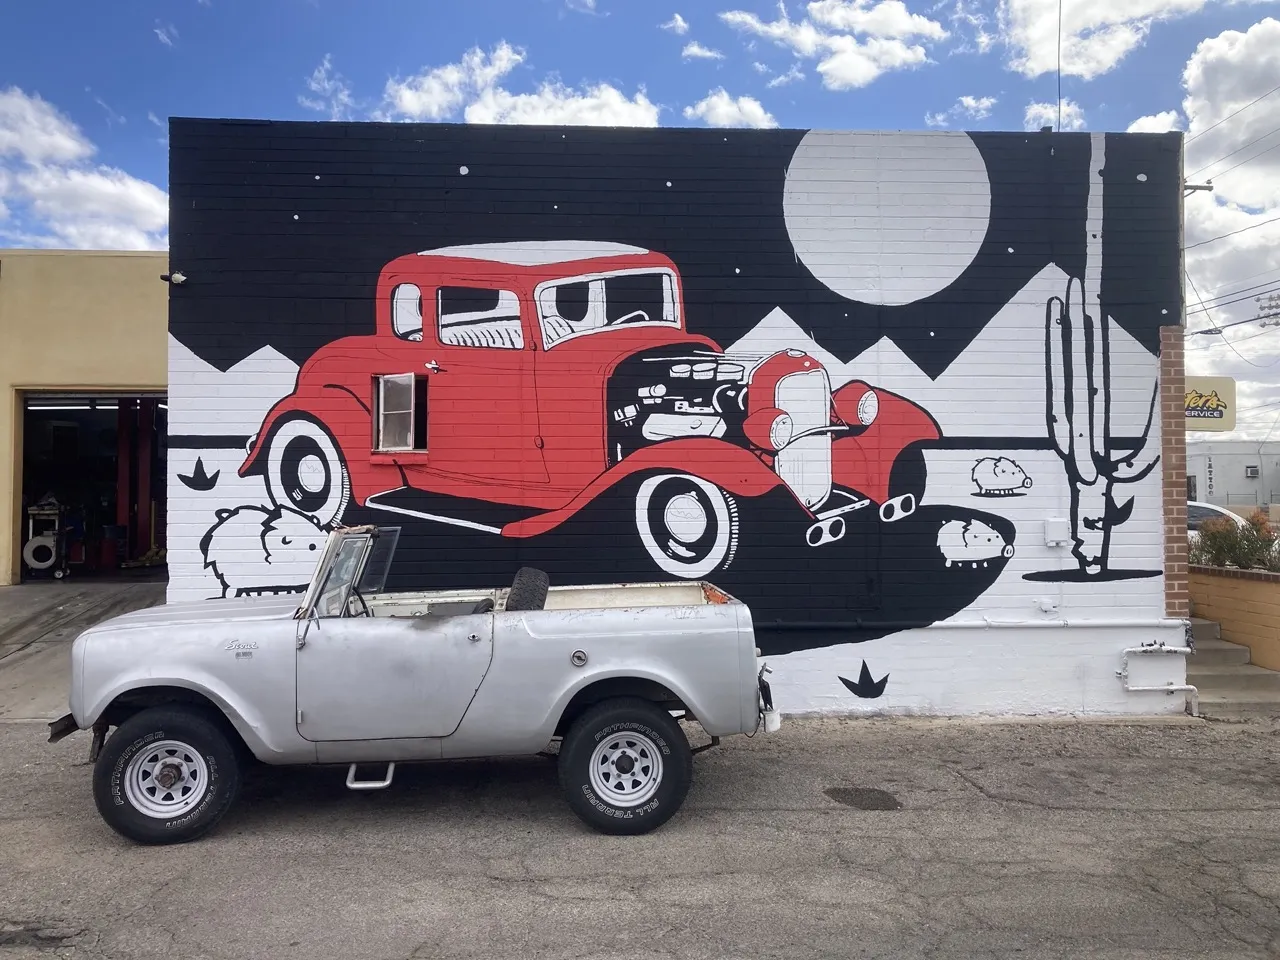
If you've read this long, you deserve something, so here's an old photo of my real Scout! I drive it every day!
License

You shall not share, sub-license, sell, rent, host, transfer, or distribute in any way the digital or 3D printed versions of this object, nor any other derivative work of this object in its digital or physical format (including - but not limited to - remixes of this object, and hosting on other digital platforms). The objects may not be used without permission in any way whatsoever in which you charge money, or collect fees.


Comment & Rating (197)