
Spray Painting & Photography Turntable

Print Profile(3)



Bill of Materials




Description
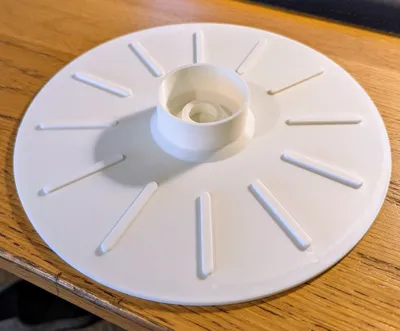
Update: Added a 210mm platter for those who were having troubling printing on slightly smaller print beds.
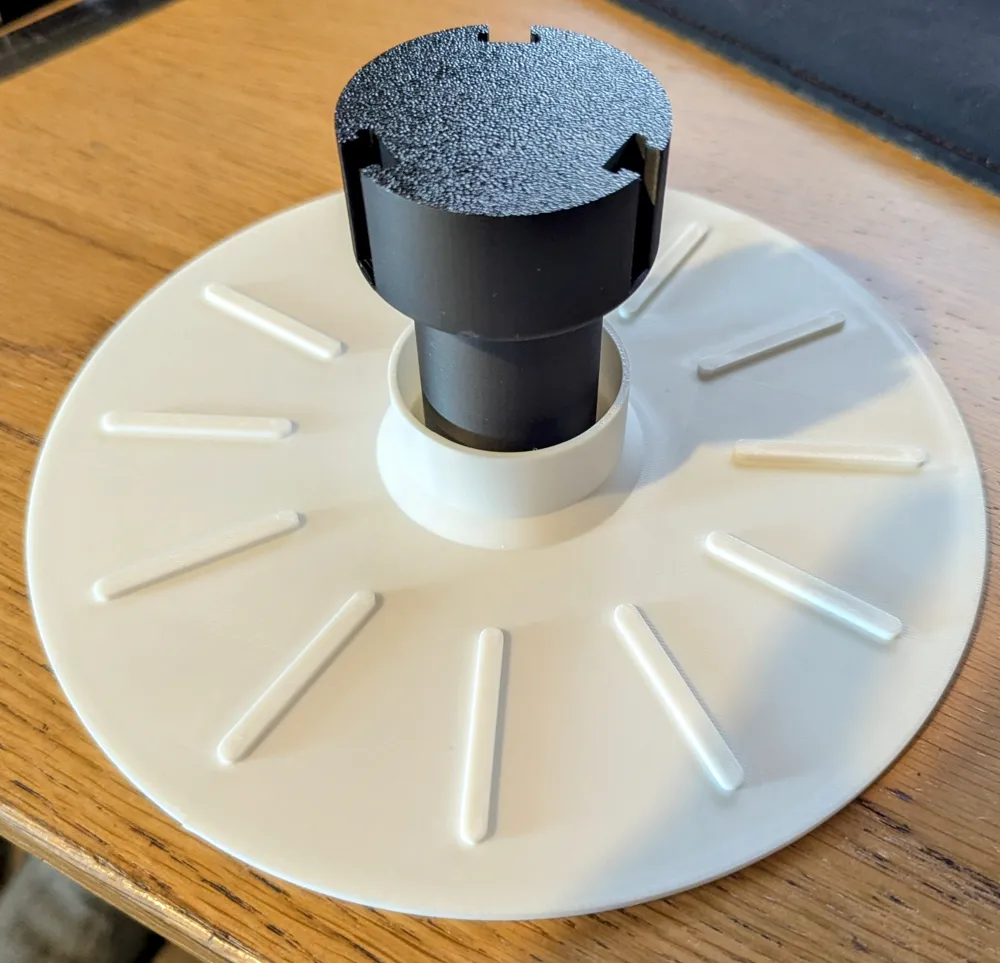
Update: Added a second 220mm platter with no top and a Hilbert curve body. This should support a model while spray painting while giving minimal contact area without using painting spikes.
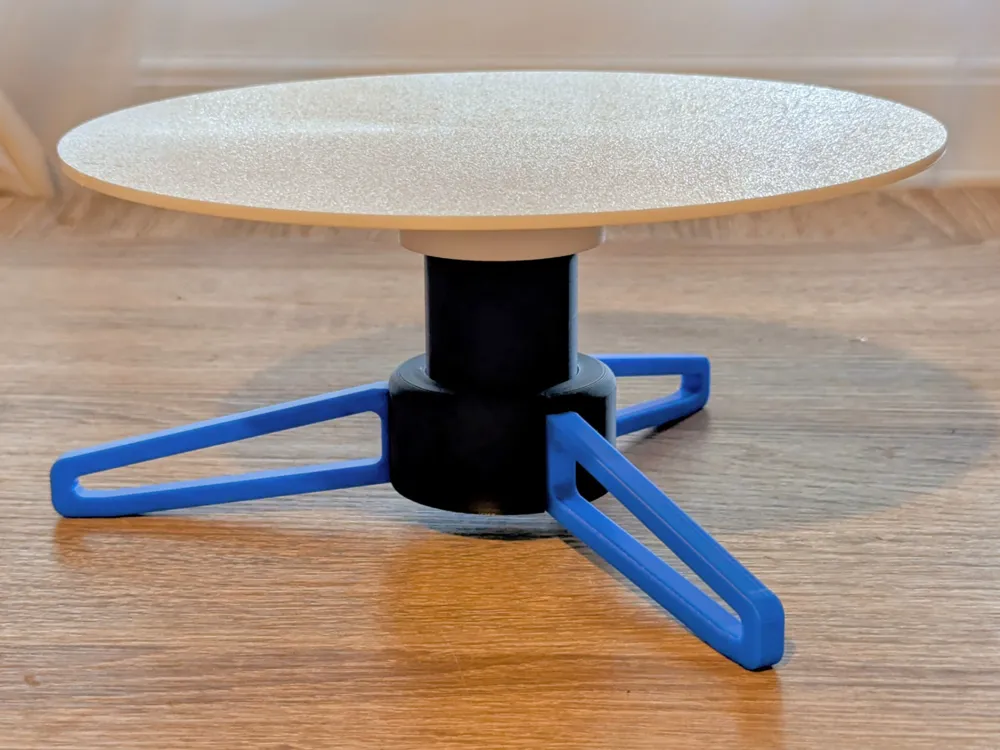
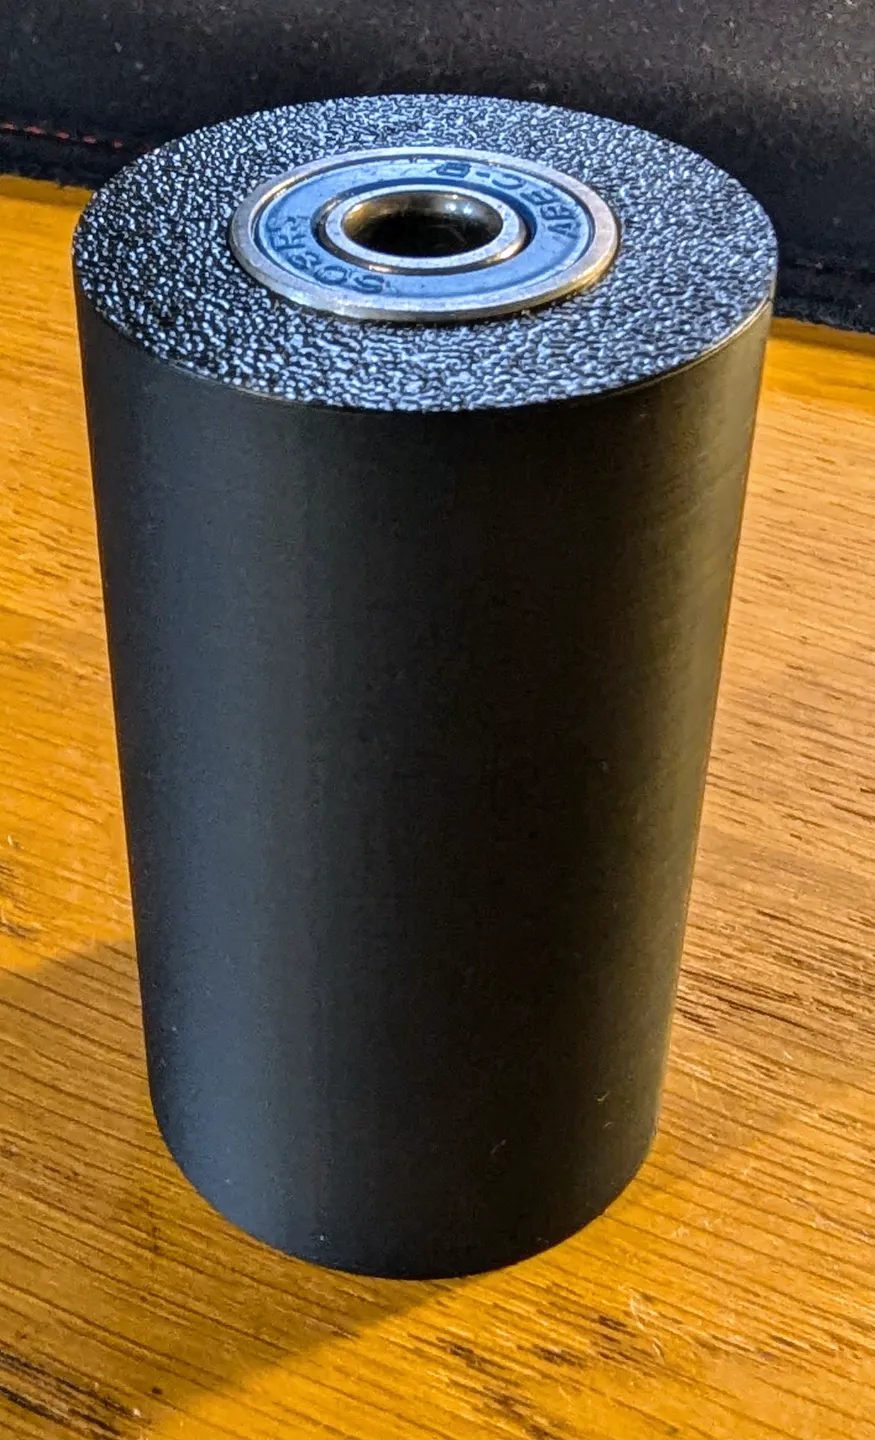
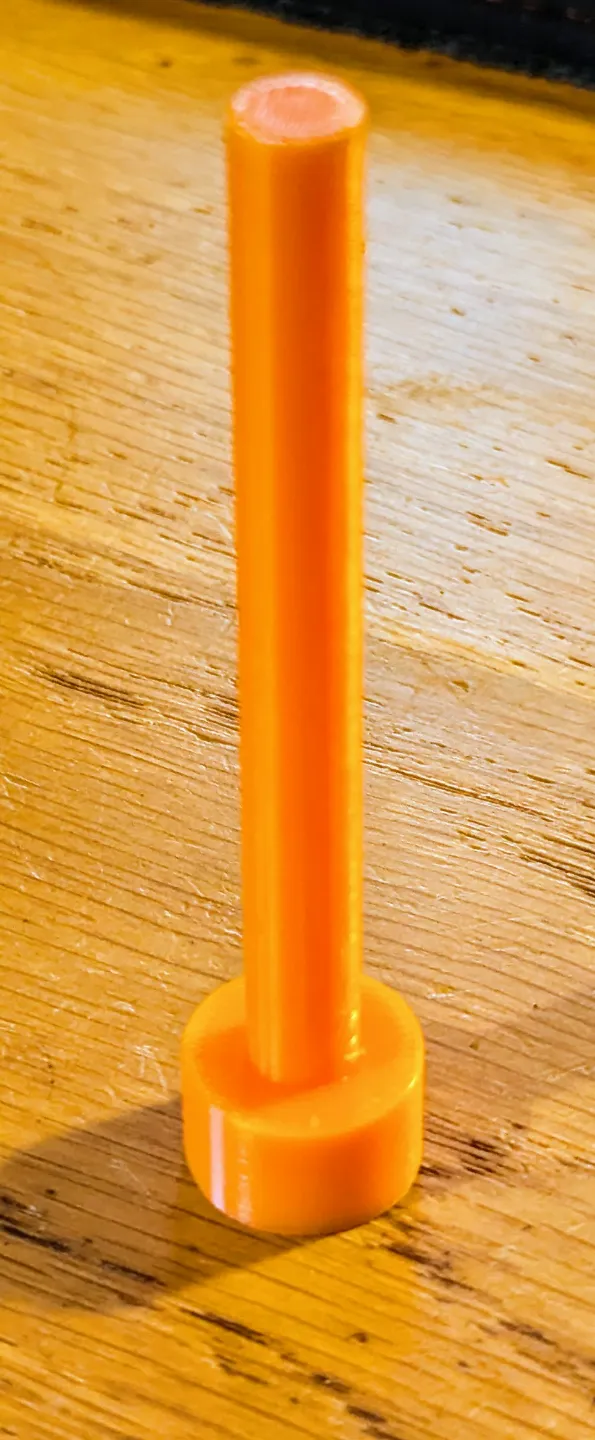
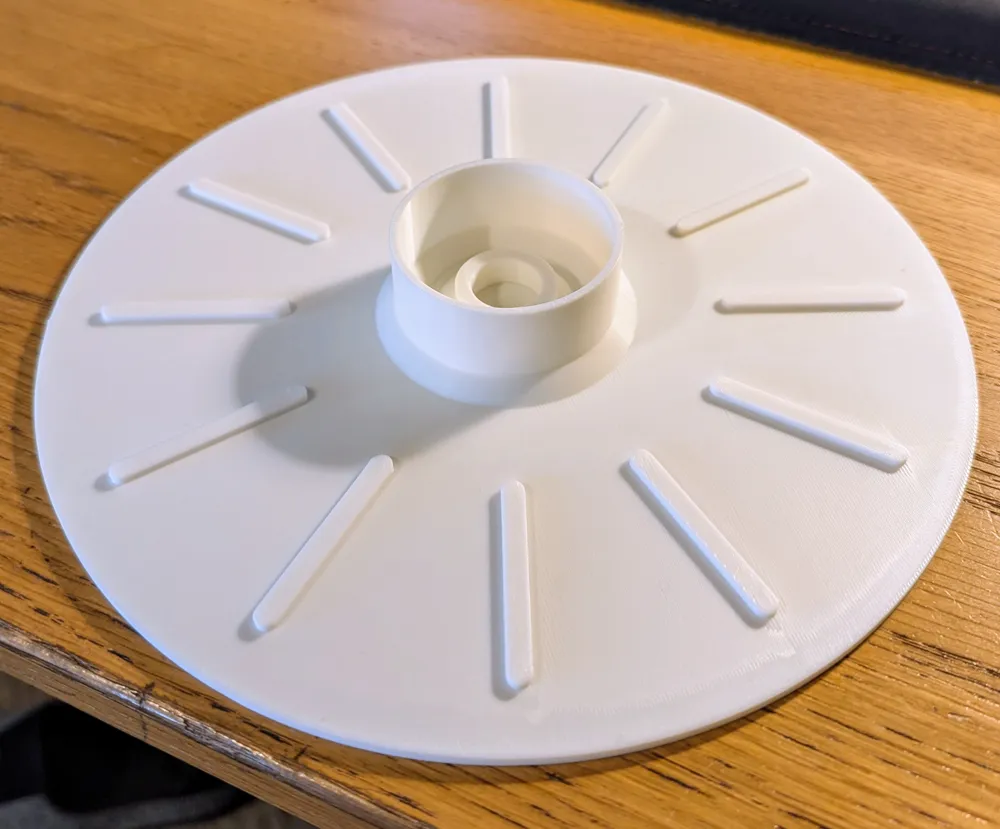
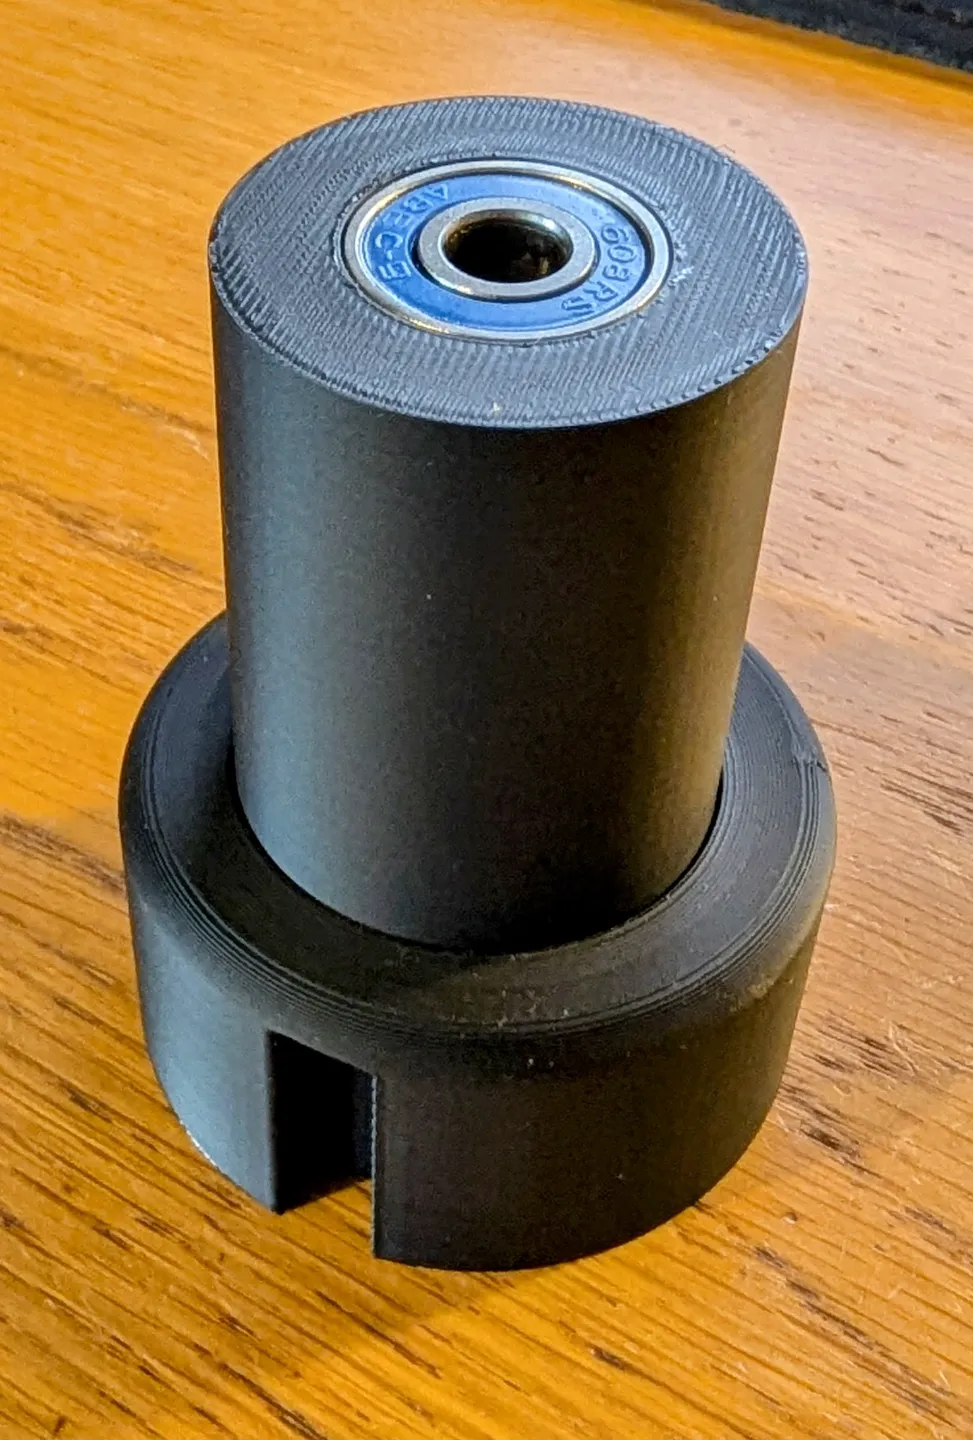
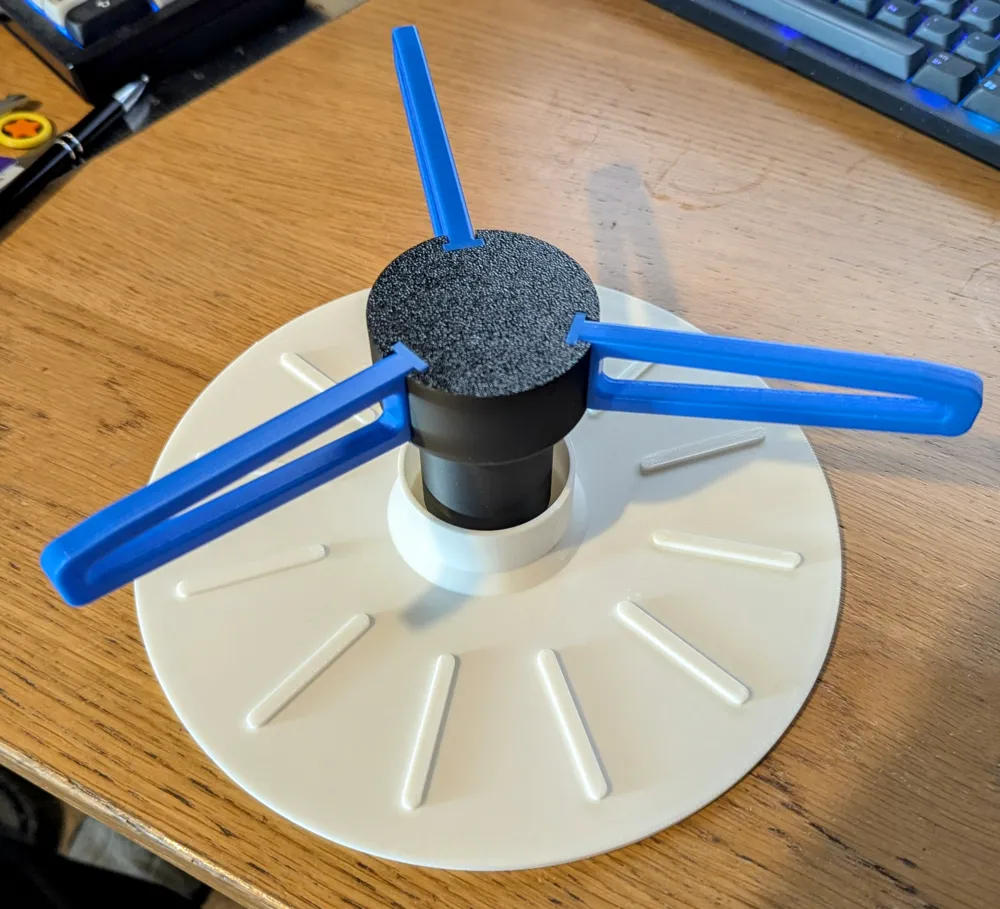
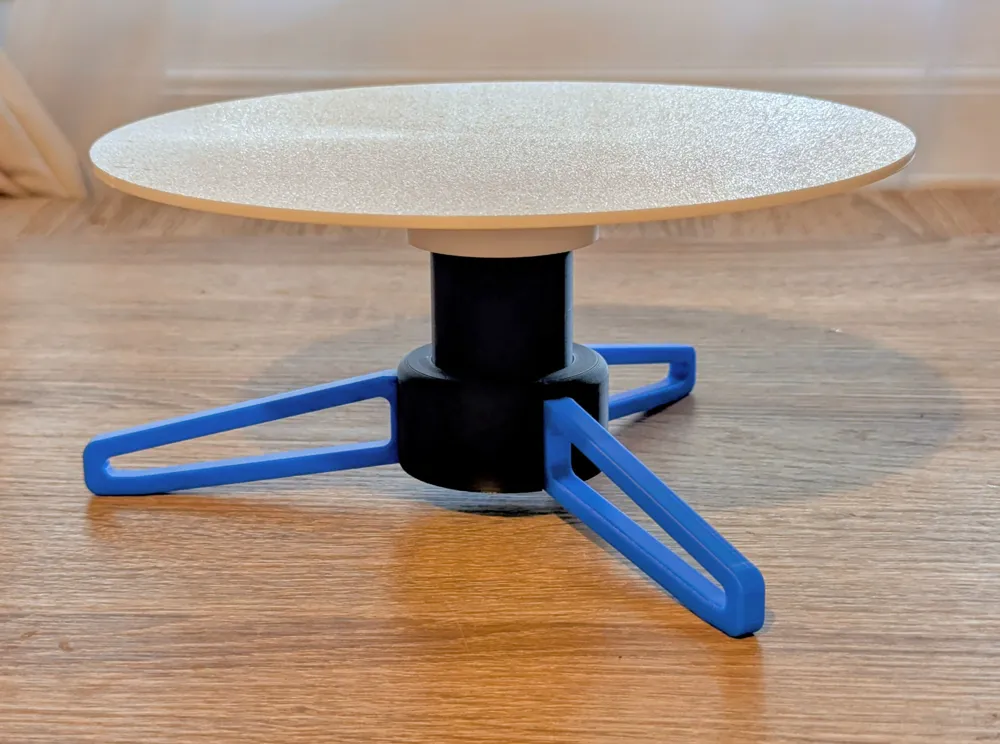
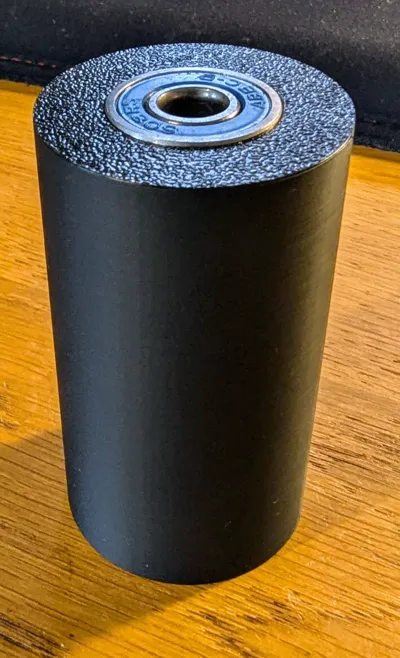
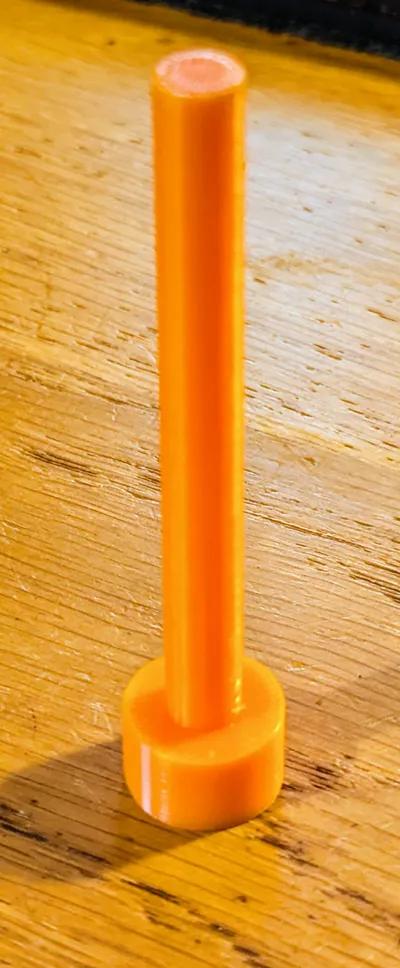
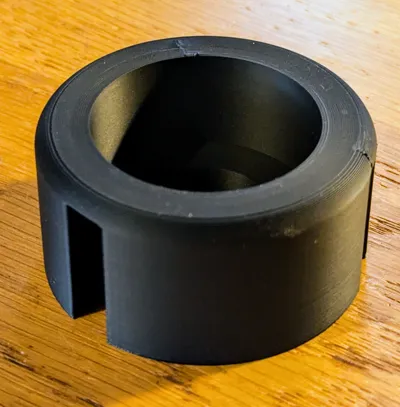
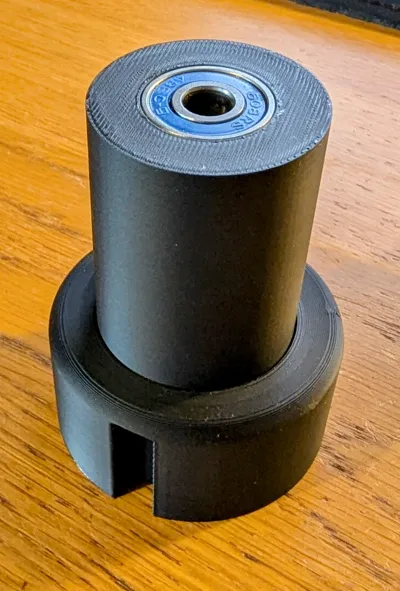
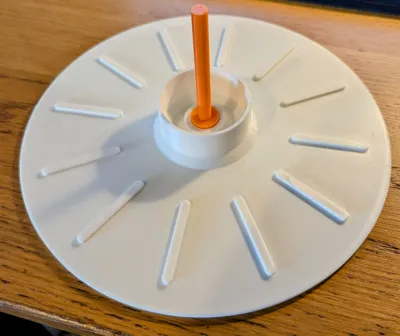
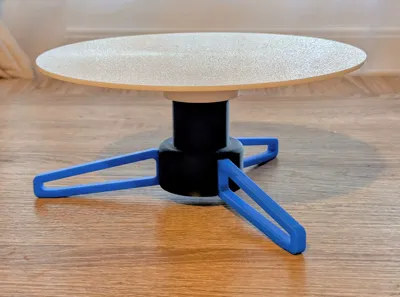
This is a small (220mm) manual turntable. Ideal for paint spraying or photography of small items. It requires 2 bearings (OD=22mm, ID=8mm and 7mm thickness). All parts print without support except for the Bearing Holder, and work fine with standard PLA. There are 2 versions of the bearing pin, a loose one and a tight one. On an A1 I found the tight version fitted snugly though the bearings with just a little sanding to knock back the seam.
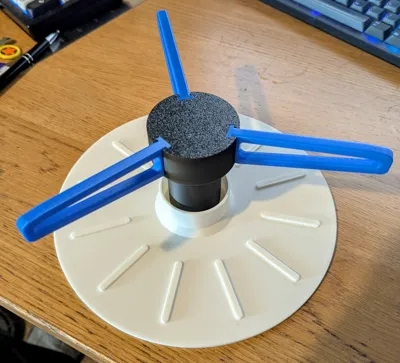
In addition, there are set of painting spikes included with the model. These do not need printing unless you want them as extras. Use them to place underneath objects you are spraying to lift it off the platter.
To assemble:-
Insert the 2 bearings into the bearing holder. It is recommended to superglue here helps keep the bearings in place. Ensure the outer face of the bearings are clean of grease before glue.
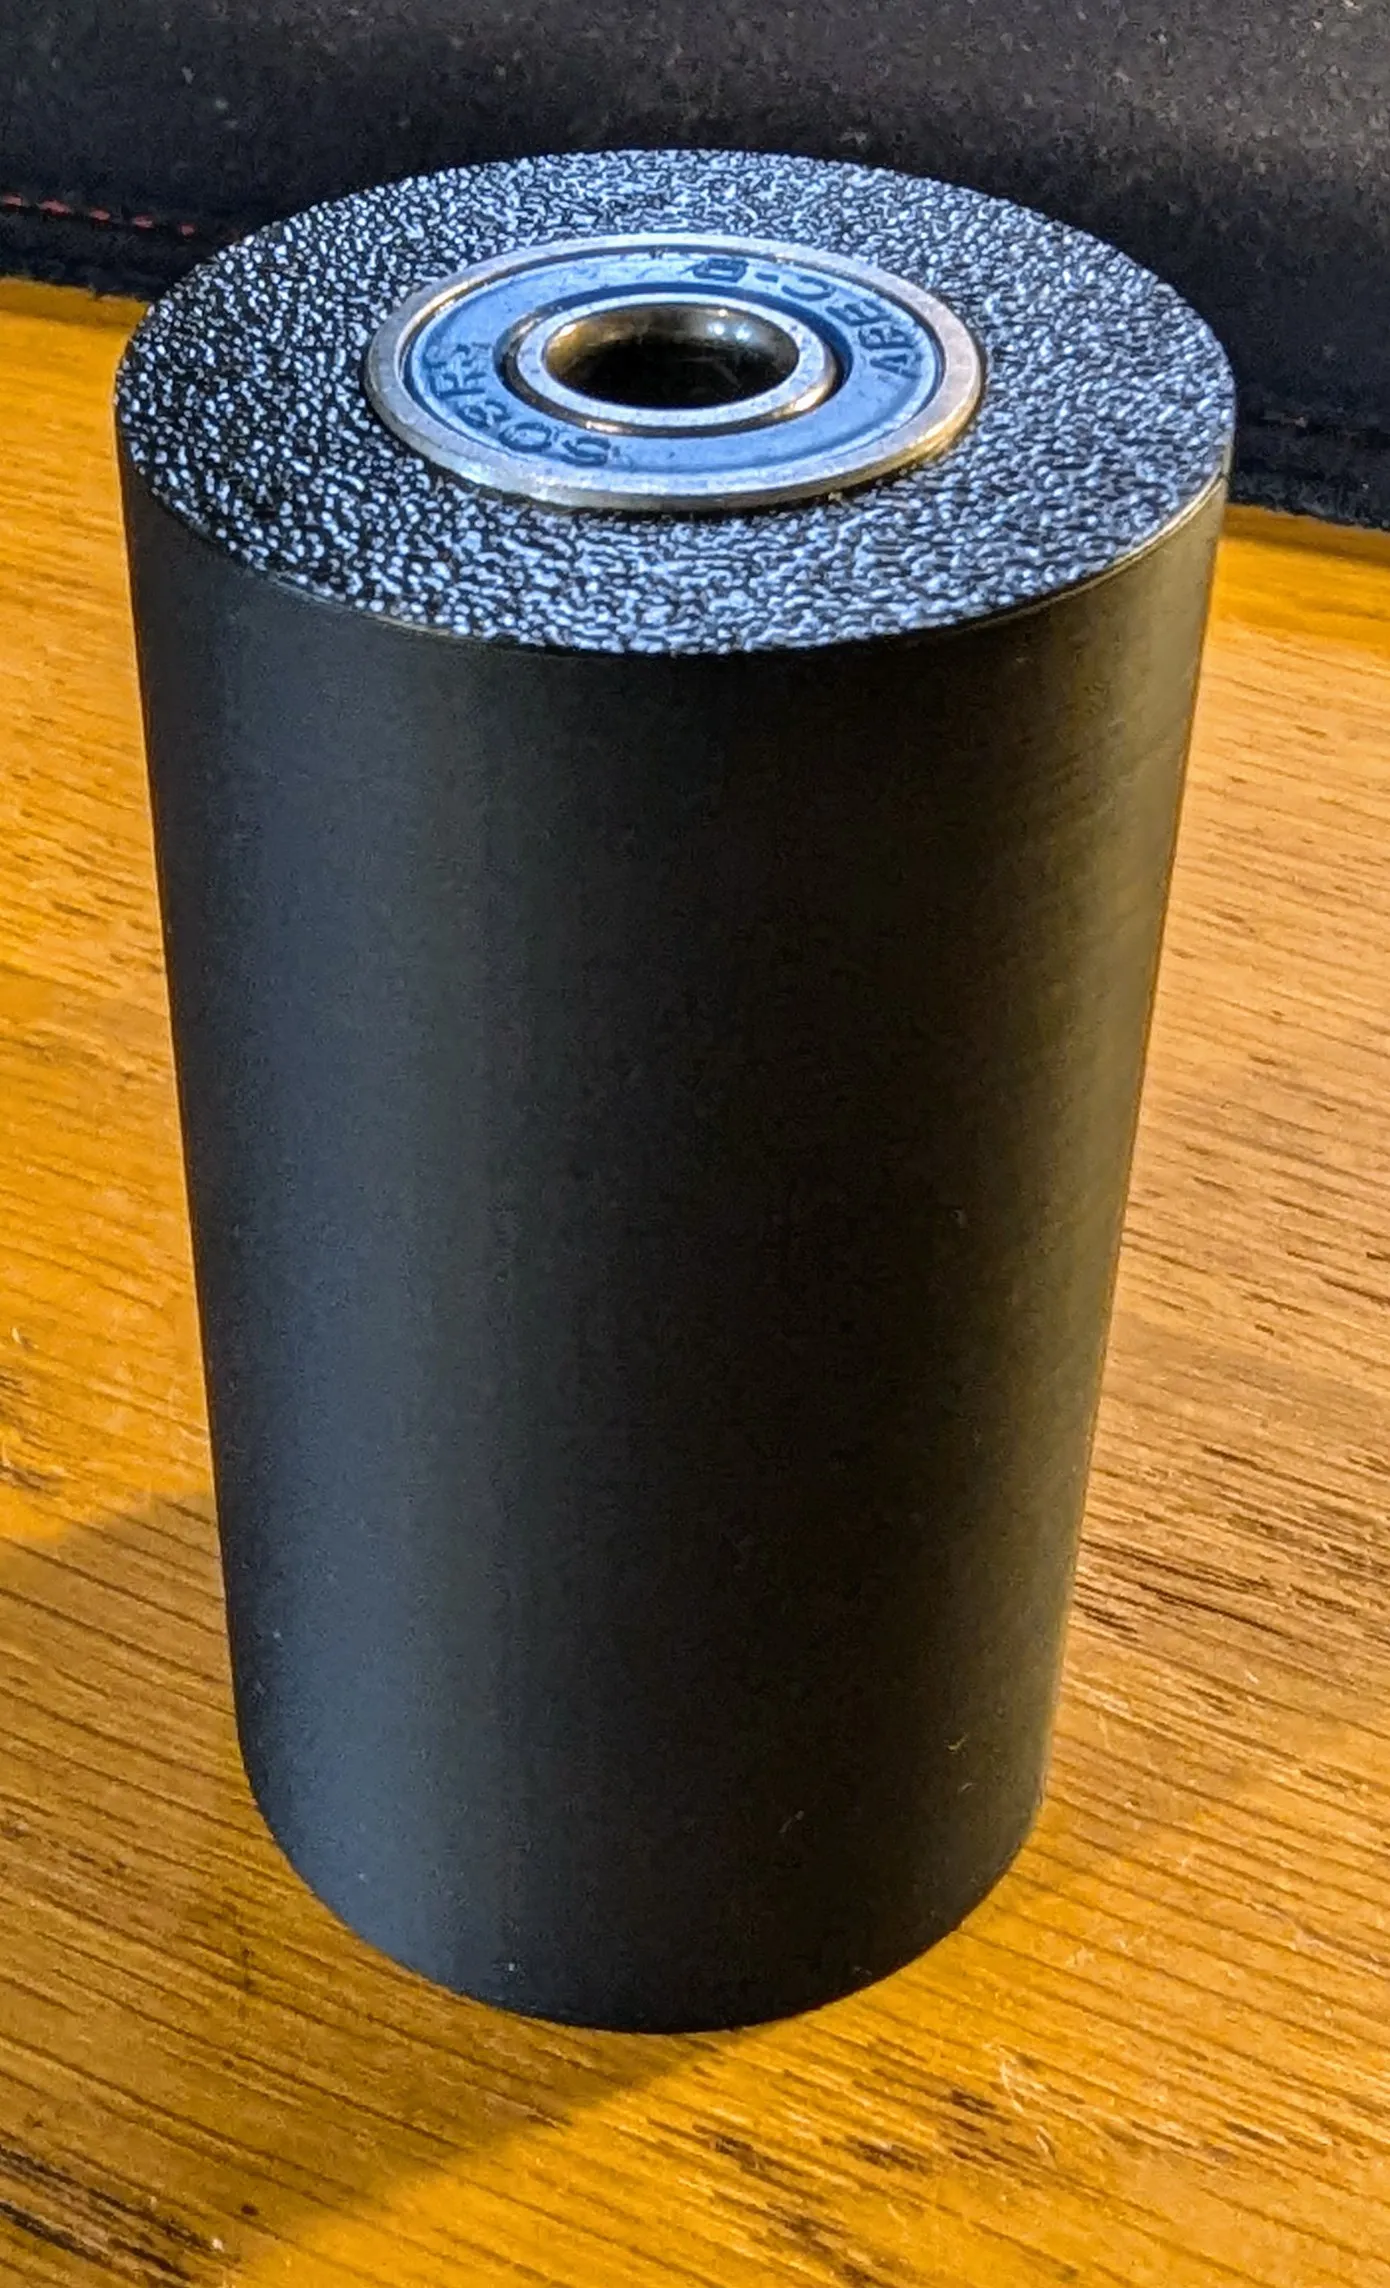
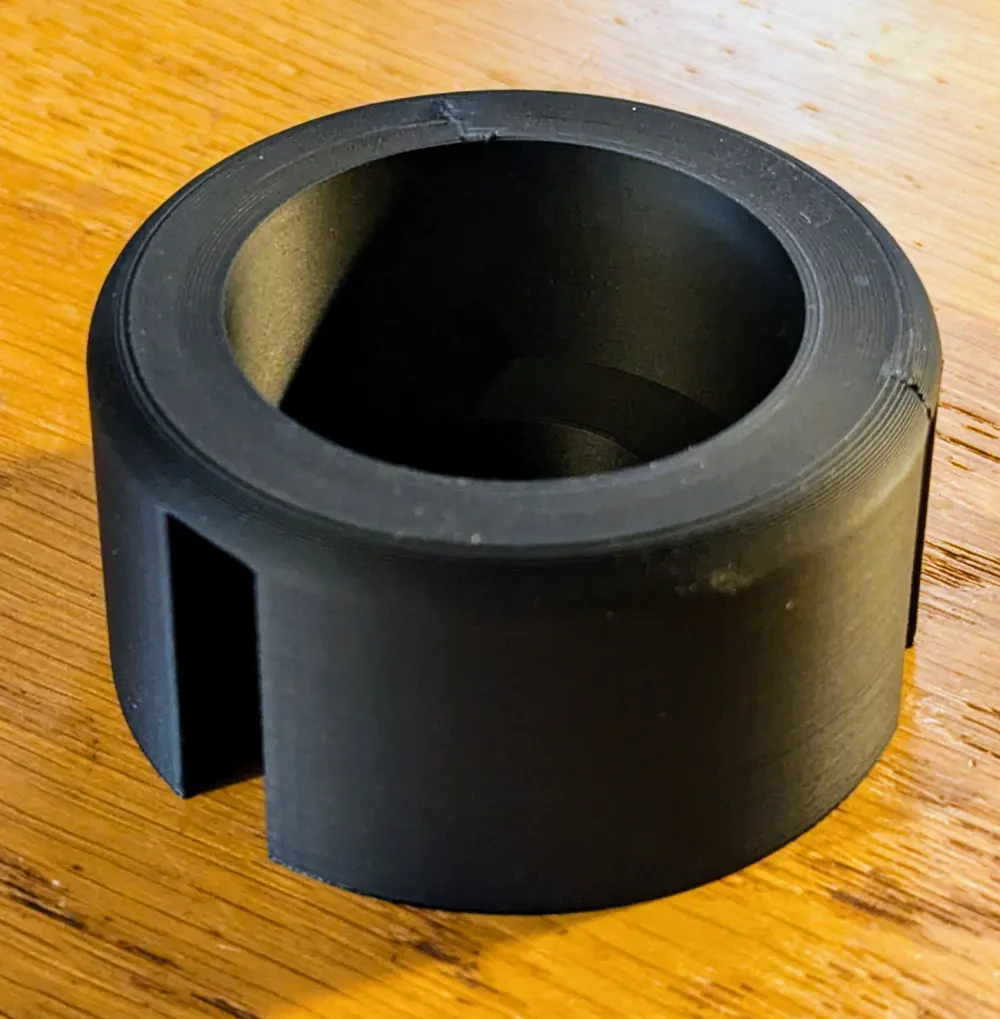
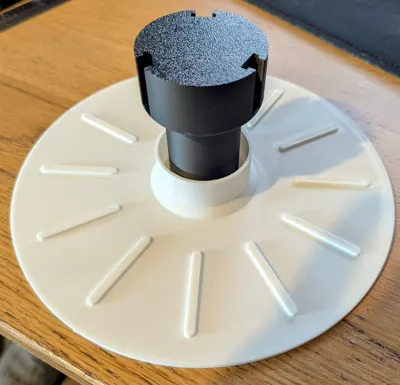
Place the bearing holder into the base. I have intentionally left this a little loose and will require some glue.
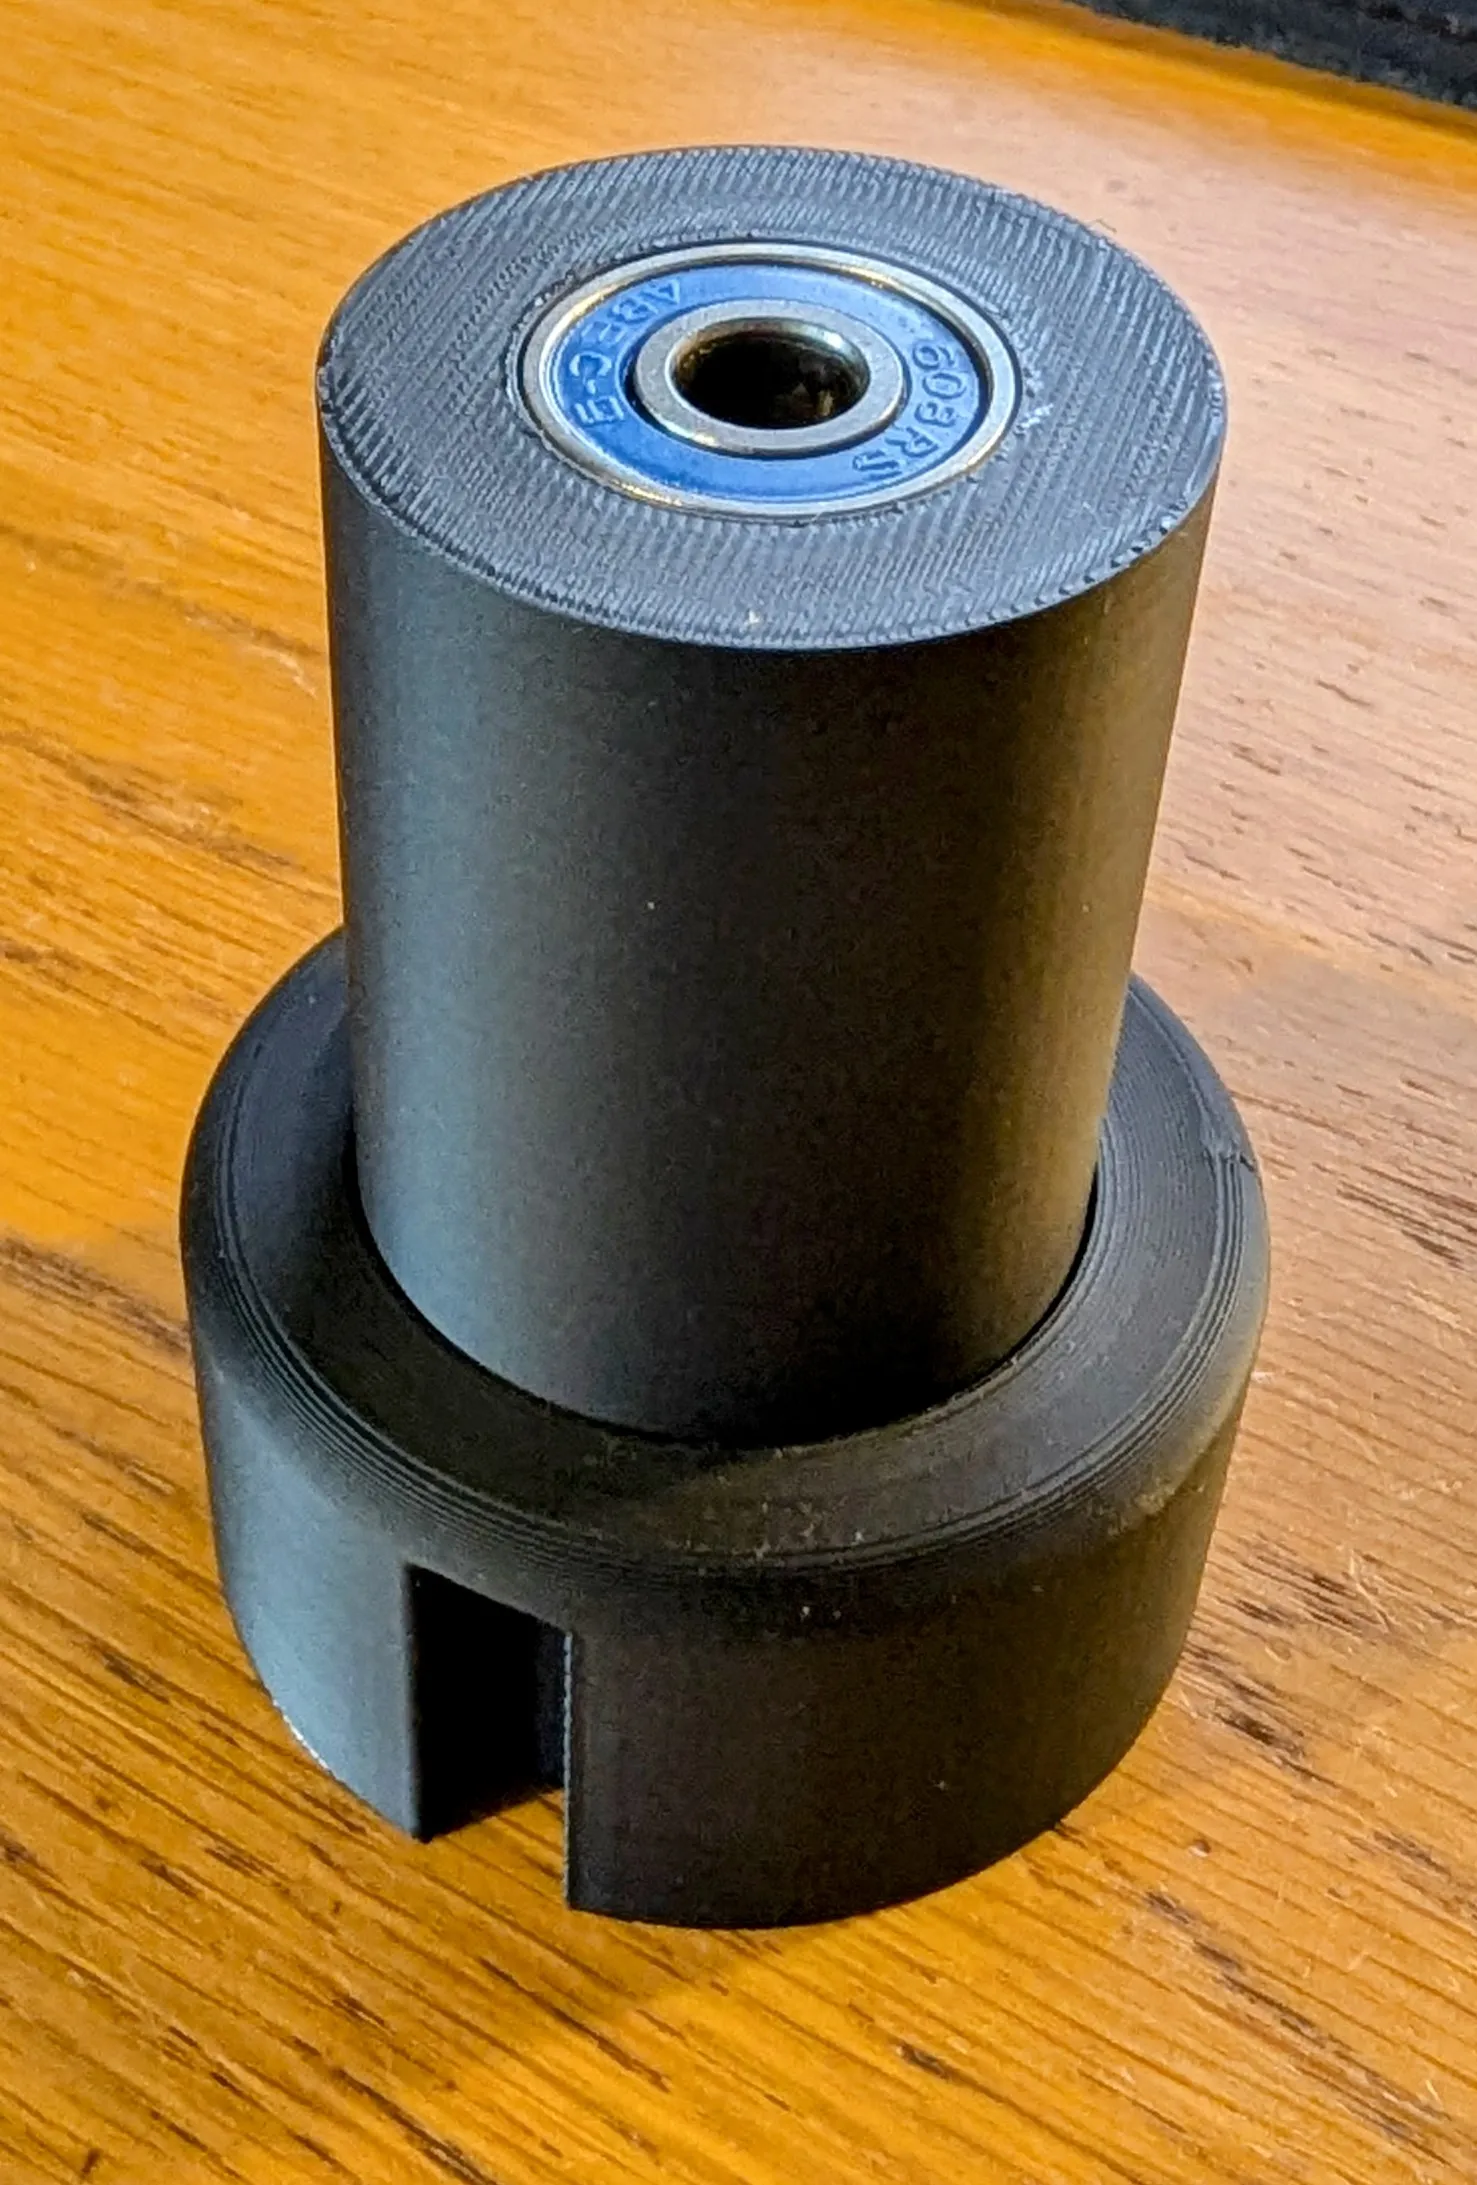
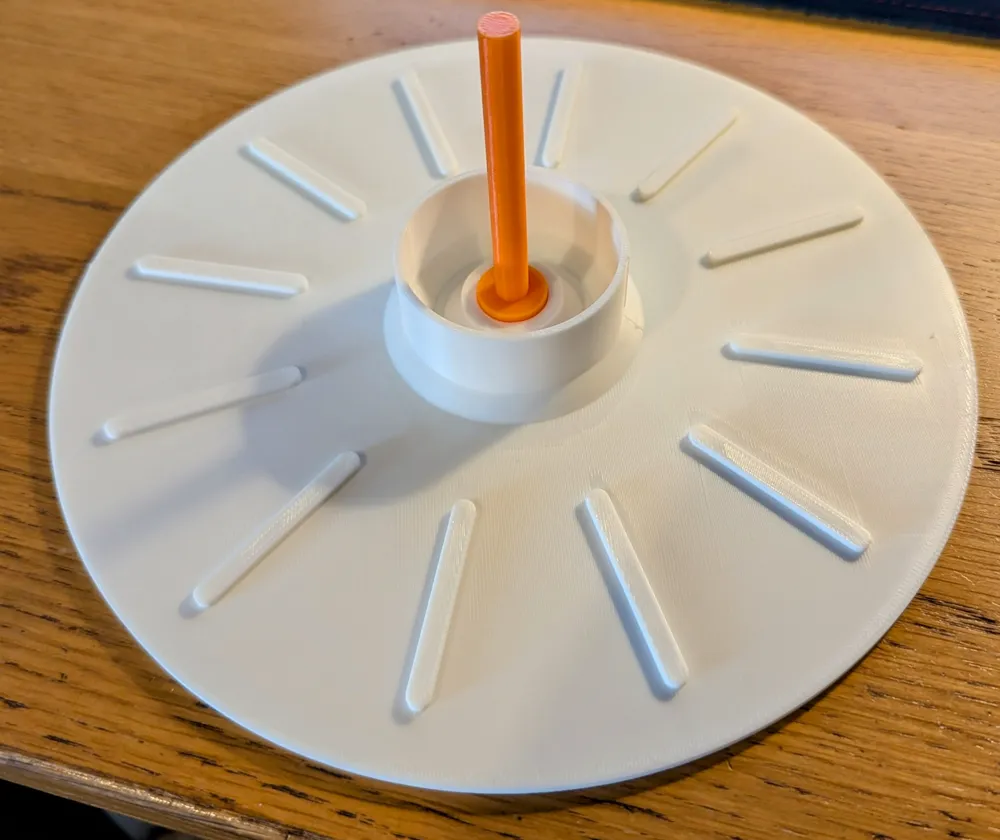
Meanwhile insert the bearing pin into the underside of the platter and glue in place.
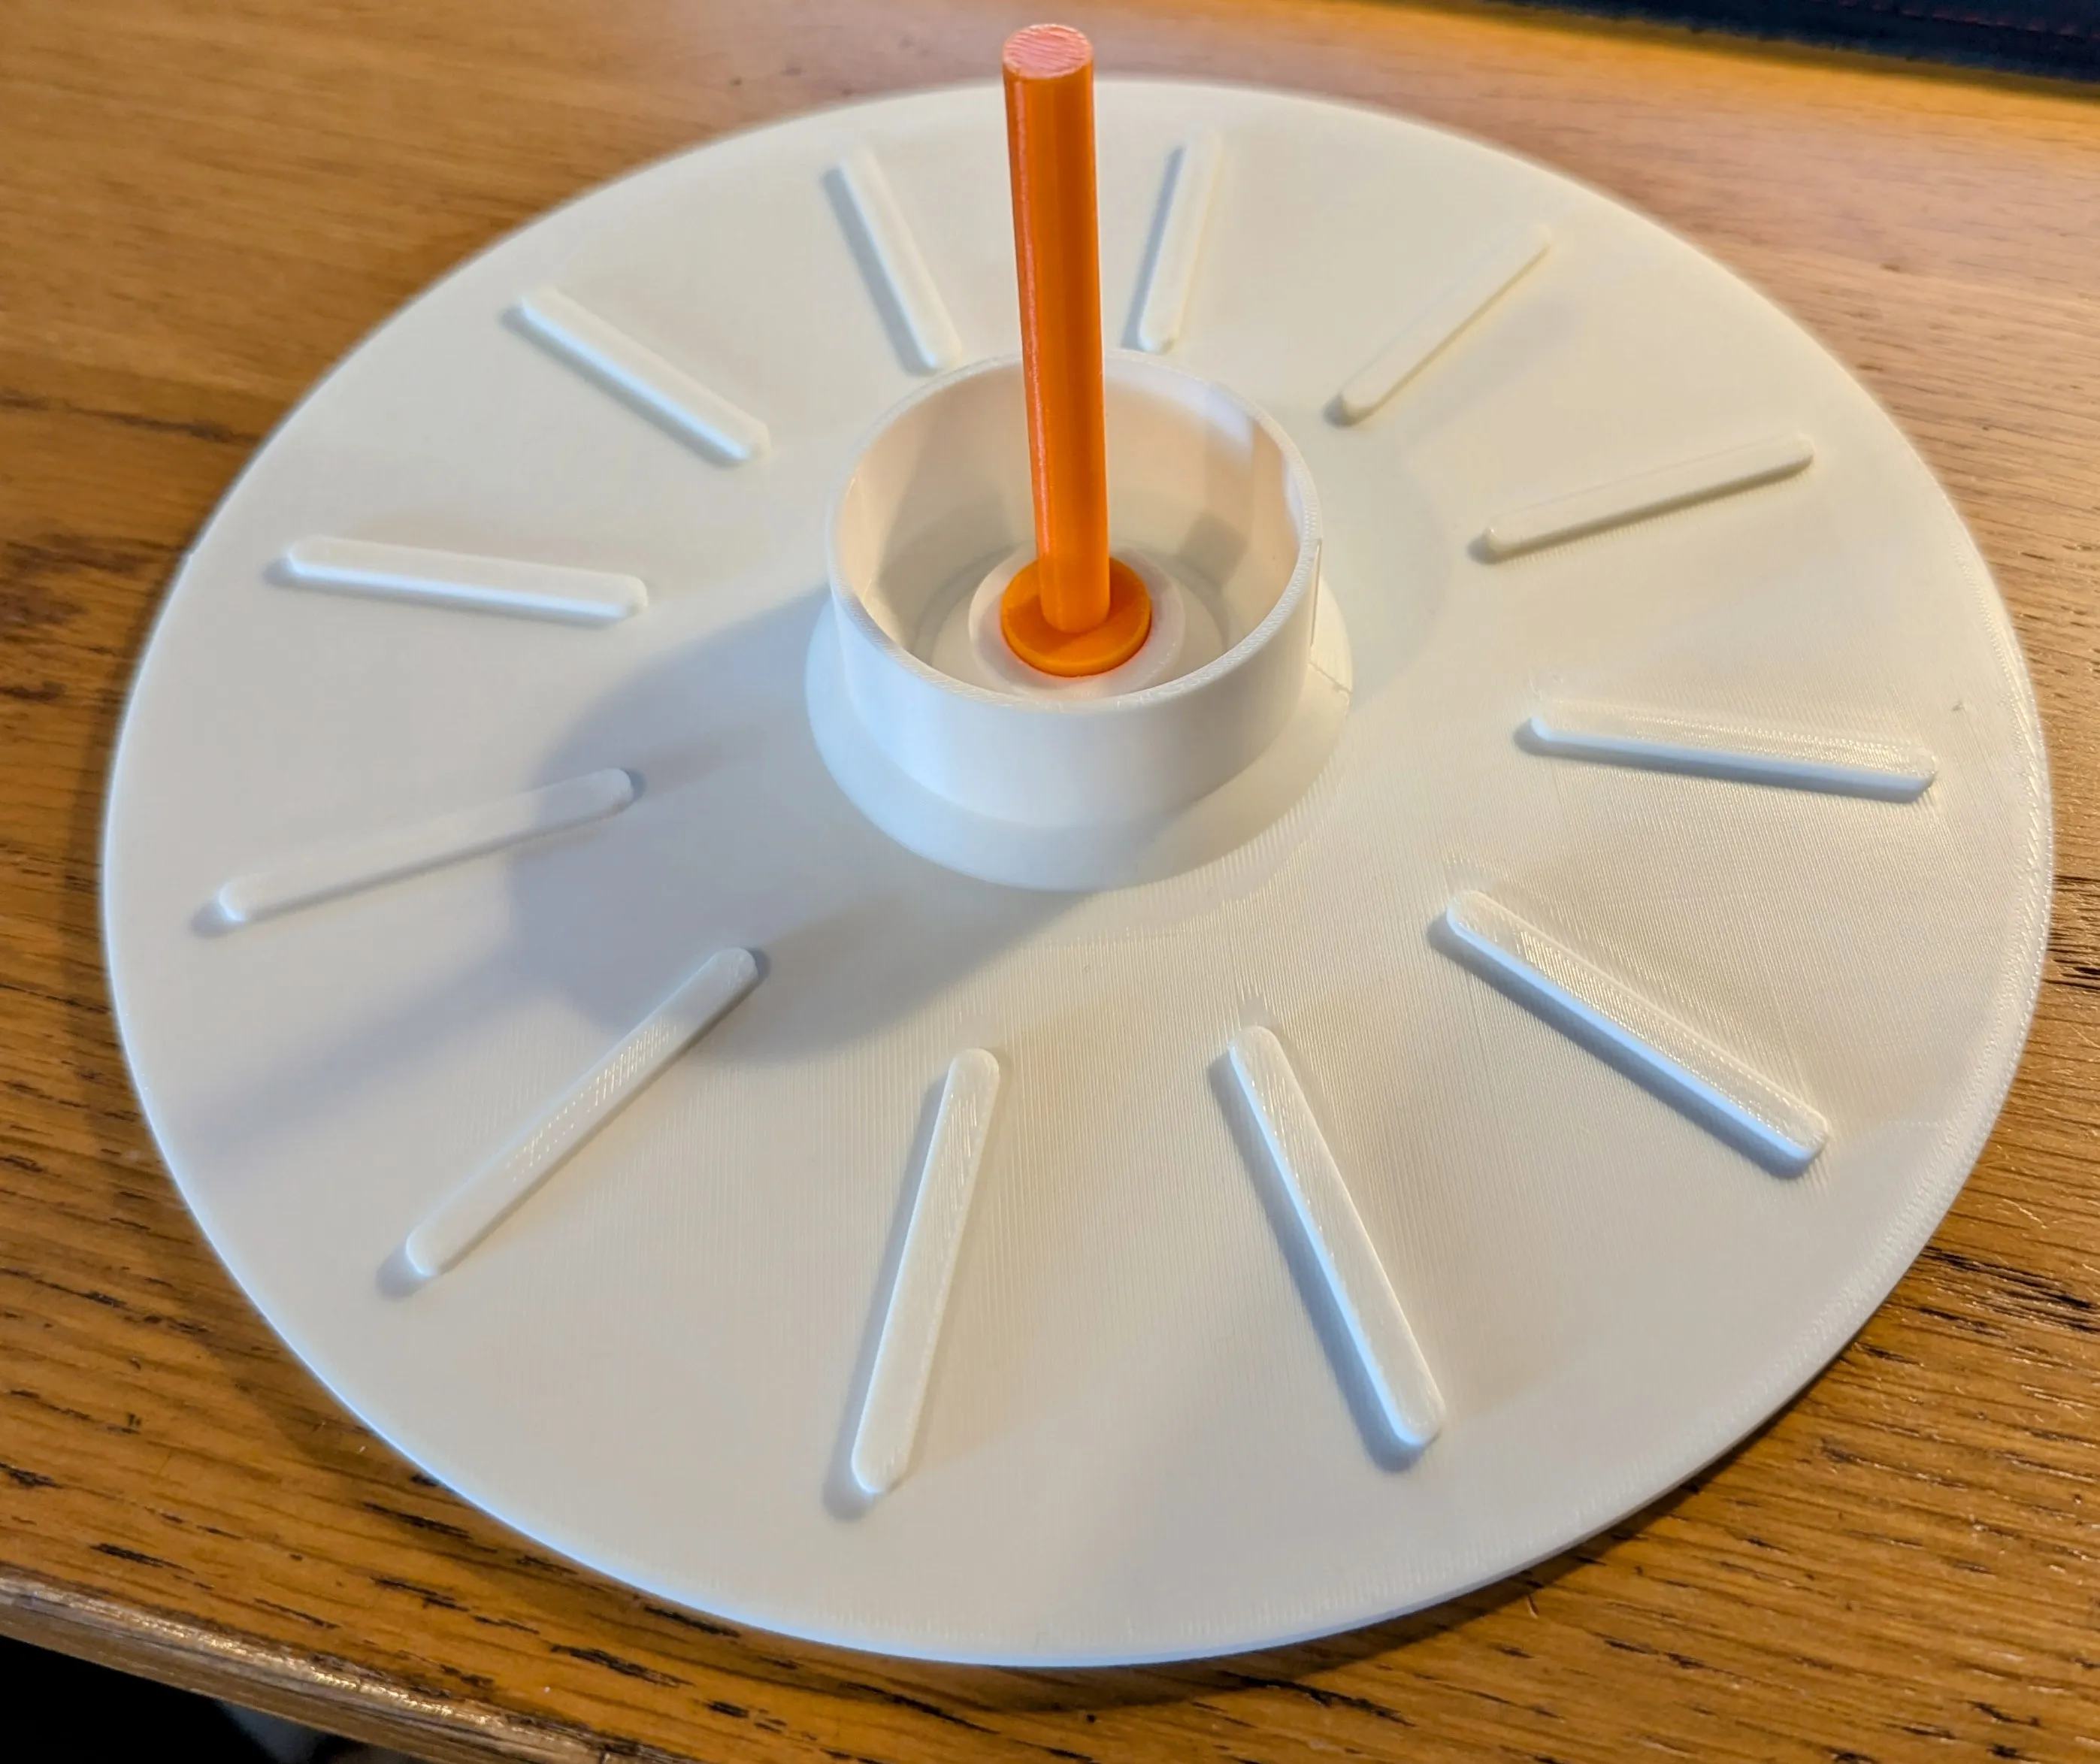
Once the glue has dried, push the bearing pin through the 2 bearings in the bearing holder
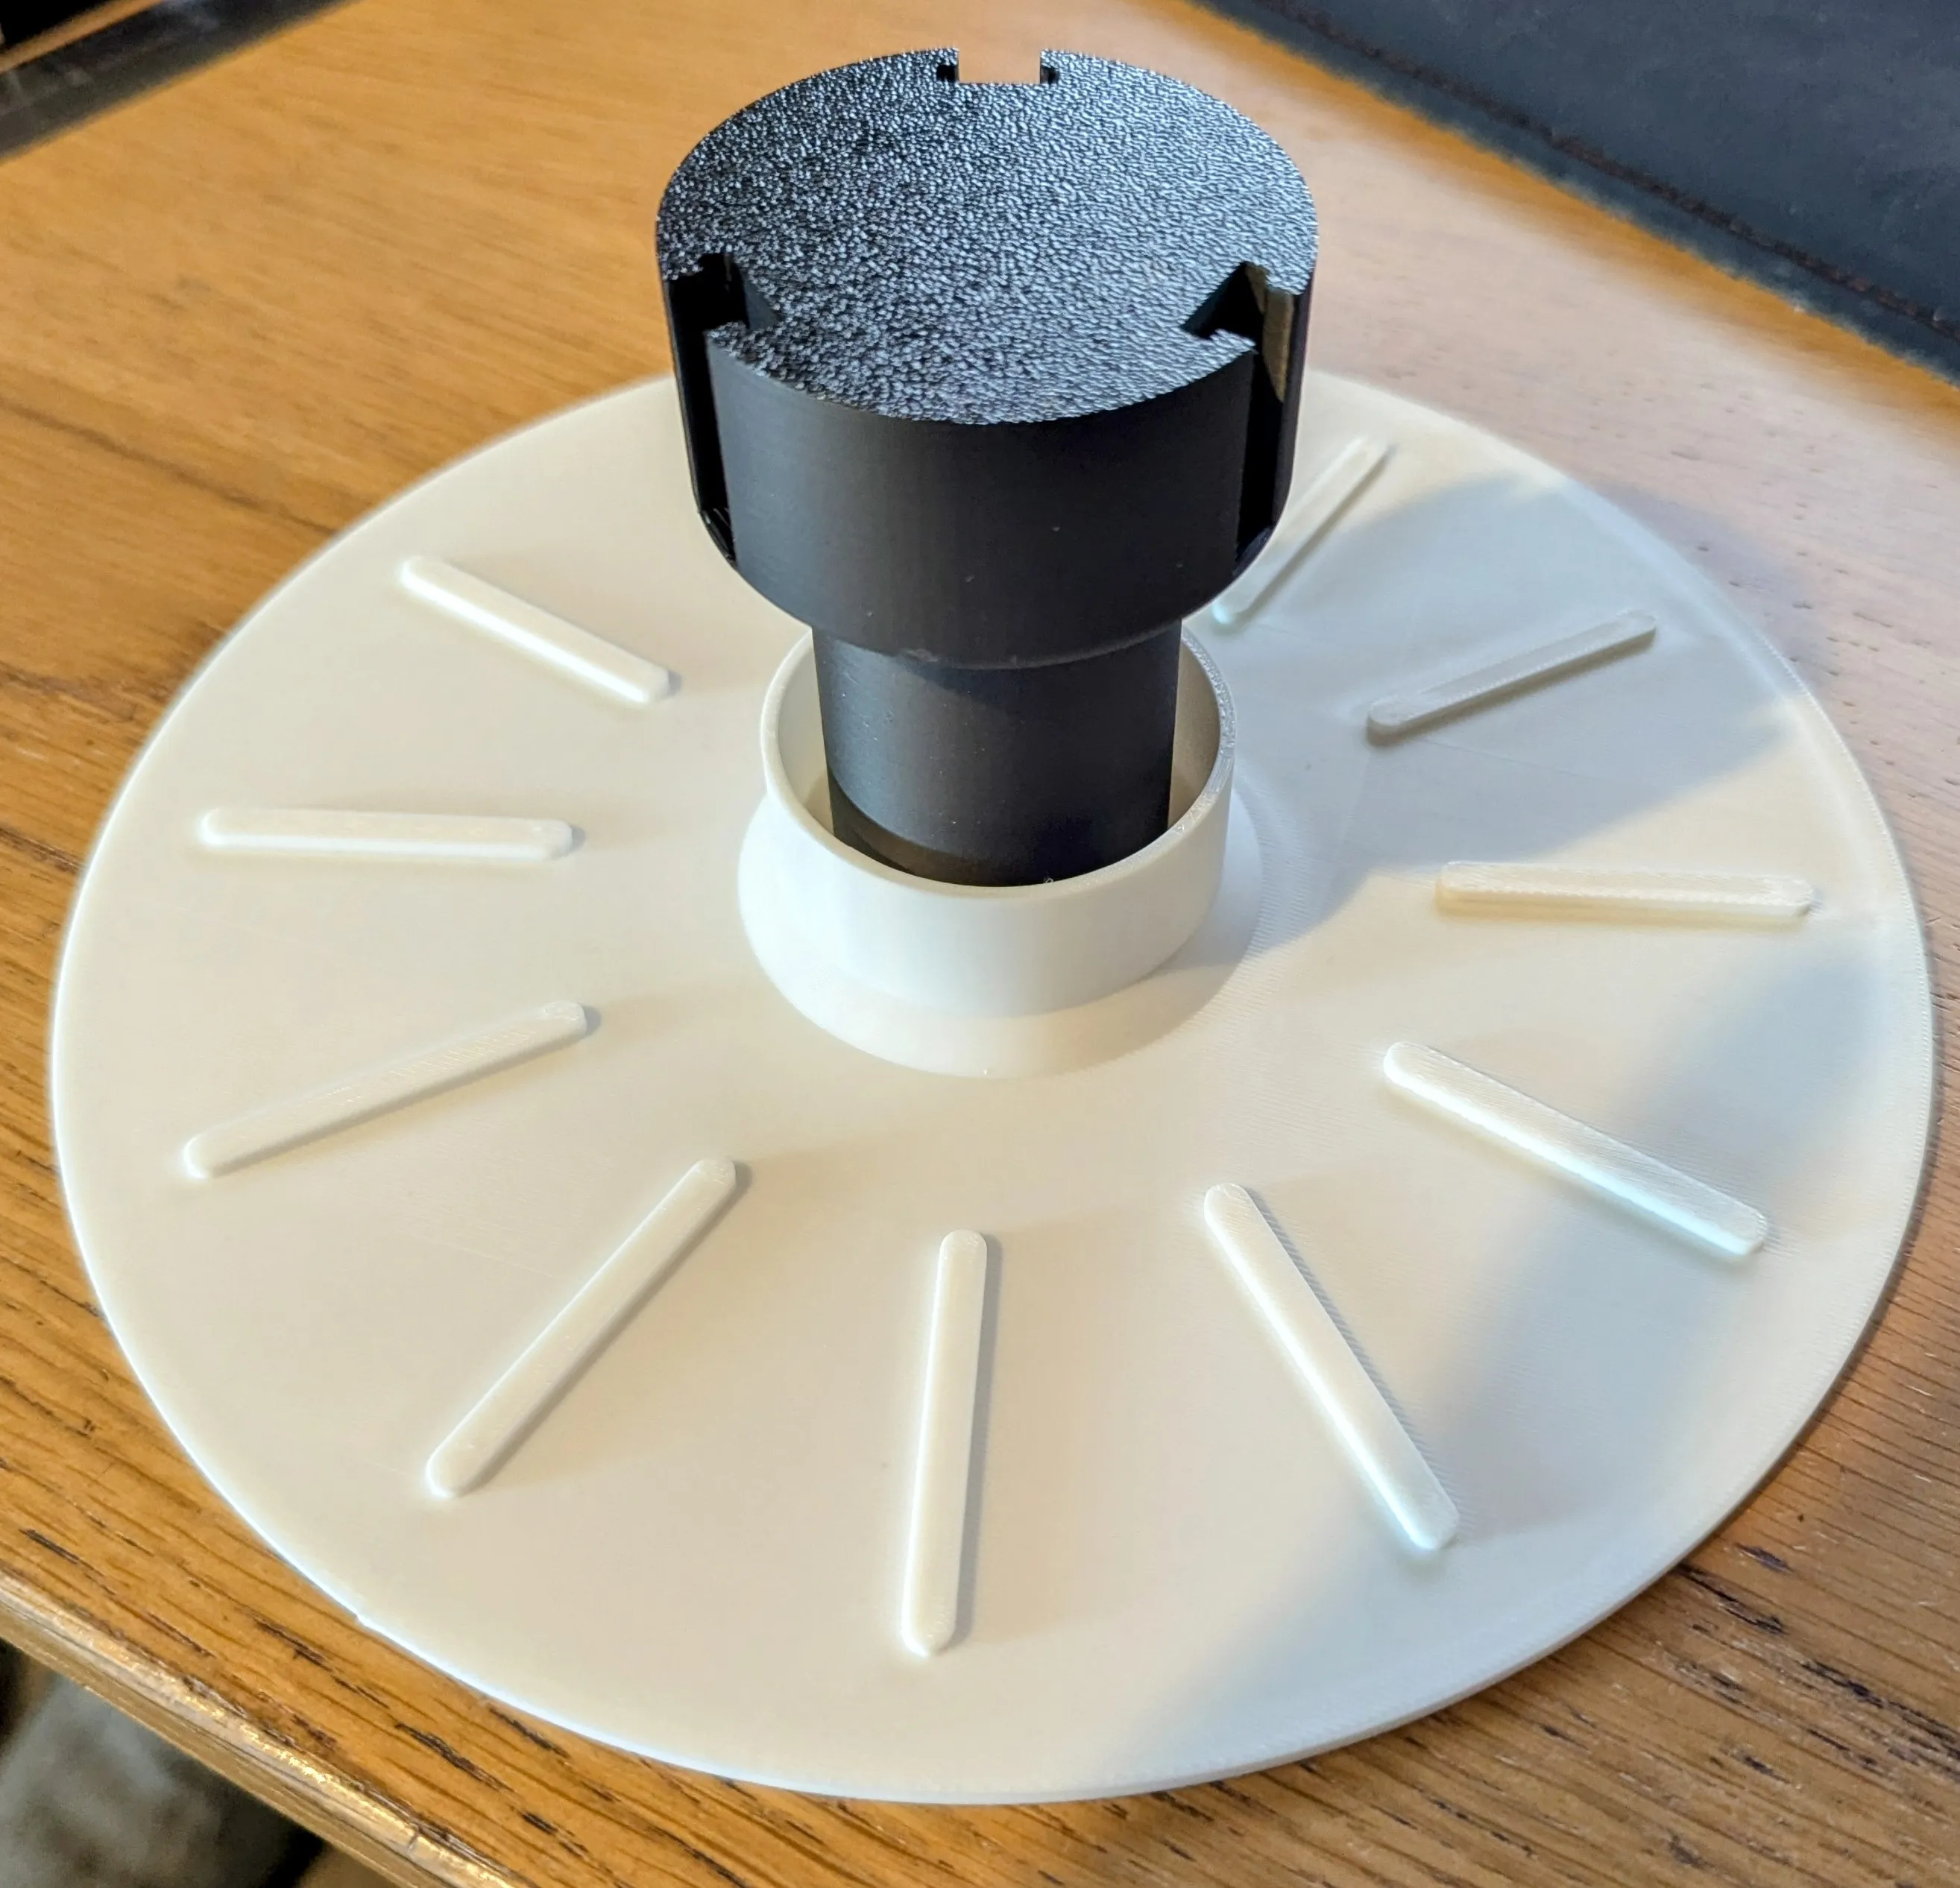
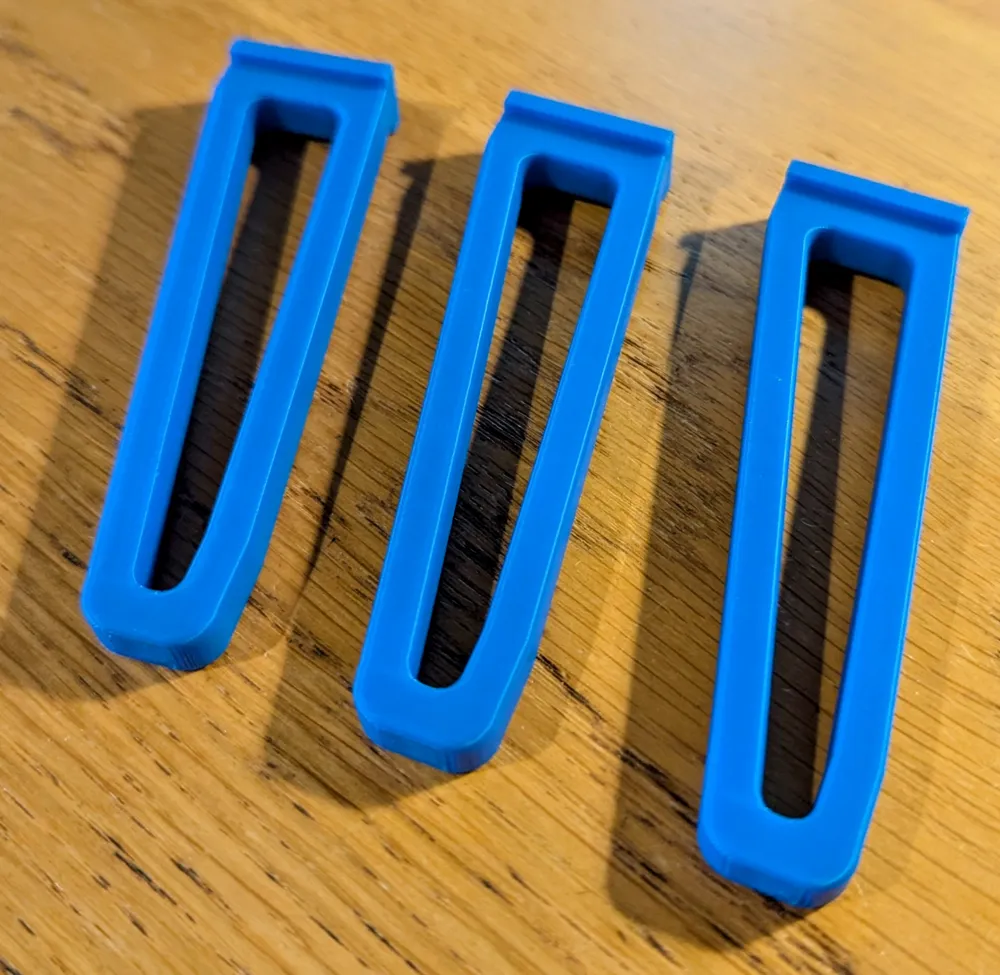
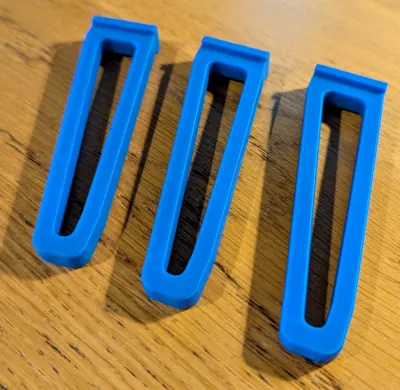
Then insert the legs into the slots. Depending on your printers tolerance they may or may not need glue. On an A1 they are a snug fit.
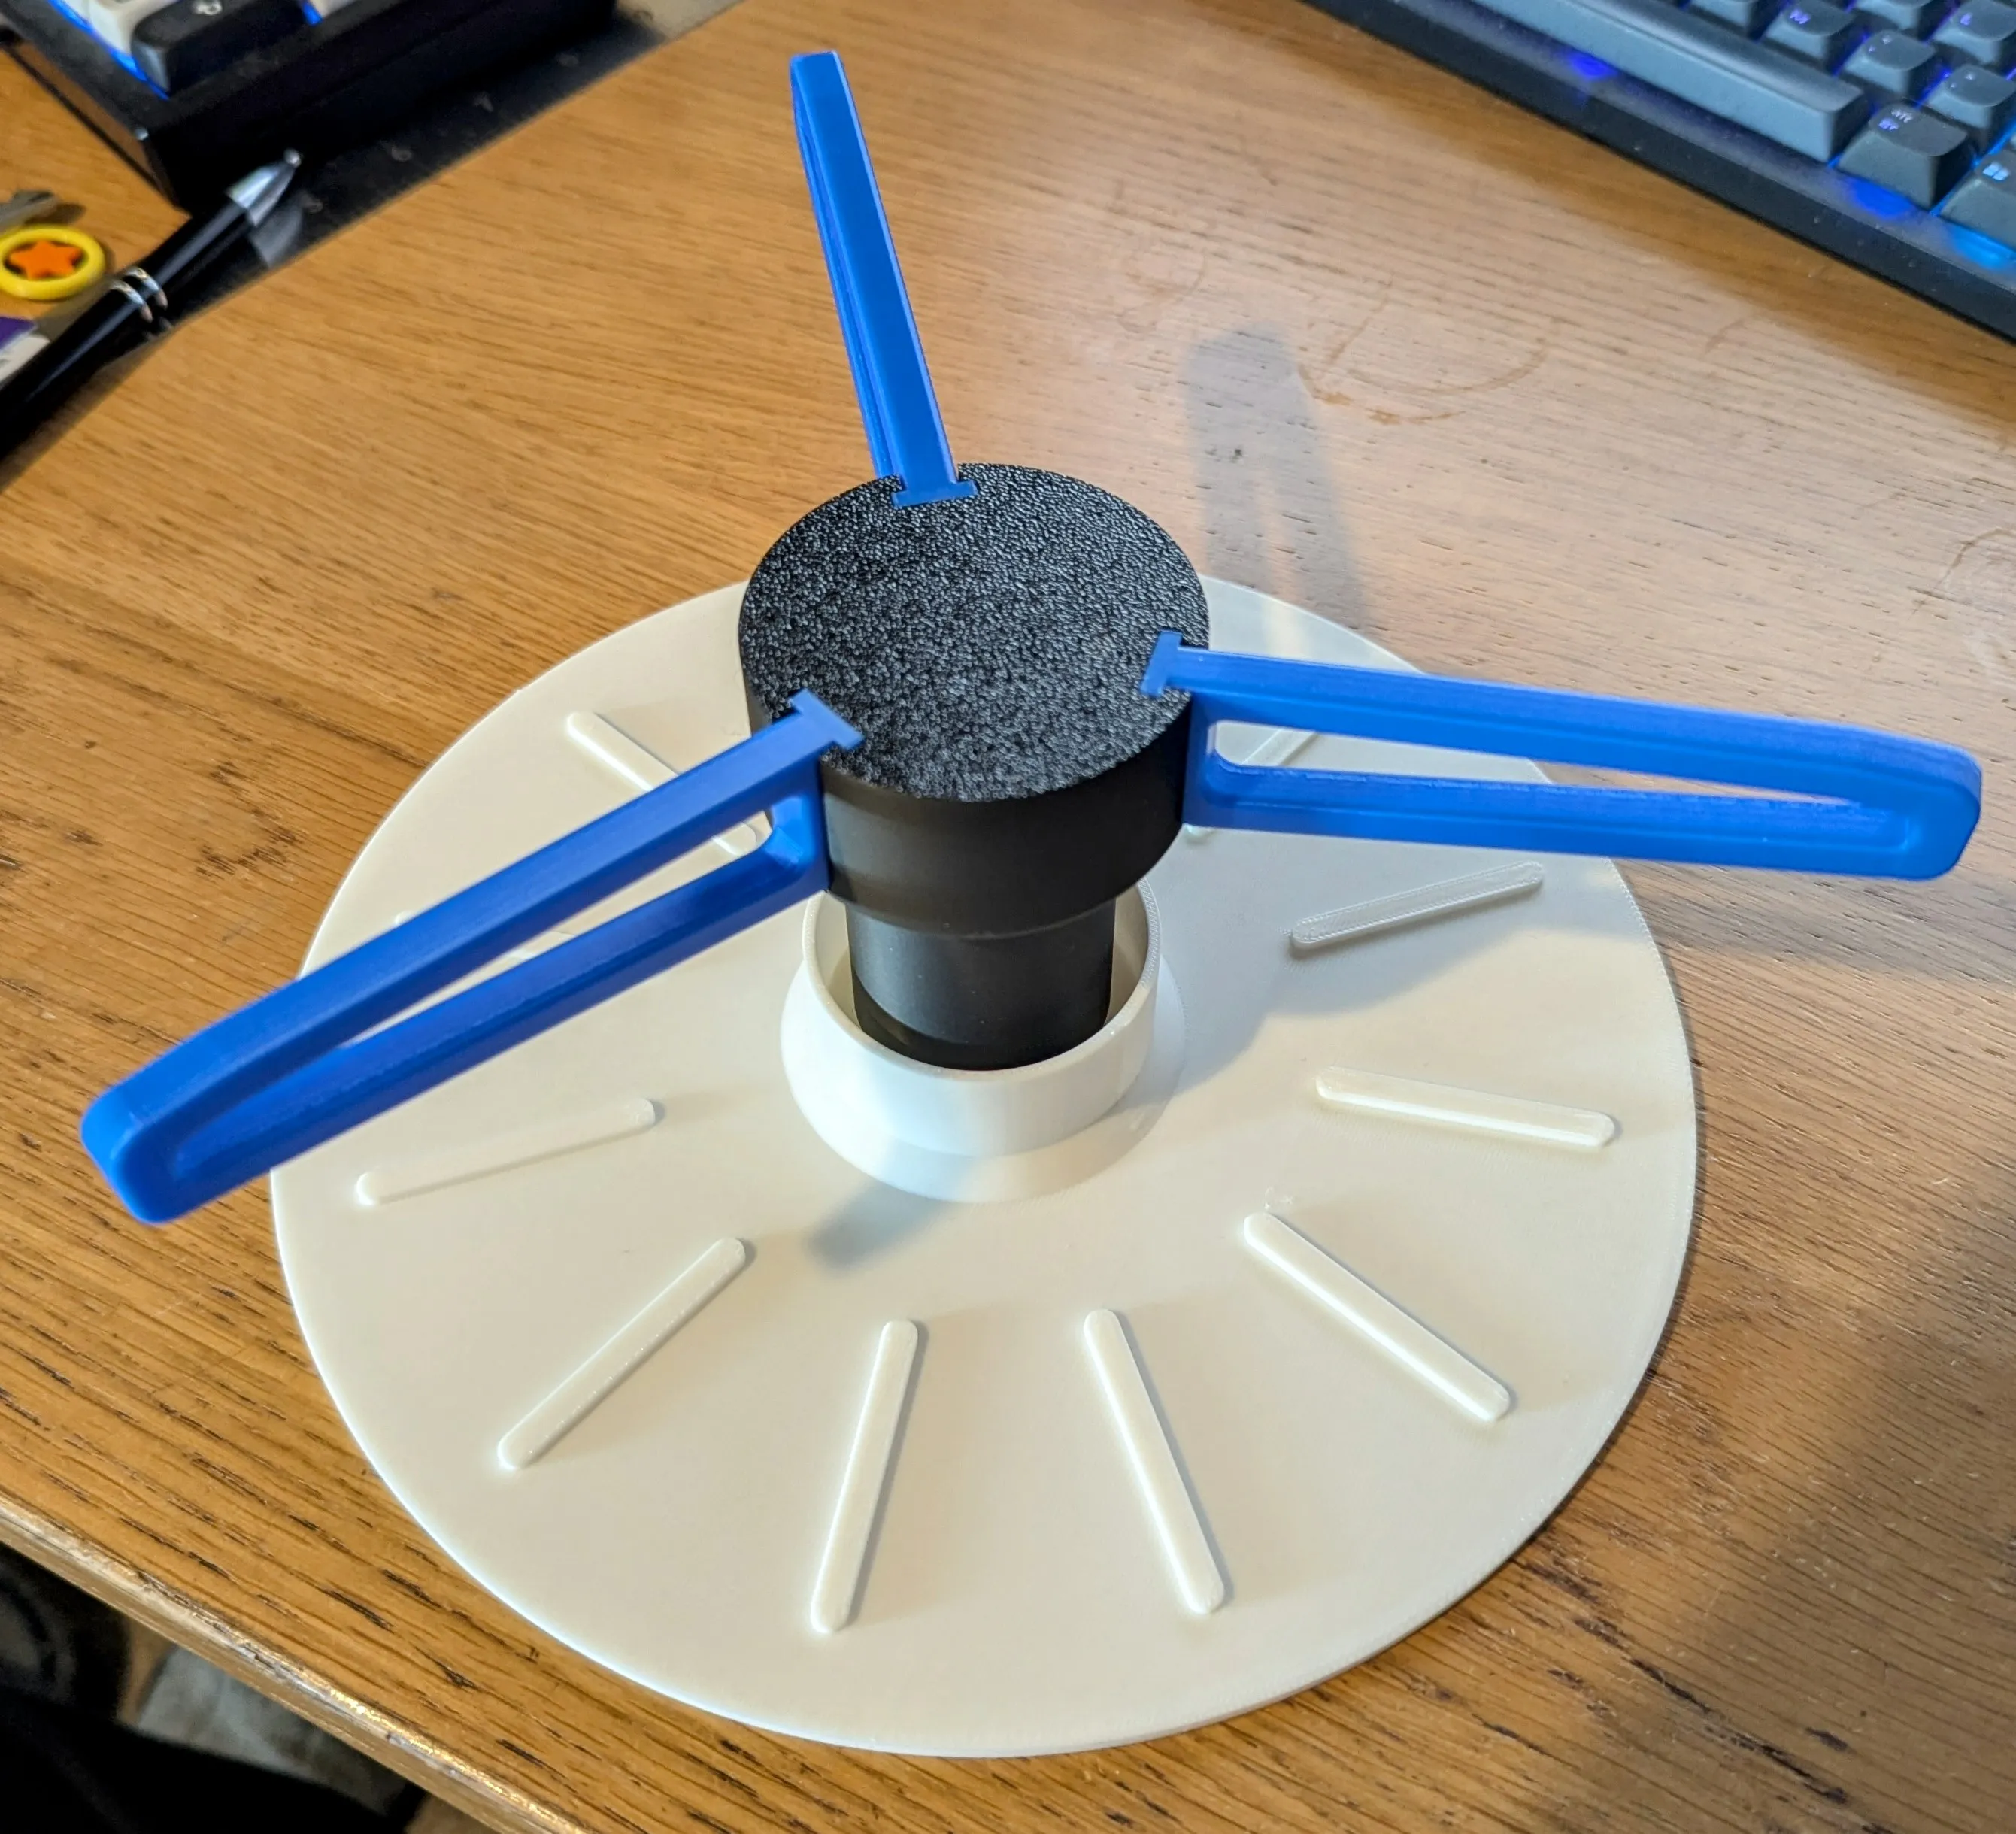
Turn the correct way up and enjoy your turntable.
License

You shall not share, sub-license, sell, rent, host, transfer, or distribute in any way the digital or 3D printed versions of this object, nor any other derivative work of this object in its digital or physical format (including - but not limited to - remixes of this object, and hosting on other digital platforms). The objects may not be used without permission in any way whatsoever in which you charge money, or collect fees.


Comment & Rating (183)