

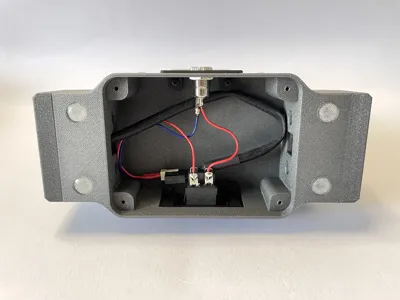
Print Profile(3)


Description
Overview:
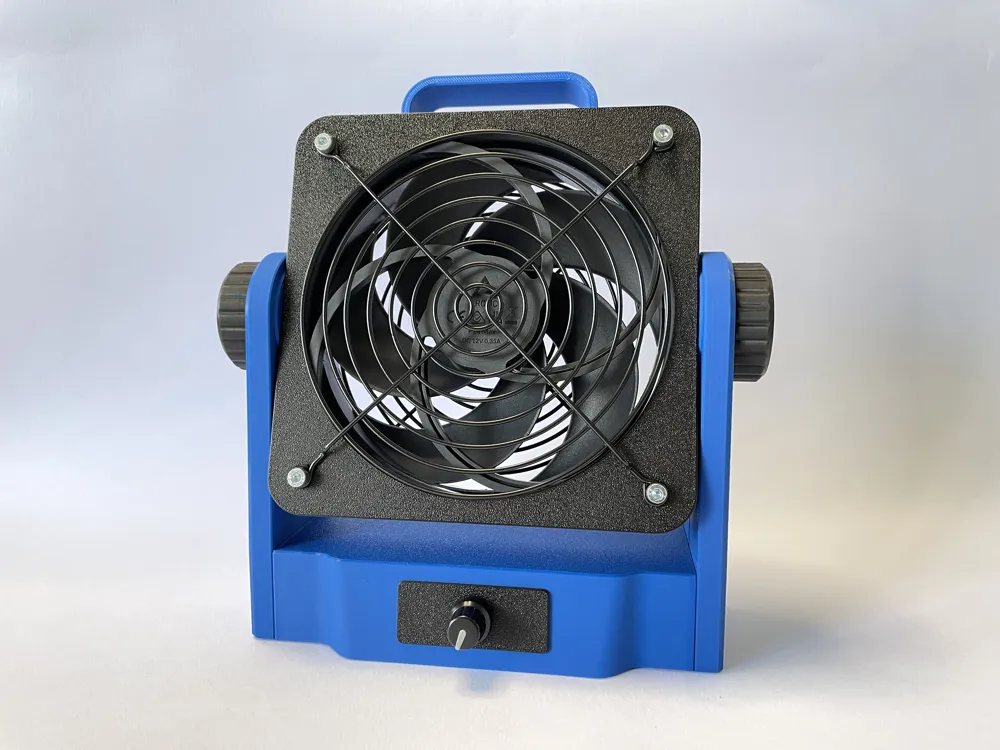
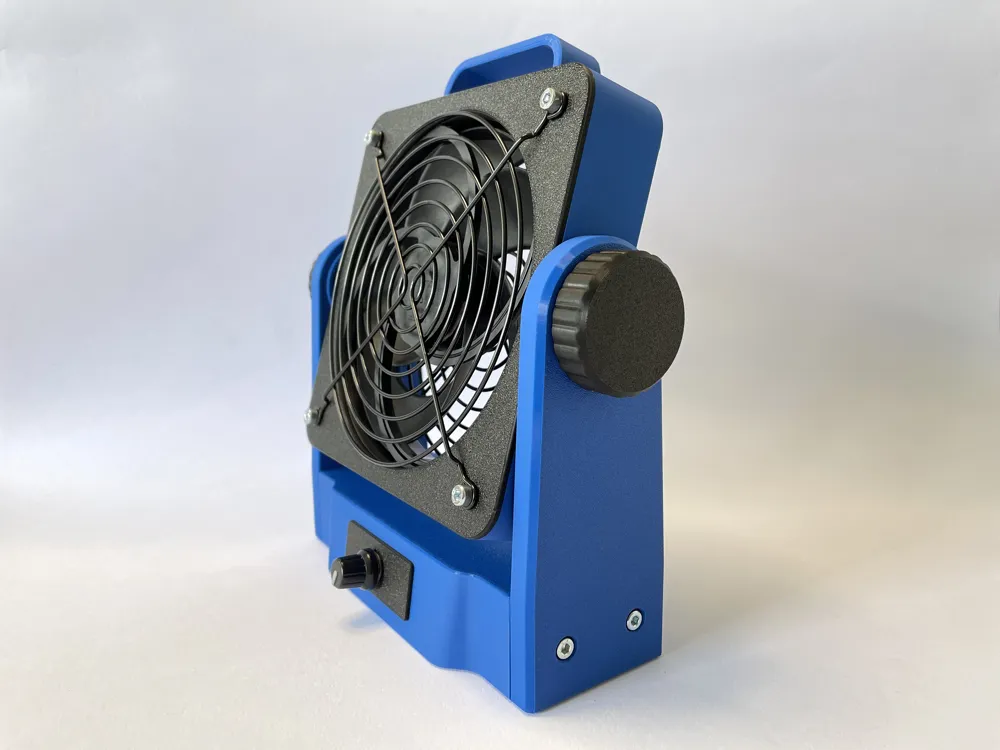
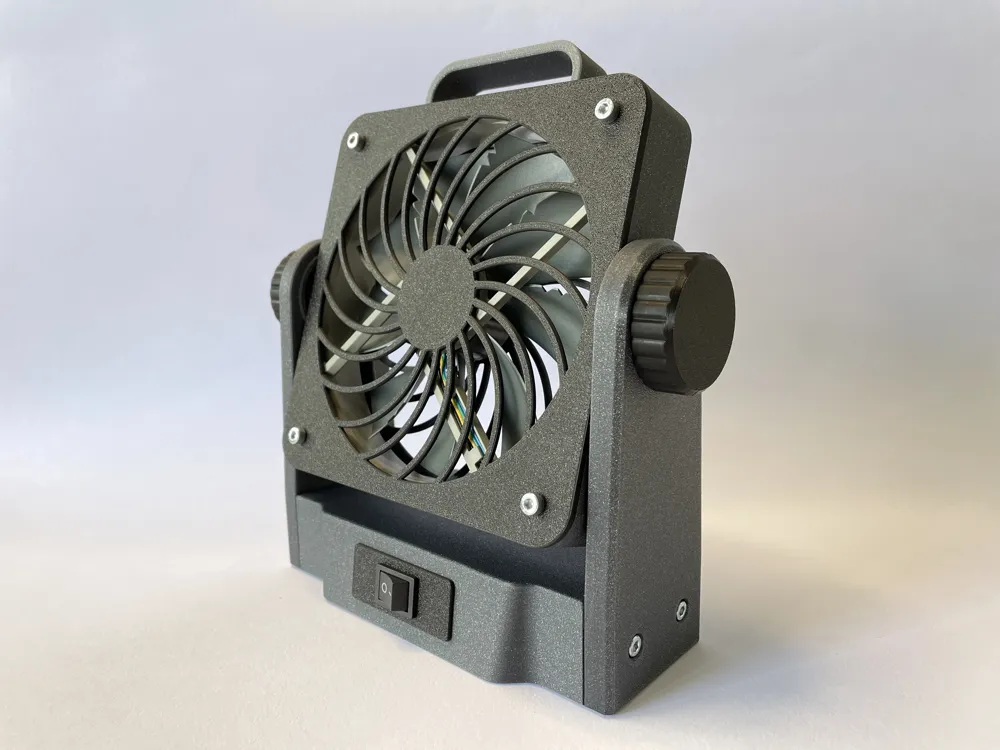
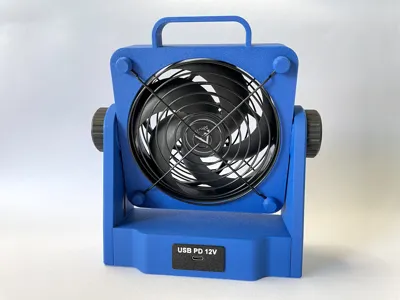
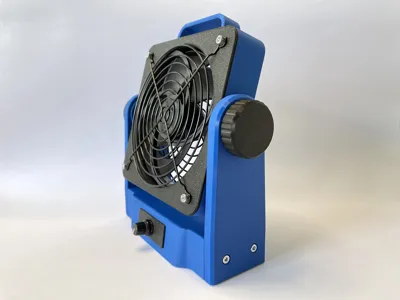
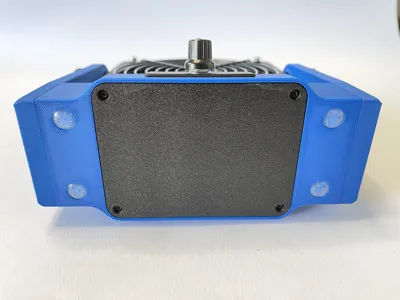
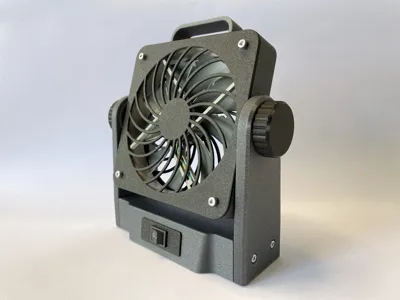
This is 3D-printed desk fan, designed to seamlessly blend functionality and style. Built around a powerful 140mm computer fan, this versatile device is perfect for keeping you cool in the office or for fume extraction during soldering and other tasks. It has customizable airflow options and modular components. Whether you need a gentle breeze or a more powerful cooling effect, this fan can be tailored to meet your needs, making it an ideal addition to any workspace.
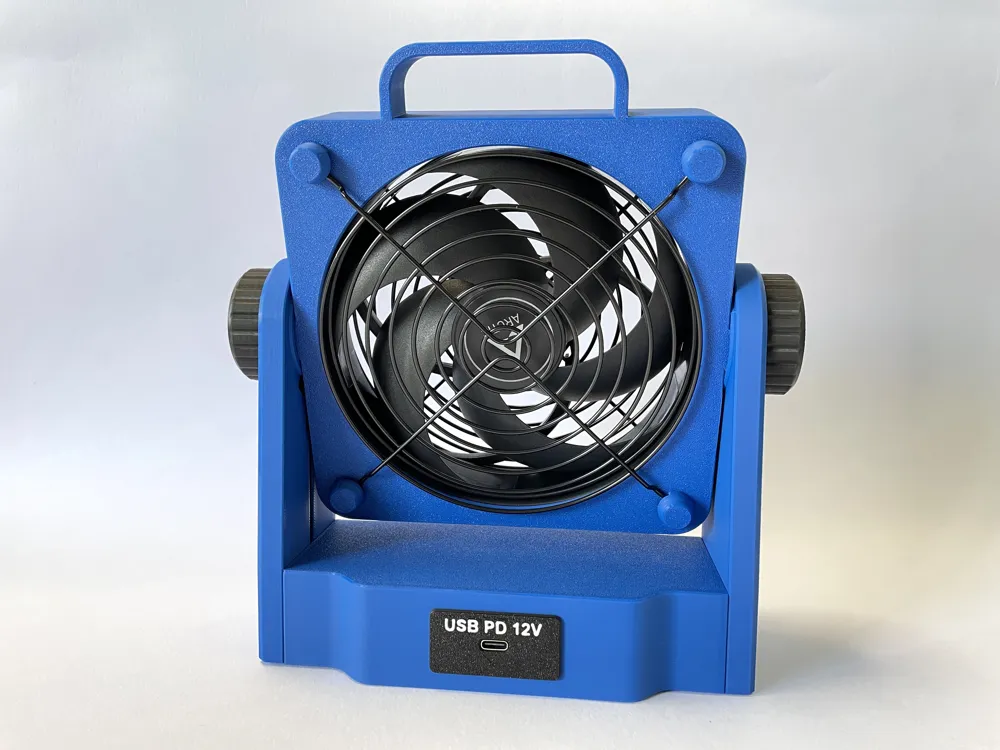
What sets this desk fan apart is its modular design, offering flexibility in both power and control options. You can choose between a simple on/off switch or a sophisticated speed controller to manage airflow precisely. The fan is compatible with various power sources, including a standard 12V adapter or a USB-C Power Delivery connection.
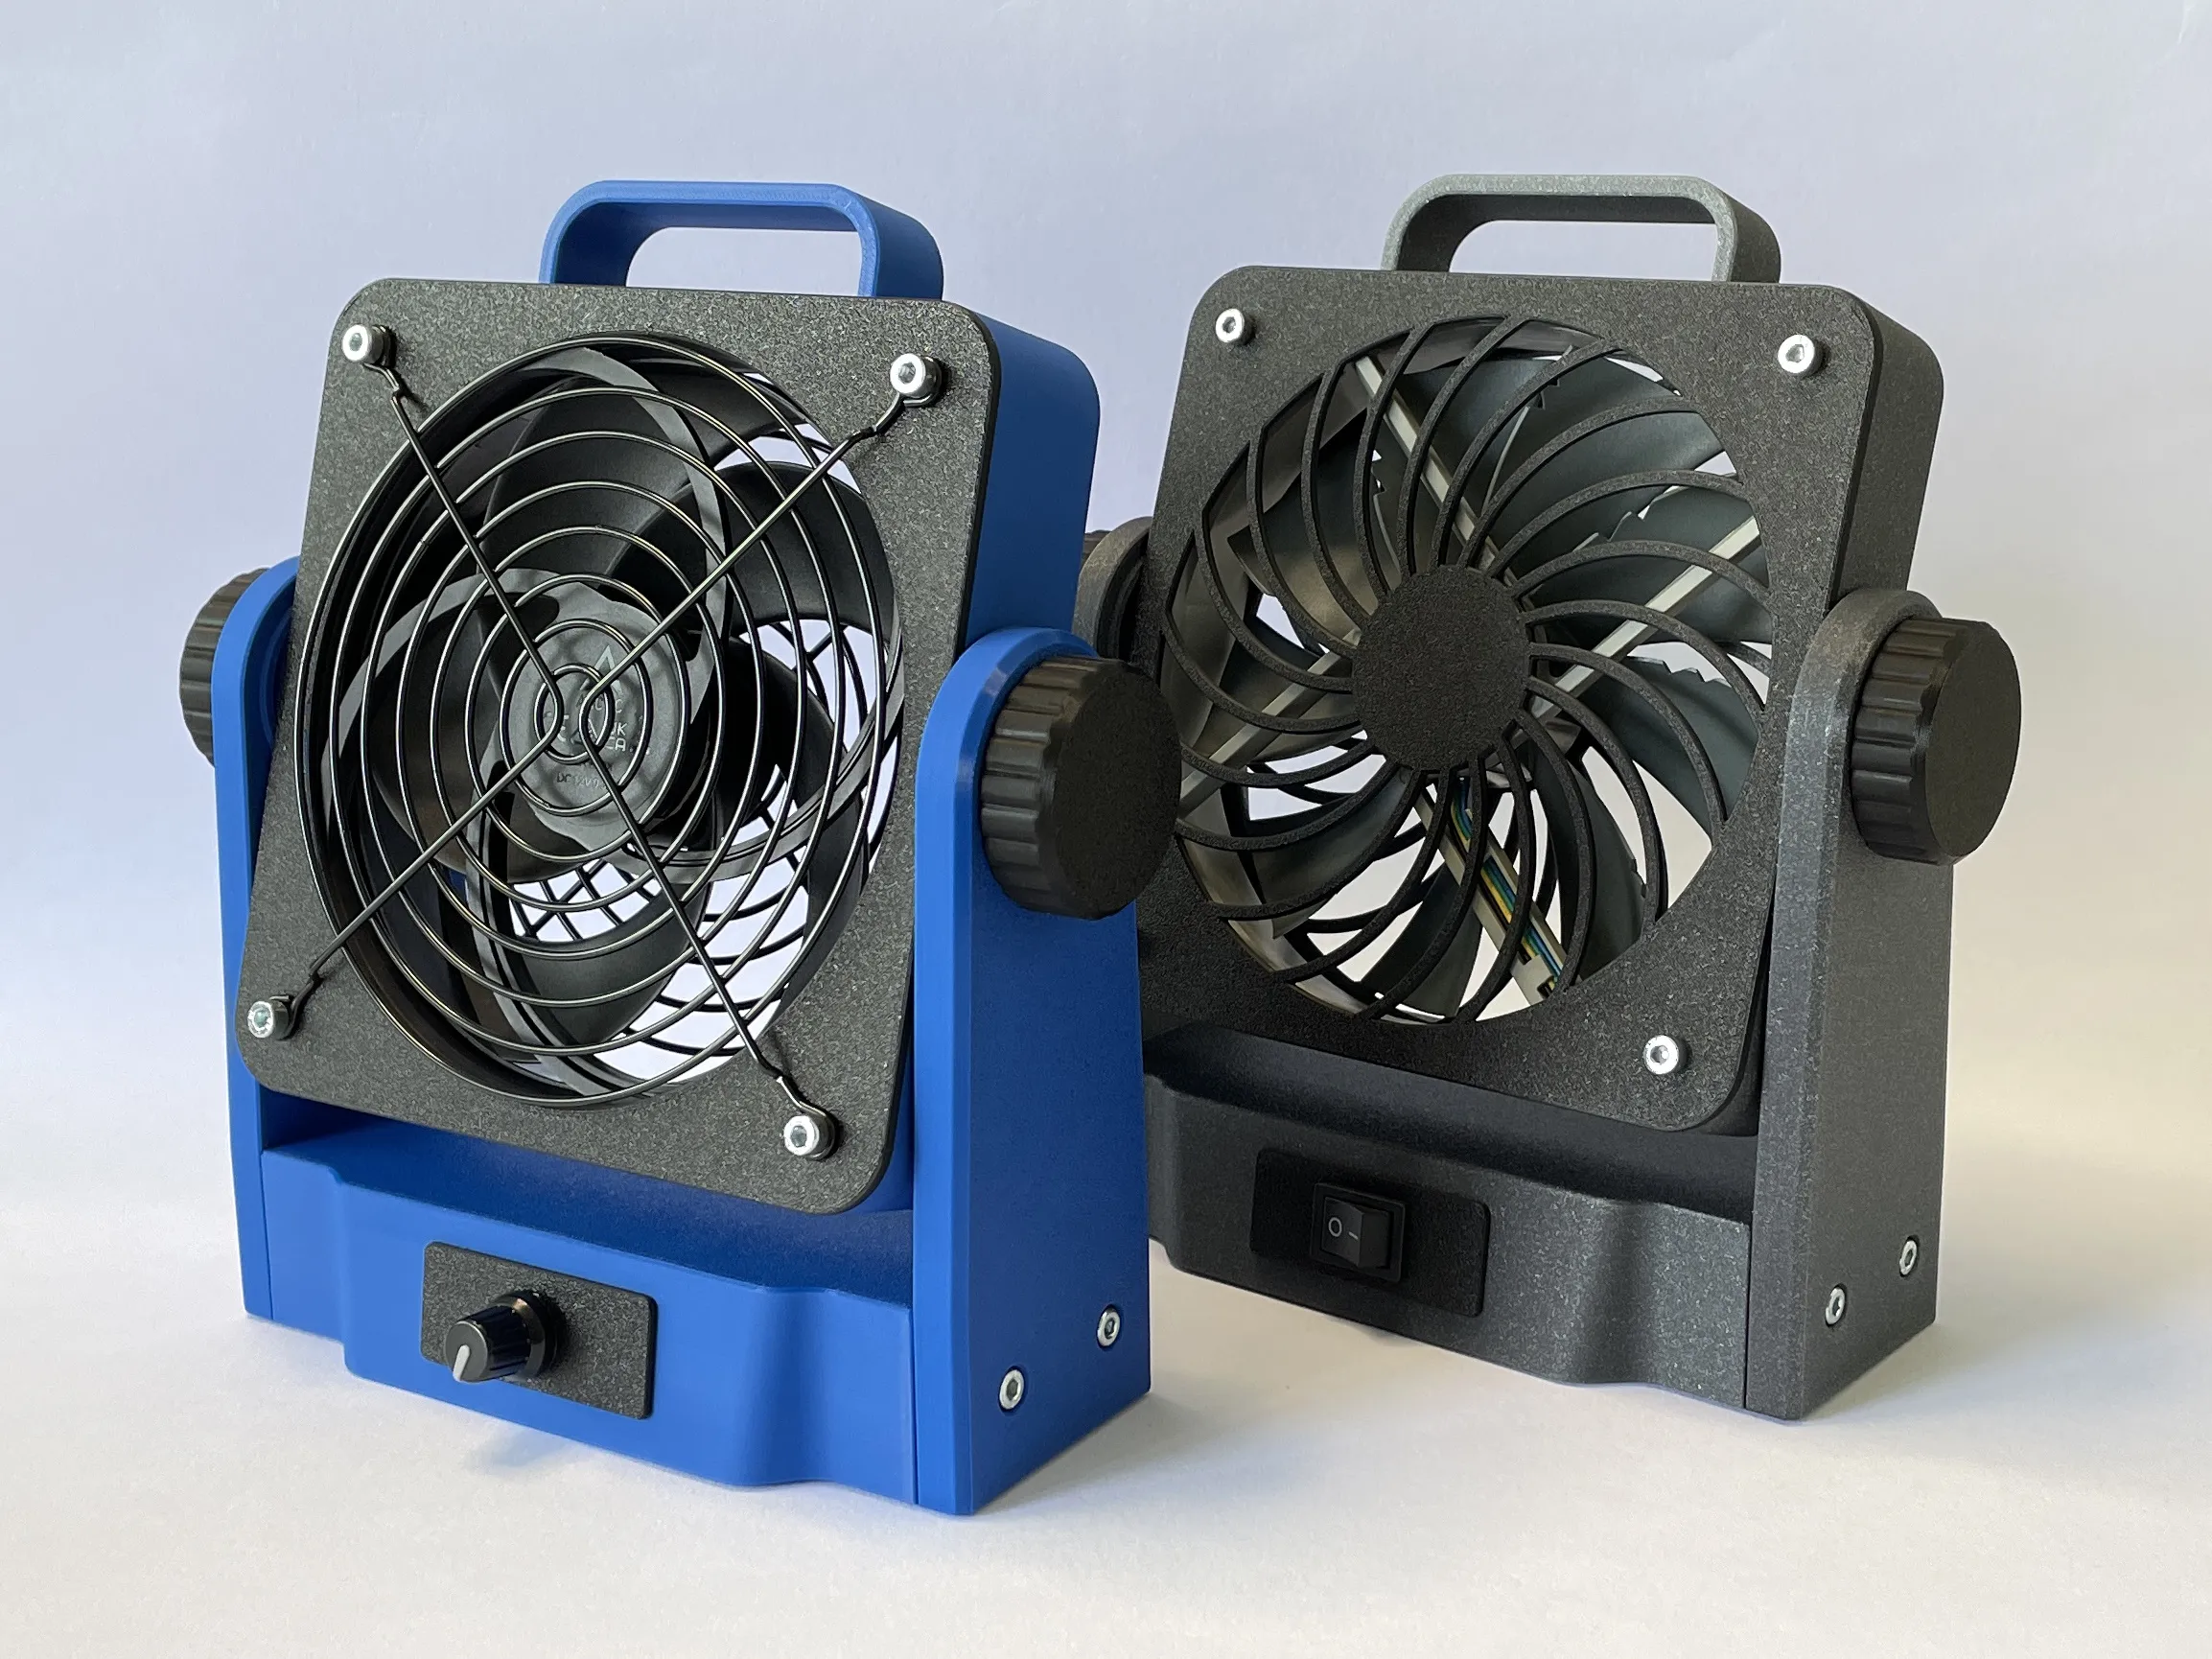
Bill of Material:
- Base
- Desk_Fan_140mm_Base
- Desk_Fan_140mm_Base_Cover
- 4x M4x30mm Allen Bolt
- 4x M4 Nut
- 4x M2.6x6mm self-tapping screw
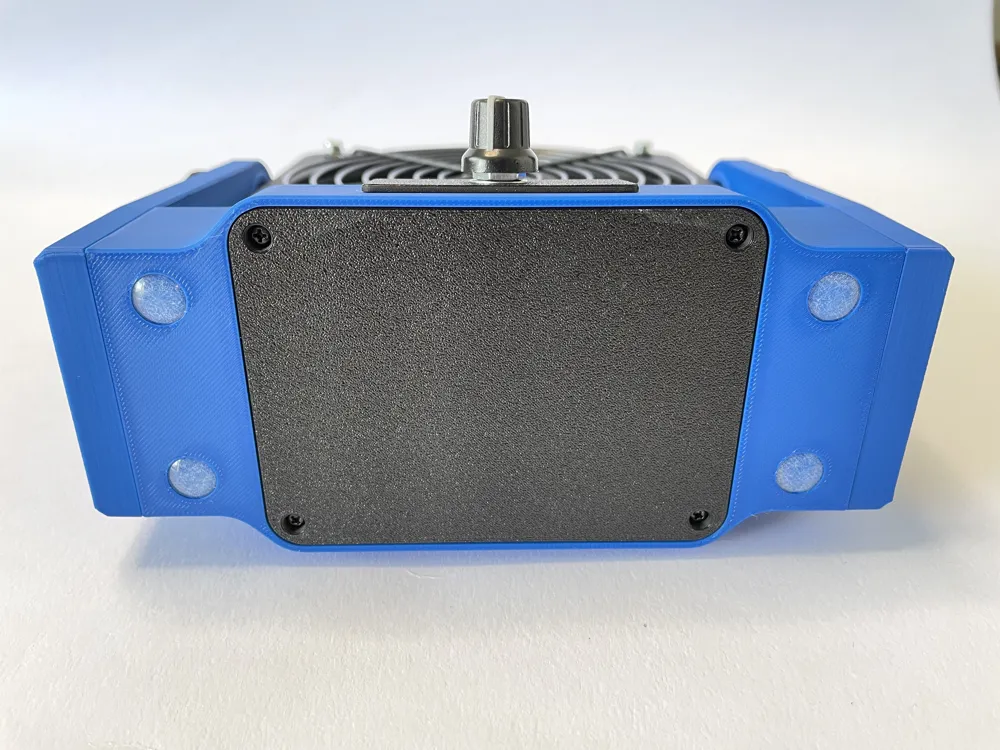
- 4x Rubber Feet 10mm diameter
- Fan Holder
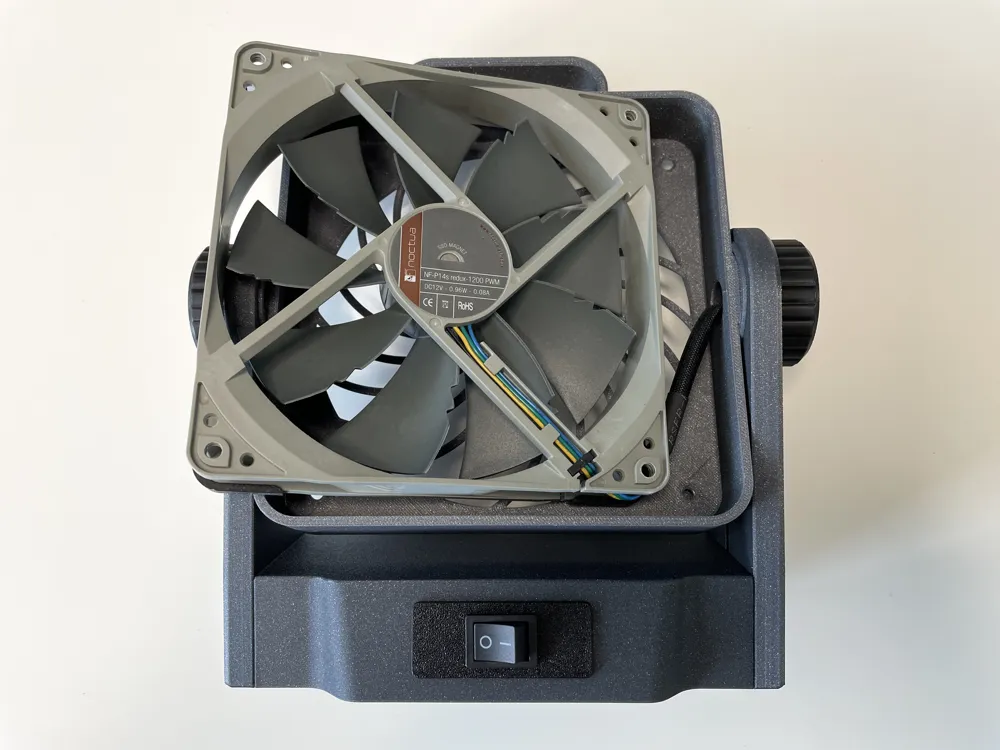
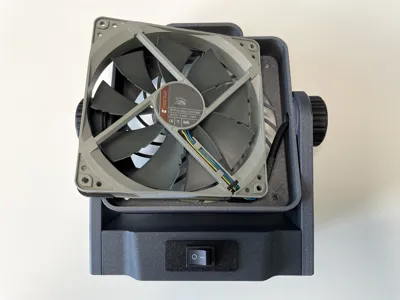
- Option 1: Cooling Fan 140x25mm
- Desk_Fan_140x25mm_Fan_Holder_Part1 or Desk_Fan_140x25mm_Fan_Holder_No_Grill_Part1
- Desk_Fan_140x25mm_Fan_Holder_Part2 or Desk_Fan_140x25mm_Fan_Holder_No_Grill_Part2
- Fan i.e. Noctua NF-P14s, Noctua NF-A14, …
- 4x M4x35mm Allen Bolt (M4x40mm if you use the metal grill)
- Option 2: Cooling Fan 140x27mm
- Desk_Fan_140x27mm_Fan_Holder_No_Grill_Part1 or Desk_Fan_140x27mm_Fan_Holder_No_Grill_Part2
- Fan i.e. ARCTIC P14 Max, …
- 4x M4x40mm Allen Bolt
- 4x M4 Nut
- 4x Desk_Fan_Nut_Cover or Desk_Fan_Nut_Cover_Grill
- (Optional) 2x Metal Grill 140mm
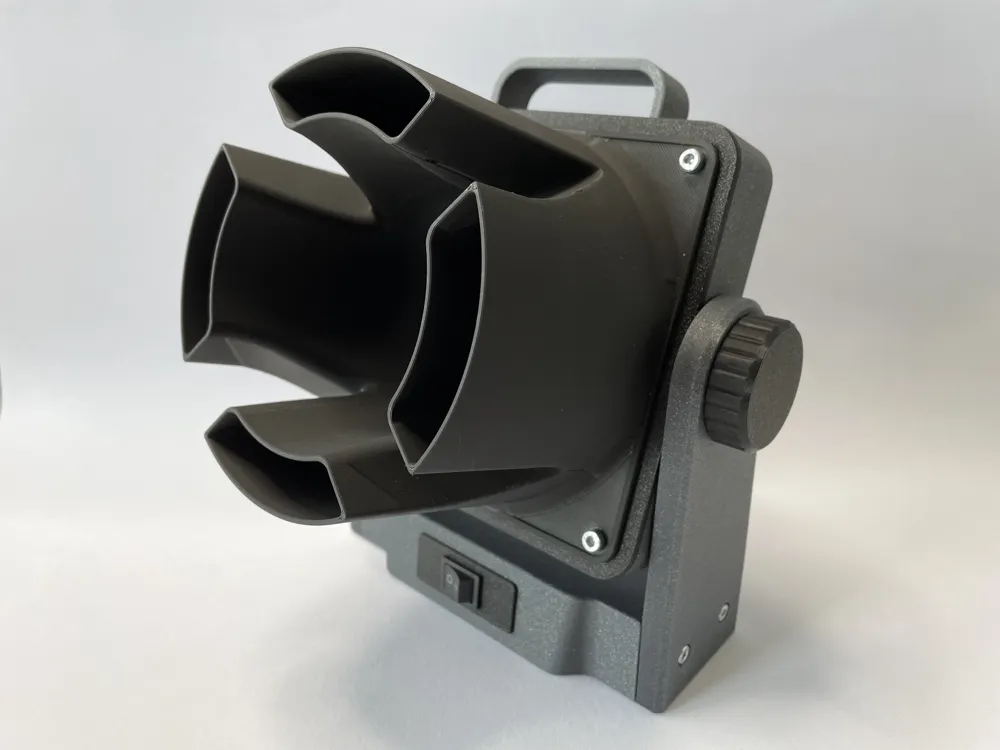
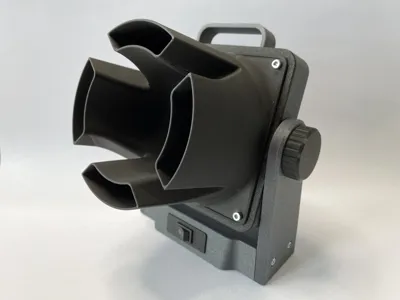
- (Optional) Airflow amplifier
- Option 1: Cooling Fan 140x25mm
- Side
- Desk_Fan_140mm_Side_Part1
- Desk_Fan_140mm_Side_Part2
- 2x Desk_Fan_Nut
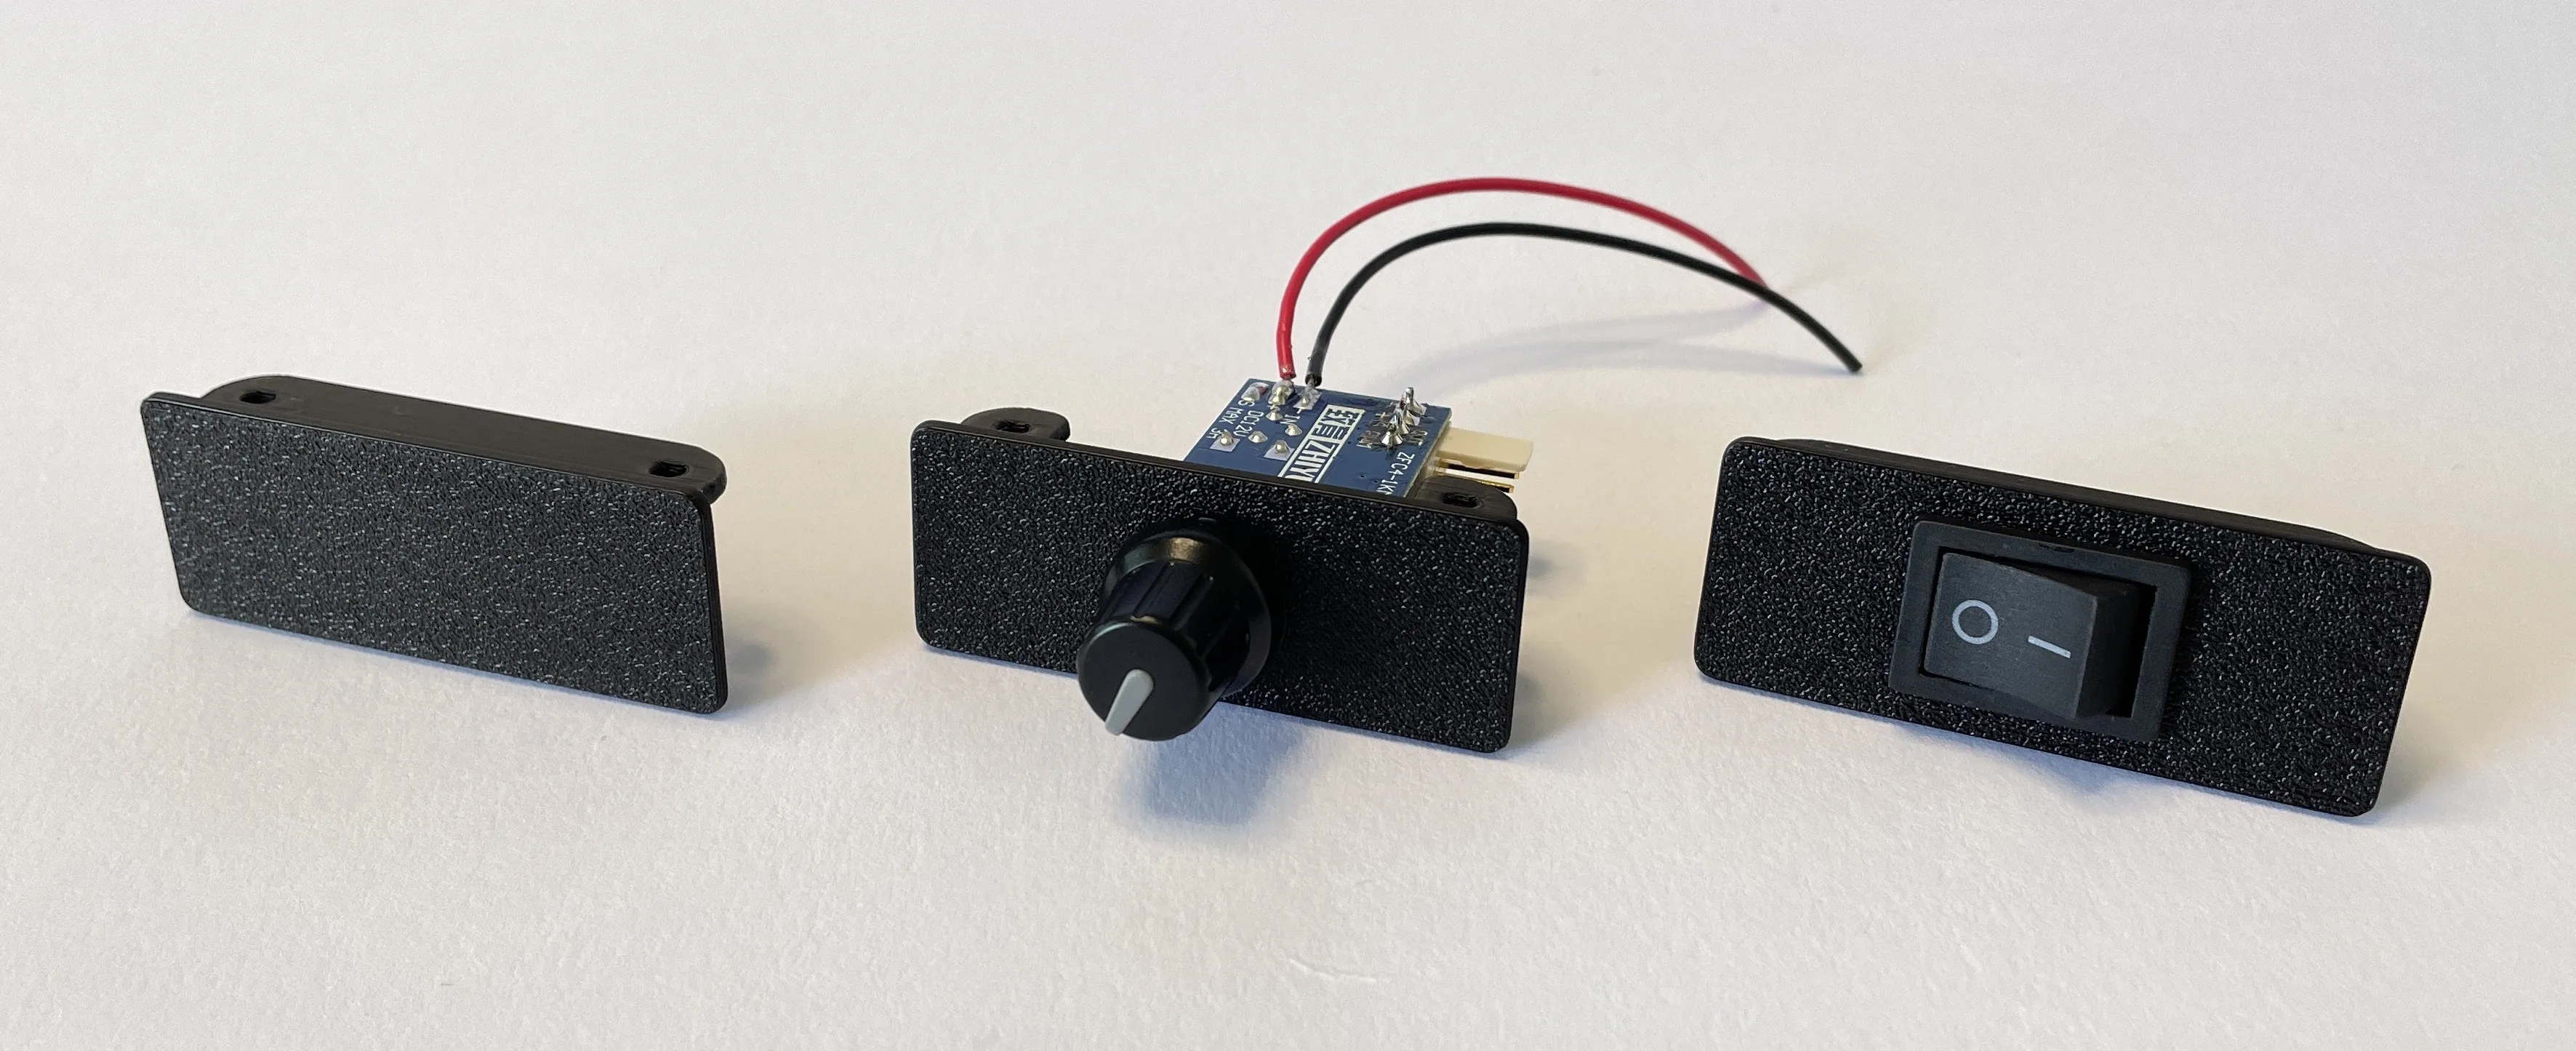
- Front panel
- Option 1: Blank
- Desk_Fan_Front_Module_Blank
- 2x M2.6x6mm self-tapping screw
- Option 2: Rocker Switch
- Desk_Fan_Front_Module_Switch
- Rocker switch 21x15mm
- 2x M2.6x6mm self-tapping screw
- Option 3: PWM signal generator
- Desk_Fan_Front_Module_PWM
- PWM Fan Speed Motor Controller
- 2x M2.6x6mm self-tapping screw
- Option 4: PWM driver
- Comming soon
- Option 1: Blank
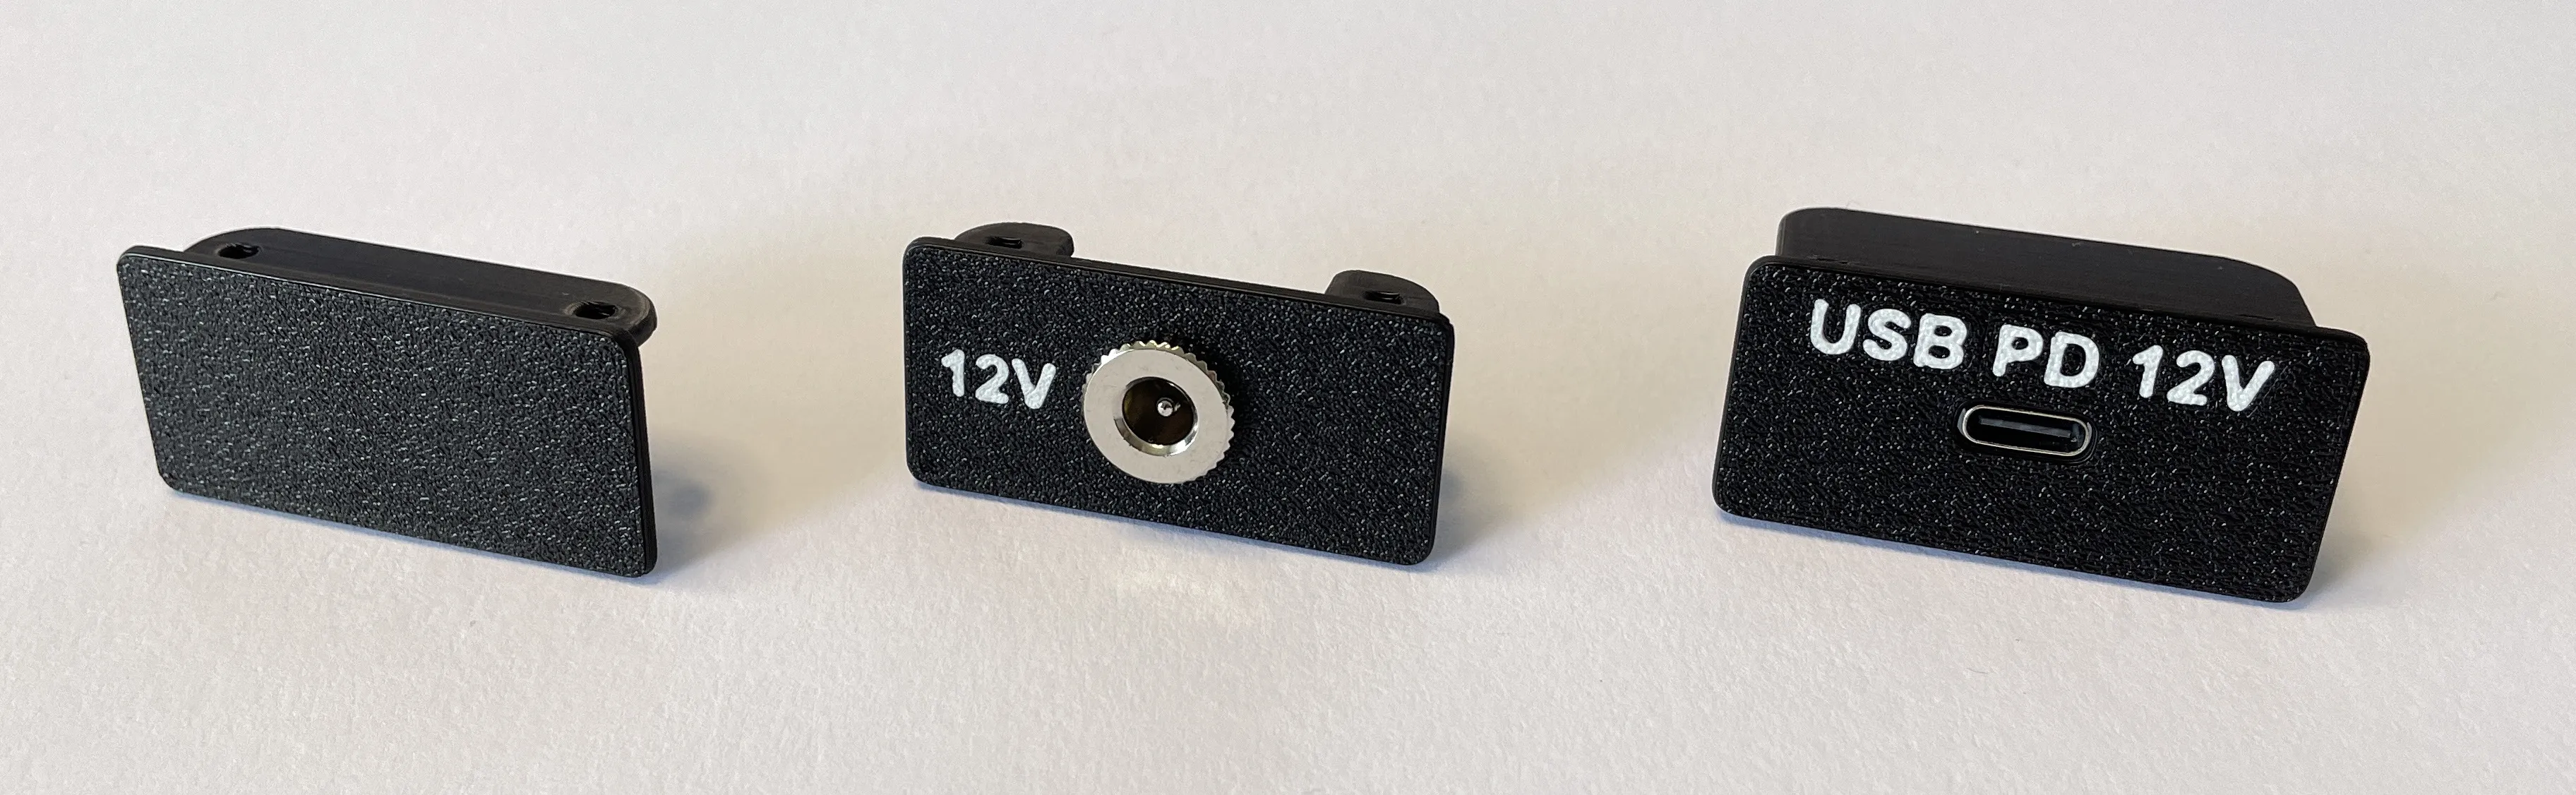
- Rear panel
- Option 1: Blank
- Desk_Fan_Back_Module_Blank
- 2x M2.6x6mm self-tapping screw
- Option 2: DC Jack
- Desk_Fan_Back_Module_DC_Jack_11mm
- DC connector 5.5x2.1mm (Type D)
- 2x M2.6x6mm self-tapping screw
- Option 3: USB-C Power Delivery (12V)
- Desk_Fan_Back_Module_USB_PD
- USB-C Power Delivery Trigger module 12V
- 4x M2.6x6mm self-tapping screw
- Option 4: USB-C connector (5V)
- Comming soon
- Option 1: Blank
Assembly Instruction:
- Print all the required parts.
- Clean the parts and drill any closed holes.
- Insert the computer fan into the fan holder. There is a small clearance in the holder to accommodate the fan with rubber dampers. If needed, you can use small spacers to fill in the clearance.
- Run the fan cable through the side hole and downwards.
- Cover the fan holder. Optionally, add the metal grill(s) or a flow amplifier, and secure everything together using four M4 screws and nuts.
- Press the nut covers onto the nuts.
- Attach the side plates to both sides. Place the wire into the groove and slightly tighten the plates with the large plastic nuts.
- Insert four M4 nuts into the hexagon holes in the base.
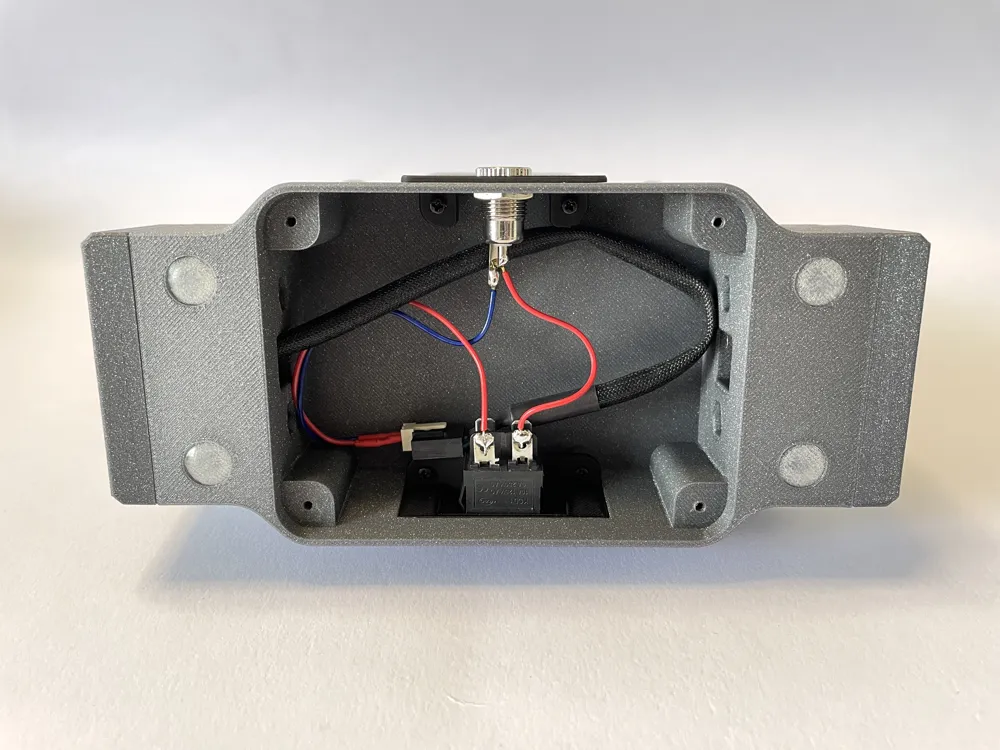
- Assemble the rear panel.
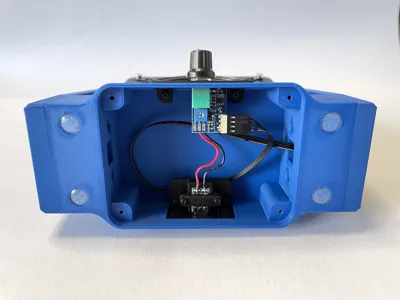
- Assemble the front panel.
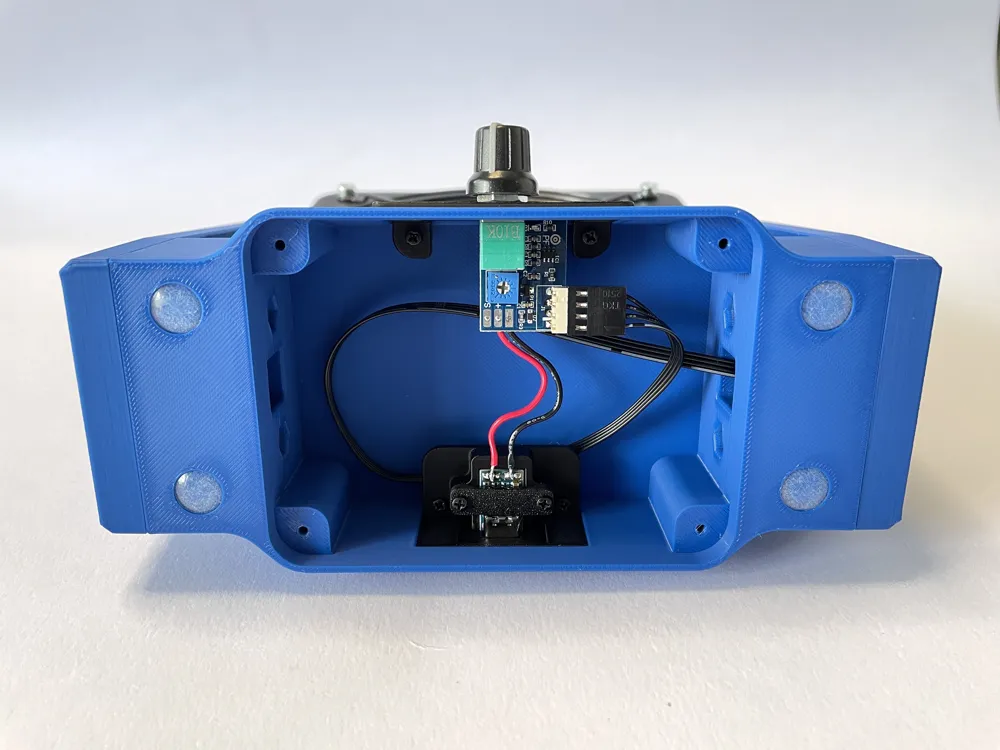
- Insert the rear and front panels into the base and secure them in position with self-tapping screws.
- Connect the power supply to the power switch or PWM controller.
- Run the fan wire through the side hole and position the base between the side plates.
- Secure the base to the side plates with four M4 screws.
- Connect the fan to the power switch or PWM controller.
- Attach the base cover using self-tapping screws.
- Glue the rubber feet onto the base.
Updates:
13.07.2026 - Fixed the print profiles because one part was not laying flat on the print bed.
License



Comment & Rating (58)