Altoid Tin Abacus


Print Profile(1)

Description
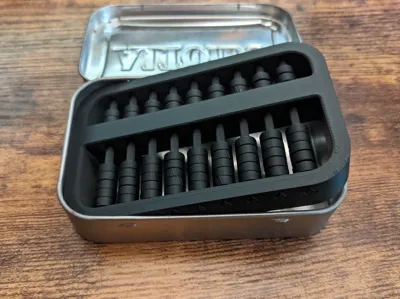
An abacus so small it belongs in an Altoids Tin!
(Specifically the Red Original Peppermint one)
Assembly Suggestions:
This model contains a large amount of small pieces! I recommend removing the parts from the print bed over a towel or large bin to avoid the abacus beads from rolling away. To assemble this project, I have found it helps to hold the frame almost vertically, then insert the rod about ⅔ 's of the way through the lower section of the frame before adding the 5 beads, then repeating the same process for the 2 beads in the upper section. I have also found it helps to start at one end of the frame and work towards the other while adding each rod & bead assembly.
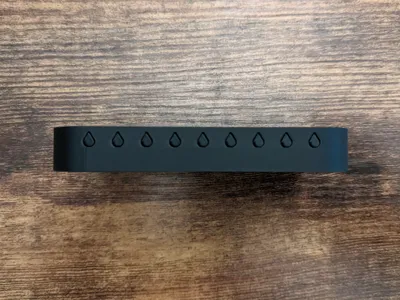
Once the abacus is assembled, it's side can be pressed against the corresponding side of the Altoid tin then carefully snapped into place with strong downward pressure (see photos above!). This model was intentionally designed to be tight during this step in order to limit movement of the abacus in the tin and prevent it from coming back out once finished. Since the frame of the abacus sits against the wall of the tin, preventing the rods from coming back out, no glue is required.
Filament pictured above;
Overture matte pla black & matte white, Red Overture pla pro
Comment & Rating (10)