Travel Foldable Crib (Cribbage) Board


Print Profile(3)


Bill of Materials

Description
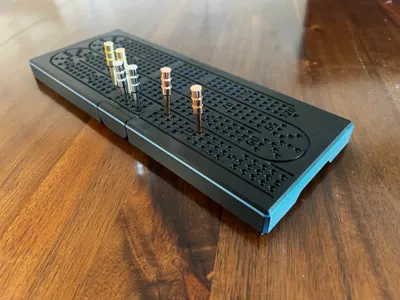
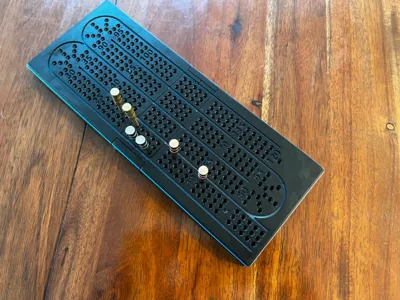
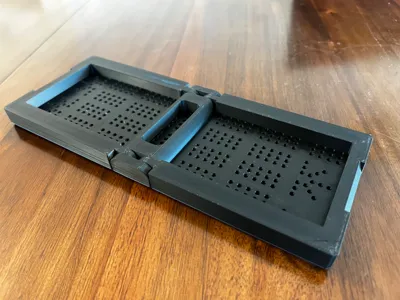
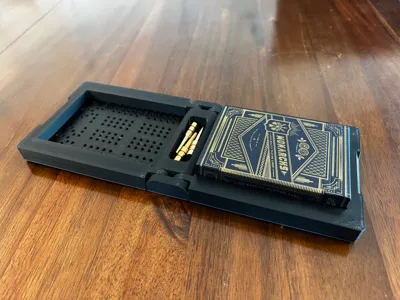
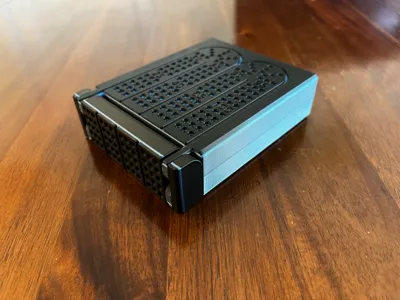
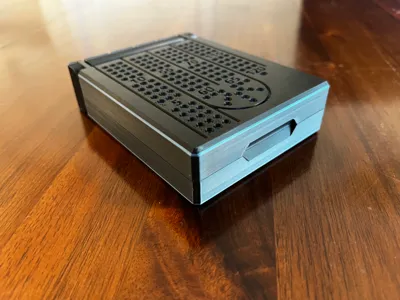
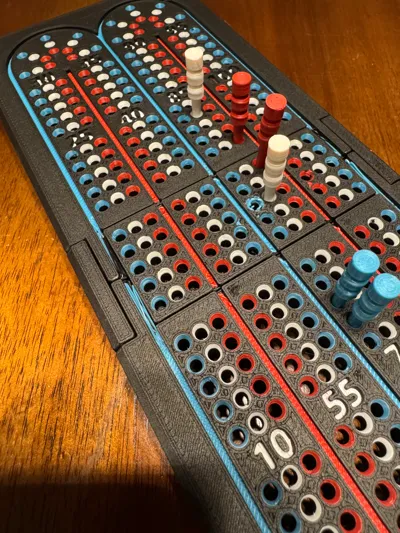
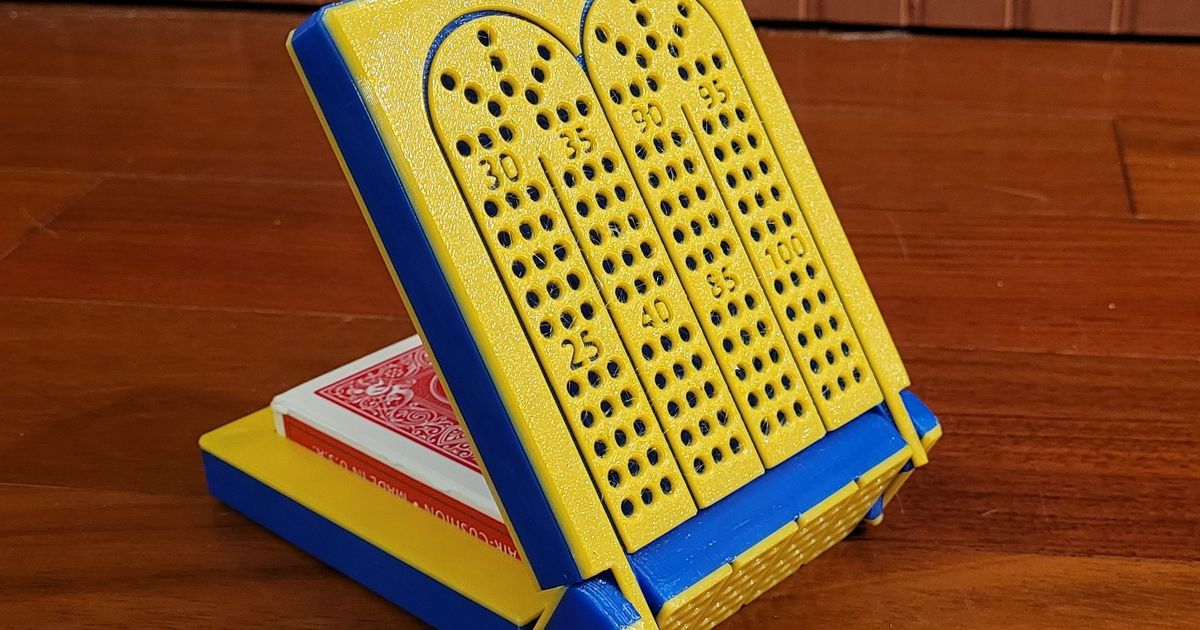
Travel Crib Board!
This one fits a deck of cards and pegs when it folds together.
Magnets are used to hold the case together when closed. Pause is added in the print profile to allow you to insert magnets. Increased the size of the opening for the magnets from the original design as my magnets (8x3mm round) from Bambu did not fit the original. I didn't find any glue was necessary as they are still a snug fit. 4 Magnets needed, make sure to place with opposing poles.
I added a 1mm layer of color that looks nice on the design and is placed so the bottom of the engraved areas show the color. The whole layer is one color allowing for minimal color changes.
This is the first time I've used glue on my print bed. Because of all the small circles I was having adhesion issues despite slowing down the first layer significantly. I would highly recommend glue, but if you are successful otherwise, that's great!
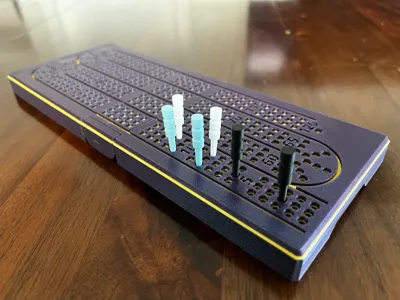
I've also created my own crib pegs as the metal ones pictured didn't fit nicely in the storage compartment:
https://makerworld.com/en/models/580424
(These also fit very nicely into the crib board holes)
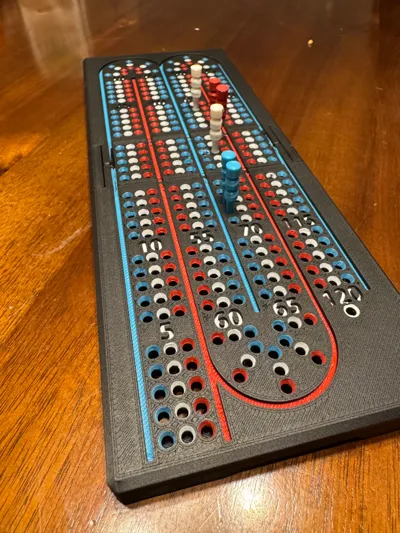
Update: Added a print profile with colored holes around the board. Did not find that this printed as well as the previous model, but this could have been due to non-Bambu filament. I'm adding the profile as per request. It should turn out good, but my own print was not great (still quite useable). The line colors are on purpose as matching with the nearest hole color allowed for better bridging over the opening. I would not change this.
Boost Me (for free)
Appreciate a boost!
Membership
Commercial Licenses Now Available. Also basic tier if you just wish to add some financial support to help new models come out.
Comment & Rating (239)