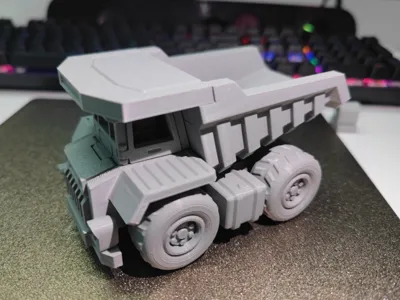
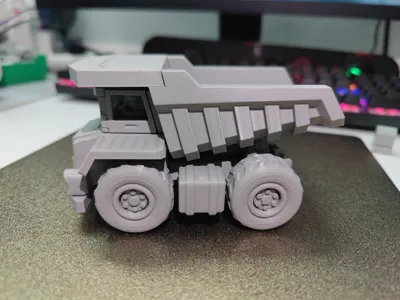
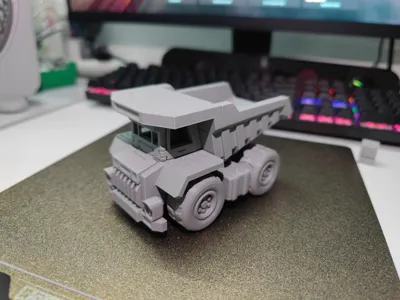
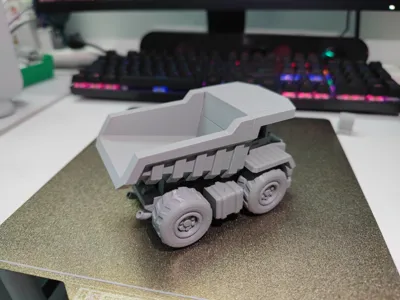
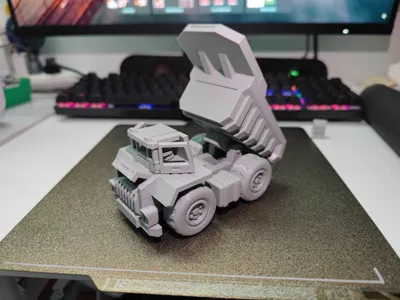
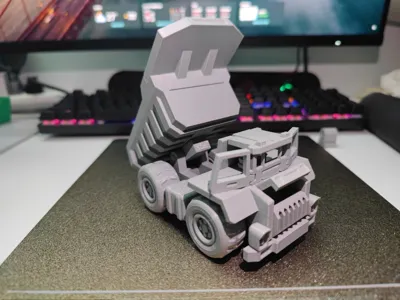
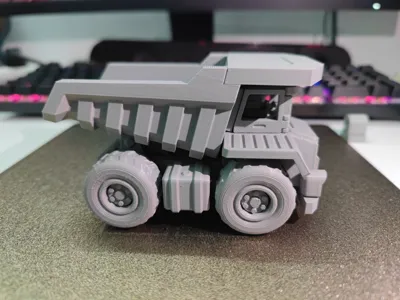
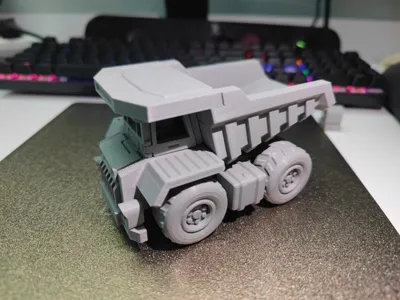
Fun truck


Print Profile(2)


Description
Installation instructions
I'm so sorry about the loss of the picture before,and fixed it on August 10th.
step1:
Remove these white supports


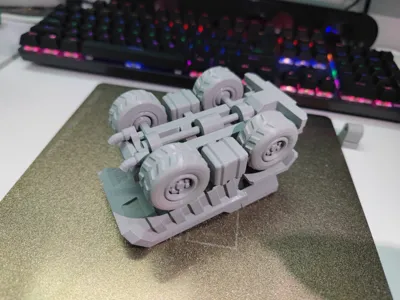
step2:
Assemble the wheels and axles,this black part should turn 90°

step3:
Assemble the chassis

step4:
Insert the axle wheel into the chassis from bottom to top, and twist the middle black part 90° to lock the chassis

step5:
Assemble the cab so that the little man's hands are fixed to the steering wheel


step6:
Assemble the chassis, cab and bucket together

Good job,you make it!!!
Where small parts are installed too tightly or cannot be embedded, it may be because the edge printing is not perfect, which can be trimmed or polished with a knife, except for large parts, which can be used vigorously.
Finally, enjoy the assembly process.
License
You shall not share, sub-license, sell, rent, host, transfer, or distribute in any way the digital or 3D printed versions of this object, nor any other derivative work of this object in its digital or physical format (including - but not limited to - remixes of this object, and hosting on other digital platforms). The objects may not be used without permission in any way whatsoever in which you charge money, or collect fees.
Comment & Rating (227)