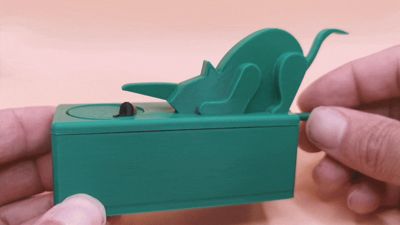
Cat And Mouse Automaton


Print Profile(3)


Description
Cat And Mouse Automaton

Features:
- Simple print
- Easy assembly
- Fun mechanical design
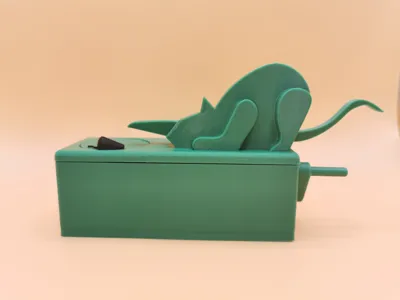
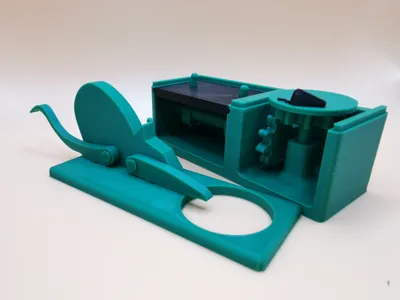
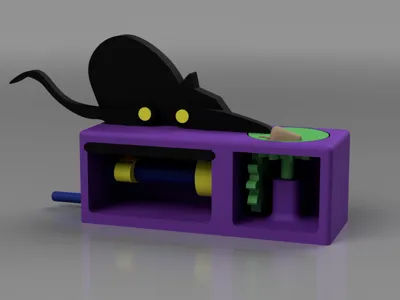
- Open back to see the inner workings of the model.
Based on woodworking plans from Christopher Blasius, this fun design has been transformed into a 100% 3D printed model.
The only additional thing required is a few dabs of superglue in order to hold the cams, handle, spacers, mouse, tail/paw pins and 1 of the gears in place.
Please refer to the ‘assembly view’ within Bambu Studio in order to see where each part goes.
I have included 2 print profiles:
- Single colour using only 1 plate.
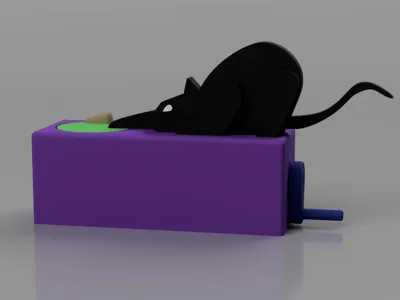
- 3 colour across 3 plates, utilising print by object and a colour change by layer height.
Additional Info:
- The horizontal gear with the ‘mouse pad’ just sits into the hole in the base.
- The top simply press fits onto the base with no glue required.
- You don't need to fit the ‘eye’ on the single colour version.
- The hardest part of the assembly is inserting the spacers. It is crucial to refer to the assembly view to see where each spacer goes. They are all different with the two smallest ones being very similar in length. (The shortest spacer goes next to the gear)
- Assemble the shaft and all cams, spacers and gear without glue, and then add a small dab at each part to hold them in place.
- Avoid getting any glue near where the shaft goes through the holes in the base as it will stop the shaft being able to rotate.
- The handle can only be wound in 1 direction.
- Orientate the cams the same as you see in the assembly view prior to gluing in place
- You only need to add a small amount of glue into the holes in the cat in order to secure the ‘paw pin’ and ‘tail pin’ in place.
- Ensure the paw and tail freely move while the glue sets.
- Position the mouse on the mouse pad with no glue and test the motion. Once satisfied, add a tiny dab of glue and place the mouse in position. If the mouse ends up being slightly out of time with the paw, simply lift the mouse pad and re clock the gear slightly.
- A match stick will help to locate the spacers and a broken match stick will help with applying the glue into the tight spaces.
The above sounds like a lot, but it is rather straight forward when the parts are in hand.
THICK SUPER GLUE AND ACTIVATOR IS RECOMMENDED
If you have any issues please leave a comment below and I'll reply asap.
Thanks for looking!
Please rate and review your printing experience :)
License
You shall not share, sub-license, sell, rent, host, transfer, or distribute in any way the digital or 3D printed versions of this object, nor any other derivative work of this object in its digital or physical format (including - but not limited to - remixes of this object, and hosting on other digital platforms). The objects may not be used without permission in any way whatsoever in which you charge money, or collect fees.
Comment & Rating (54)