
Bambu Lab A1Mini Extruder cable guide/holder/saver

Print Profile(5)


Description
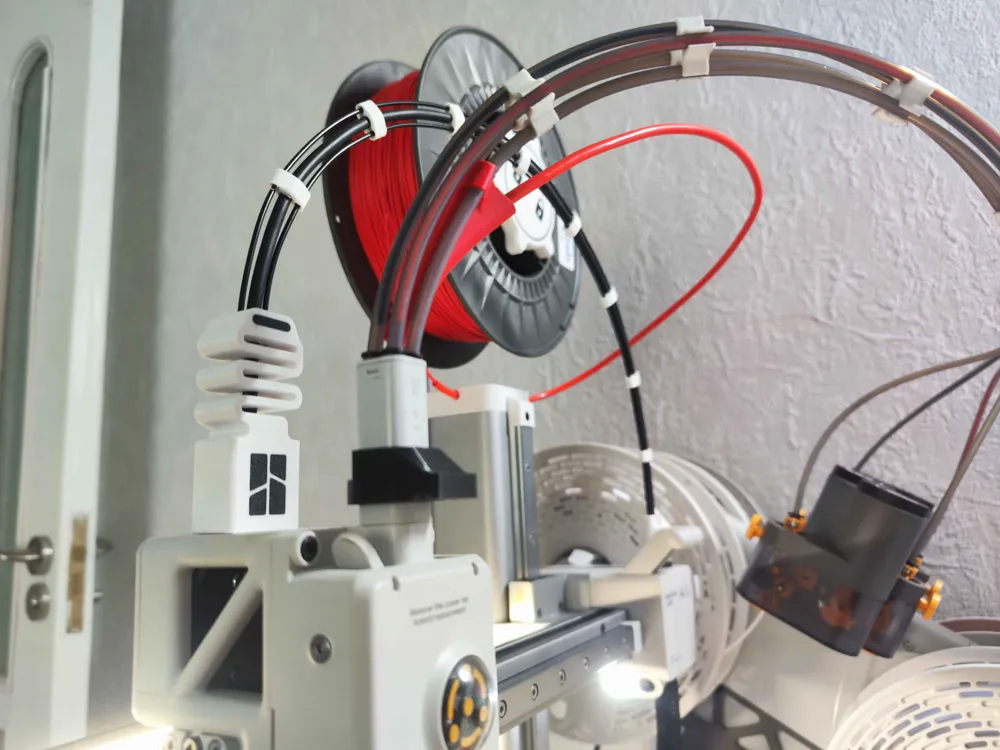
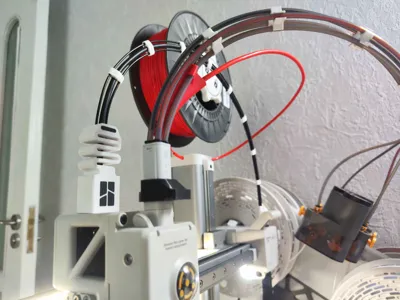
As a maker, I’m always seeking ways to elevate my 3D printing experience. I’ve recently developed a modification for both the Bambu A1 and A1 Mini printers that addresses a common concern: the durability and stability of the extruder head cable. Out of the box, the cable tends to be loose and flexible, which can result in wear and tear over time, particularly at areas subjected to frequent bending.
Modification Overview:
This upgrade consists of three meticulously designed components, now compatible with both the A1 and A1 Mini models, offering a tailored solution for different user needs:
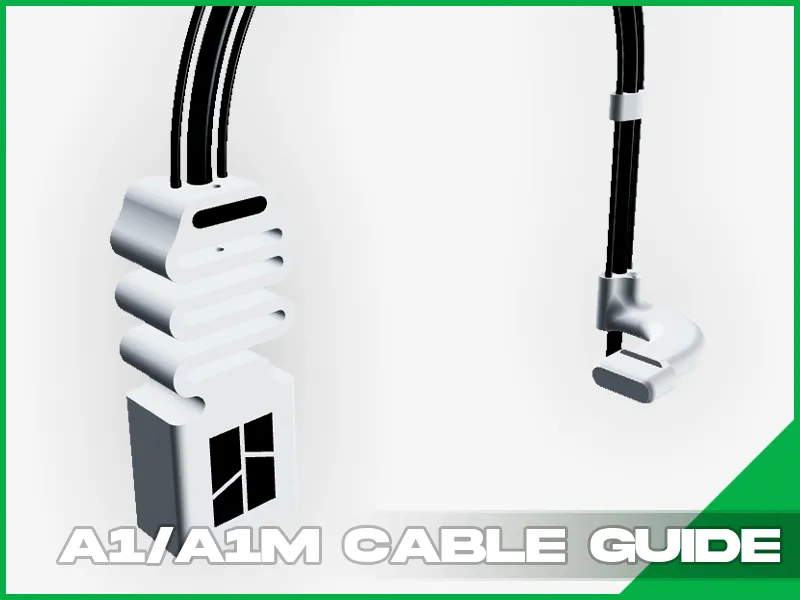
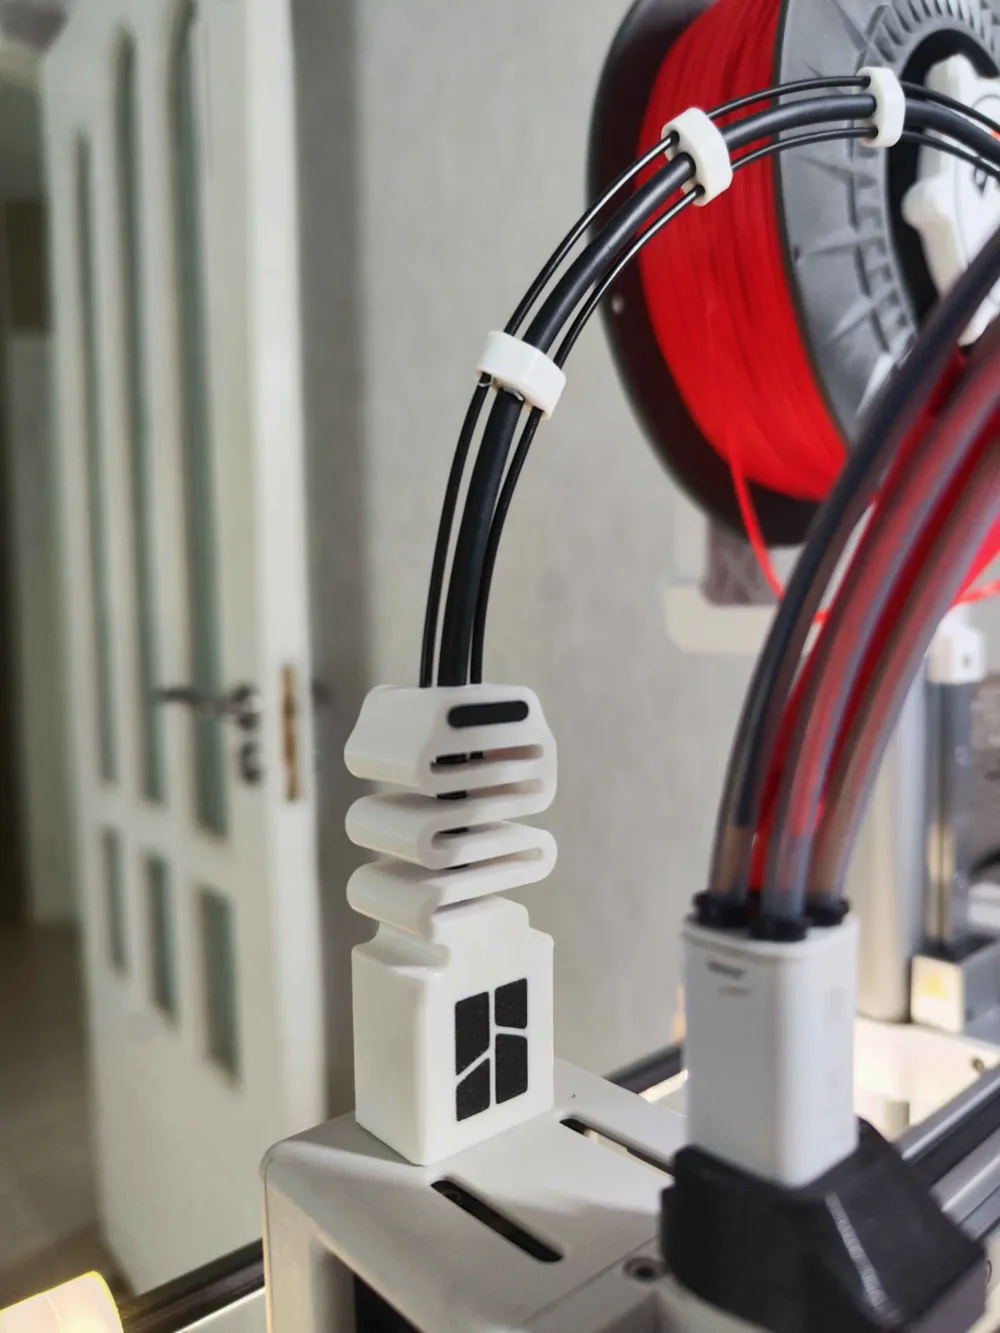
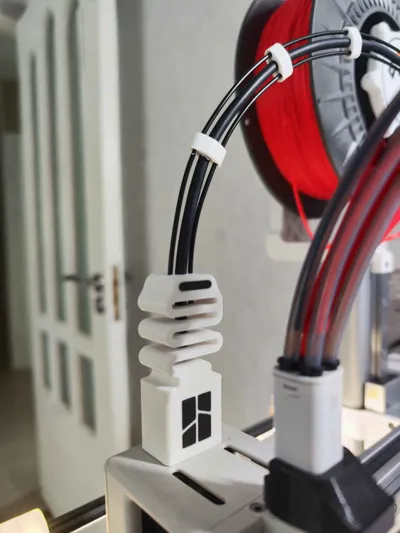
- Extruder Head Bracket: Engineered to secure the cable in place, this custom bracket alleviates the stress on the connection point to the extruder head. It effectively minimizes bending motion, reducing the risk of damage and ensuring a smoother printing experience.
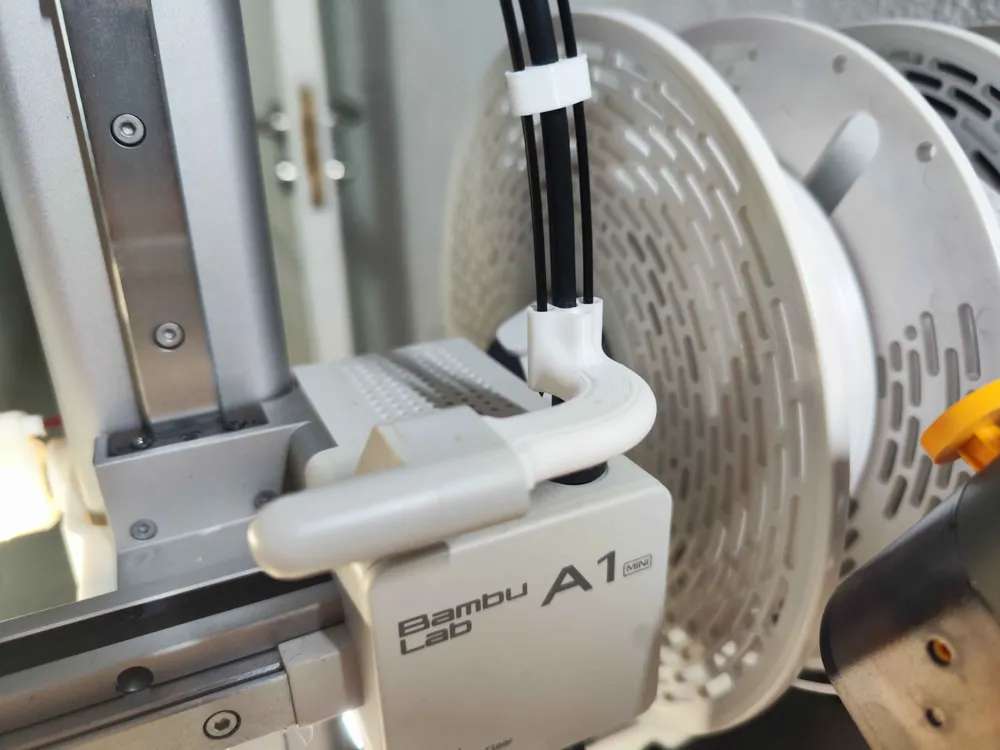
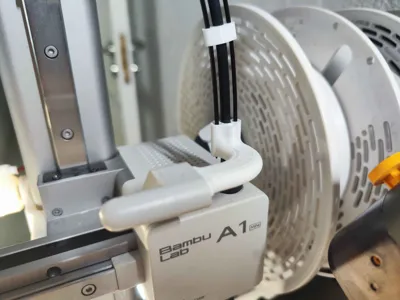
- Z Axis Cable Holder: Positioned on the same axis, this piece stabilizes the cable during z-axis movements, preventing excess strain and prolonging the cable's life.
- Cable Retention Clips: I’ve created multiple versions of these clips to cater to different models:
- For the A1 Mini: Available in two variations— dual and triple spine versions that provides adequate support while maintaining calbe stability.
- For the A1: Available only variation—triple spines. While the single version works well, some users may find that it allows for a slight sag in the cable. Triple spine version provide additional support stability and unwanted sagginess.
Assembly Instructions for the Cable Guide Modification
For Bambu A1 Mini:
- Print the Modification: Use a ready-to-print profile to print.
- Prepare the Filament Spine: Cut a piece of filament to approximately 50 cm.
- Attach the Filament: Glue one end of the filament into the designated hole on the extruder bracket.
- Install the Clips: Slide the filament through the clips.
- Mount the Bracket: Attach the extruder bracket to the extruder head frame, and securely attach clips to the appropriate locations along the cable.
- Measure for Z-Axis Connection: Carefully measure where to cut the filament line for connection to the Z-axis bracket. Ensure the filament line isn’t too short to maintain a straight cable alignment.
For Bambu A1:
- Print the Modification: Use a ready-to-print profile to print DUAL or TRIPLE versions
- Measure Cable Length: Measure the length of the extruder head cable to determine the necessary length for the filament spine. (Sorry I don't have A1 so I dont know how long the cable is)
- Prepare the Filament Spine: Cut a piece of filament to length according to your measurement.
- Attach the Filament: Glue one end of the filament into the designated hole on the extruder bracket.
- Install the Clips: Slide the filament through the clips.
- Mount the Bracket: Attach the extruder bracket to the extruder head frame, and securely attach clips to the appropriate locations along the cable.
- Measure for Z-Axis Connection: Carefully measure where to cut the filament line for connection to the Z-axis bracket, ensuring it is long enough to keep the cable straight.
Why This Modification Matters:
By implementing this cable guide modification, you can enhance the reliability and performance of your Bambu A1 or A1 Mini printer. It's a simple DIY solution that demonstrates how thoughtful adjustments can lead to substantial improvements in functionality and longevity.
If you’re looking to maximize your printer’s potential while ensuring the durability of the extruder head cable, I highly recommend considering this modification. Feel free to reach out if you have any questions, need additional details on the design or installation process, or just want to share your results!
Membership
Hey! I’m Mantas — a self-taught 3D designer who loves creating functional and practical prints for everyday use. I’m always tinkering, refining.
Boost Me (for free)
IF I HELPED YOU!
License

You shall not share, sub-license, sell, rent, host, transfer, or distribute in any way the digital or 3D printed versions of this object, nor any other derivative work of this object in its digital or physical format (including - but not limited to - remixes of this object, and hosting on other digital platforms). The objects may not be used without permission in any way whatsoever in which you charge money, or collect fees.


Comment & Rating (798)