BowSander


Print Profile(1)

Bill of Materials
- Machine-Screw x 4: M4x8-or-M4x10
Description
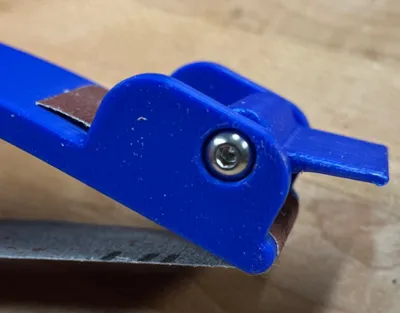
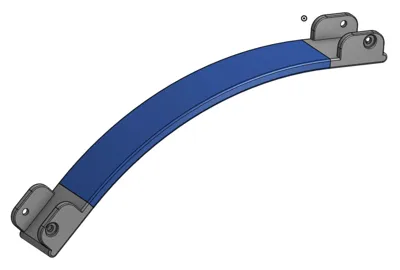
I've been using the cloth backed sand “paper” with one of the Rockler sanding bows. I'm frustrated with how difficult it is to install the sandpaper in the bow and to get it nice and taught, so I designed this. It's a sanding bow consisting of the bow, and two identical cams. The cams are attached using a total of four machine screws, allowing the screws to simply tap their own threads into the cams. it's a little hard to tell from the pictures, but when the cams are locked, the flat edge of cam is nearly parallel to the bow. SImply insert the sand paper between the cam and the bow and rotate the cam so the lever is going away from the bow. As you lock the second cam, the sandpaper will tighten up a bit, and you're good to go.
This requires four M4 machine screws, either M4x8 or M4x10mm.
Comment & Rating (3)