Minecraft Fox Kit Card - With and without AMS


Print Profile(3)


Description
Minecraft styled fox kit card
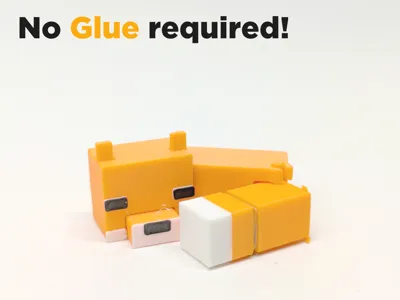
A Minecraft inspired fox kit card, that doesn't require an AMS(lite) but still is multi color!
(AMS(lite) version available!)
It also features easy, glue less assembly and an articulated tail, making it great as a gift and toy for kids.
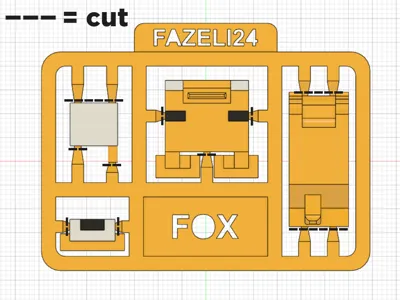
The parts can be removed by hand, but pliers are recommended.
Print settings:
I recommend using my profiles, as they are specially made for this model, and allow a hassle free print and assembly.
There is no need for supports, because there are premade supports on this model. (Under the nose and ears)
To ensure good bed adhesion, the print is slowed down by about 20% (using my profile).
Manual color switching:
If you want easy, multi colored prints, but don't own an AMS(lite), this model is for you!
It works using 4 pauses in the print, where the printhead will move to it's idle position and you can change
the old filament to the new color via the display and then continue the print.
(Bambu Lab often lowers the nozzle temperature while paused, so make sure to turn it up again before removing/inserting filament!)
All the pauses are already added in the 3MF files and there is a prime tower to ensure nice and vibrant colors.
Disclaimer: if you slice using the cura slicer, remove one from the pause layer e.g. Layer 76 → Layer 75
This is the order of the color changes for the normal version:
(start the print with orange filament)
1st pause: change the filament to white filament (0,16mm layer height; layer 76)
2nd pause: change the filament to black filament (0,16mm layer height; layer 78)
3rd pause: change the filament to orange filament (0,16mm layer height; layer 80)
4th pause: change the filament to white filament (0,16mm layer height; layer 112)
and this is the color change order for the snow fox version:
(start the print with white filament)
1st pause: don't change the filament (0,16mm layer height; layer 76)
2nd pause: change the filament to black filament (0,16mm layer height; layer 78)
3rd pause: change the filament to white filament (0,16mm layer height; layer 80)
4th pause: change the filament to blue filament (0,16mm layer height; layer 112)
Filament:
FormFutura Orange PLA
FormFutura Light Blue PLA
BambuLab White PLA Matte
BambuLab Black PLA Matte
Tips for a successful print:
Make sure your bed is cleaned and dry (use soap and water for cleaning)
Make sure your filament is properly dry, wet filament can cause a multitude of problems
Make sure your filament is calibrated to reduce over/under extrusion
Let the print cool down before assembly
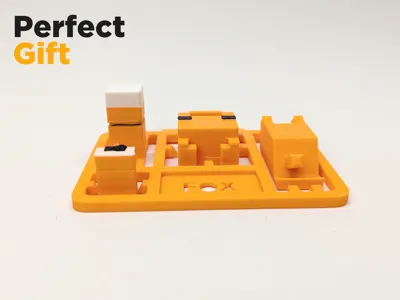
Assembly:
Remove parts from frame

Plug nose into head

Plug head into body

Clip tail into body( long part up)

Have fun printing and feel free to ask me questions!
License
You shall not share, sub-license, sell, rent, host, transfer, or distribute in any way the digital or 3D printed versions of this object, nor any other derivative work of this object in its digital or physical format (including - but not limited to - remixes of this object, and hosting on other digital platforms). The objects may not be used without permission in any way whatsoever in which you charge money, or collect fees.
Comment & Rating (121)