
Portable Multifunctional Clothes Hanger - (PiP)


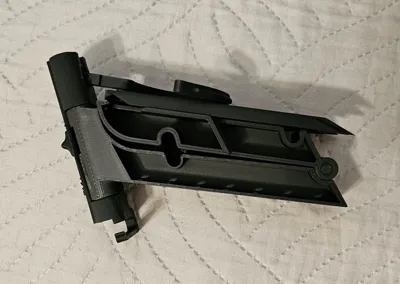
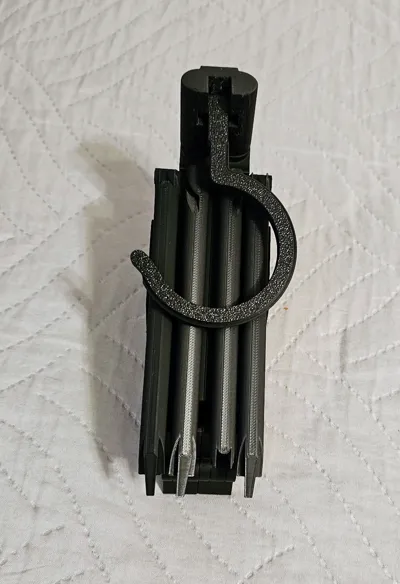
Print Profile(1)

Description
Boost Me (for free)
If you like my model please Boost it!
Model Description
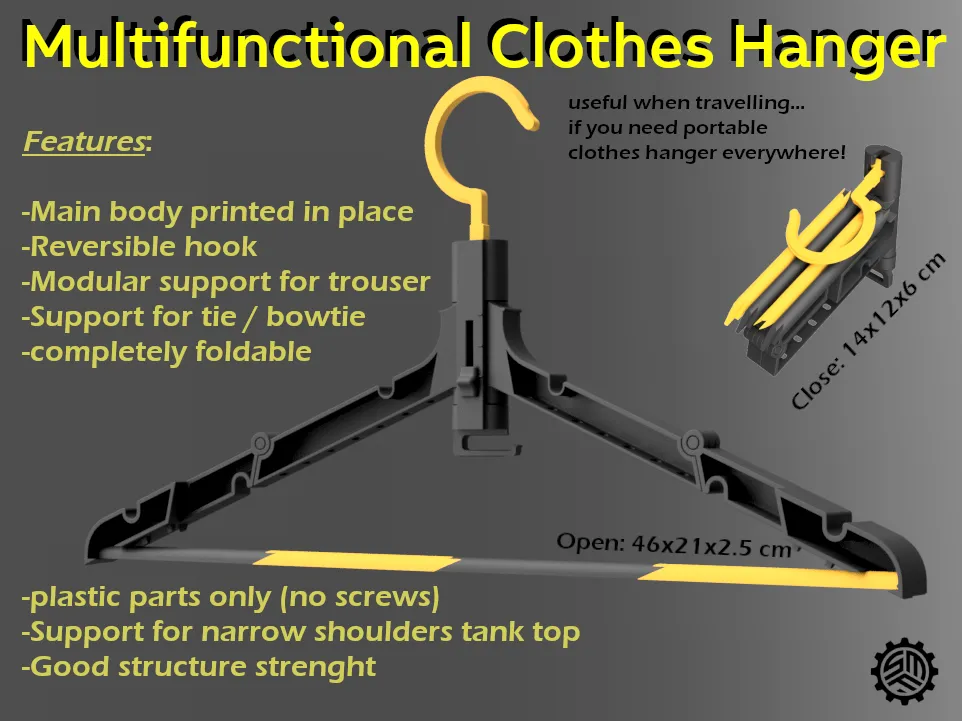
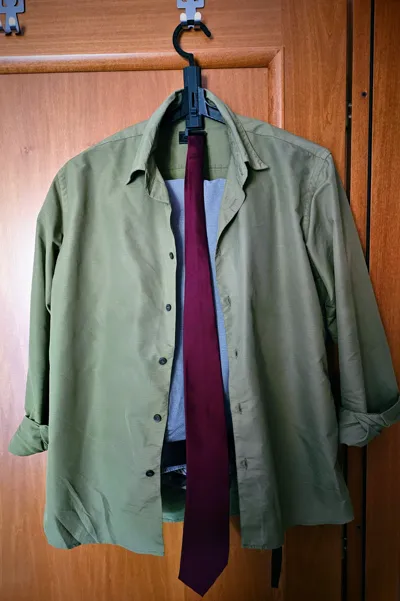
Sometimes during my travels I needed to have a hanger in my luggage. However, the dimensions have always created problems for me when transporting them.
For this reason I thought of creating a hanger that was easily storable and also functionally complete and robust.

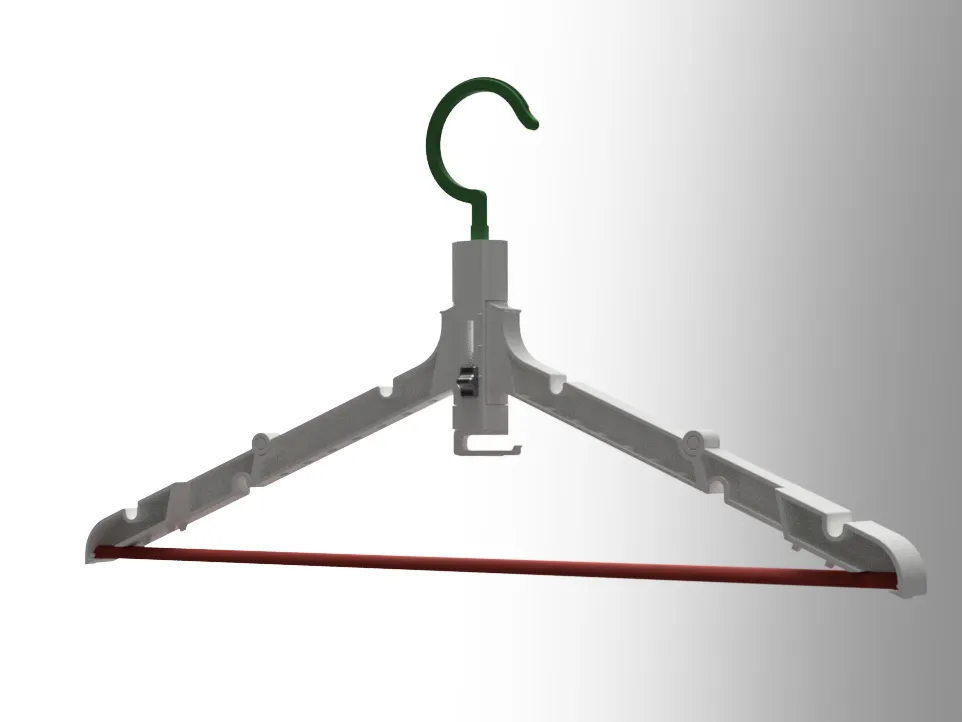
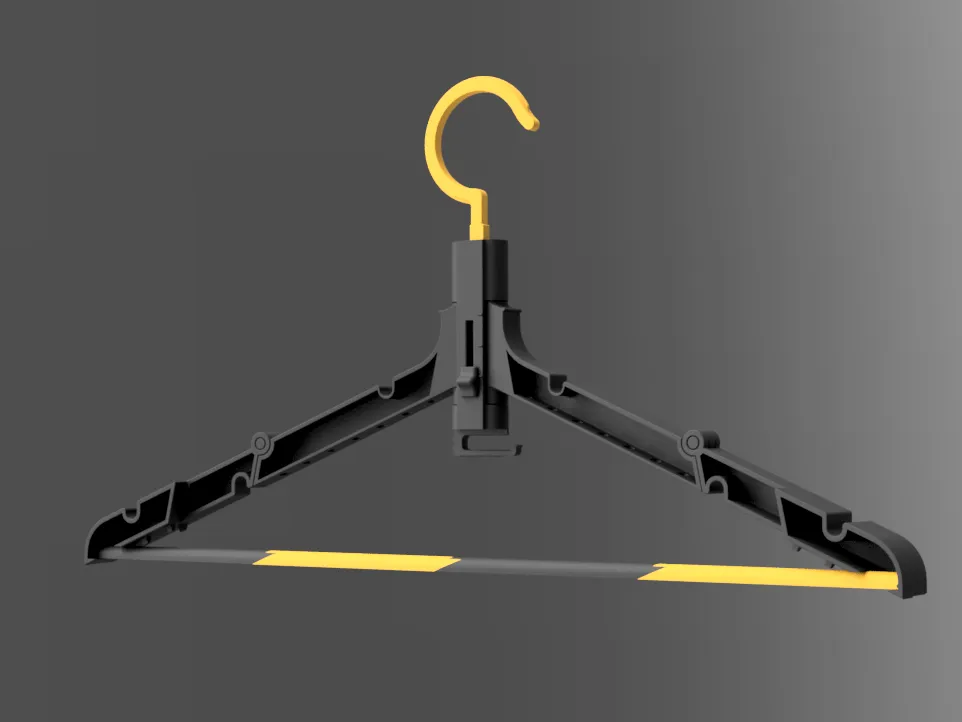
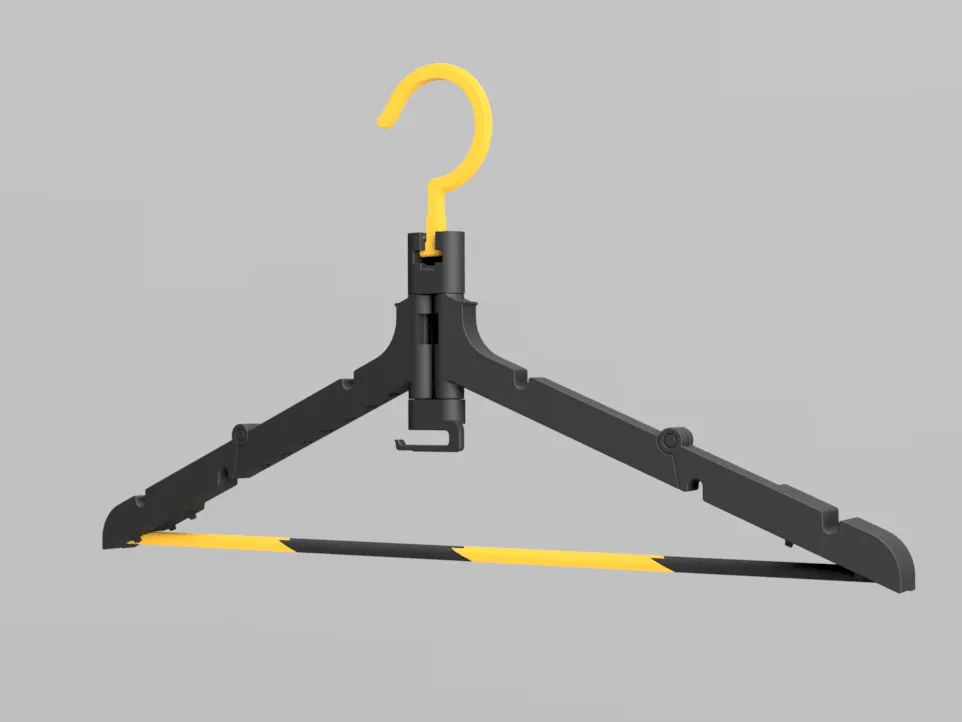
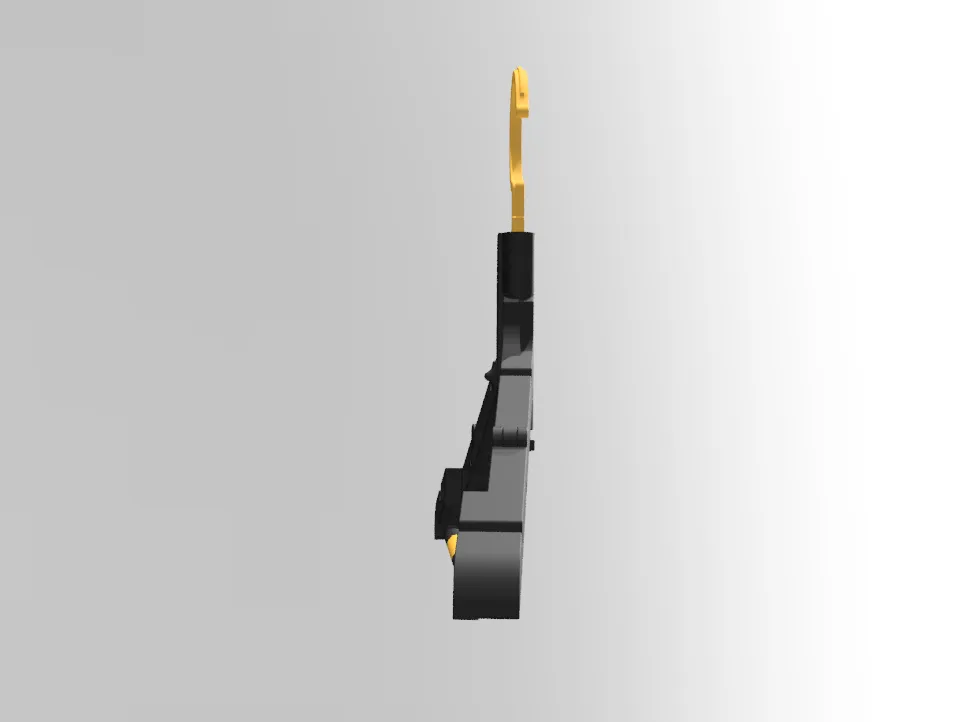
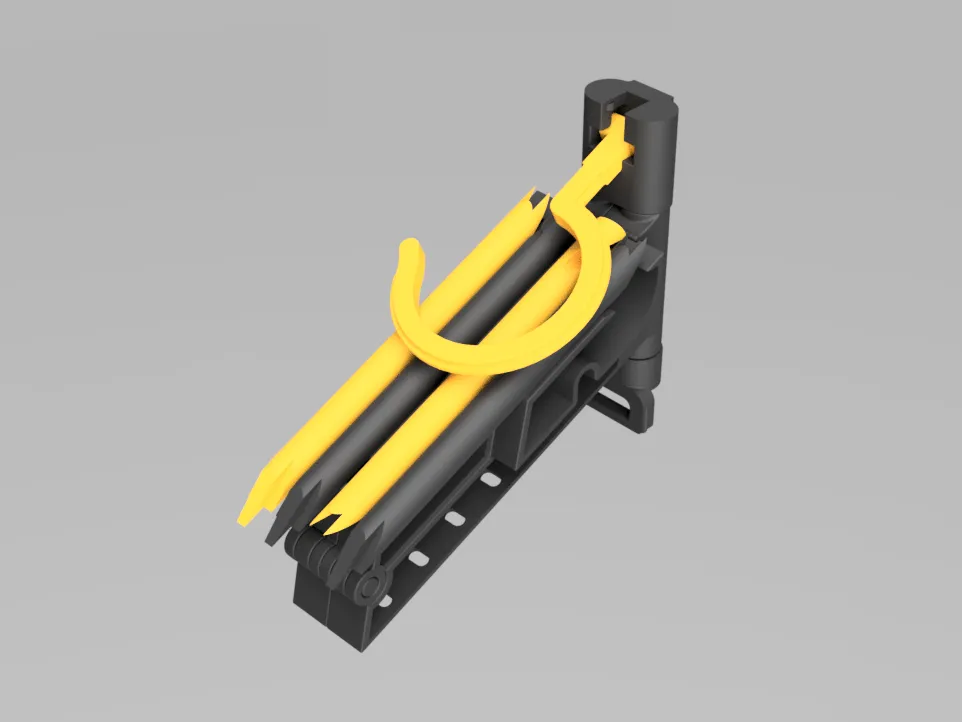
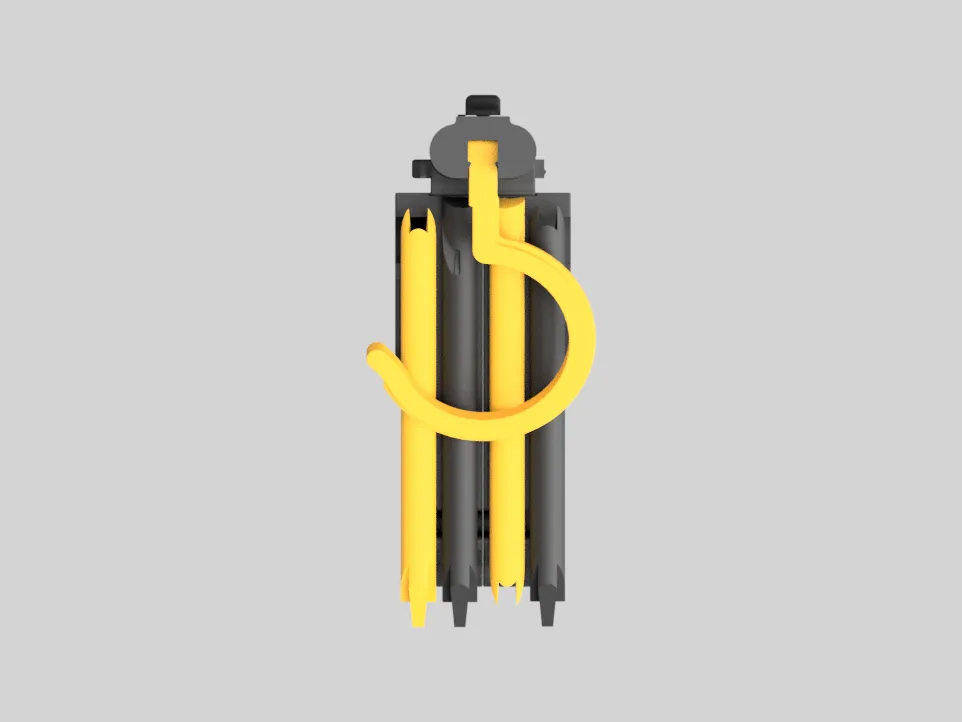
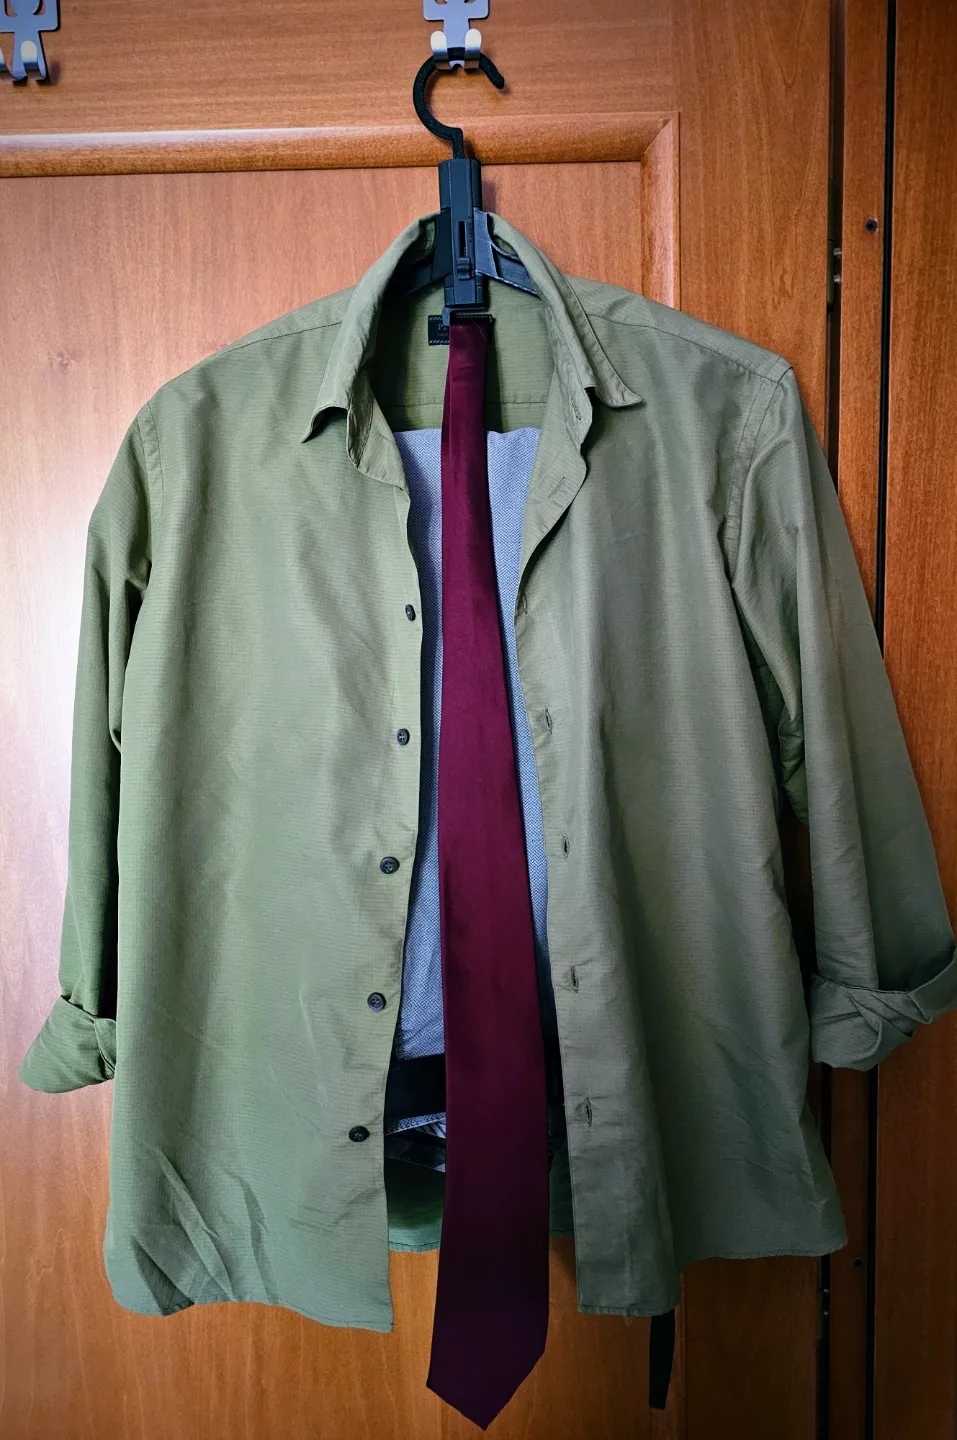
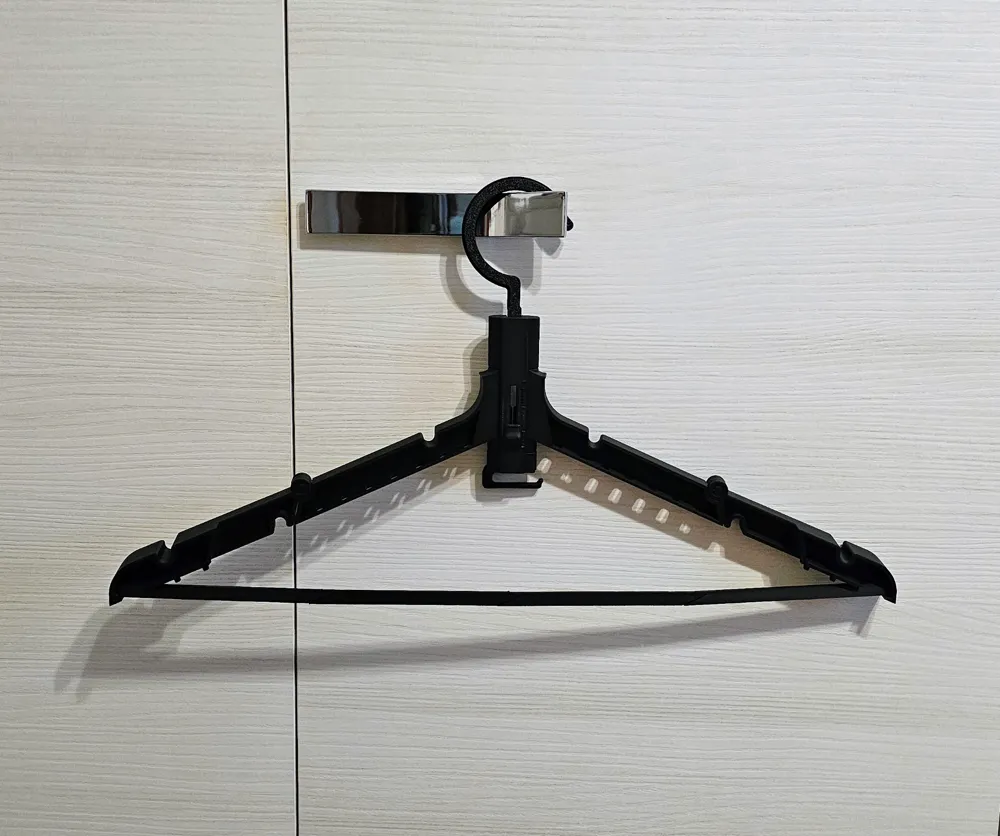
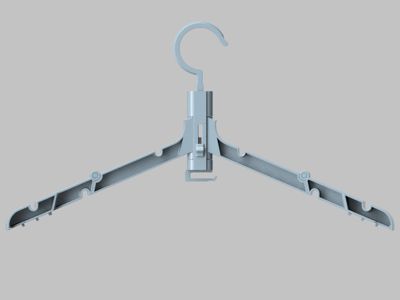
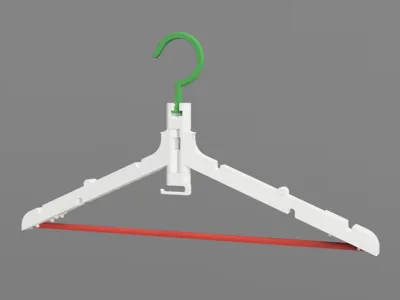
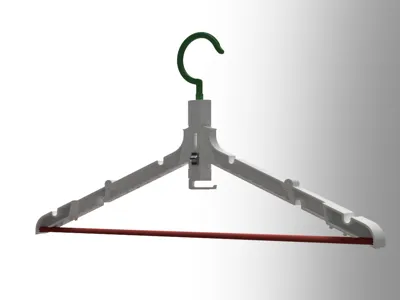
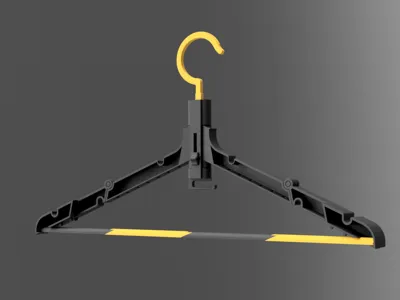
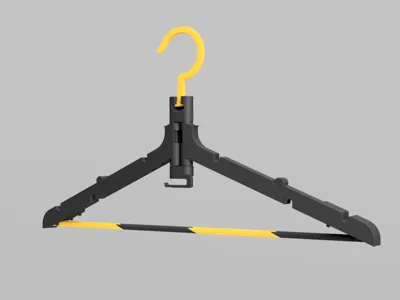
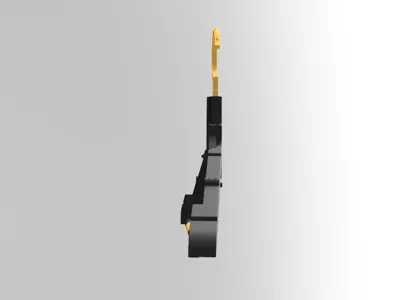
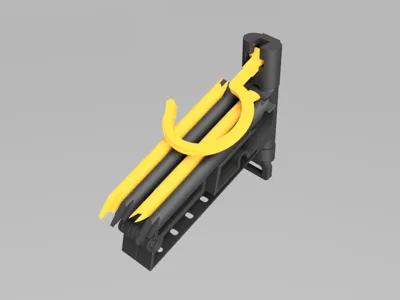
The final result is this:
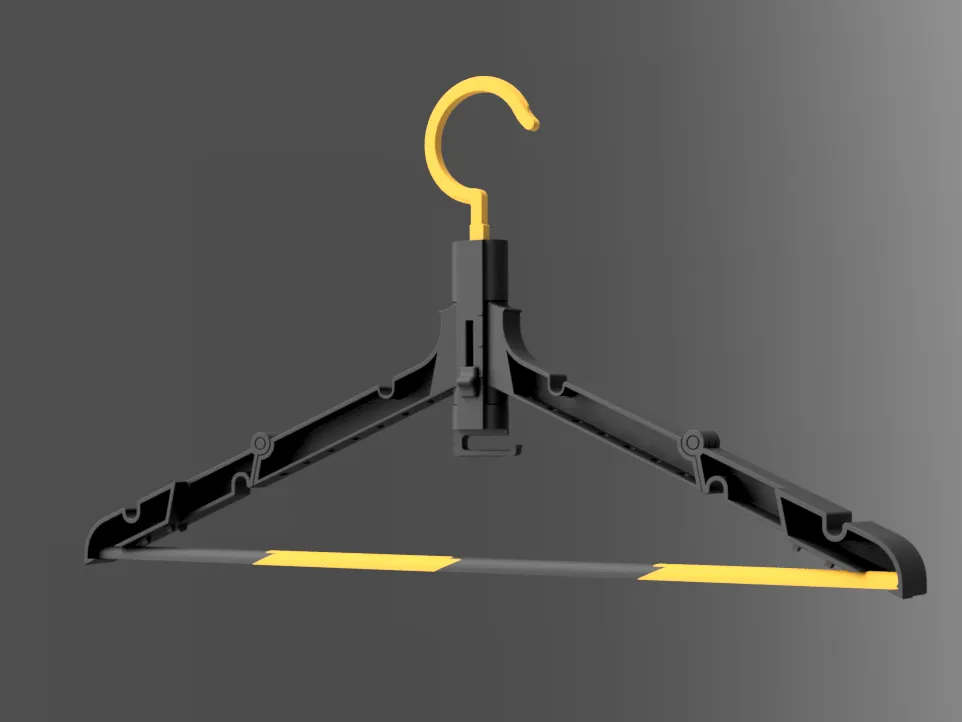
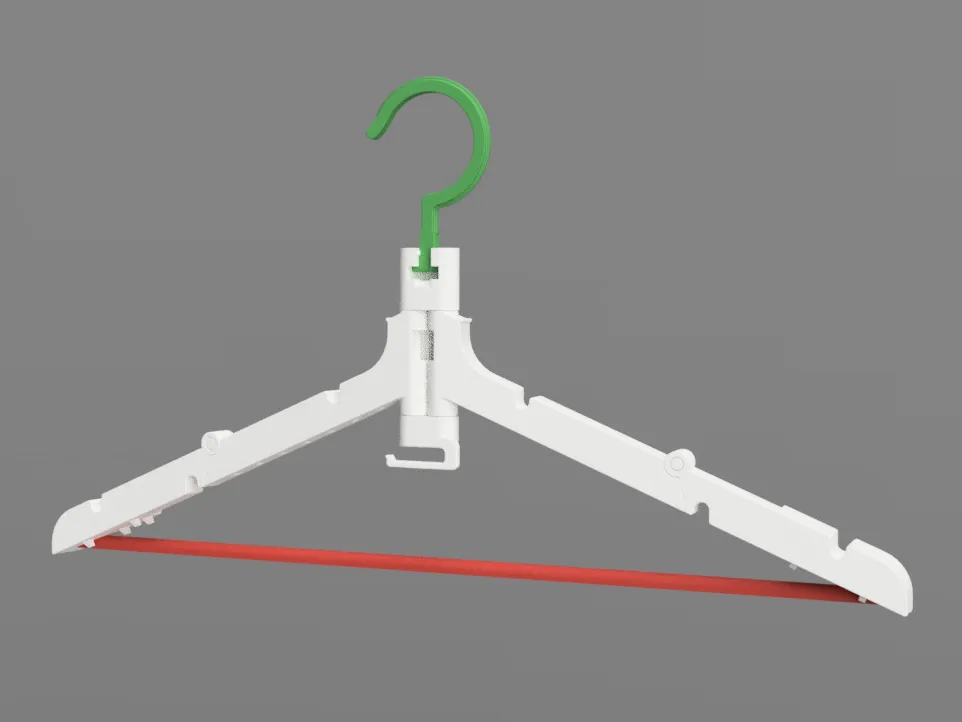
- The hook
Strong enough to withstand also a heavy jacket. This can be assembled in left or right position.
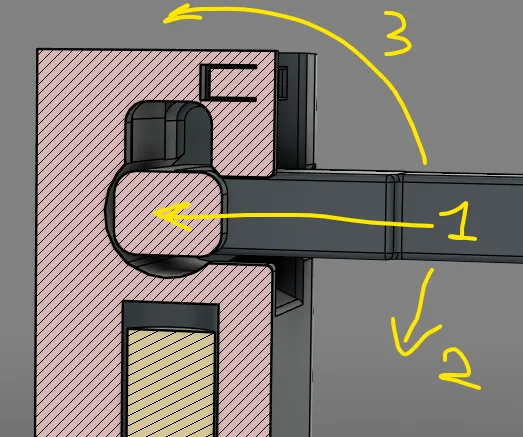
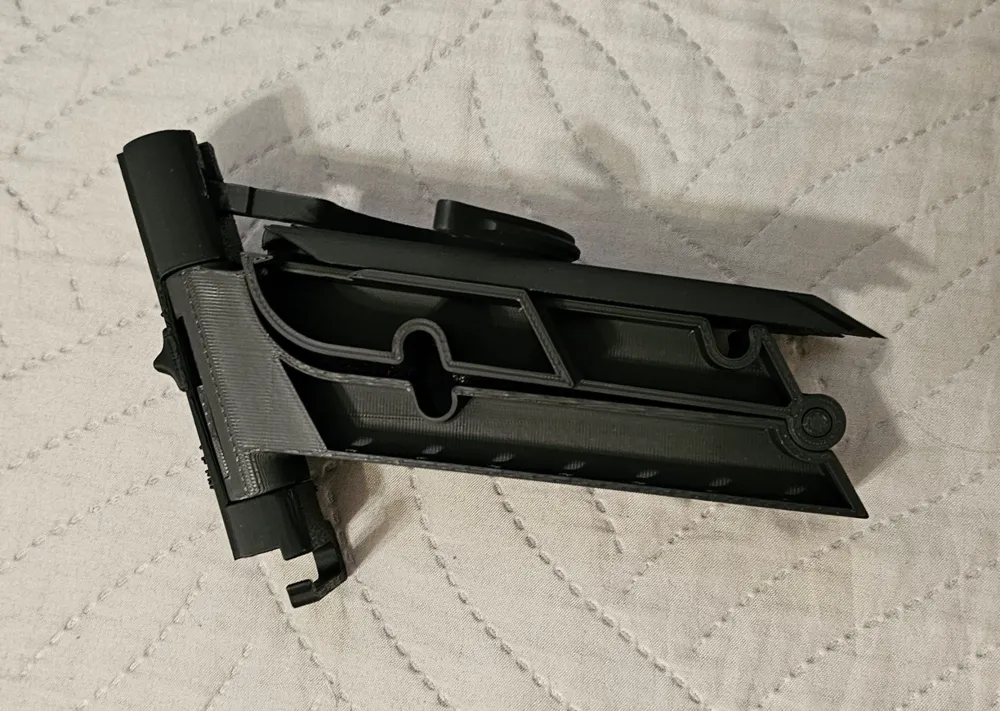
- The main body
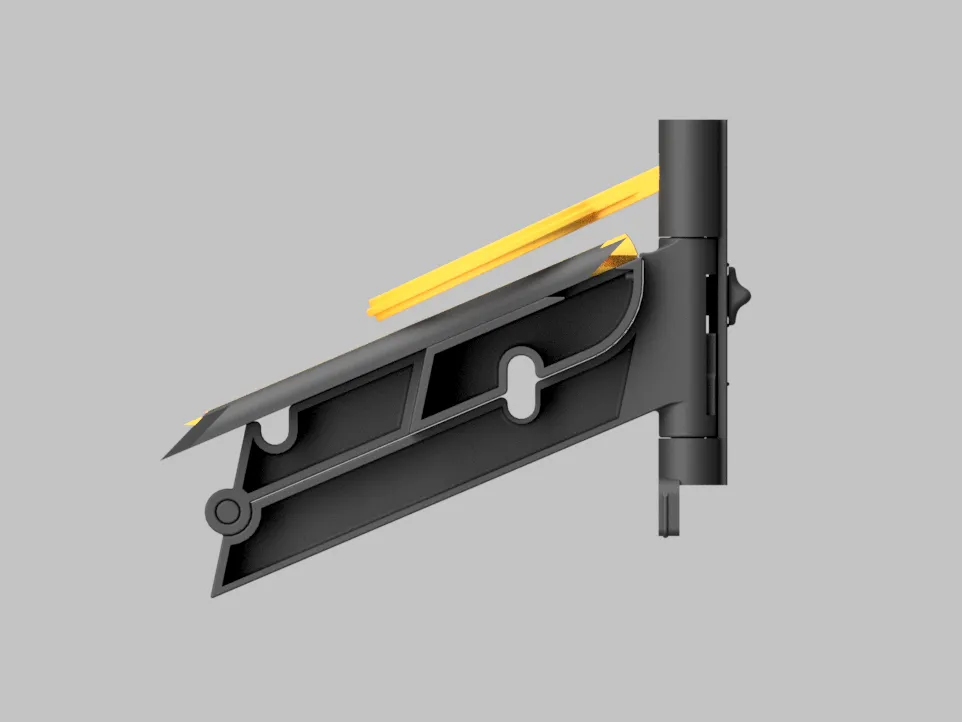
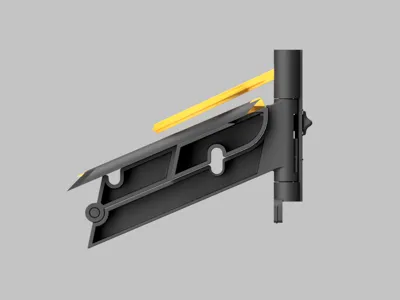
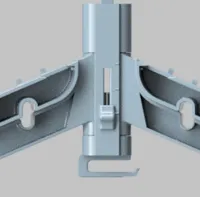
This is the core of the clothes hanger. When printed first time the position of the shoulders is 0° and the slide is positioned as below:

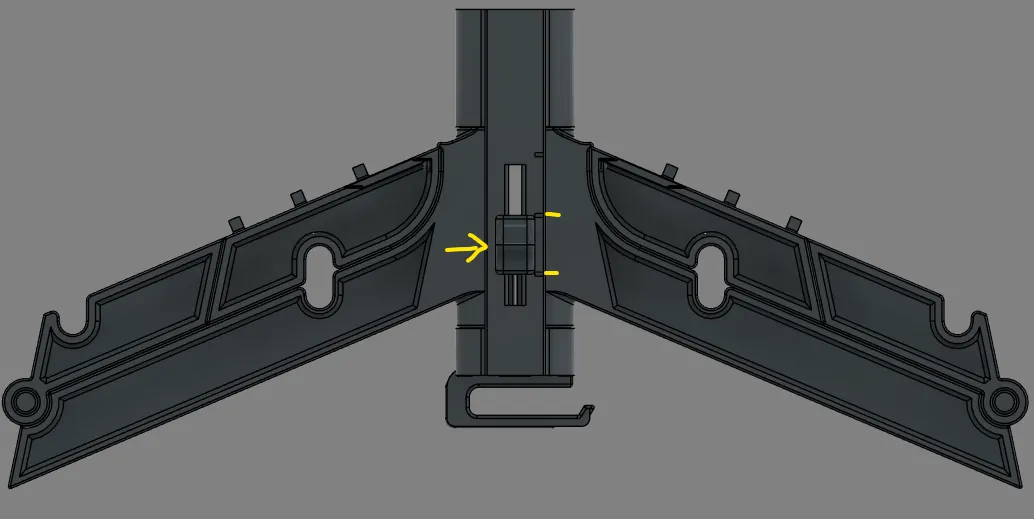
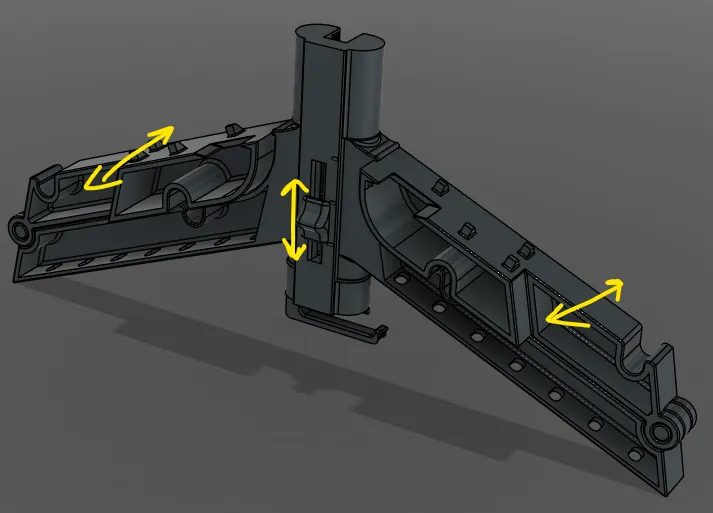
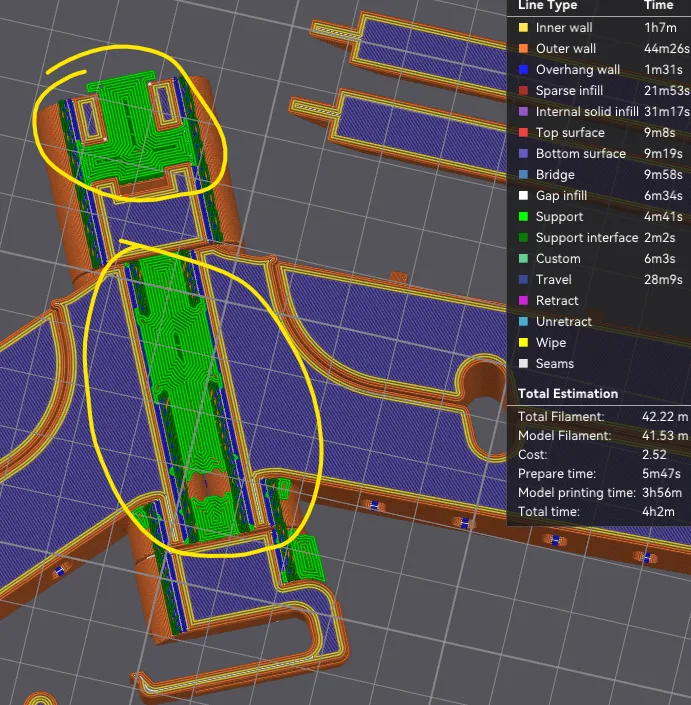
After removed supports and applying some force as indicate above you will be able to completely move the slider and the shoulders.
Positions are:
- CLOSE: with the shoulders open the slider must be moved up to be able to close them.
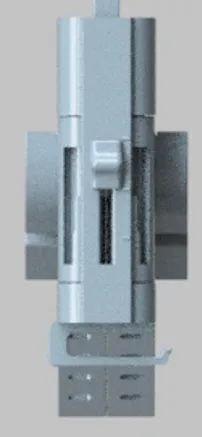
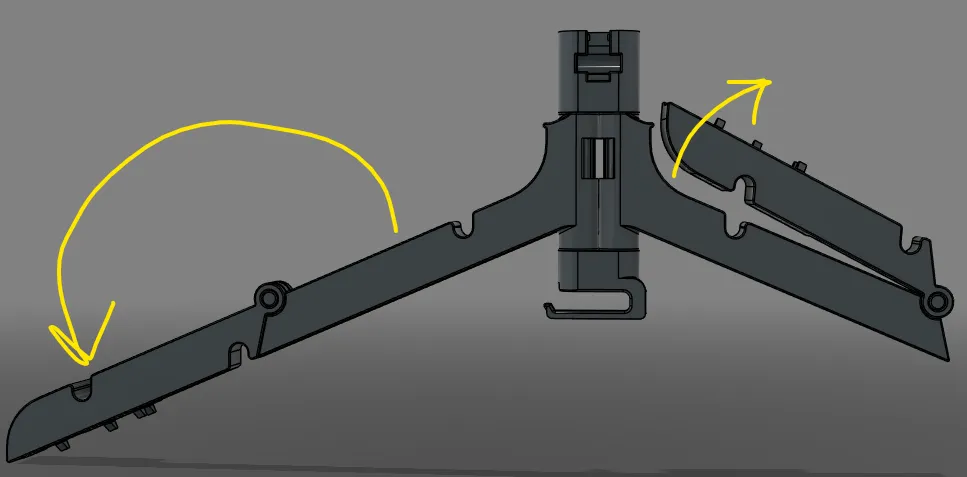
- OPEN: starting from closed shoulders→ open the shoulders and move the slider down in the middle position → continue to open the shoulders a little bit (about 5°) and move the slider in lower position.

You can now open the second part of the shoulders:
- The trousers' support
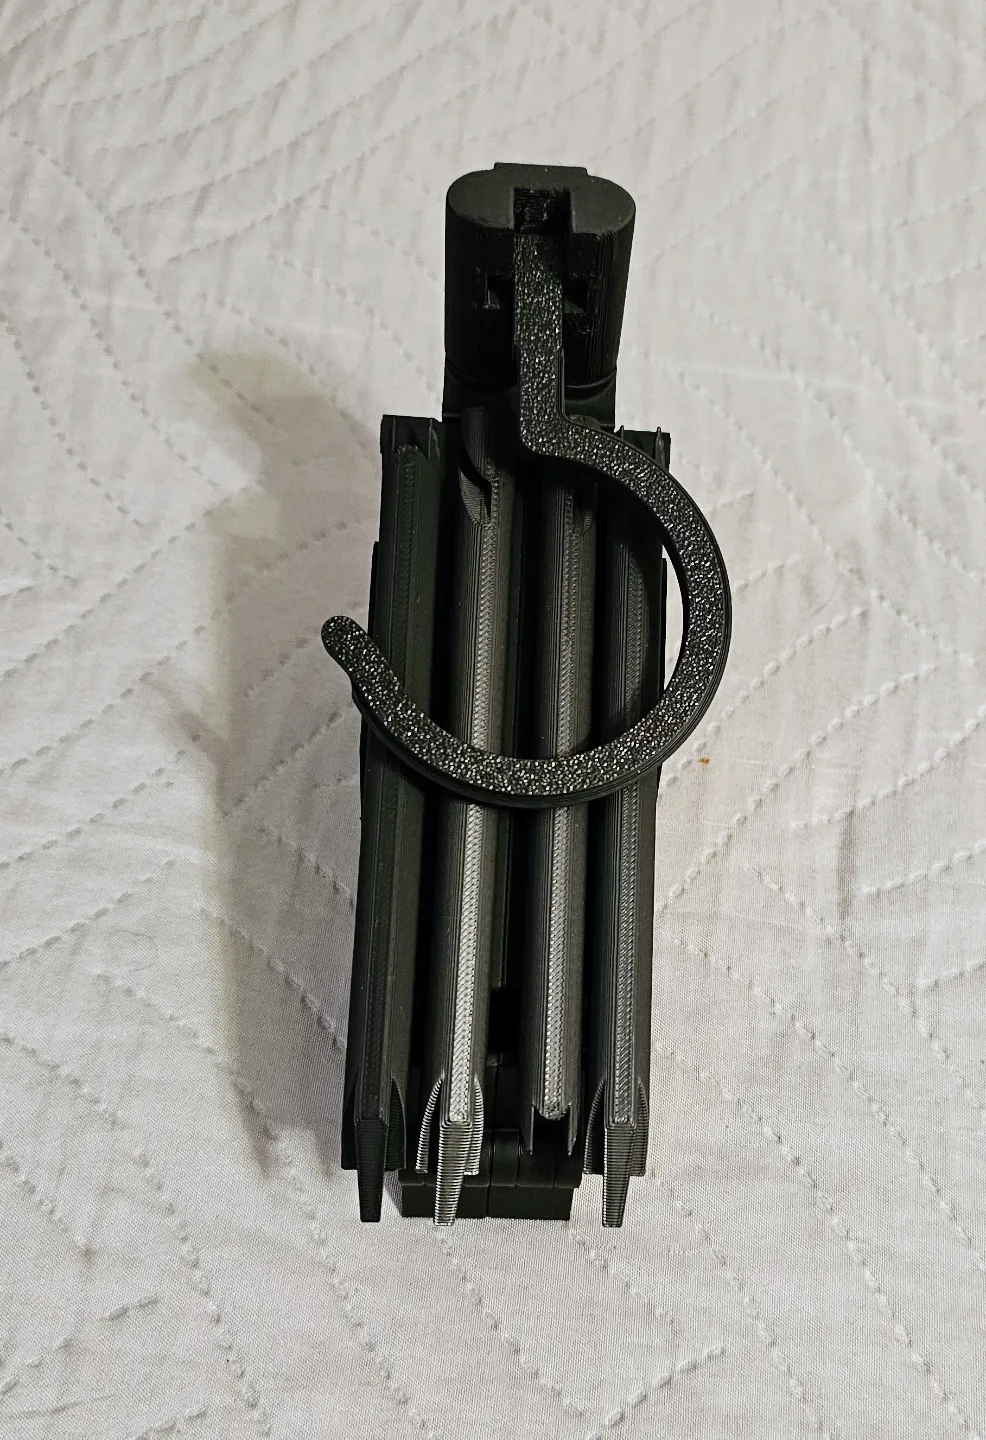
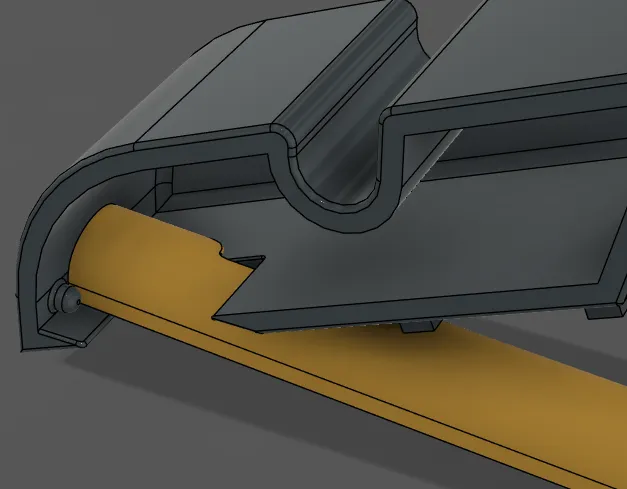
This is composed by 4 parts that can be easily assembled togheter. When the clothes hanger is closed they can be attached over it.
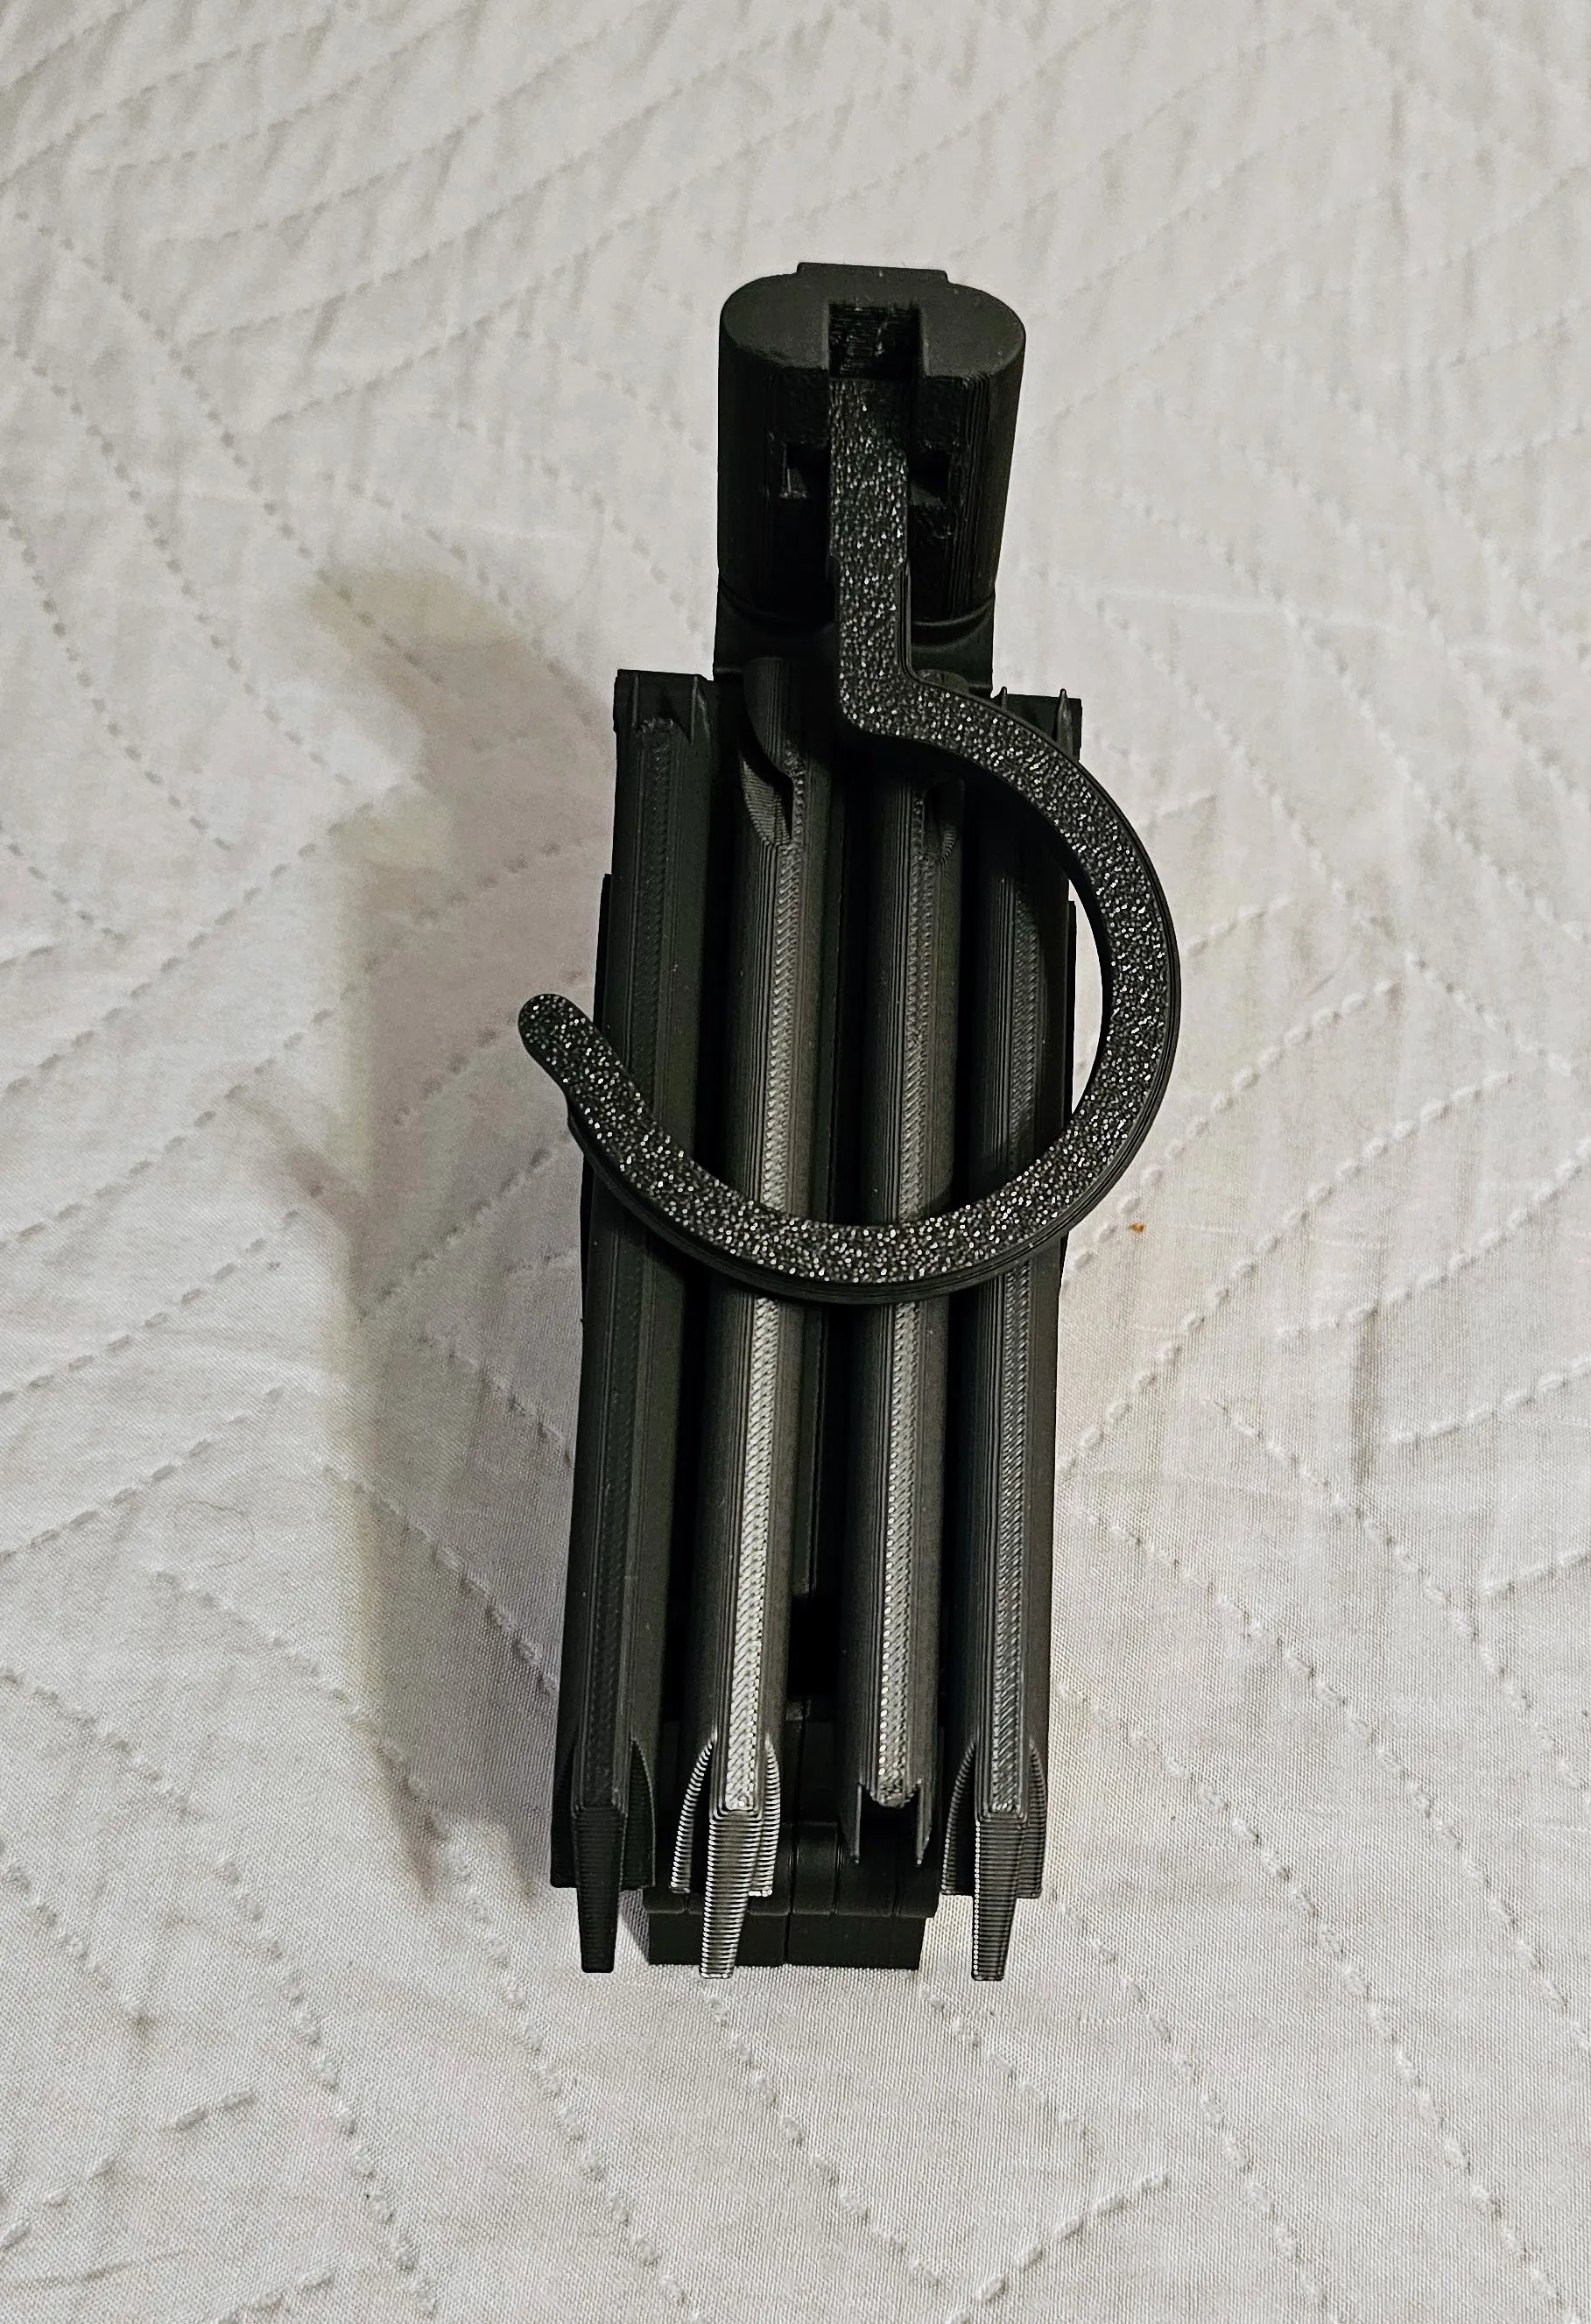
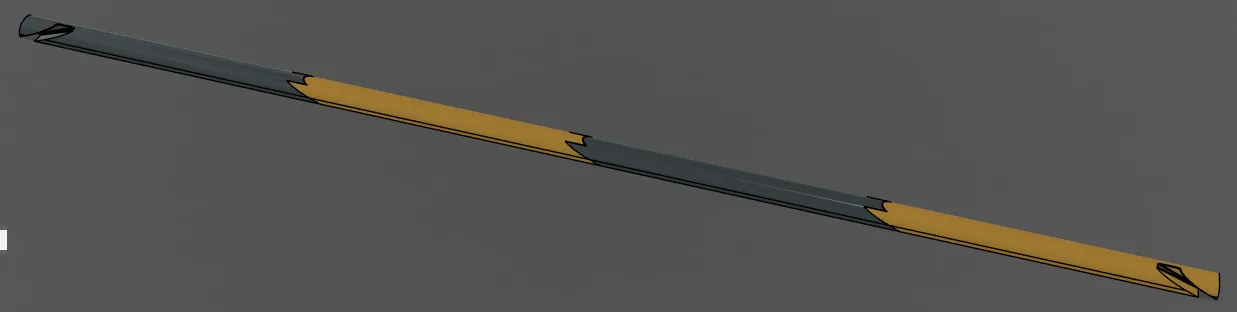
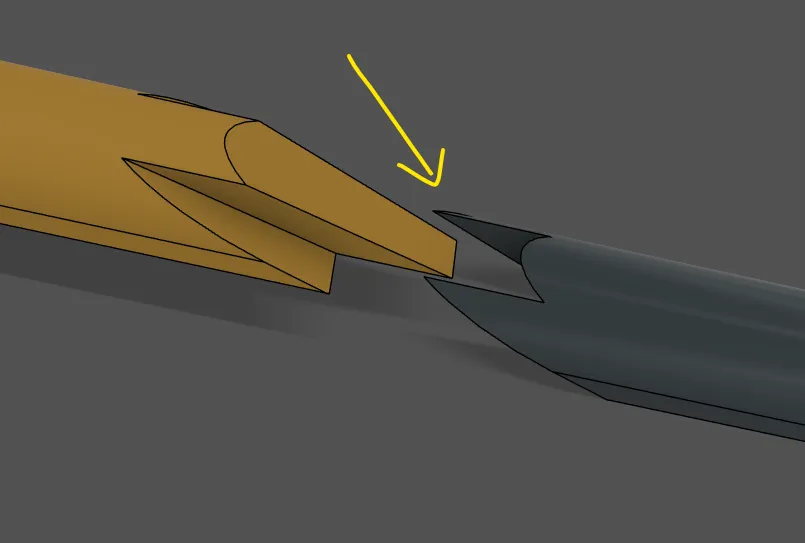
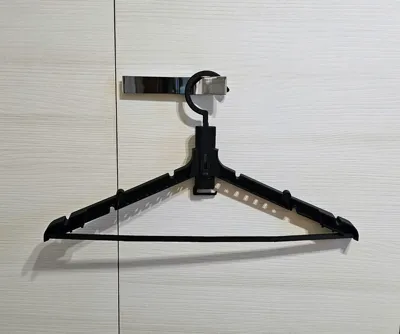
Finally you can insert the trouser support in the left and right holes of the shoulders.

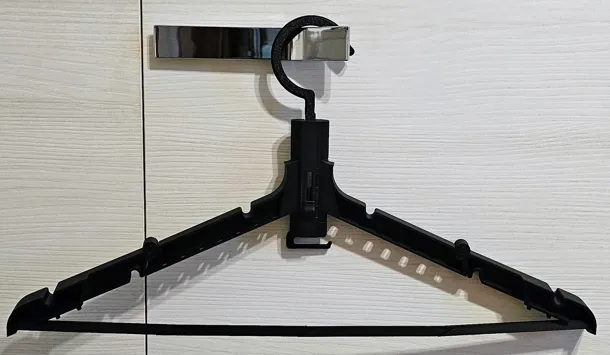
This is the final result:
If you like this model please leave a like!
If you want to buy me a coffee.. Thank you!
License

You shall not share, sub-license, sell, rent, host, transfer, or distribute in any way the digital or 3D printed versions of this object, nor any other derivative work of this object in its digital or physical format (including - but not limited to - remixes of this object, and hosting on other digital platforms). The objects may not be used without permission in any way whatsoever in which you charge money, or collect fees.


Comment & Rating (33)