
Parallel Marking Gauge / Scriber / Ruler

Print Profile(2)


Description
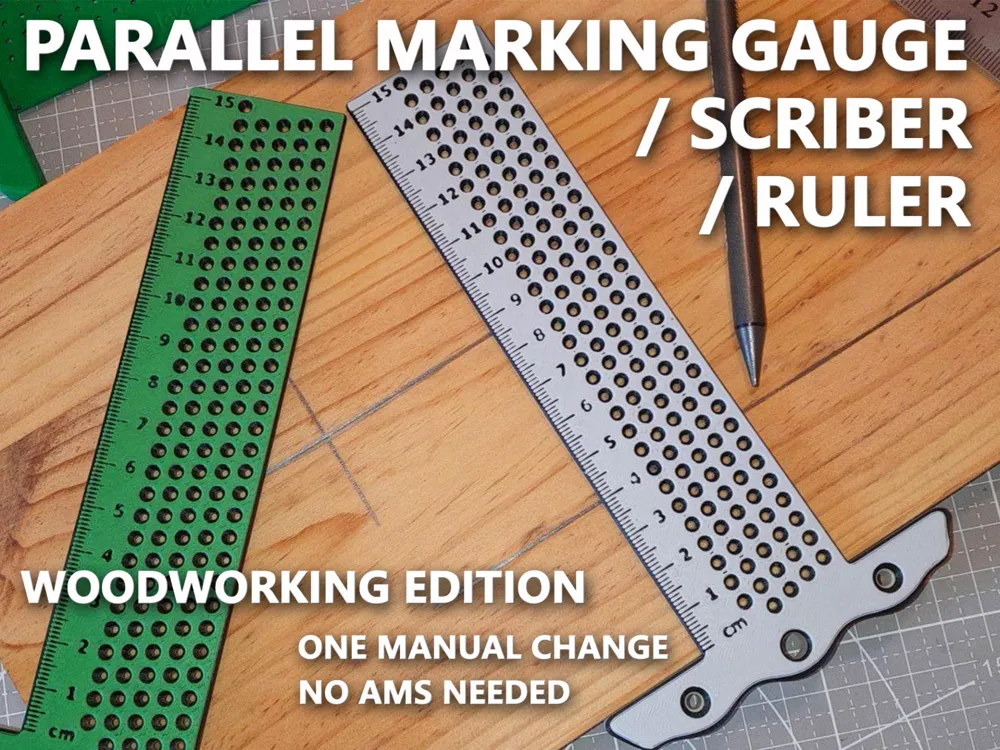
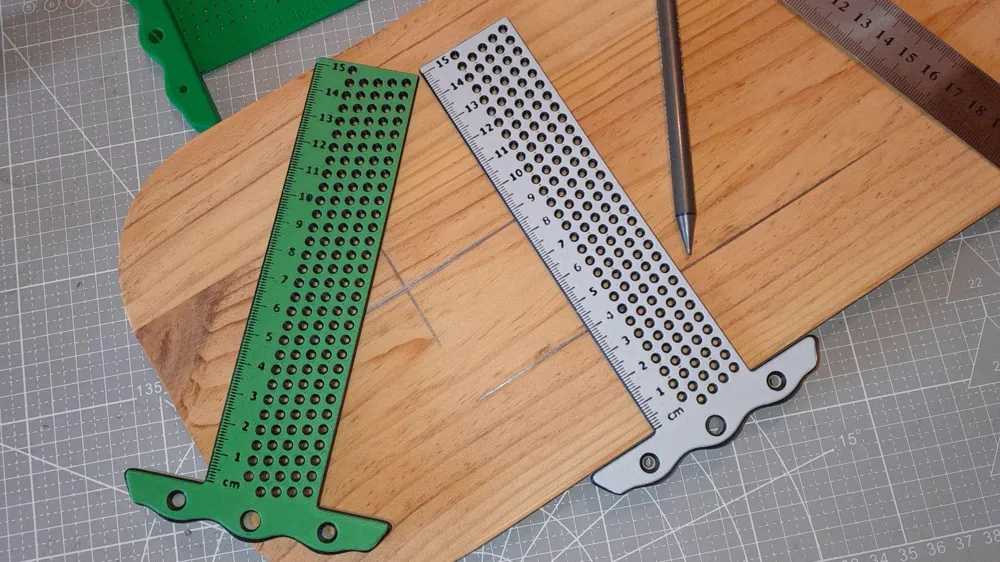
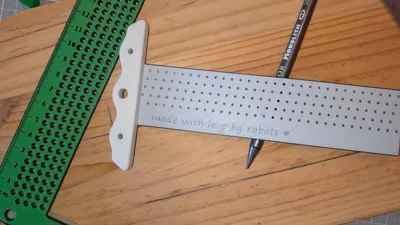
A parallel marking gauge / scriber / ruler. Does exactly what it says in increments of 1 mm.
I designed it from scratch and it turned out to be one of my favourite tools around and gets used on a daily basis.
There is an improved “Mark II” version available here: https://makerworld.com/en/models/558606
There is a metric (15 cm and 25 cm) and imperial (6 and 10 inch) versions available. You can also turn it around and use it from both sides and against corners!
This version has a 5.8 mm hole in the middle for it to be hung on your favourite screw. The 2 smaller countersunk holes (3.5mm) are there to mount a piece of wood to the stop-block in case you want to increase its size.
The stop-block has a height of 7.5 mm and is designed for woodworking. If you prefer a smaller one, check out the cardboard/desktop remix which has a 1.5 mm block that is more suitable for working with cardboard or paper and general desktop applications.
Print Settings:
0.4 mm Nozzle
0.2 mm Layer Height (also 1st layer)
0.4 mm Line Width
Random Seams
One Wall on First Layer
No Narrow Infill Detection
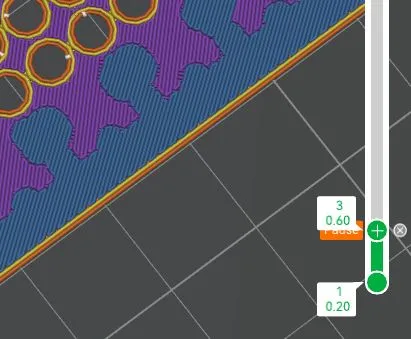
The text (markings, numbers, etc.) is cut out 0.4 mm deep, so you only got 2 layers to make it stand out. I find it the easiest to read if you start with a bright colour (opaque, lots of pigments), add a pause on layer 3 (0.6 mm) and change to a dark colour (this pause is set in print profile). A smooth build plate can help a bit to improve the text.
Optional:
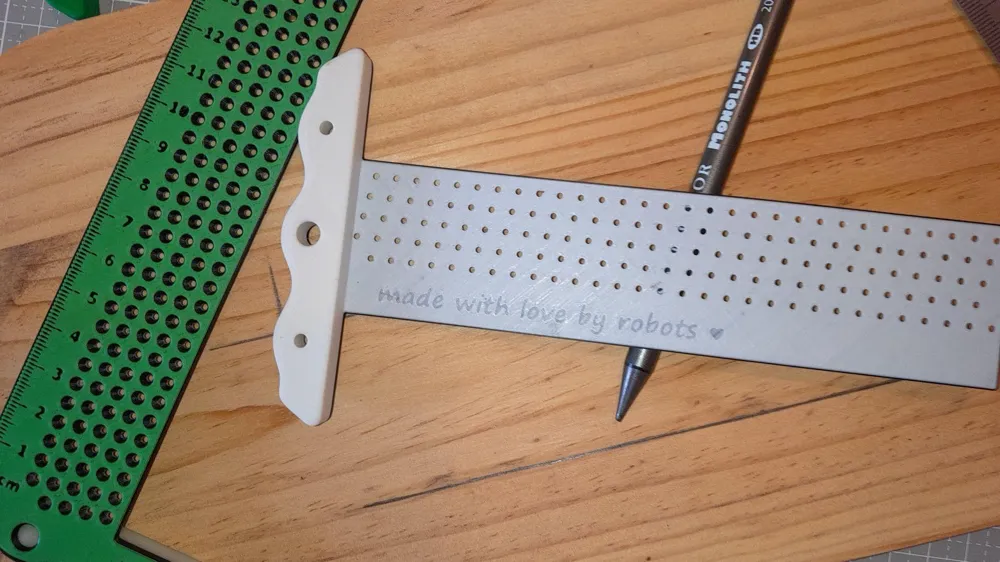
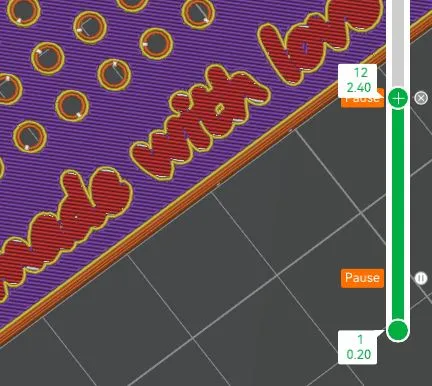
There is a “made with love by robots <3” watermark on the back. to highlight that, set a pause at layer 12 (2.4 mm) manually. This will colour the bottom with 2 layers (like the front), engrave the watermark by 1 layer and also colour the rest of the stop-block differently (this optional pause is not set in the print profile!)
There is an AMS Print Profile available now that includes both colour changes.
Have fun and if there are any flaws/suggestions or you want different sizes, feel free to message me.
License

You shall not share, sub-license, sell, rent, host, transfer, or distribute in any way the digital or 3D printed versions of this object, nor any other derivative work of this object in its digital or physical format (including - but not limited to - remixes of this object, and hosting on other digital platforms). The objects may not be used without permission in any way whatsoever in which you charge money, or collect fees.


Comment & Rating (196)