
Blower fan 5000rpm

Print Profile(2)


Description
Boost Me (for free)
Does it blow your mind?😂😂 No? Then maybe boost it even more!😃
Hi Makers!
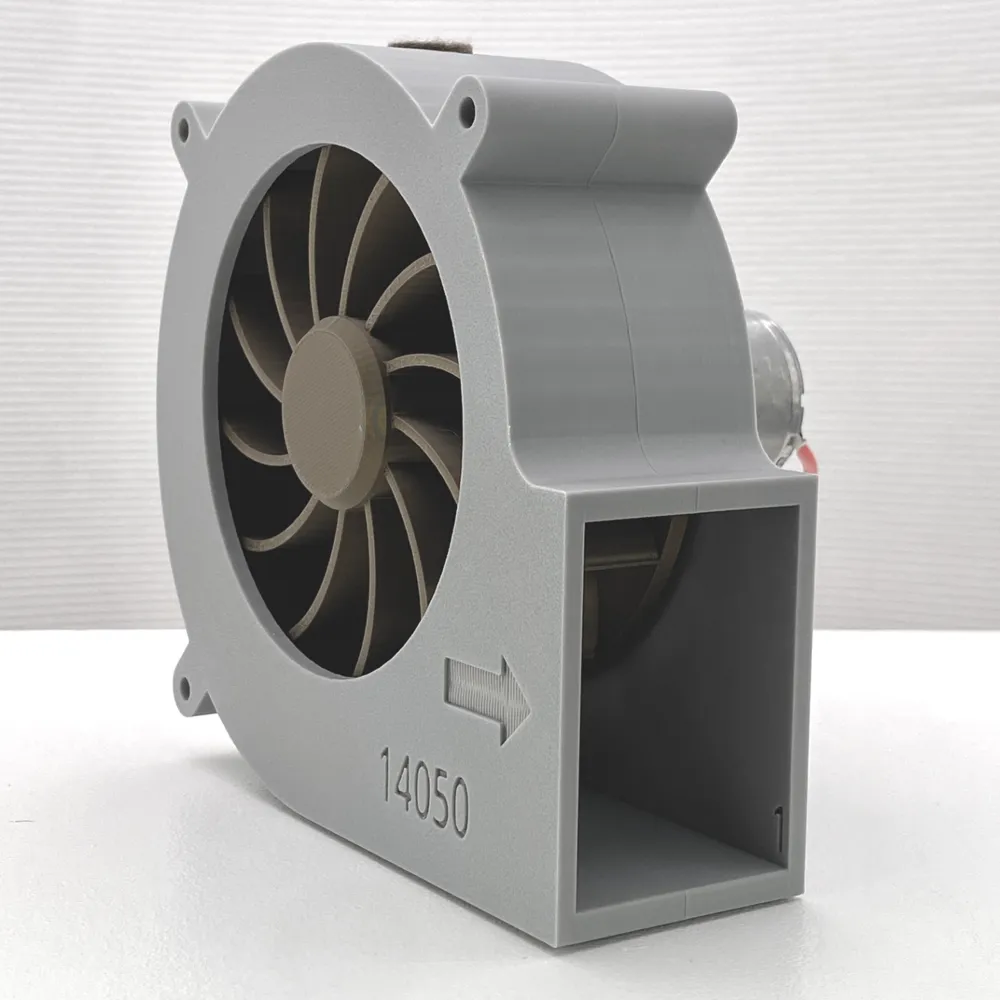
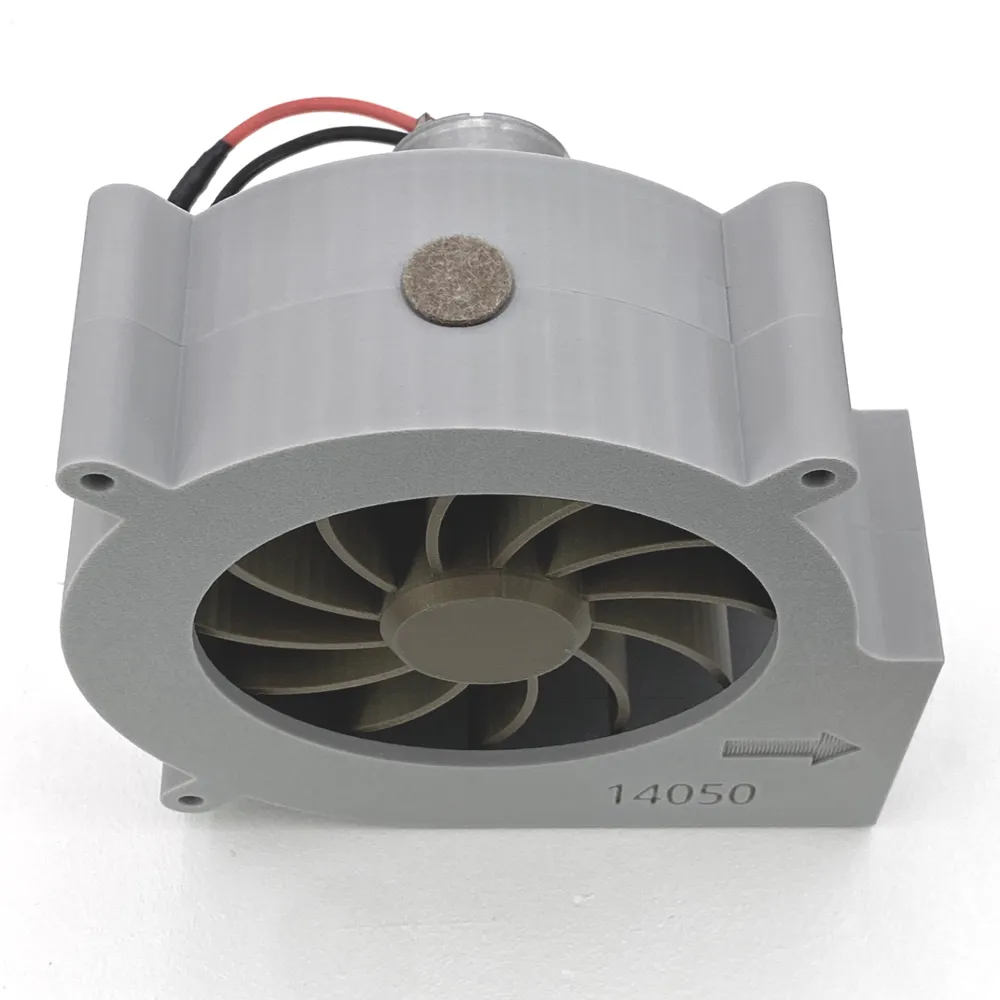
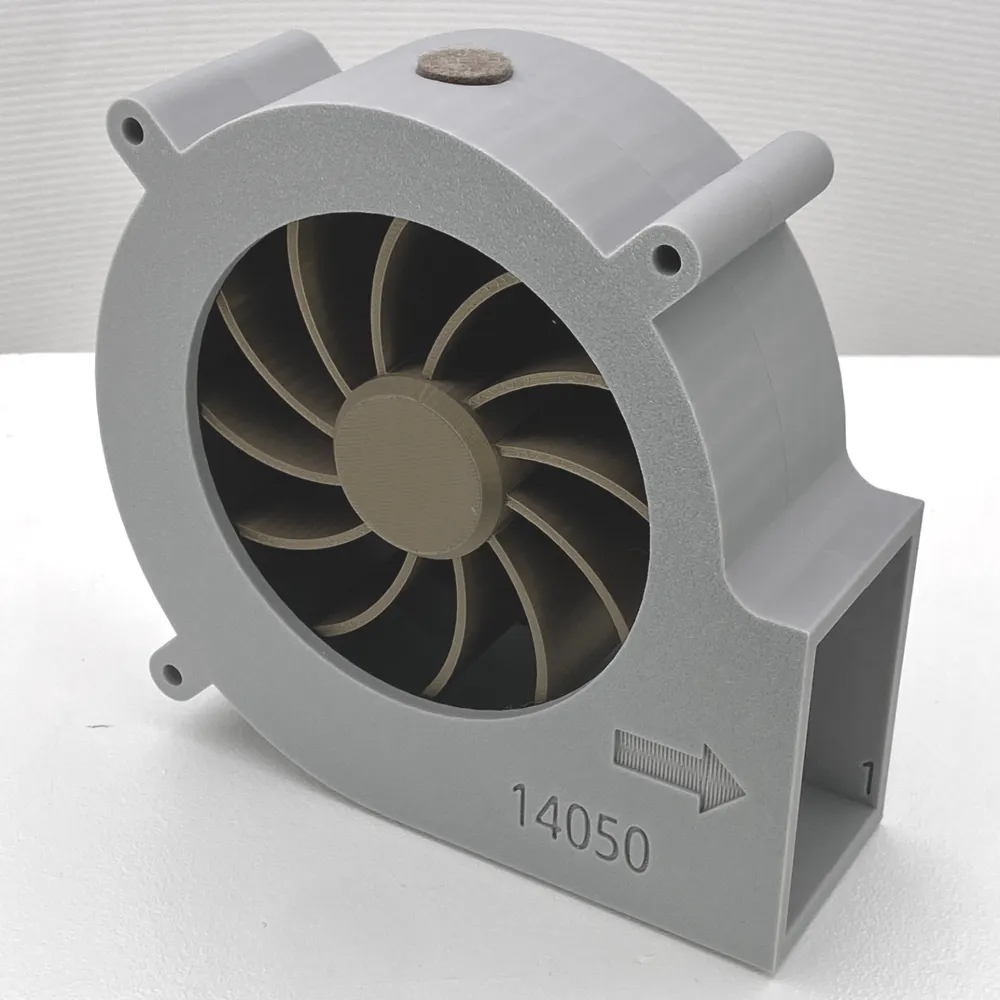
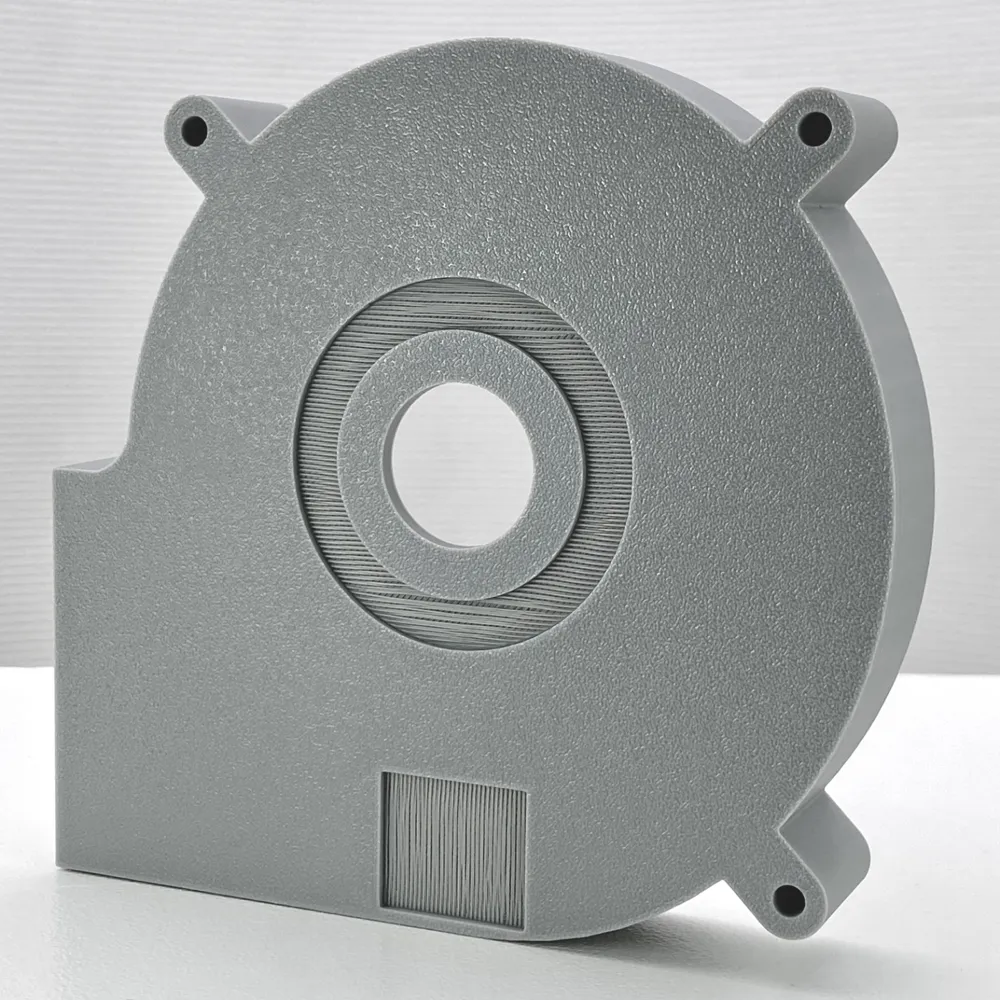
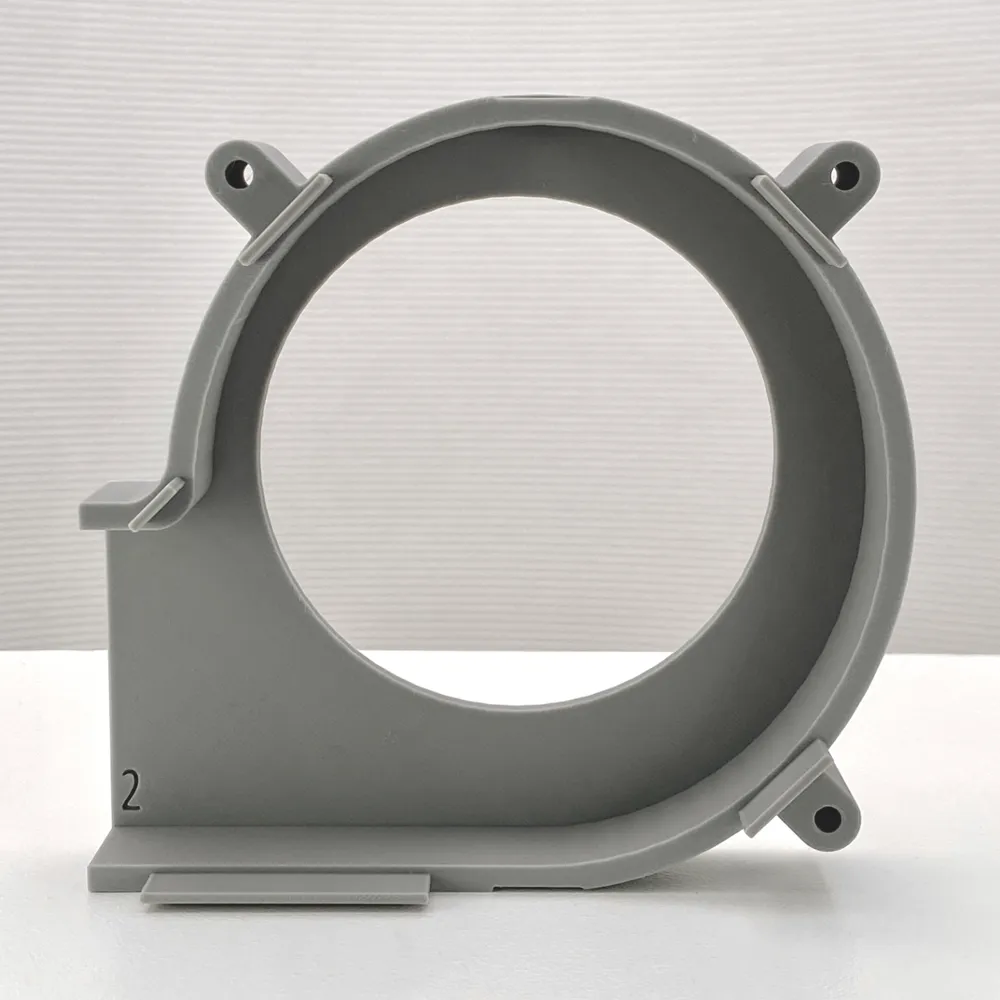
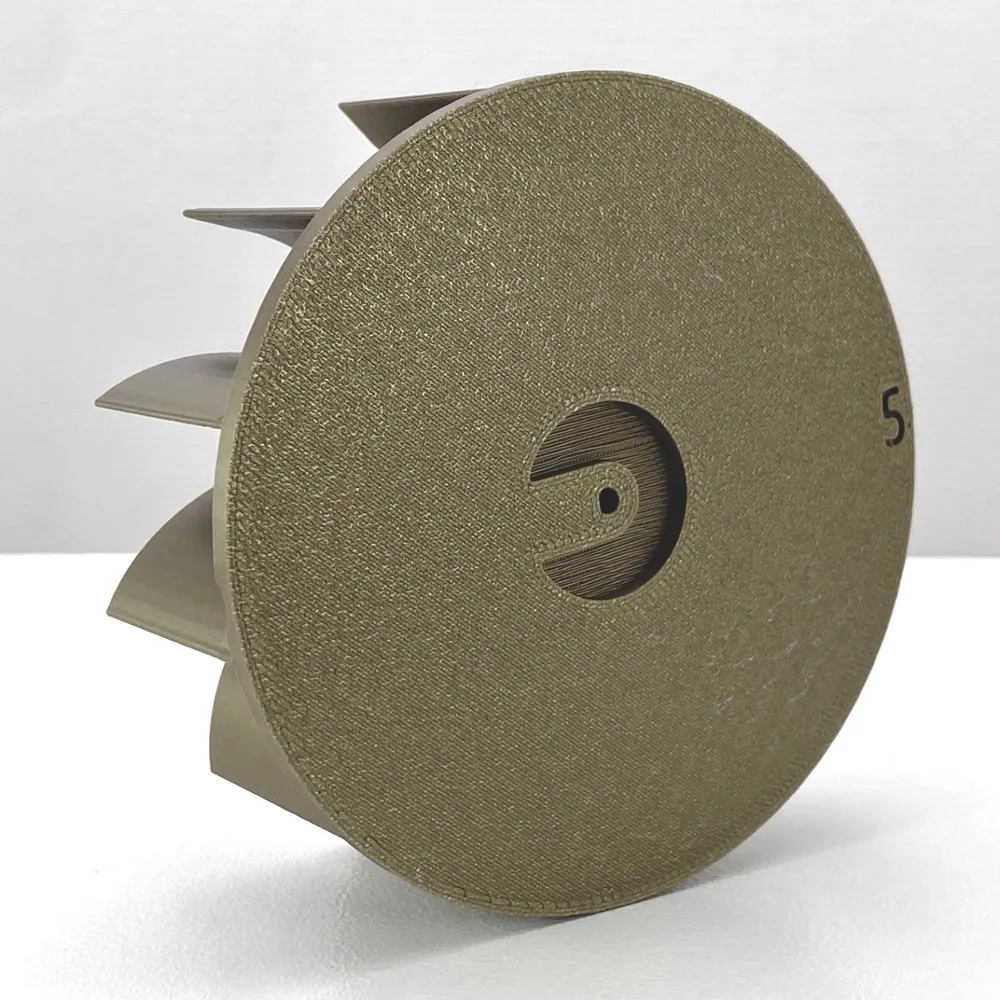
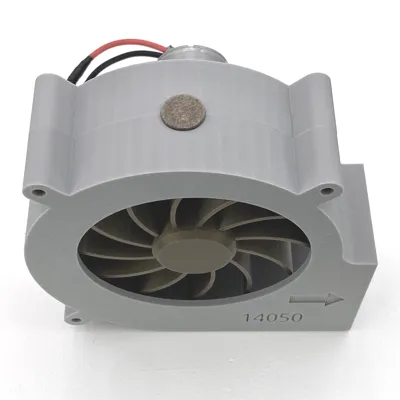
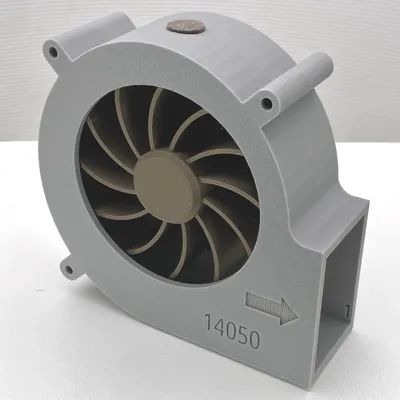
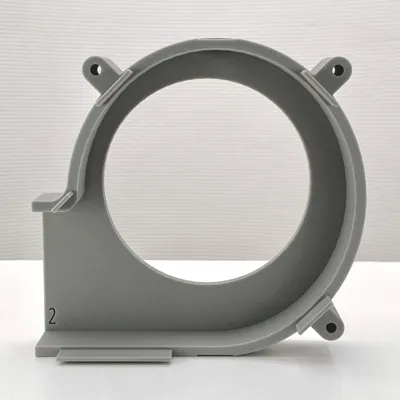
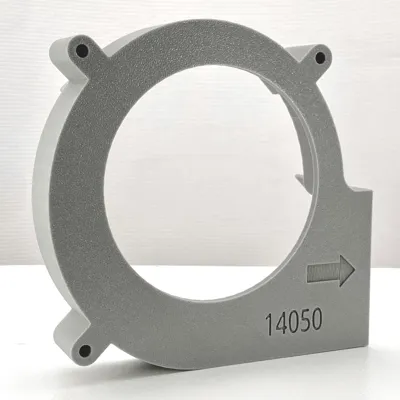
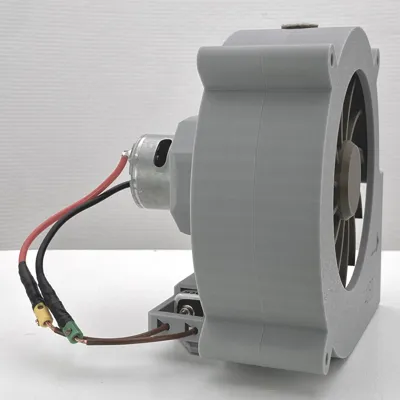
I designed this custom DC blower fan that is super easy to assemble and can be powered by a simple brushless DC motor!
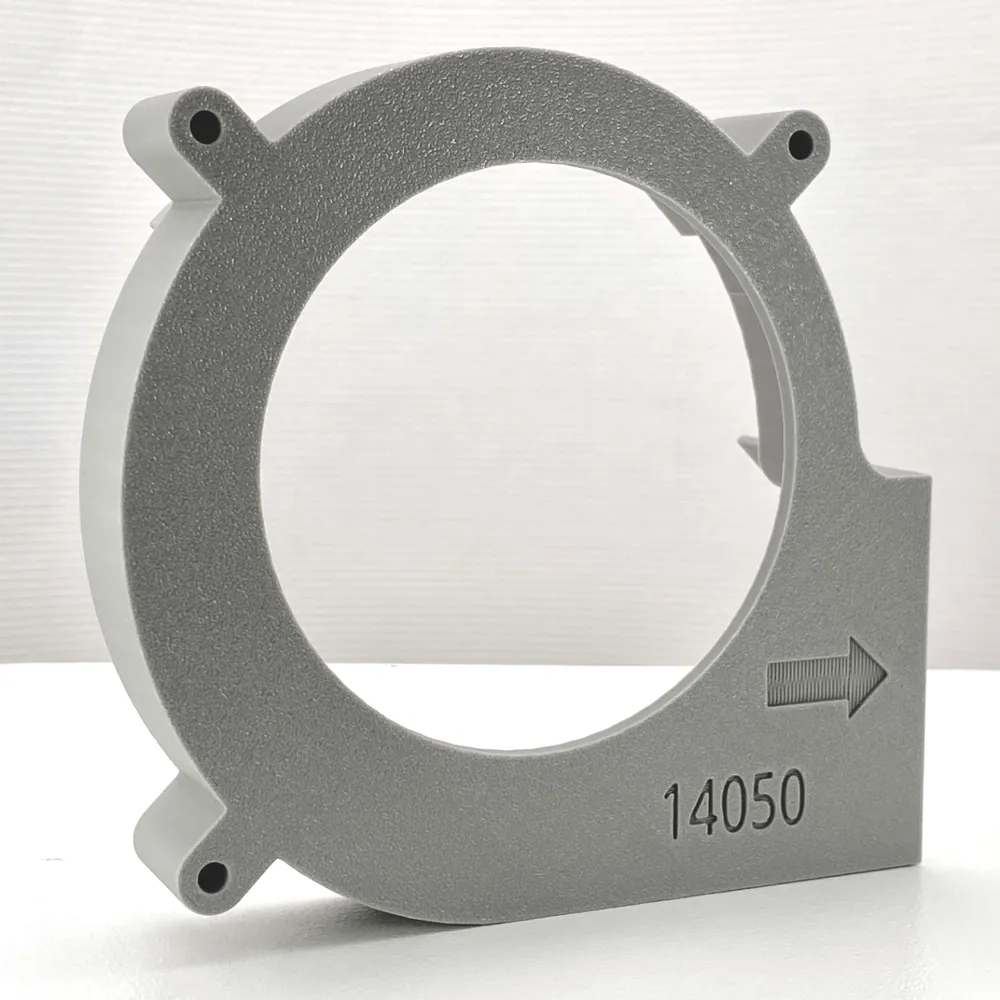
It is a gigantic 14050 fan with approximately 5000rpm when powered by a high current battery.
You can use it for many things like actually cooling down devices, fume extraction or other cool stuff in household;-)
As the regular upload page limits the amount of pictures, you will find all 36 images just in the print profile section.
Information:
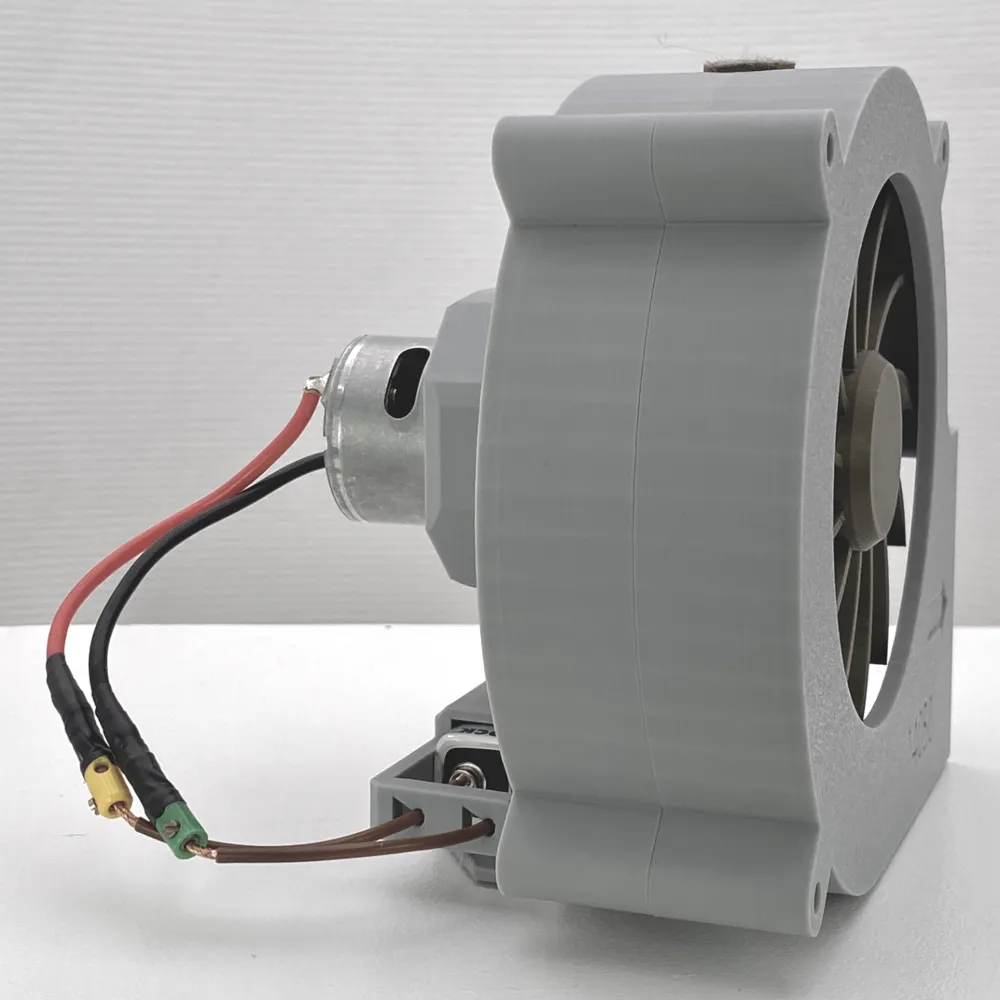
There are two different fan stands to choose. One has an included block battery mount (file: battery_stand) while the other is just a simple stand
(file: regular_stand) which you may prefer if you want to connect a higher current battery to the fan. Both print together with the main parts and allow you to securely hold the motor cables when not using the fan.
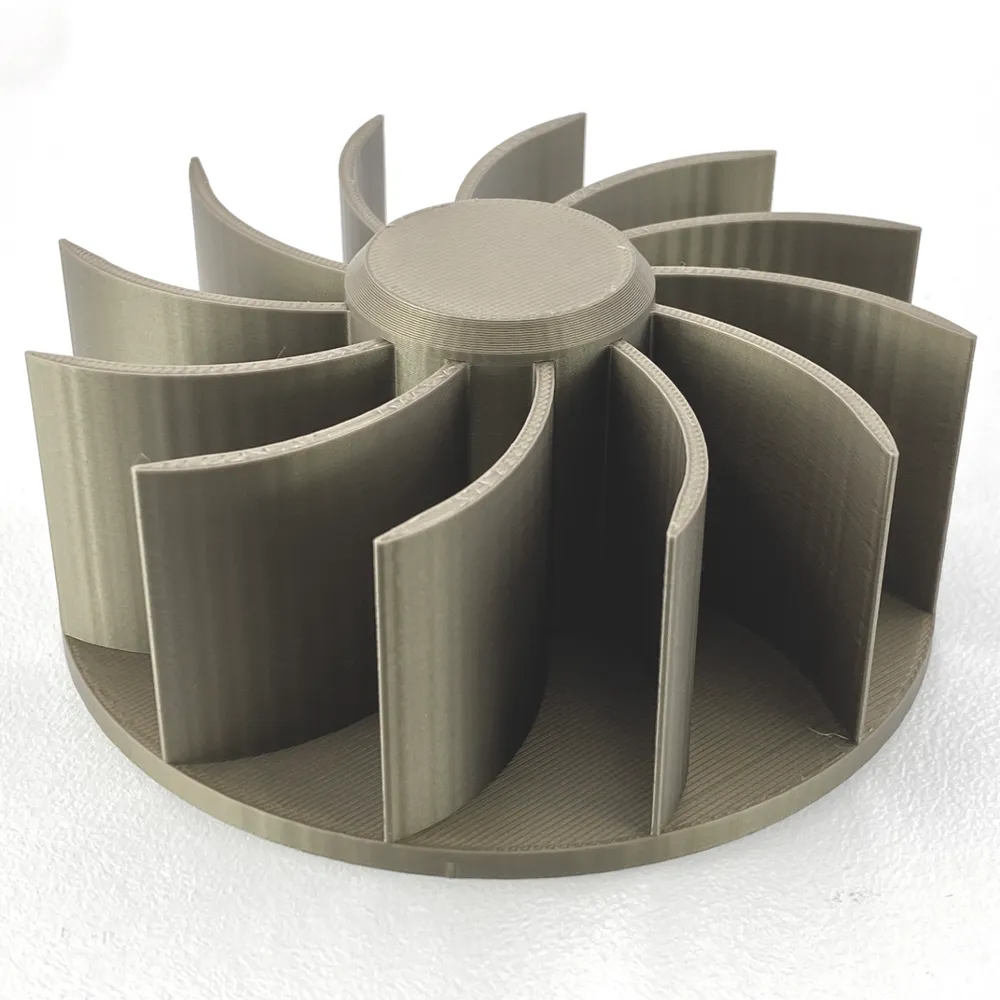
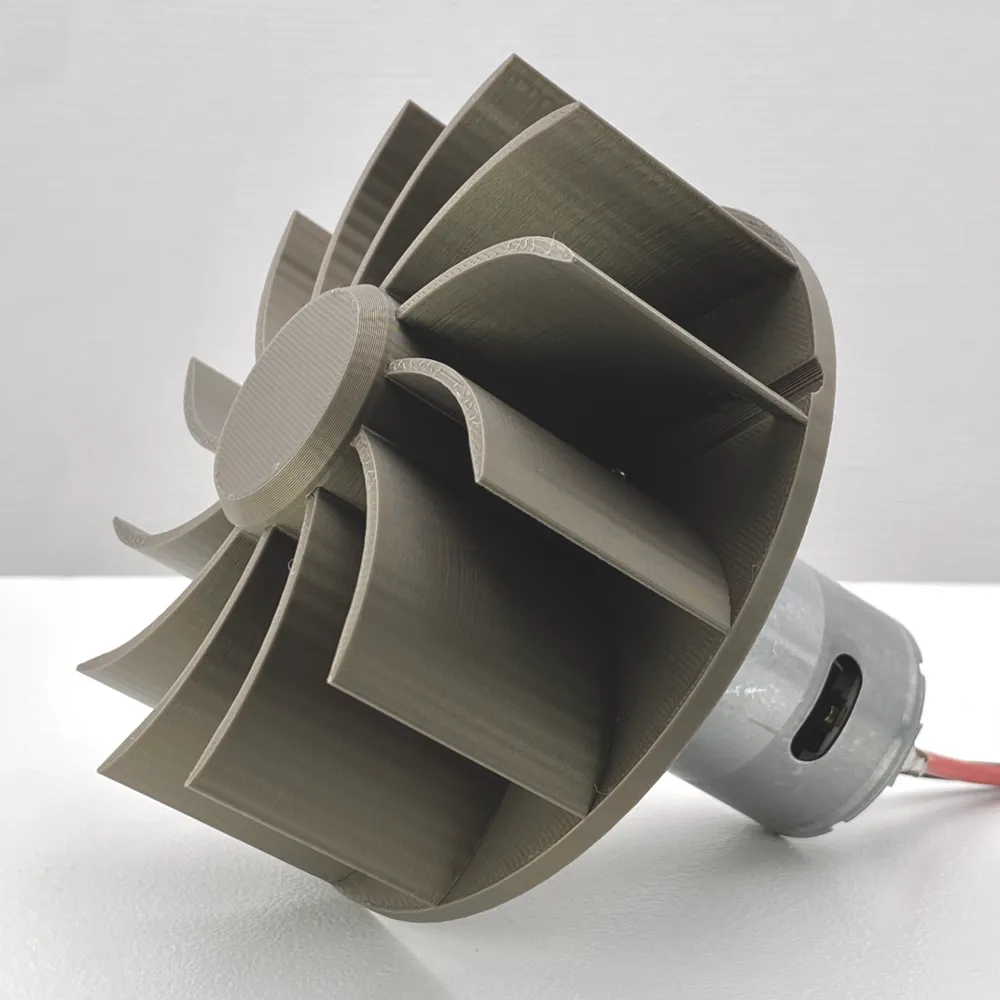
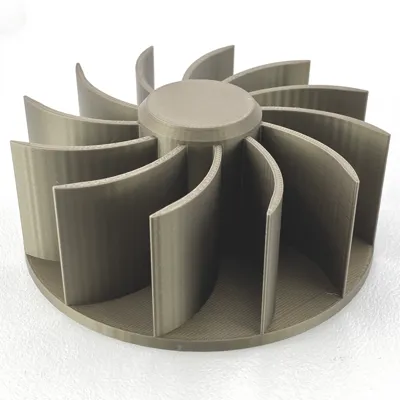
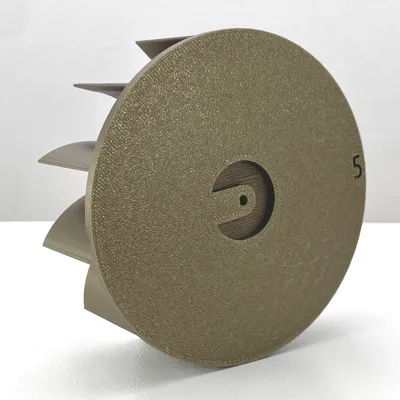
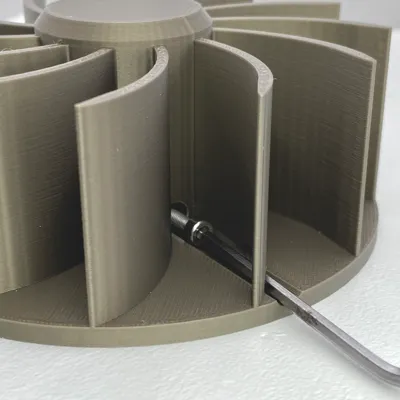
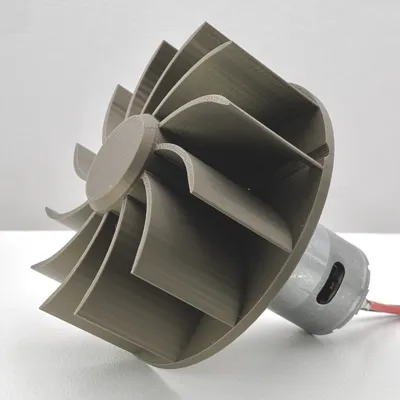
I suggest to print the rotor (A or B) separately to ensure better precision and quality, therefore I added them to different plates in a separate print profile.
There are a two versions with different kinds of rotor blades available. I am not an physiologist and do not know what is better for pressure and air flow, but maybe you are;-) So feel free to choose, the plates are labelled with the matching rotor (A or B) in the print profile description.
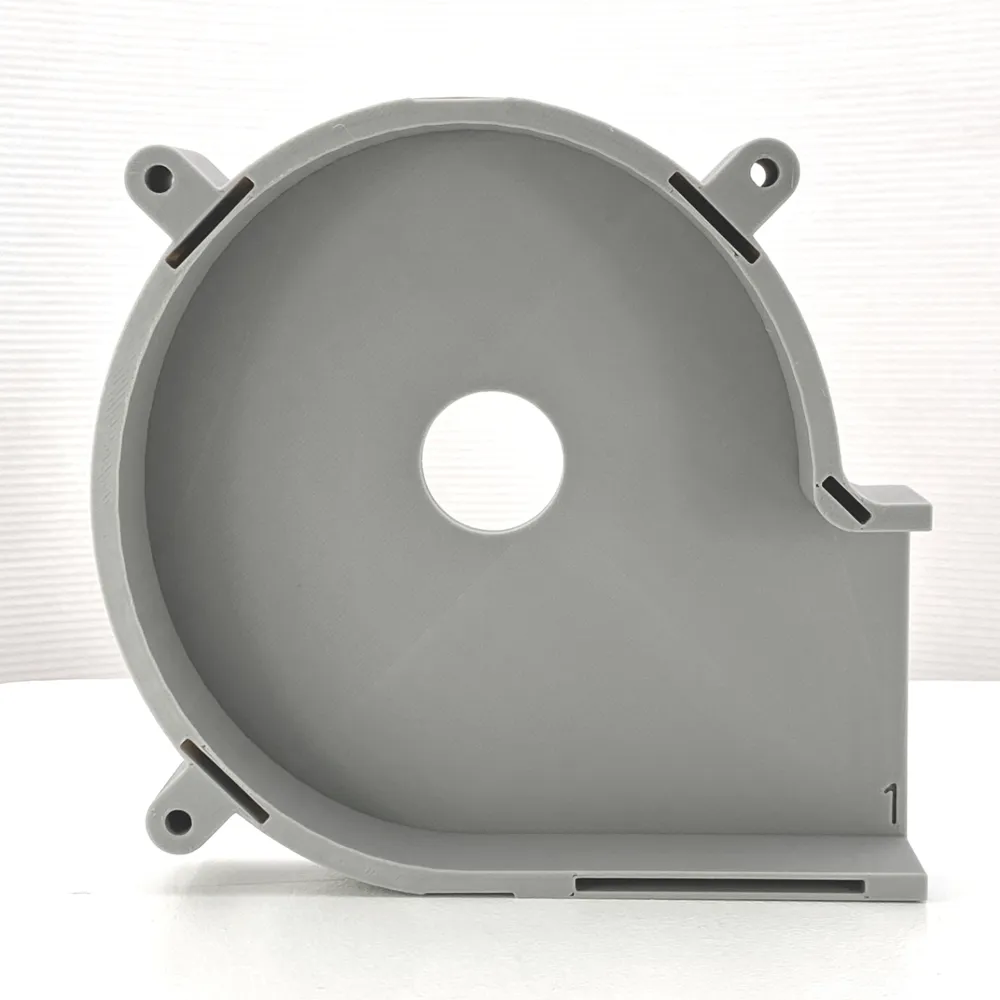
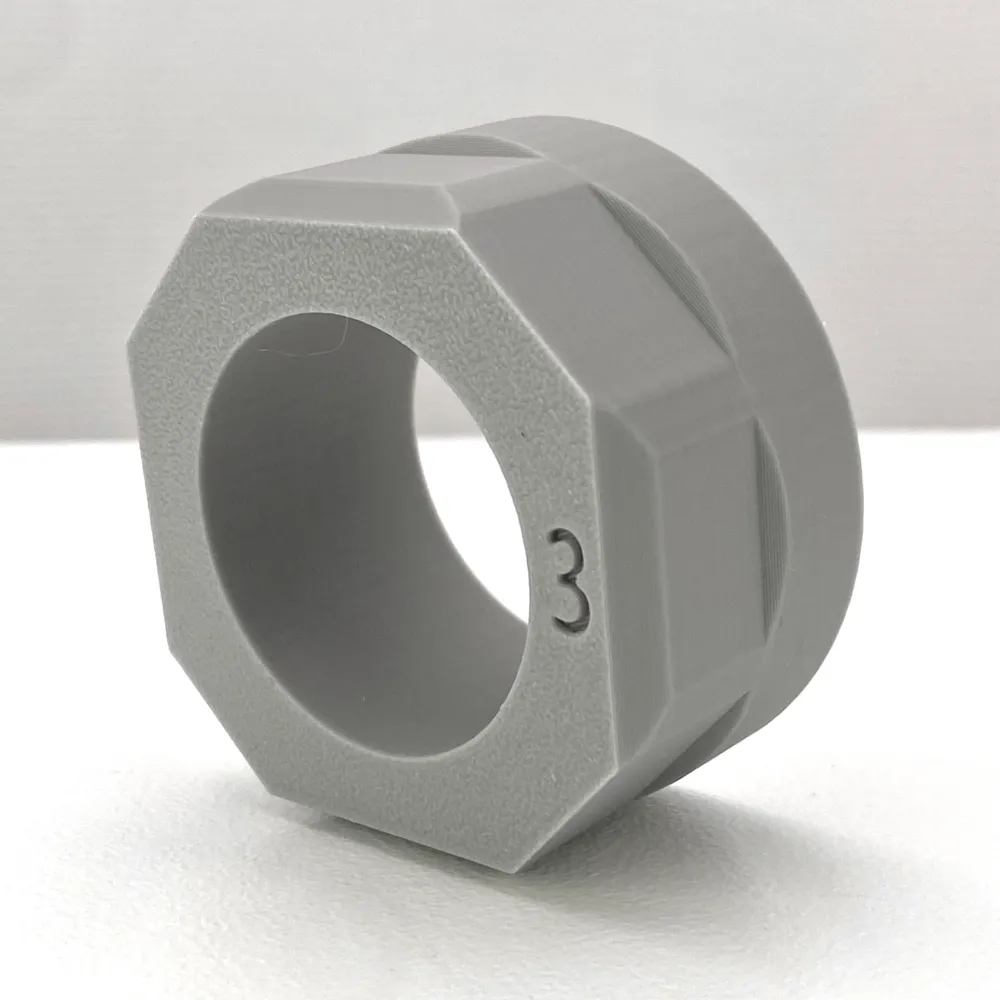
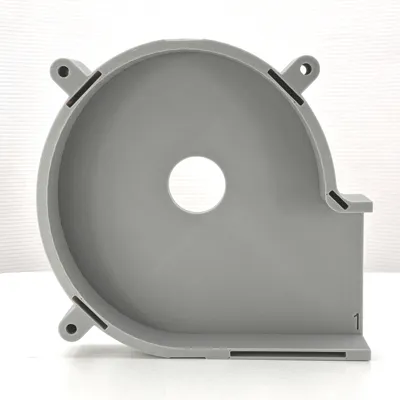
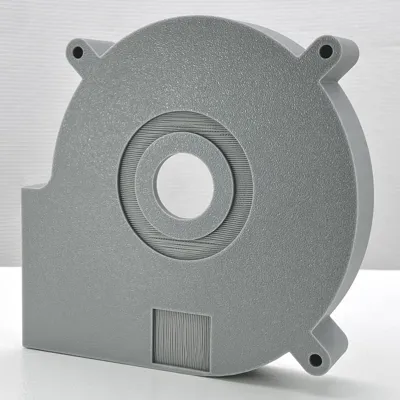
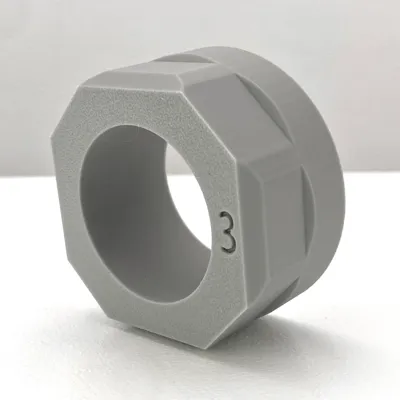
All parts are numbered with #number in the files and on the models themselves.
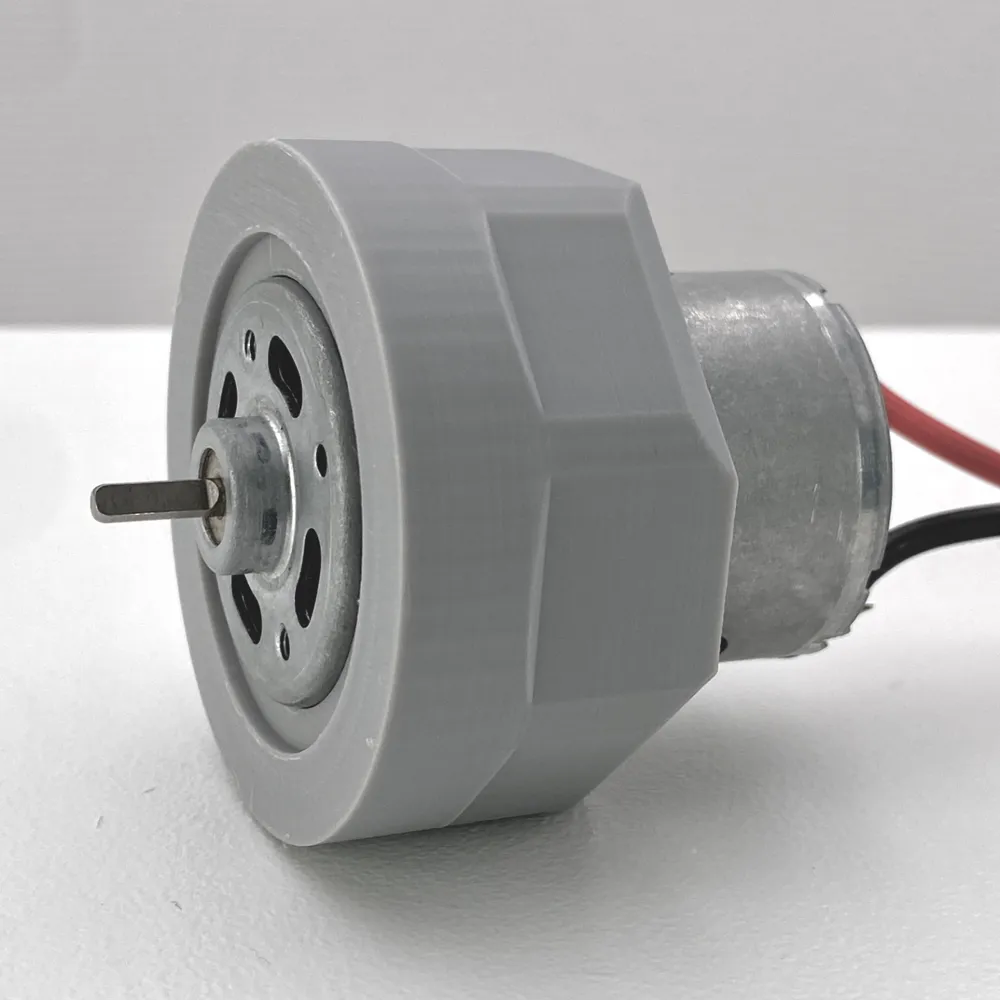
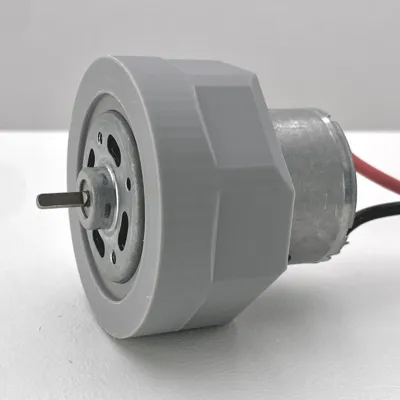
Please also remove the foil wrapping of the DC motor as that allows you to more easily slide in and press fit the motor into its mount at the back. You can still adjust the friction appropriately with thin tape to hold it securely in place, but ensure the motor can still be pulled out with a bit of force to occasionally switch it or for easier maintenance.
You can easily turn it off by just pulling on one of both wires that are normally pushed towards the battery in its mount or by disconnecting them from the external bigger battery.
All profiles have been rigorously tested, just note that the accuracy of each part depends on your specific machine.
Total printing time is about 10h while the cost is nearly 15-34€ (for default equipment).
Please carefully read the description above, under the print profiles and follow the correct assembly steps from the pictures to ensure you have a great experience with this model.
Necessary components:
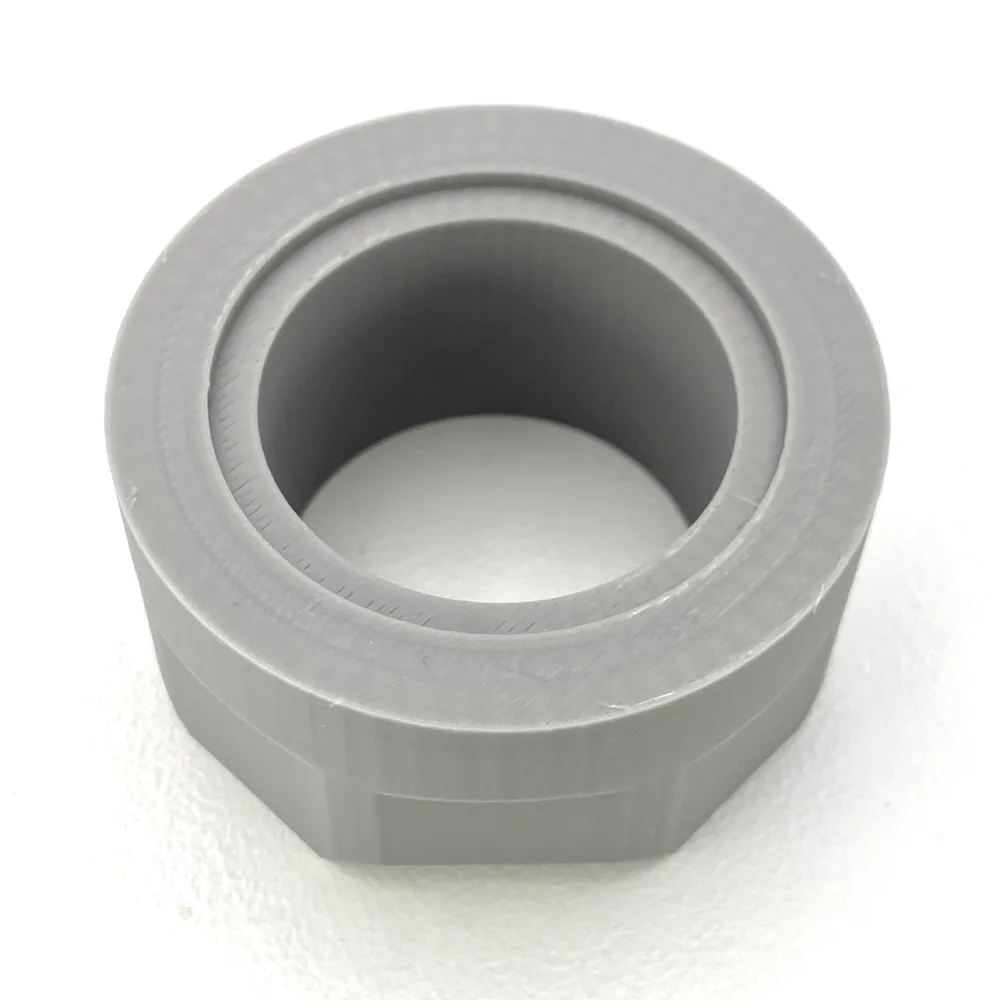
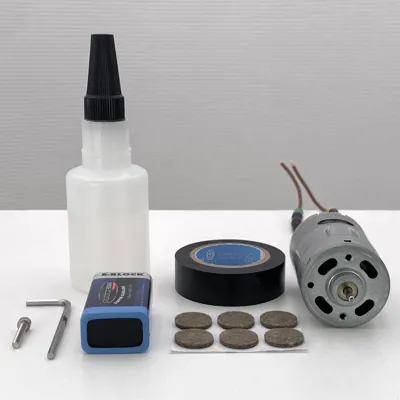
- The printed parts and one rotor of your choice, there are 2 available as well as one stand of your choice, there are also 2 available
- Assembly references found in the image sections
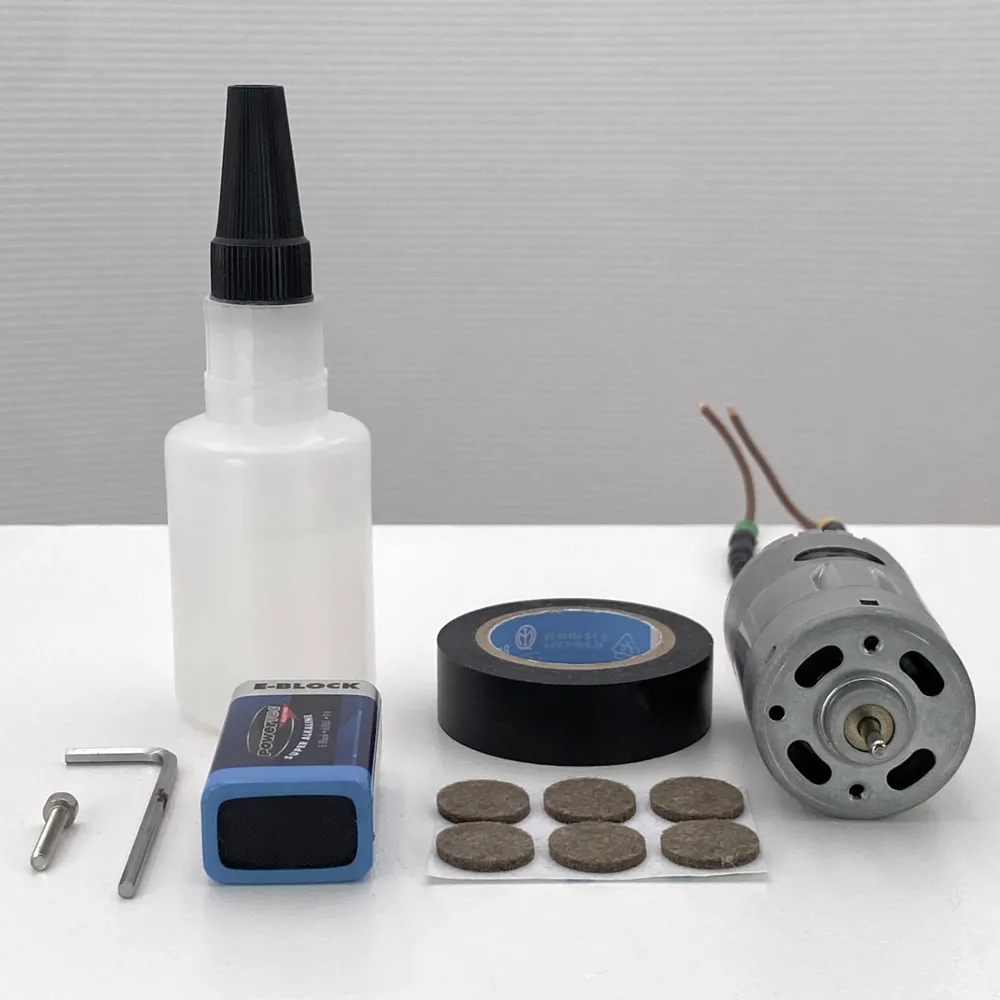
1x the linked Carson DC motor (down below)
OR: (individual motor)
35-35.5mm diameter brushless DC motor;
with 10mm shaft length;
≤3.5mm shaft diameter;
included D-cut (0.5mm);
approximately 6v-9v (9v for block battery);
≤3.5mm external space between the start of the motor shaft and the main body
(If you have specific questions, feel absolutely free to contact me)
- Appropriate adaptor for possibly smaller sized motors (the mounting hole is about 36mm in diameter)
- Thin regular tape (Tesa) for holding the motor with friction its mounting hole
- 1x appropriate 6v-9v battery with the same voltage as the motor (9v block-battery; 6v lead-acid battery (default, linked down below))
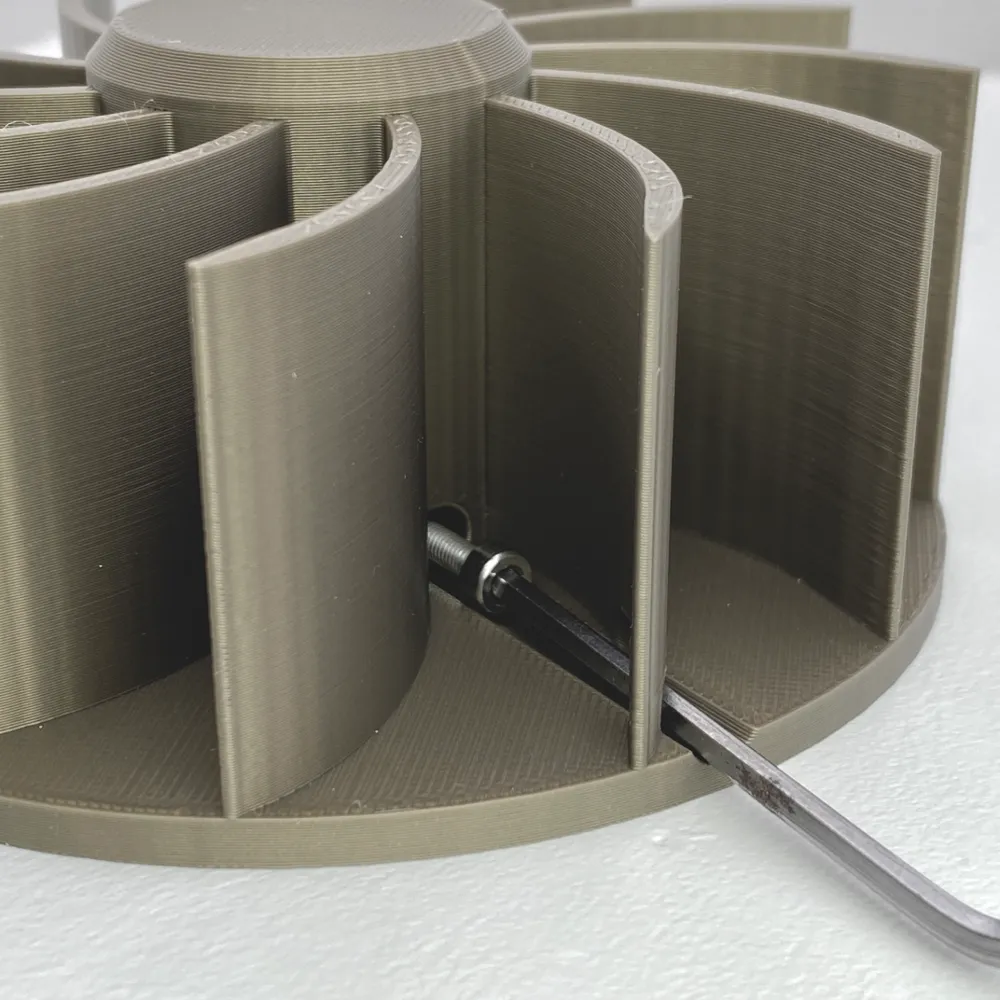
- 1x M3x12 (or longer) hex socket head screw for securing the rotor
- Appropriate M3 screw-driver or 2.5mm Allen key
- Appropriate wires for individual electronics; default motor does only need 2 additional 100mm+ long and ≤2mm thick (outer diameter) extension wires (to get its original cables longer and thinner, choose even longer cables for the lead-acid battery)
- Insulation tape to fix the thinner extension wires to the motor cables
- Appropriate glue for PLA or other polymers
- 5x anti-move pads with ≤12mm diameter to easily stick the top and bottom parts together along with the pad's regular purpose at the fan's stand (You can also use the mounting holes of the fan to screw both parts together with separate screws and nuts, see right below)
- 3x M4x55 (or longer) hex socket head screws to screw the top and bottom parts together via the 3 mounting holes (if you wish to directly screw it to something or do not want to use the anti-move pads only)
- 3x M4 hex socket nuts when choosing the option with M4 screws
- Fun and success of course!! 🤩
(The default equipment required is also shown in the model pictures, the specific choice depends on your individual preferences)
Here you can find the links for the default electronical components:
(They have been tested previously)
Amazon links:
1. 6500rpm DC motor (default, Carson)
2. 6v lead-acid Battery (default, 1st option)
3. 9v block battery (default, 2nd option)
→ 14.50€ in total with the block battery (and it is a 14050 fan😋😋)
→ 34.00€ in total with the lead-acid battery (recommended)
Have fun and success with this fan! It can be suitable for a whole lot of situations!
Best regards
😃
Note:
- It is very loud! Better tell your wife you are vacuum-cleaning before starting it up;-)
- Correct assembly guides are available in the model pictures above.
- Correct assembly is potentially still accessible from the parts, but be precise when putting it together.
- Straight and aligned installation/ assembly and tightening of the rotor with the M3 screw is crucial for seamless operation and less vibration.
- After fixation, the rotor should not be able to get pulled apart.
- Check the fan's stability before start to ensure it does not break into its pieces or the top part gets loose while spinning.
- Also check the rotor for non-wobbly rotation and the correct voltage for battery and motor if not choosing default.
- If you hear scratching sounds, turn off the fan immediately. Please readjust the position of the rotor to be absolutely centered and do not forget to tighten the idler screw that is holding it in place.
License

You shall not share, sub-license, sell, rent, host, transfer, or distribute in any way the digital or 3D printed versions of this object, nor any other derivative work of this object in its digital or physical format (including - but not limited to - remixes of this object, and hosting on other digital platforms). The objects may not be used without permission in any way whatsoever in which you charge money, or collect fees.


Comment & Rating (111)