
Pastamatic Dual-Motor Antrieb
Print Profile(3)


Bill of Materials

Description
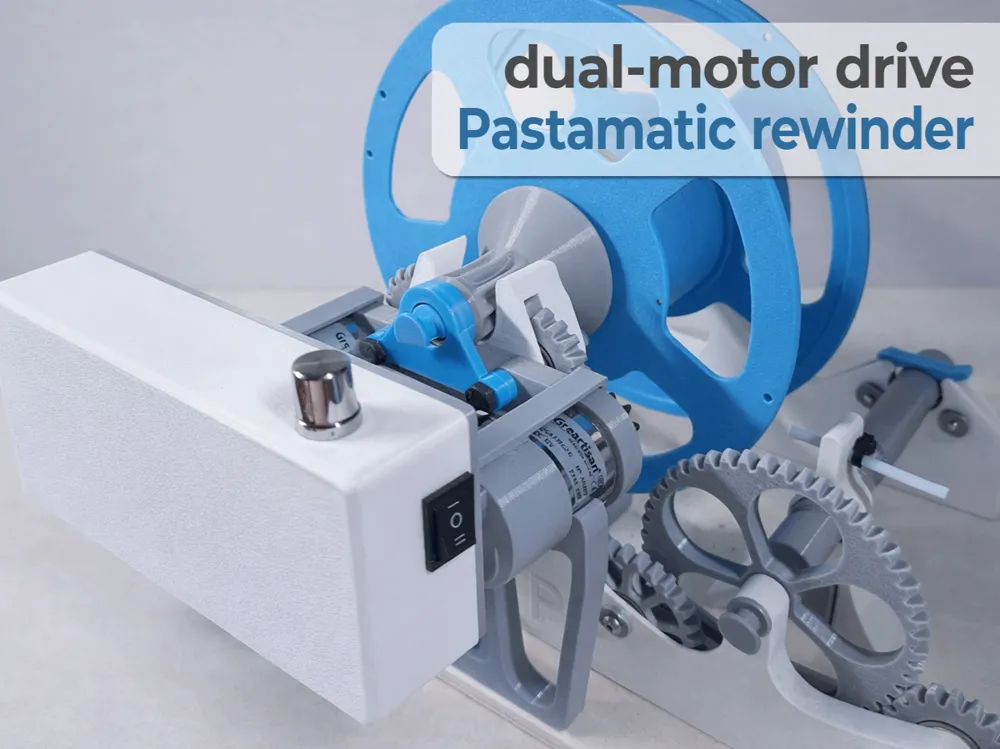
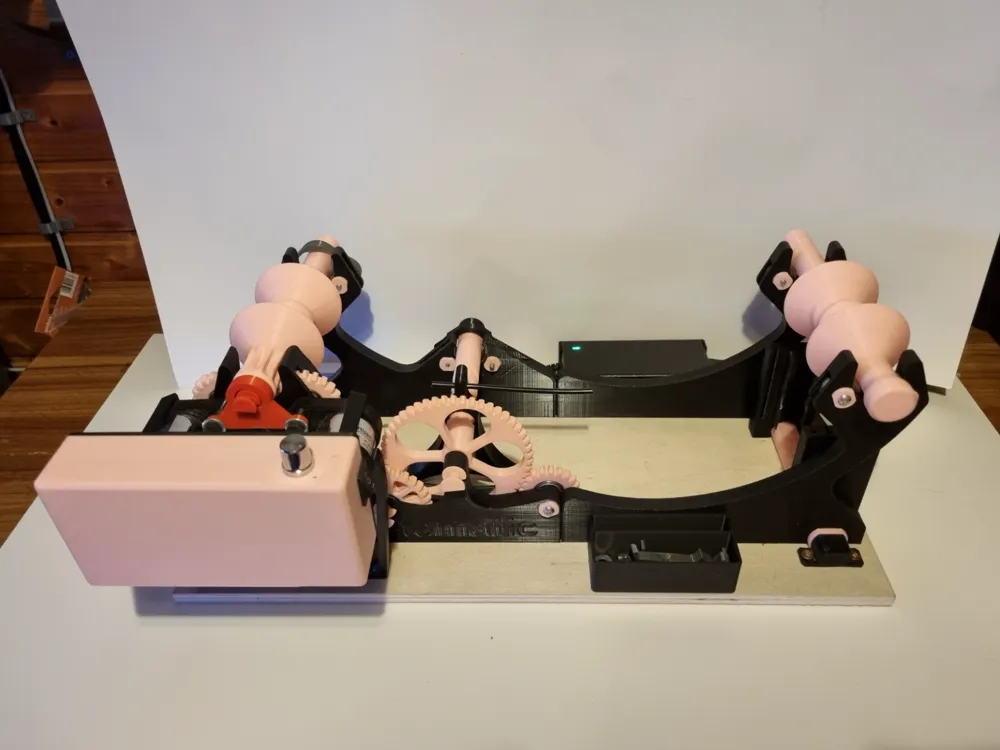
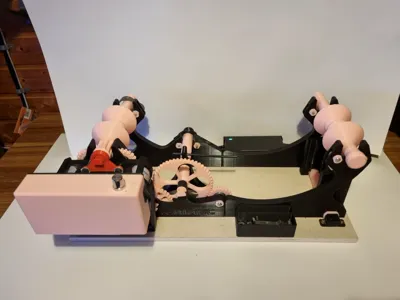
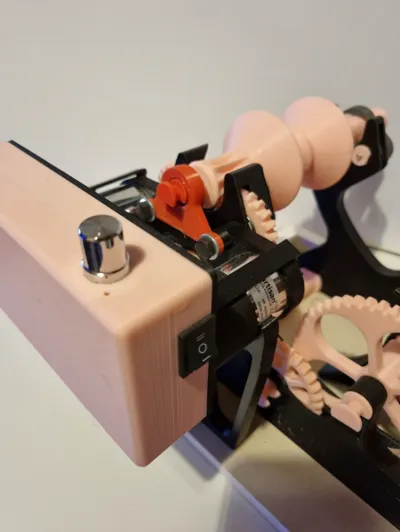
By popular demand, here is my version of the dual-motor drive for the Pastamatic Filament Spool Rewinder
What I changed…
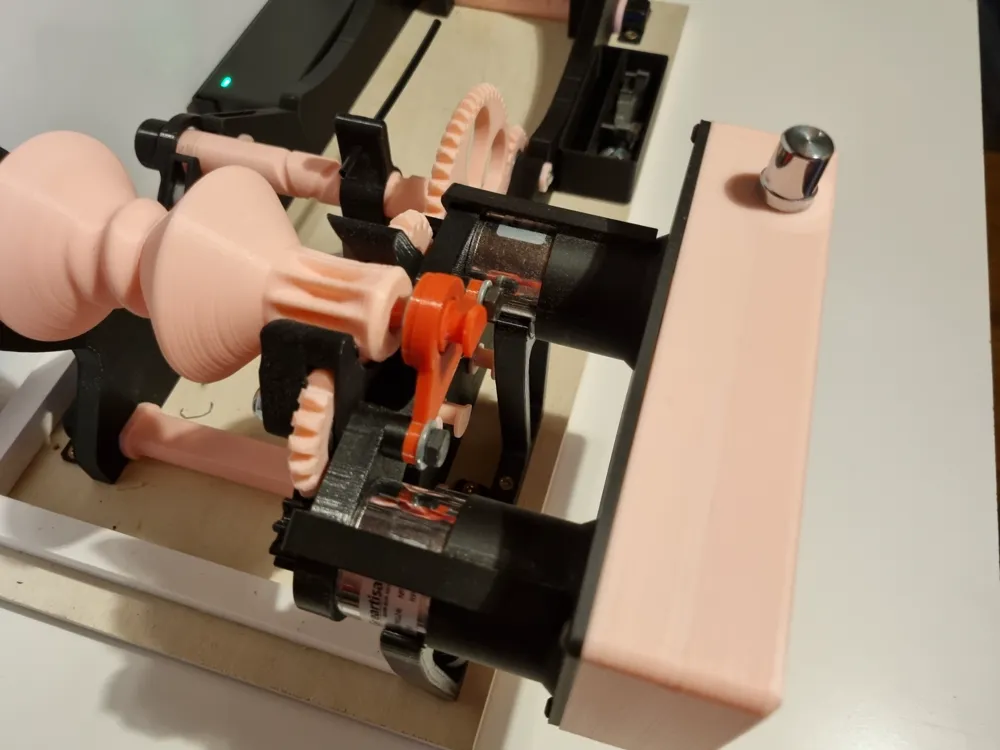
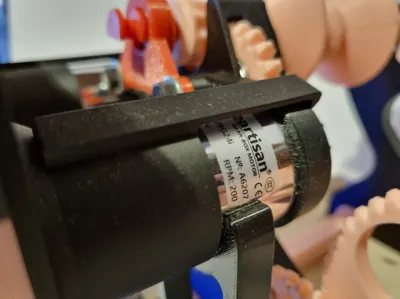
- The lid, which slides over the motors with two tubes, was too small in diameter for me (there are probably different motor diameters). The lid is now larger and should easily slide over the motors (Plate 1)
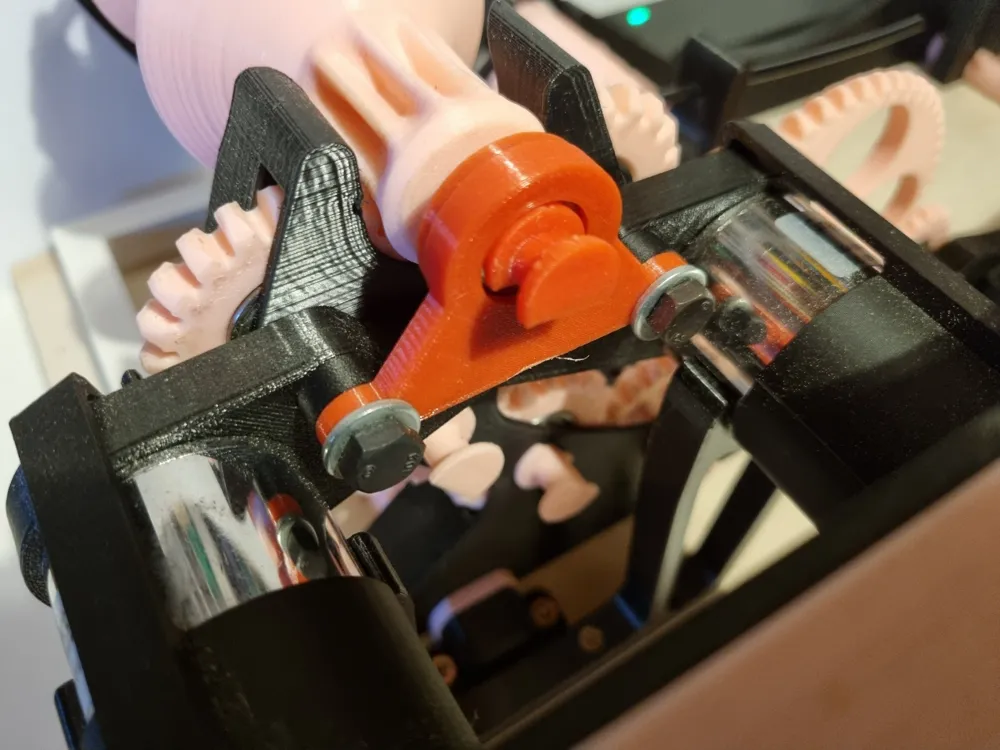
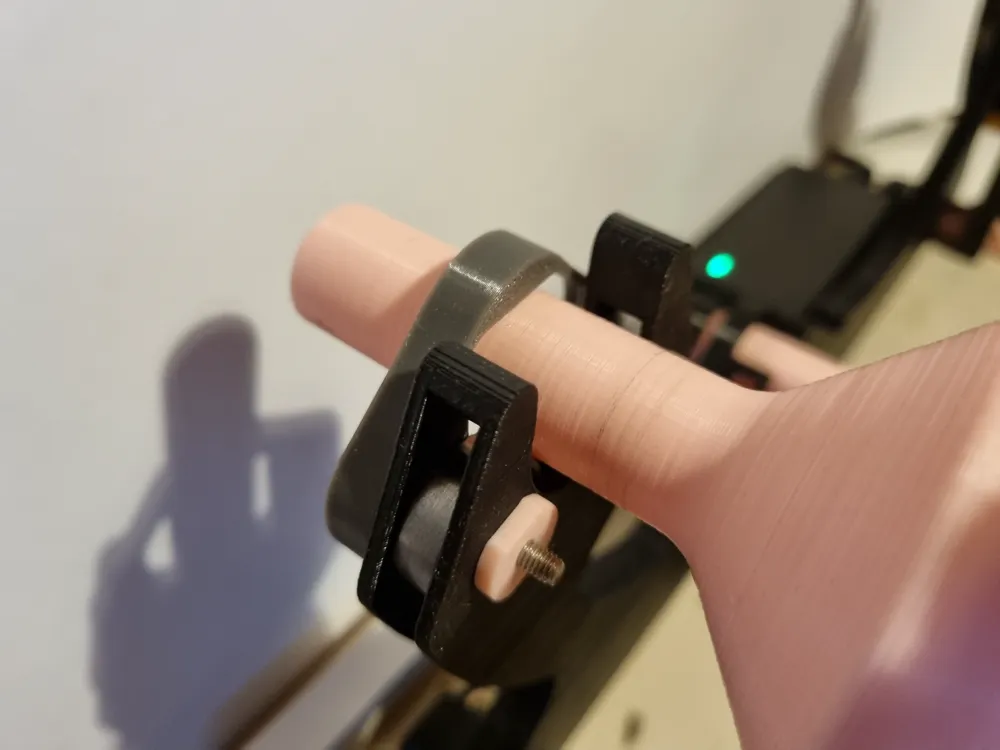
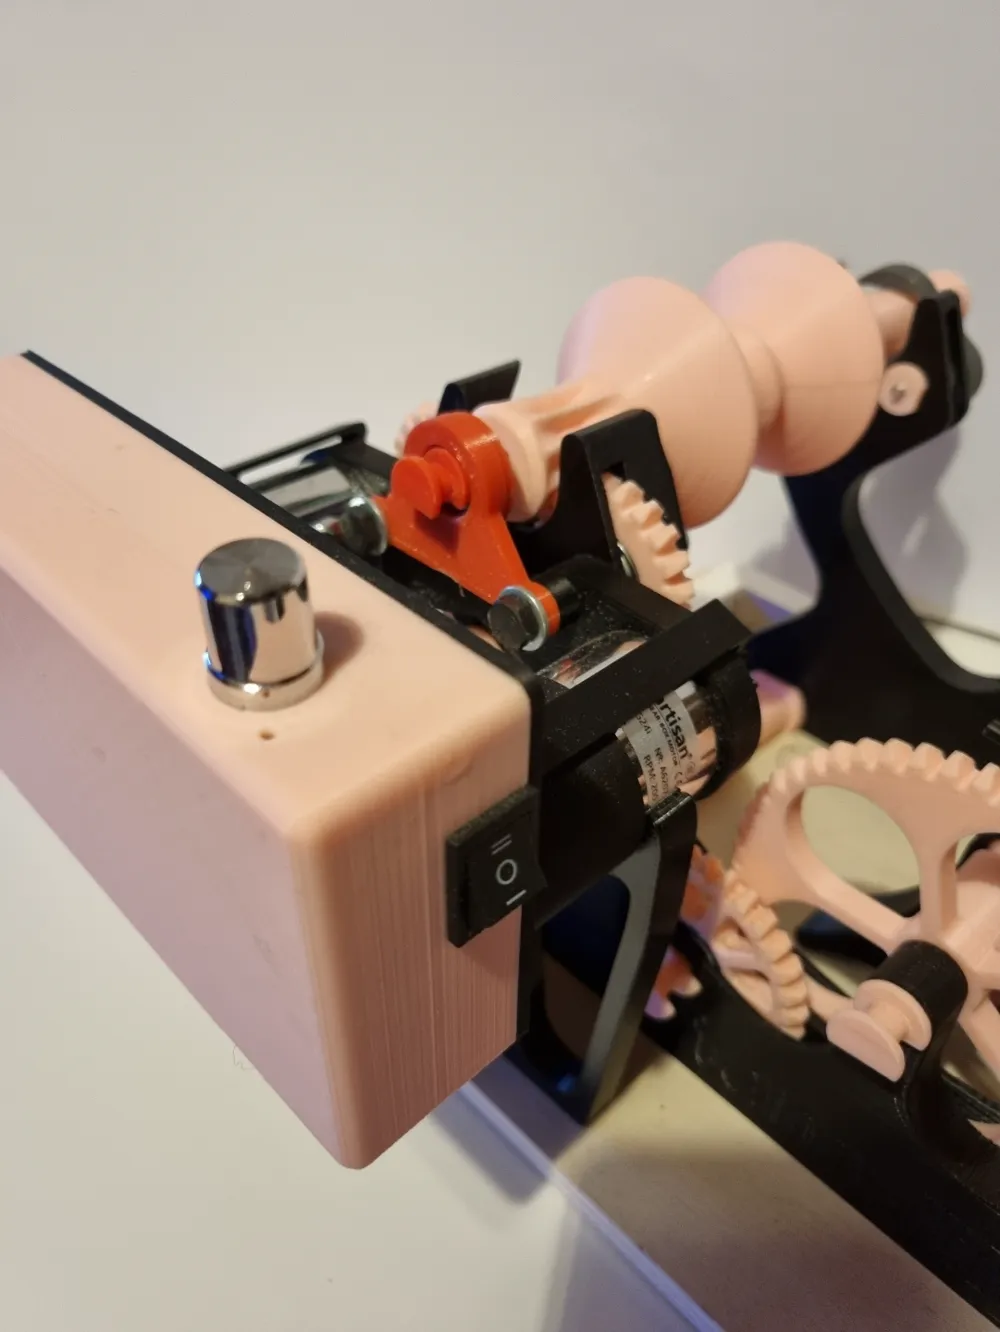
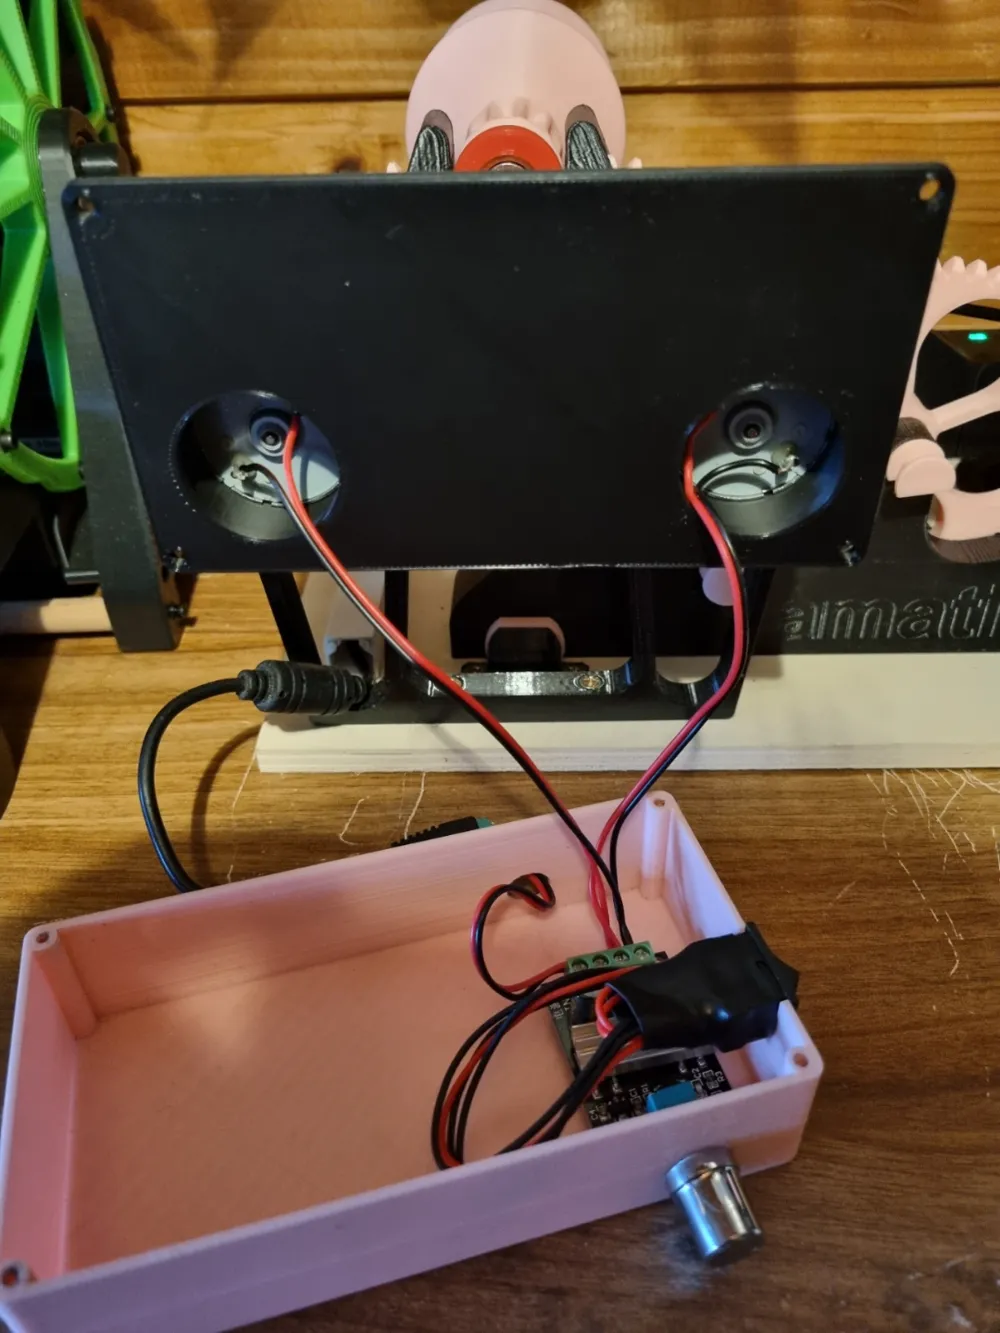
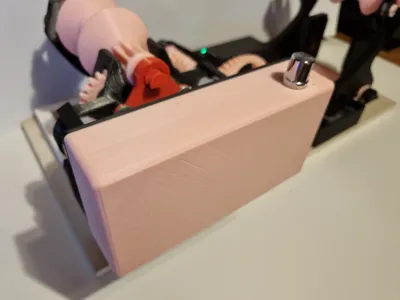
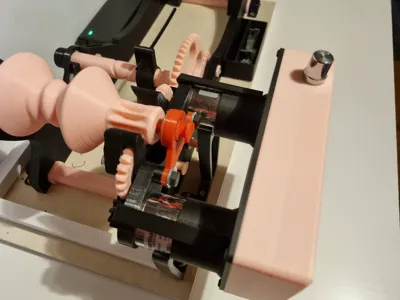
- Since the lid now slides loosely over the motors, I added 2 safety brackets that are simply glued to the tubes on the lid to prevent the electronics box from slipping off during operation (Plate 3)
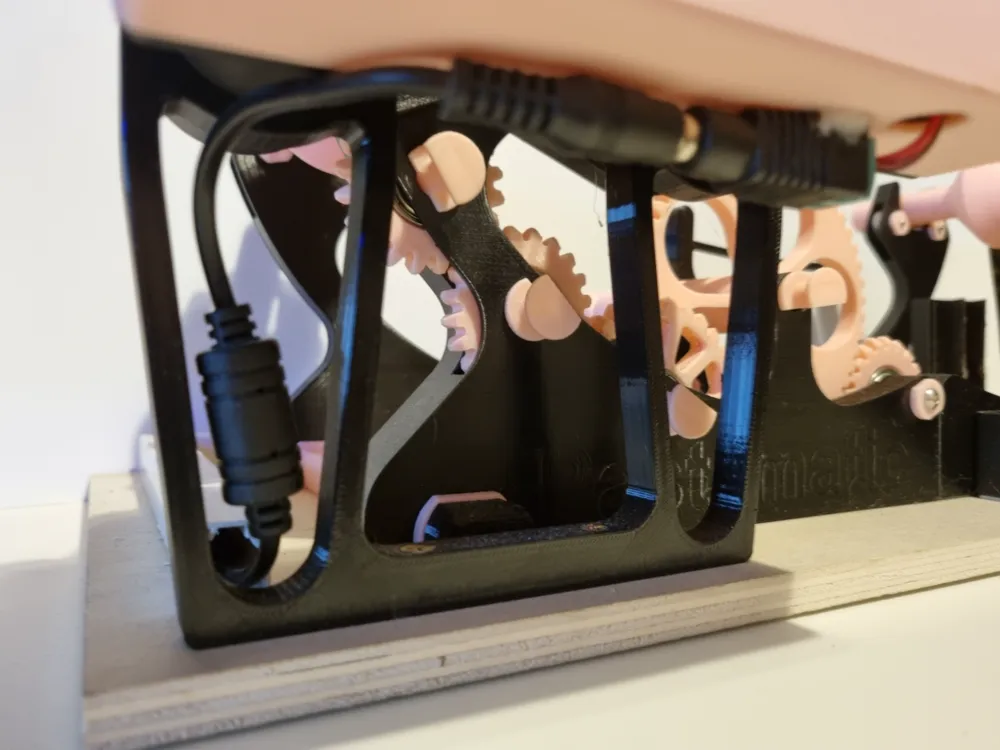
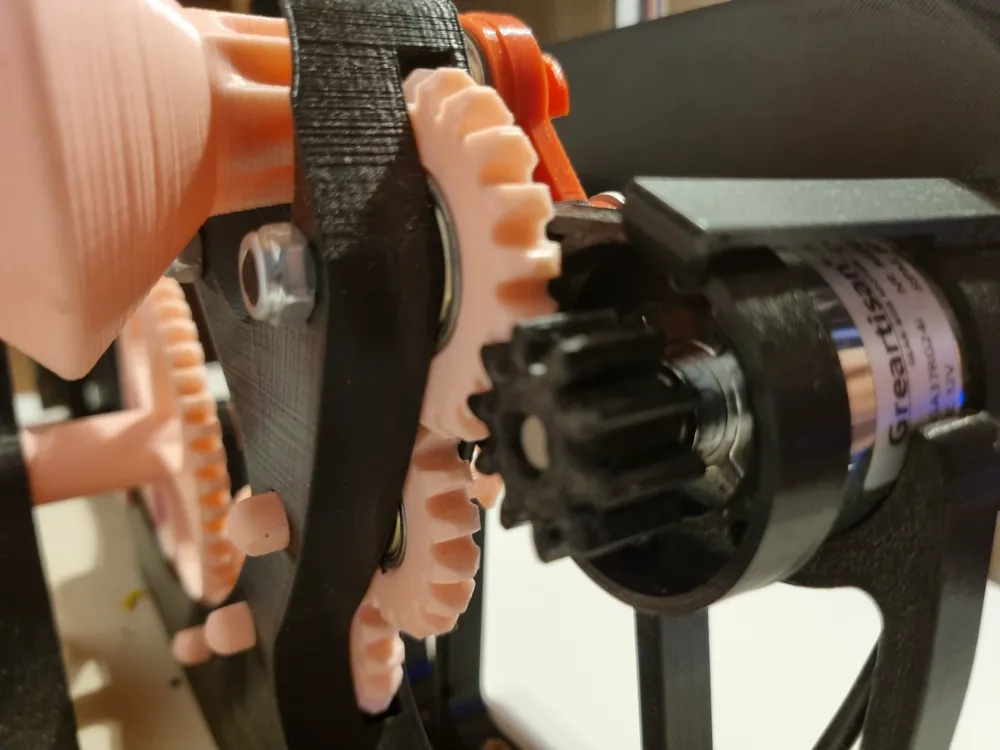
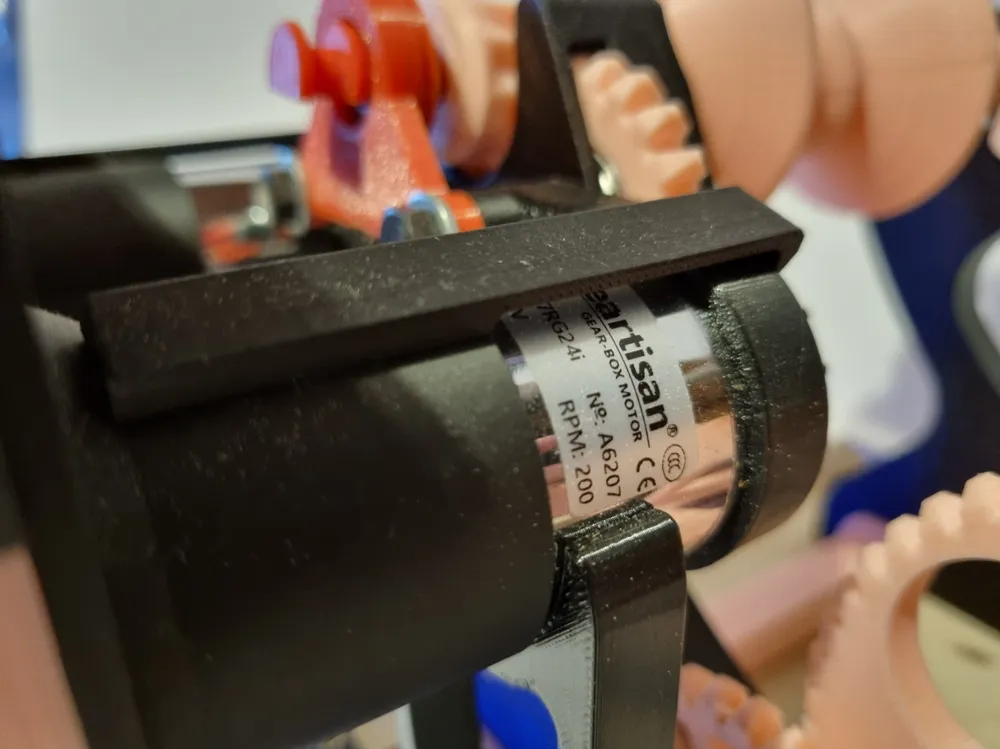
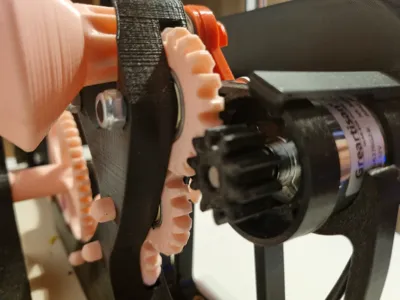
- The motors received support because I noticed that they move considerably during operation. This increases stability (Plate 3)
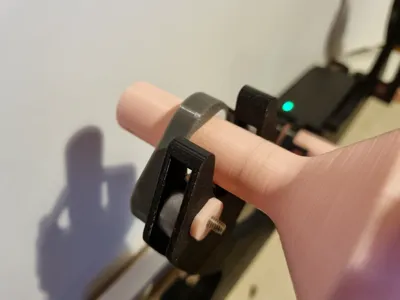
- For those who use the original winding spindle (spindle with a large gear) (like me), I also added 2 spacers for the target spindle (drive spindle), which centers the target spool better, thus ensuring consistent winding and preventing filament from accumulating on the side of the spool (Plate 1)
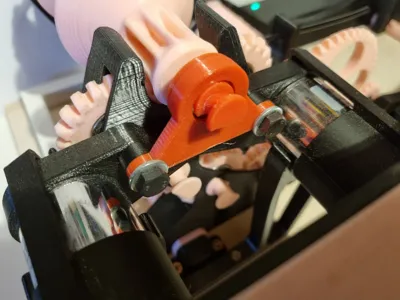
- The target spool is also secured against the gears skipping with a bracket and centering pin (Plate 1)
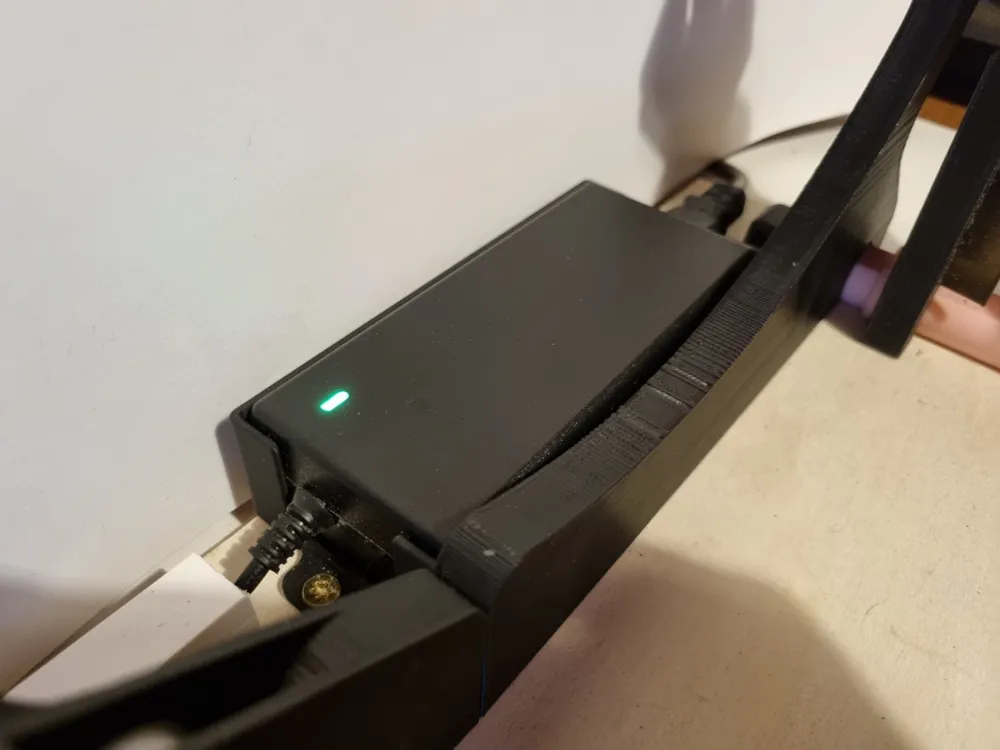
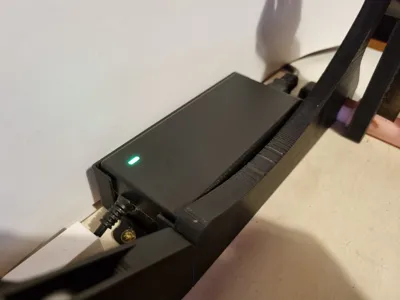
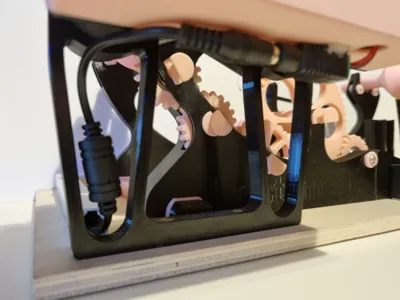
- A holder for the power supply unit visually completes the assembly. This holder is adapted to my linked power supply unit; if needed, simply scale it to your dimensions (Plate 3)
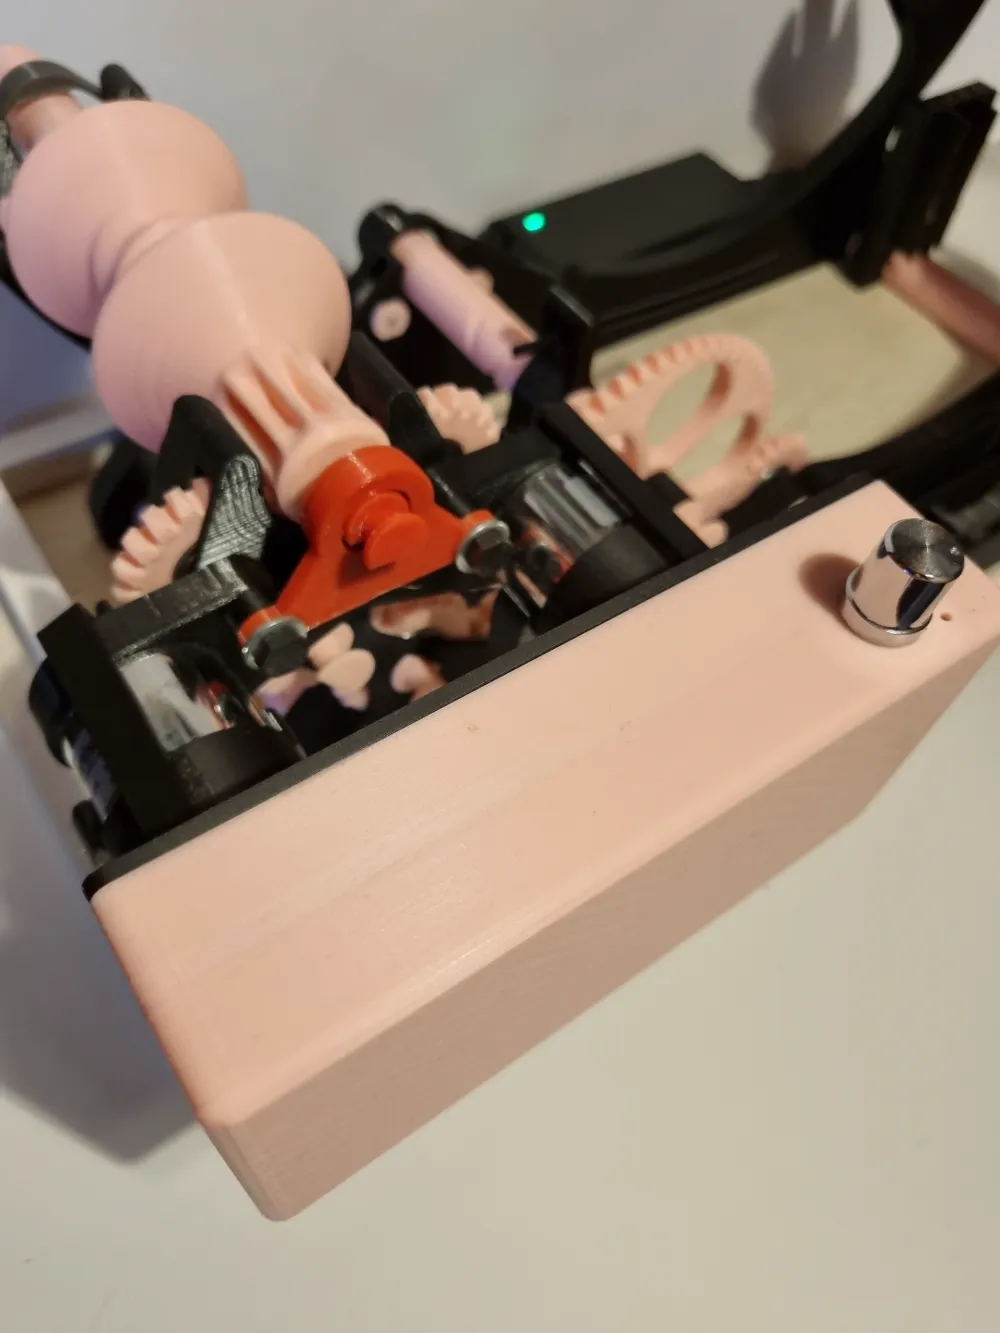
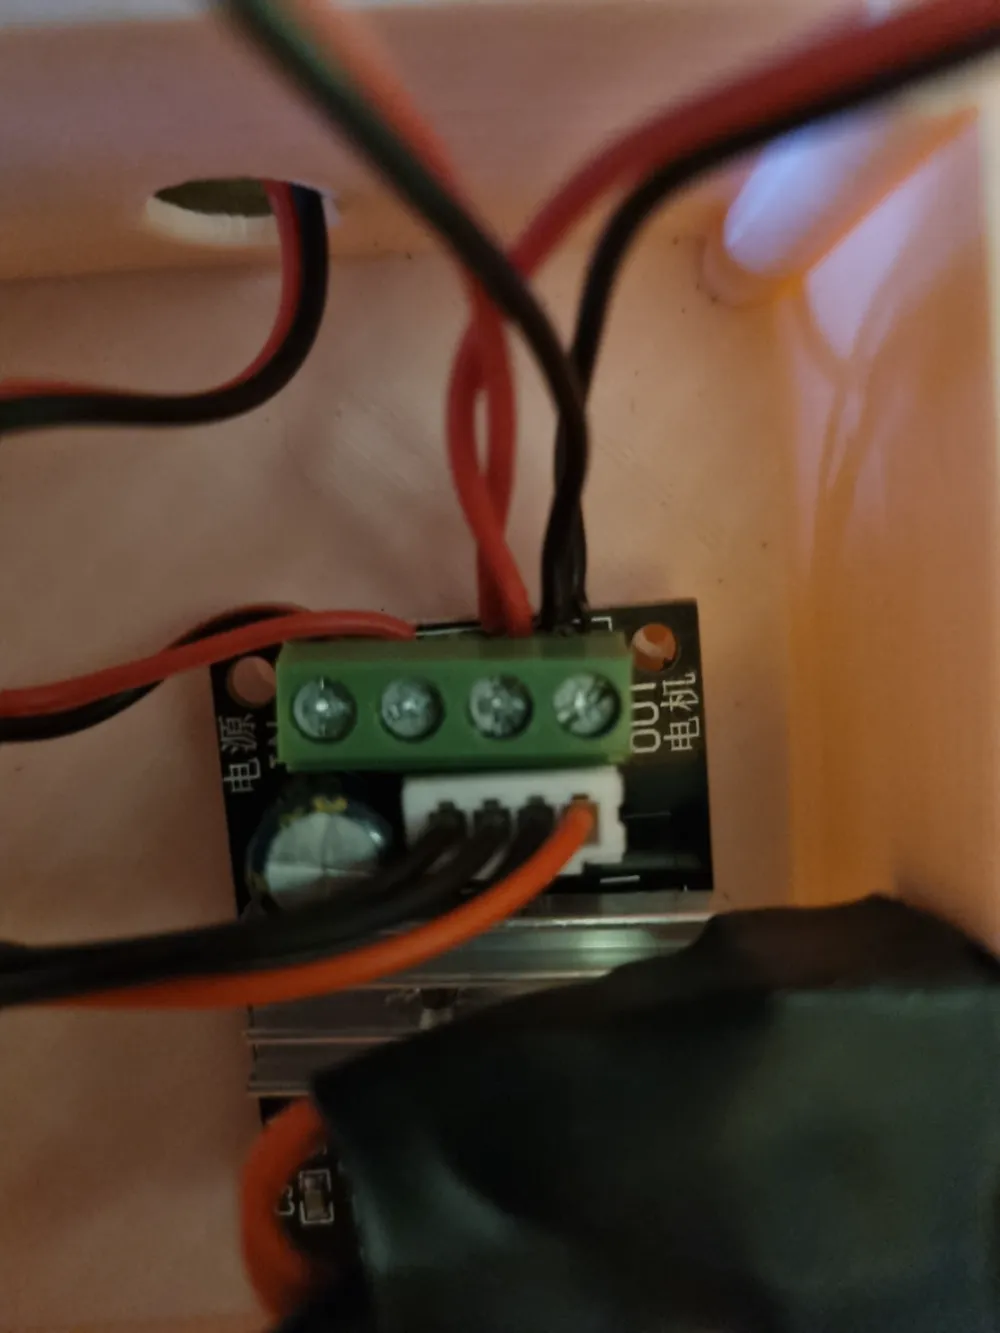
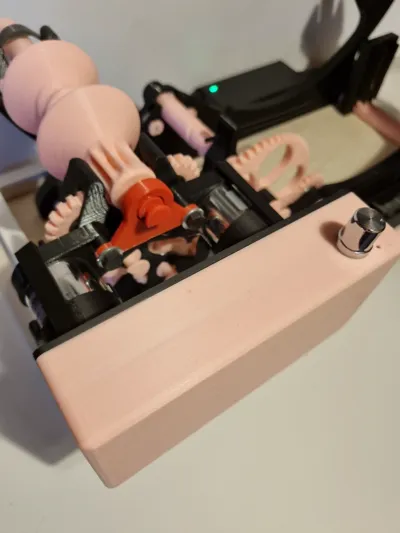
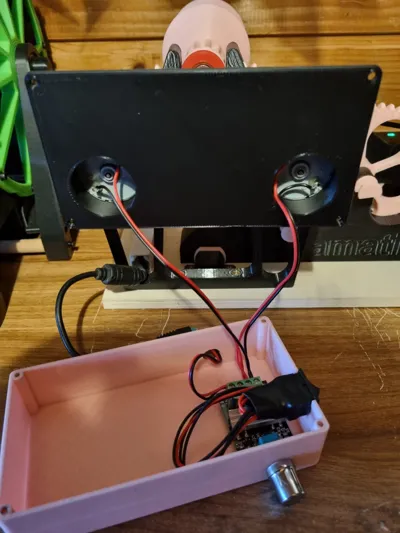
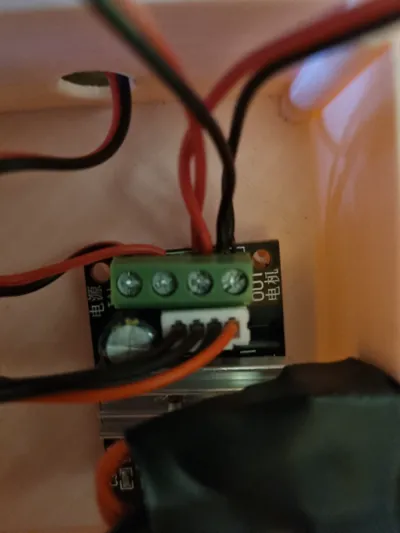
All structural modifications can be seen in the photos; they should explain everything. Should any problems still arise, do not hesitate to contact me; I will be happy to help
What I bought for the conversion…
Since I assume that you have been devoted to the 3D printing hobby for quite some time, I expect that you already have various screws at home
You will need the following screws…
For the safety bracket (Plate 1)
- 2x M6x50 screw
- 2x M6 lock nut
- 2x M6 washer (optional)
For the motors (Plate 1)
- 12x M3x8 screw
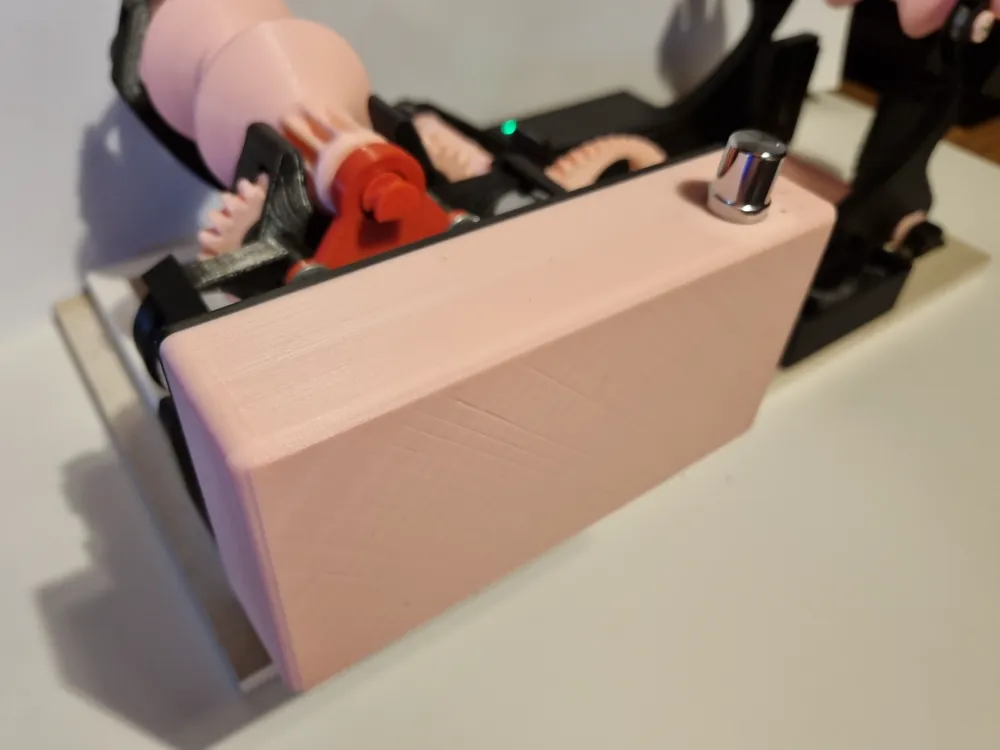
For the electronics box (Plate 2)
- 4x M3x10 screw
The speed controller in the electronics box is only screwed to the controller itself with the included nut (knob on top); nothing more is needed, it holds
I neatly routed the cables from the power supply unit into a small cable duct so that everything has its clean, fixed place
This remix is based on


License



Comment & Rating (12)