

Zhichun Pavilion 知春亭
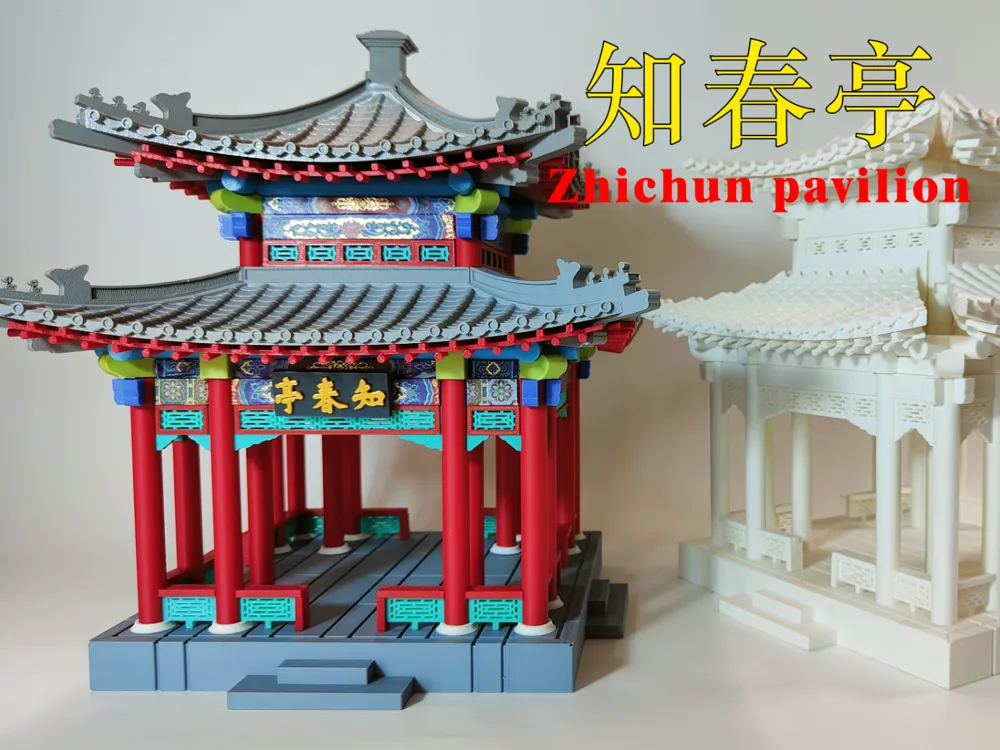
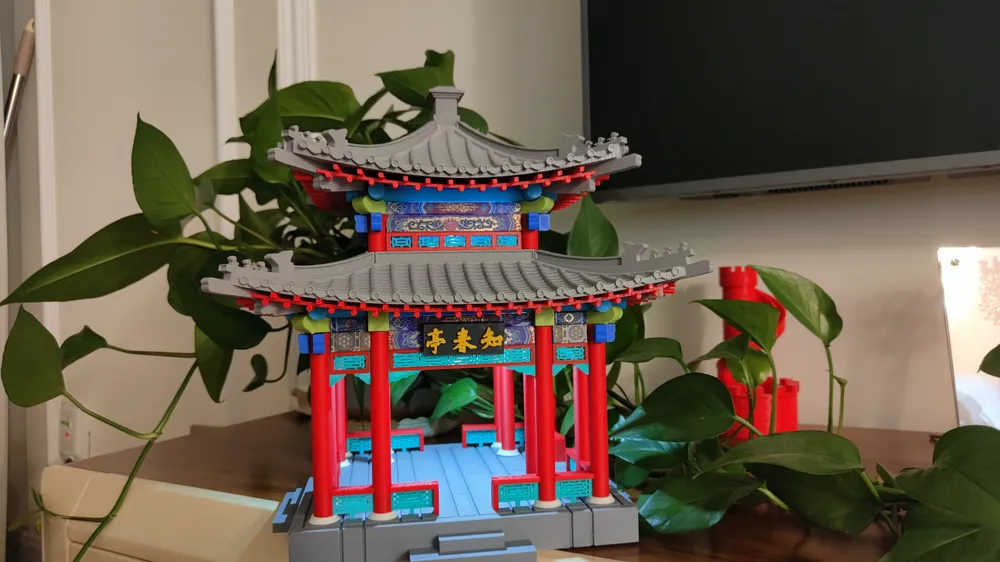
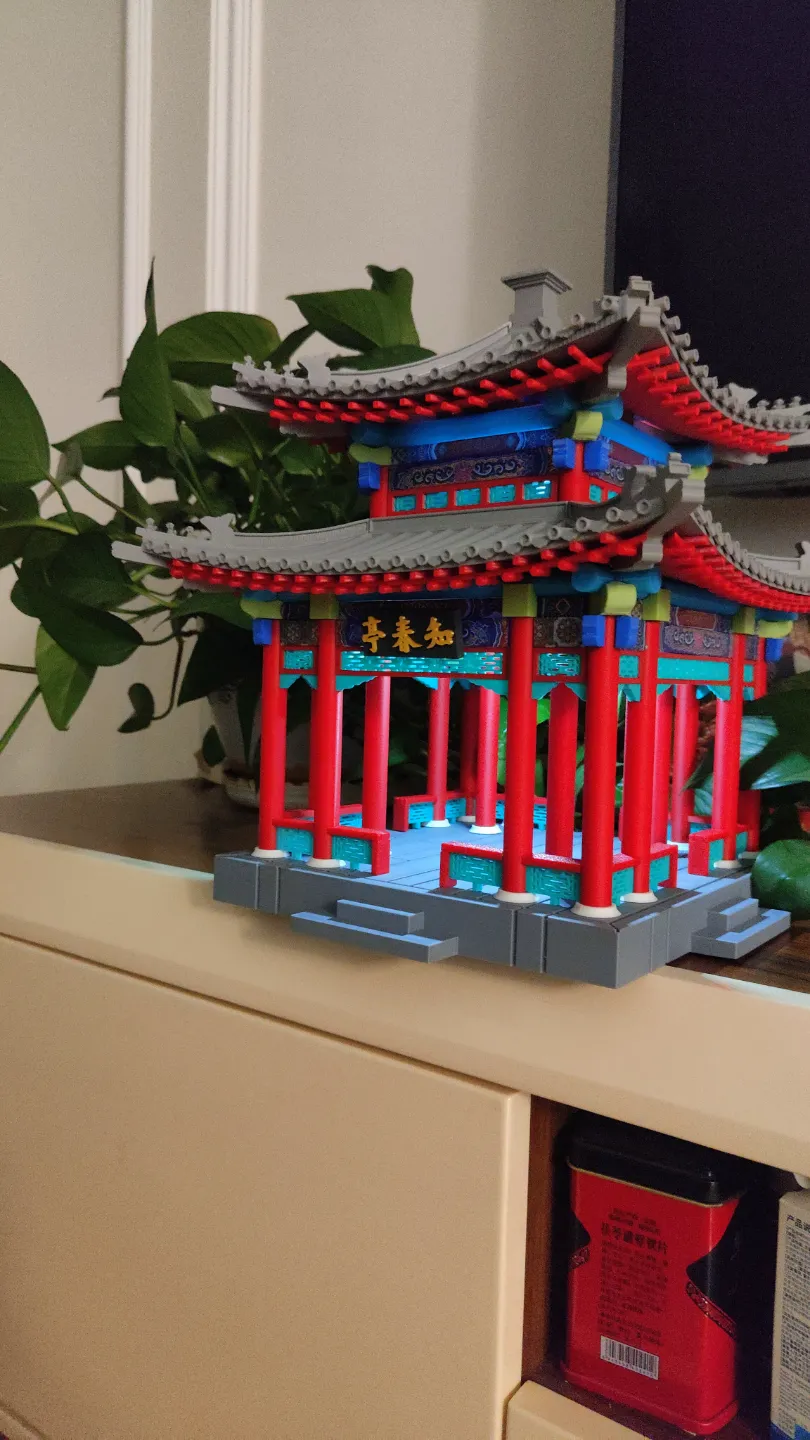

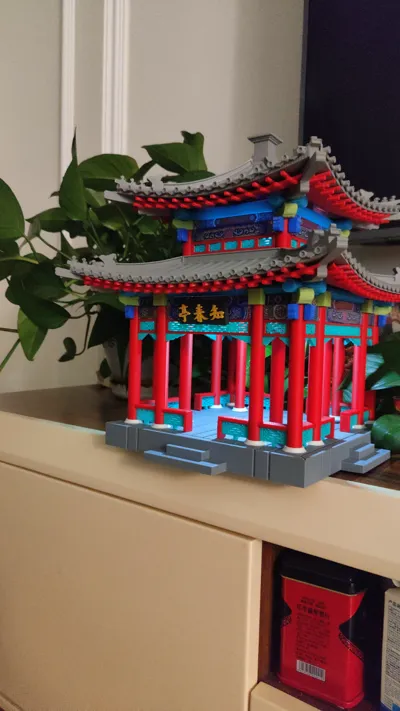
Print Profile(4)


Bill of Materials



Description
Be sure to read the printing notes when you start printing.
Printing Notes:
1. When printing the base, please use a clean printing plate because the print is relatively large. Please do not use a straight line to fill it, as this is likely to appear unstable.
2. The tolerance I have set is already very large, so there should be no failure to fit it in. It may be a little loose when installing the lintel, which is normal!
3. When printing the first roof and the second roof, set the layer height as low as possible.
4. When printing a relatively high cylinder, please set the printing parameters to avoid collapsing during the process (try to choose a relatively strong filament, the number of wall layers can be added appropriately).
5. For the support, I recommend that we use tree support for the rafters, and use ordinary support for other parts (roof, cylinder, eaves, corner beam, treasure top, embrace beam, flower head beam need support, everyone can add according to their own habits).
6. The corner beam support under the top and bottom of the treasure, the square pin under the bottom was removed by me (I feel that it is not necessary to install).
6. I use p1s, the filaments are not from the same manufacturer but they are both pla, and the colors are red and gray (it is recommended to choose two kinds of gray, one for the roof and one for the corner beam) cyan, blue, avocado, brown and white.
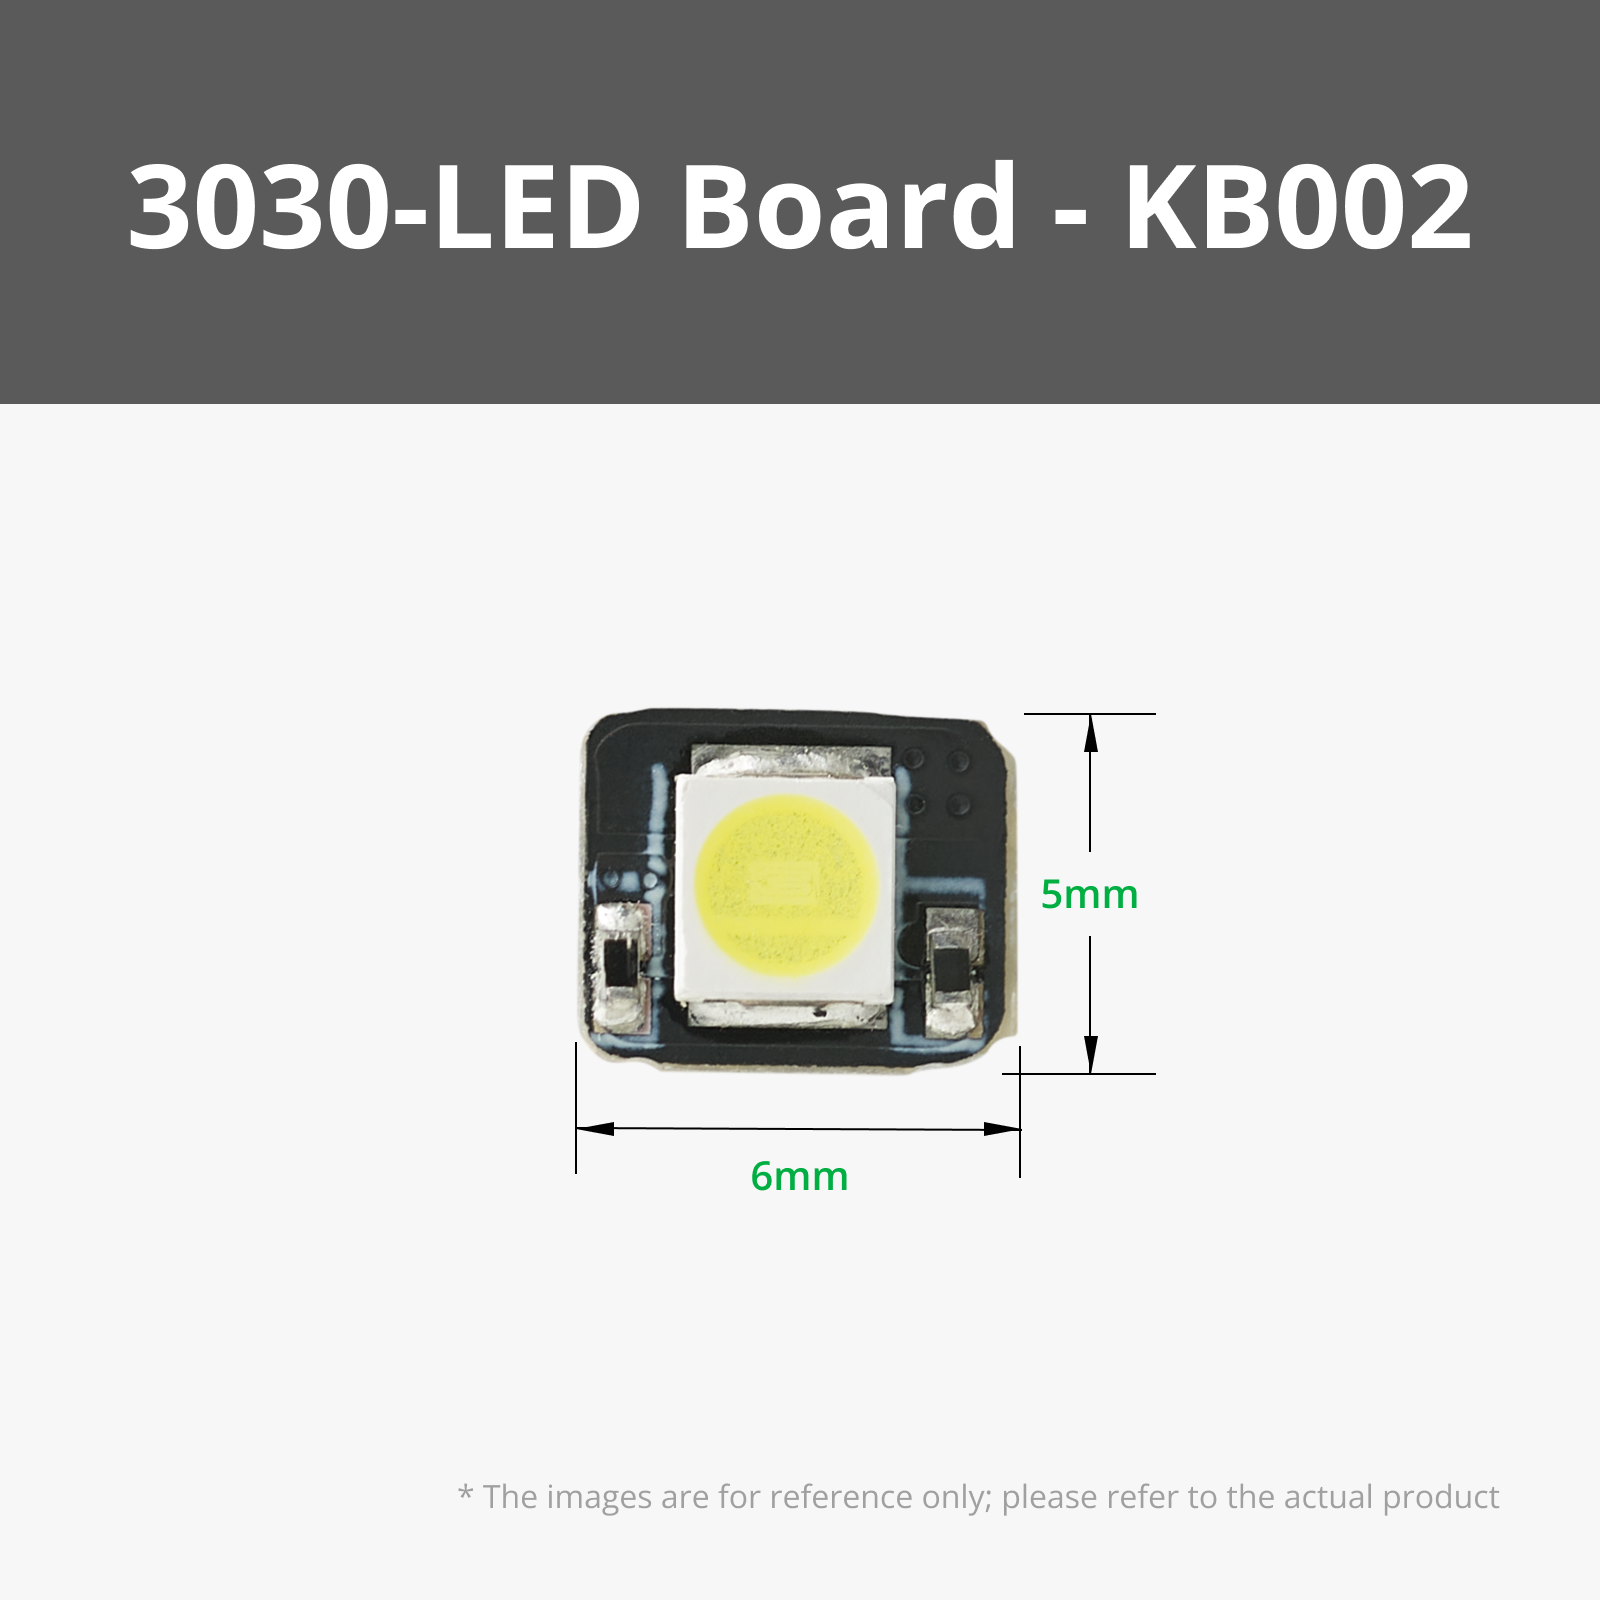
7. The 18th disc needs electronic components. If you do not consider adding lights, you can not play. 19 discs and 20 discs need to be paused after changing the red material. If you do not want to change, you can not play only the third disc (will be explained by video).
Note for printing:
1. When printing the base, please use a clean printing plate because the print is relatively large. Please do not fill it with a straight line, which is likely to appear unstable
2. The tolerance I have set is already very large, so there should be no failure to fit it in. It may be a little loose when installing the lintel, which is normal!
3. When printing the first roof and the second roof, set the height as low as possible
4. When printing a relatively high cylinder, please set the printing parameters to avoid collapsing during the process (try to choose a relatively strong consumable, the number of wall layers can be added appropriately).
5. For the support, I recommend that we use tree support for the rafters, and use ordinary support for other parts
6. The corner beam support under the top and bottom of the treasure, the square pin under the bottom was removed by me (I feel that it is not necessary to install)
6. I use p1s, the consumables are not from the same manufacturer but they are both pla, and the colors are red and gray (it is recommended to choose two kinds of gray, one for the roof and one for the corner beam) cyan, blue, avocado, brown and white
7. The 18th disc needs electronic components if you do not consider adding lights, you can not play, 19 discs and 20 discs need to be paused after changing the red material if you do not want to change, you can not play only the third disc (will be explained by video)
I designed the installation instructions for this model, and it is recommended that you prepare the following tools, needle-nosed tweezers (used to clamp hard-to-take supports), nozzle pliers (used to remove supports), and sharpening knives
Installation animation (subject to the manual when installing):

Parts display:

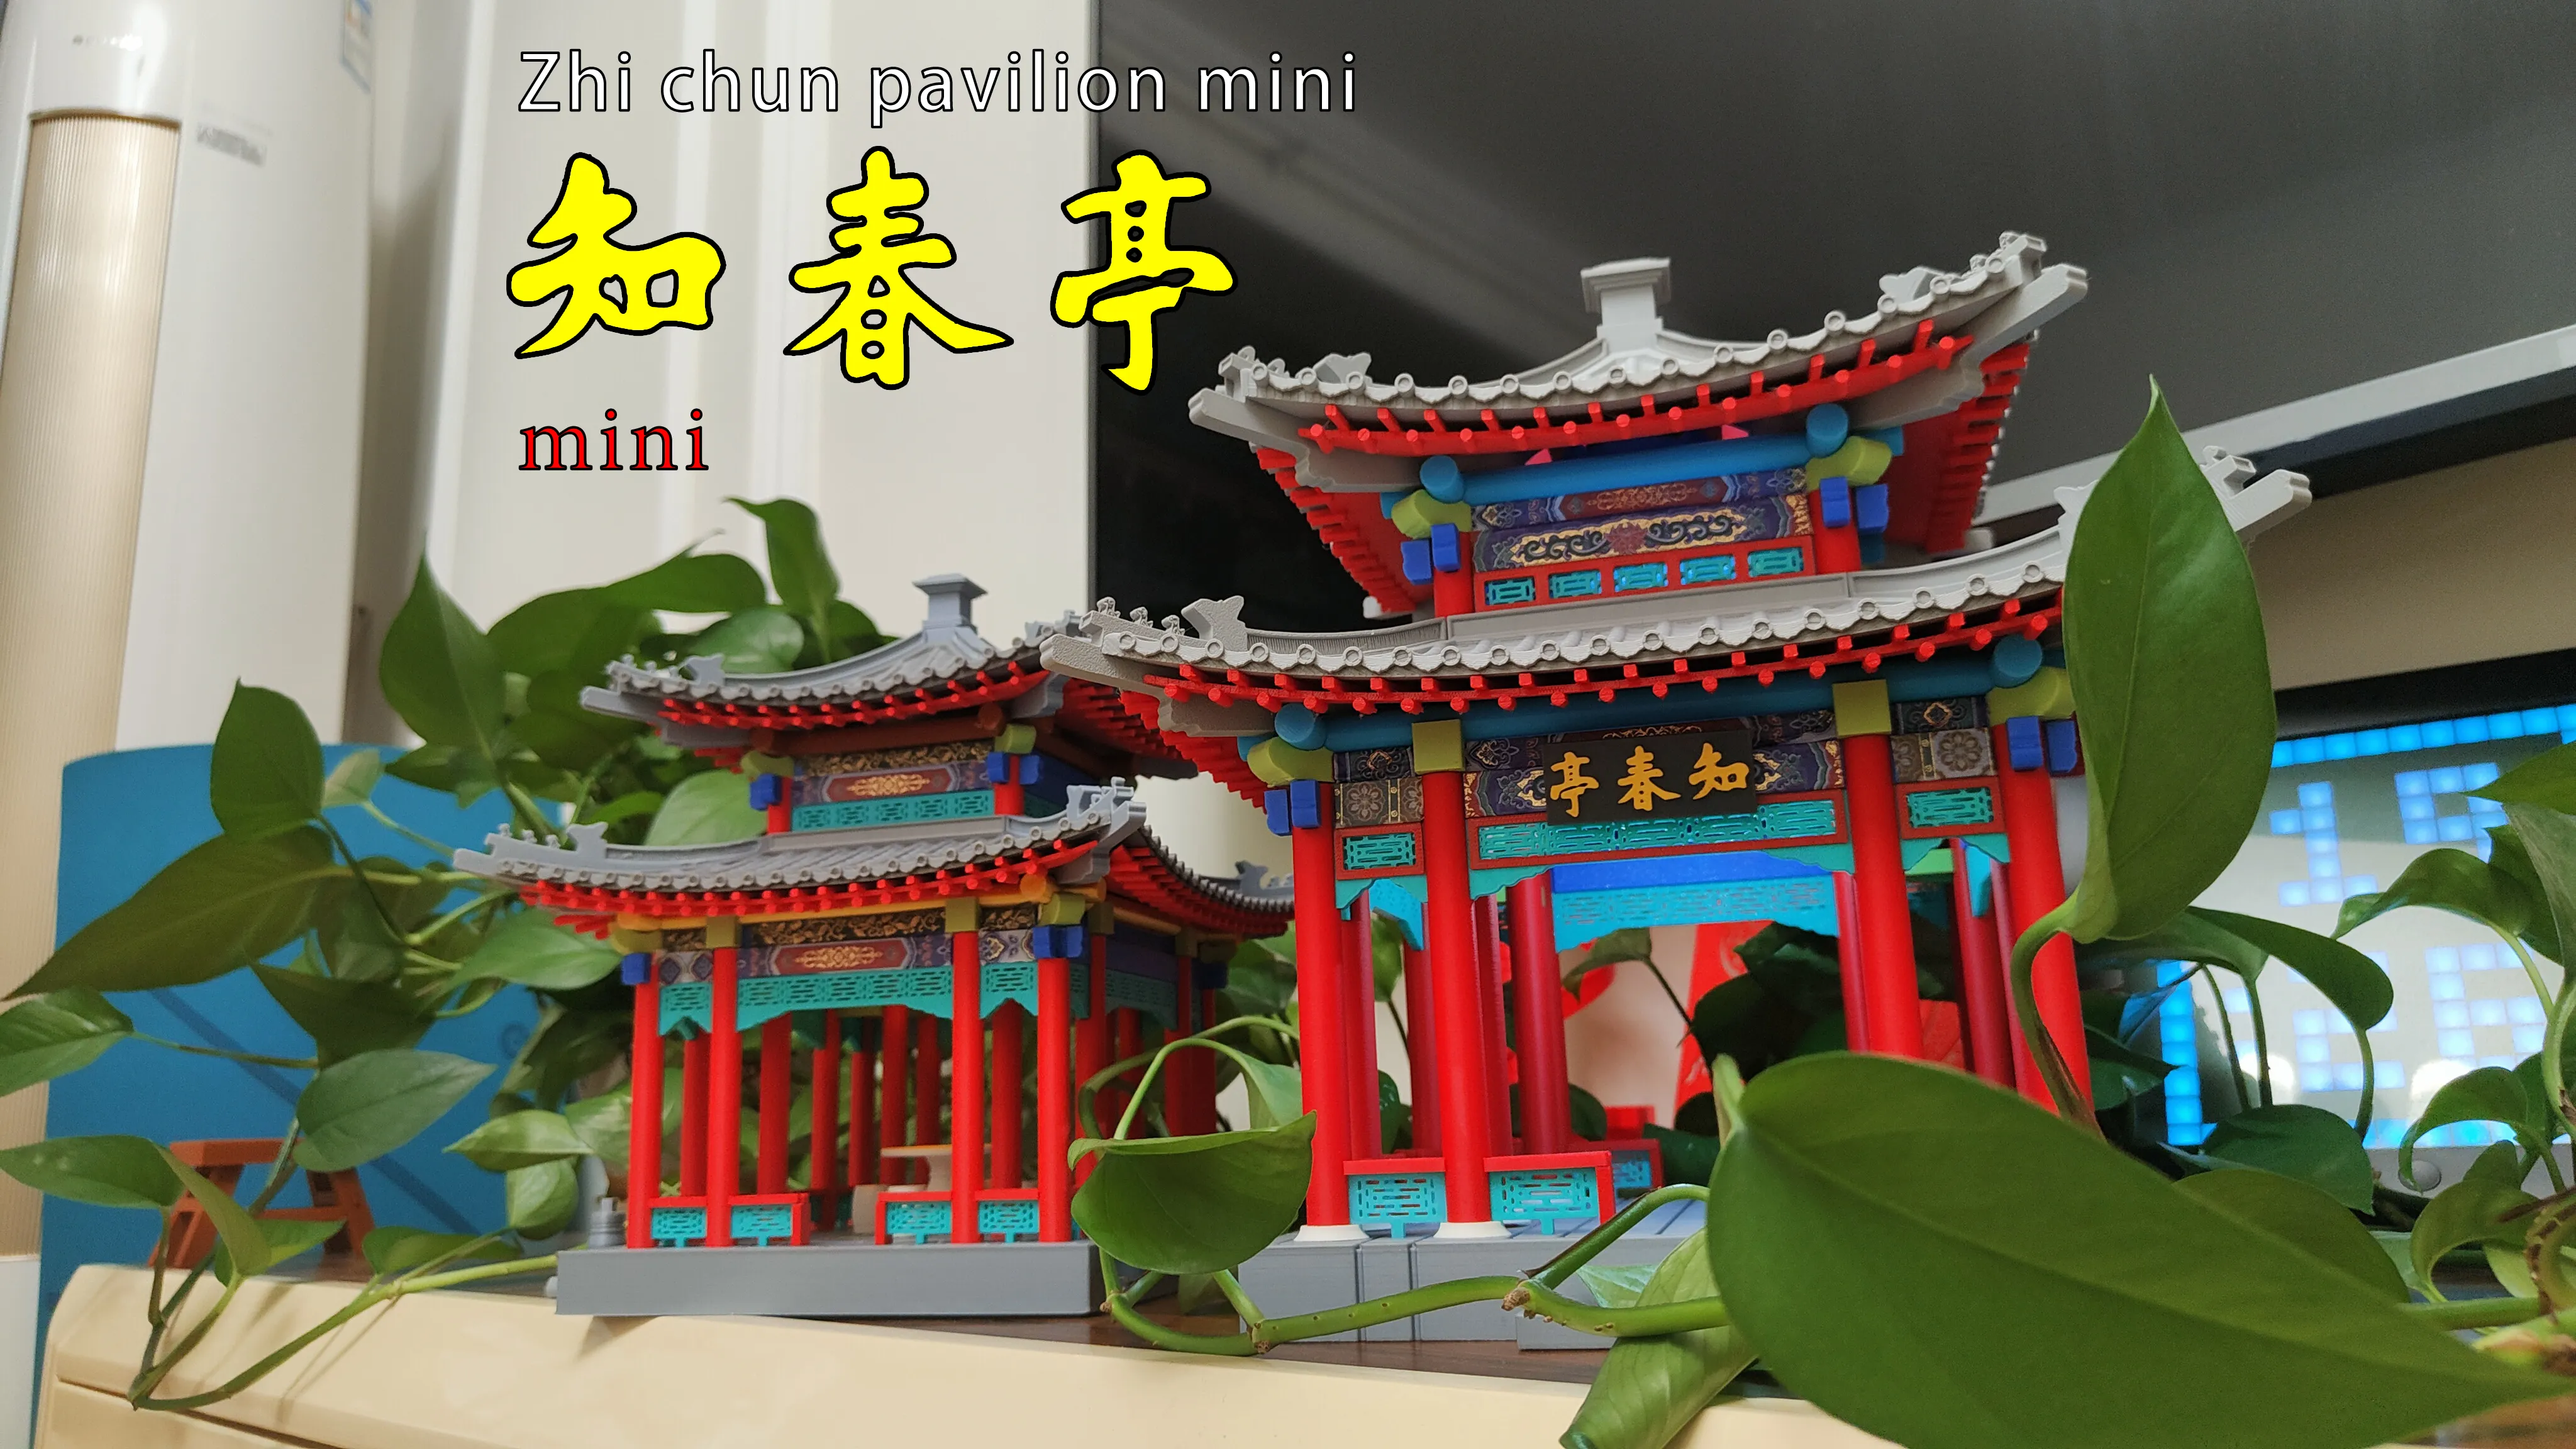
The mini version is online!
Documentation (1)
License

You shall not share, sub-license, sell, rent, host, transfer, or distribute in any way the digital or 3D printed versions of this object, nor any other derivative work of this object in its digital or physical format (including - but not limited to - remixes of this object, and hosting on other digital platforms). The objects may not be used without permission in any way whatsoever in which you charge money, or collect fees.


Comment & Rating (56)