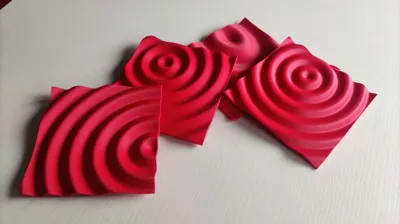
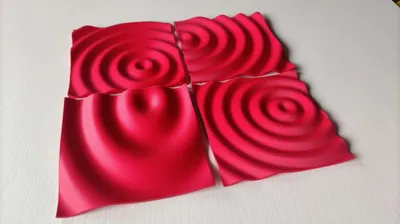
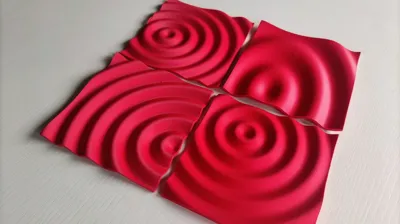
Make your Wave - customizable sinosoid tile


Print Profile(1)

Description
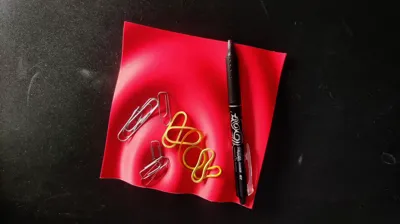
While trying to find the perfect sine wave for my "Drop of Love" project, I realized how a small tweak in the parameters could create completely different, yet equally beautiful waves.
Choosing the right wave for "Drop of Love" turned out to be quite a challenge...
So, I decided to create a parametric file with OpenSCAD, making it super easy to play around and create different waves with just a few clicks.
And that's how "Make Your Wave" was born! With the customizer, anyone can create and tweak sine waves to their liking.
Have fun!
Customizer setting
Heads up! To ensure the generation script works in the customizer, I had to lower the "resolution" and reduce the number of polygons. If you find the generated object has too few polygons, here are the three parameters to adjust.
For an even more detailed result, I recommend downloading the script and using it directly with OpenSCAD installed on your computer.

- WAVE_STEP is a parameter that influences the number of points used to generate the sine curve. The smaller the value, the higher the resolution.
- WAVE_EXTRUSION indicates the number of millimeters the sine wave is extruded before being rotated 360 degrees. The smaller the value, the higher the resolution, but you may need to decrease the value of ROTATION_STEP to avoid “gaps.”
- ROTATION_STEP defines the number of repetitions during the rotation. A value of 1 indicates 360 repetitions. A value of 2 indicates 180 repetitions. In my tests with WAVE_EXTRUSION = 1.5, I had to set ROTATION_STEP = 0.7, but this significantly slowed down the generation process.
Printing Instructions
This model is super easy to print and doesn't need any supports or post-processing.
You can print it with a 0.4mm nozzle and a layer height of 0.08mm or you can use adaptive layers
I suggest placing the object on the print bed vertically to achieve better definition in the curves.
Additional Information
If you like this model and want to support my work, you can give me a "boost" 🚀 or buy me a [Ko-Fi].
Boost Me (for free)
Your contribution, no matter how small, helps me buy new spools of filament for creating my prototypes. ;)
Thanks in advance! :)
Commercial license you can get here: https://ko-fi.com/miziomon/tiers
License
You shall not share, sub-license, sell, rent, host, transfer, or distribute in any way the digital or 3D printed versions of this object, nor any other derivative work of this object in its digital or physical format (including - but not limited to - remixes of this object, and hosting on other digital platforms). The objects may not be used without permission in any way whatsoever in which you charge money, or collect fees.
Comment & Rating (2)