
P1S P1P Riser - Louvre Sides & Wyzecam2 Mount v2
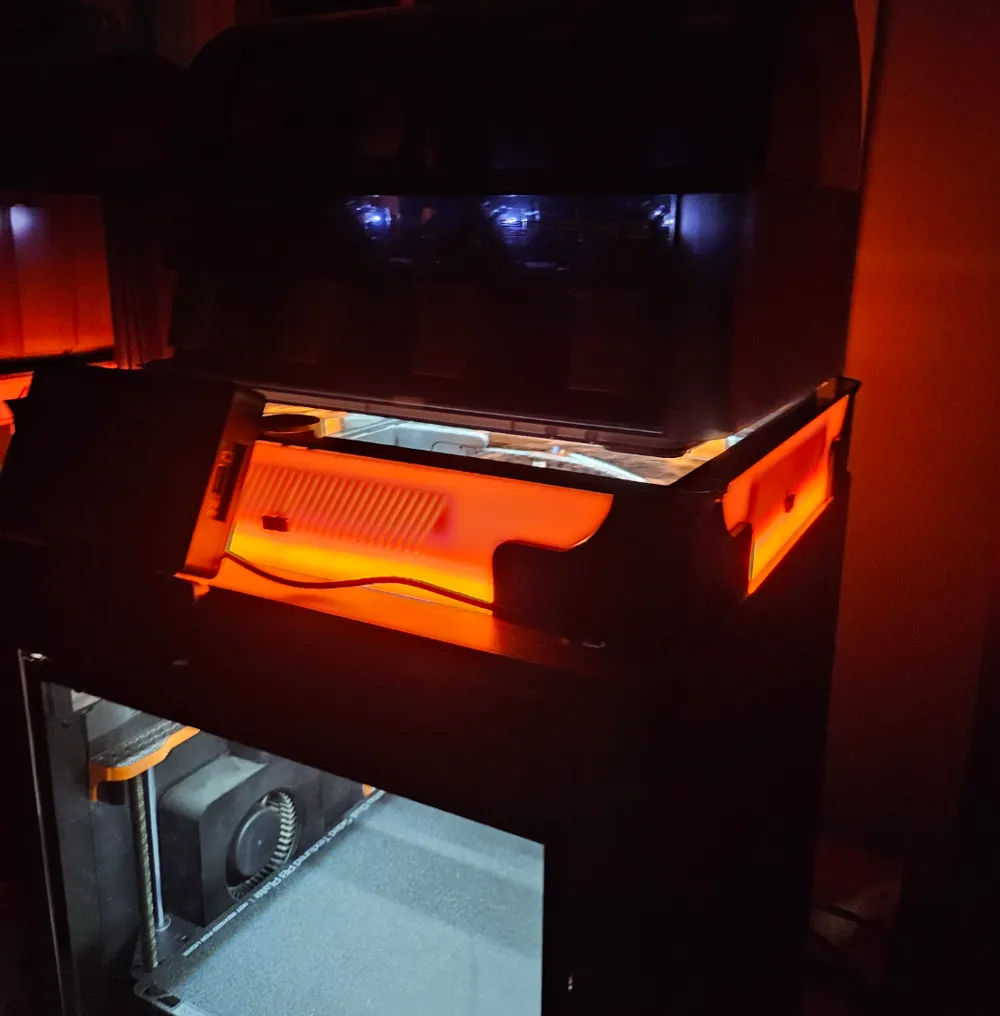
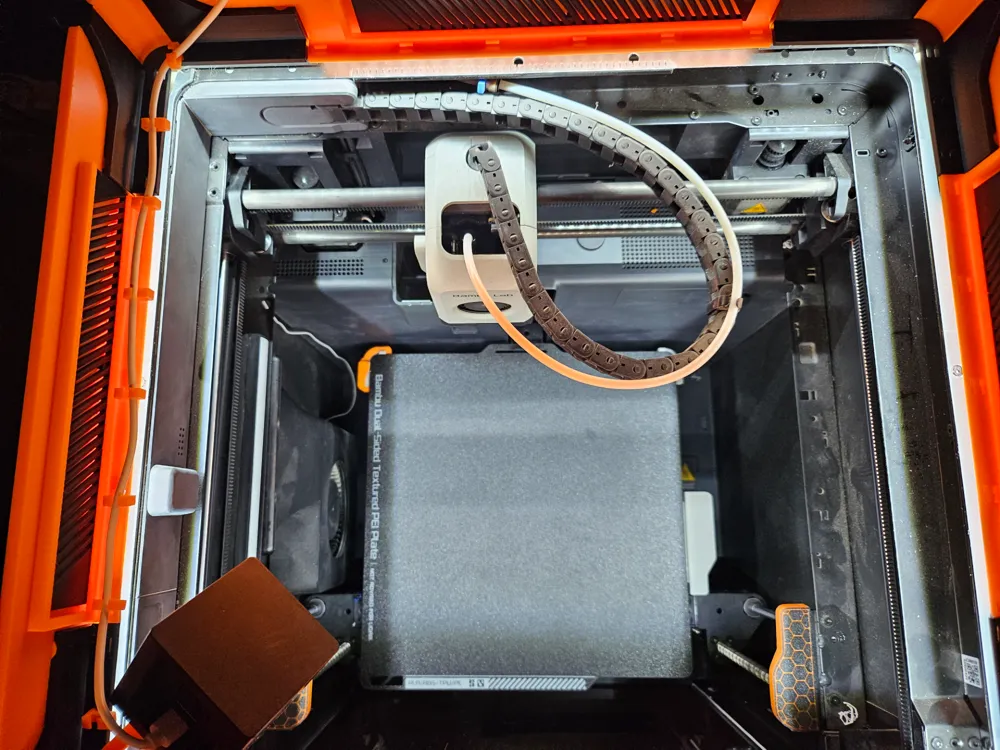
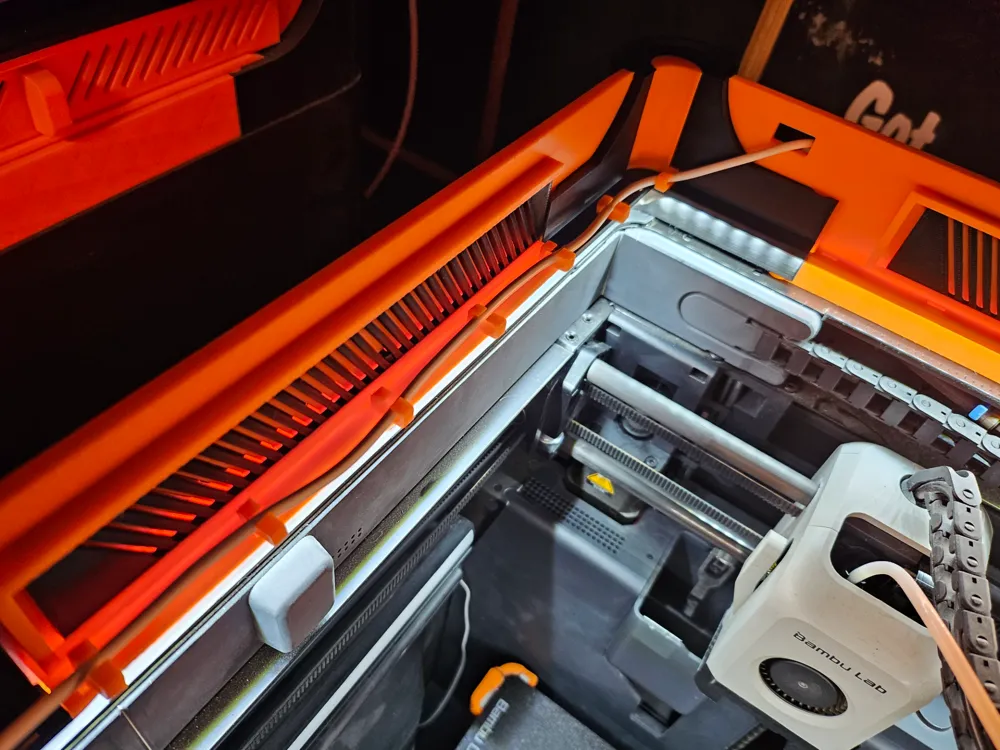
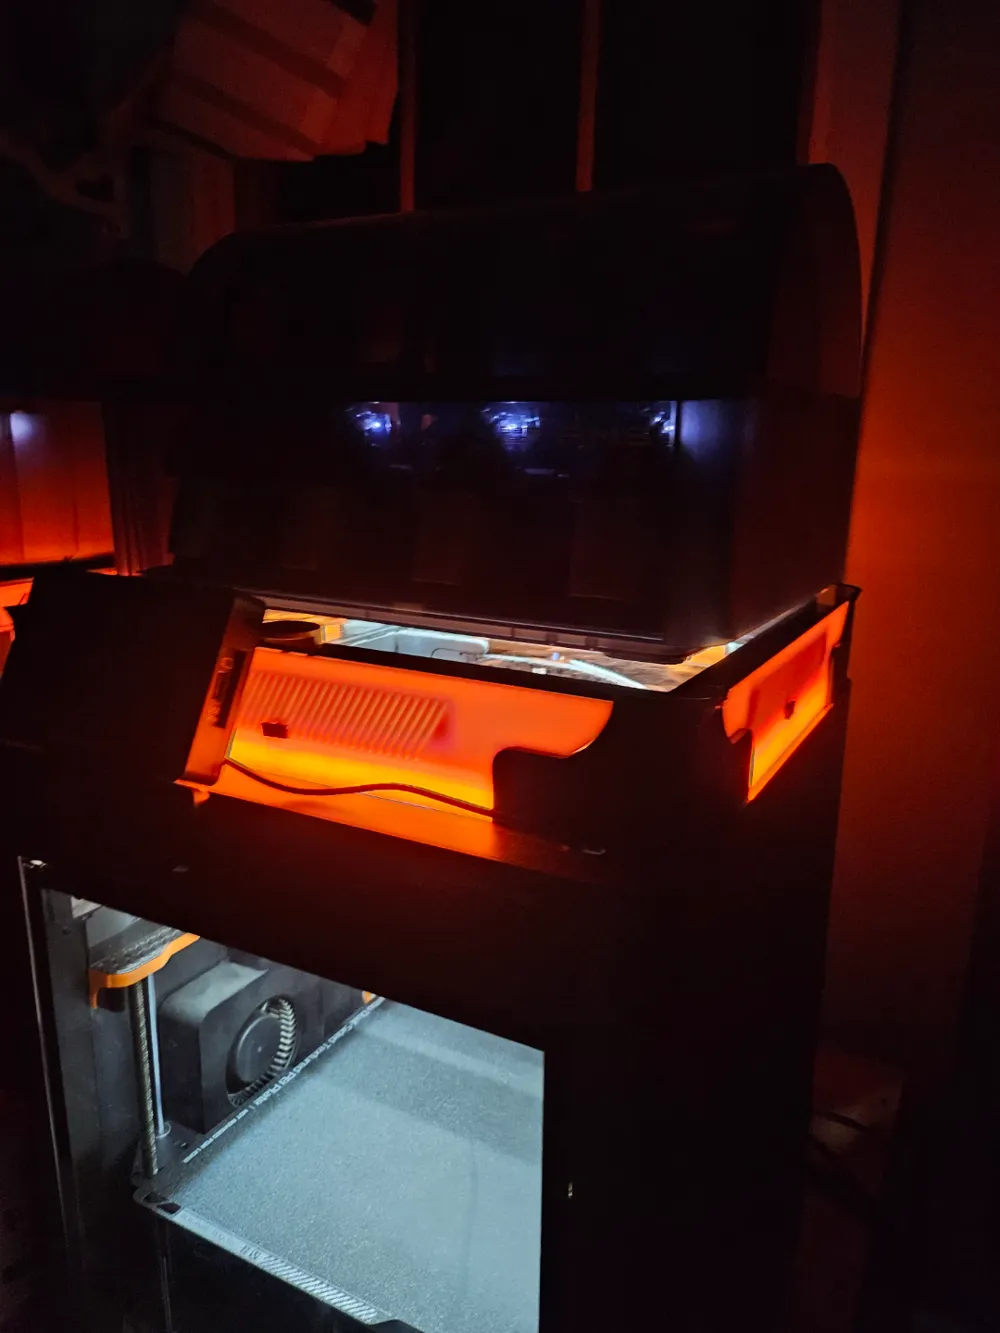
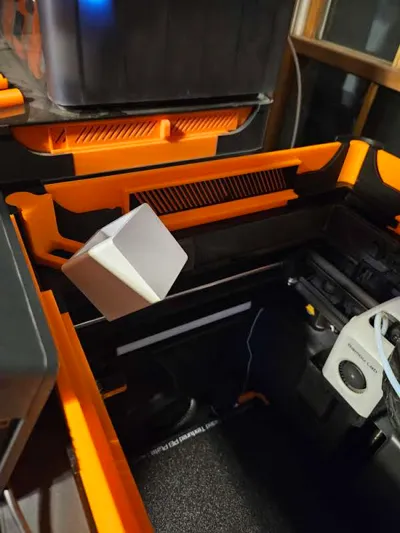
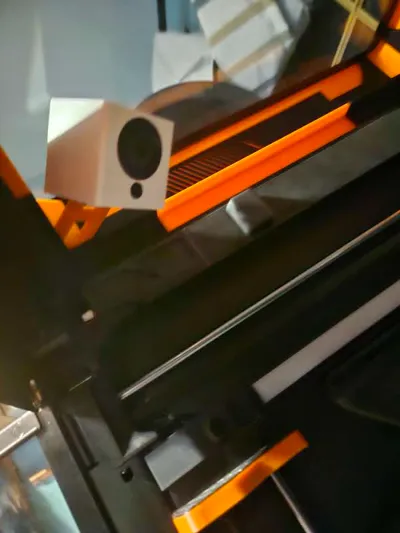
Print Profile(3)


Description
Boost Me (for free)
If you like the model a boost would be appreciated!
Boost Me (for free)
If you like this model, please consider giving it a boost!
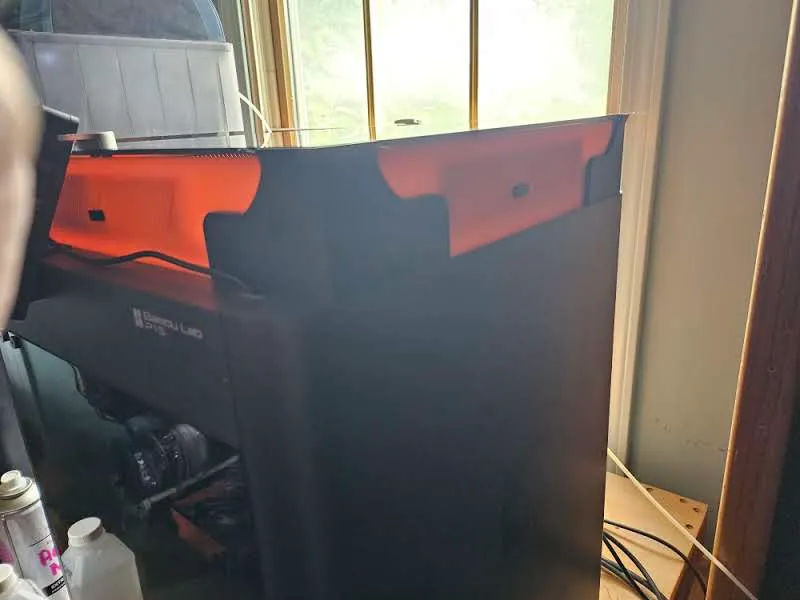
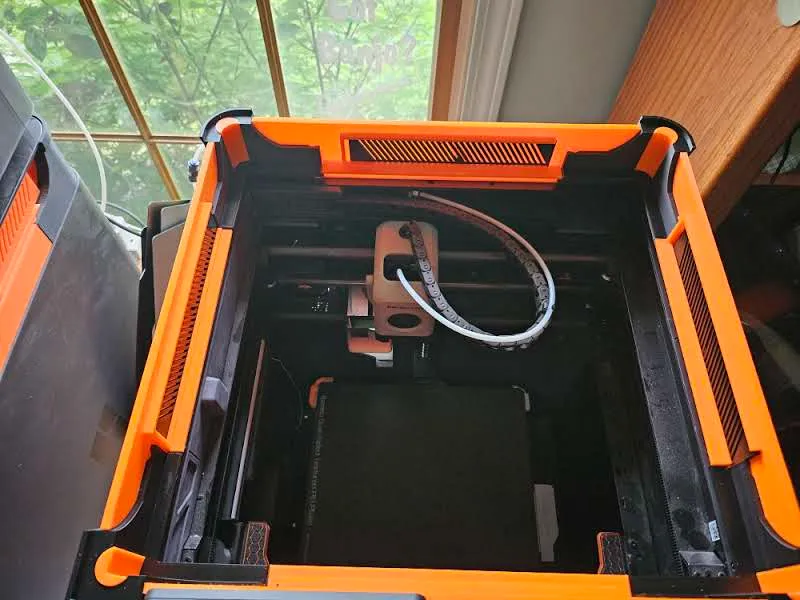
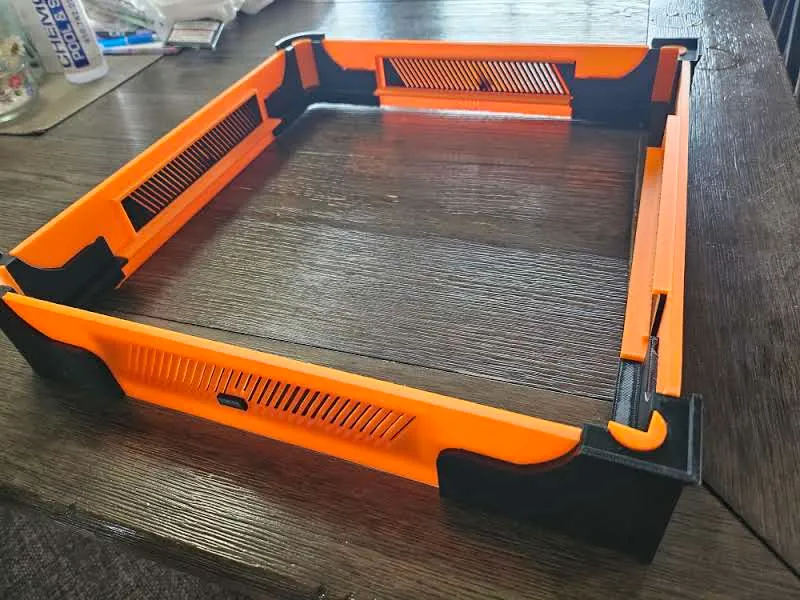
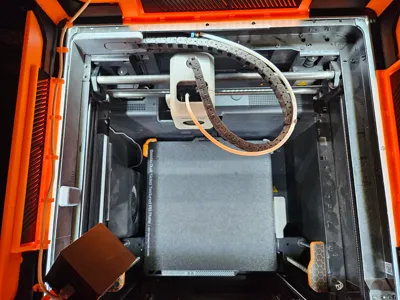
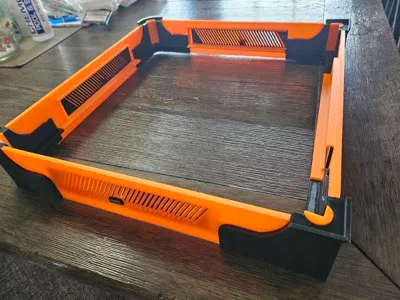
Version 2 of my P1P/P1S Riser with a few options for sides.
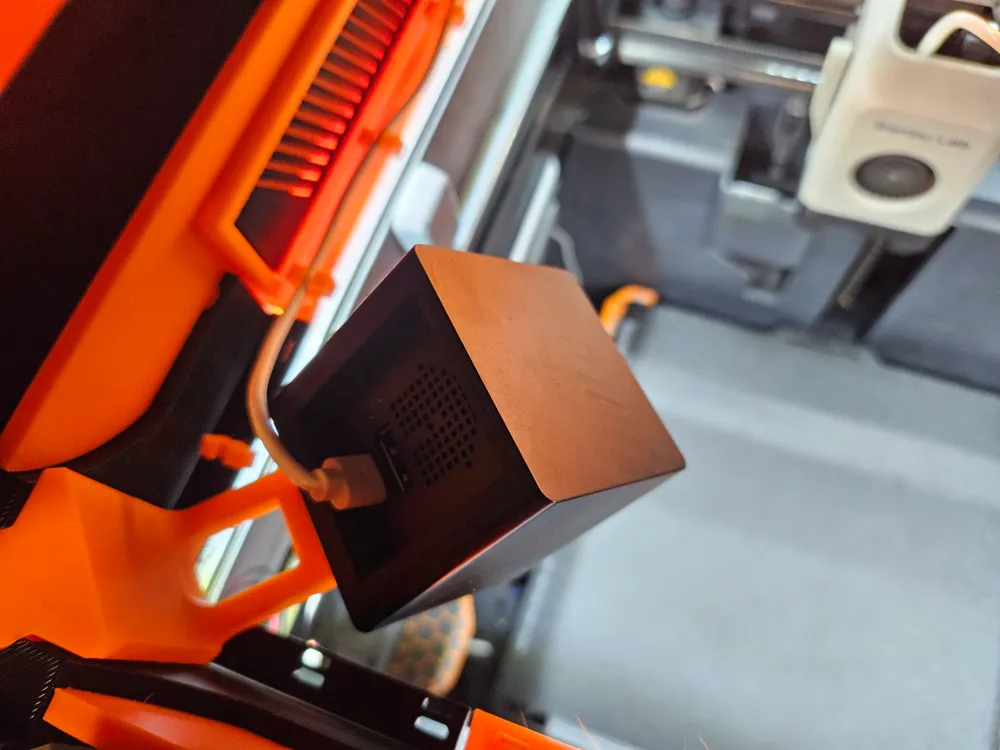
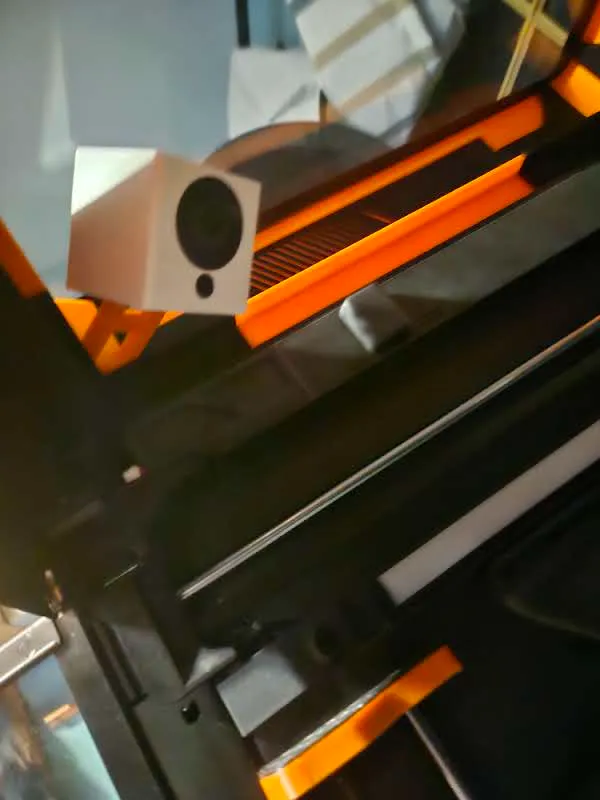
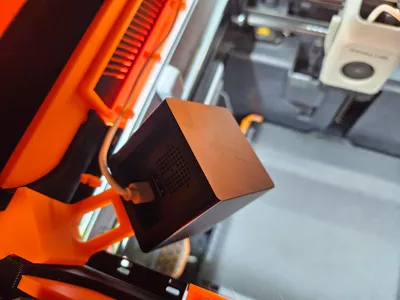
Update: 7/11/2024 added cable management clips, removed non-slotted sides, platforms, and added improved WyzeCAM2 corner plug for less side to side movement.
Update: 7/12/2024
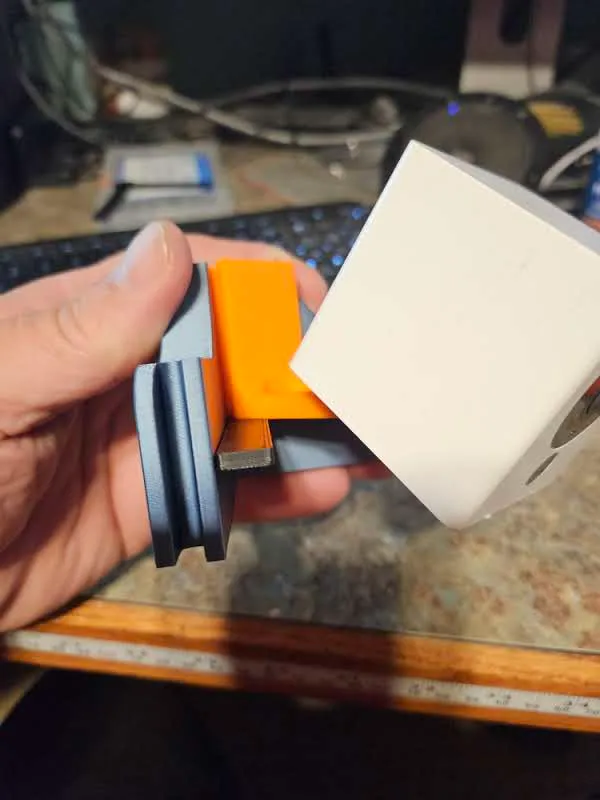
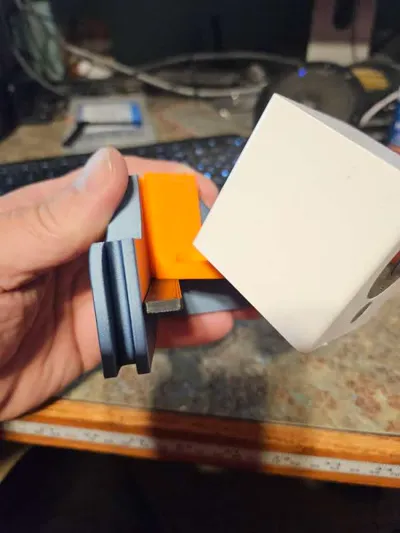
- added a newer style WyzeCAM2 corner plug with hooks? (not sure that's the best name) to provide positive positioning. You will have to “POP” it on over the lip after putting the screw in place on the bottom.
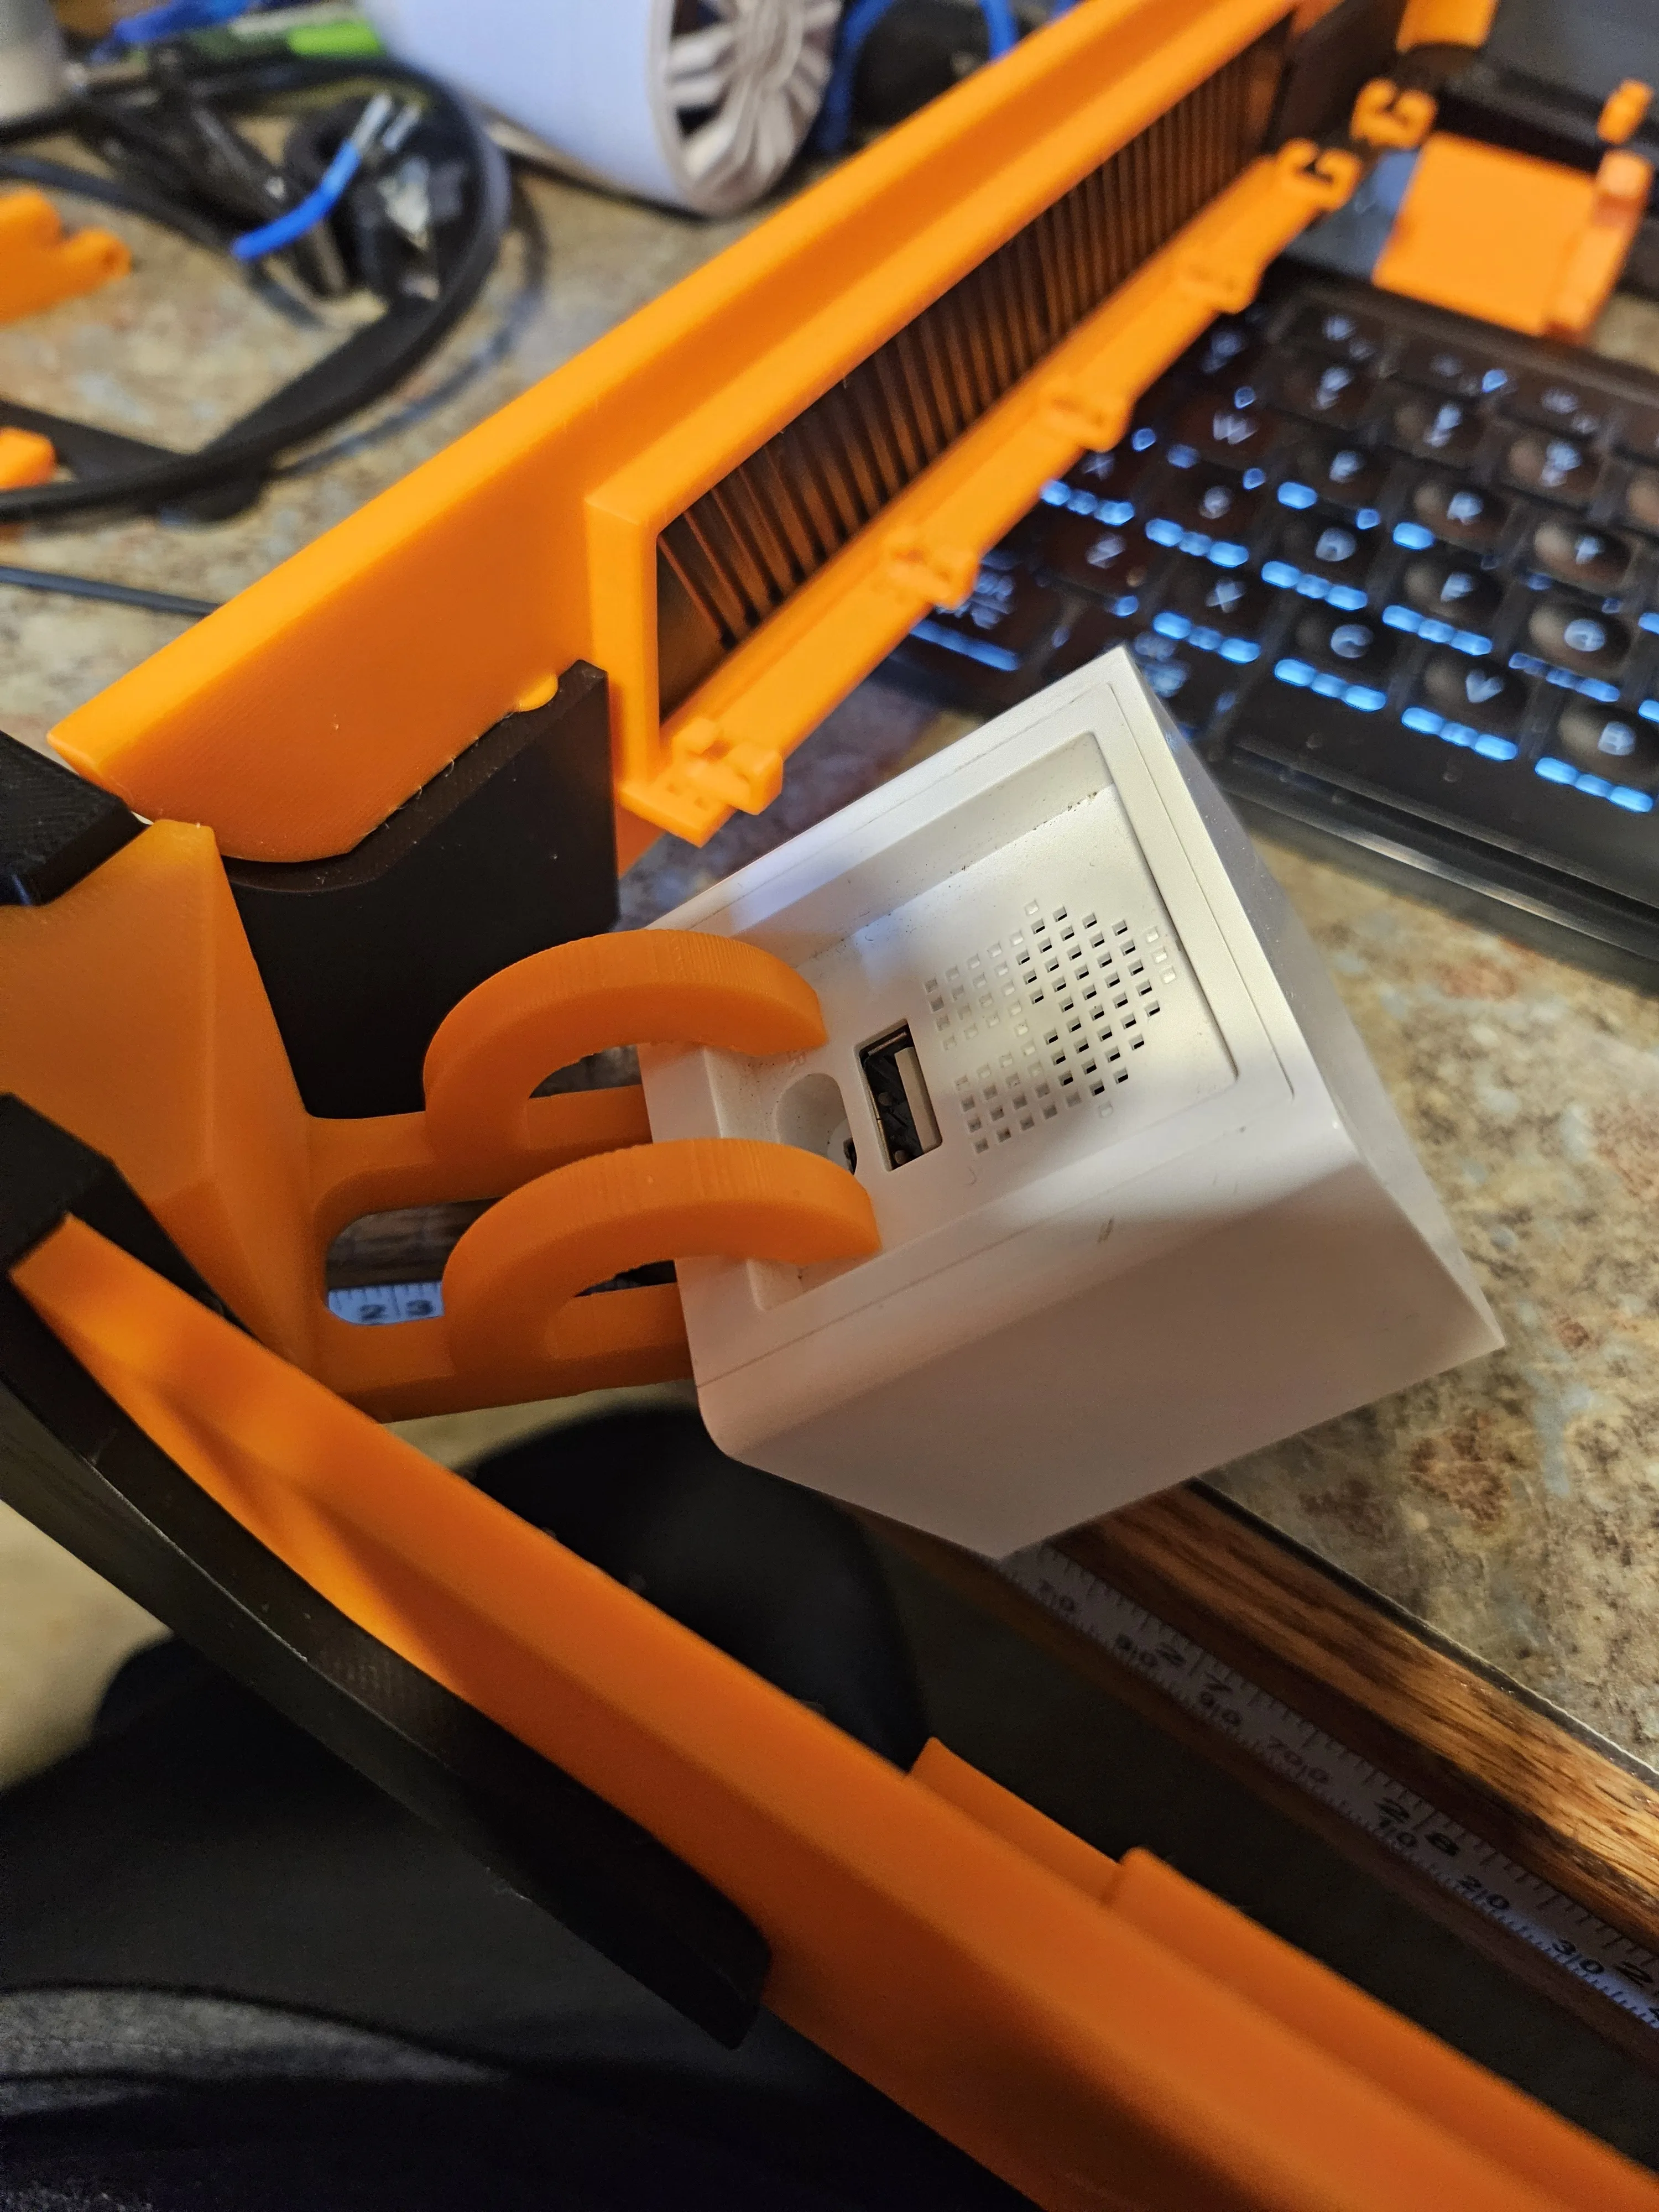
- added a WyzeCAM3 corner plug from Muddog (I haven't printed it since I don't have a WyzeCAM3, but he has).
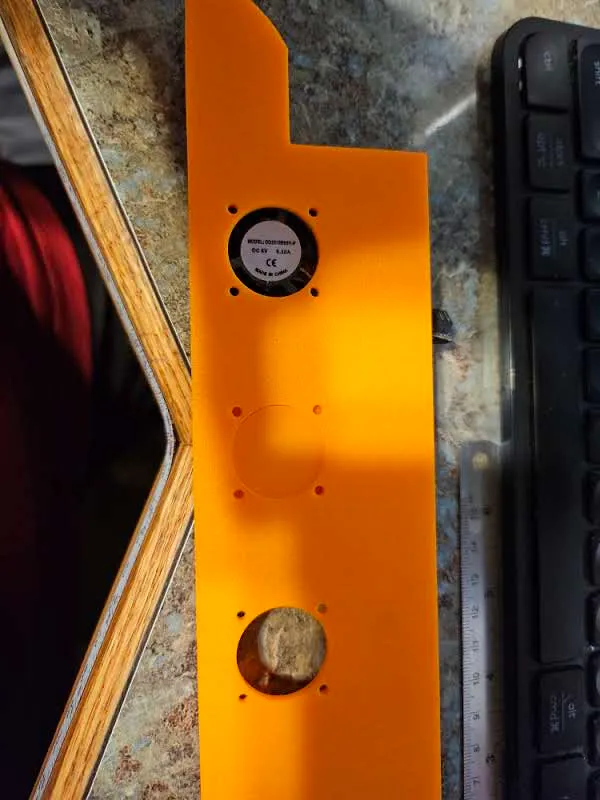
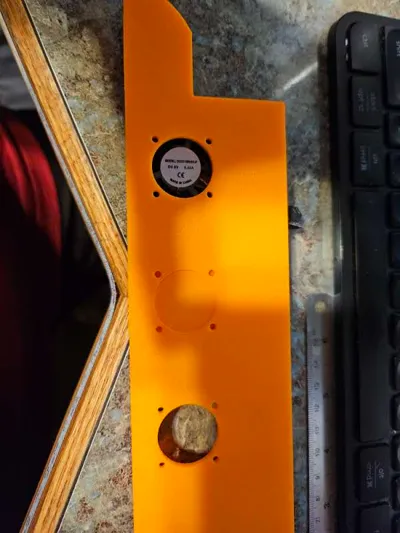
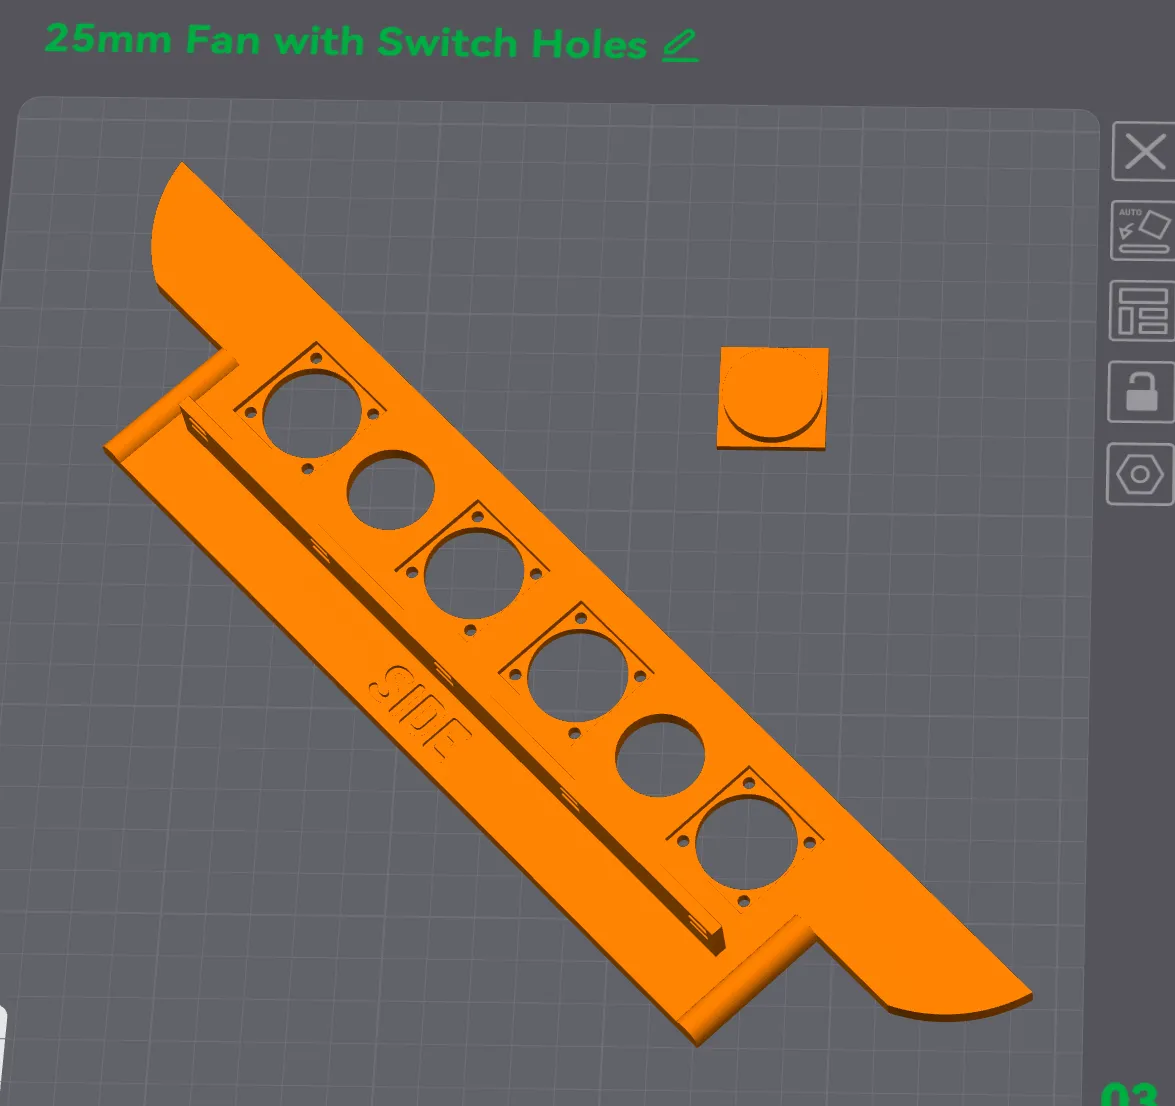
added a version of the side panel for the 25mm fan that includes holes for switches available on Amazon
https://a.co/d/5EKTZA5
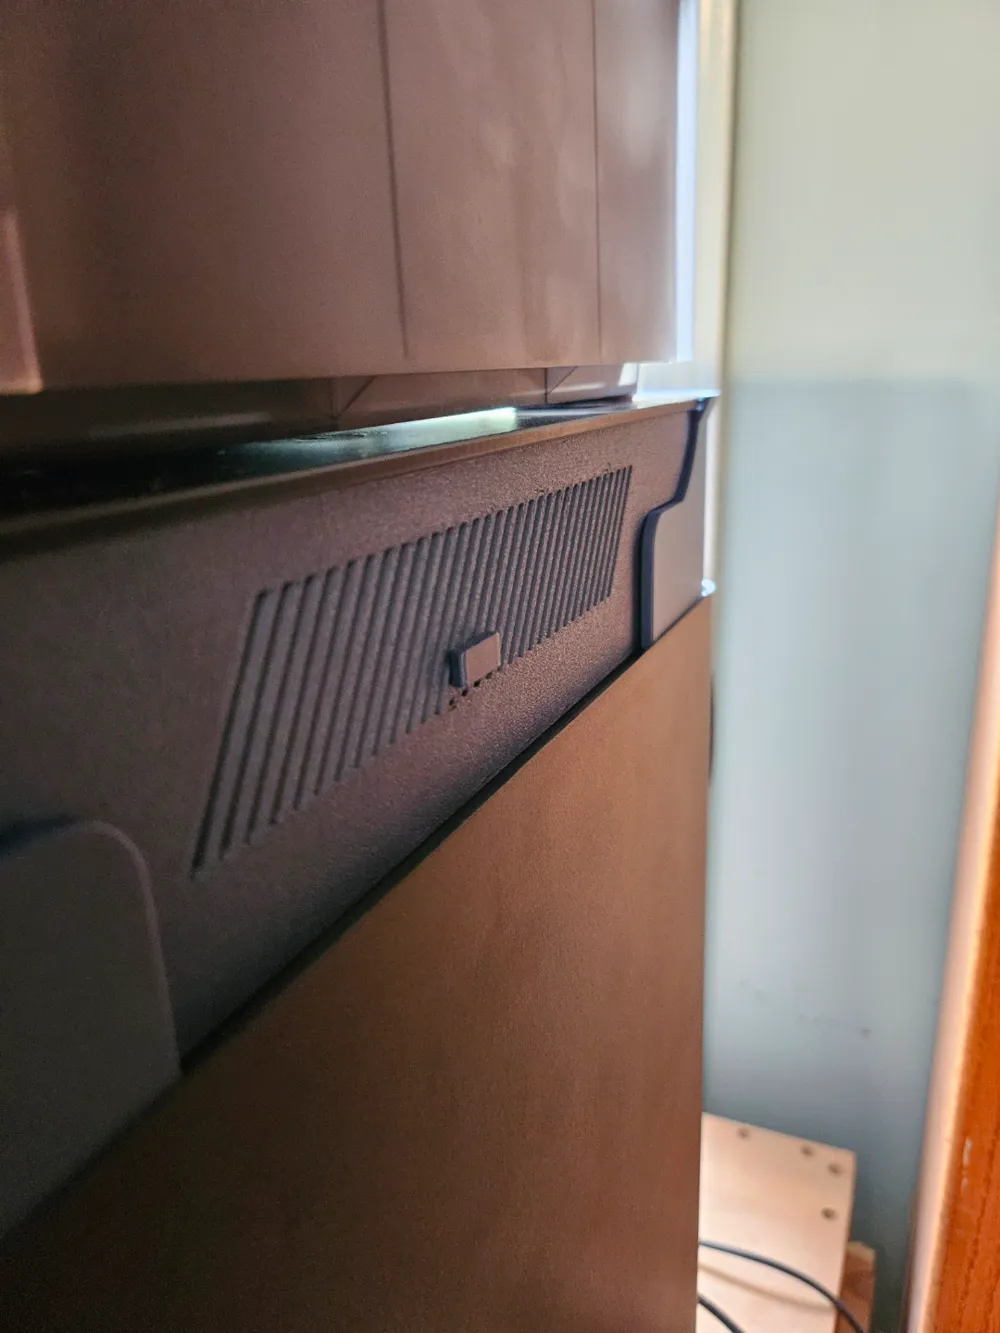
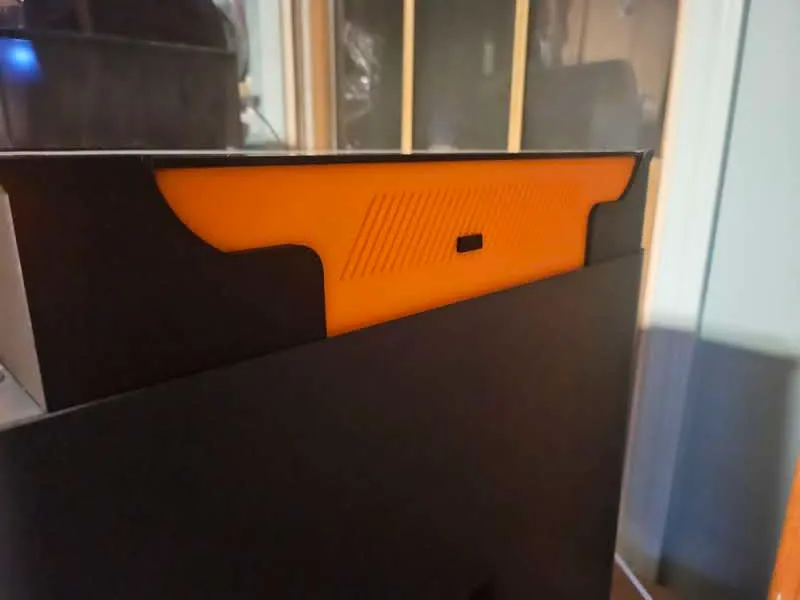
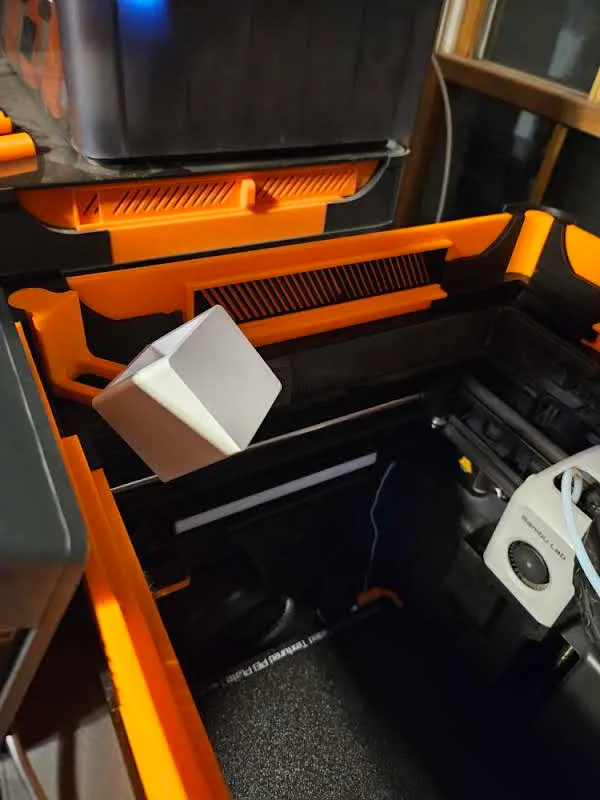
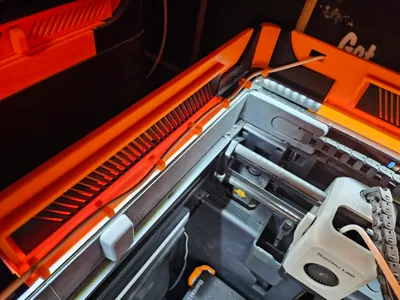
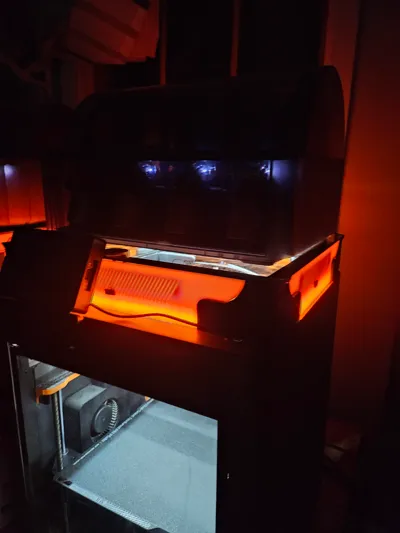
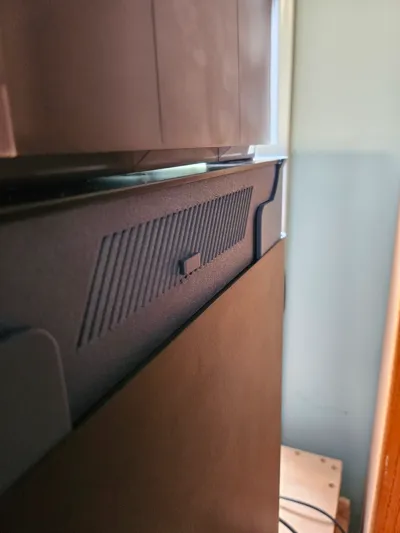
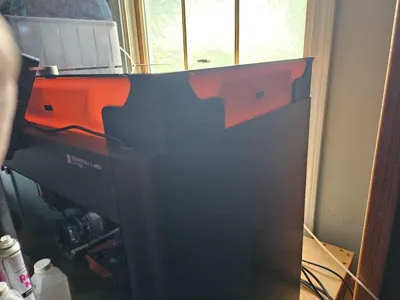
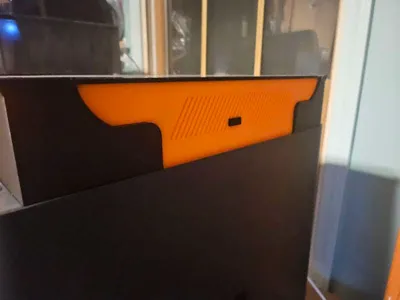
Differences between this and my other models is the louvre is on the inside giving the outside a cleaner look. There is a slider on the outside in the middle (small) that will move the inner louvre to open/close. Pay attention to the position of the louvre when you snap that in, if correct, it should only slide open and close.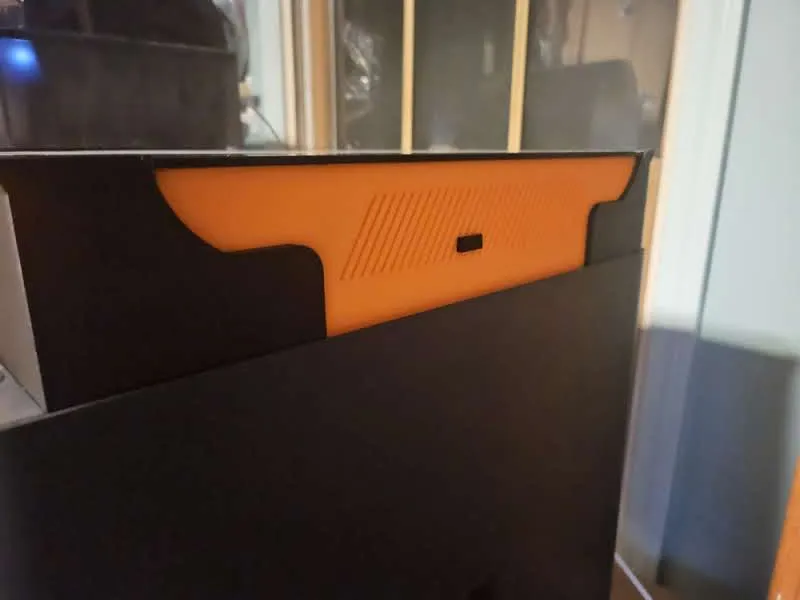
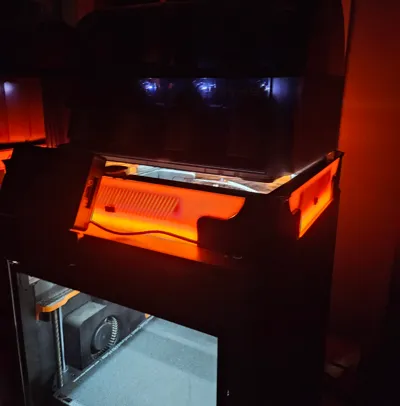
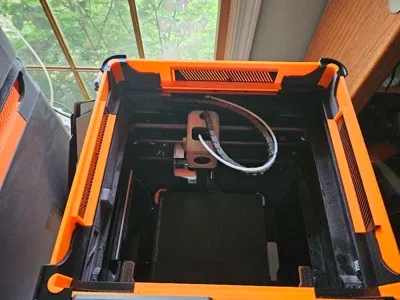
The addition of an inside ledge that supports up to a 8mm LED light strip. 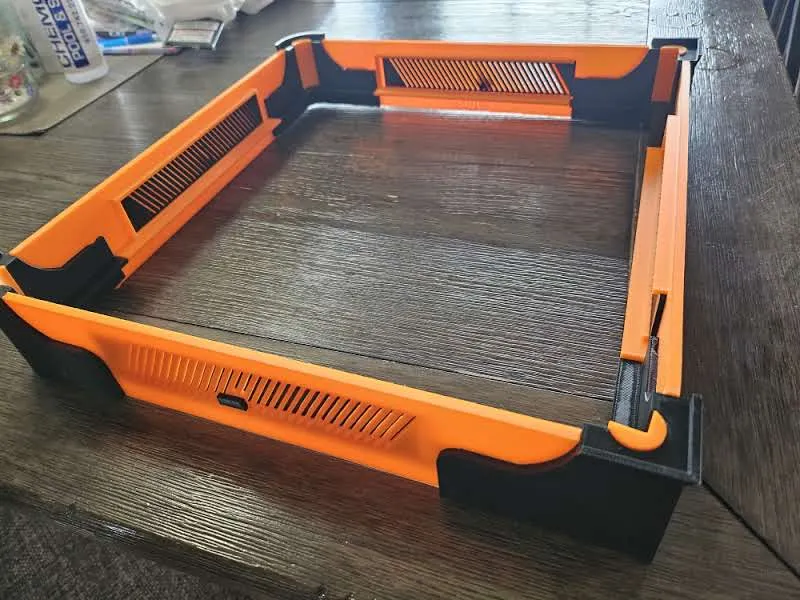
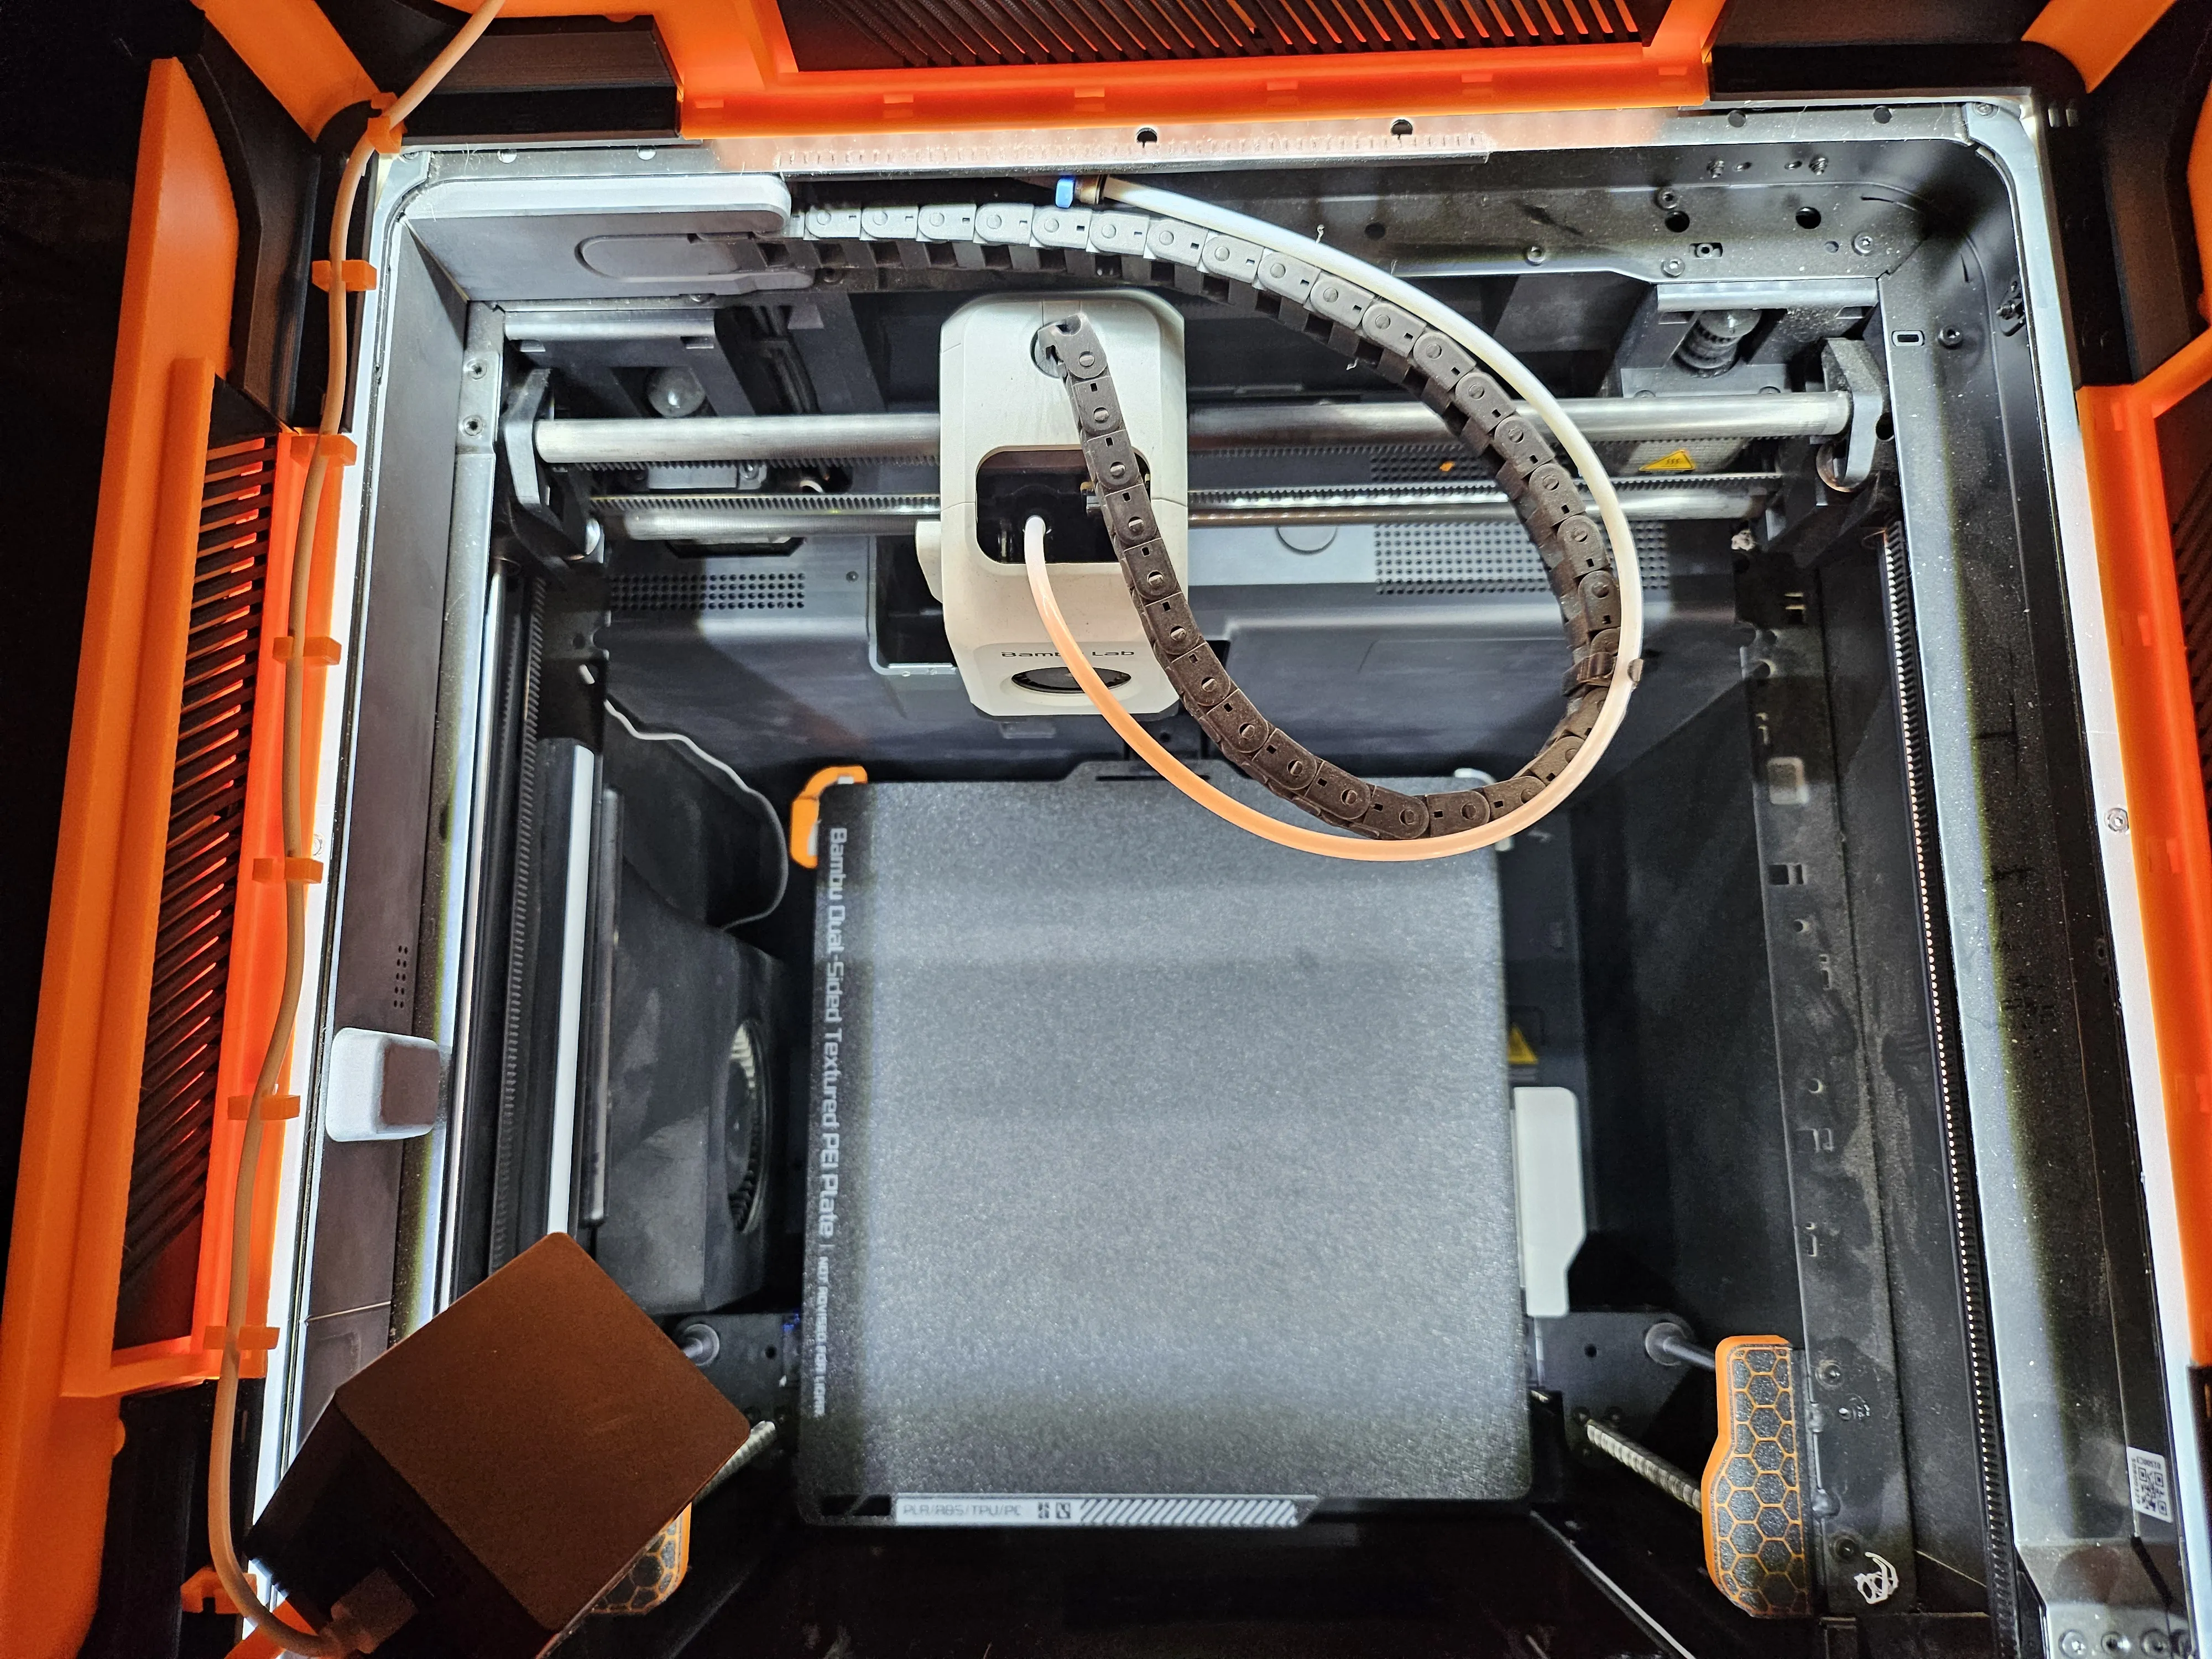
Also, the two sides are the exact same so there really isn't a “left” and a “right”, it's the same model whereas the previous model had uniqueness to left, right, front, rear. The only difference in the front and the rear on this v2 is that the rear is about 2mm taller in the very center to accommodate the P1P/P1S.
I used this as it plugs directly into the existing LED light control on the P1x series. https://www.aliexpress.us/item/3256805686990795.html?spm=a2g0o.order_list.order_list_main.15.598a1802TuZZQp&gatewayAdapt=glo2usa
The WyzeCAM2 mount is a bit more simple as you can remove the base and attach it directly to the corner mount. I plan to make other “things” that use the corner mount for other cameras etc. I'm going to attach the exported file for the corner mount I created for the WyzeCAM2 in case anybody else would like to customize it for their needs or to remix it for other cameras.
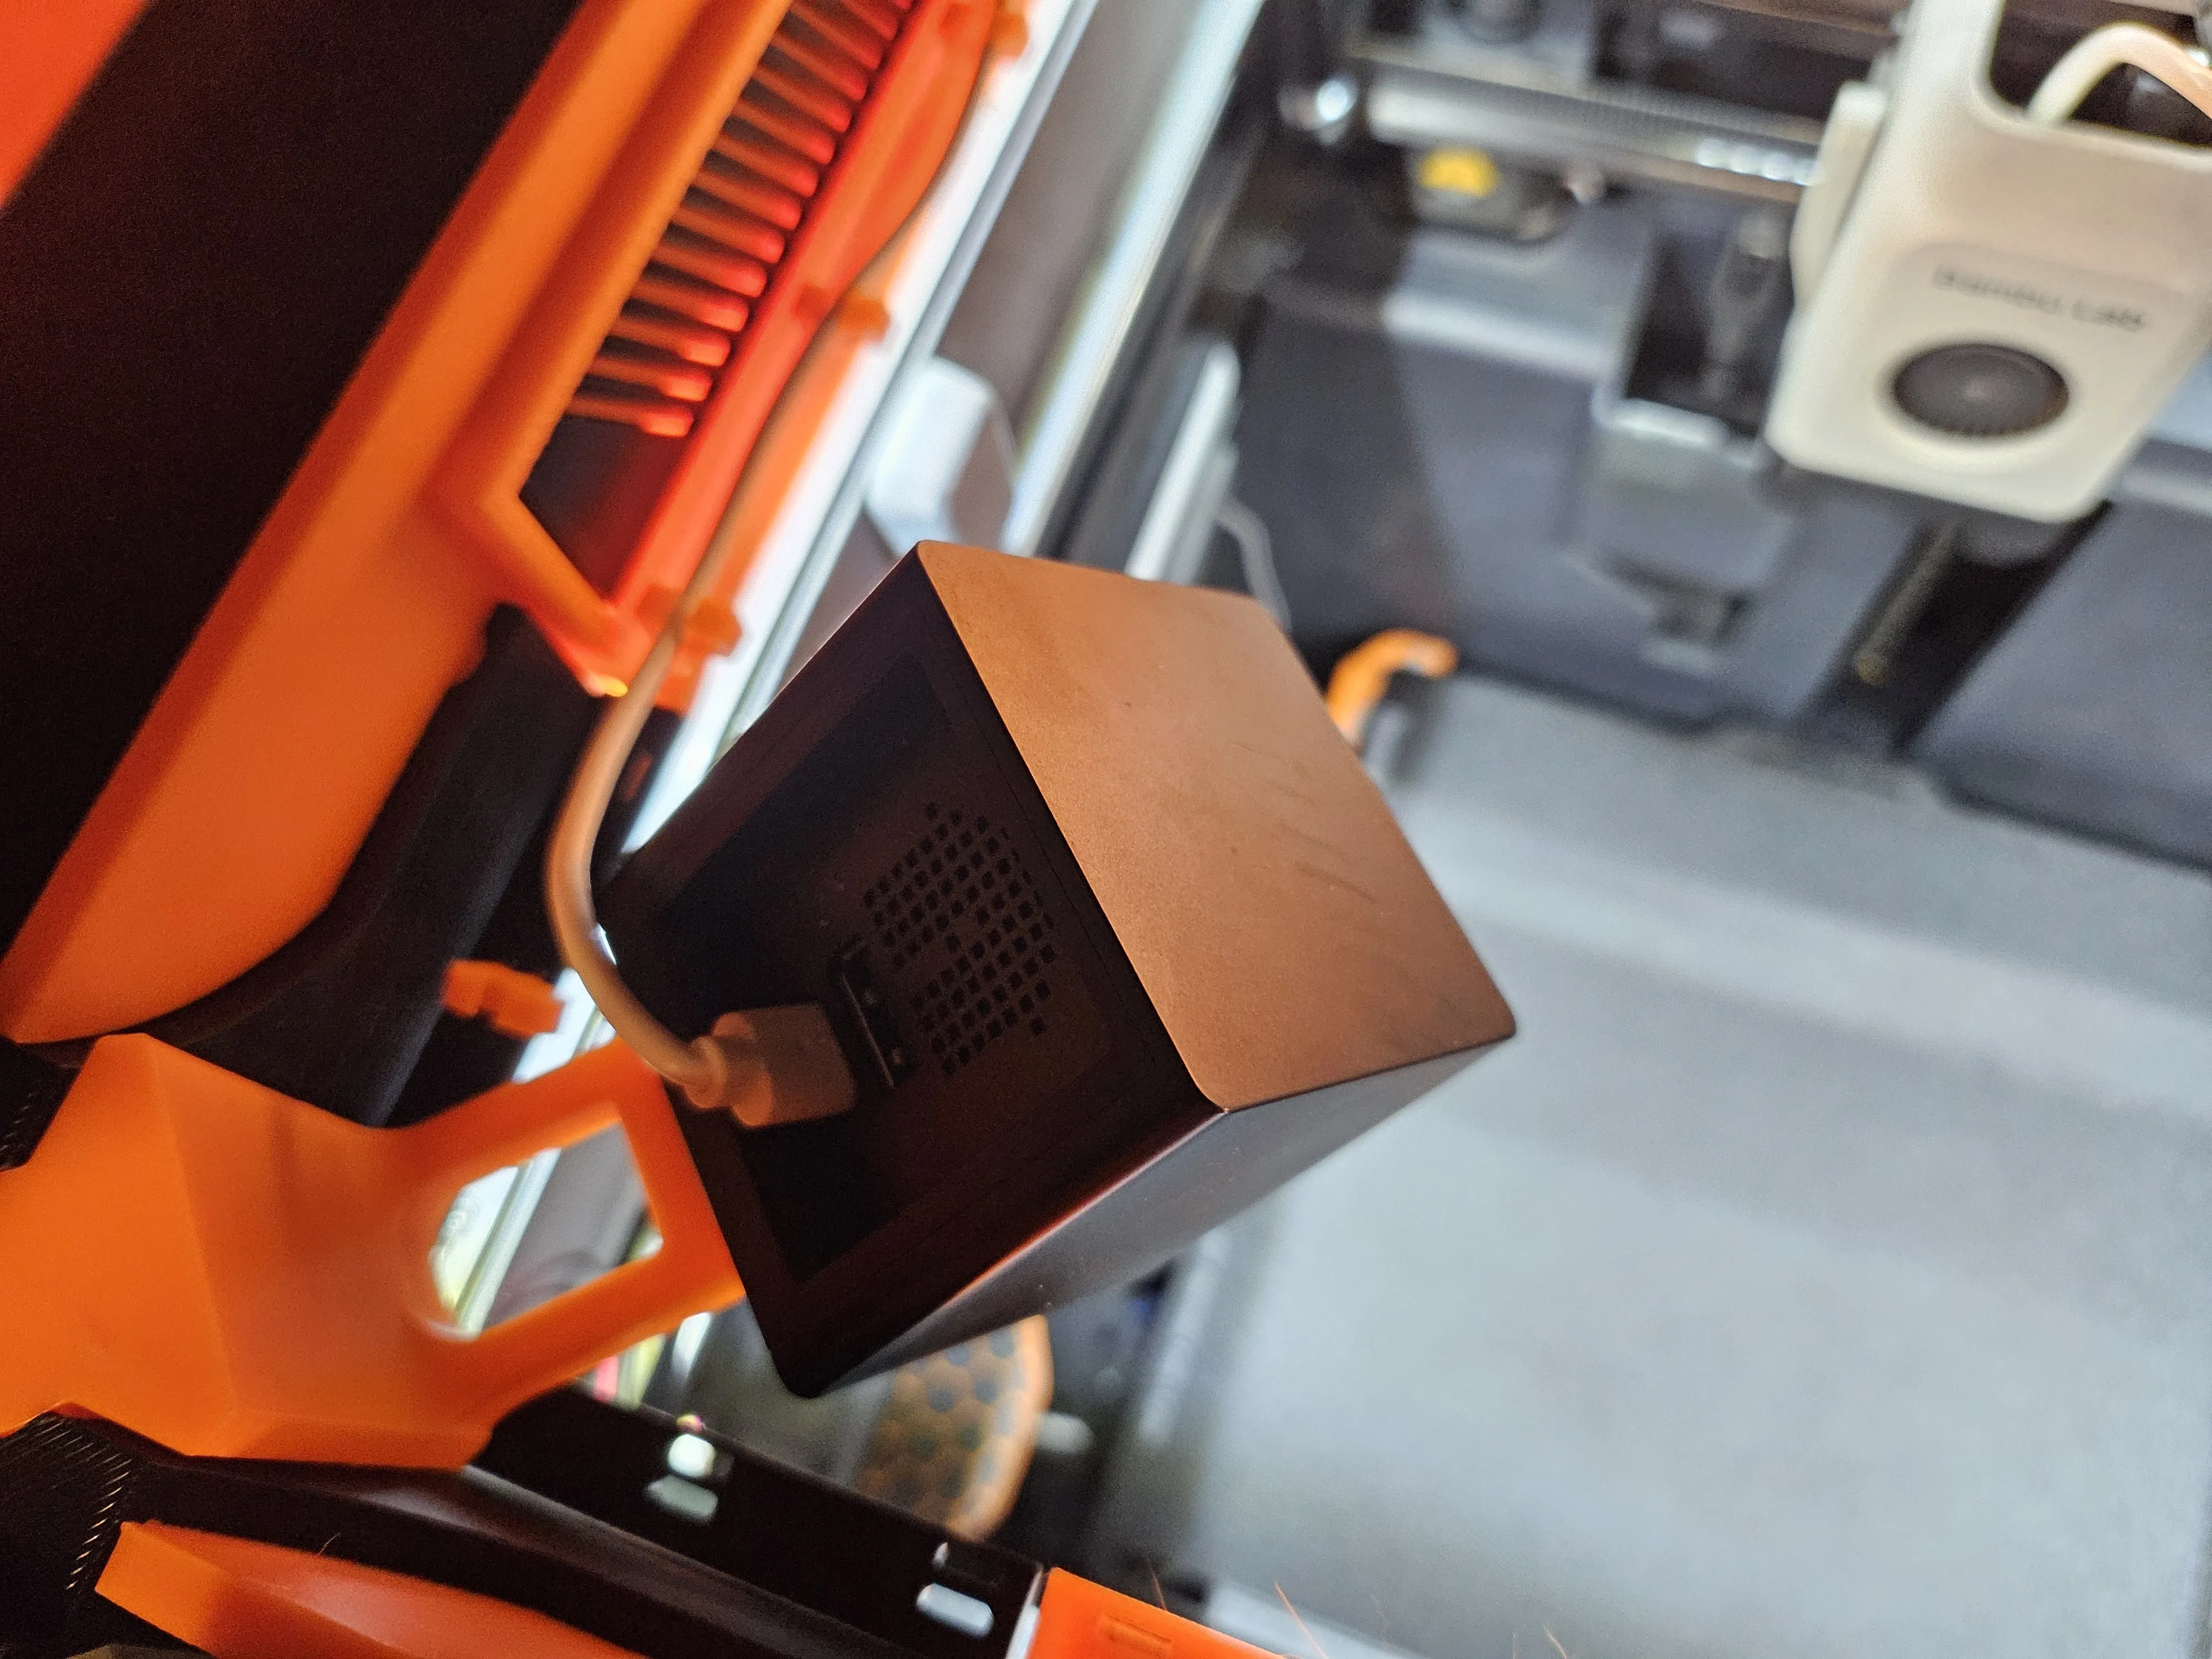
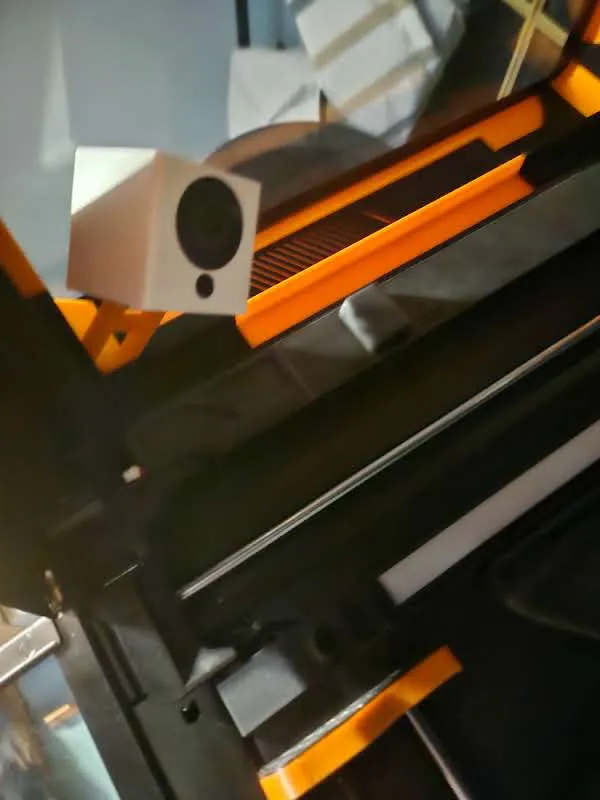
Everything should be an easy print with very little in the way of supports, and they are tree supports. The grooves for the sides/louvre and the WyzeCAM2 mounting holes. I just use a small screwdriver to easily remove the supports from the sides/louvres.. Note that the plugs for the corners are shorter if you're going to use the inserts for the LED light strip, if not, they are longer to accommodate not having the insert in each corner.
You could glue the corner plugs but there really is no need. The plugs should be snug enough to hold the corner LED platform level, and if not, once you set the glass on the riser, it will force them into the right position.
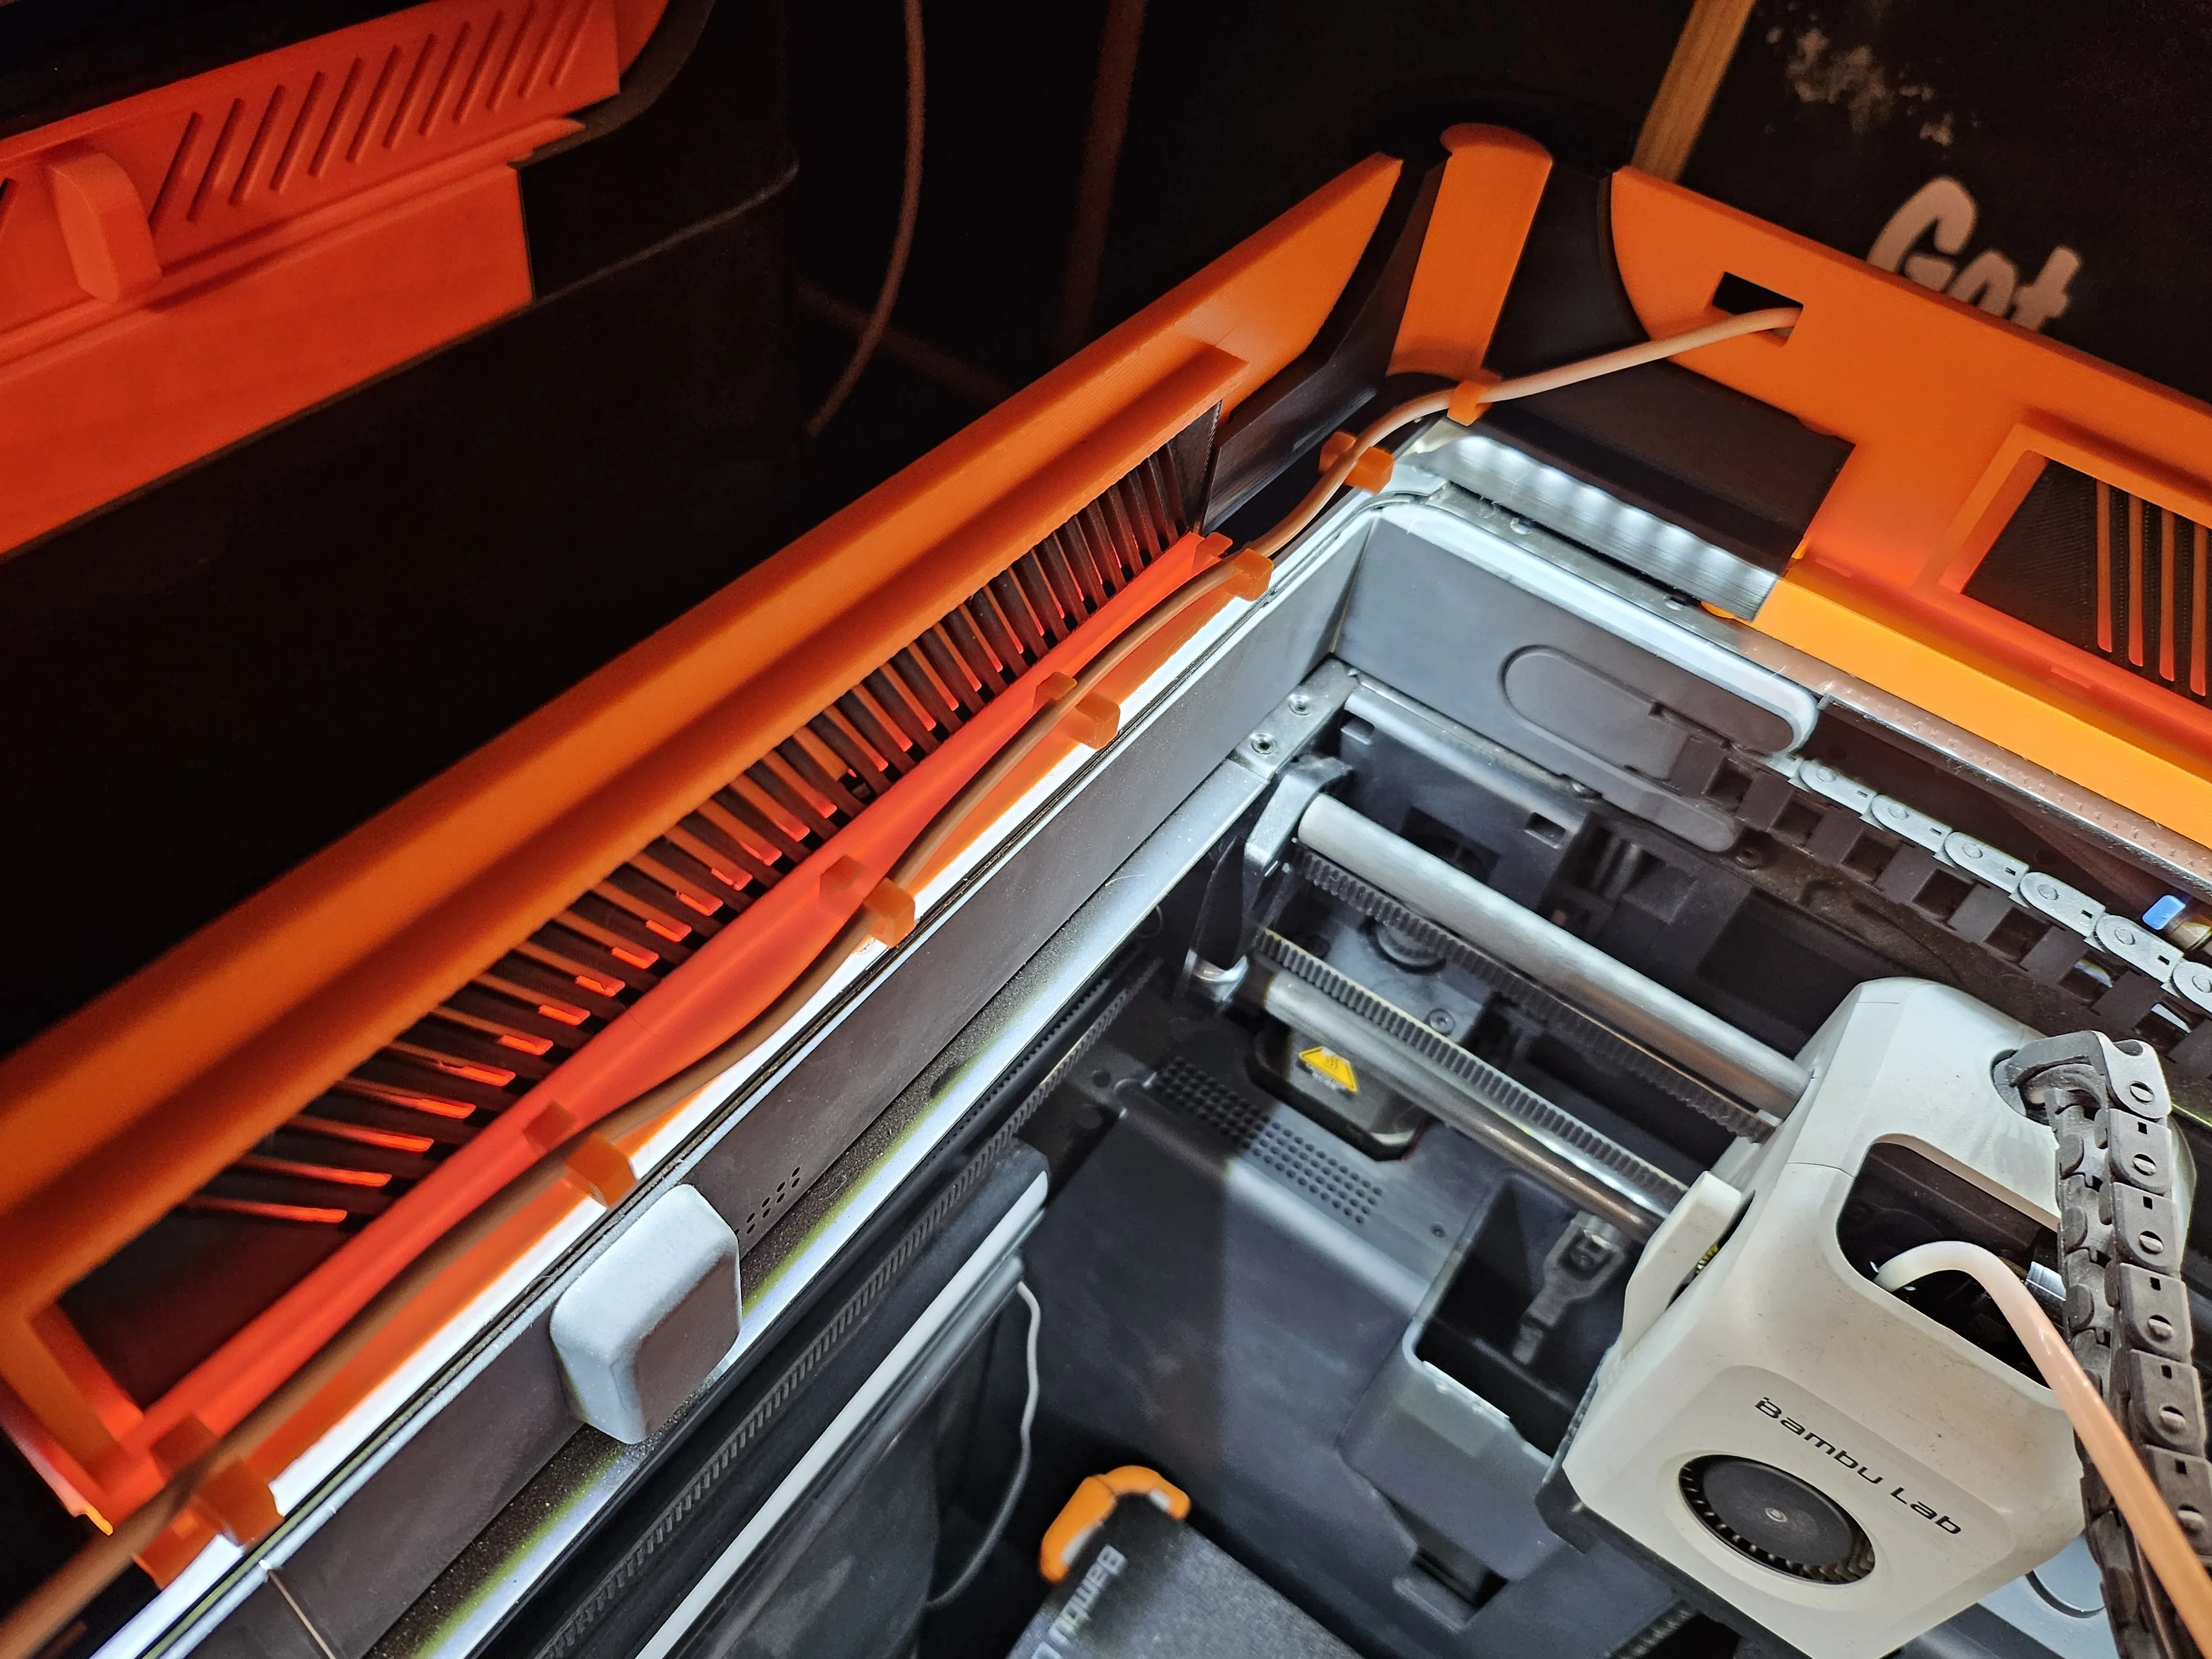
The LED ledge has slots for either wire-ties or for the cable management clips that are included in the model.
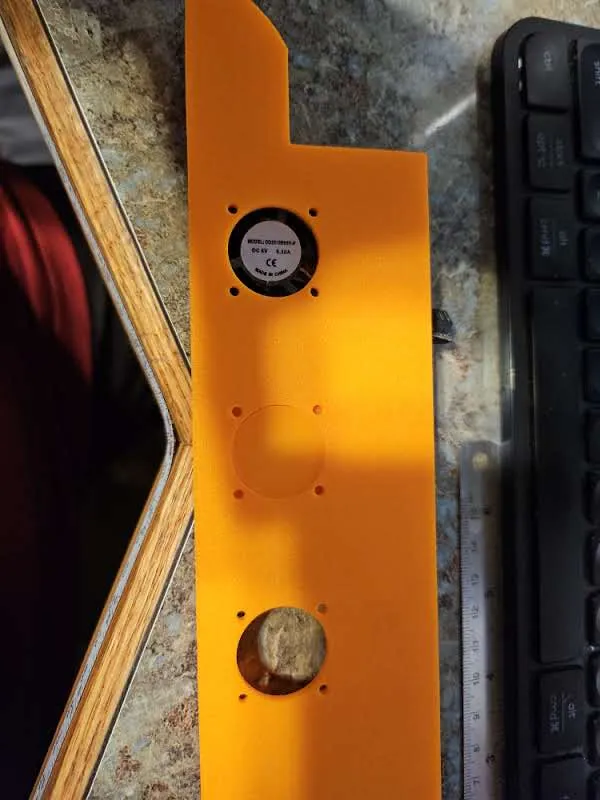
For those who would like to use fans to pull or push heat out of the printer enclosure, there is a side that has up to four 25mm fans (same fan as on the hot-end of the P1x series) but should really work with any fans that are 25mm. There is a plug that can be printed if not all 4 of the fan openings are used.
To Print:
- 2 x Sides
- 1 x Front
- 1 x Rear
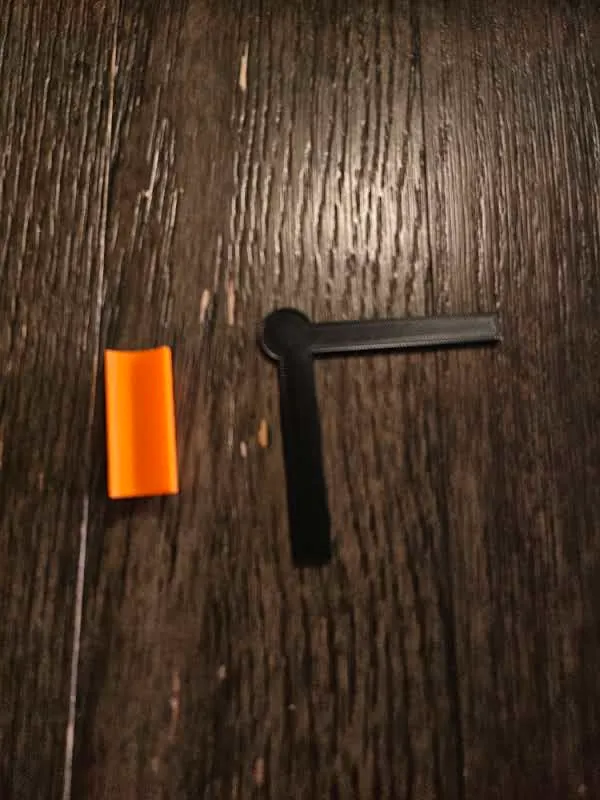
- 4 x Vent Covers (assuming you don't print the fan sides)
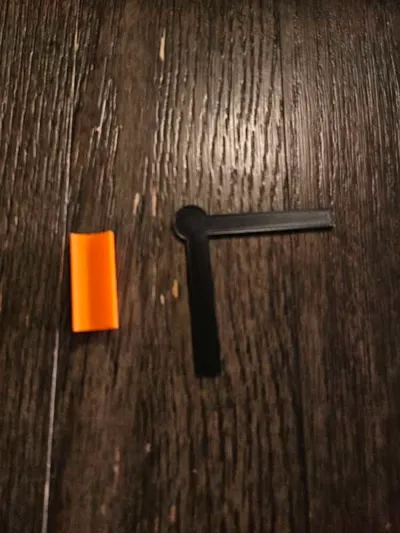
- 4 x Vent Cover Handles
- 2 x Square Corner Plugs (long or short as needed, or camera mount x 1)
- 2 x Round Corner Plugs
- 1 x RR Corner
- 1 x LR Corner
- 1 x FL Corner
- 1 x FR Corner
- 2 x Round Corner Platform
- 2 x Square Corner Platform
You can choose to print the versions with wire-tie slots or not, or mix and match. If you want a hole in the non-slotted rear or any of the sides for wires to pass through, use a negative part wherever you want the hole. On the slotted rear there is already a hole and a plug. You can also choose to print the side with fan holes for 25mm fans (slotted or unslotted), and plugs for all or some of fan mounts that will be unused.
License



Comment & Rating (21)