Egg B-Header


Print Profile(1)

Description
For breakfast I like a hard boiled egg. But I do not like peeling the egg, so usually I cut the top of the eg with a knife. And of course I hit my fingers. More than once…
The solution are egg cutters, or egg openers or breaking point creators for eggs ('Eierschalensollbruchstellenverursacher' as we say in Germany). But we all know: Buying is boring, printing is fun - so I designed the printable Egg B-Header.

Print preparation:
Make sure that your print bed is clean and grease-free and use a quality brand filament. If the print result is too brittle try drying your filament. Wet filament can be fragile.
Print settings:
Use the 0.20mm Standard settings in the slicer. I recommend to print with a variable layer height. The top end (cutting zone) should be printed with 0.10mm layer height so that the cutter is sharp. The rest can stay at 0.20mm layer height.
See my 3mf file for details. The print profile supports A1 Mini, A1, P1 and X1 printers.
How to use:
Using the Egg B-Header is easy.
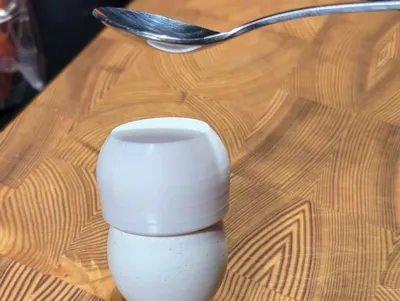
- Put the Egg B-Header on top of the egg.

- Hit the flat end of the Egg B-Header with a spoon.
Use the right amount of force. Do not be too gentle but do not smash like the Hulk.
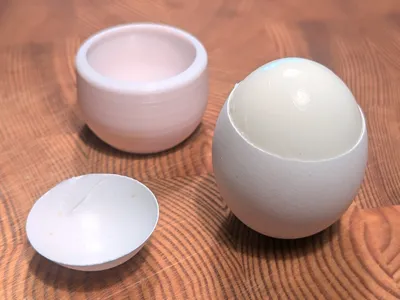
- Now the egg has a round crack all around the head.

- Pull the egg cap off or cut the egg at the crack.

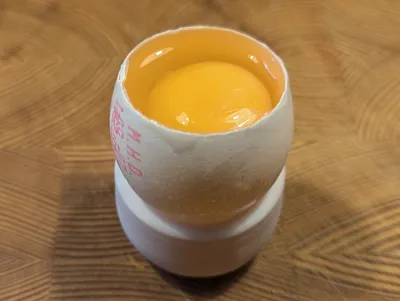
- It even works with a raw egg.

And now go - chop some eggs!
Boost Me (for free)
Like it? Boost it!
If you want to support me you can leave a tip at ko-fi.com/blecheimer.
Disclaimer:
This work by blecheimer is licensed under CC BY-NC-SA 4.0. The shown model must not be used commercially.
Copying this model to other 3D printing websites is not allowed without my permission.
Comment & Rating (17)