
CleanGrip Pro - Carbon and Z-Axle Rod Cleaner

Print Profile(3)


Description
Membership
You want to make money with it? become a member.
Boost Me (for free)
You like it? give it a boost.
Boost Me (for free)
new Version https://makerworld.com/en/models/919709#profileId-881645
https://makerworld.com/en/models/919709#profileId-881645
English
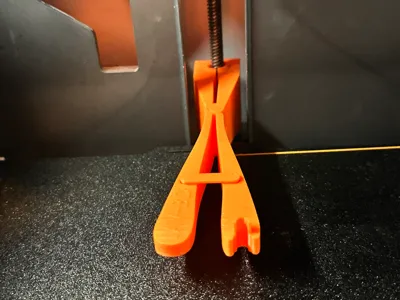
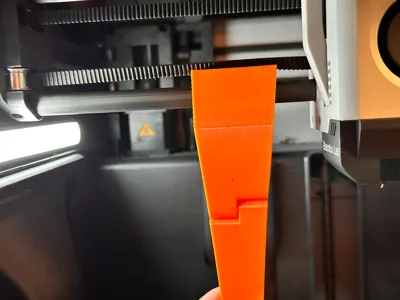
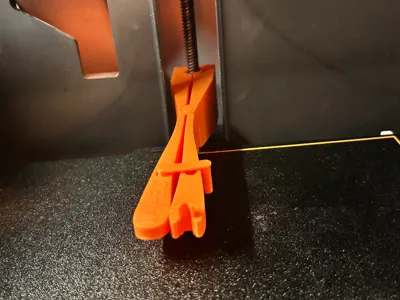
Instructions for 3D Printing a Tool for Maintaining and Cleaning the Carbon Axles and Z-Lead Screws of the Bambulab X/P Series
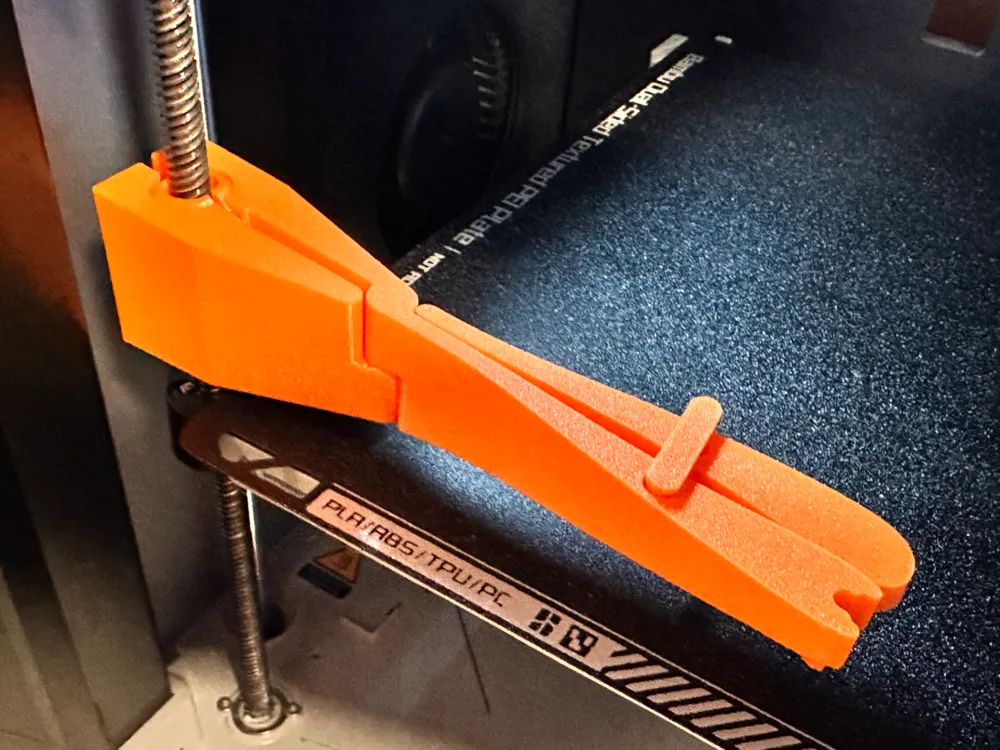
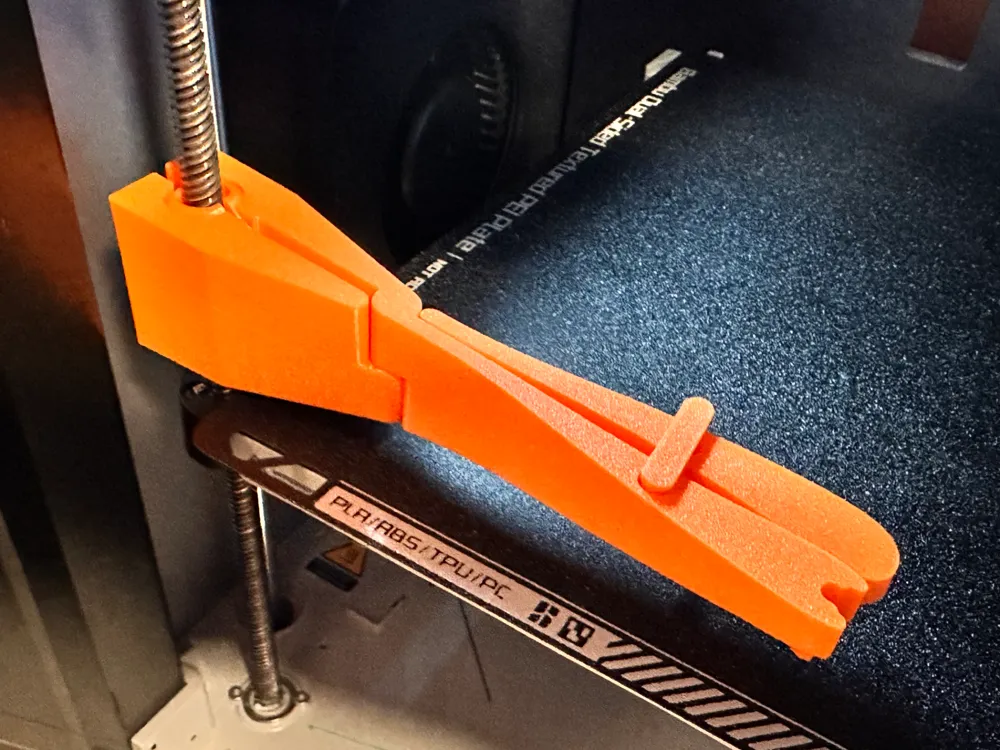
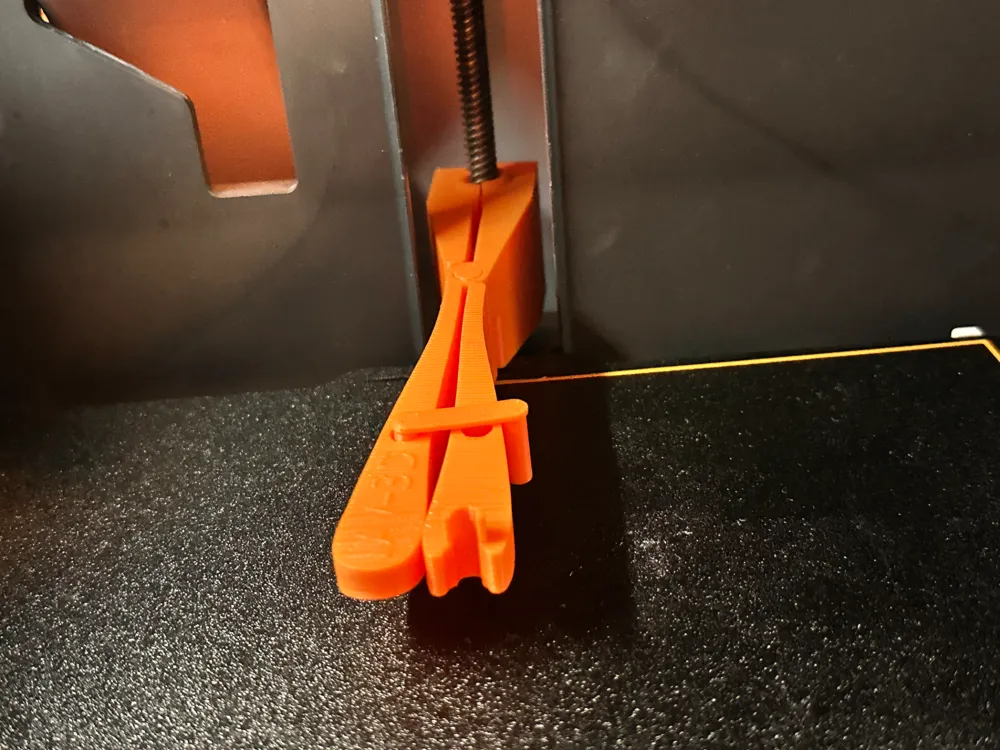
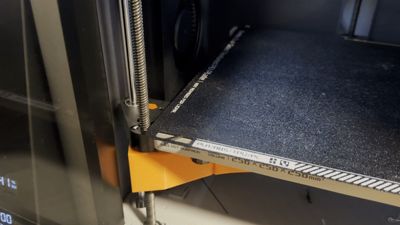
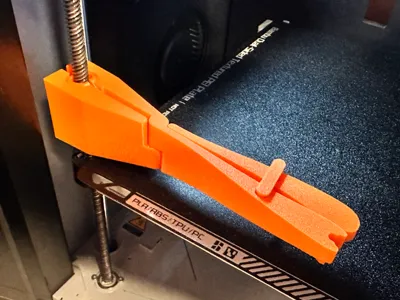
This guide details the process of utilizing a specially designed 3D-printed tool for cleaning and maintaining the carbon axles and Z-lead screws within your Bambulab X/P Series 3D printer
Required Materials
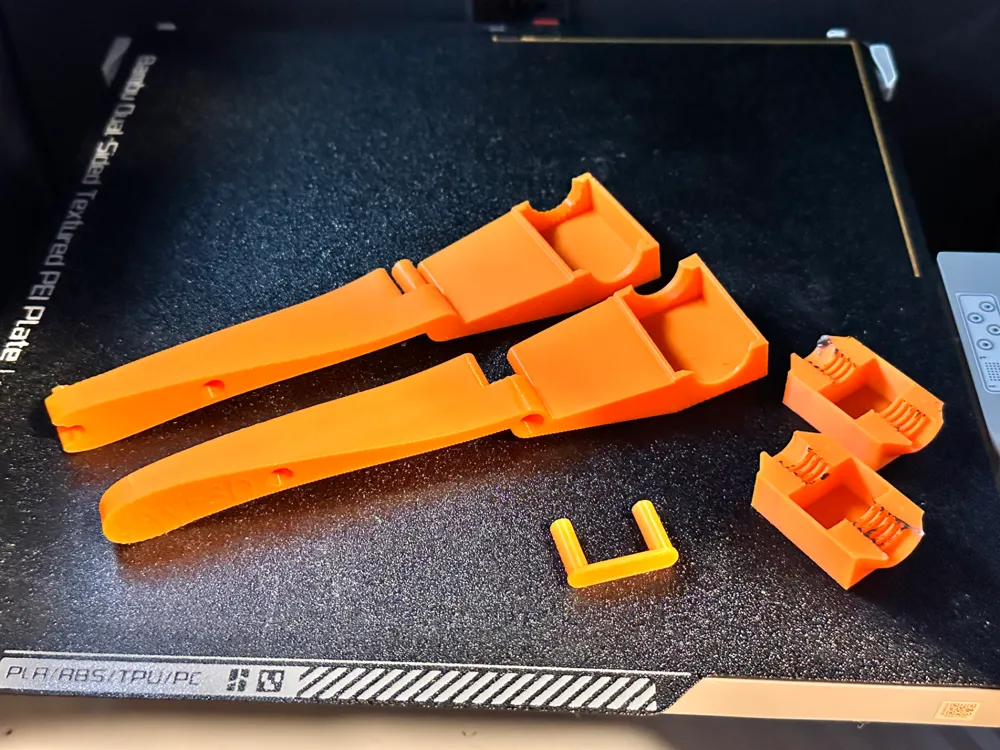
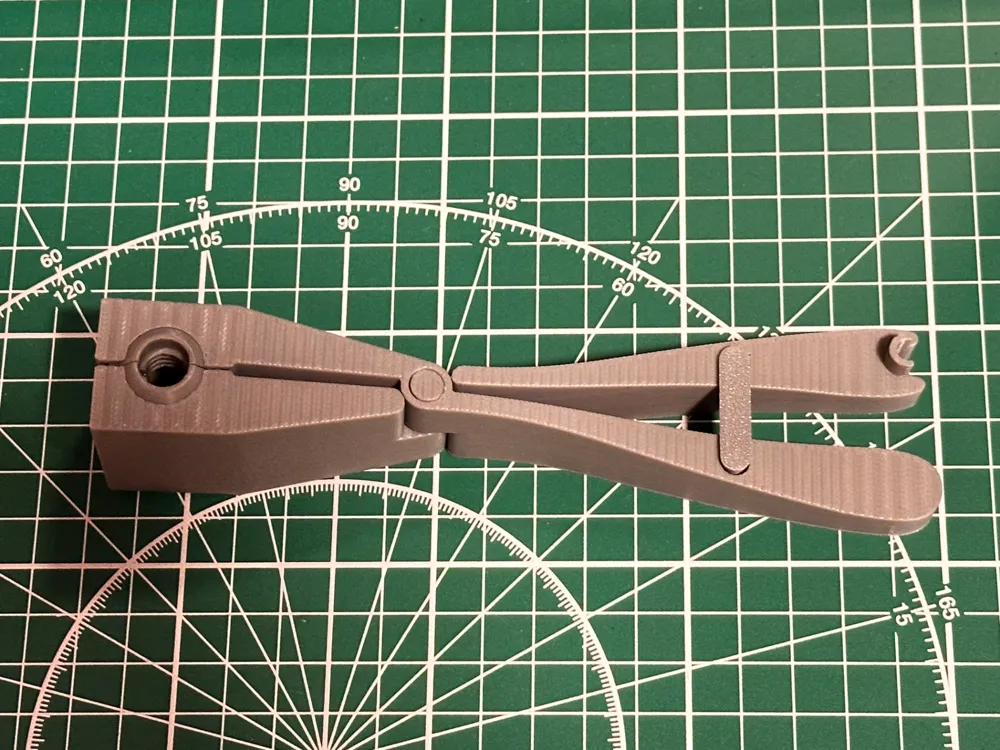
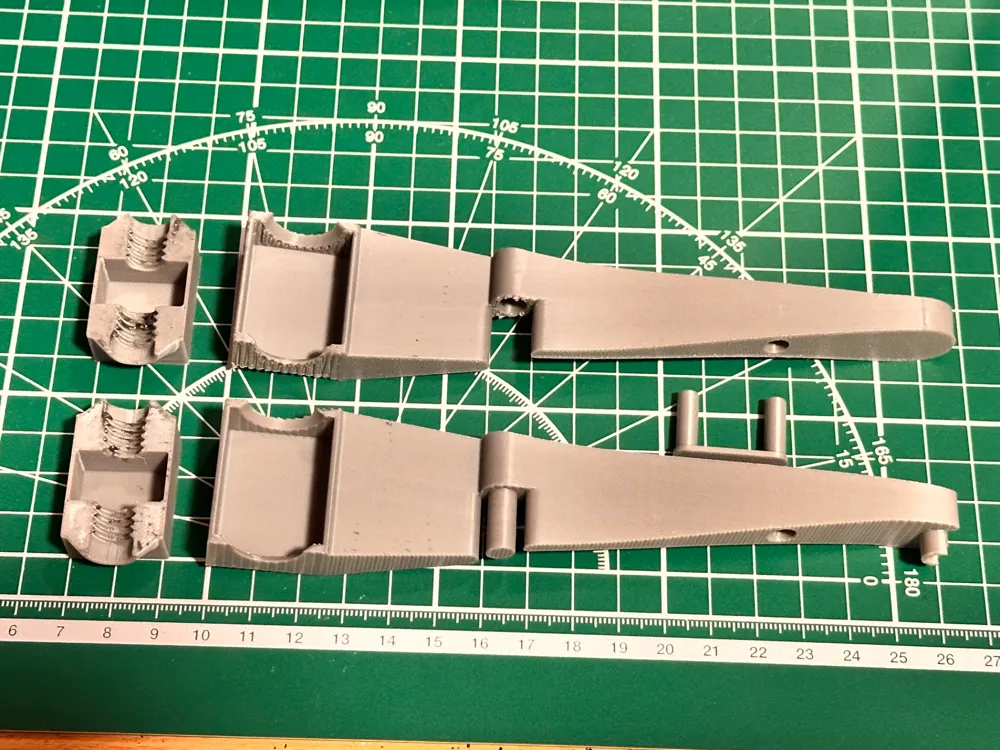
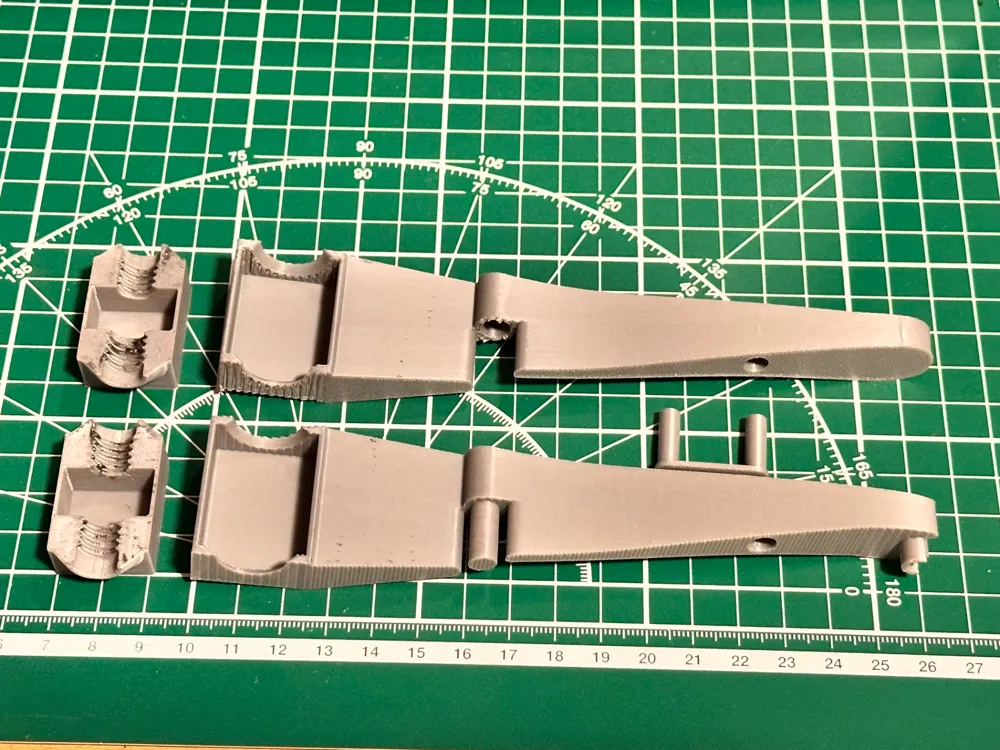
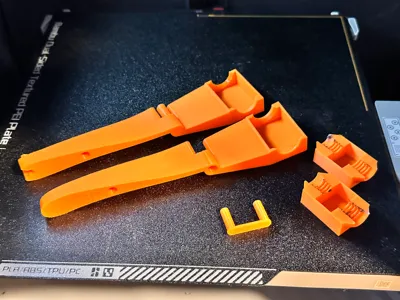
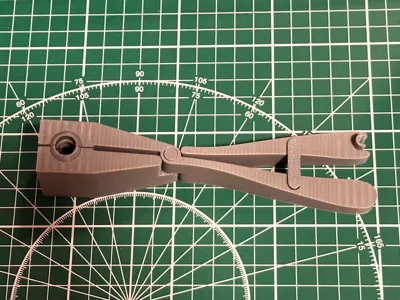
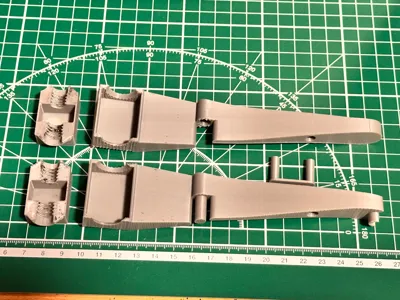
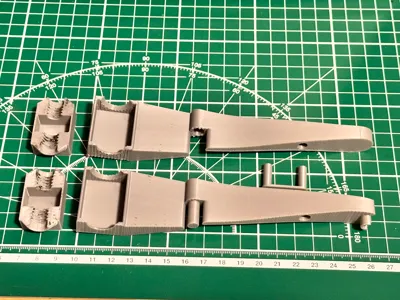
- A 3D-printed clamp-like device
- Sponge segments or cleaning wipes
- Optional: PTFE tube extractor
Printing Instructions
- Preparing the 3D Print Files:
- Download the 3D print files for the clamp-like device and the optional PTFE tube extractor
- Adjust print settings to accommodate your preferred filament (PETG or ABS recommended for enhanced durability)
- Initiate the print and meticulously monitor the process to guarantee optimal adhesion and print quality
- Post-Processing:
- Remove the printed components from the printing bed and carefully remove any residual supports or structures
- Confirm that the clamp's moving parts operate smoothly
Application Steps
- Inserting the Cleaning Inserts:
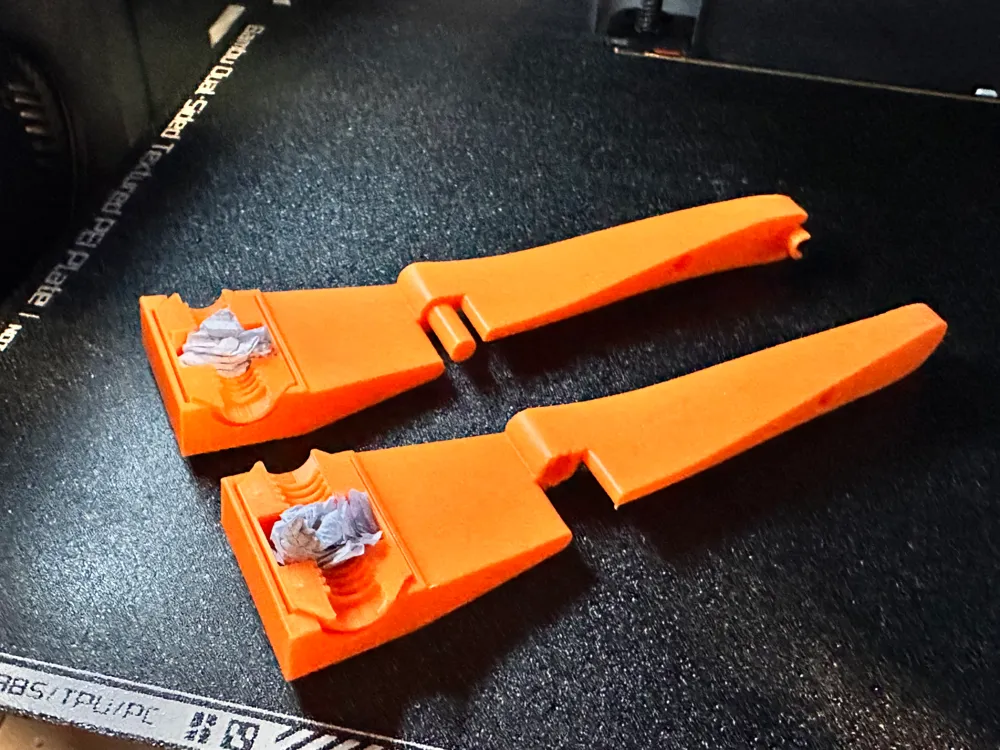
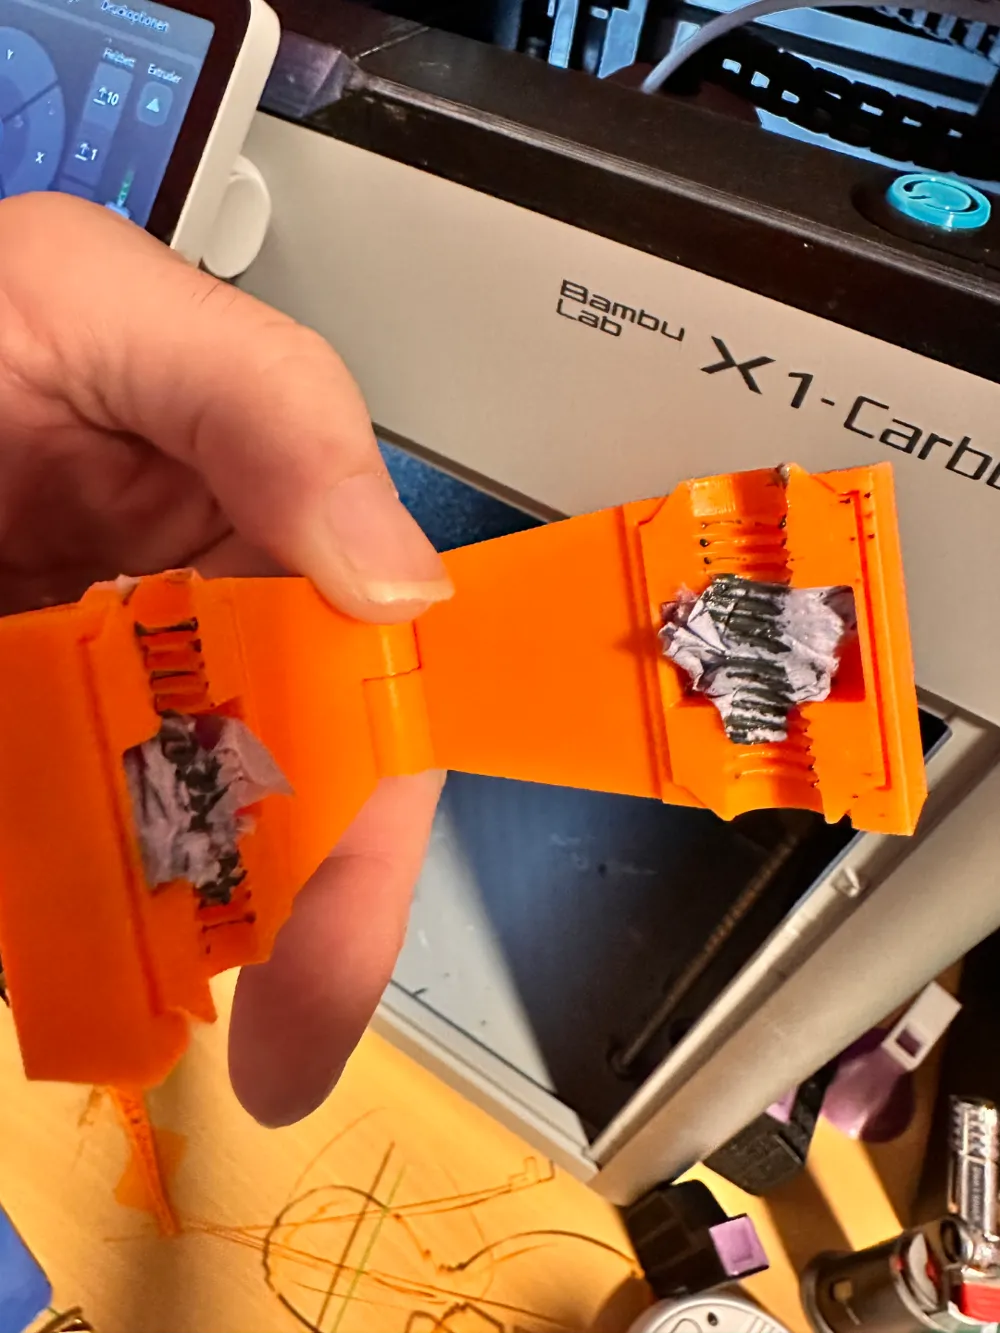
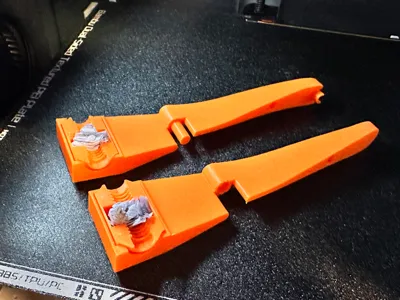
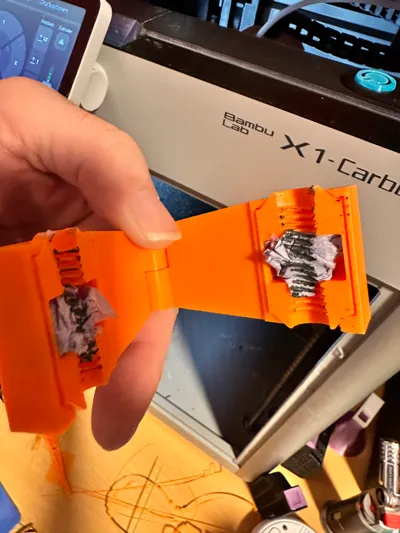
- Insert sponge segments or cleaning wipes into the clamp-like device's extremities These will serve as your cleaning inserts
- Cleaning the Carbon Axles:
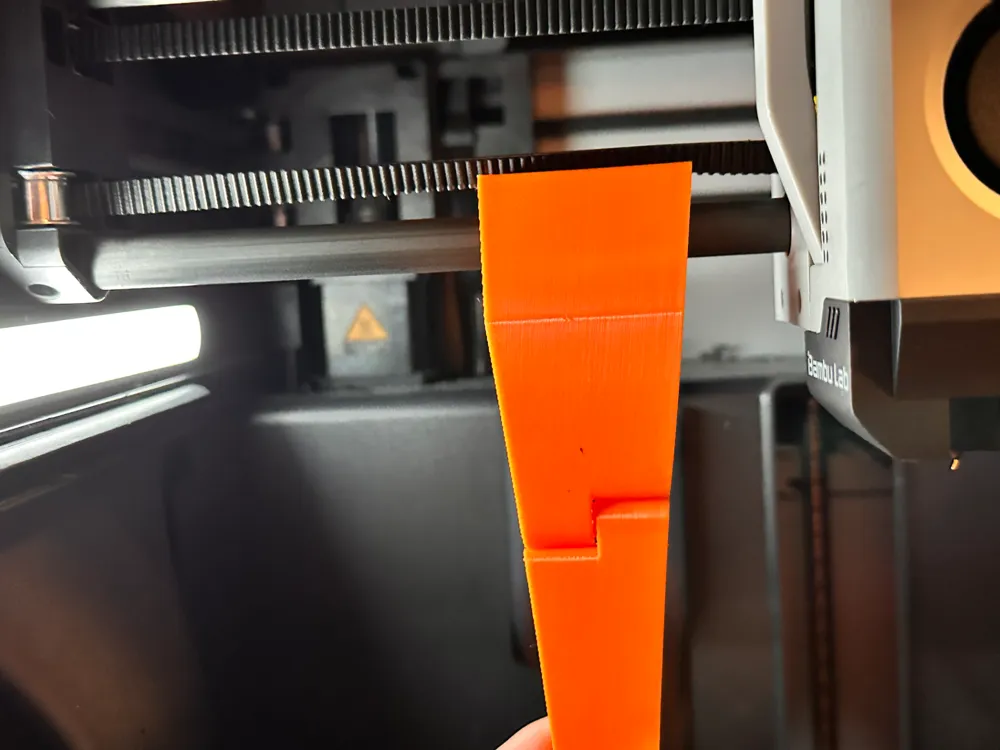
- Open the clamp and carefully position both halves around one of the printer's carbon axles
- Gently reciprocate the clamp to thoroughly cleanse the axle Repeat this procedure for all carbon axles
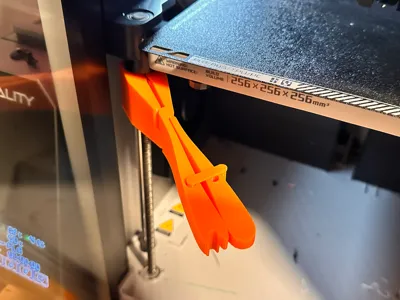
- Cleaning the Z-Lead Screws:
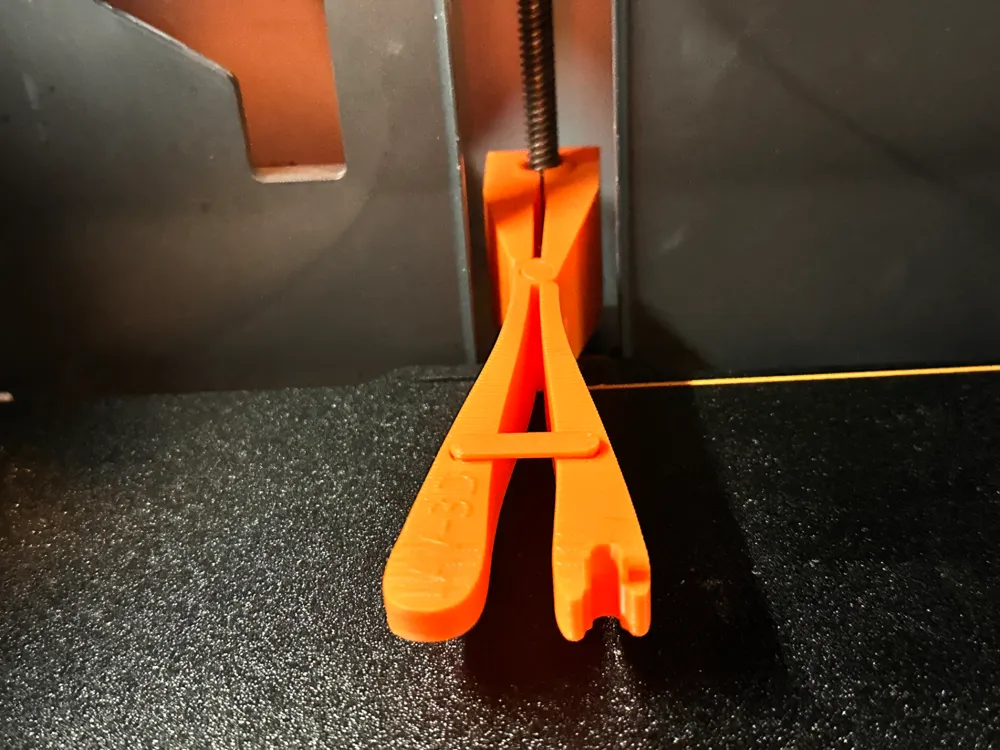
- Insert the threaded insert into the clamp-like device
- Place sponge segments or cleaning wipes into the threaded insert

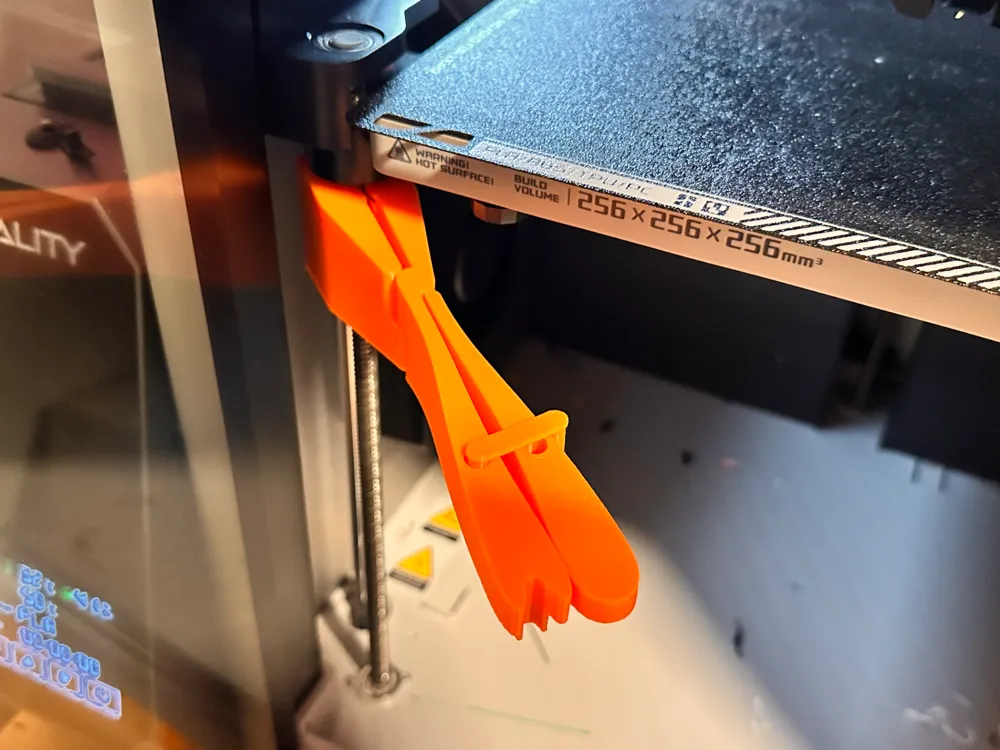
- Position the device around the Z-lead screw and firmly secure the handle
- Utilize the printer's menu to manipulate the heated bed's vertical movement while the device remains affixed to the Z-lead screw This facilitates comprehensive cleaning
- Repeat this for all Z-lead screws, ensuring diligent cleaning or replacement of cleaning inserts as necessary
- Using the PTFE Tube Remover (Optional):
- If required, use the affixed PTFE tube remover to extract or replace PTFE tubes
Notes and Tips
- Closely monitor the printer throughout the cleaning process to prevent any potential damage
- Regularly perform this cleaning procedure to extend the operational lifespan and performance of your printer
- Utilize the STEP file if design modifications are needed to cater to your specific requirements
By adhering to these instructions, you can maintain the pristine condition of your Bambulab X/P Series printer's carbon axles and Z-lead screws, thereby optimizing print quality and extending the device's lifespan
German
Anleitung für den 3D-Druck zur Wartung und Reinigung der Carbon-Achsen und Z-Gewindestangen der Bambulab X/P-Serie
Diese Anleitung beschreibt die Schritte zur Verwendung eines speziell entwickelten 3D-gedruckten Werkzeugs zur Reinigung und Wartung der Carbon-Achsen und Z-Gewindestangen Ihres Bambulab X/P-Serie 3D-Druckers
Benötigte Materialien
- Eine 3D-gedruckte zangenartige Vorrichtung
- Schwammstücke oder Reinigungstücher
- Optional: PTFE-Schlauch-Entferner
Druckanweisungen
- Vorbereitung der 3D-Druckdateien:
- Laden Sie die 3D-Druckdateien für die zangenartige Vorrichtung und den optionalen PTFE-Schlauch-Entferner herunter
- Passen Sie die Druckeinstellungen an Ihr bevorzugtes Filament an (PETG oder ABS wird für höhere Haltbarkeit empfohlen)
- Starten Sie den Druck und überwachen Sie den Prozess sorgfältig, um eine optimale Haftung und Druckqualität zu gewährleisten
- Nachbearbeitung:
- Entfernen Sie die gedruckten Teile vom Druckbett und entfernen Sie vorsichtig alle restlichen Stützstrukturen
- Stellen Sie sicher, dass sich die beweglichen Teile der Zange reibungslos bewegen
Anwendungsschritte
- Einsetzen der Reinigungseinsätze:
- Setzen Sie Schwammstücke oder Reinigungstücher in die Enden der zangenartigen Vorrichtung ein Diese dienen als Reinigungseinsätze
- Reinigung der Carbon-Achsen:
- Öffnen Sie die Zange und positionieren Sie beide Hälften vorsichtig um eine der Carbon-Achsen Ihres Druckers
- Bewegen Sie die Zange vorsichtig hin und her, um die Achse gründlich zu reinigen Wiederholen Sie diesen Vorgang für alle Carbon-Achsen
- Reinigung der Z-Gewindestangen:
- Setzen Sie den Gewindeeinsatz in die zangenartige Vorrichtung ein
- Legen Sie Schwammstücke oder Reinigungstücher in den Gewindeeinsatz
- Positionieren Sie die Vorrichtung um die Z-Gewindestange und sichern Sie den Griff fest
- Verwenden Sie das Druckermenü, um die vertikale Bewegung des Heizbetts zu steuern, während die Vorrichtung an der Z-Gewindestange befestigt bleibt Dies ermöglicht eine umfassende Reinigung
- Wiederholen Sie dies für alle Z-Gewindestangen und achten Sie darauf, die Reinigungseinsätze bei Bedarf sorgfältig zu reinigen oder auszutauschen
- Verwendung des PTFE-Schlauch-Entferners (Optional):
- Bei Bedarf verwenden Sie den befestigten PTFE-Schlauch-Entferner, um PTFE-Schläuche zu entfernen oder auszutauschen
Hinweise und Tipps
- Überwachen Sie den Drucker während des gesamten Reinigungsprozesses sorgfältig, um mögliche Schäden zu vermeiden
- Führen Sie diese Reinigung regelmäßig durch, um die Lebensdauer und Leistung Ihres Druckers zu verlängern
- Verwenden Sie die STEP-Datei, wenn Designänderungen erforderlich sind, um sie an Ihre spezifischen Anforderungen anzupassen
Durch die Befolgung dieser Anleitung können Sie die einwandfreie Funktion der Carbon-Achsen und Z-Gewindestangen Ihres Bambulab X/P-Serie Druckers gewährleisten, wodurch die Druckqualität optimiert und die Lebensdauer des Geräts verlängert wird
License



Comment & Rating (101)