
1:100 Scale SpaceX Starship







Print Profile(1)

Description
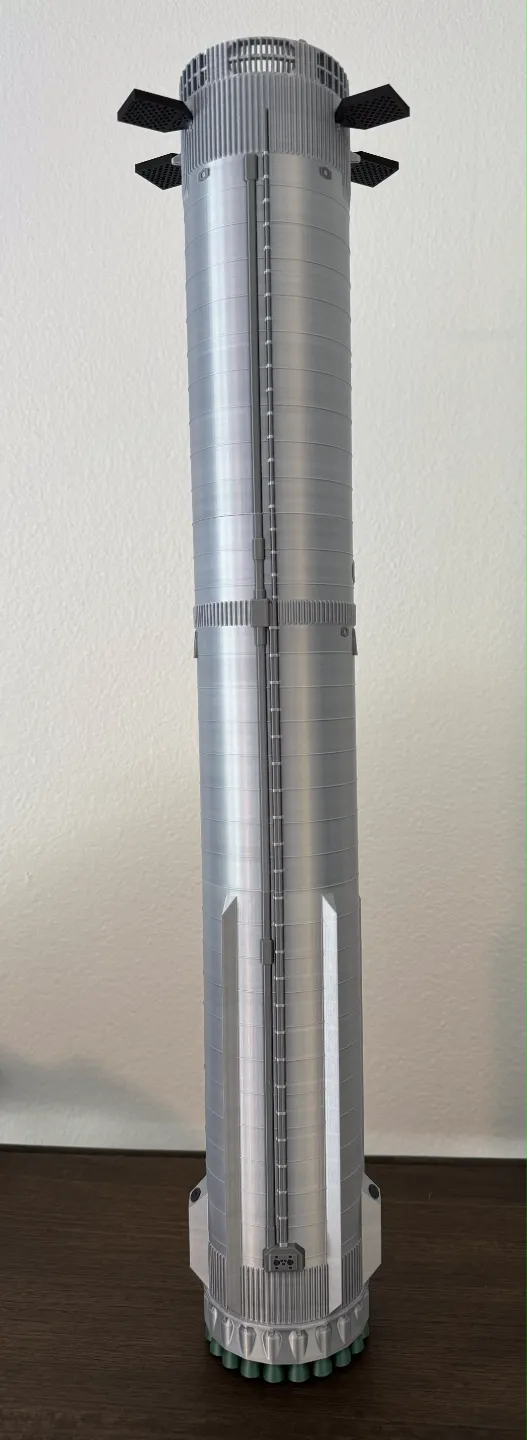
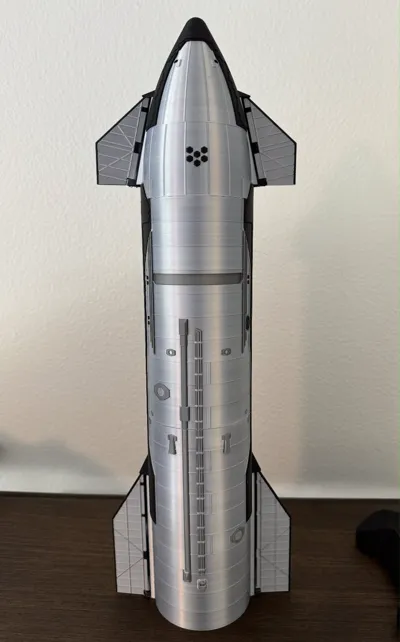
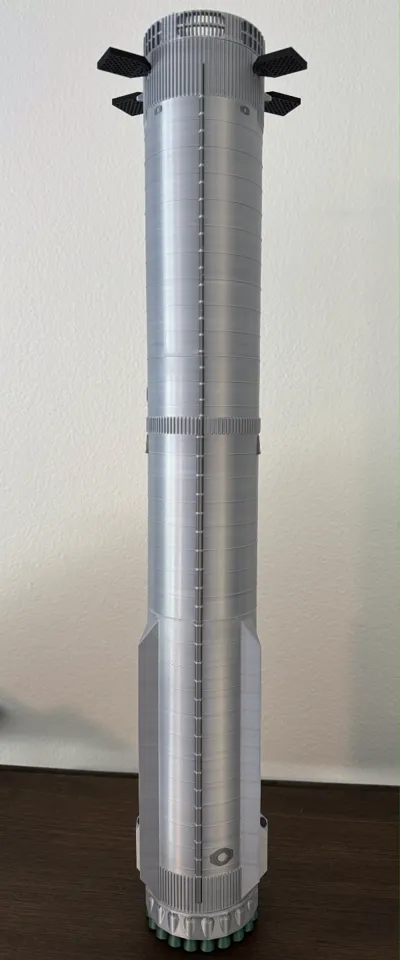
This is a 1:100 Scale model of Space-X's Starship Rocket, that is a fully colored and scaled up version of AstroNot's on Thingiverse
It stands at around 4ft (~122cm)
This is a very long print, with the complete printer time being ~10.5 full days of printing (251hrs), and it consumes a LOT of filament.
I set the infill a bit high(10%), however I decided it was best to play it safe rather than sorry, given the looooong print time and high material cost. If you can tweak it to reduce the cost/time go for it!
Will add that the model is quite resilient and has survived 2 falls, with only minor damage. Would not recommend dropping it though as I nearly had a heart attack seeing it fall
Assembly instructions:
- See picture for placement/additional detail
- Print out all the parts
- Connect each section of the 2 parts together (Ship & Superheavy), using the interlocker blocks in the holes.
- I highly recommend adding CA glue to the holes/block, as well as around the hole to ensure the parts stay together (you can try other glue, but I have not tested them).
- I would take the time to ensure that each layer is properly aligned before adding the next one, and especially before and CA glue sets in (~1-2mins), as there is significant play in the rotation of each layer.
- Add Gridfins to Super Heavy
- Recommend using CA glue & sticking a Q-Tip in to remove excess CA Glue before adding the Gridfins
- Attach Ship Flaps
- The original model utilized wire to attach the Ship Flaps, however given the scaleup, I do not know what Gage the wire would be, but feel free to experiment
- Recommend applying CA glue with a Q-Tip to ensure only a small quantity is applied
- Stack Starship
- The hot staging ring can either be permanently glued in place or simply set in place, mine is glued, but only because one of the falls damaged the holding pegs
- Enjoy your 4ft rocket!!
I set the outer wall speed to be far slower than normal, to aid the reflectivity of the PLA silk, feel free to adjust it.
My model is printed with BBL PLA Silk, BBL PLA-CF, BBL PLA Basic Silver, and BBL PLA Metal
This remix is based on

License



Comment & Rating (103)