
Gladiator Roman Spatha - Movie Opening Scene Sword


Print Profile(1)

Description
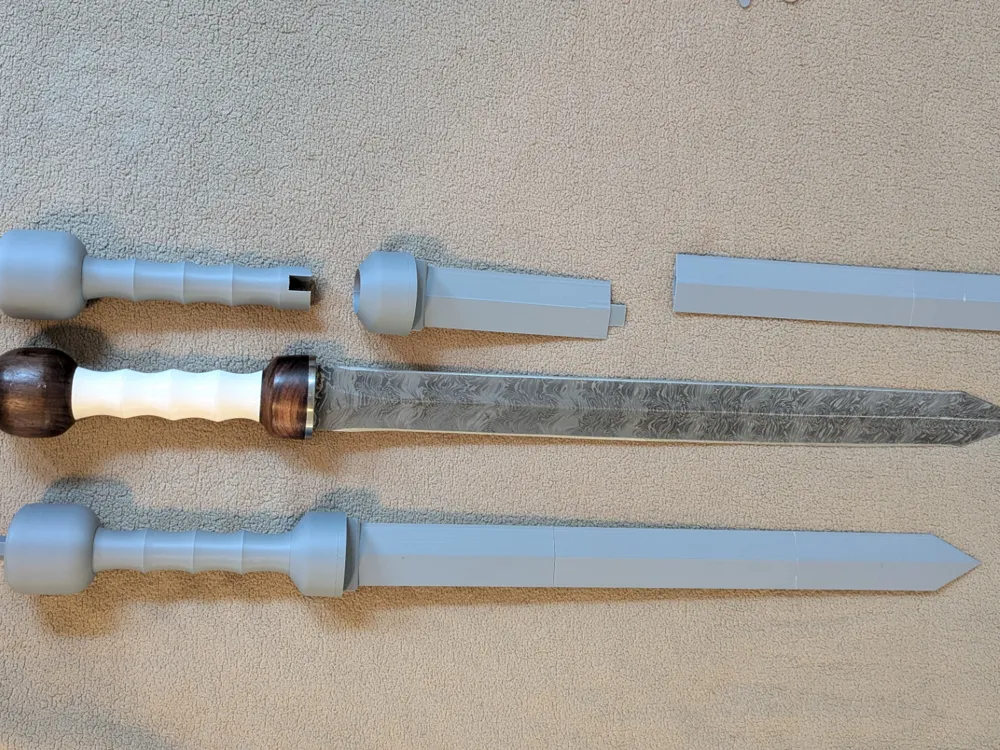
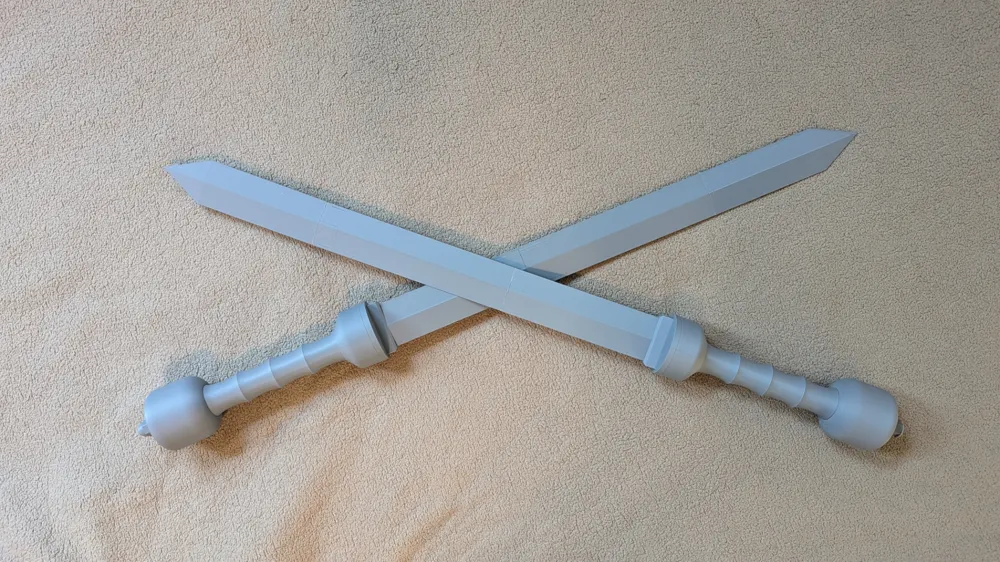
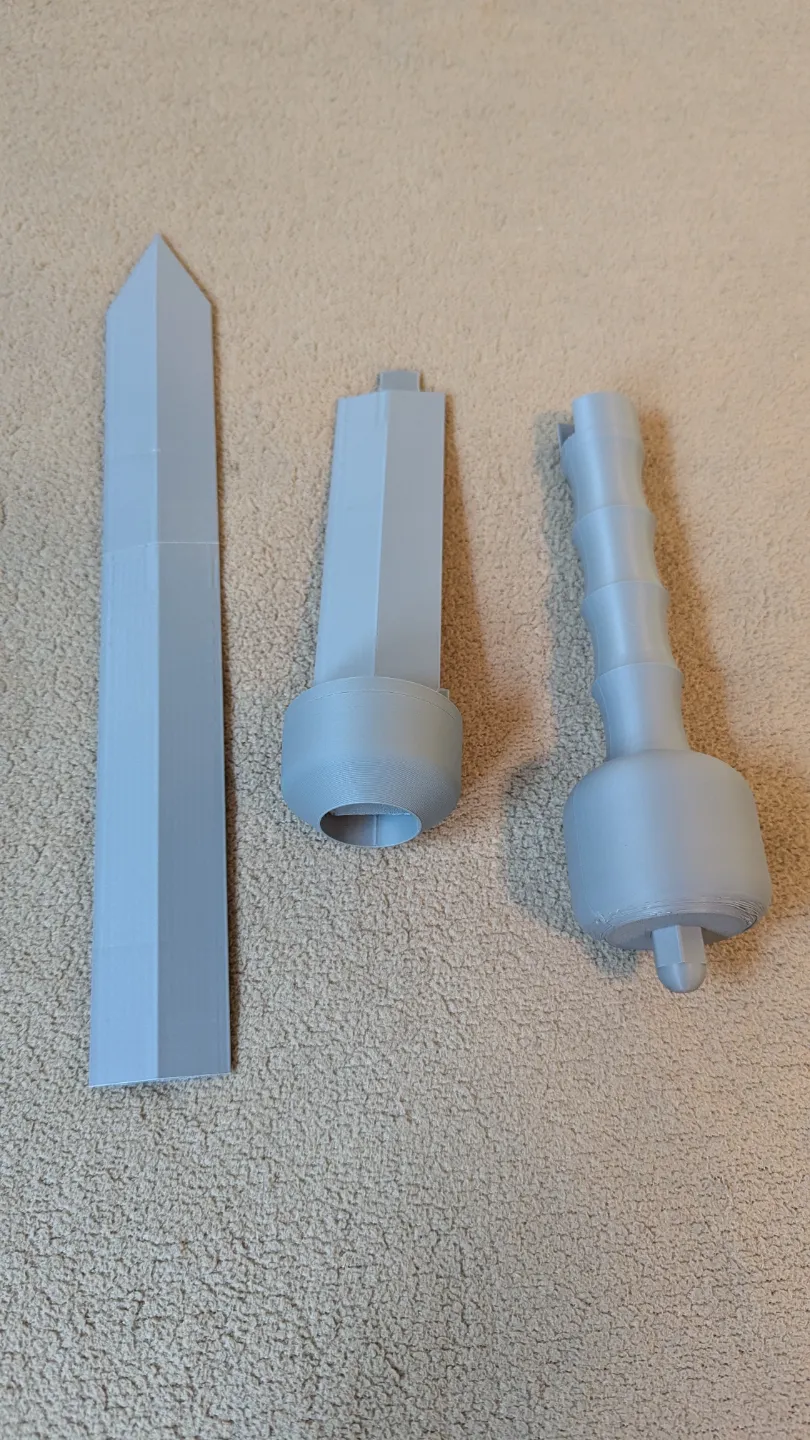
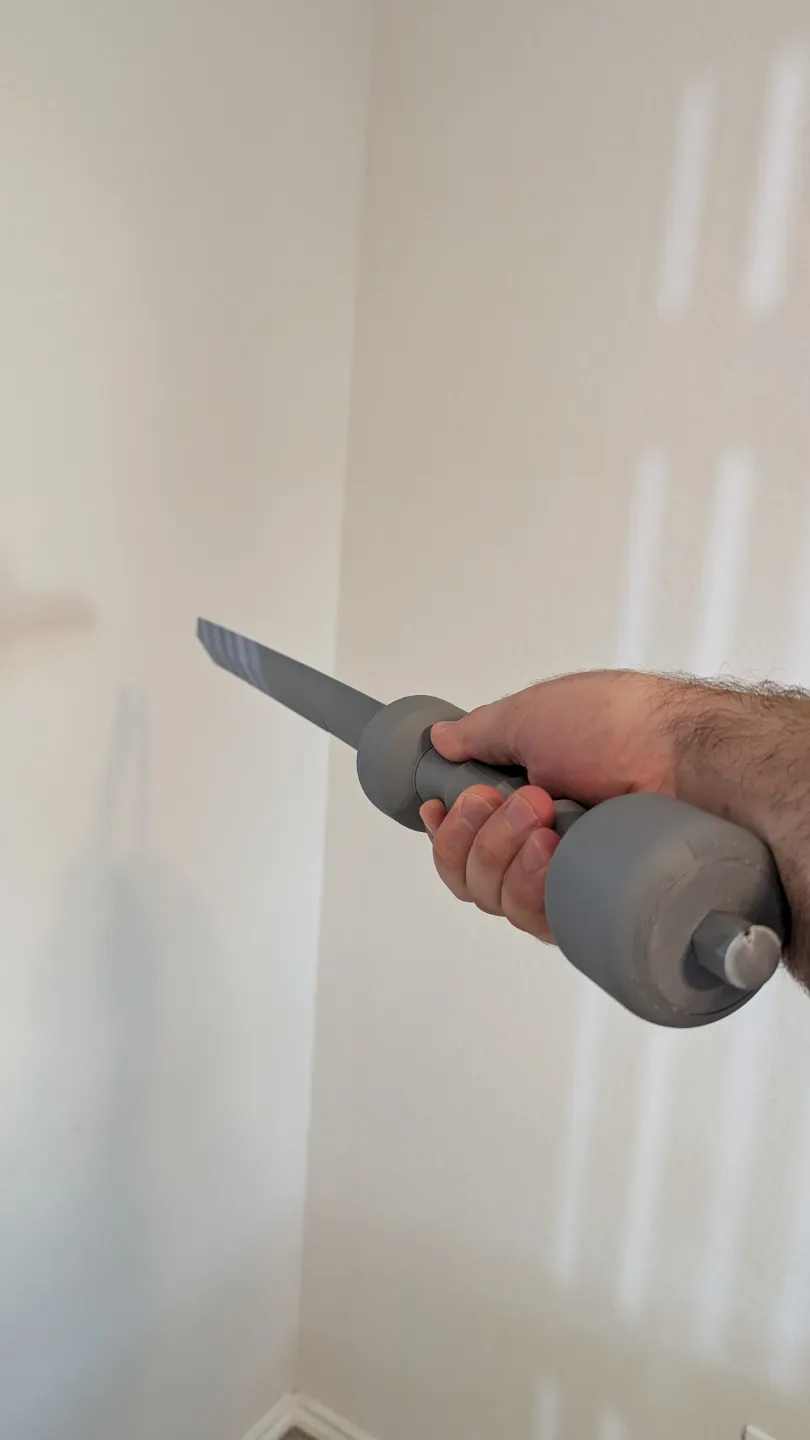
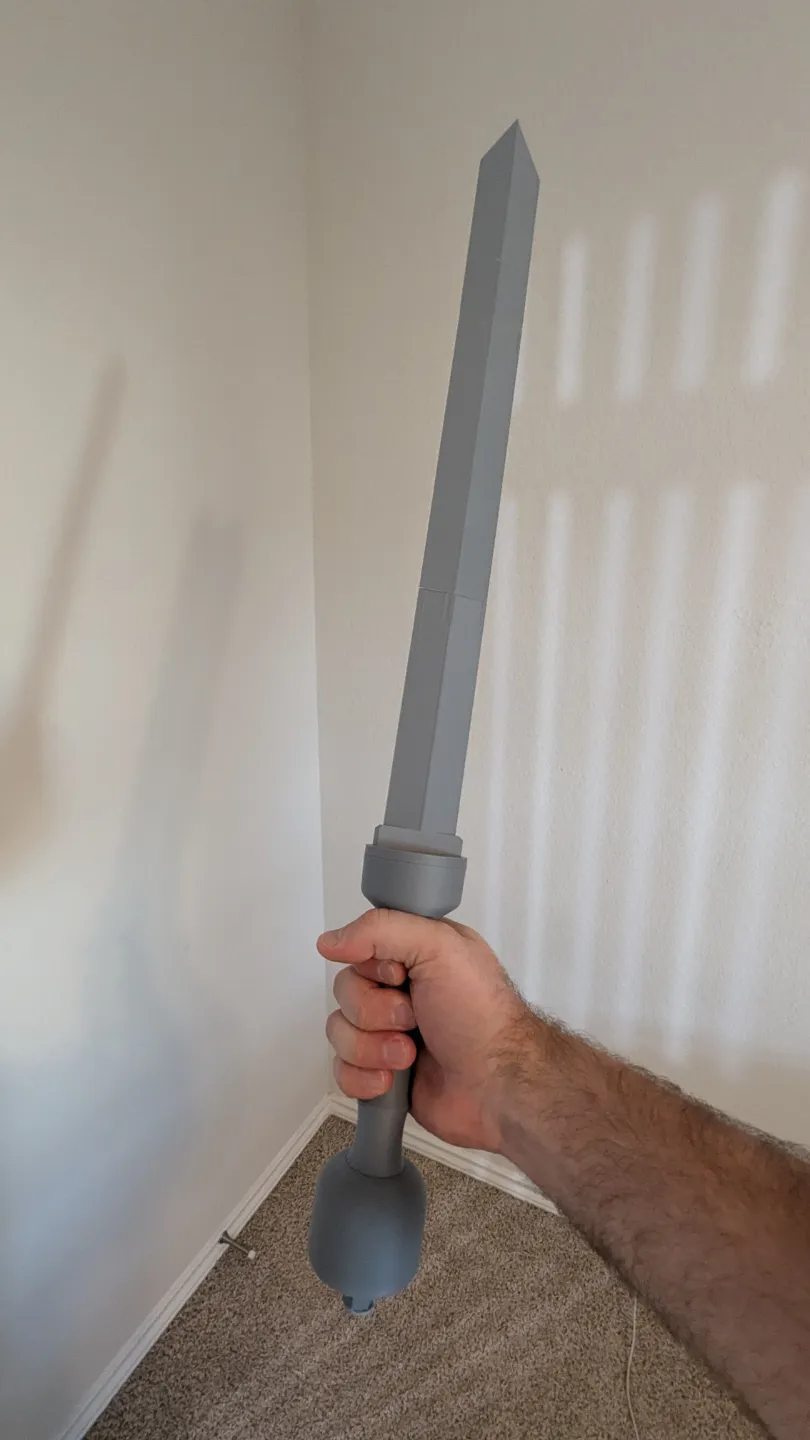
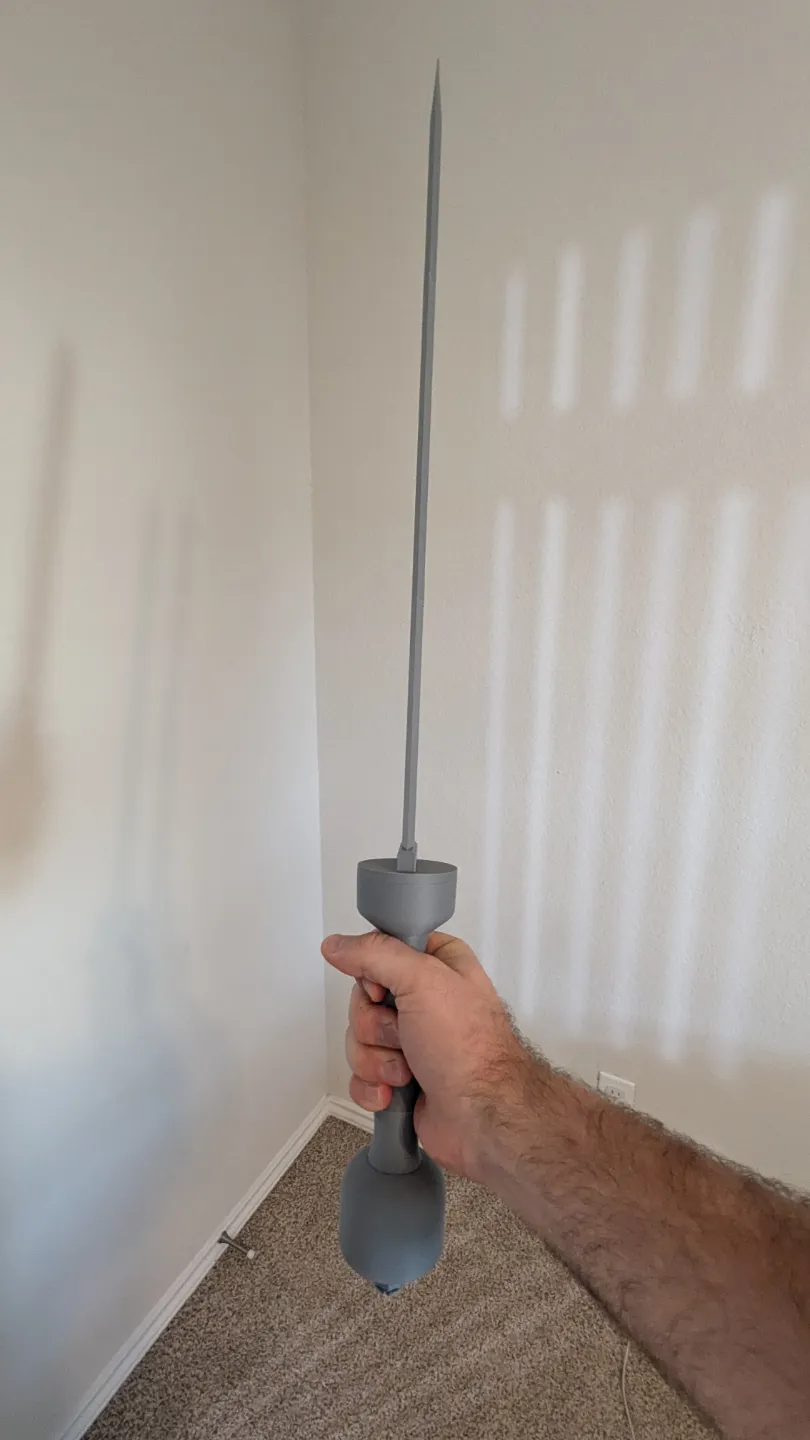
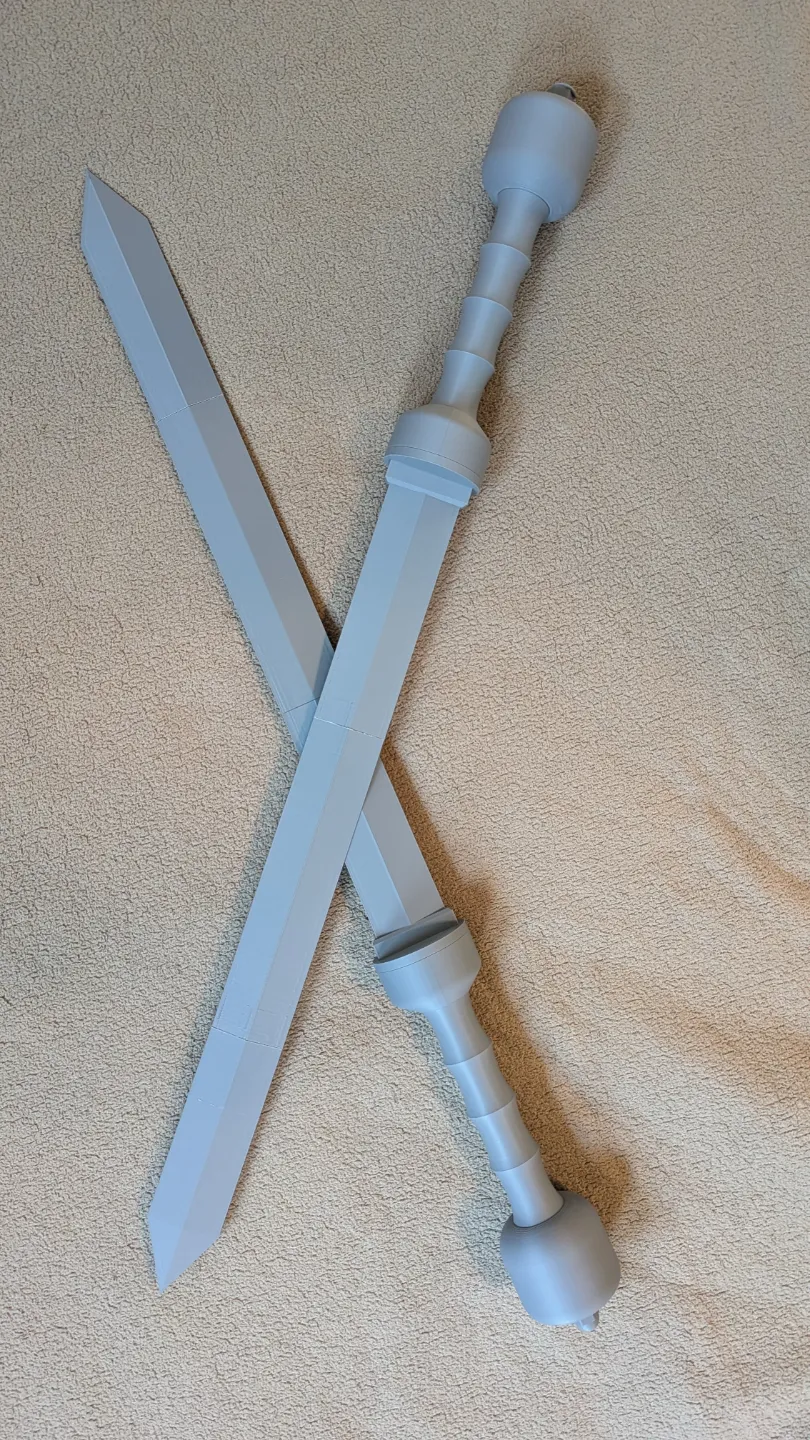
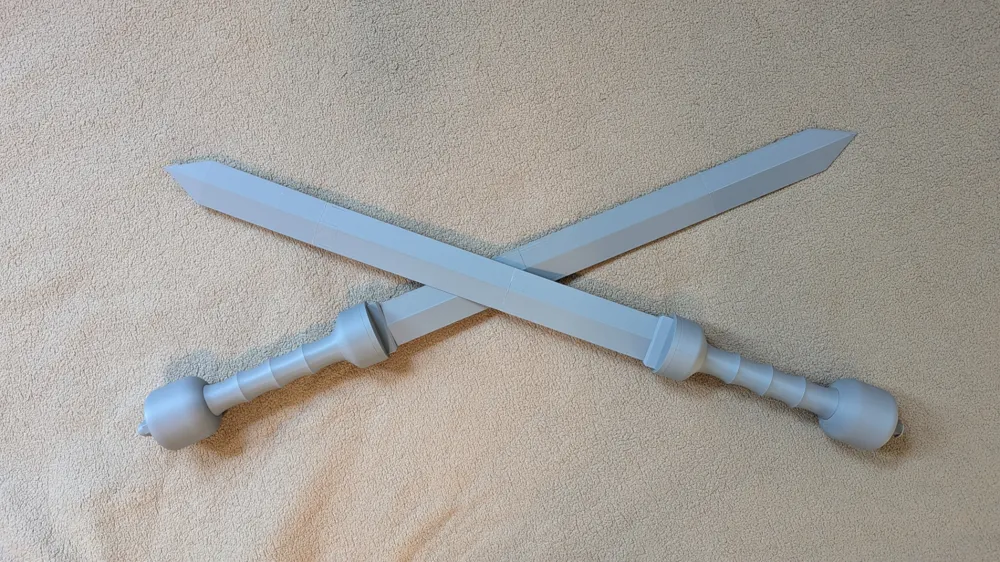
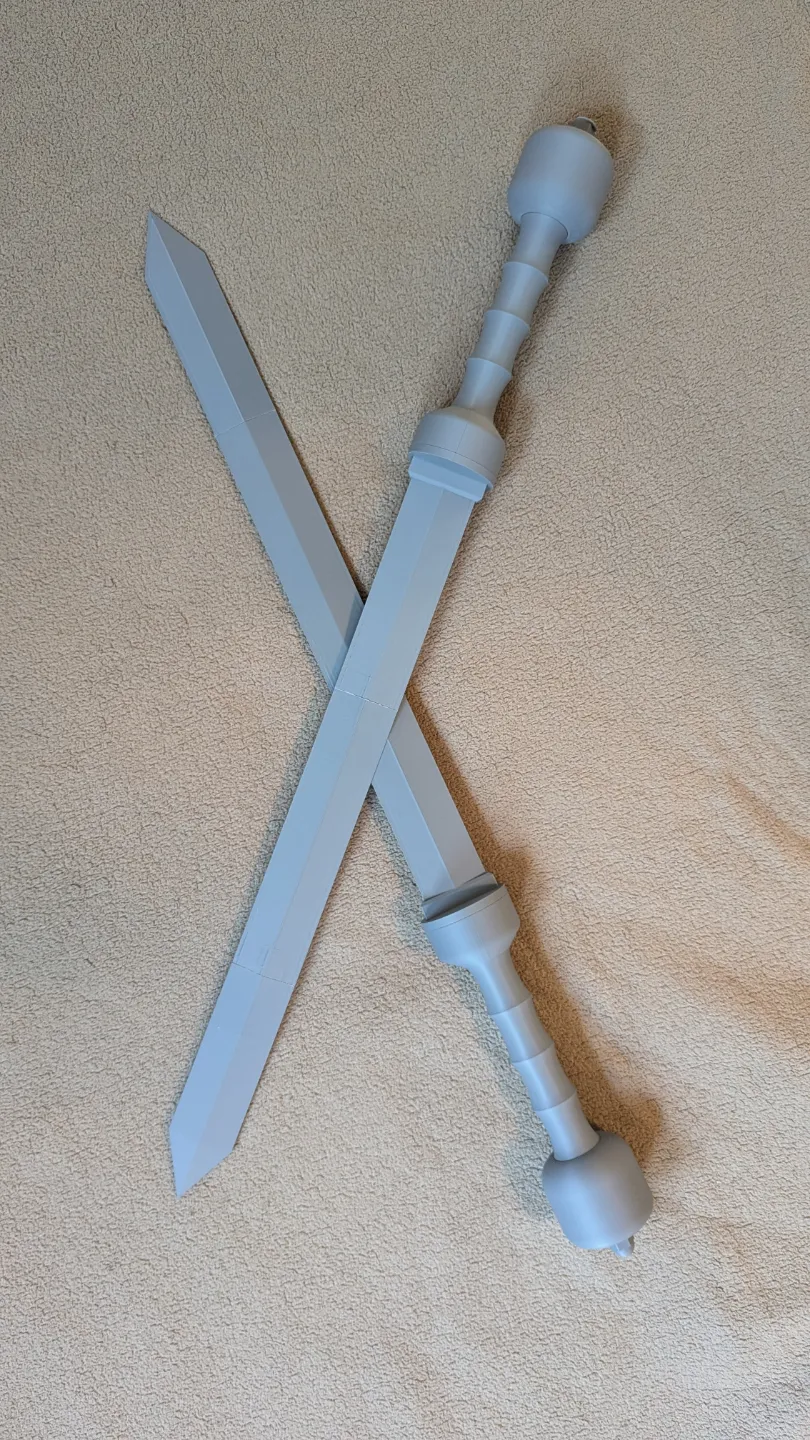
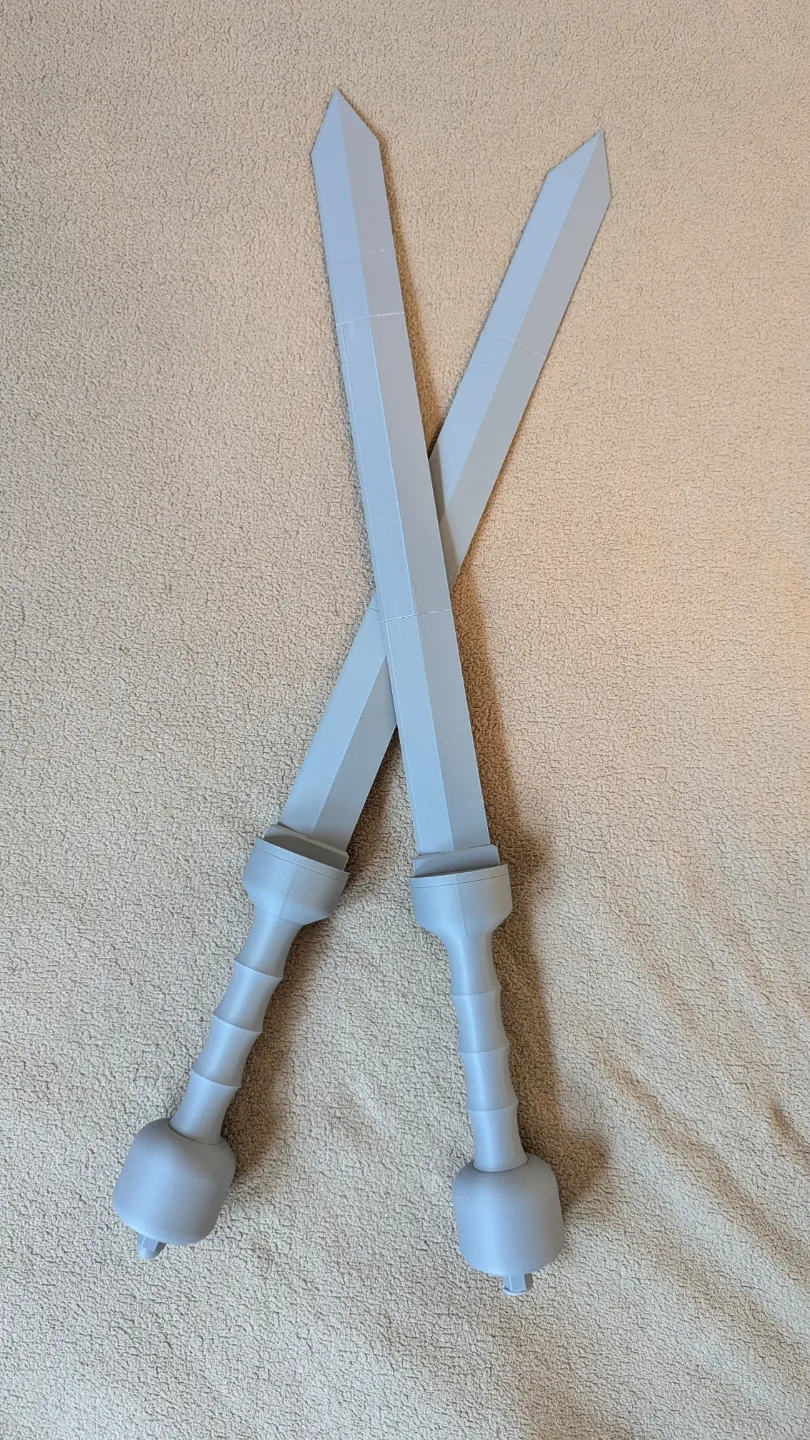
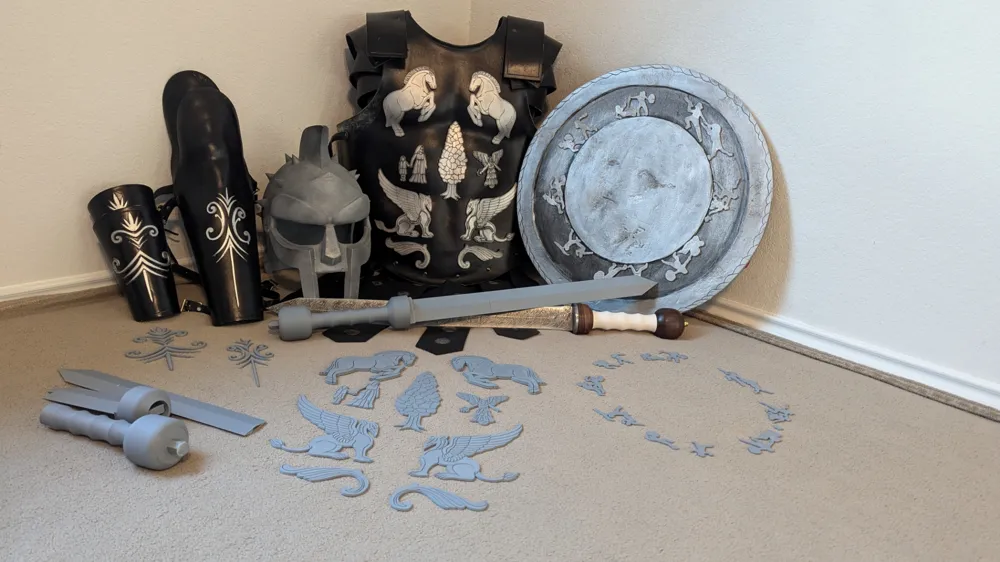
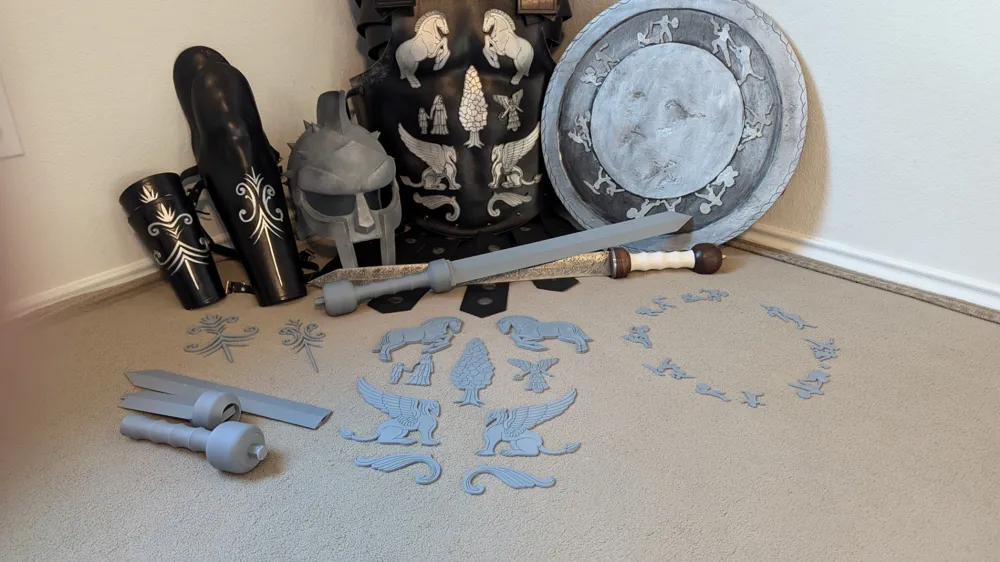
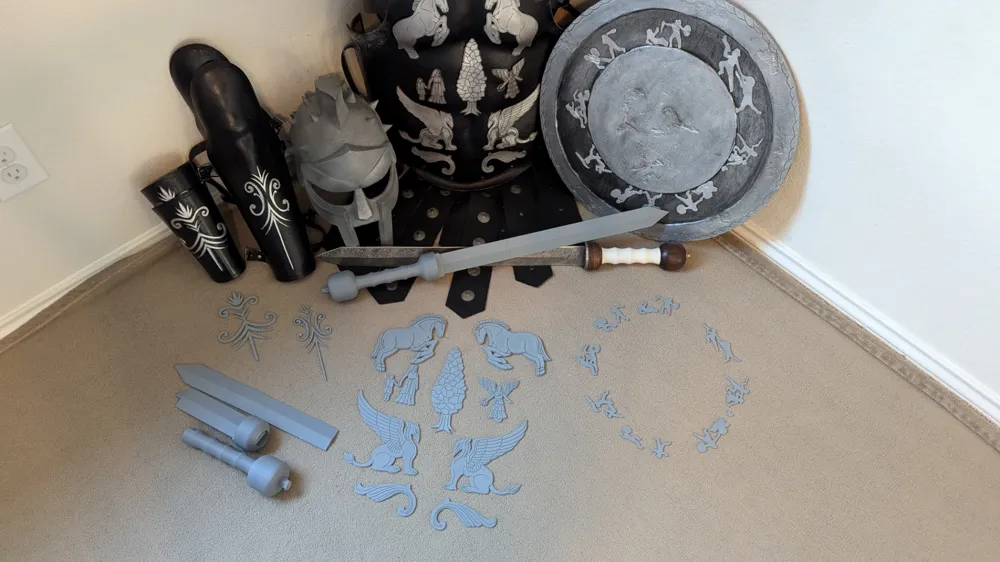
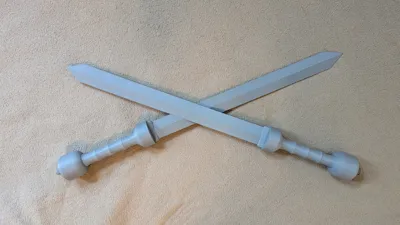
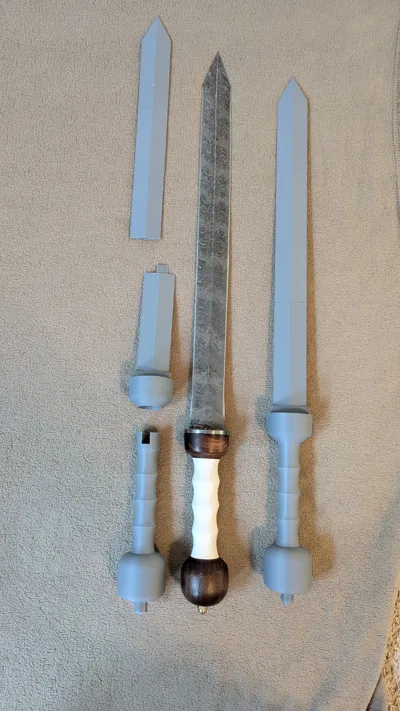
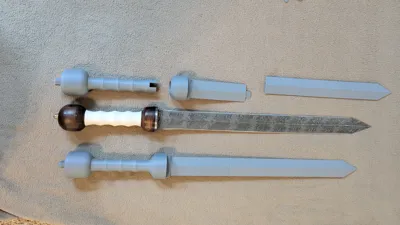
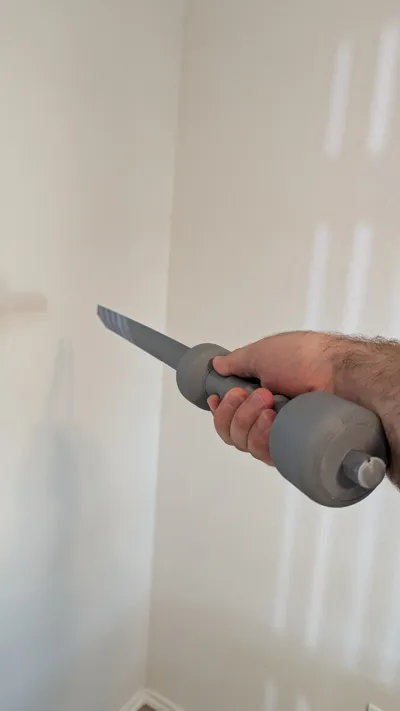
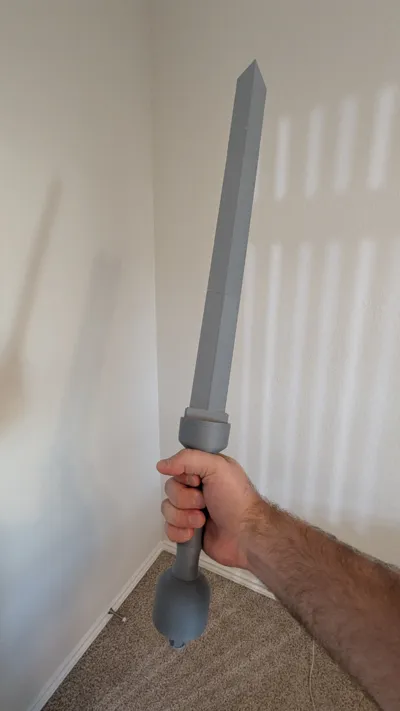
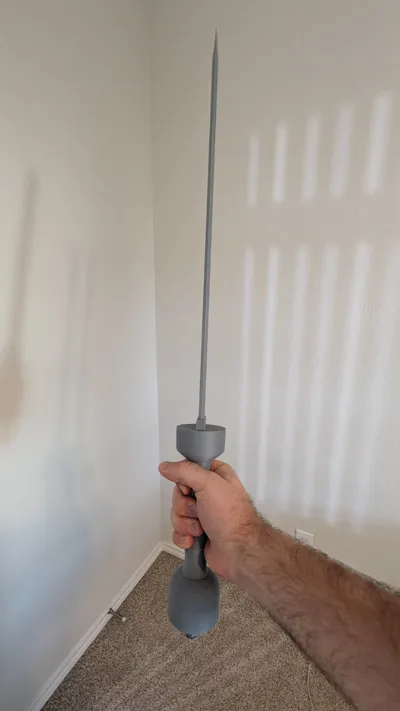
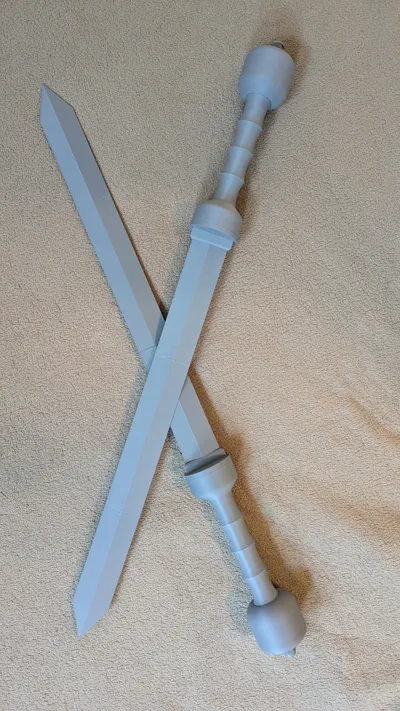
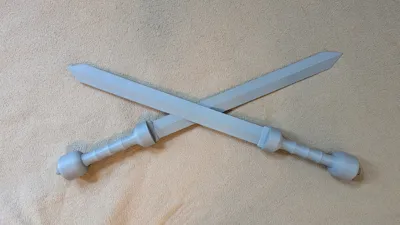
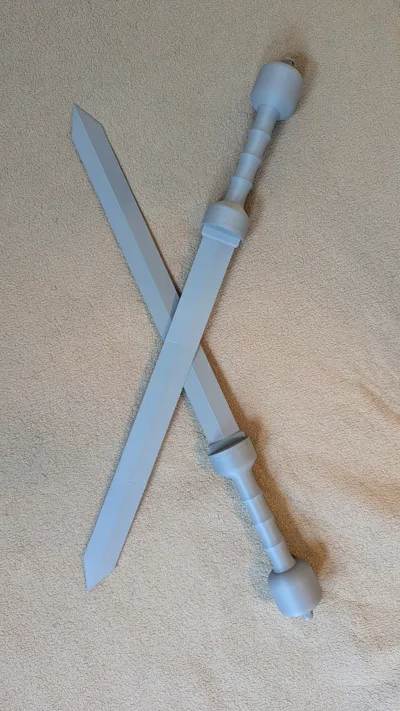
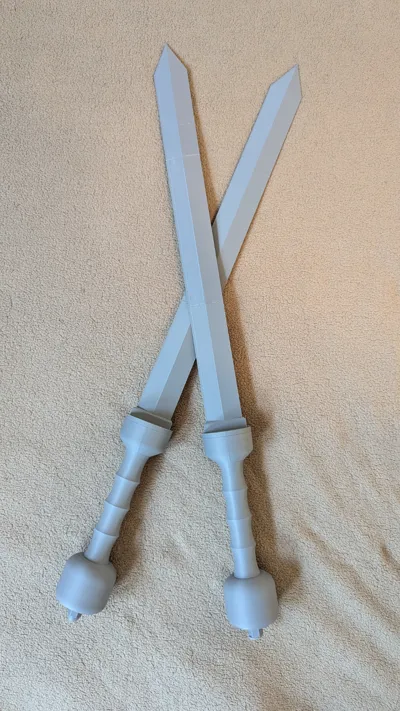
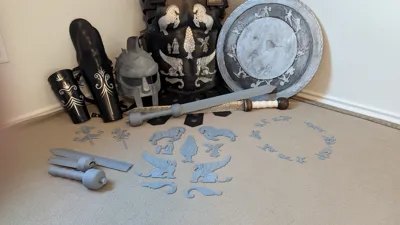
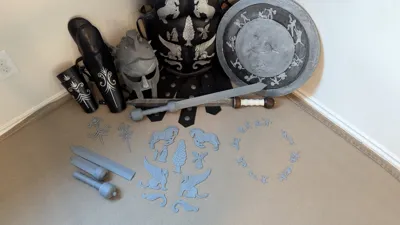
Roman Spatha Sword from the opening scene in my favorite movie of all time- Gladiator, In preparation for Gladiator 2 releasing in 2024!
Can be printed on the A1 Mini!
Once Assembled, this build is ACTUAL Size!
Part 1 of 5 of the Gladiator Collection Here:
https://makerworld.com/@skulbeth/collections/1653976
Printing Notes:
- If you want the sword to have MUCH stronger pieces, angle the parts so that it prints diagonally or horizontally. However you may have a lack of quality or the support holes may be off, and you'll need to sand and glue more.
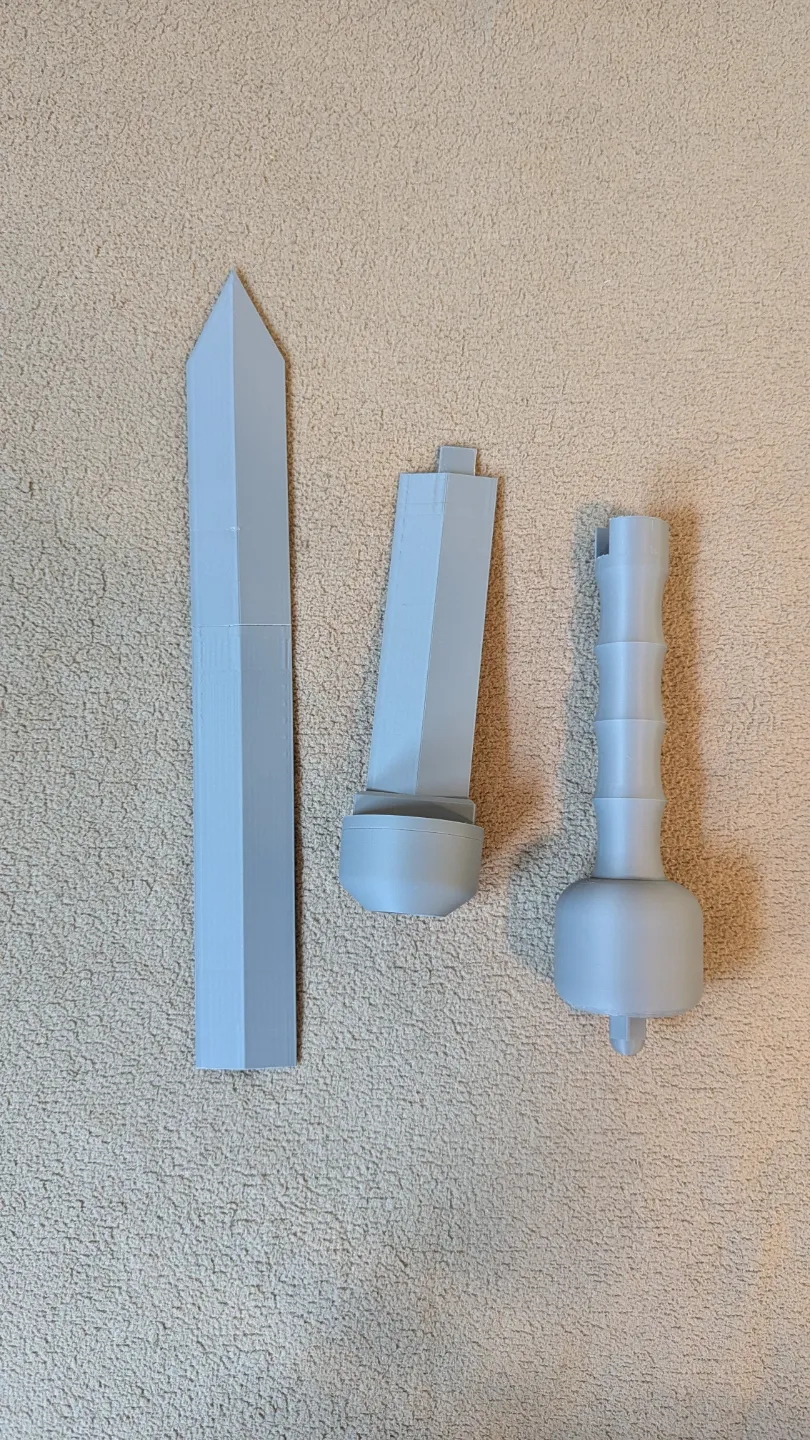
- Blade connectors already print lengthways to add stability.
- For a more balanced sword, Lower the Infill and wall count of the blade pieces, and raise it in the handle and pommel.
- I suggest printing the sword pieces, especially the blade- as separate prints, but you can easily print them all on the same build plate, and have a sword overnight!
- Again, for added strength, I have it set to 3 walls, 15 percent gyroid infill. You can change it to however you want
- I also set the seam to the back, but you can change that to random if that quality bothers you. Everything is friction locked, and exact. You shouldn't have to use glue, or sand, but depending on your print tolerances, you may need to do both.
Assembly Instructions:
Step1:
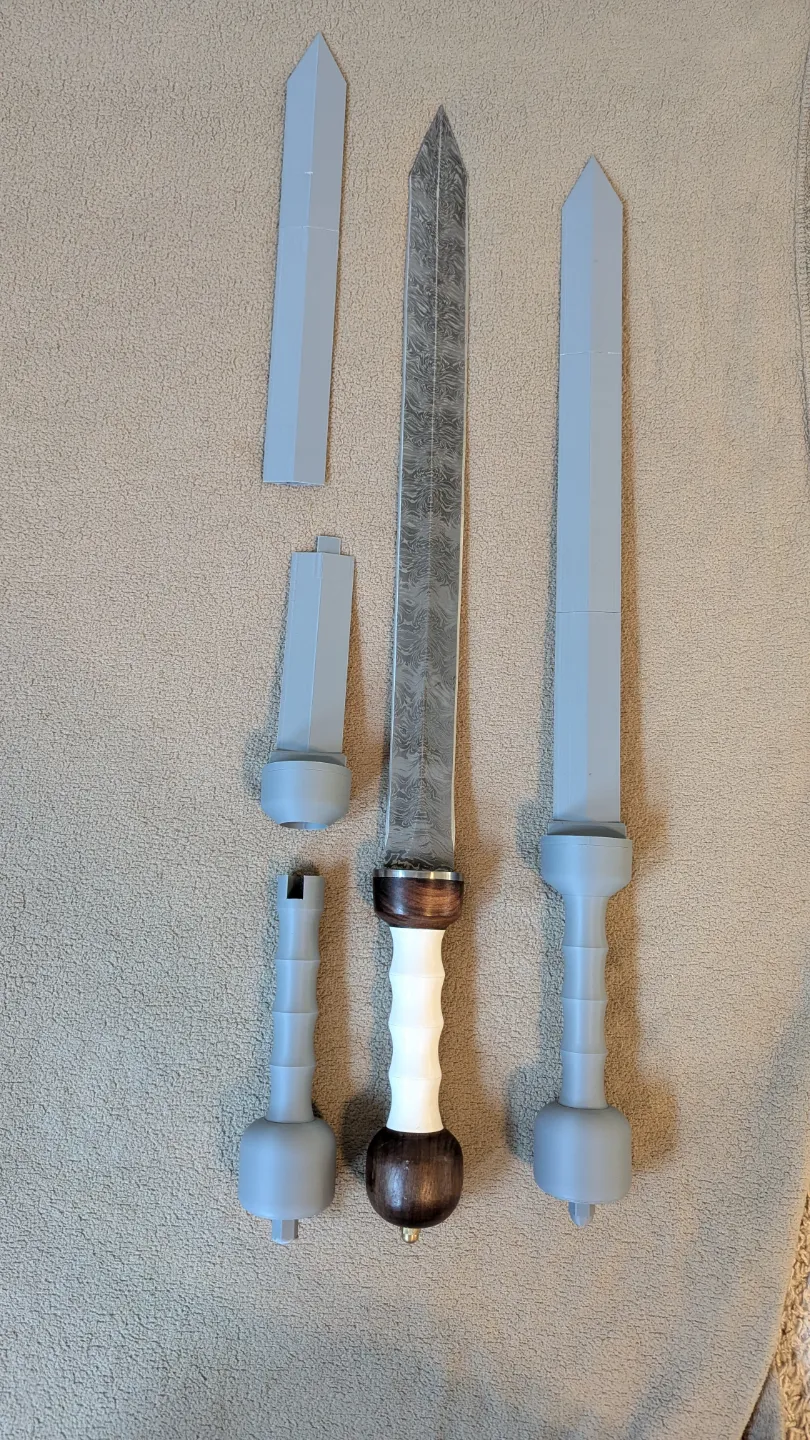
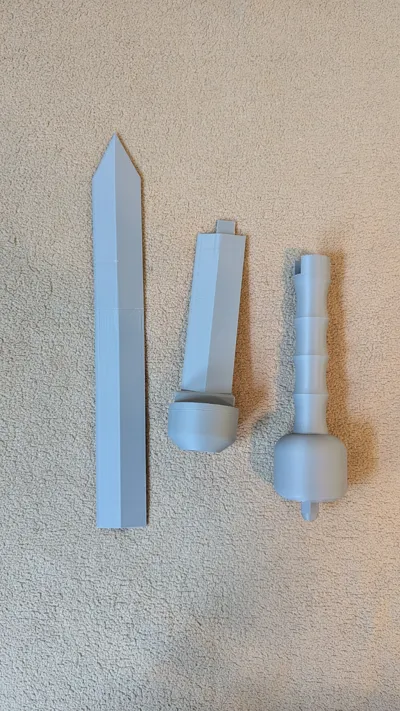
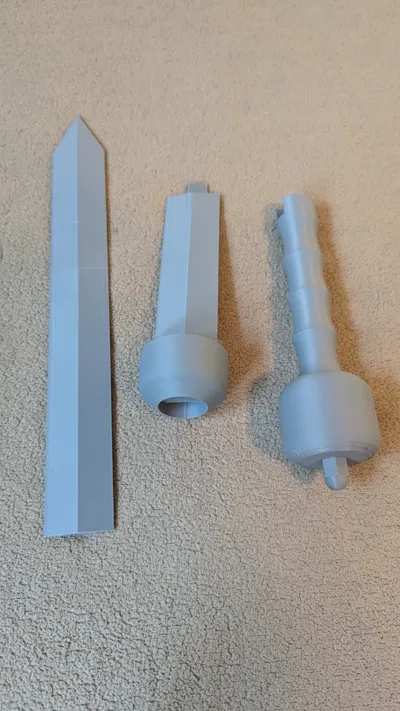
Slide the pommel pin into the pommel, till about a centimeter is showing out of the bottom

Step 2:
Connect the Handle to the pommel and the Pin. There may be a little extra space just above the pommel, this is normal and as designed.

Step 3:
Join the Handle to the upper guard- make sure the slot is lined up exactly

Step 4:
Center the blade guard onto the top of the handle guard. This does not “attach” until the next step.

Step 5:
Push the base of the bottom blade section through the blade guard and firmly into the handle, and upper guard. This will secure the Blade Guard, Upper Pommel, and and Handle all together.

Step 6:
Connect the remainder of blade sections using the connector pieces.

Now you have the Roman Spatha! Strength and Honor!
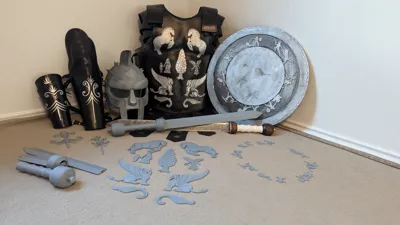
Leather armor was fabricated by this maker:
https://www.etsy.com/shop/ElvenForgeShop?ref=shop-header-name&listing_id=576578159&from_page=listing
Damascus Steel Spatha that this is based off of, is made by this steelworker:
https://www.facebook.com/Asknivesind
Helmet, Shield and Armor Decorations to attach to the armor, are part of this collection:
https://makerworld.com/@skulbeth/collections/1653976
License

You shall not share, sub-license, sell, rent, host, transfer, or distribute in any way the digital or 3D printed versions of this object, nor any other derivative work of this object in its digital or physical format (including - but not limited to - remixes of this object, and hosting on other digital platforms). The objects may not be used without permission in any way whatsoever in which you charge money, or collect fees.


Comment & Rating (95)