
Reversible Ratcheting Mini Driver w/ Bit Storage

Print Profile(9)


Description
Love my designs? Consider supporting me further by joining below!
Membership
UPDATE: When not in use, put the switch in the straight down position so it's not pressing against either side of the spring. I have found that over time it deforms it and loses its tension.
Currently trying to grow my Youtube.
Subscribing would mean a lot!
https://www.youtube.com/@cheezylabs
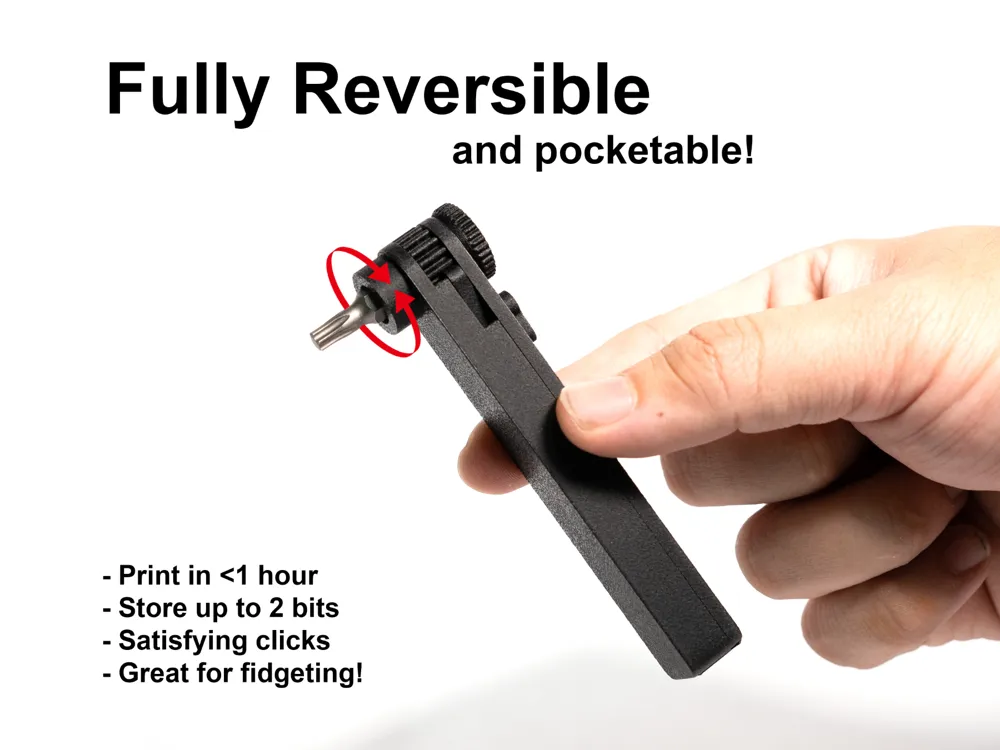
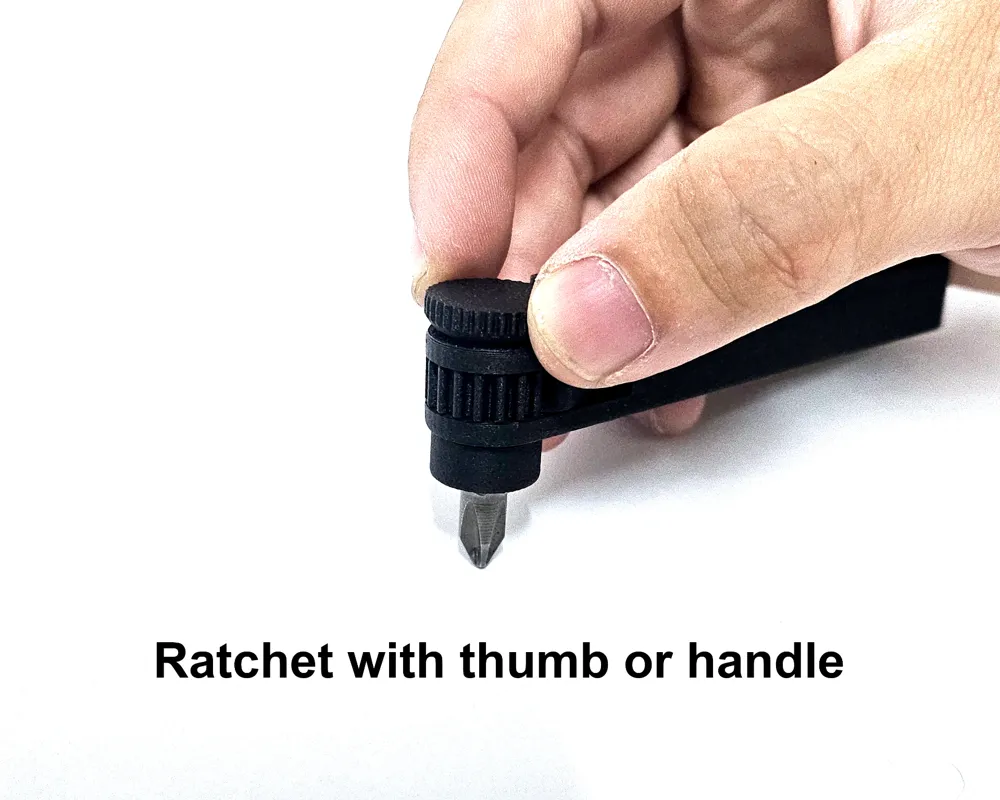
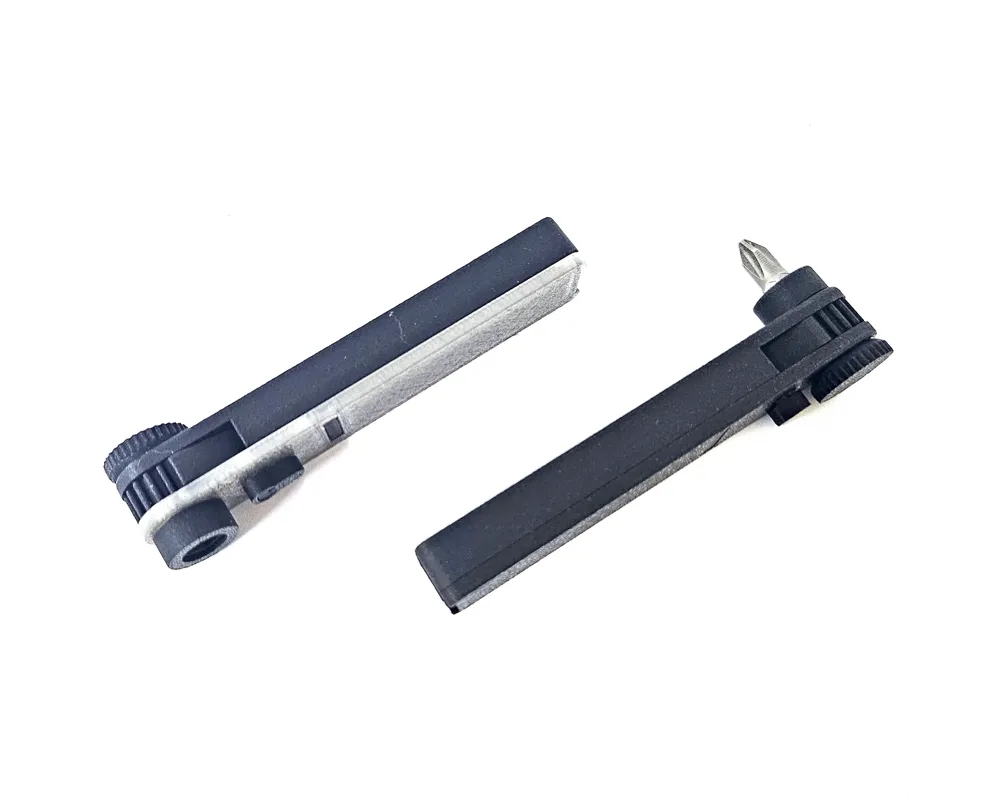
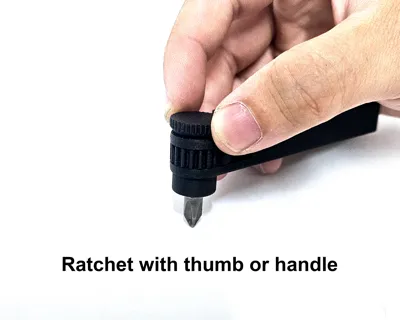
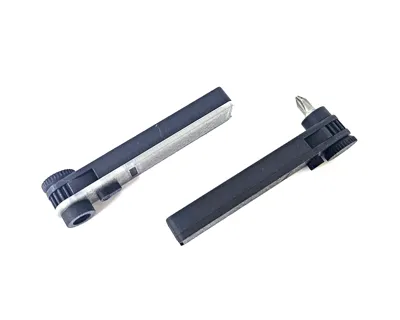
There are some great ratcheting drivers out there, but I wanted to design one myself that world be reversible and as small as possible for daily carry. Also great for fidgeting!
Design
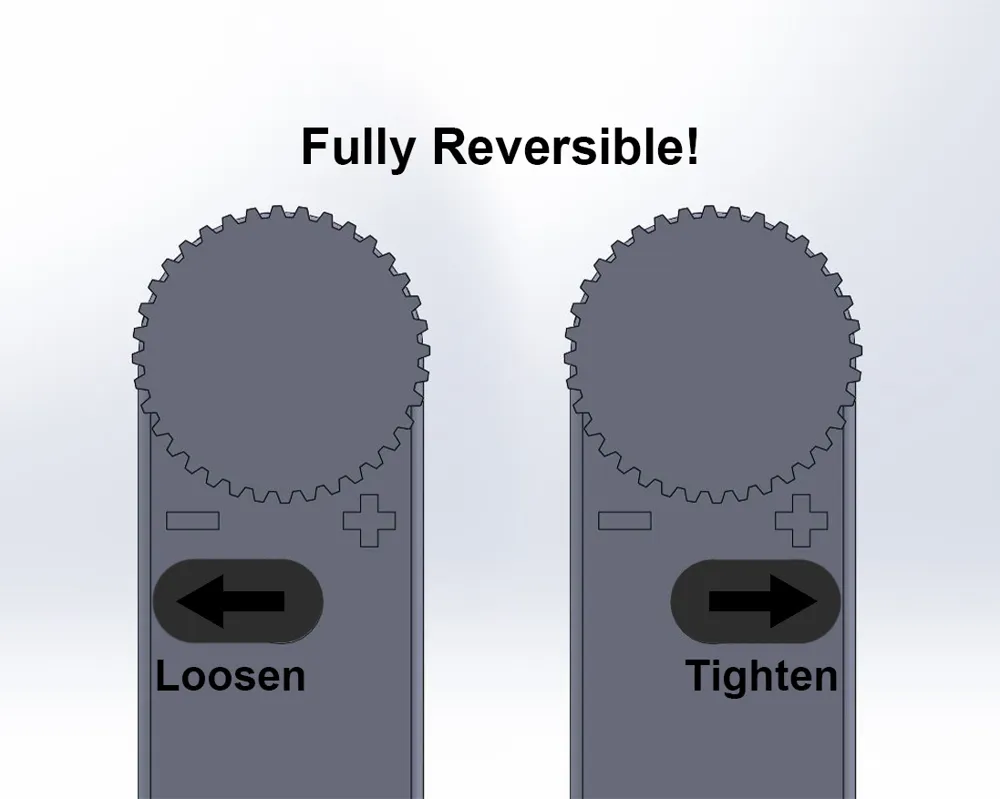
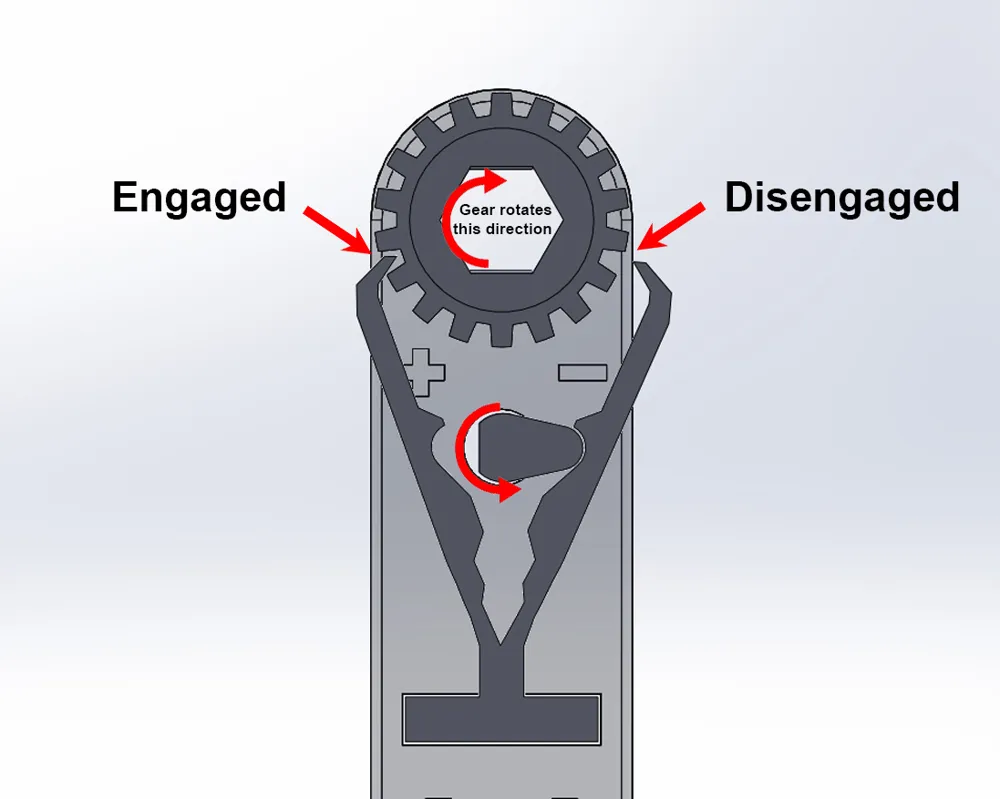
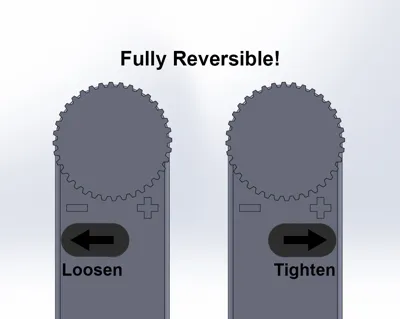
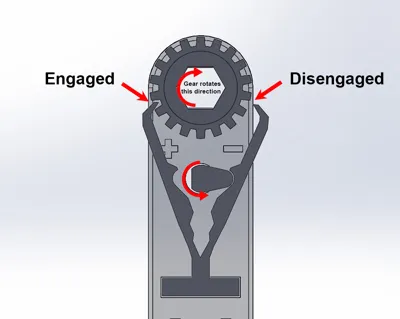
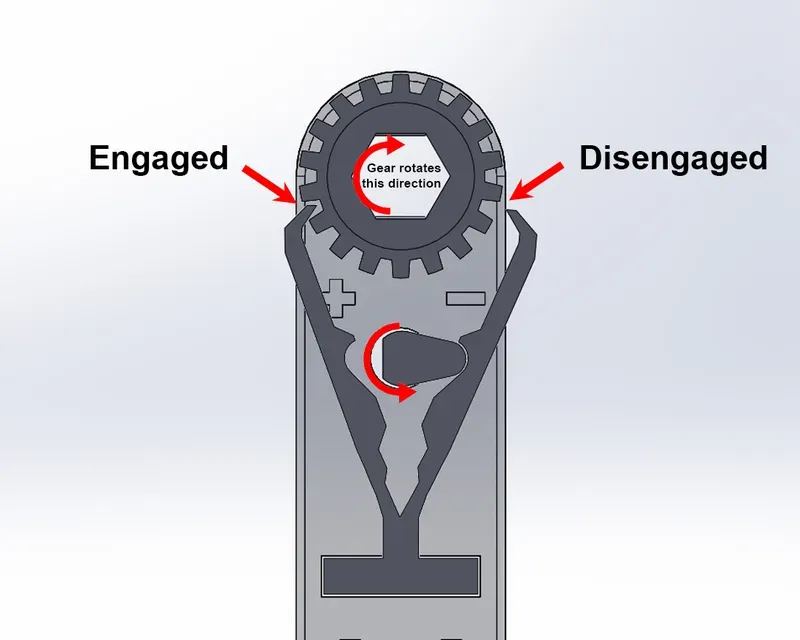
The reversing mechanism was designed with PLA's flexibility in mind. Upon assembling, the spring engages both sides of the drive gear. When pivoting the selector between tightening (+) and loosening (-), it pushes and disengages the spring on the opposite side. PLA as the spring material seems to work well. I have not tried other materials, but I think PLA would be best since it's more stiff. If the spring is too soft, the teeth will slip.
Maximum torque in early versions were quite low, but greatly improved with a beefier and thicker spring design. I do not have exact numbers.
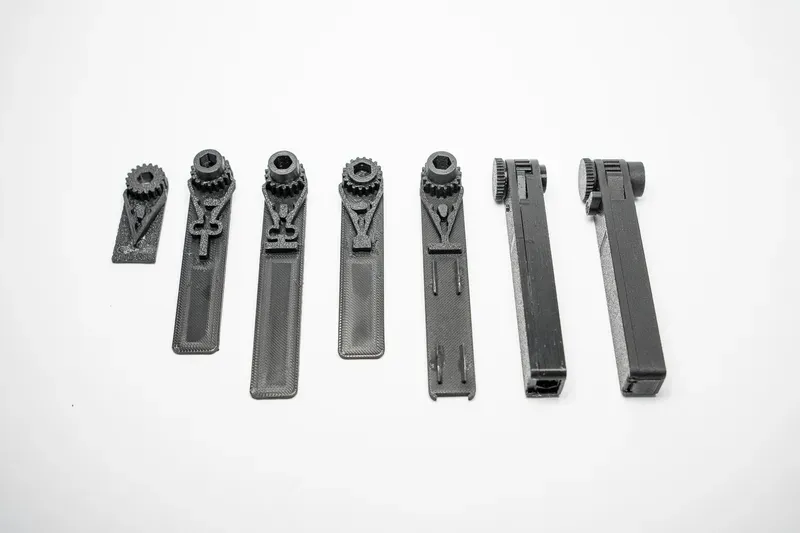
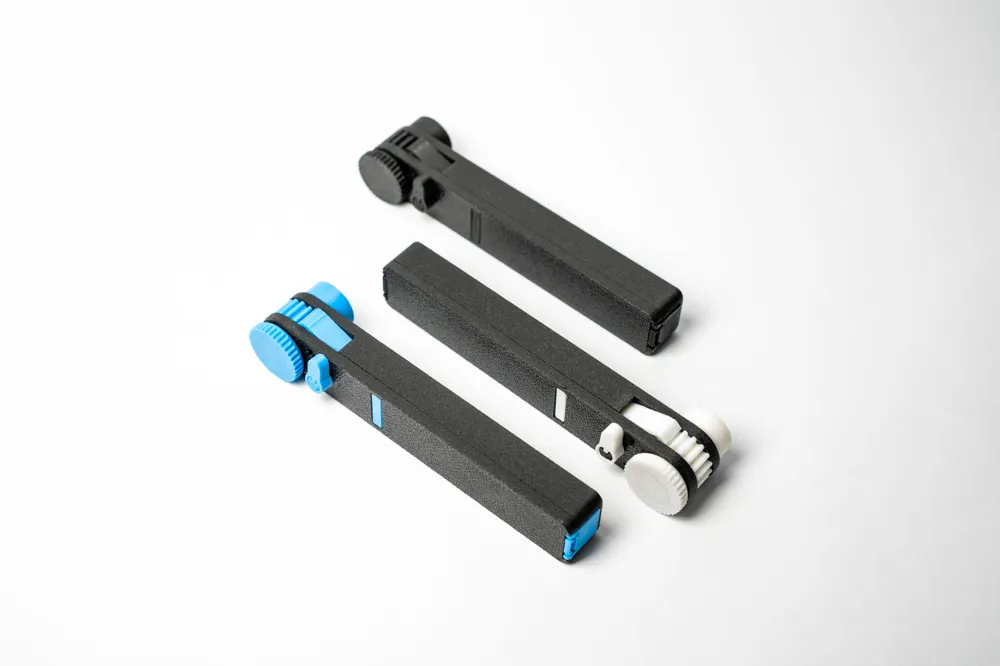
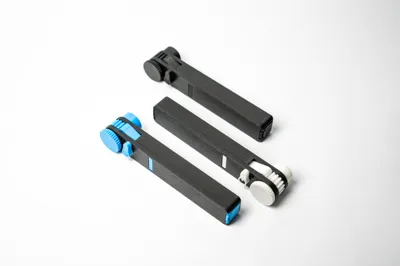
A few prototype designs
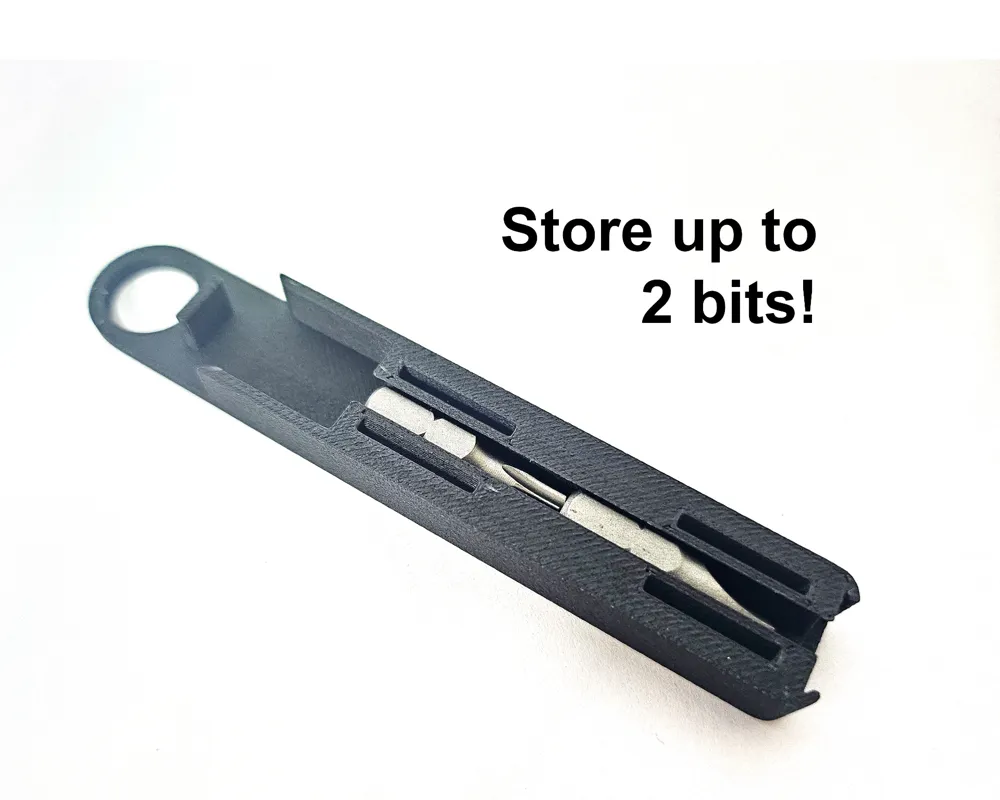
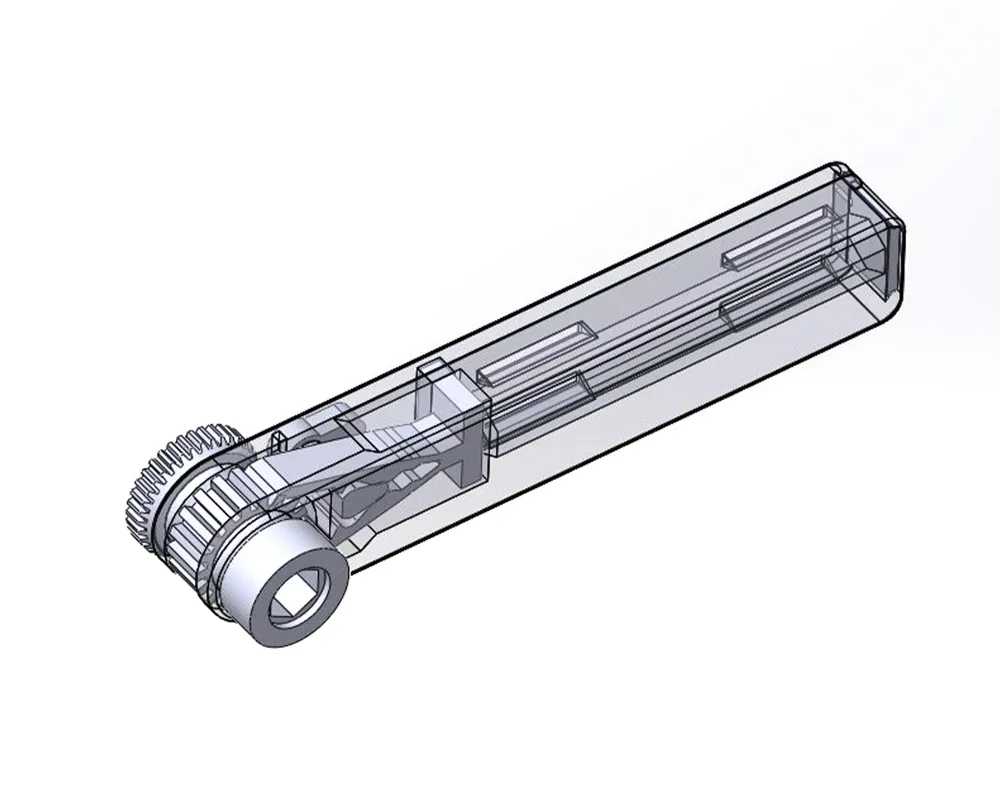
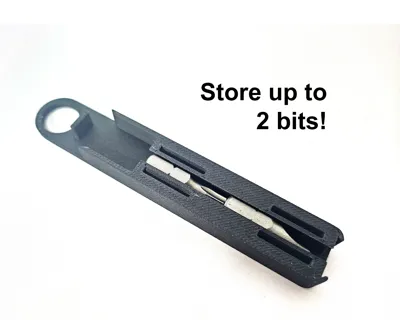
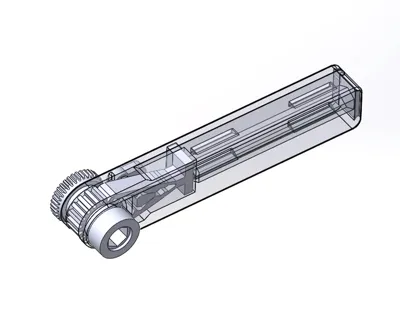
Stores up to 2 bits inside the handle. Secures with a storage lid. I have plans to make some sort of hinge so the door isn't loose and easily lost.
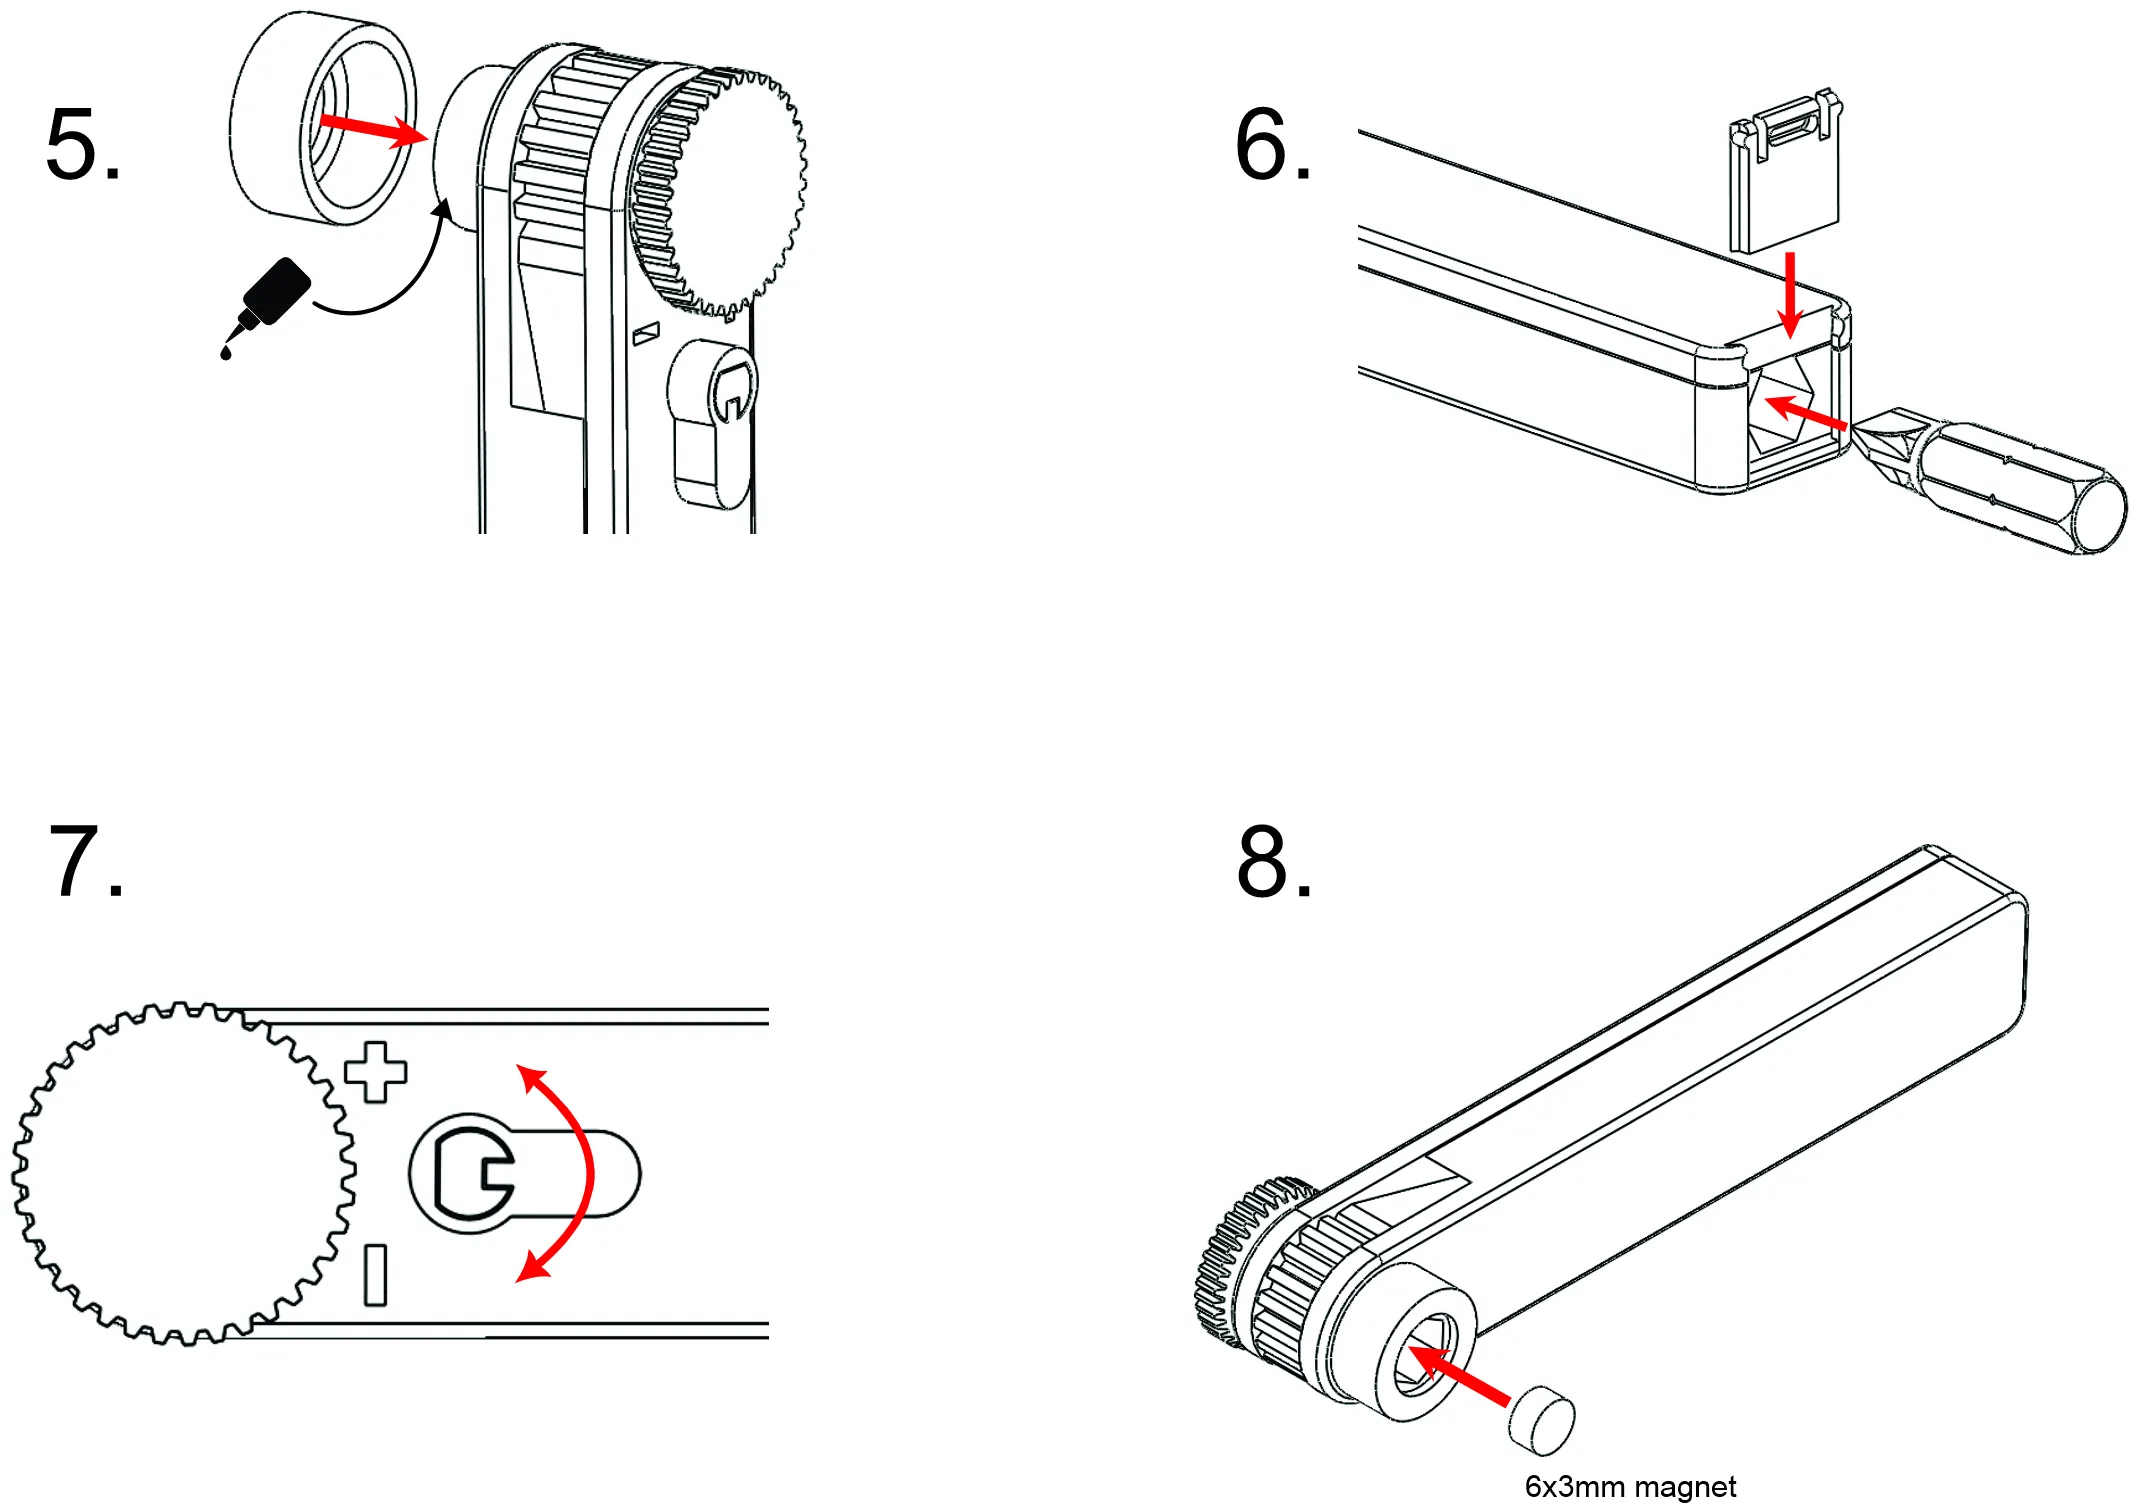
There's a lip inside the bit holder, so pushing the bit all the way in should secure it tightly. Another option is to add a small 6x3mm round magnet inside (i got mine here), just secure with a bit of super glue. With the magnet inside, it lifts the bit just enough so the lip doesn't engage (its no longer needed if there's a magnet) and there's still plenty of space for the bit to sit inside.
Printing
Printed on the X1-C with Bambu PLA-CF in default settings which gave a great finish and fitment. Be sure to use auto extrusion calibration. Your bed height/elephants foot can easily cause fitment issues.
Use at least 4 walls, 20% infill. Pay attention to part orientation.
I recommend you use PLA since it's more stiff. The design relies on the stiffness or the spring to keep the teeth from slipping.
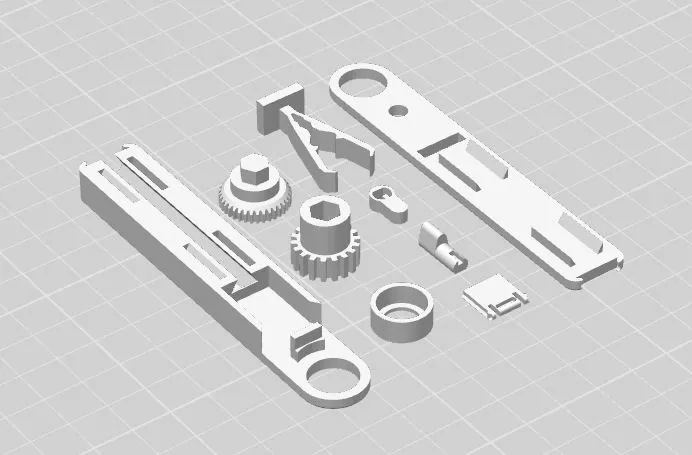
Assembly
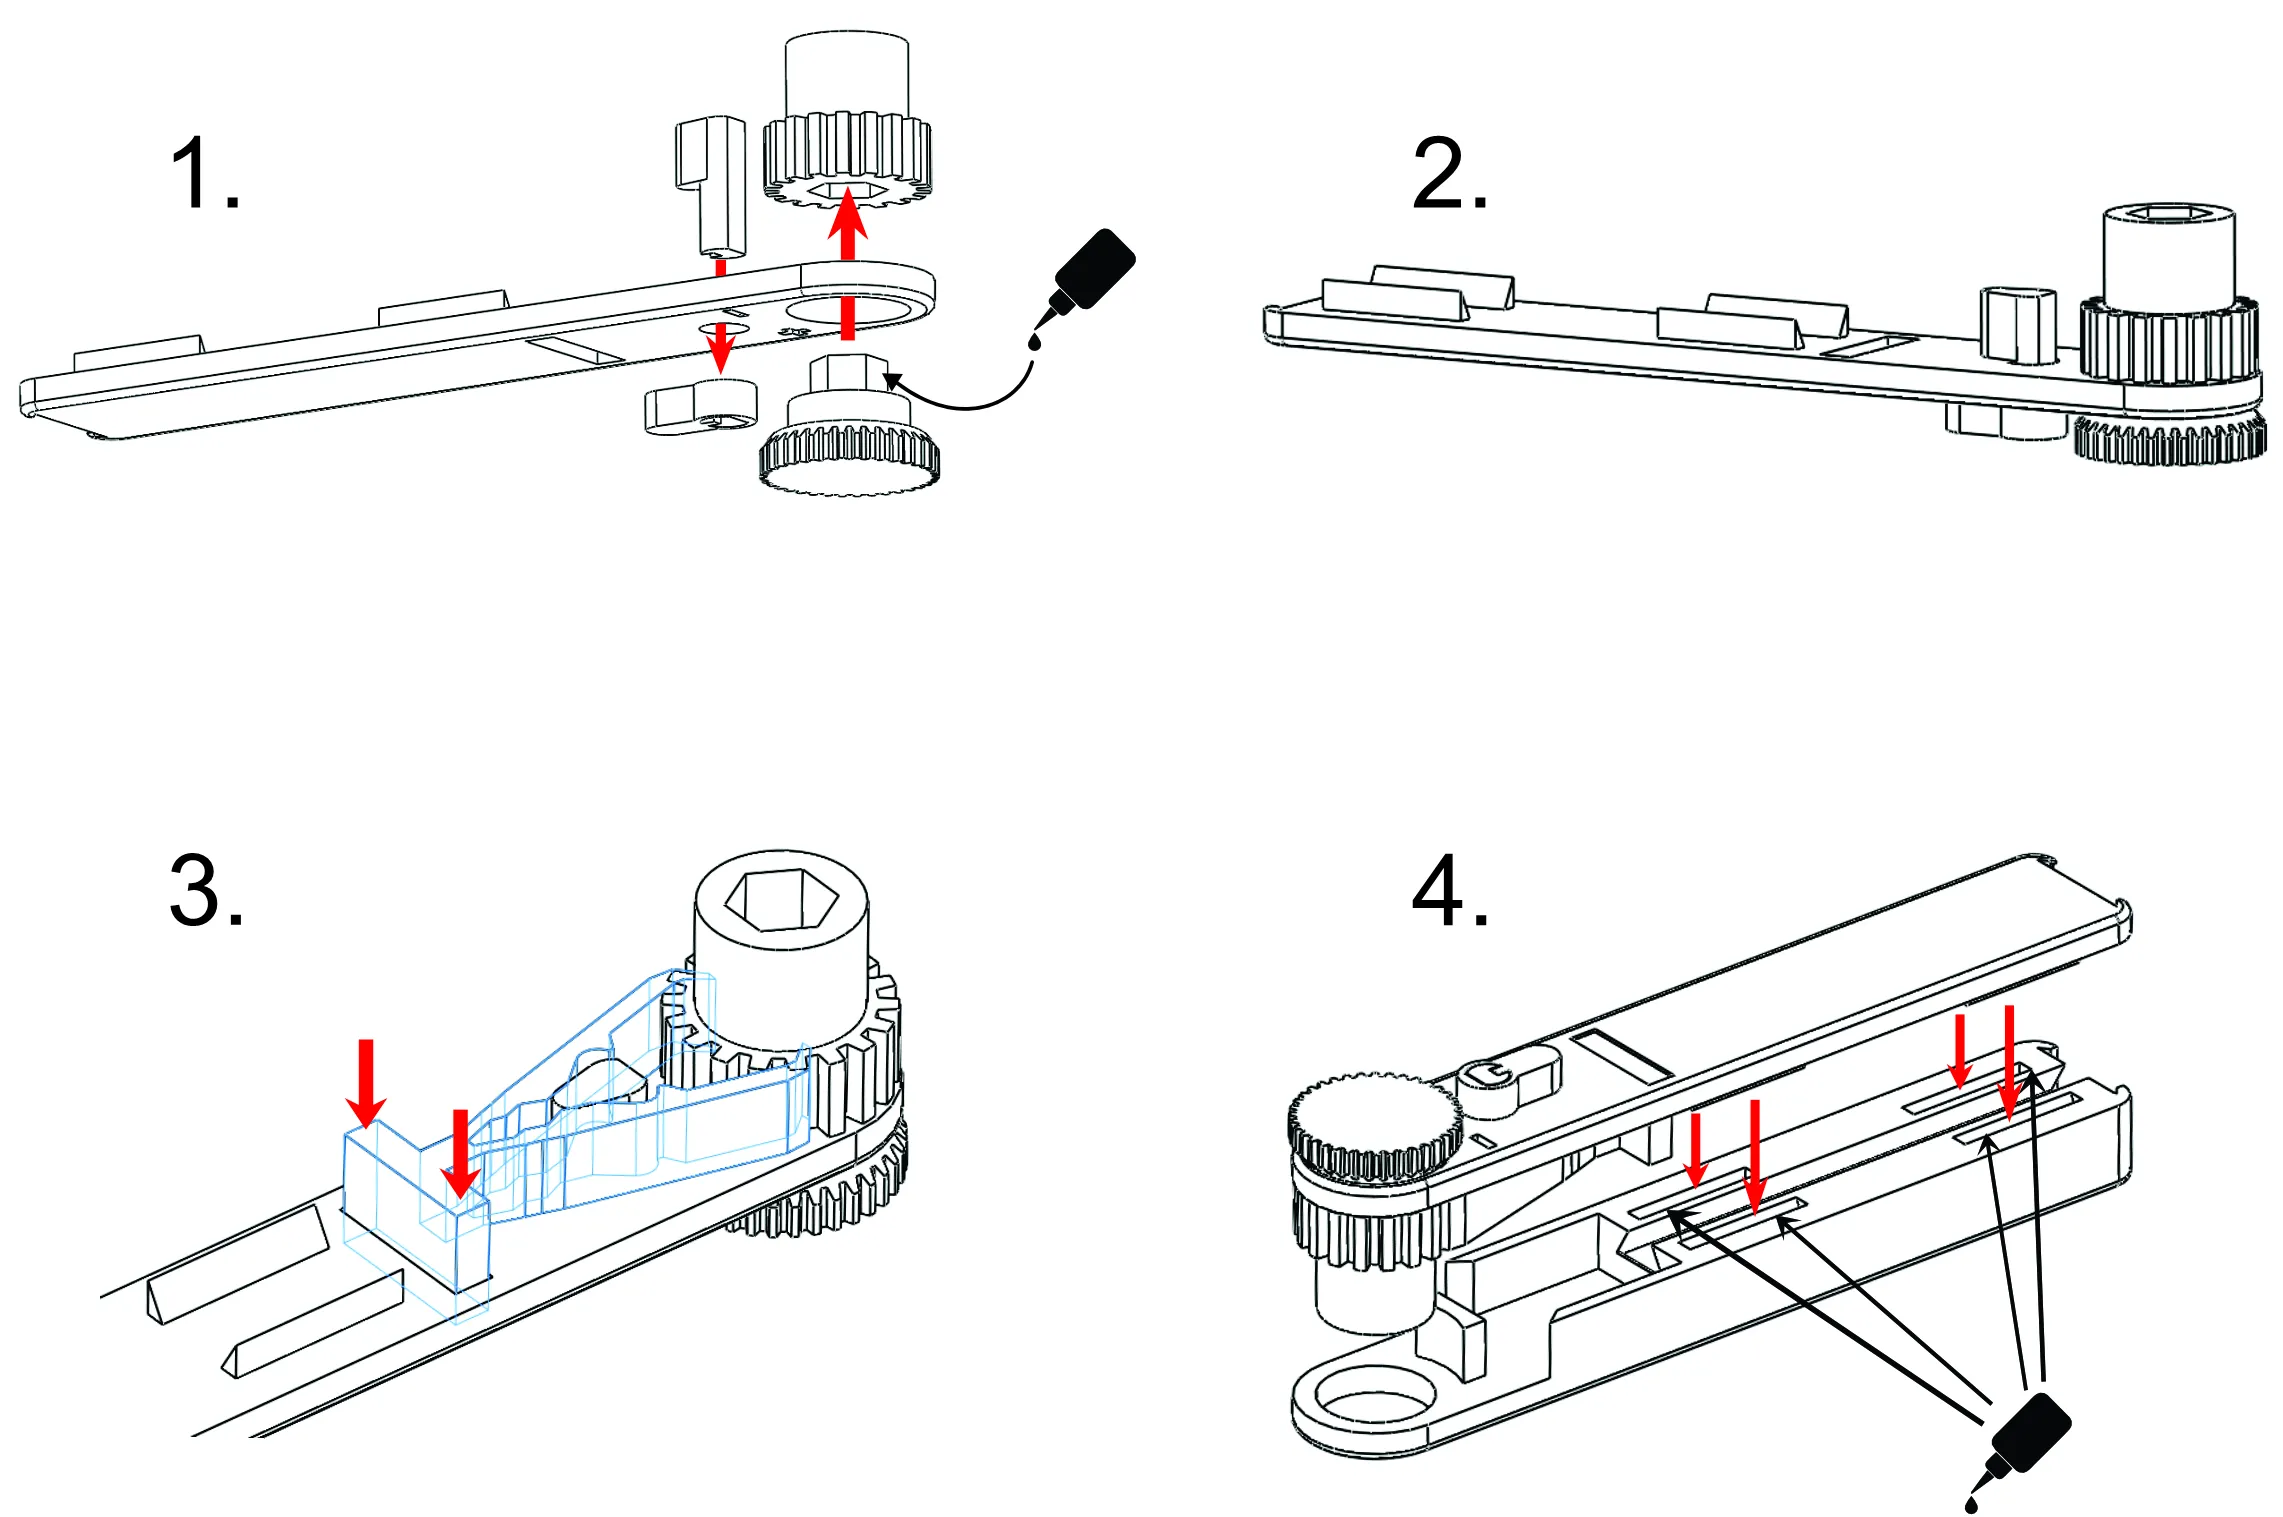
Quick assembly instructions. For more details, check the Assembly Instructions.pdf
I'm not the biggest fan of using glue, but it seemed necessary given how small some of the parts were.
If you have questions/comments please be sure to let me know!
Check out my very own filament on Amazon
If you'd like to support me further check out my Patreon
Documentation (1)
License

You shall not share, sub-license, sell, rent, host, transfer, or distribute in any way the digital or 3D printed versions of this object, nor any other derivative work of this object in its digital or physical format (including - but not limited to - remixes of this object, and hosting on other digital platforms). The objects may not be used without permission in any way whatsoever in which you charge money, or collect fees.


Comment & Rating (1220)