Arcade Controller/Fight Stick


Print Profile(7)


Bill of Materials


Description
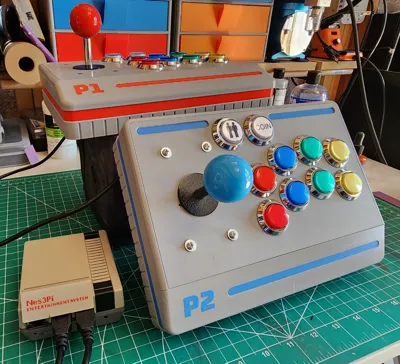
It's an Arcade Controller/Fighting Stick for all your arcade needs! Get all that arcade feel without having to buy your own arcade cabinet or go to the arcade!
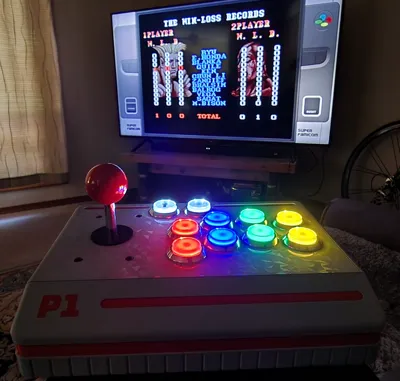
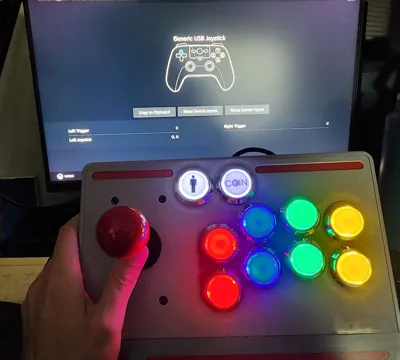
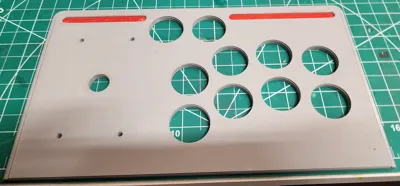
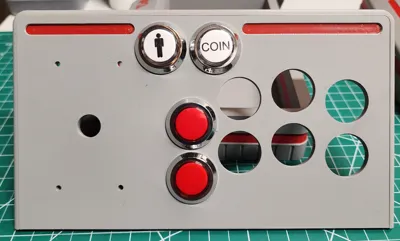
Designed for the RaspberryPi/ArcadePi emulator, but also works on PC/Steam. Features 10 buttons (including the player/coin buttons), and a joystick. The buttons, encoder, and joystick can be purchased HERE. RaspberryPi can be puchased HERE. Power source can be purchased HERE. Housing/case for RaspberryPi HERE.
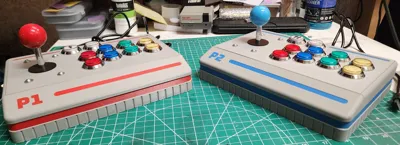
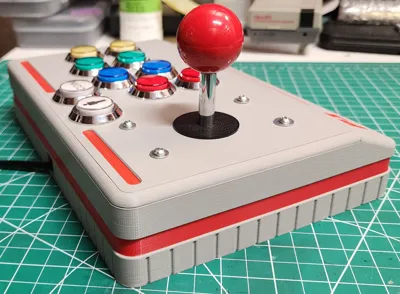
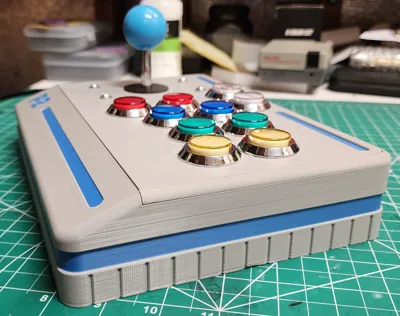
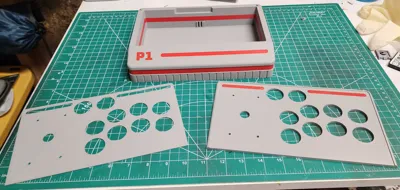
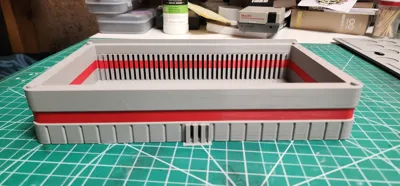
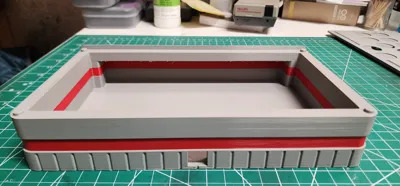
The controller is printed in three pieces to help create the highest quality (particularly for both top parts), and to allow you to print it with whatever wild/wacky color scheme you'd like.
The top can be removed provided you do it carefully. I designed the top parts to snap into the housing, but applying too much force will break the little snap buttons that hold it together. I recommend using an exact-o knife to slip between the top and housing and gently pry/lift each corner off the snaps.
NOTE: The top insert is printed upside down and is intended to be printed on a smooth plate to give it a nice glass finish (although, I cannot see any reason that the textured PEI plate wouldn't work). If you have the 3D effect plates, you can a really cool looking finished surface. This print also requires 4 M3 bolts (8-12mm will work) along with 4 M3 nuts to secure the joystick into the top. It will also work if you have SAE bolts, just make sure to measure and use one with a diameter as close as possible to an M3 bolt.
There are also two separate plates for the top parts: one with inlays for the bolts, one without. Both work, but I thought that setting the bolts into the top would look a little nicer.
If you're interested in creating your own emulator, but worried it's difficult, don't be! Turning a RaspberryPi into an emulator is incredibly easy. Plug the RaspberryPi into your computer and you will be prompted to choose what operating system you would like to setup. Select “RetroPie,” and that's it! You can purchase pre-loaded micro SD cards full of emulated games, or simply download your desired ROM and drop it into the ROM folder within the SD card.
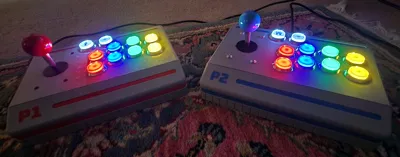
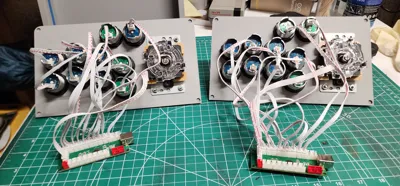
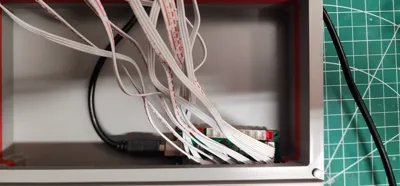
WIRING THE BUTTONS WARNING! While wiring the buttons to the encoder(s), it does not matter what order you put the buttons in as you will have to manually configure/map the buttons when you plug the controller into your emulator/PC. HOWEVER, THE BUTTONS NEED TO BE WIRED IDENTICALLY TO EACH CONTROLLER! I found that the RaspberryPi identifies each controller as the same controller and will map them all the same. So if you do not wire each controller identically, then buttons won't work and/or the joysticks will opposite each other. I highly recommend testing the controllers together before snapping the top onto the housing to ensure that all controllers are working properly.
I created print profiles for players 1-4.
Hope you enjoy it!
License
You shall not share, sub-license, sell, rent, host, transfer, or distribute in any way the digital or 3D printed versions of this object, nor any other derivative work of this object in its digital or physical format (including - but not limited to - remixes of this object, and hosting on other digital platforms). The objects may not be used without permission in any way whatsoever in which you charge money, or collect fees.
Comment & Rating (70)