
Harry Potter Golden Egg (Full mechanics & Light)

Print Profile(2)


Description
!!! IMPORTANT !!!
*A few people have reported issues with outer egg print failing near completion due to it opening up. You could use a brim, which will be hard to remove, or pause the print 2/3rds of the way and add painters or masking tape around the seams to help hold it closed.
The large outer egg uses near 200m of filament. So please use one of the suggestions to reduce risk of failure (plus its a long print time too).
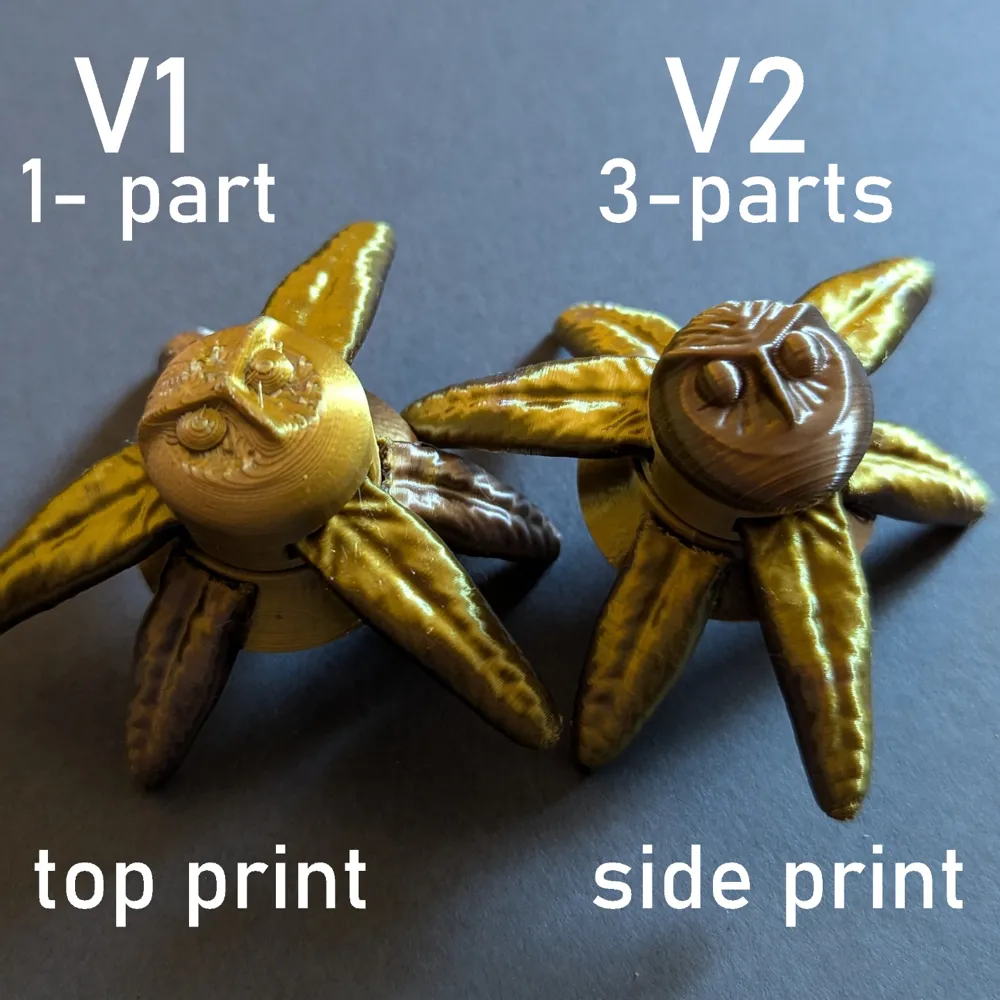
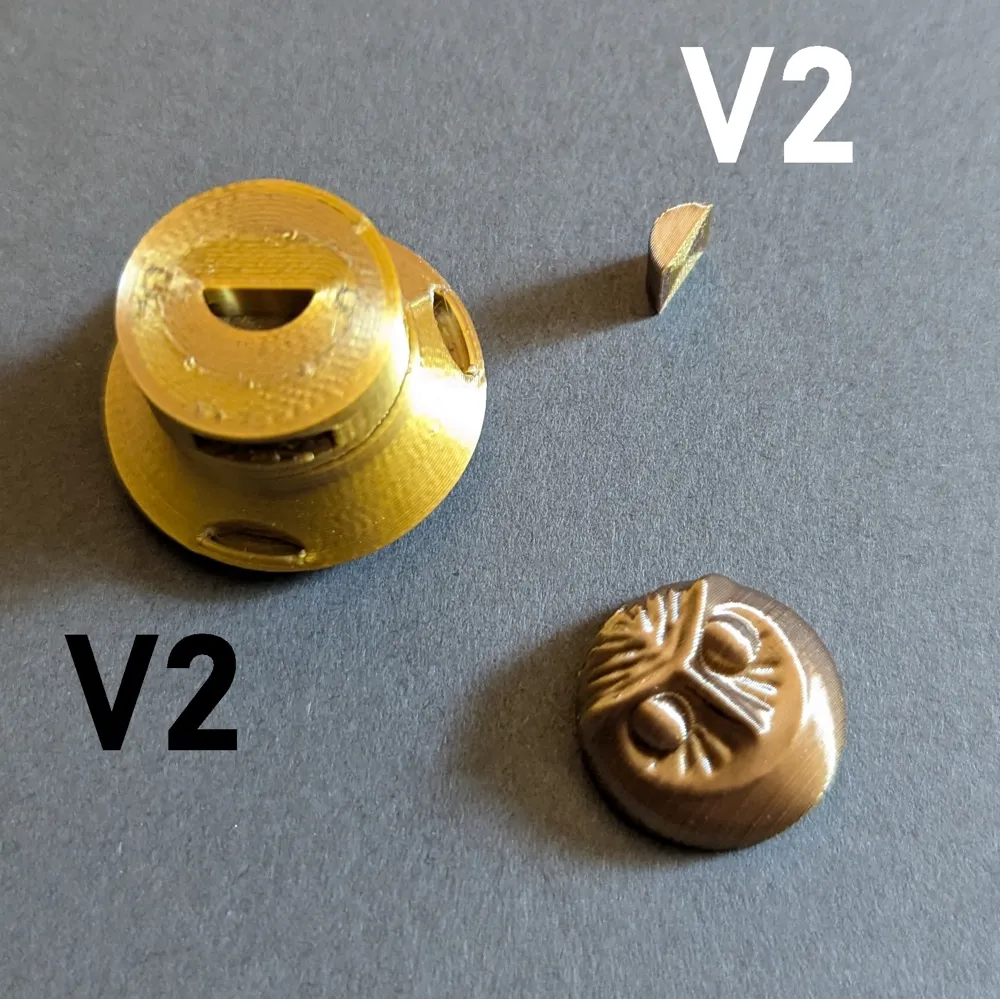
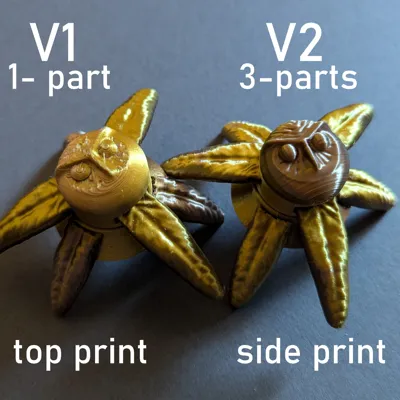
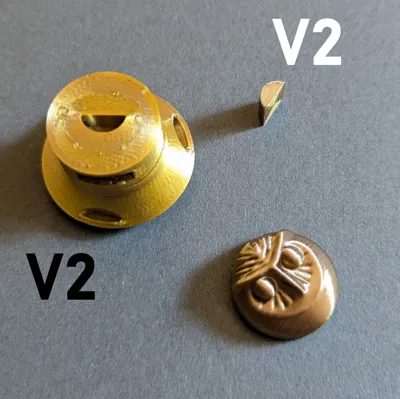
UPDATE 1: I have added a V2 version of the top owl piece that looks better but will require more assembly, parts, and material. I basically sliced off the owl face so it can be printed vertically and then it attaches with a peg and glue. It is added as a plate in the big project file and separate.
You can decide if its worth the extra work for a better owl face or if the original works for you. See second to last picture for a comparison.
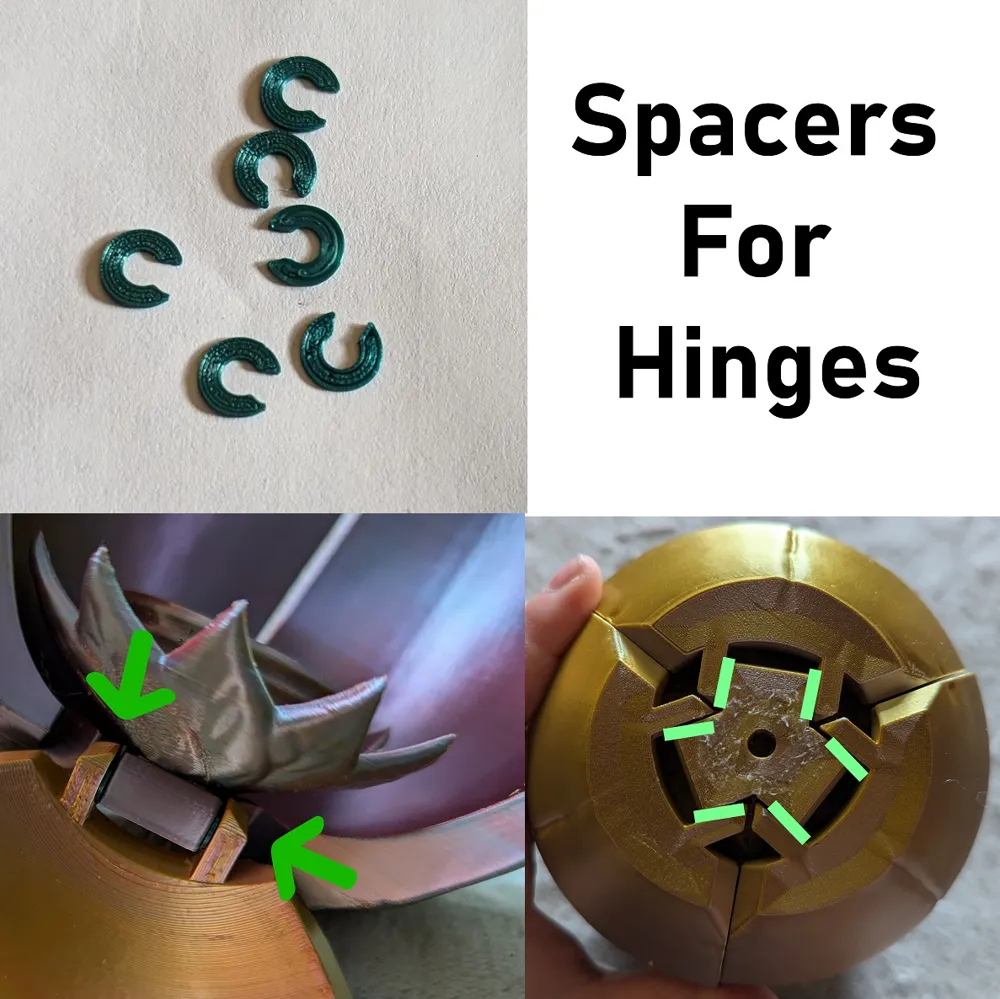
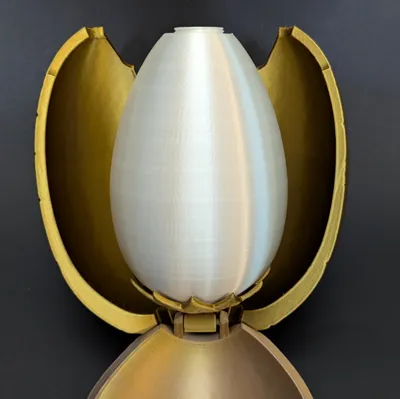
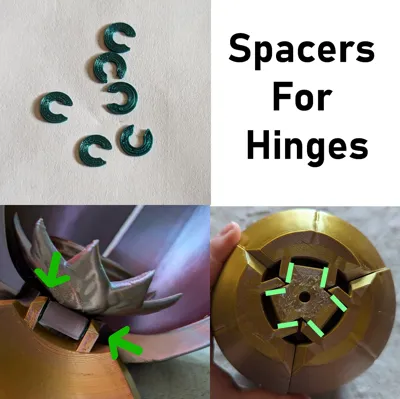
UPDATE 2: Added hinge spacers to reduce the play on the hinges without risk of fusing.See last picture for instruction on where they go.
UPDATE 3: If you have had problems getting the top owl threads to align properly, please try re-printing WITHOUT a brim. The brim interferes with the threads. I only discovered this problem today. The print profile and instructions are now updated to reflect this discovery. Apologies. (July, 5th, 2024).
UPDATE 4: An improved version of the top leaf has been created that will hold the egg closed more firmly and be easier to insert into the insert-holes on the owl part. The outer egg shell has also been updated; only minor cosmetic changes. The “stitches” features on the outer egg are now more uniform. Neither of these require printing a new version, but the leaf change will be easy to make a new one and it is a big improvement. Please update your saved files if you plan to print in the future. (stl and print profile updated July 8th, 2024)
Update 5: Settings for inner egg in the project file have been adjusted to fix issues of dark and light sections (see photos in a comment about this). Only the bottom and last few cm of the inner egg should be darker because these areas have infill reinforcement. (Updated project file, August 1st, 2024)
--------------
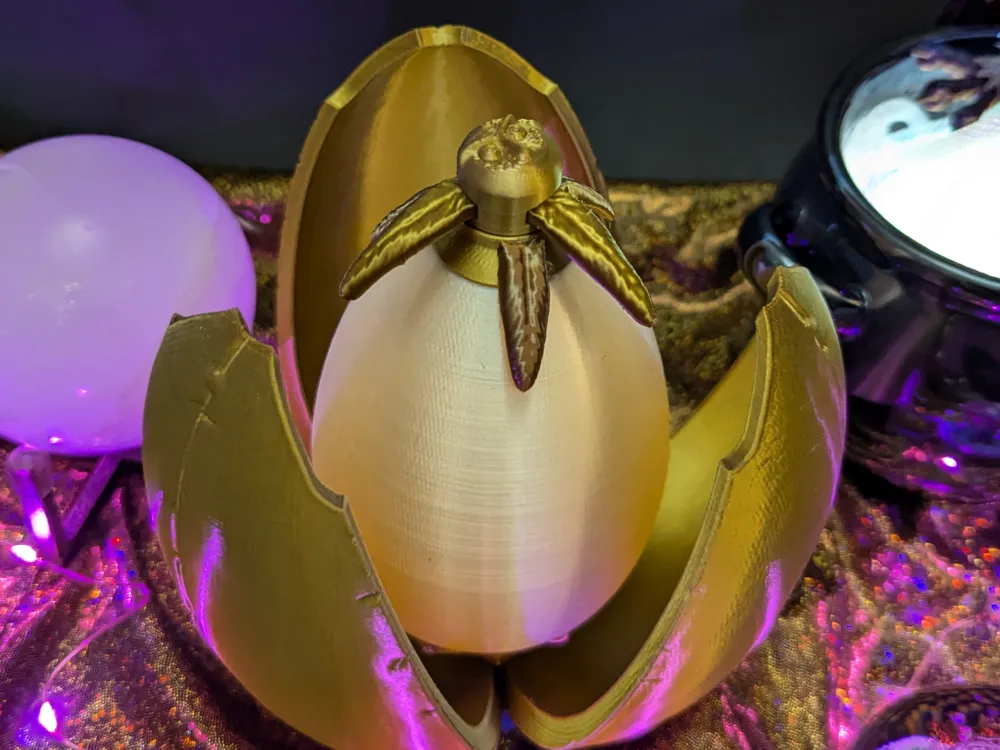
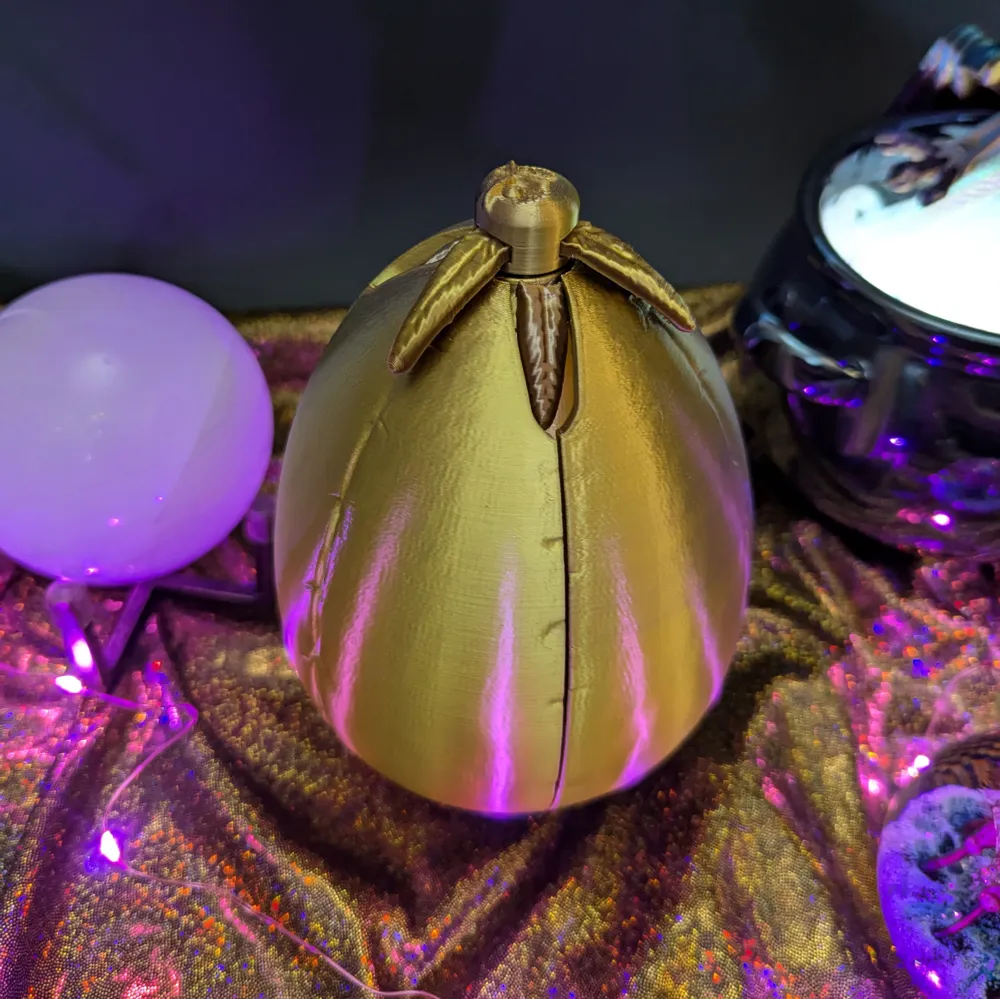
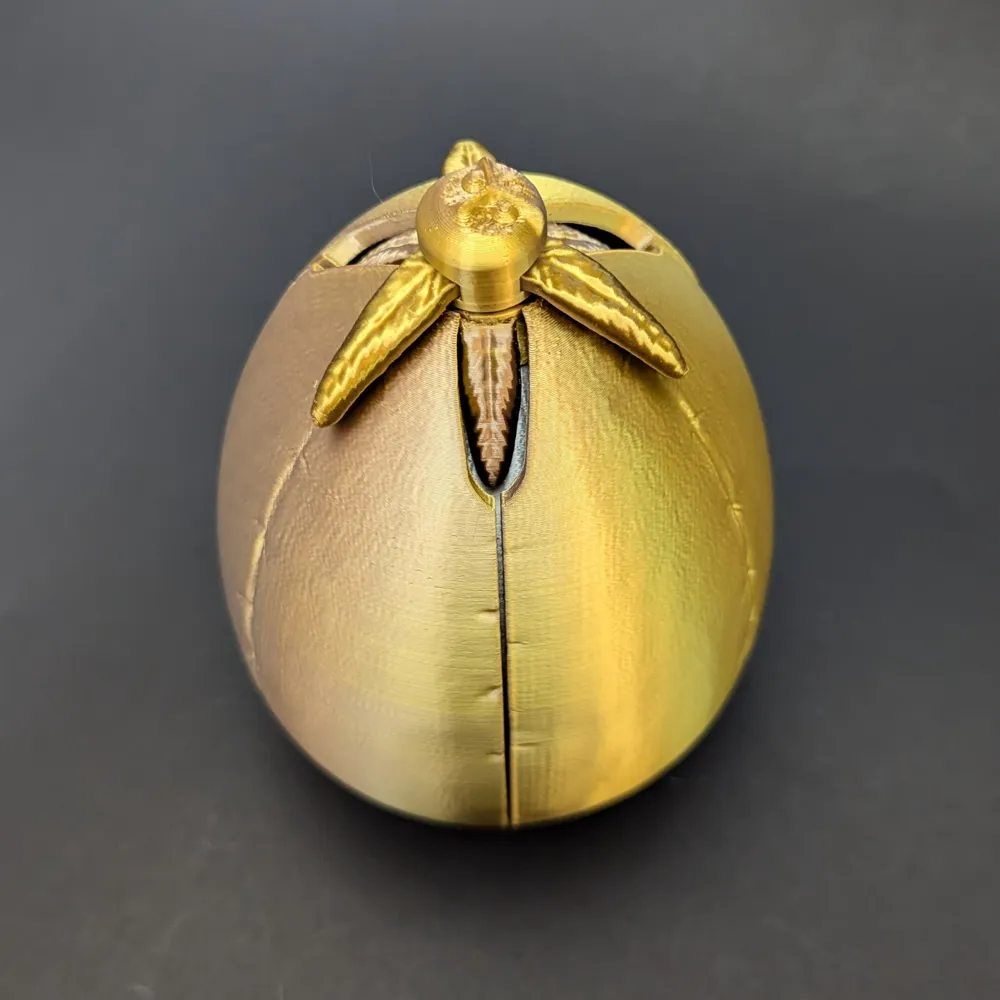
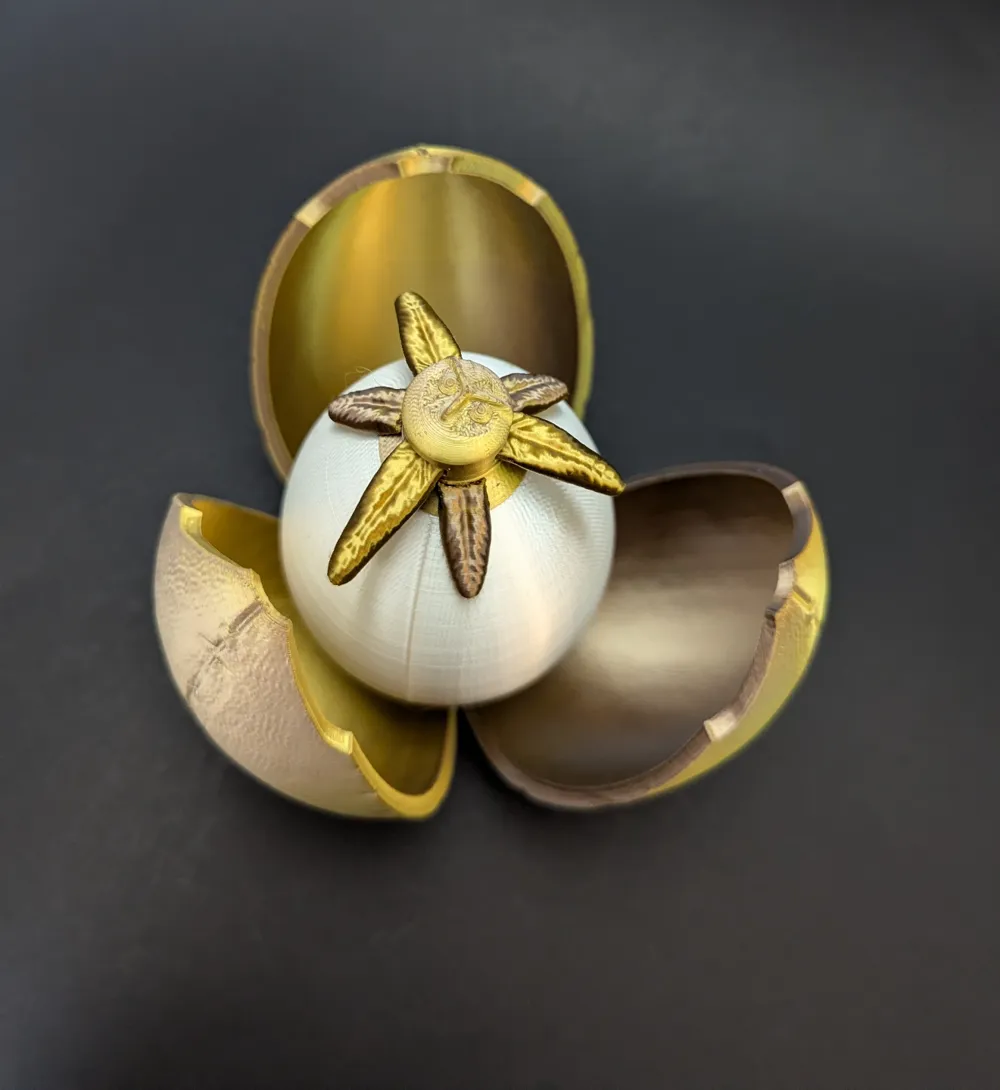
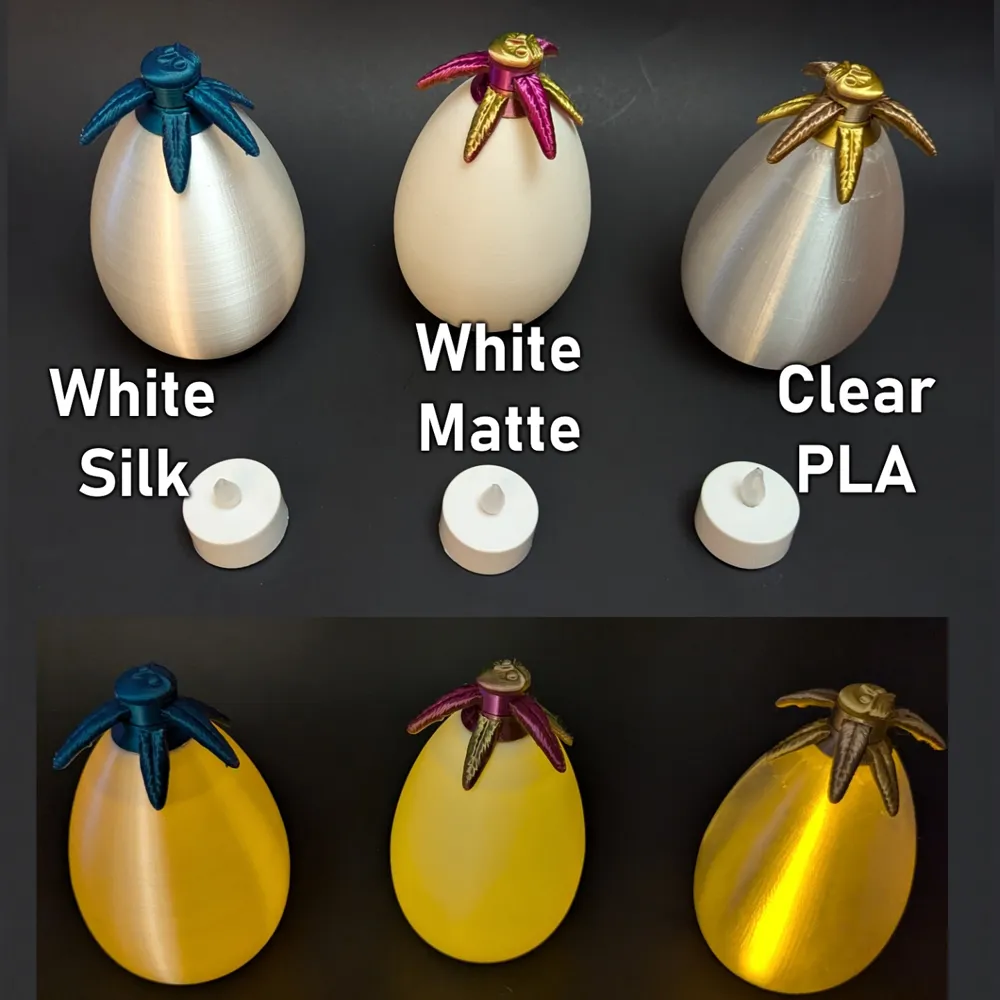
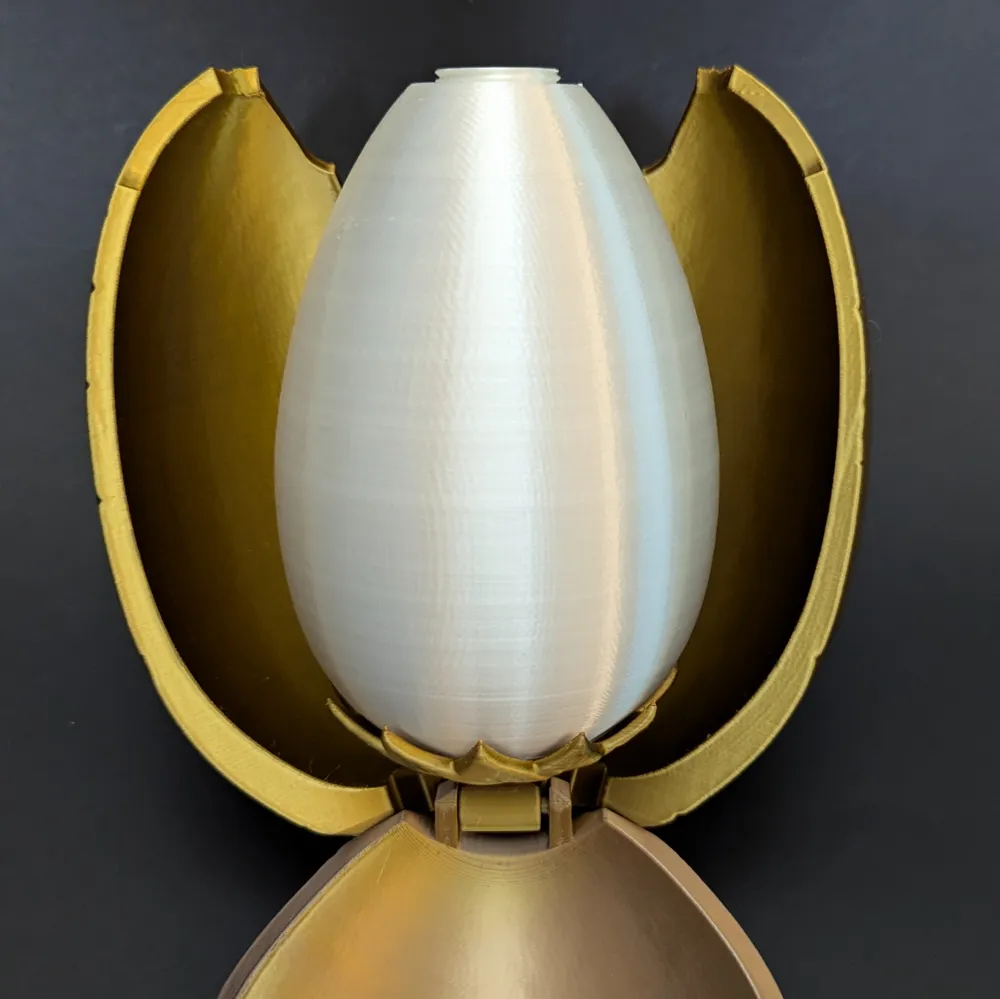
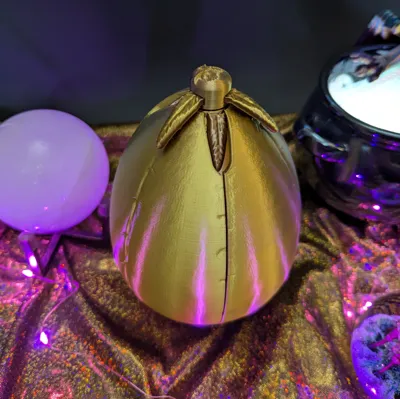
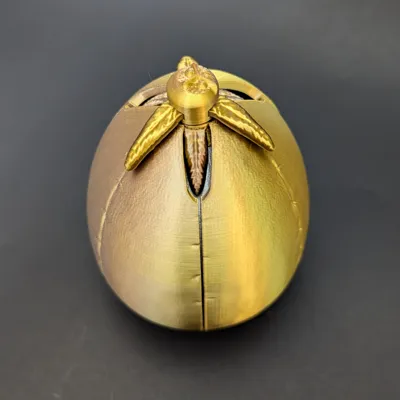
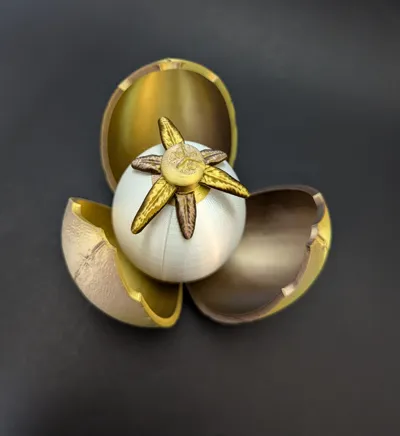
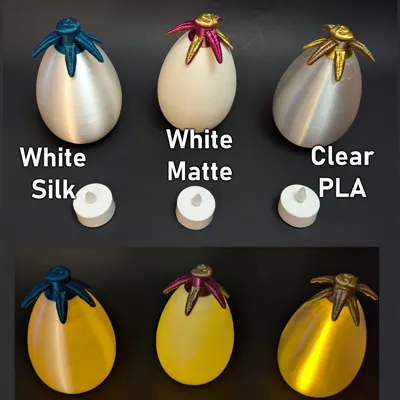
This model is a fully mechanical version of the golden egg from The Goblet of Fire Harry Potter movie. You can also add a tea light or a fairy light to the inside egg.
This model assembled (with base stand) will be 19 cm tall (7.4 inches) and 12.2 cm (4.8 inches) in diameter.
This model does require a little glue but no other hardware. Most parts connect through screw structures. I have created an instructional PDF with a guide to which parts you need, the suggested print settings, and assembly (with step by step photos).
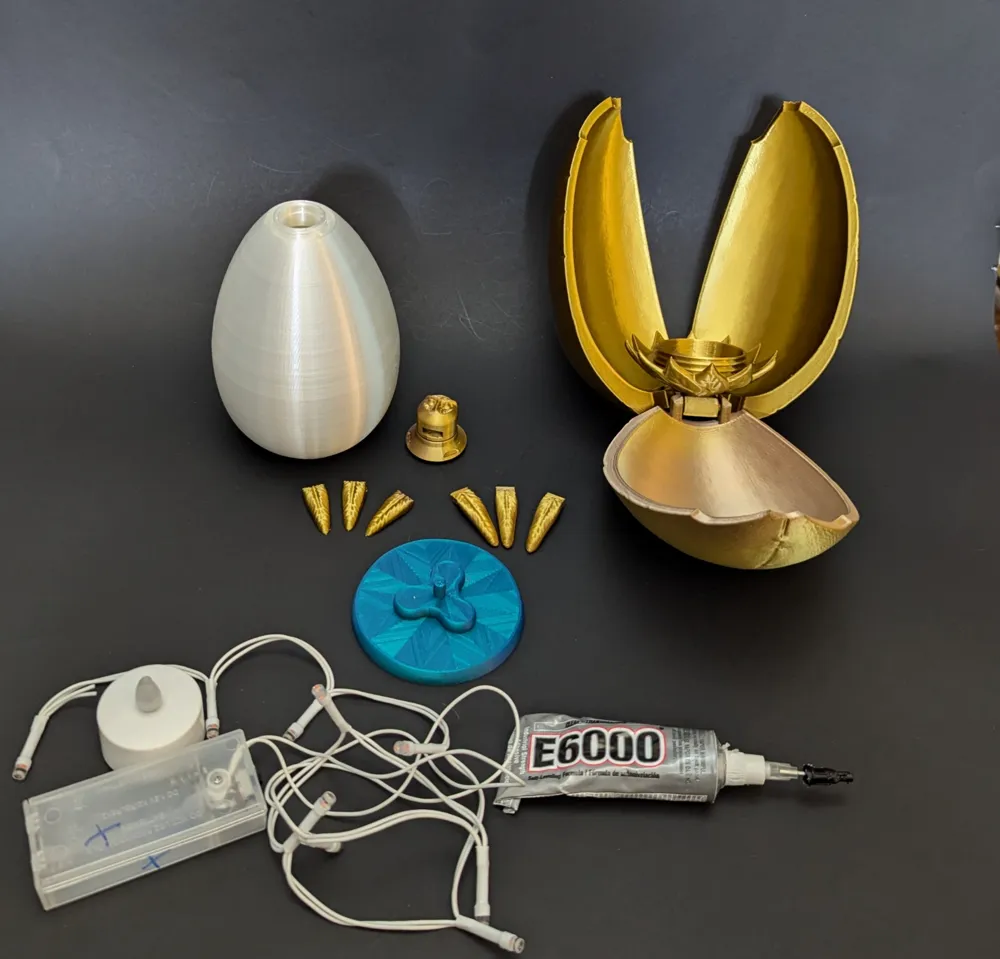
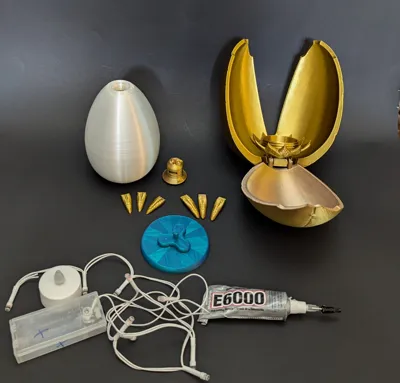
There is also an image posted to show all of the parts that will be needed for assembly.
Please at least take a glance through the assembly part of the PDF before putting together as there are some super important things to note. There are photos that illustrate how to align the pieces properly.
This model has been polished and print tested thoroughly. That said, sometimes different printers can cause issues. If you encounter an issue with the model, please let me know and I will address it.
These include:
1x Owl Top Part (needs to be rotated to specific orientation)
3x Top Owl Leaf
3x Bottom Owl Leaf
1x Outer Egg Part
1x Inner Egg Part (needs to be tightly screwed to outer egg, but not overly tight so it can be removed for lights)
1x Tri-Base Stand (must be rotated to specific orientation to function as intended)
1x Tea Light or Fairy Lights (optional) - Must be purchased.
*The opening diameter at the base of the inner egg to insert a light source is 40mm when printed at 100%
I have also created a Bambu project file that has all of the settings and all the plates needed to fully complete the model.
This model is 100% my own creation and I give the following permissions:
You Can:
Sell printed models (locally or online)*
Make remixes (with attribution)
Please Don't:
Sell model files
Claim model as your own
Claim model as solely your own (if remix)
*I do not own the licensing to Harry Potter merchandise and am unclear on when fan art is allowed to be sold commercially.
Documentation (1)
License



Comment & Rating (179)