
Koi Fish Automaton


Print Profile(5)




Description
The Model
I enjoyed making my Inchworm Caterpillar Automaton so much that I immediately planned on making another two in the same style, further exploring movements of animals. I got such good feedback on the last one that I started on this one immediately :)
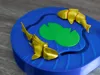
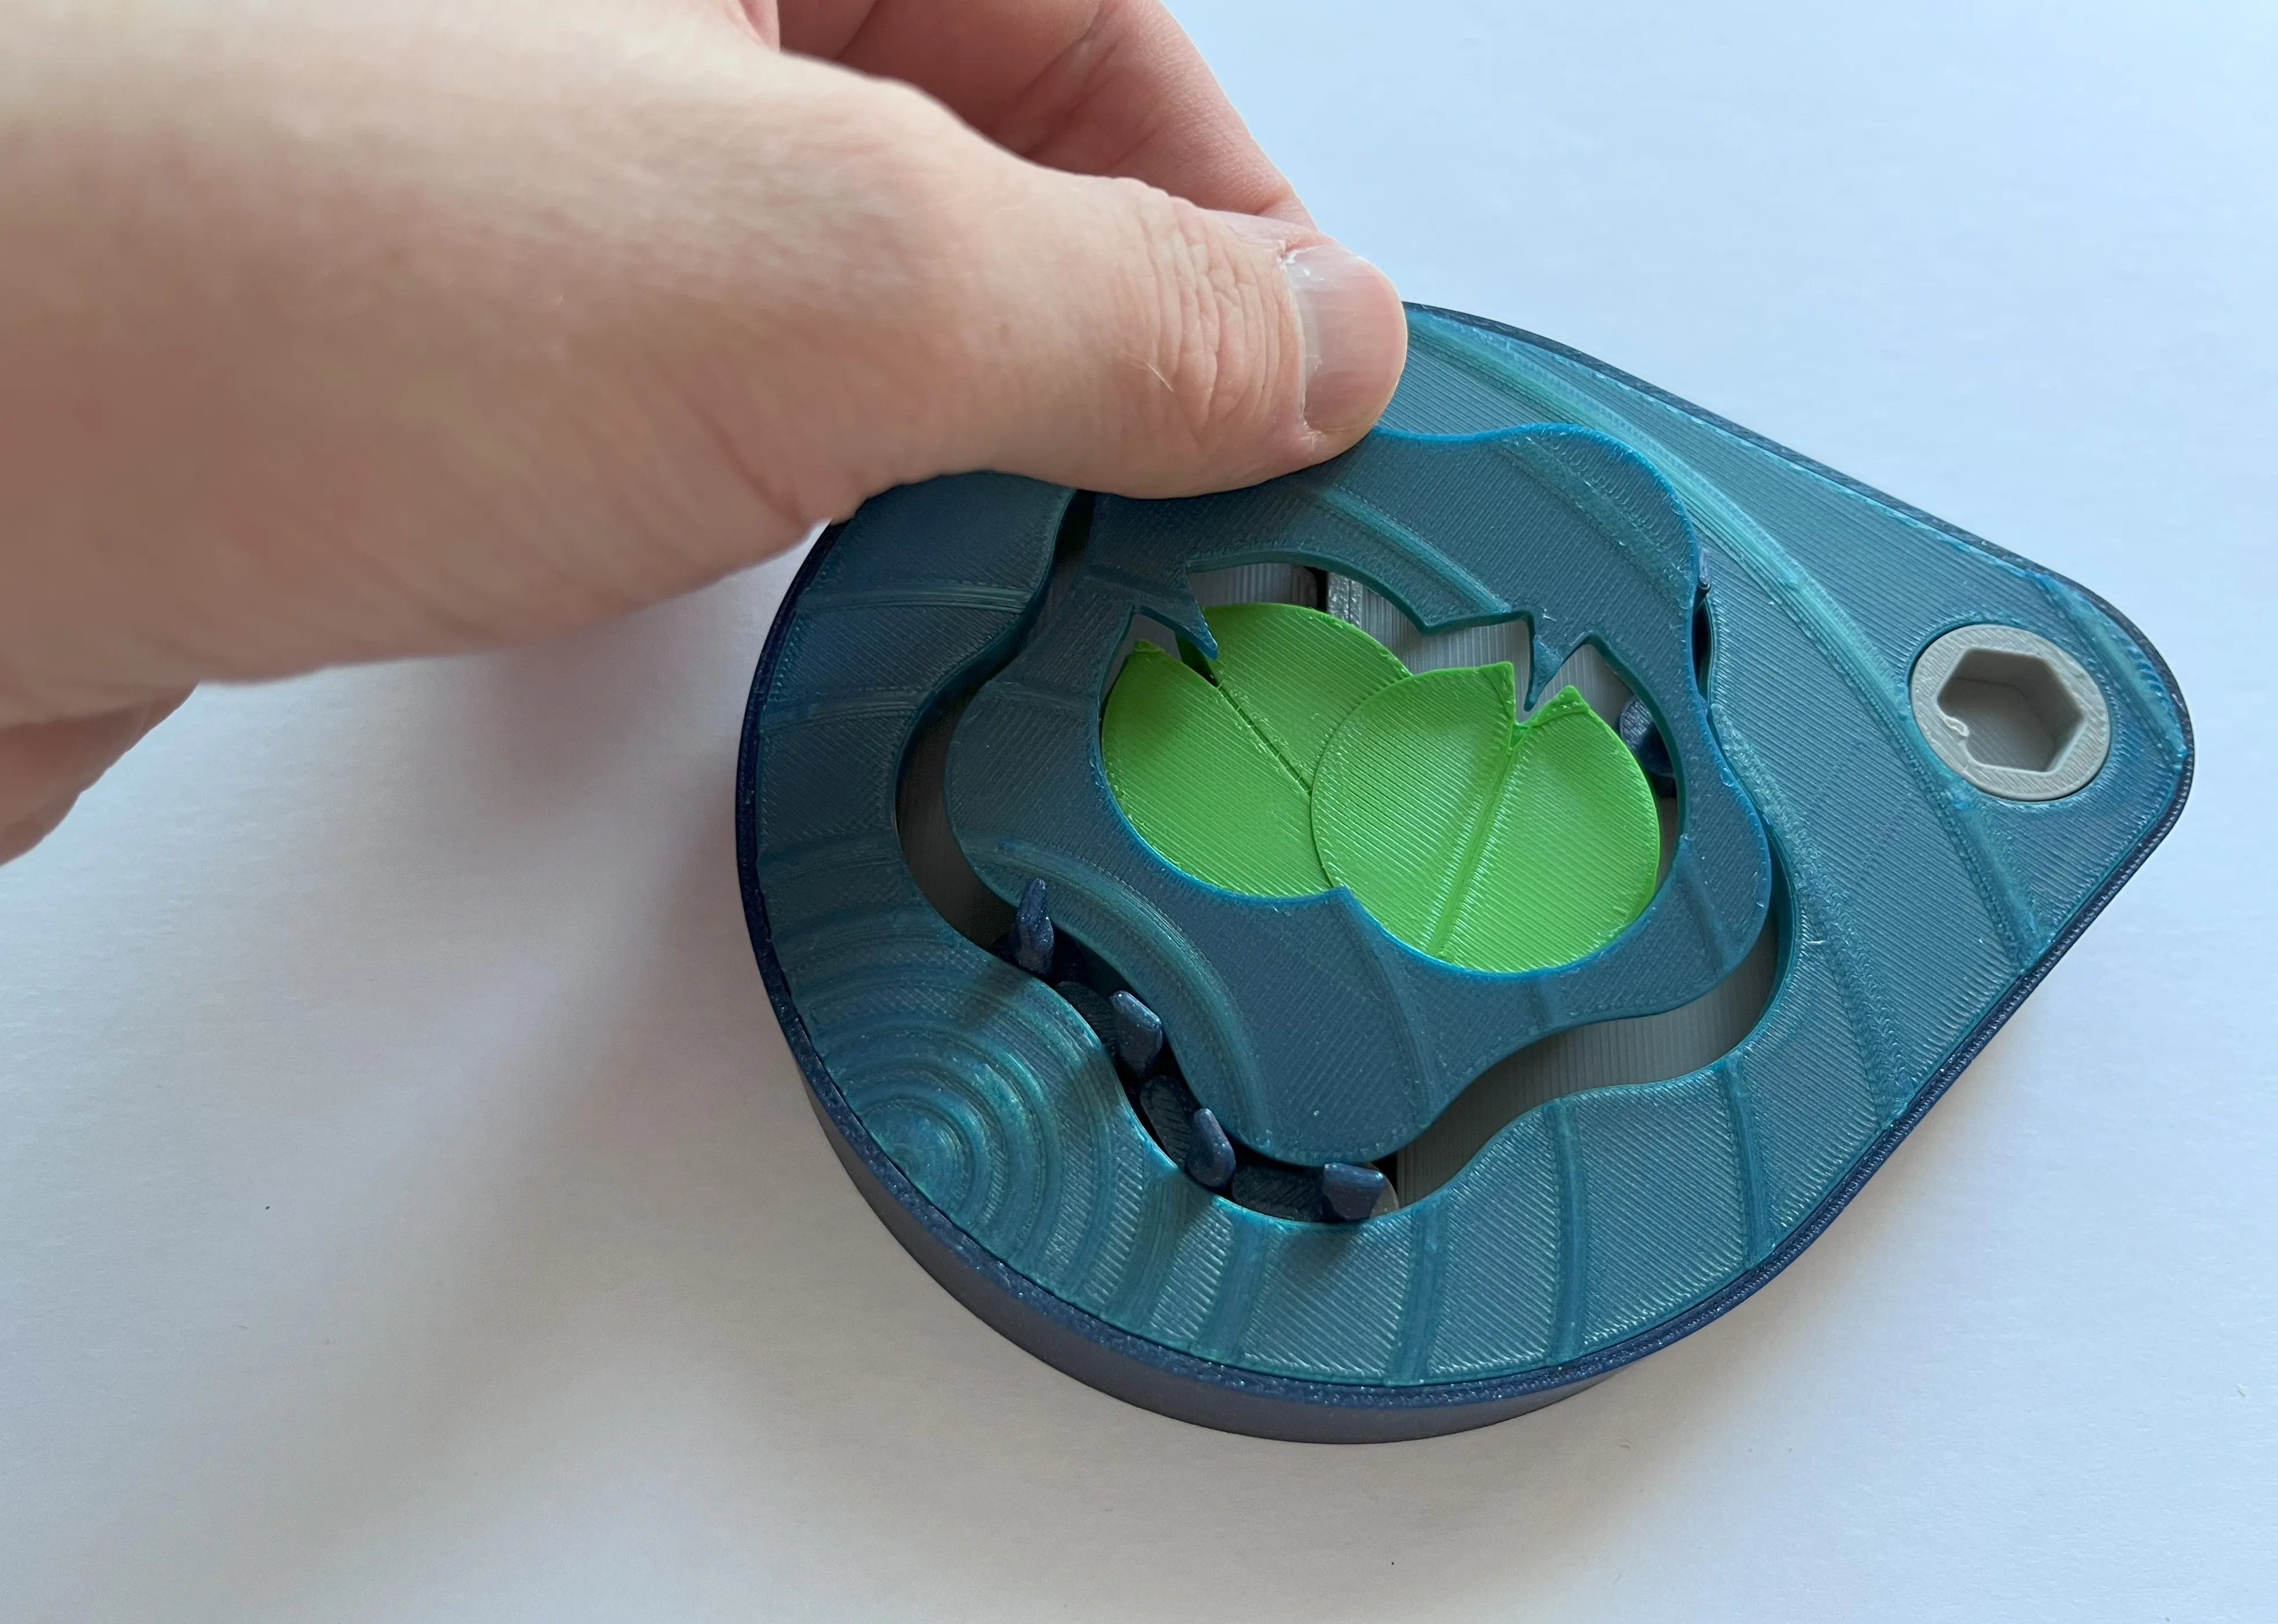
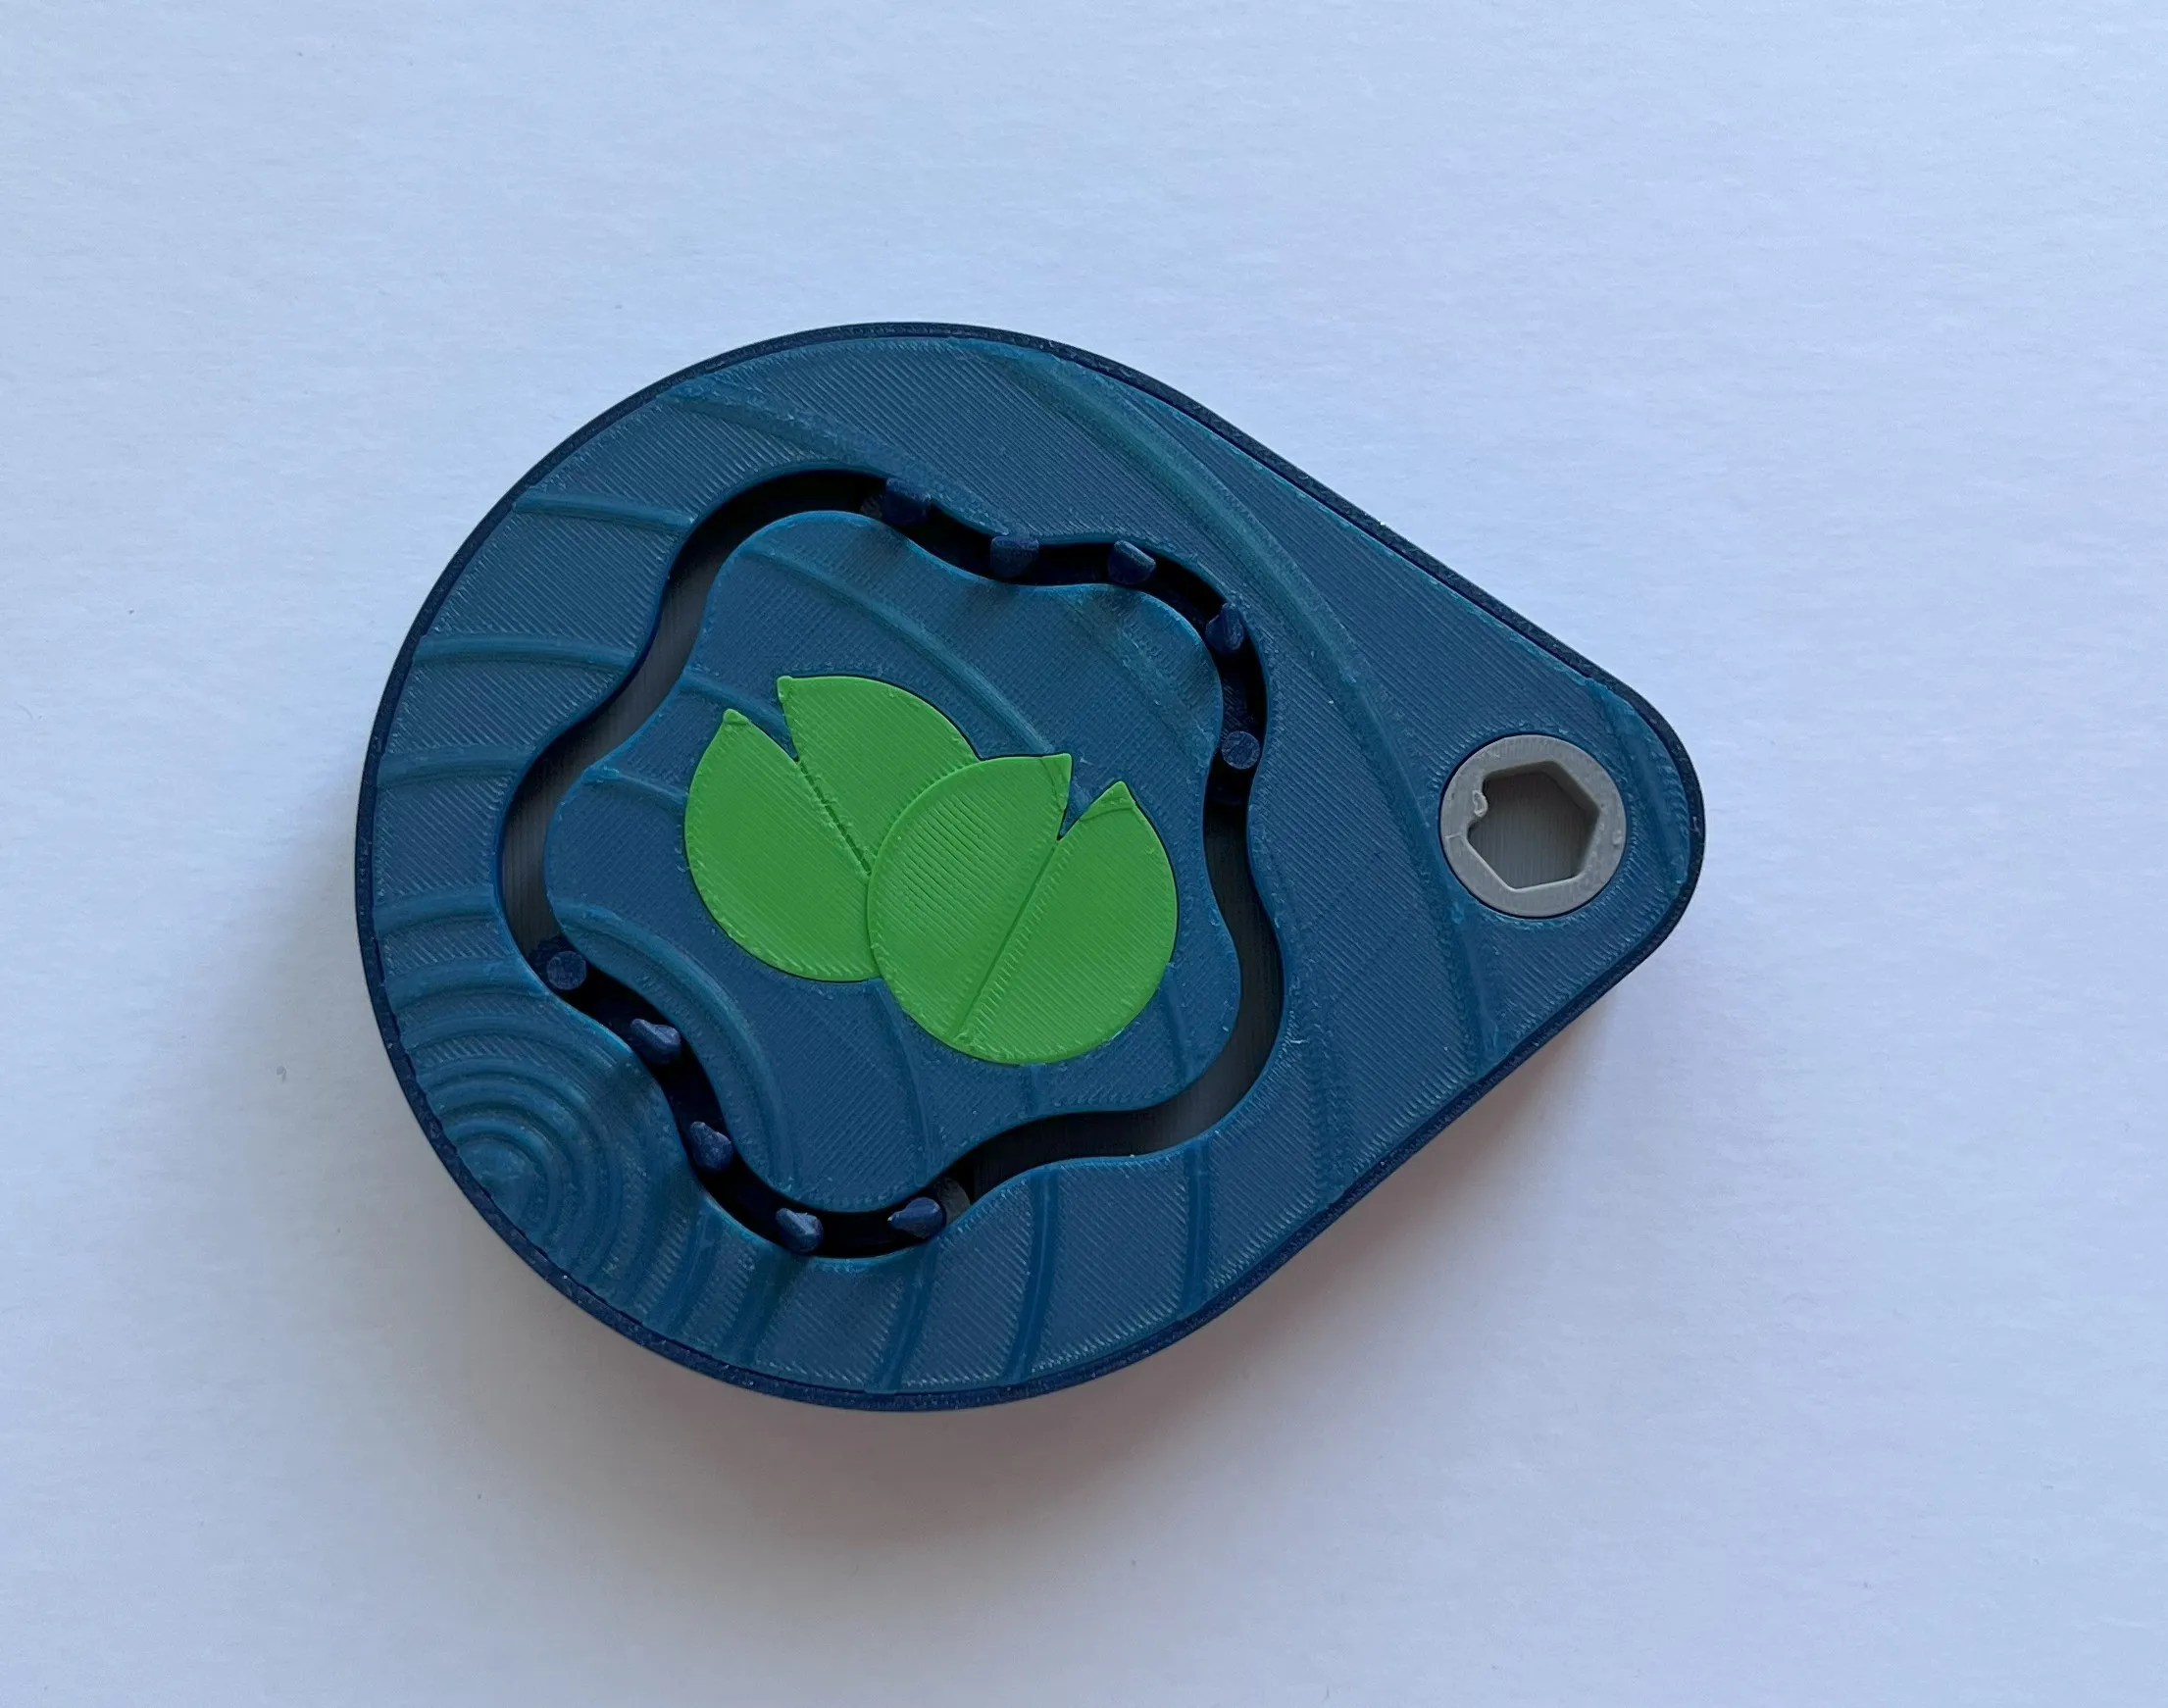
This model is a simple, abstract depiction of two koi in a pond, circling a couple of lily pads.
Again, simply turn the crank and watch them swim!
Printing
I printed everything on three different plates.
The first one is for mechanical parts where precision is not all that important. I combined all mechanical parts into one object, except for the lily pads, to give them a different color without having to swap colors for each layer.
The second one is for the lids, which use adaptive layer heights to make the water ripples a bit smoother, without making the entire print take too long.
The third plate has the fish and the crank. The fish are divided into objects, and again, everything is set to print by object, making it possible to give the fish differing colors without having to change colors each layer. But feel free to paint the fish with spots as you see fit, as is pretty common in koi in real life :)
Assembly
There are no extra materials or tools needed for assembly, though the mechanism tends to squeak without the use of lubrication for some reason. I believe it's the cam follower squeaking, but please share if you manage to locate it :)
The outer lid is again a quite loose fit, which is to facilitate easier disassembly. That is true for the fish themselves as well, since fitting small things on other small things tend to have them break when trying to disassemble a tight fit. But feel free to glue anything in place when you are satisfied with the operation.
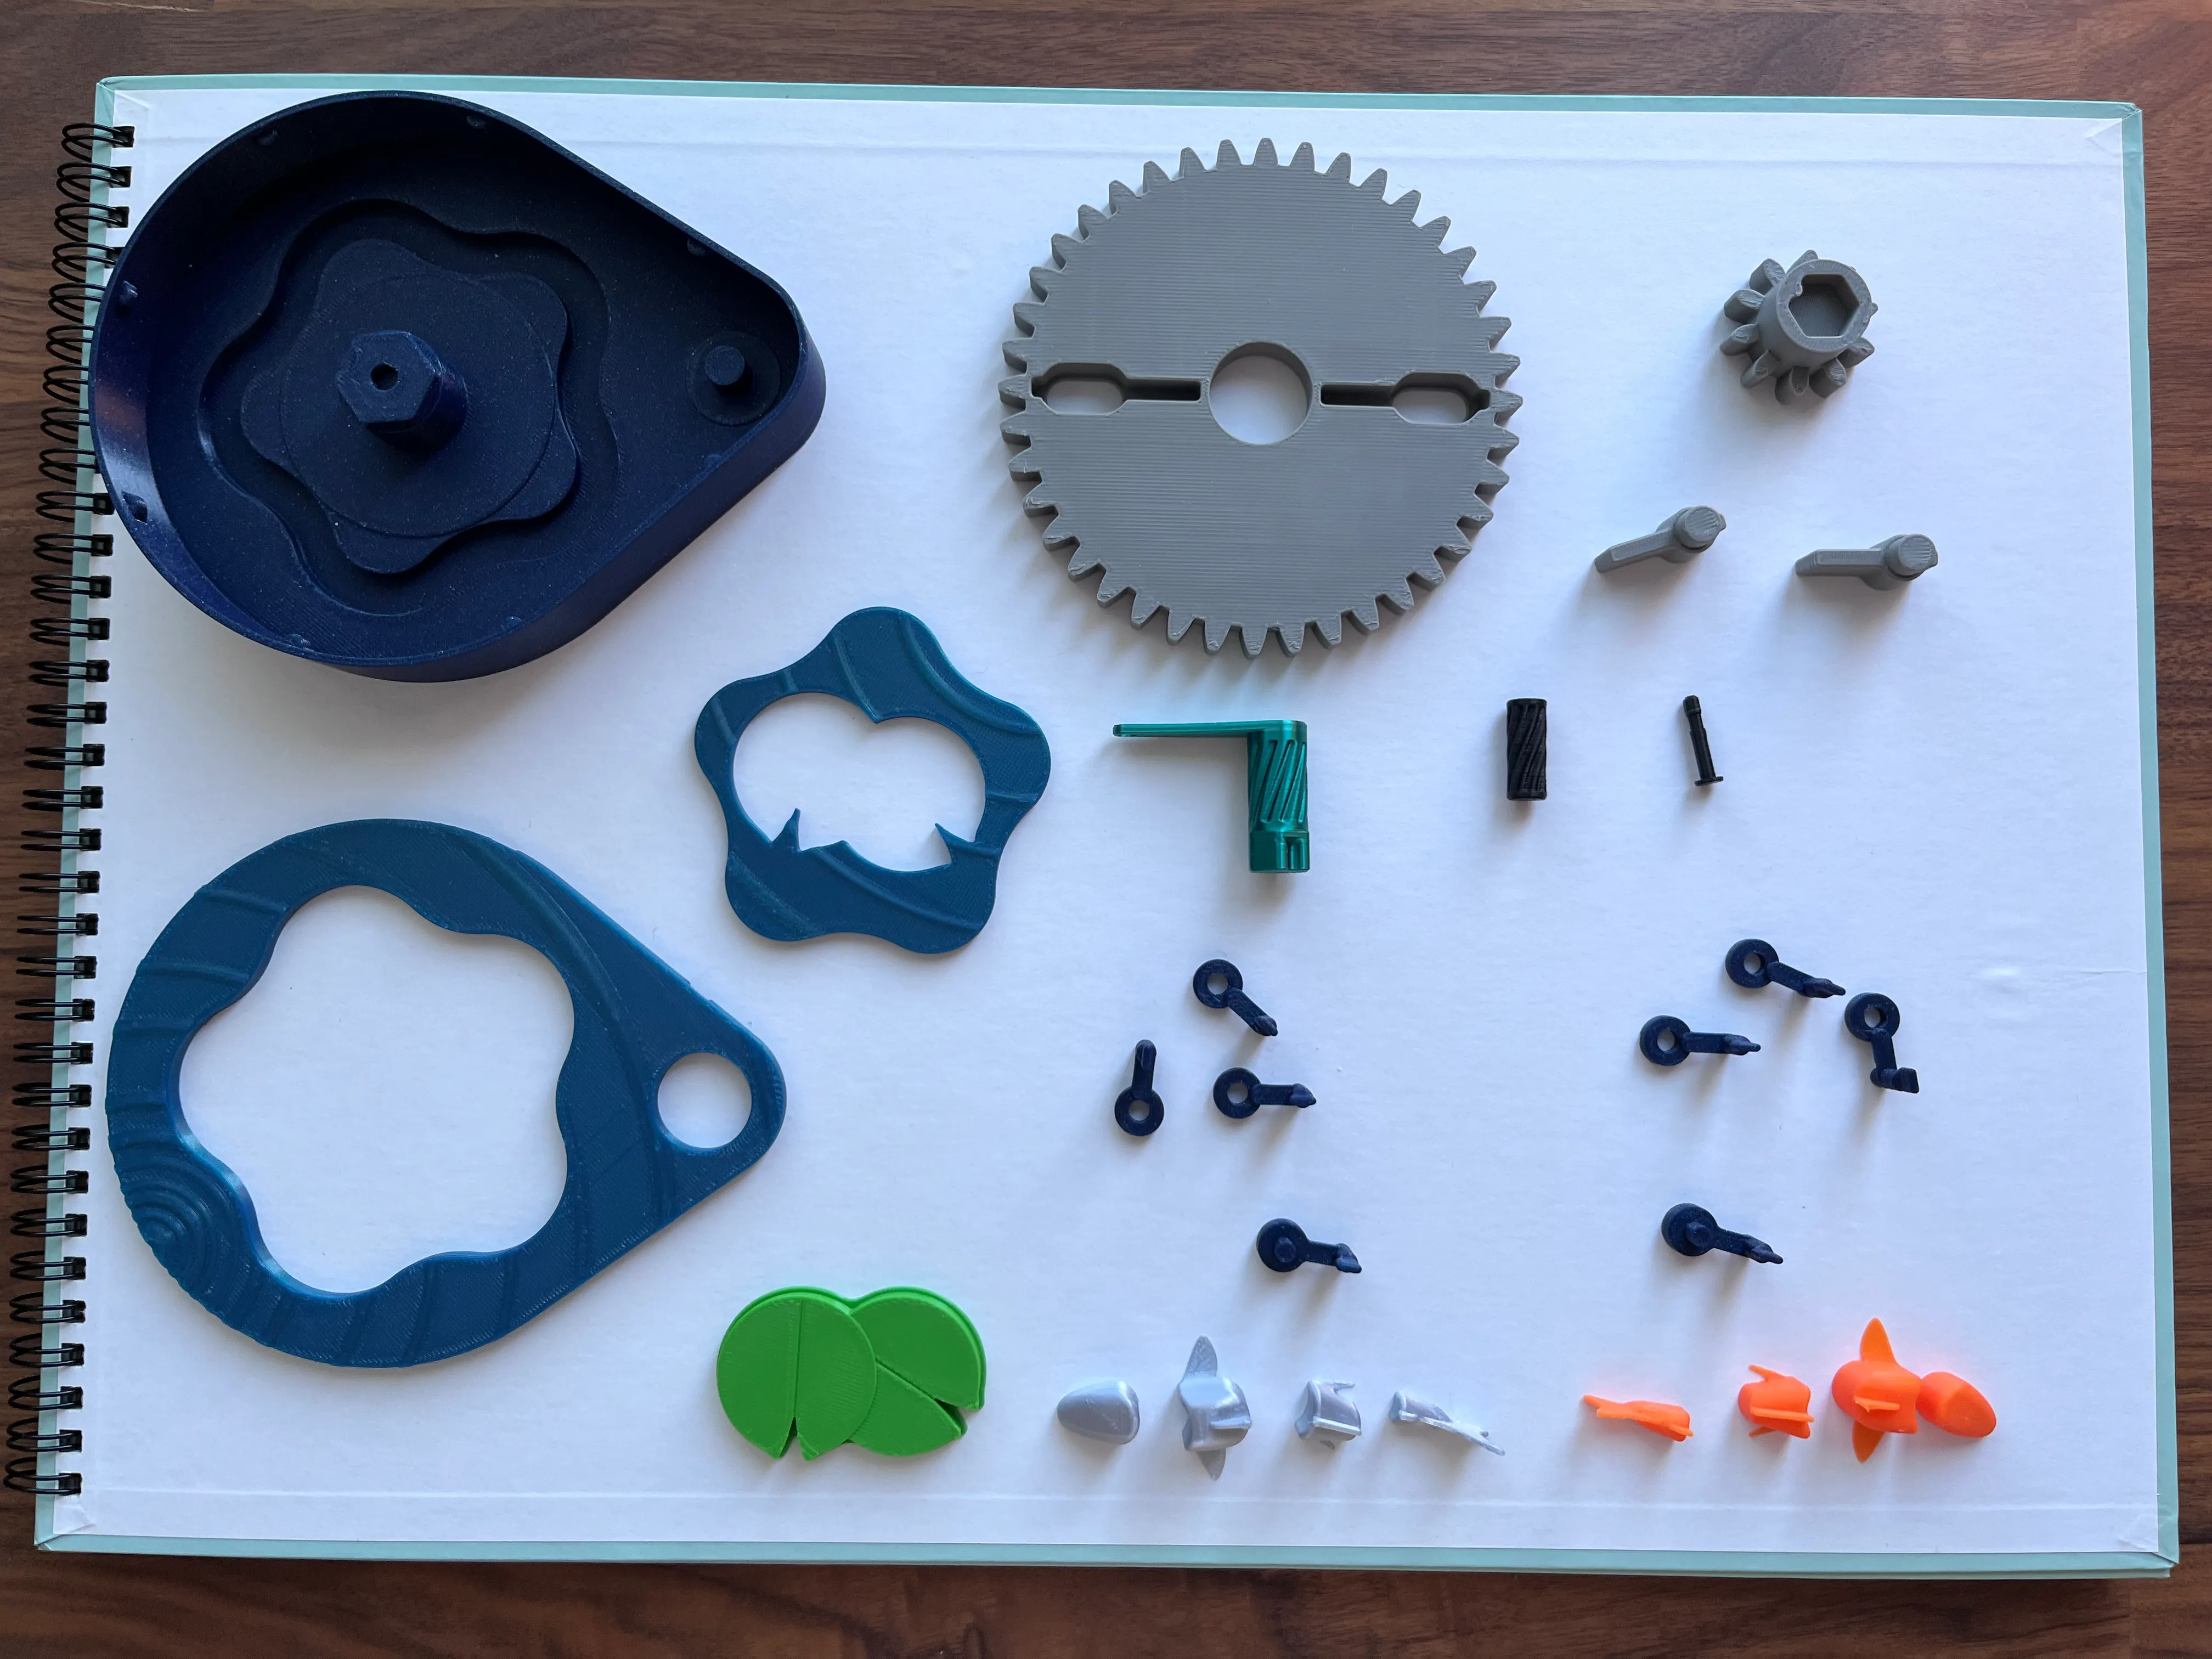
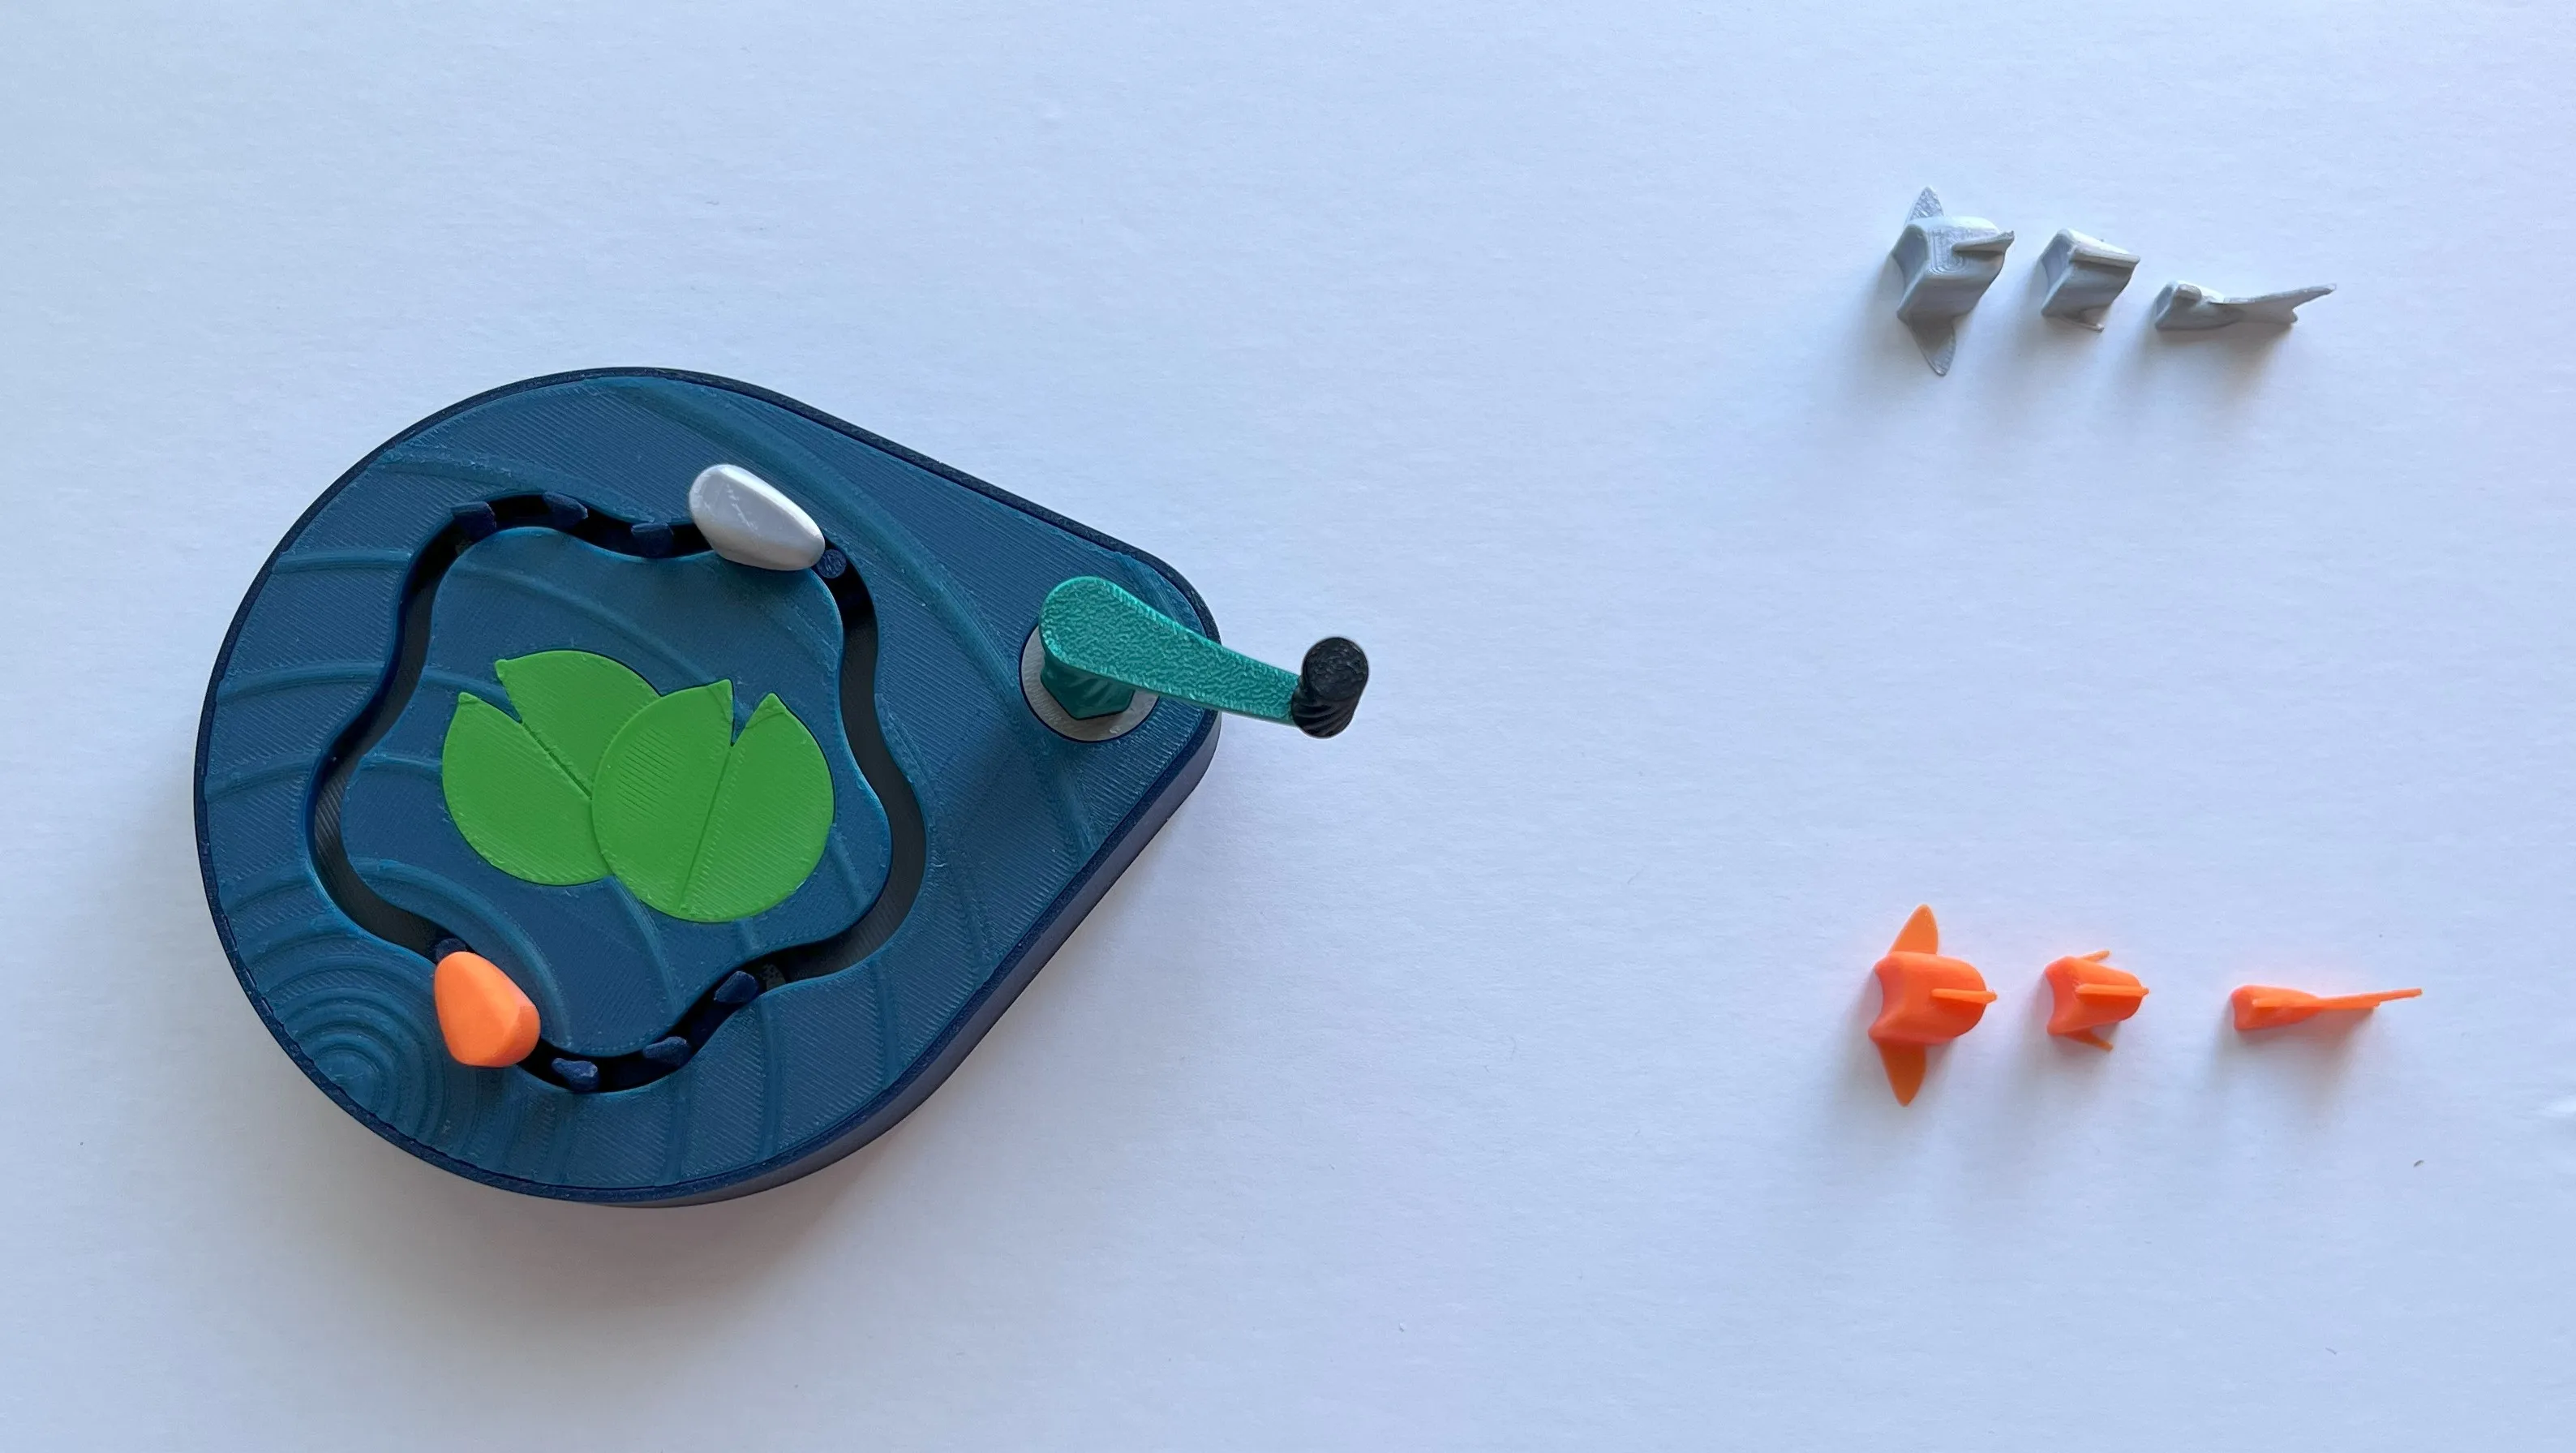
This is the full range of parts required. It is possible to skip an entire fish assembly and only have one fish
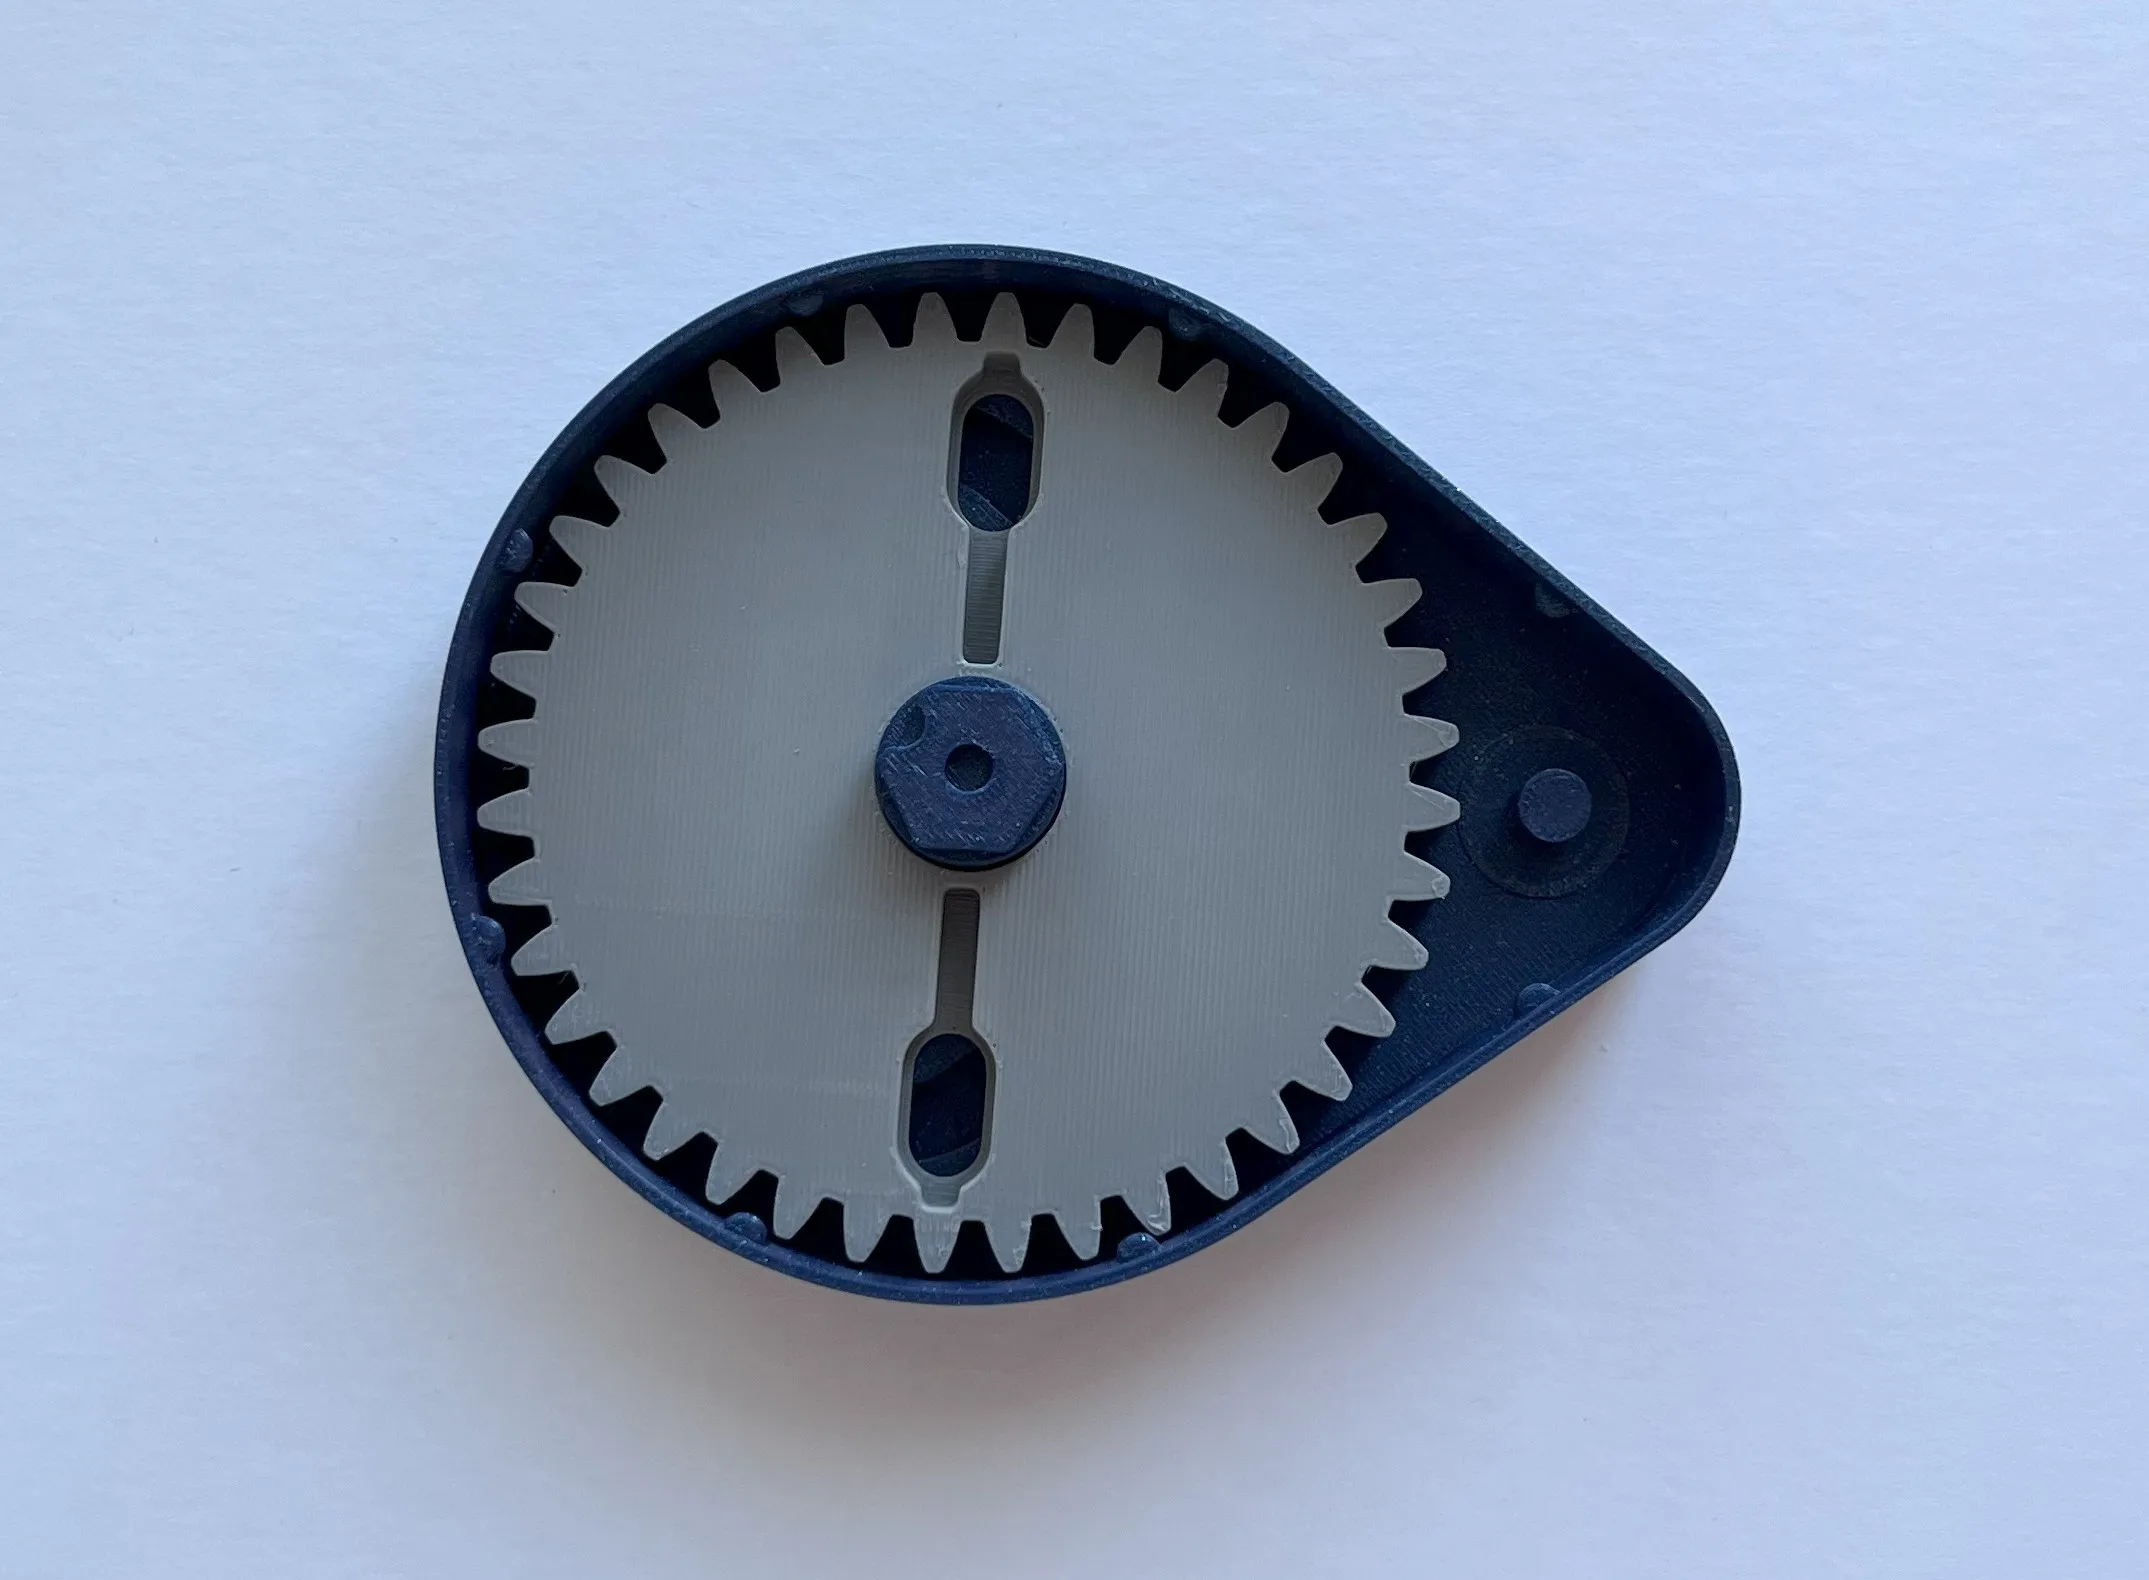
- Fit the large gear onto the base center pin. Make sure that it rests at the bottom of the base. Mind the spurs and the tabs used for fitting the lid.
- Fit the drive gear on the drive gear pin, making sure it meshes with the spurs of the big gear. Retrieve the two cam followers for the next step.
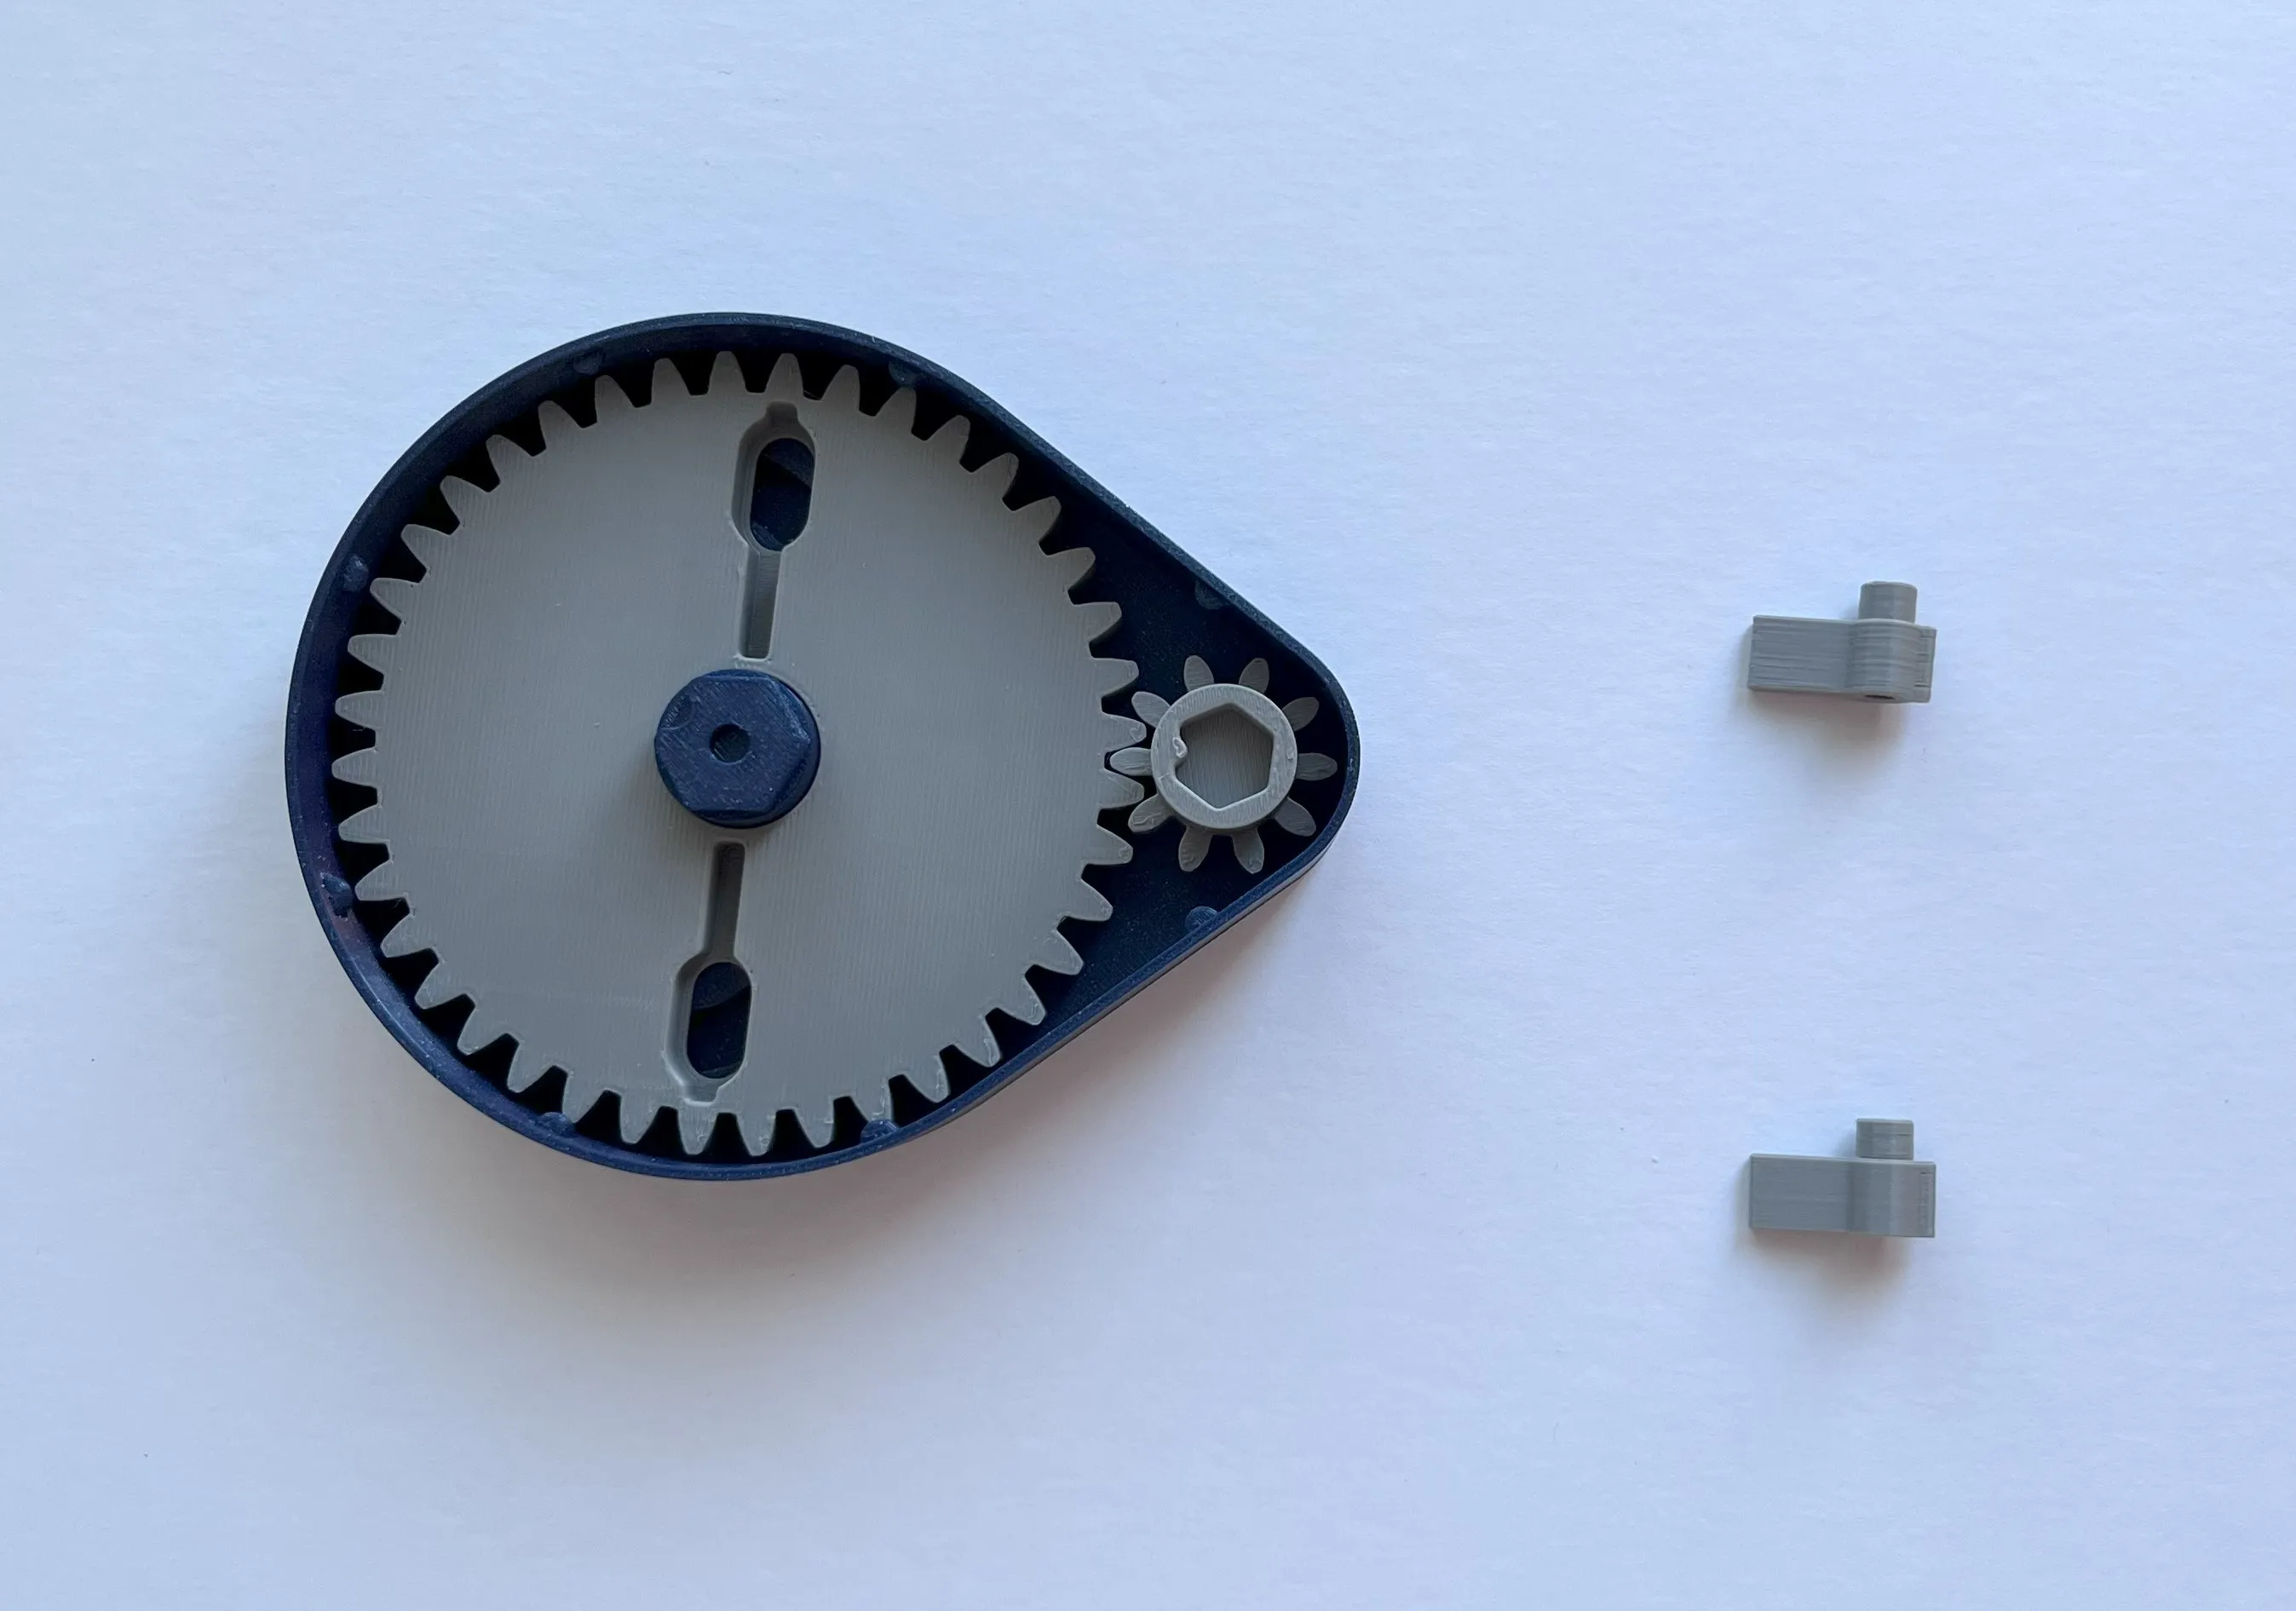
- Fit the cam followers with the pin facing down, making sure the pins rest inside the grooves in the base.
NOTE!: The entire mechanism can feel a bit rough and get stuck in a few places at the start. I found that his goes away after a while, as any roughness is worn away with use. This is a good time to run it a few rotations, since other more delicate parts later in the assembly could potentially be damaged from too much force if things get stuck. If it still doesn't run smooth, I'd suggest checking the groove in the base or the flat side of the cam follower pins for anything that might benefit from being filed or scraped away.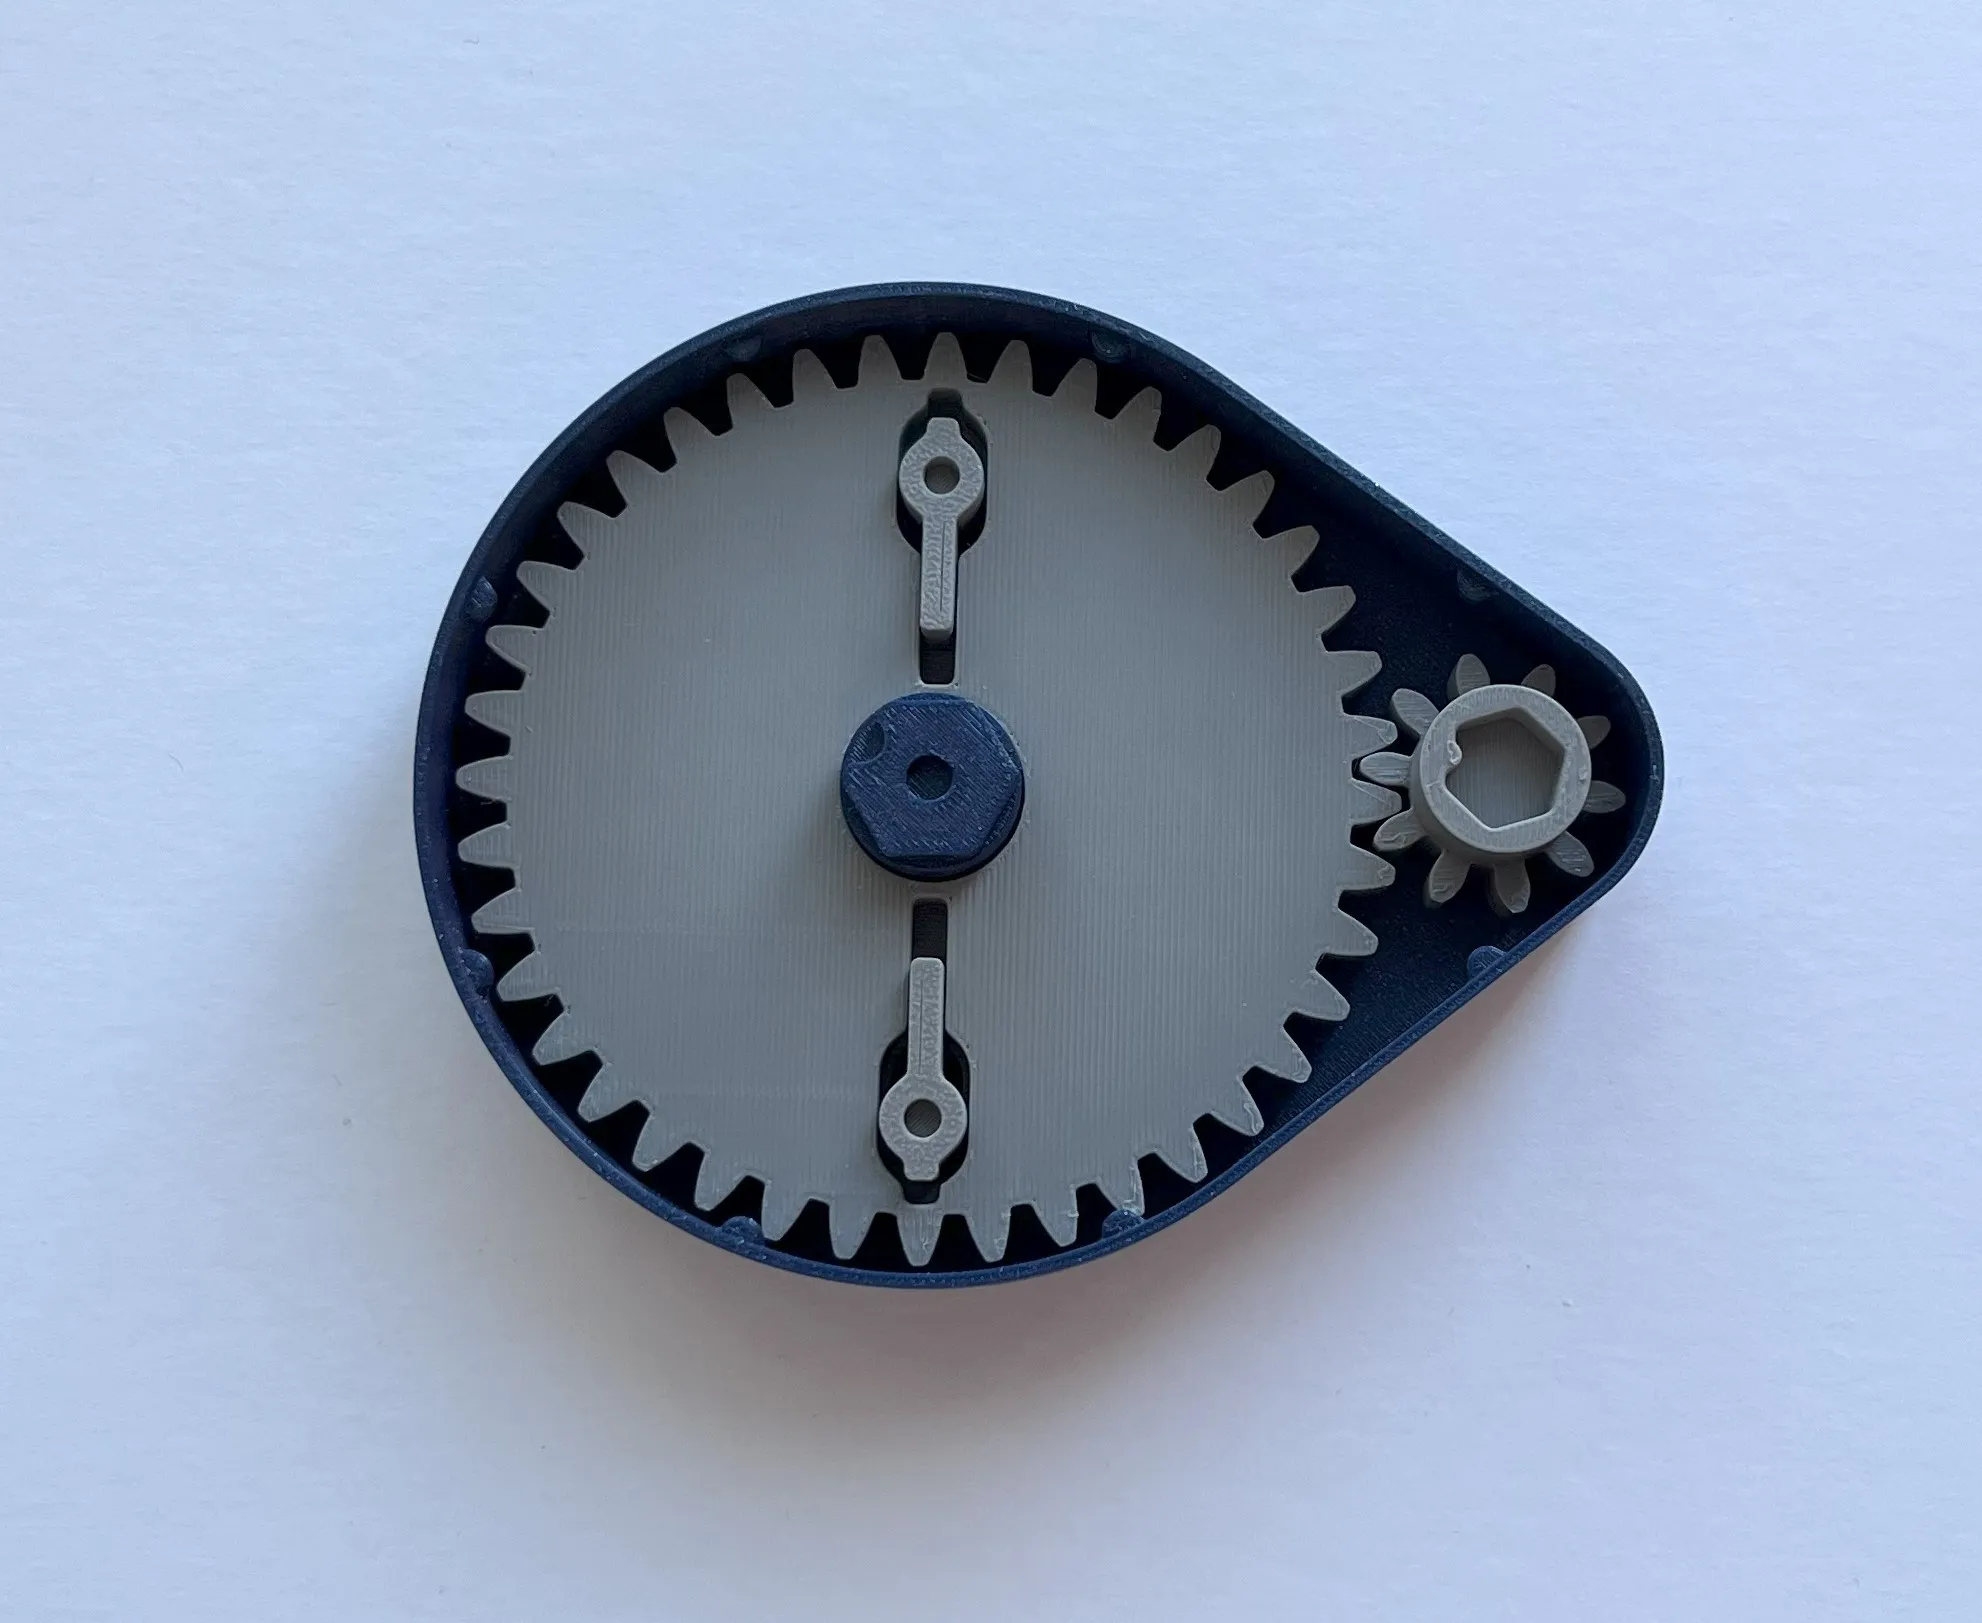
- Fit the chain links on the cam followers, making sure that the end chain link (the one with the pin instead of a hole) is last in line. Now, if you want the fish to swim in a clockwise direction, the chains should be running forward in a clockwise direction. I found that the mechanism runs smoother when the chain is being pushed, rather than being pulled along its path, so for that reason, the chain should be running in front of the cam follower.
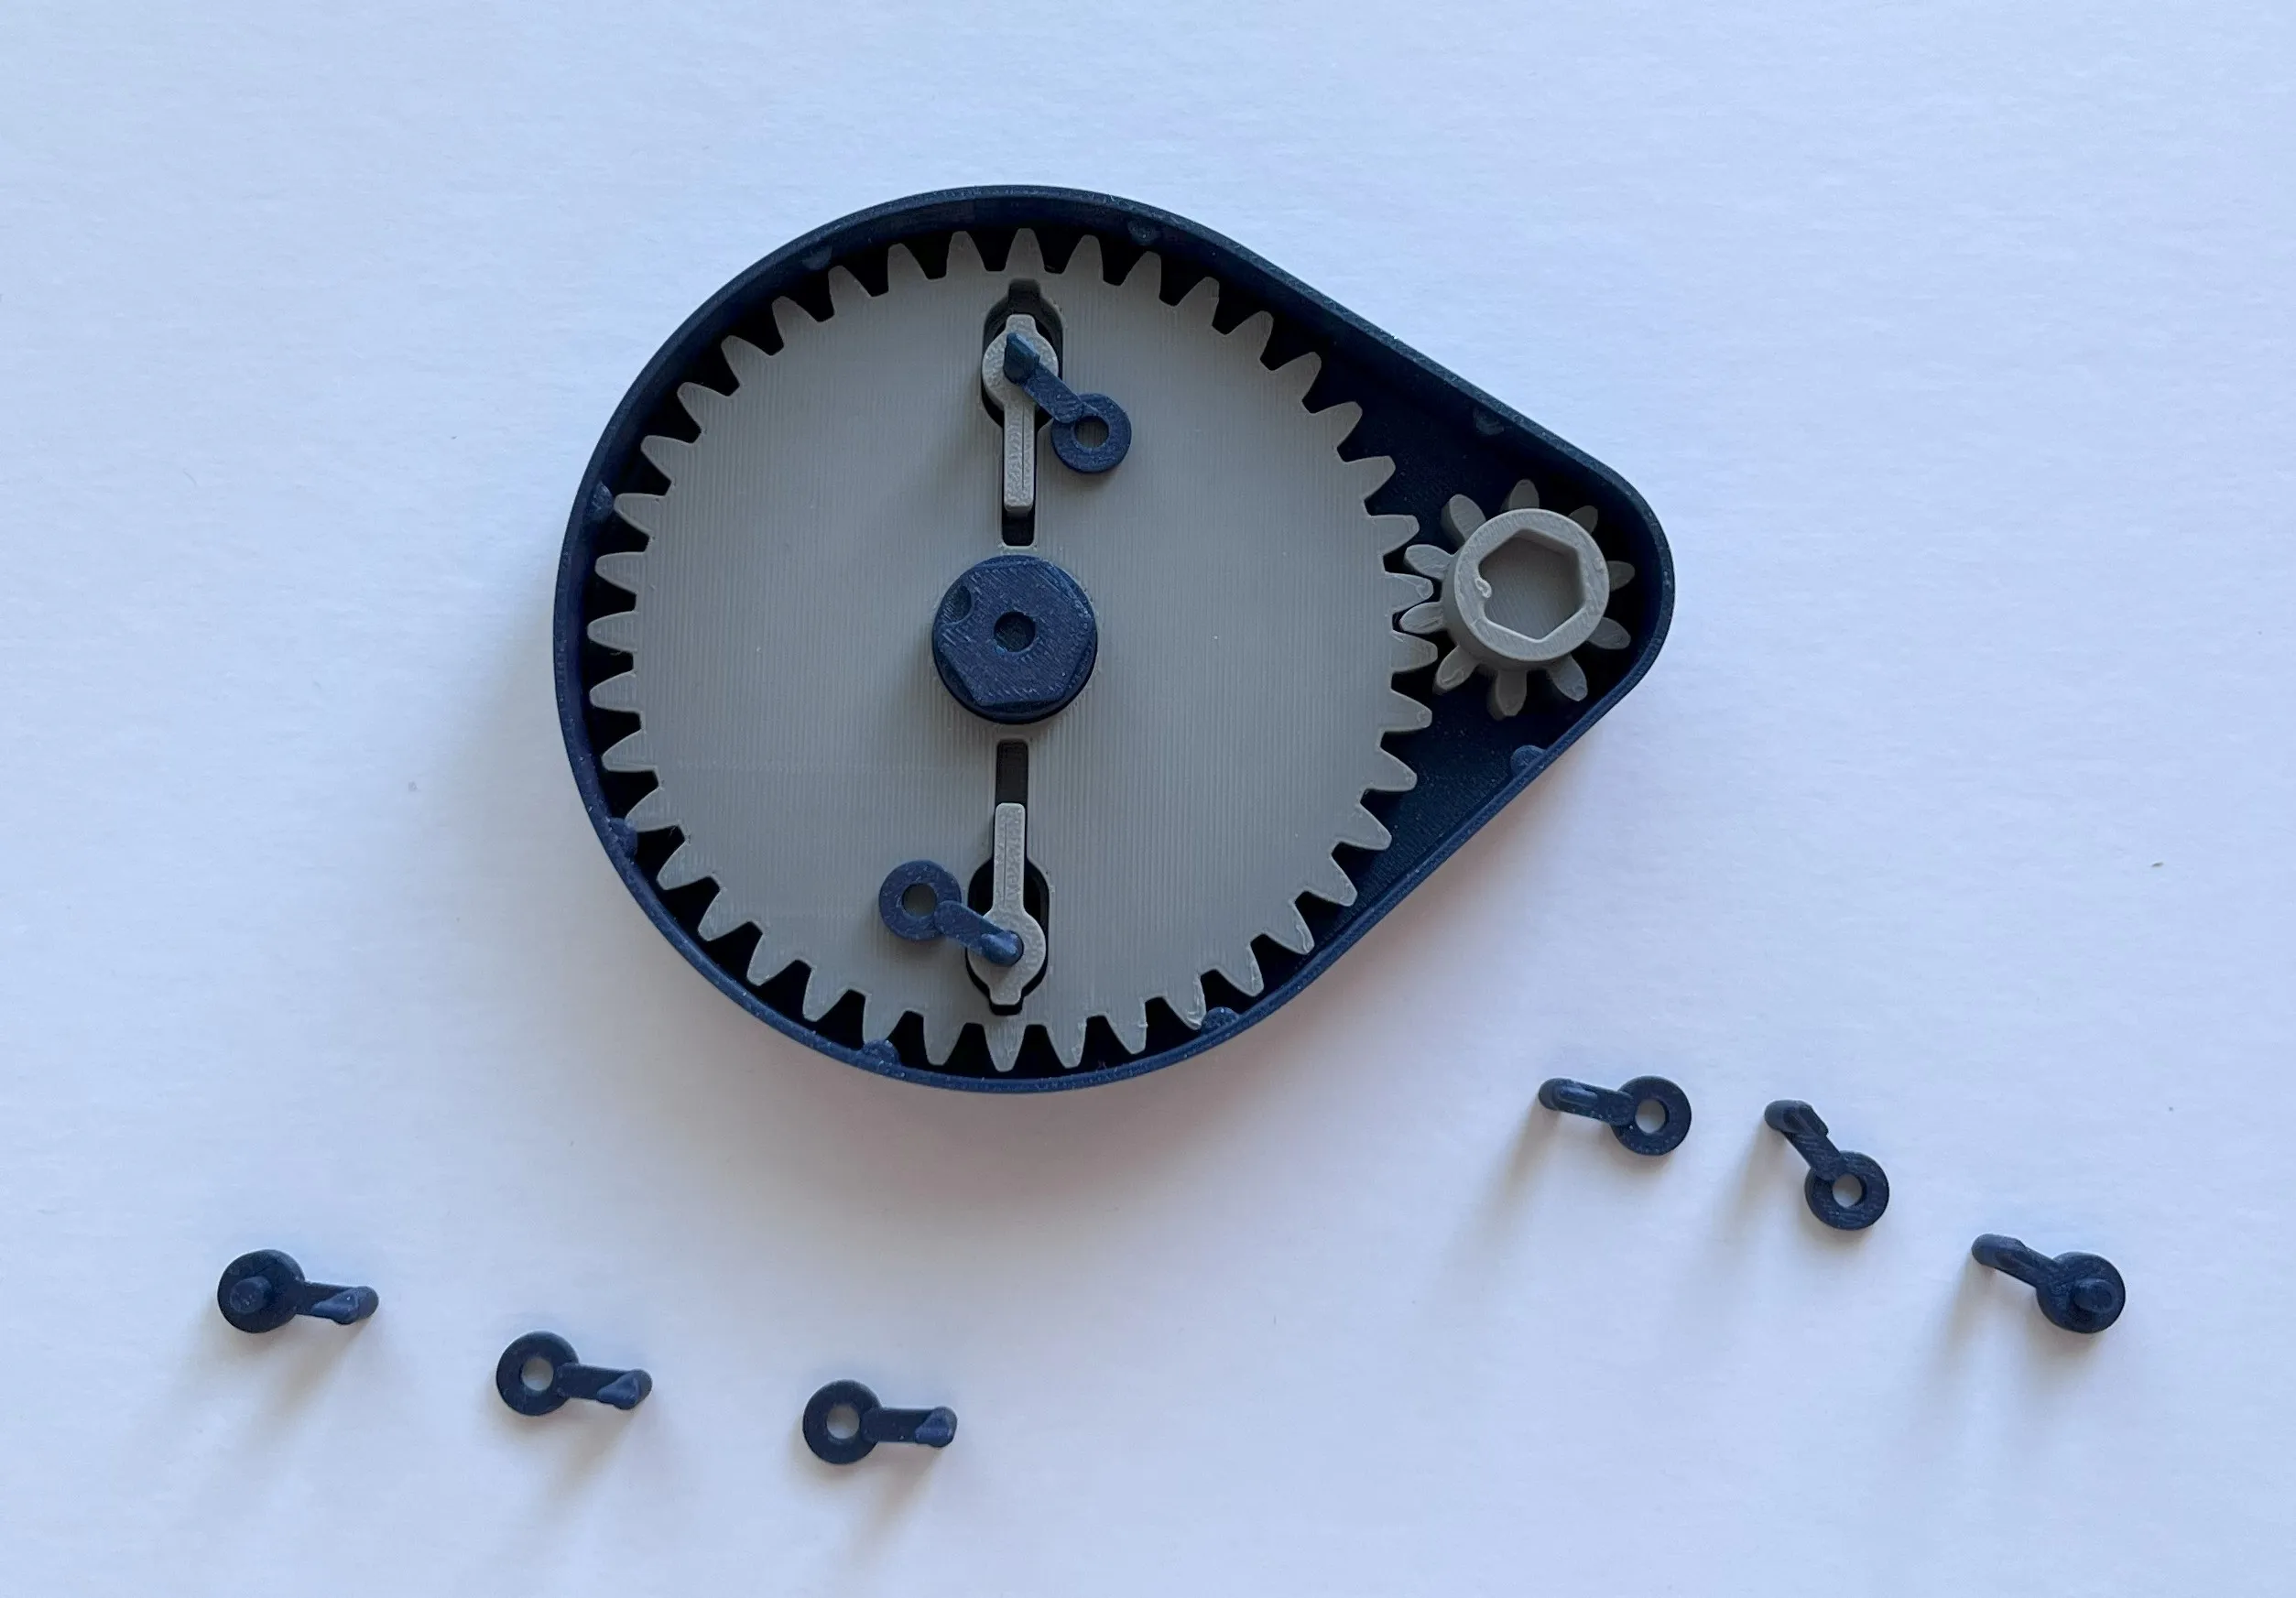
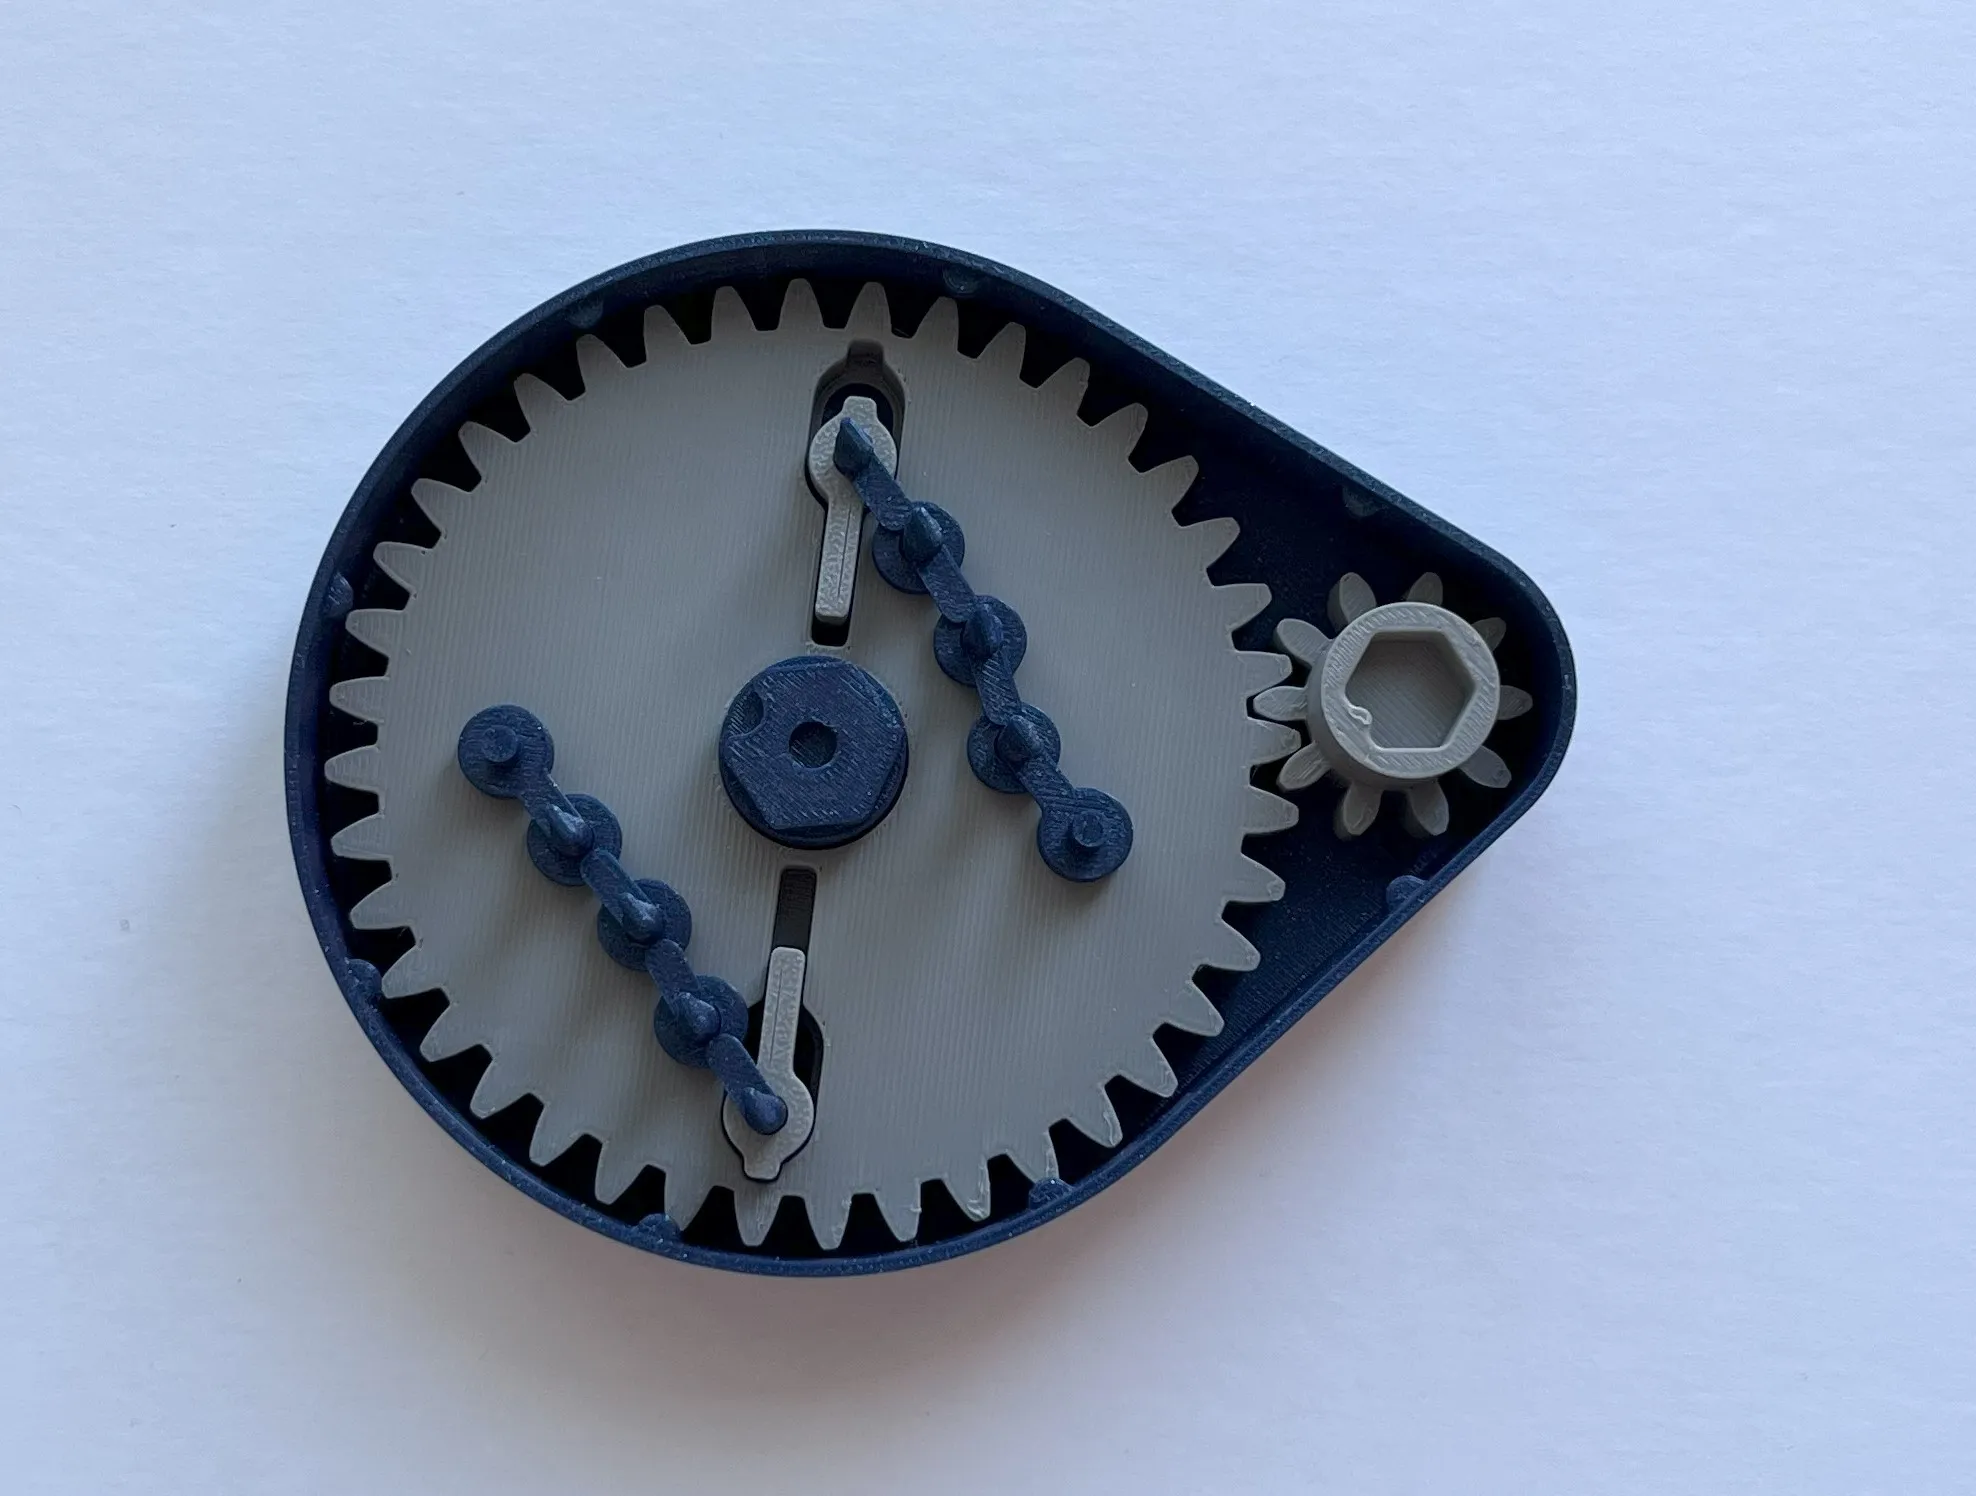
- Fit the outer lid on the base.
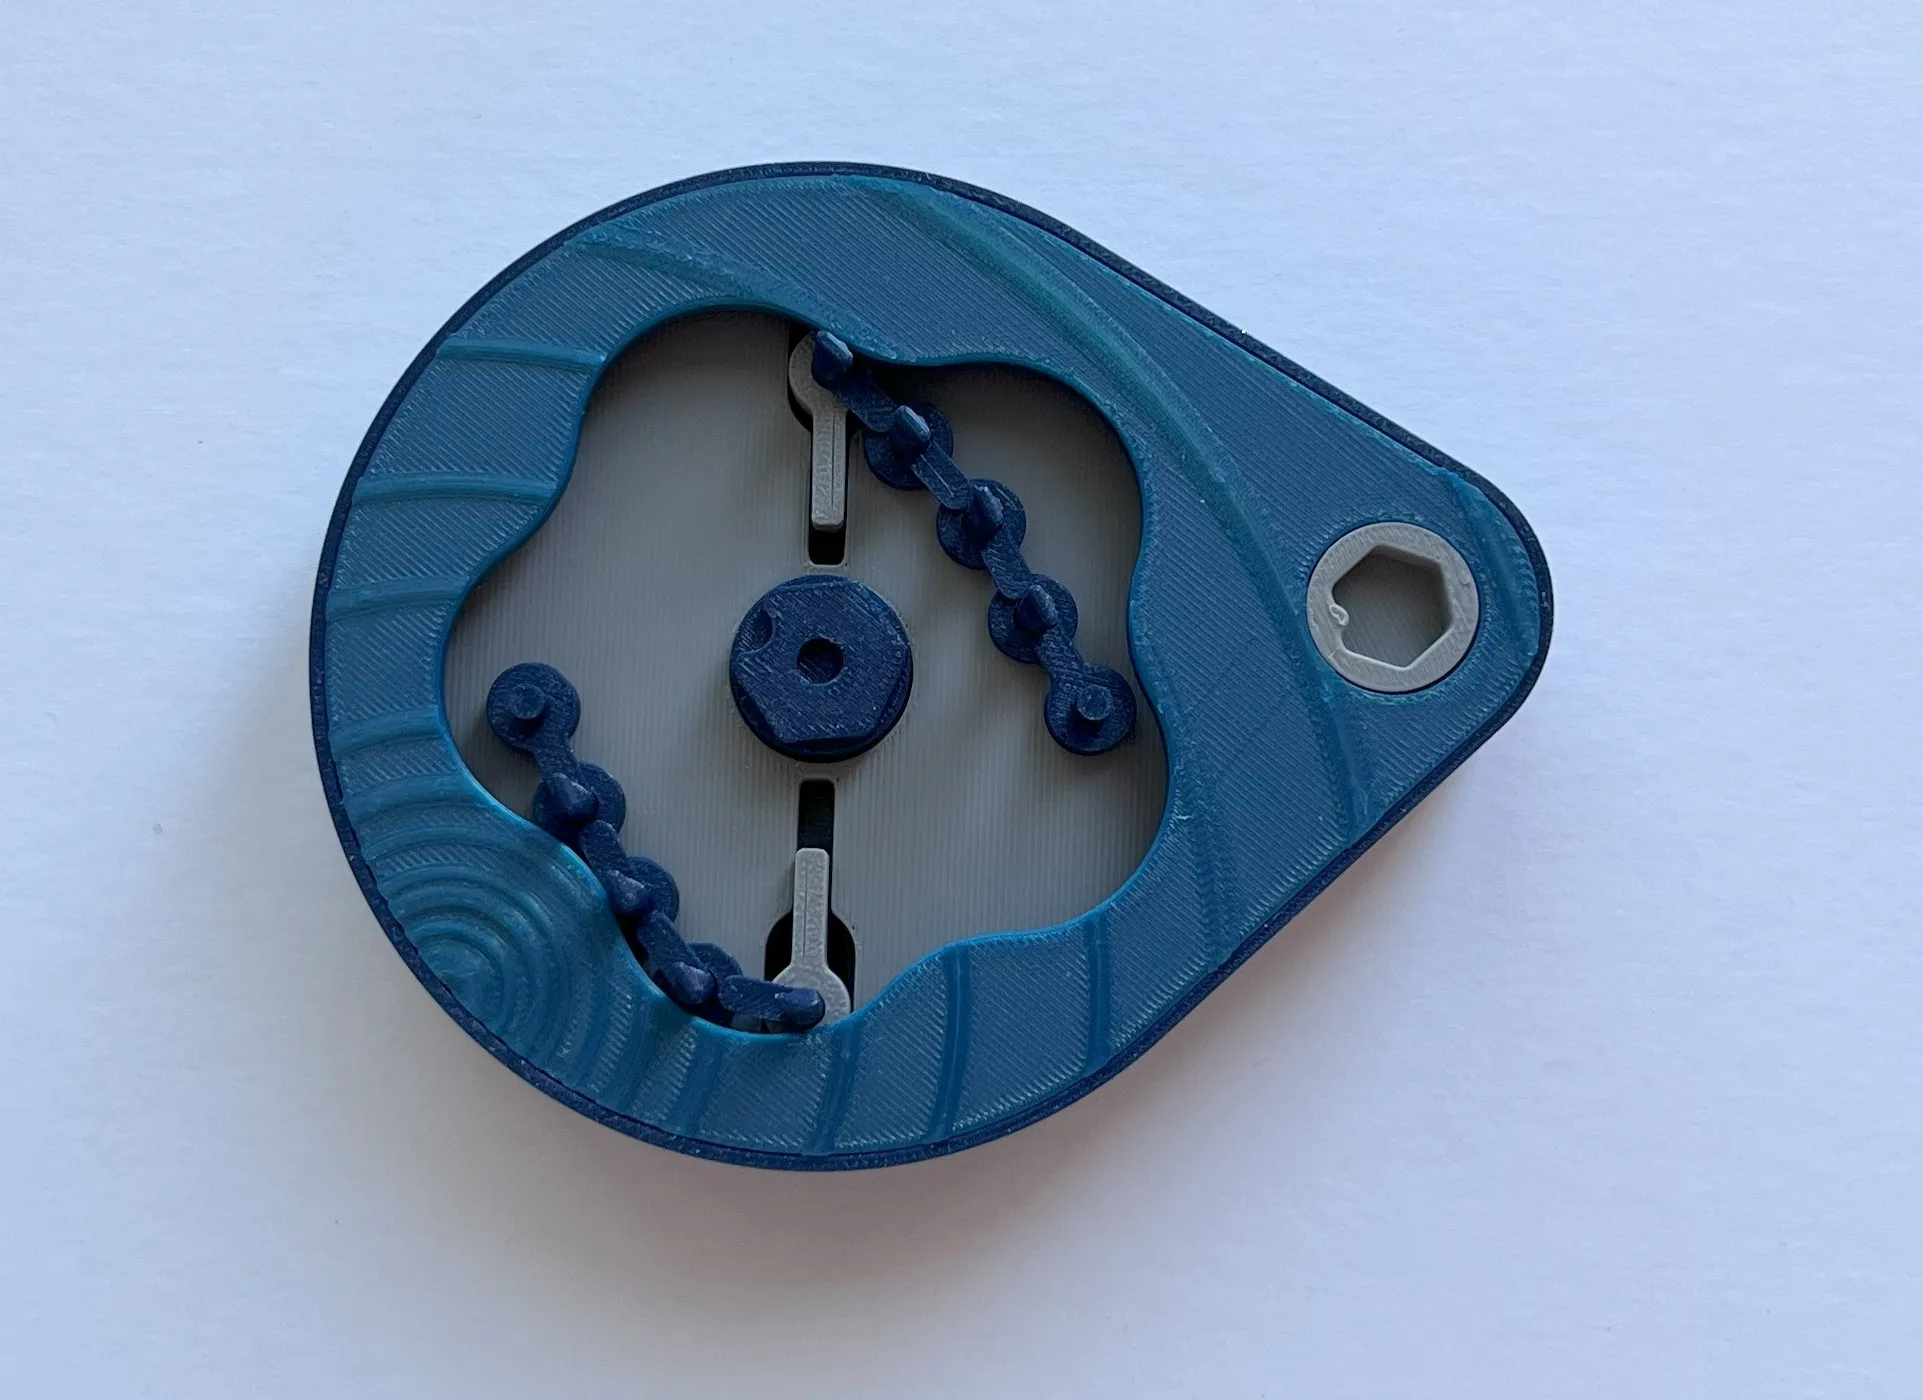
- Press the lily pads to the center pin, being mindful of the key tab dictating the rotation of it.
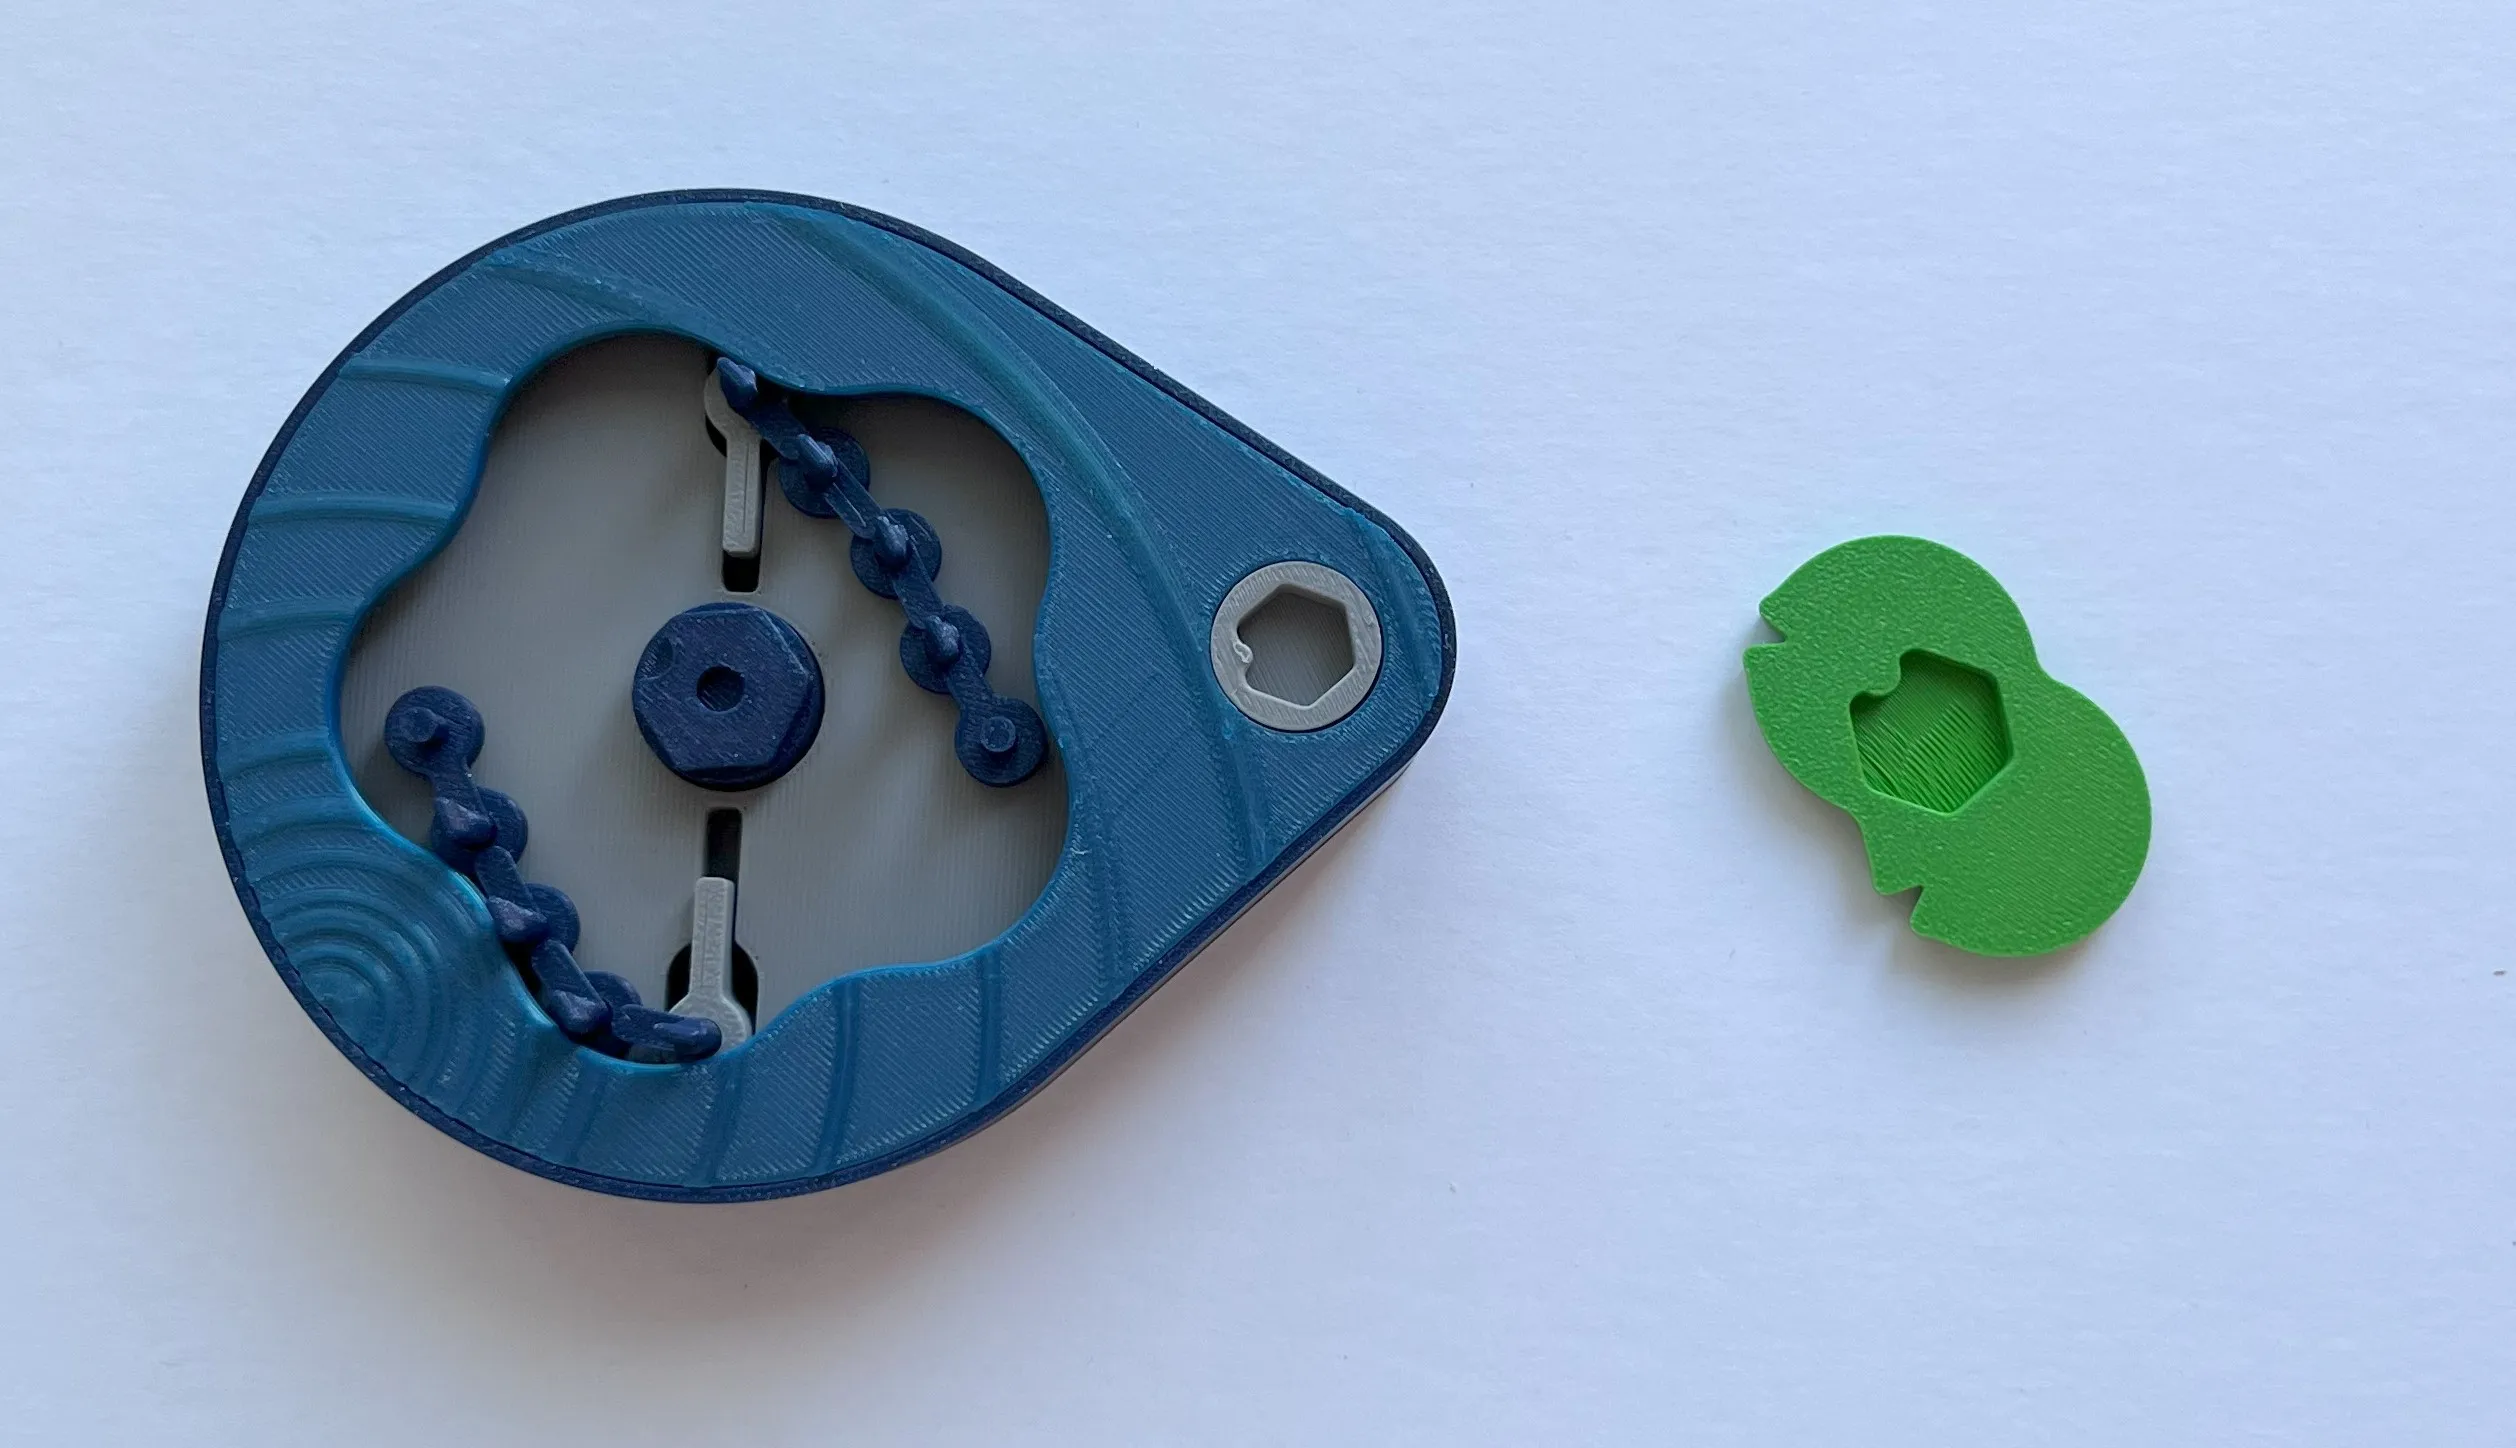
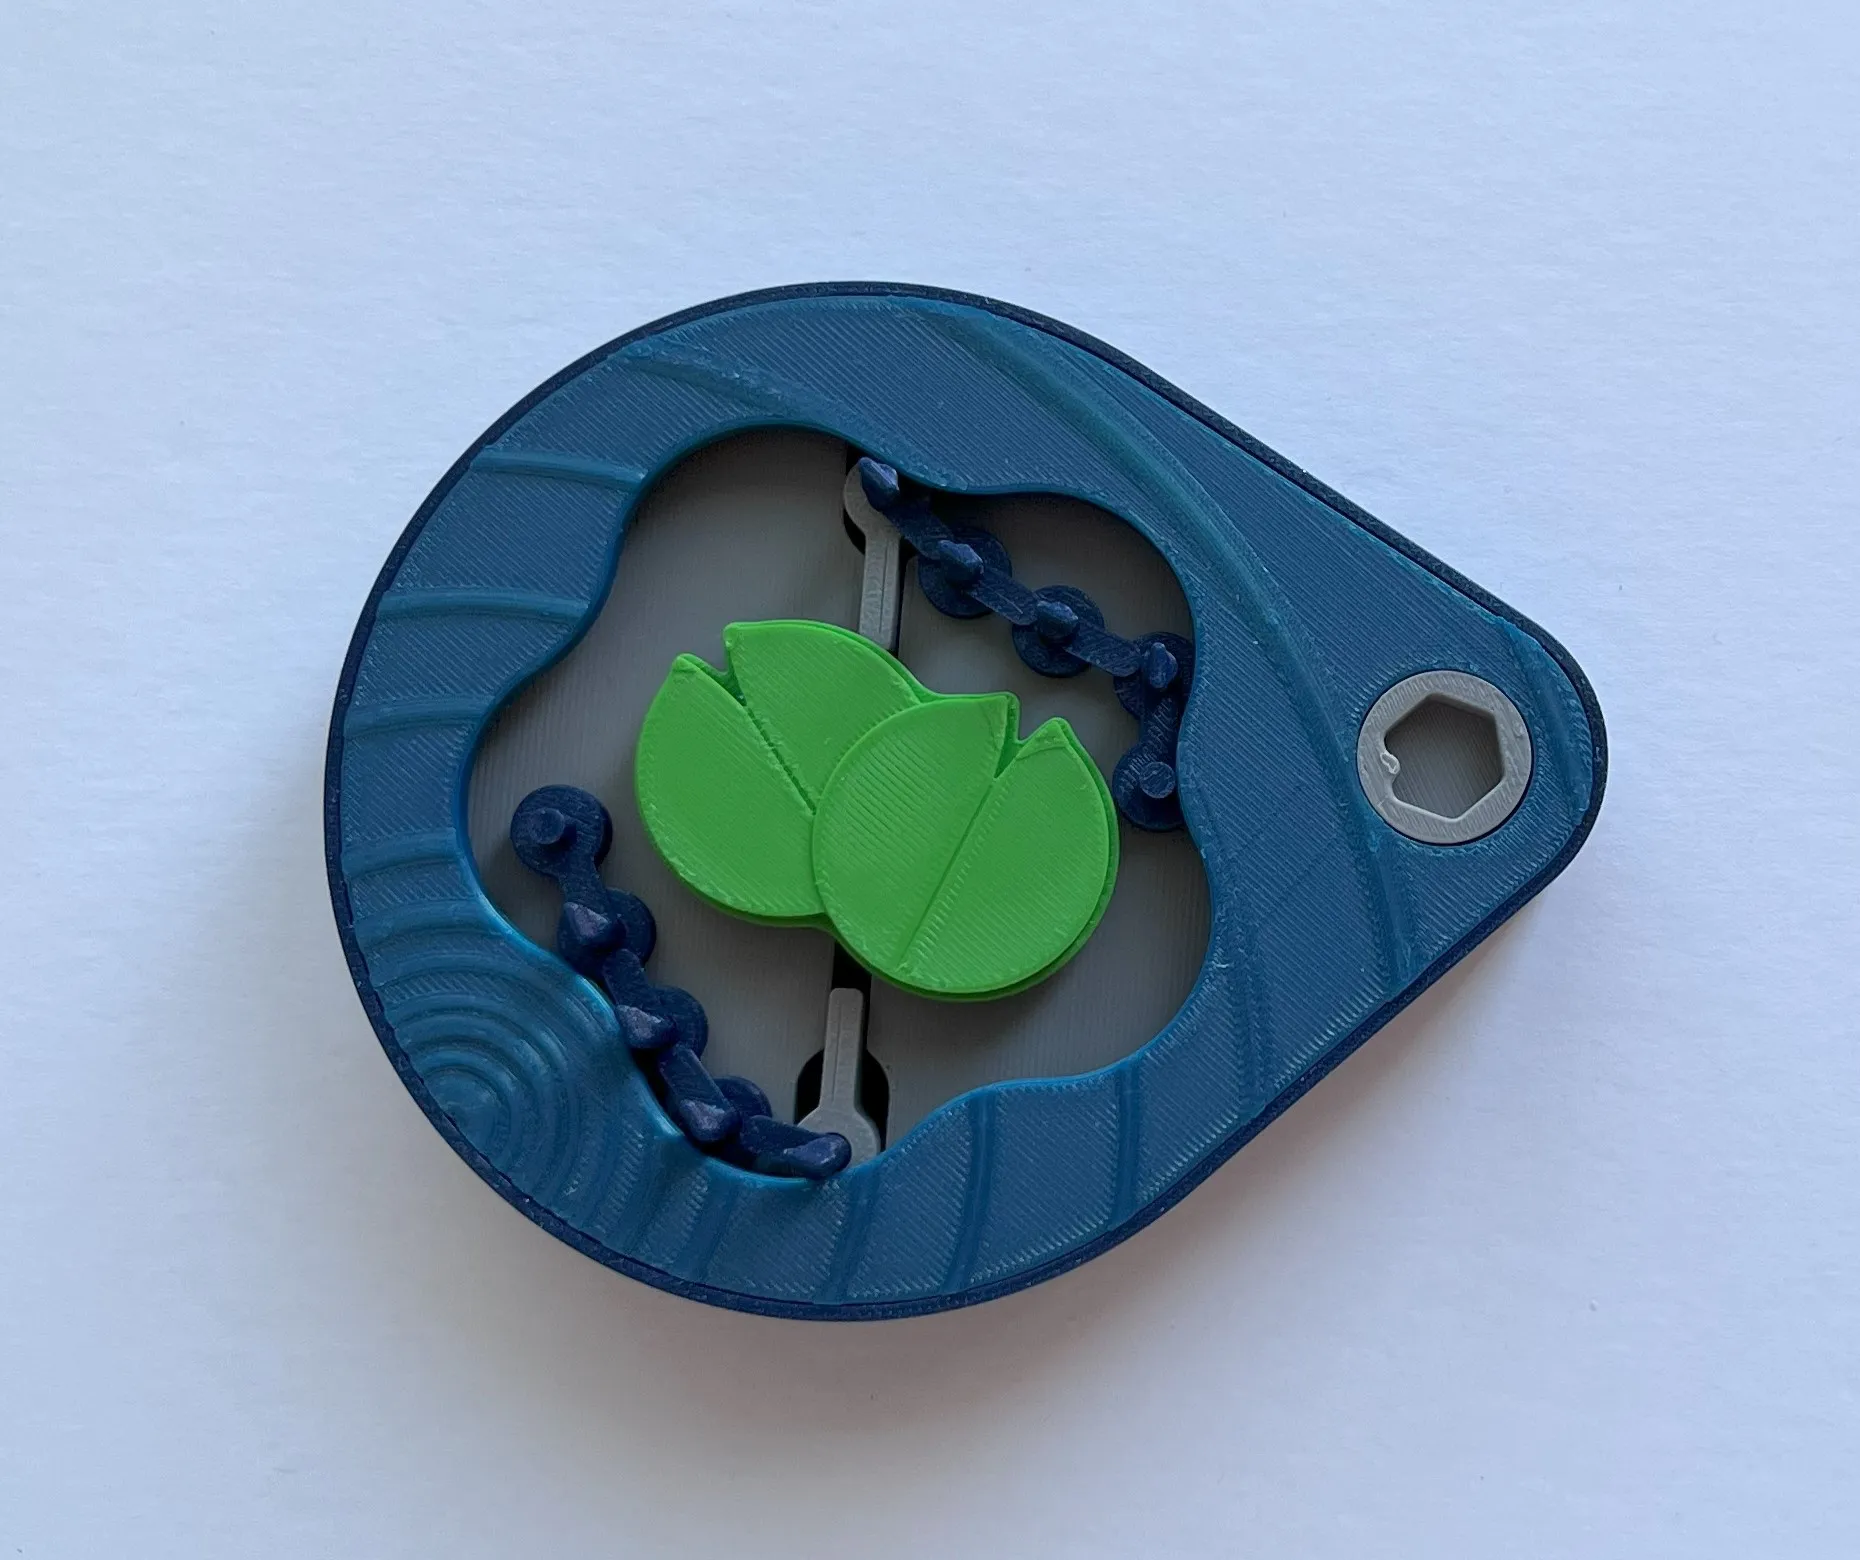
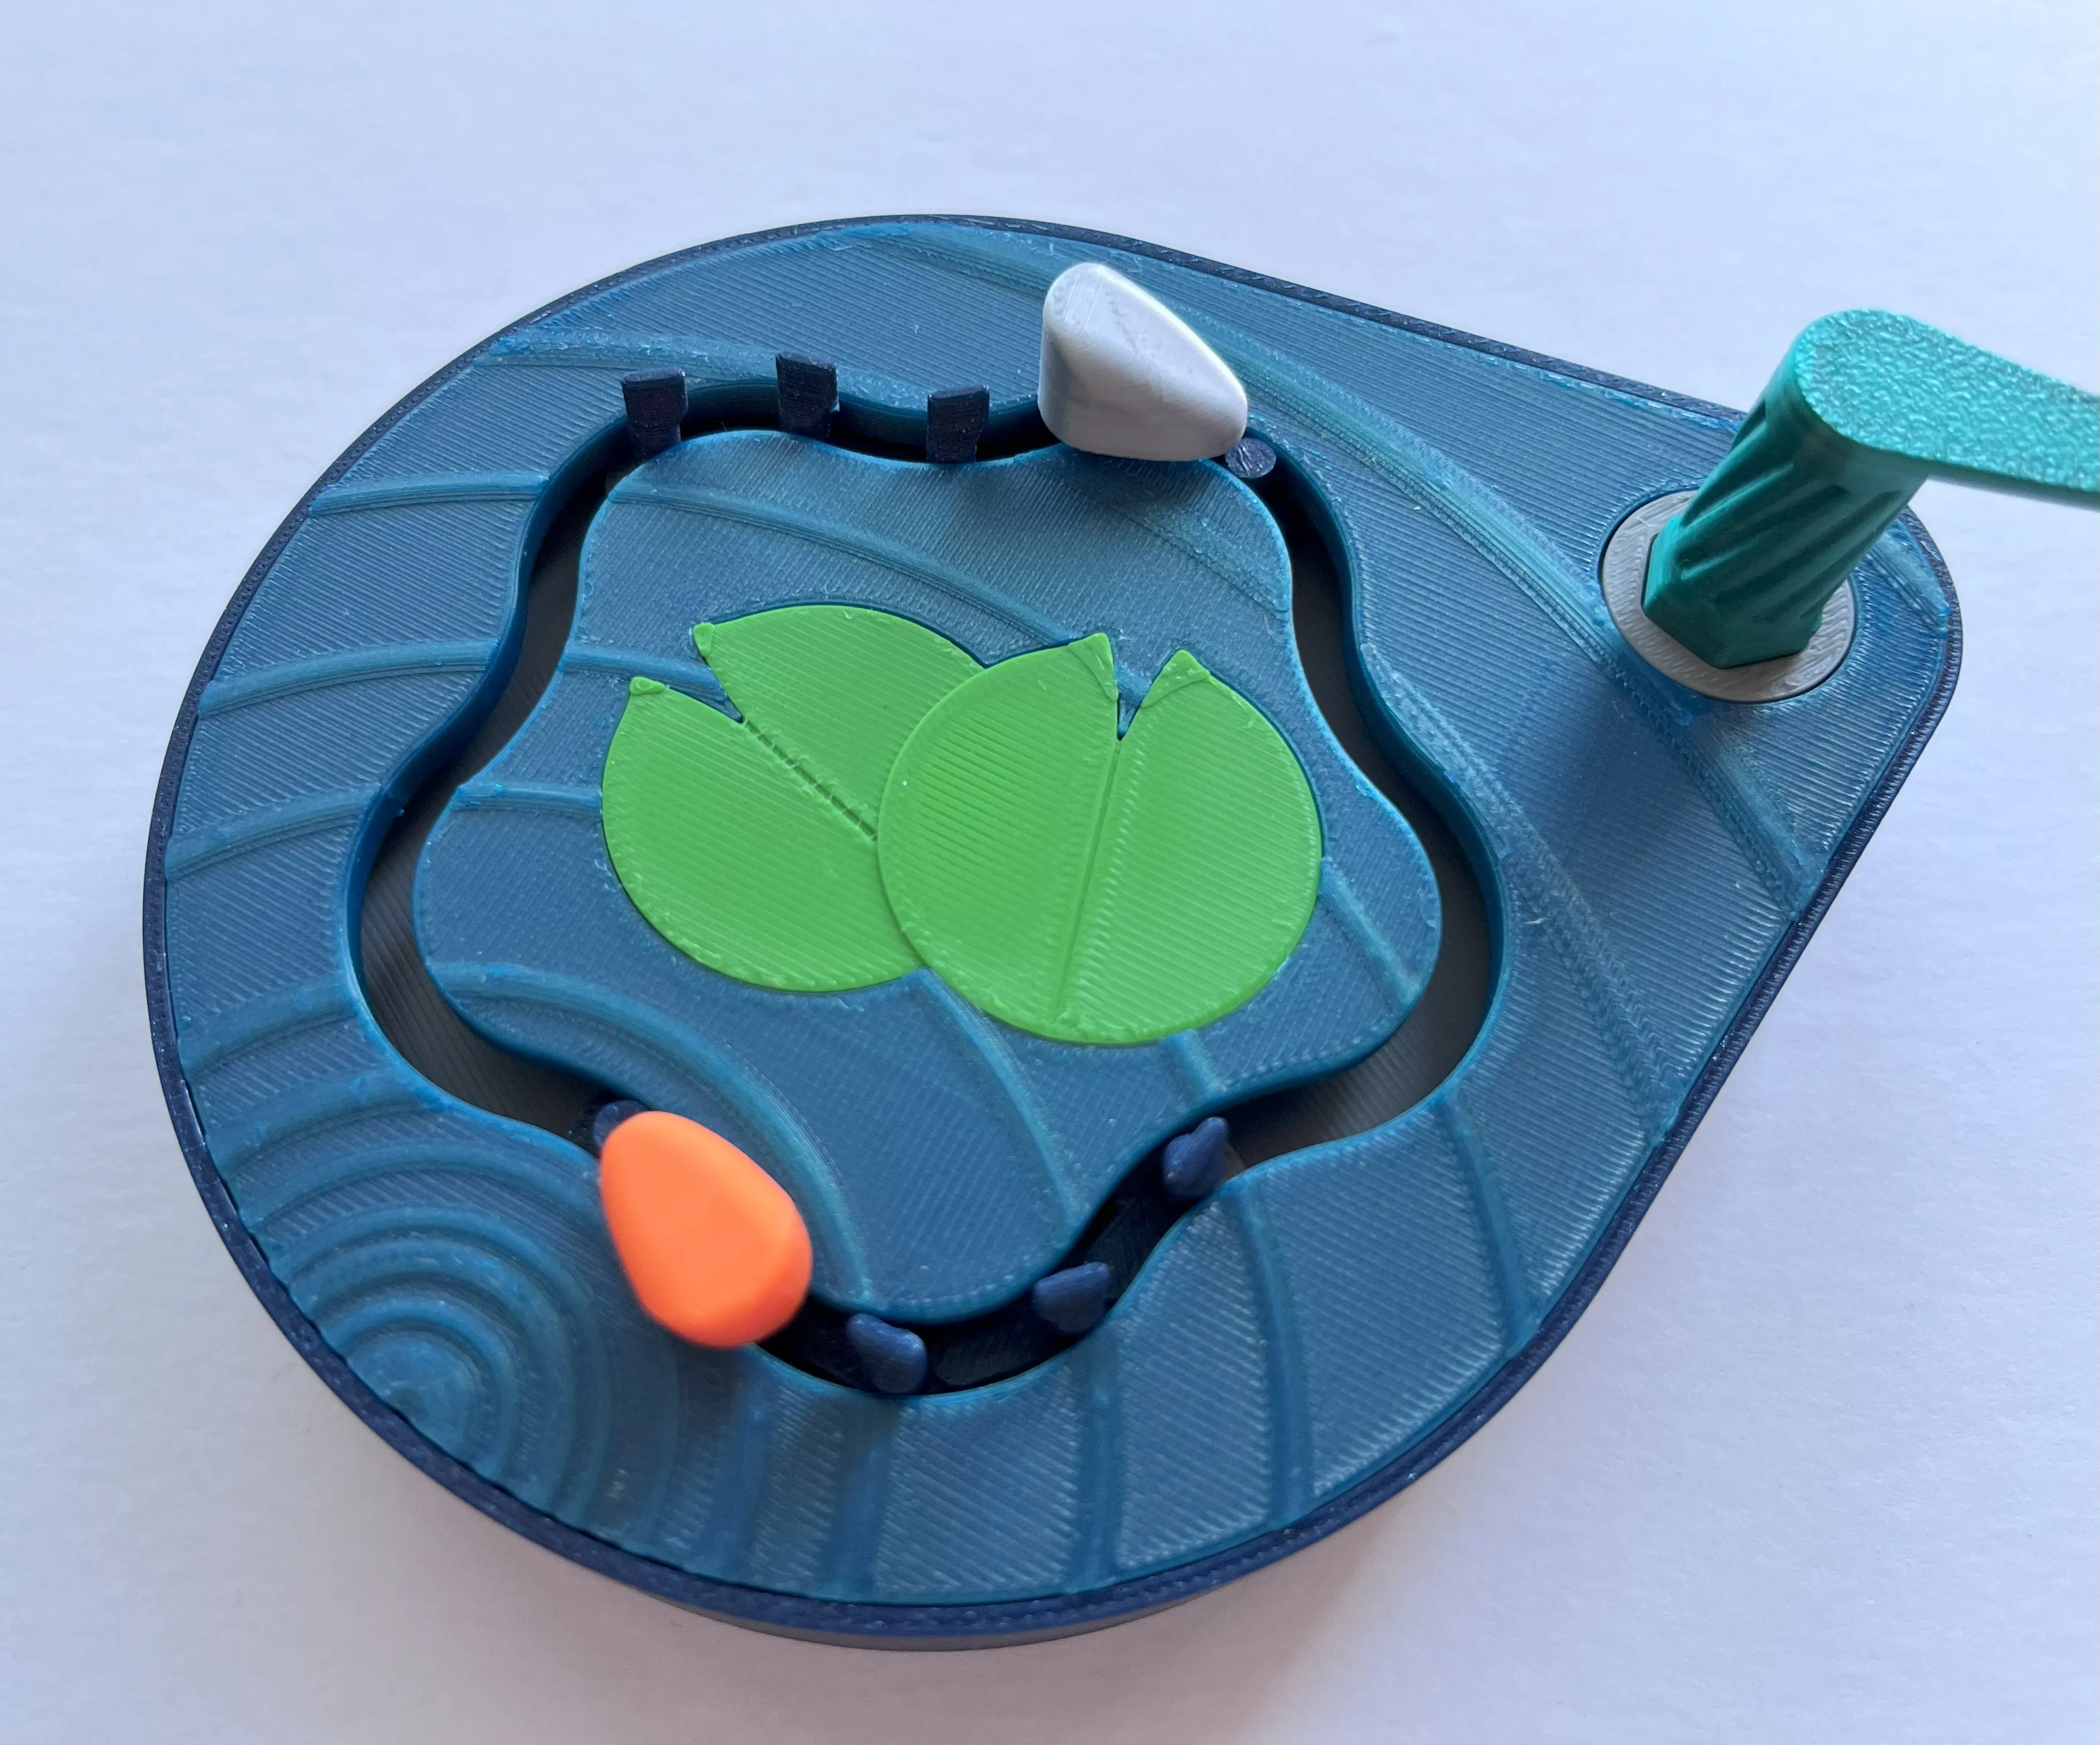
- Make sure to push all the pins of the chain against the inside of the outer lid. Using the inner lid can be used for this, as it has a matching shape. Then press the inner lid onto the lily pads.
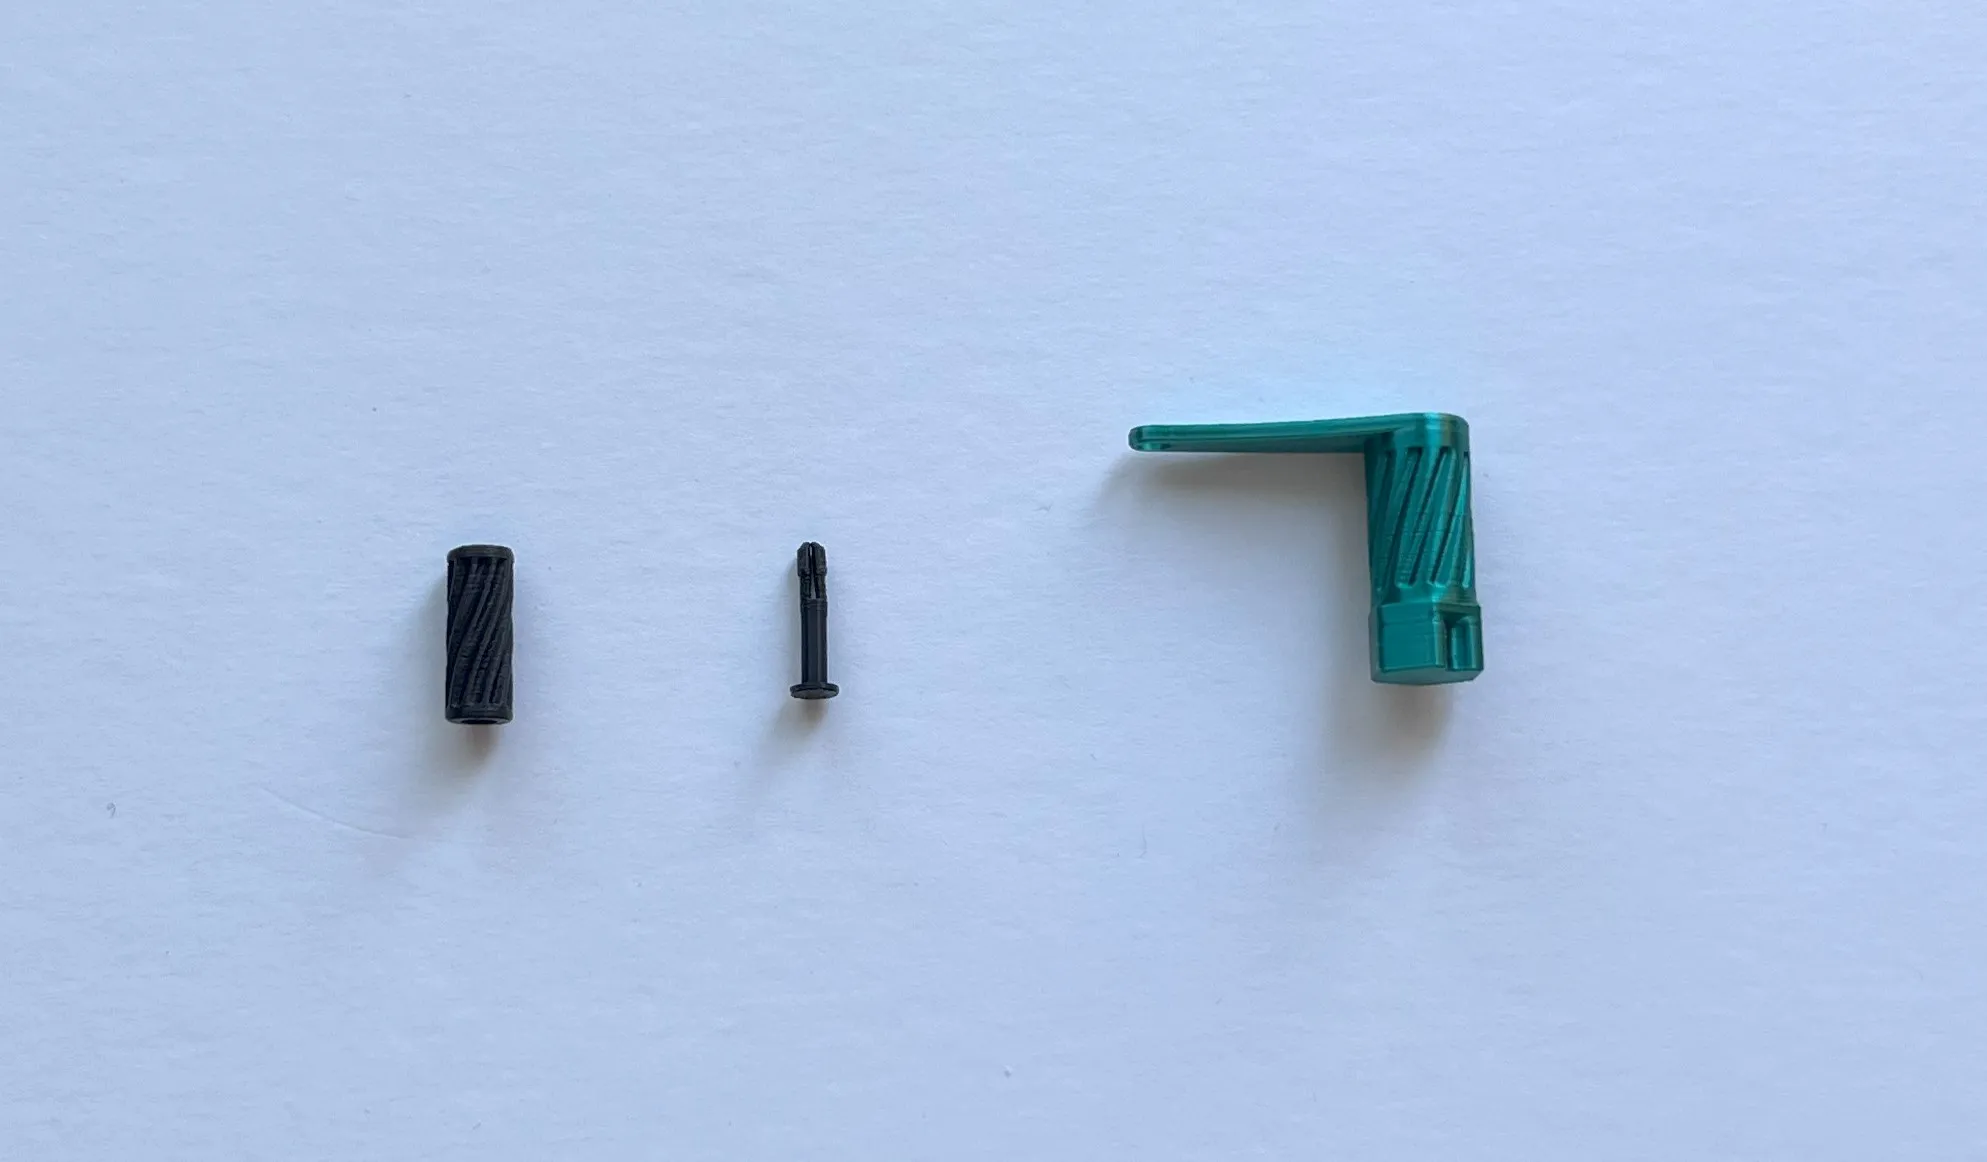
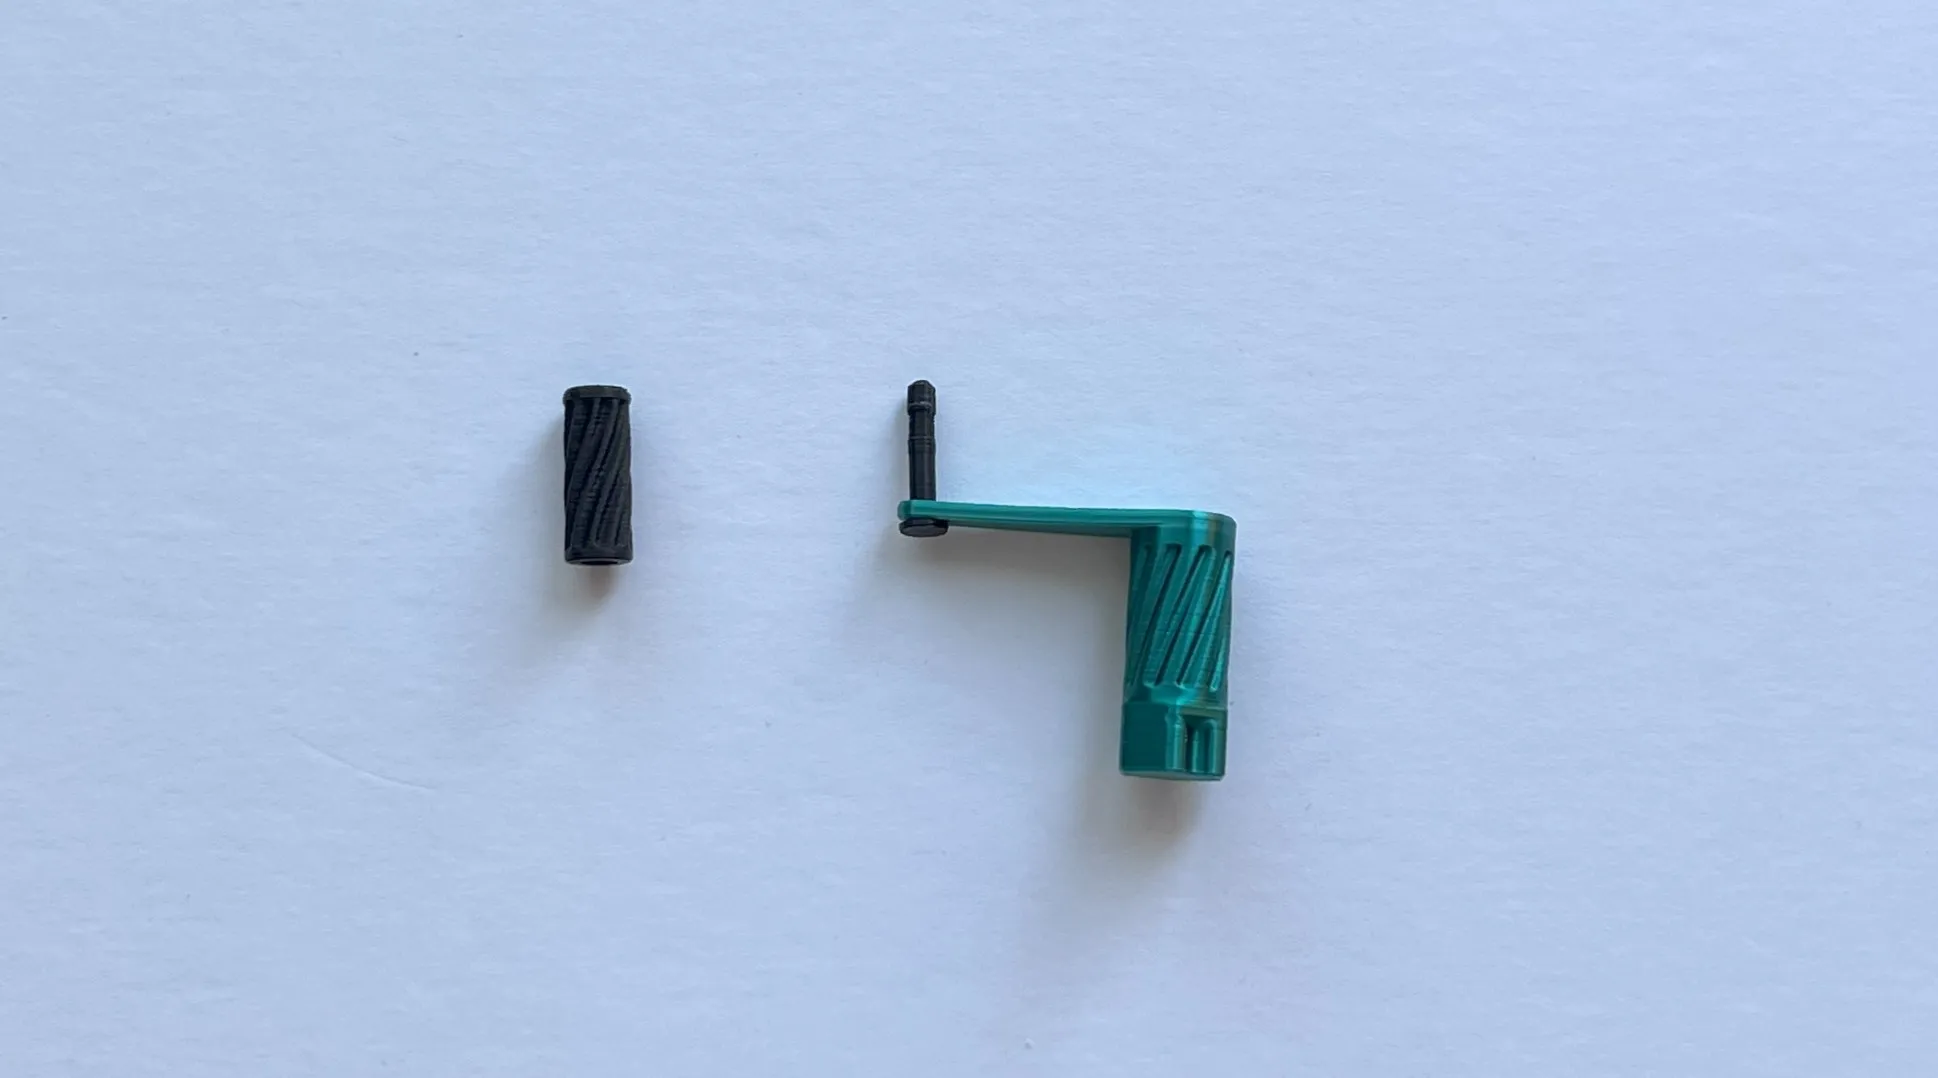
- Assemble the crank by threading the pin through the crank hole, and then pressing the crank handle onto the pin. Depending on your print settings, the fit can be a bit tight, or a bit loose. Gluing a loose handle to the pin should be fine in such cases.
- Fit the crank on the drive gear.
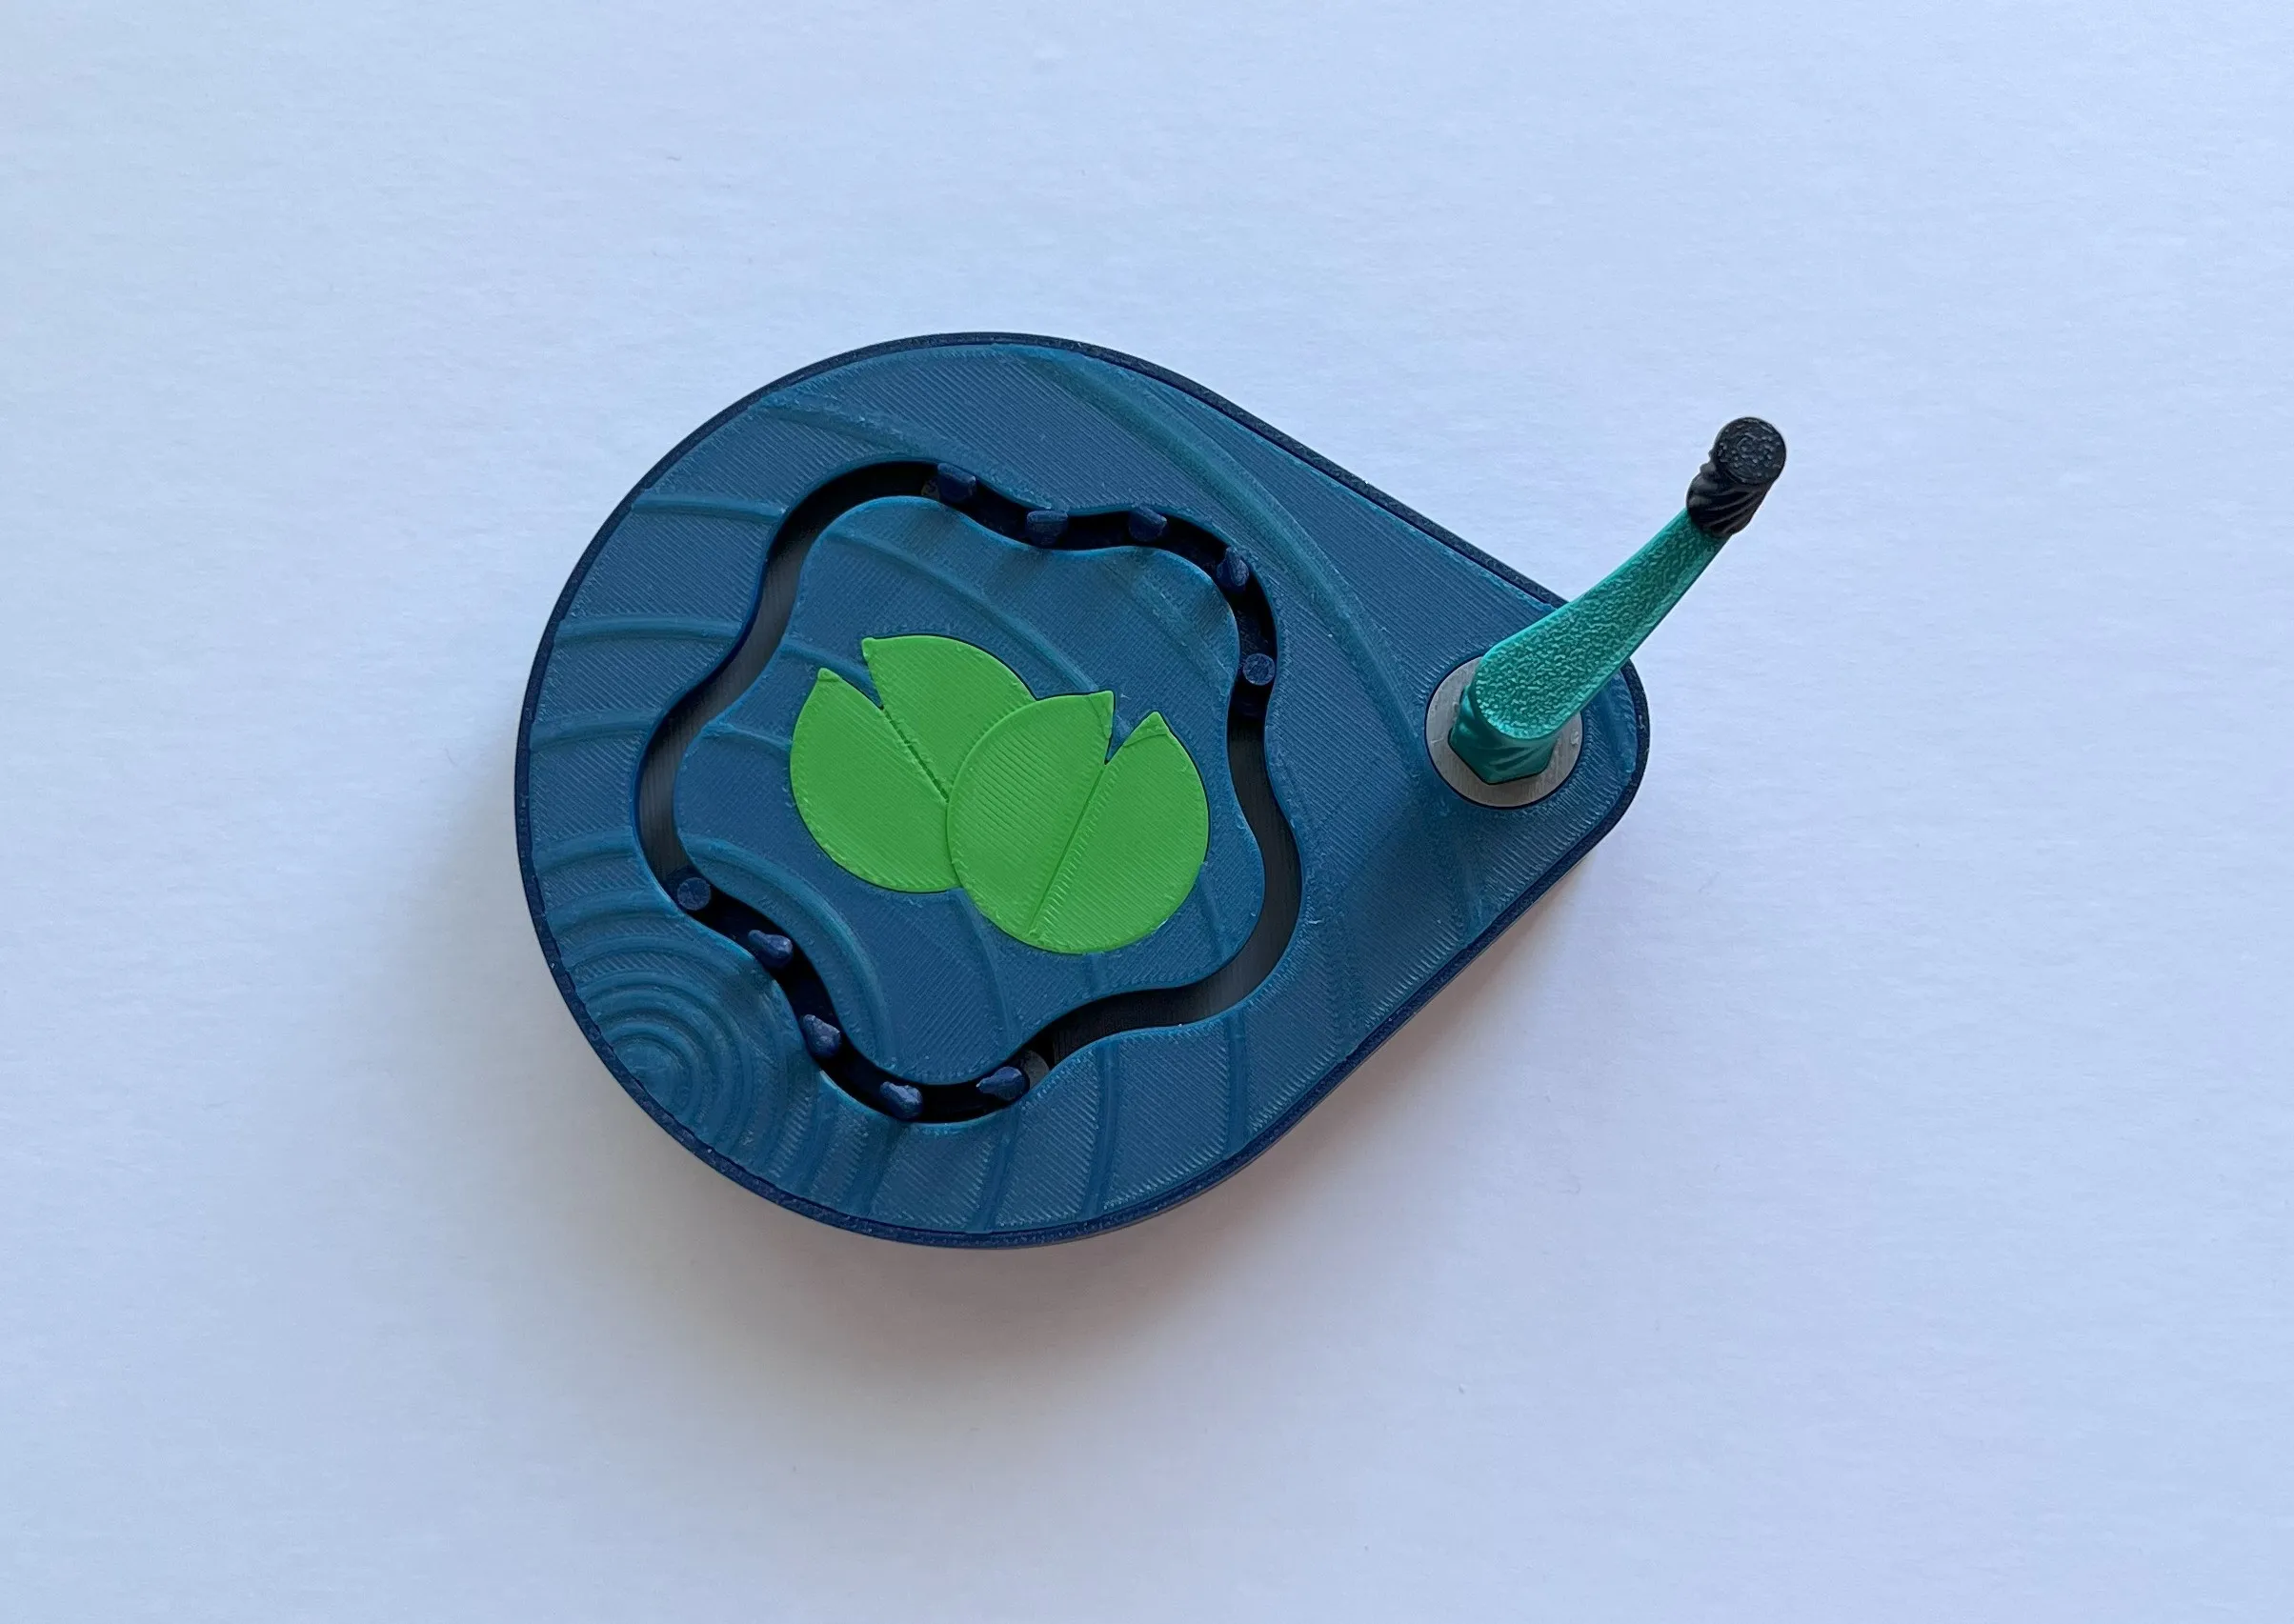
- Finally, fit each piece of the fish on the chain links pins. Make sure to place the head at the furthermost end chain link.
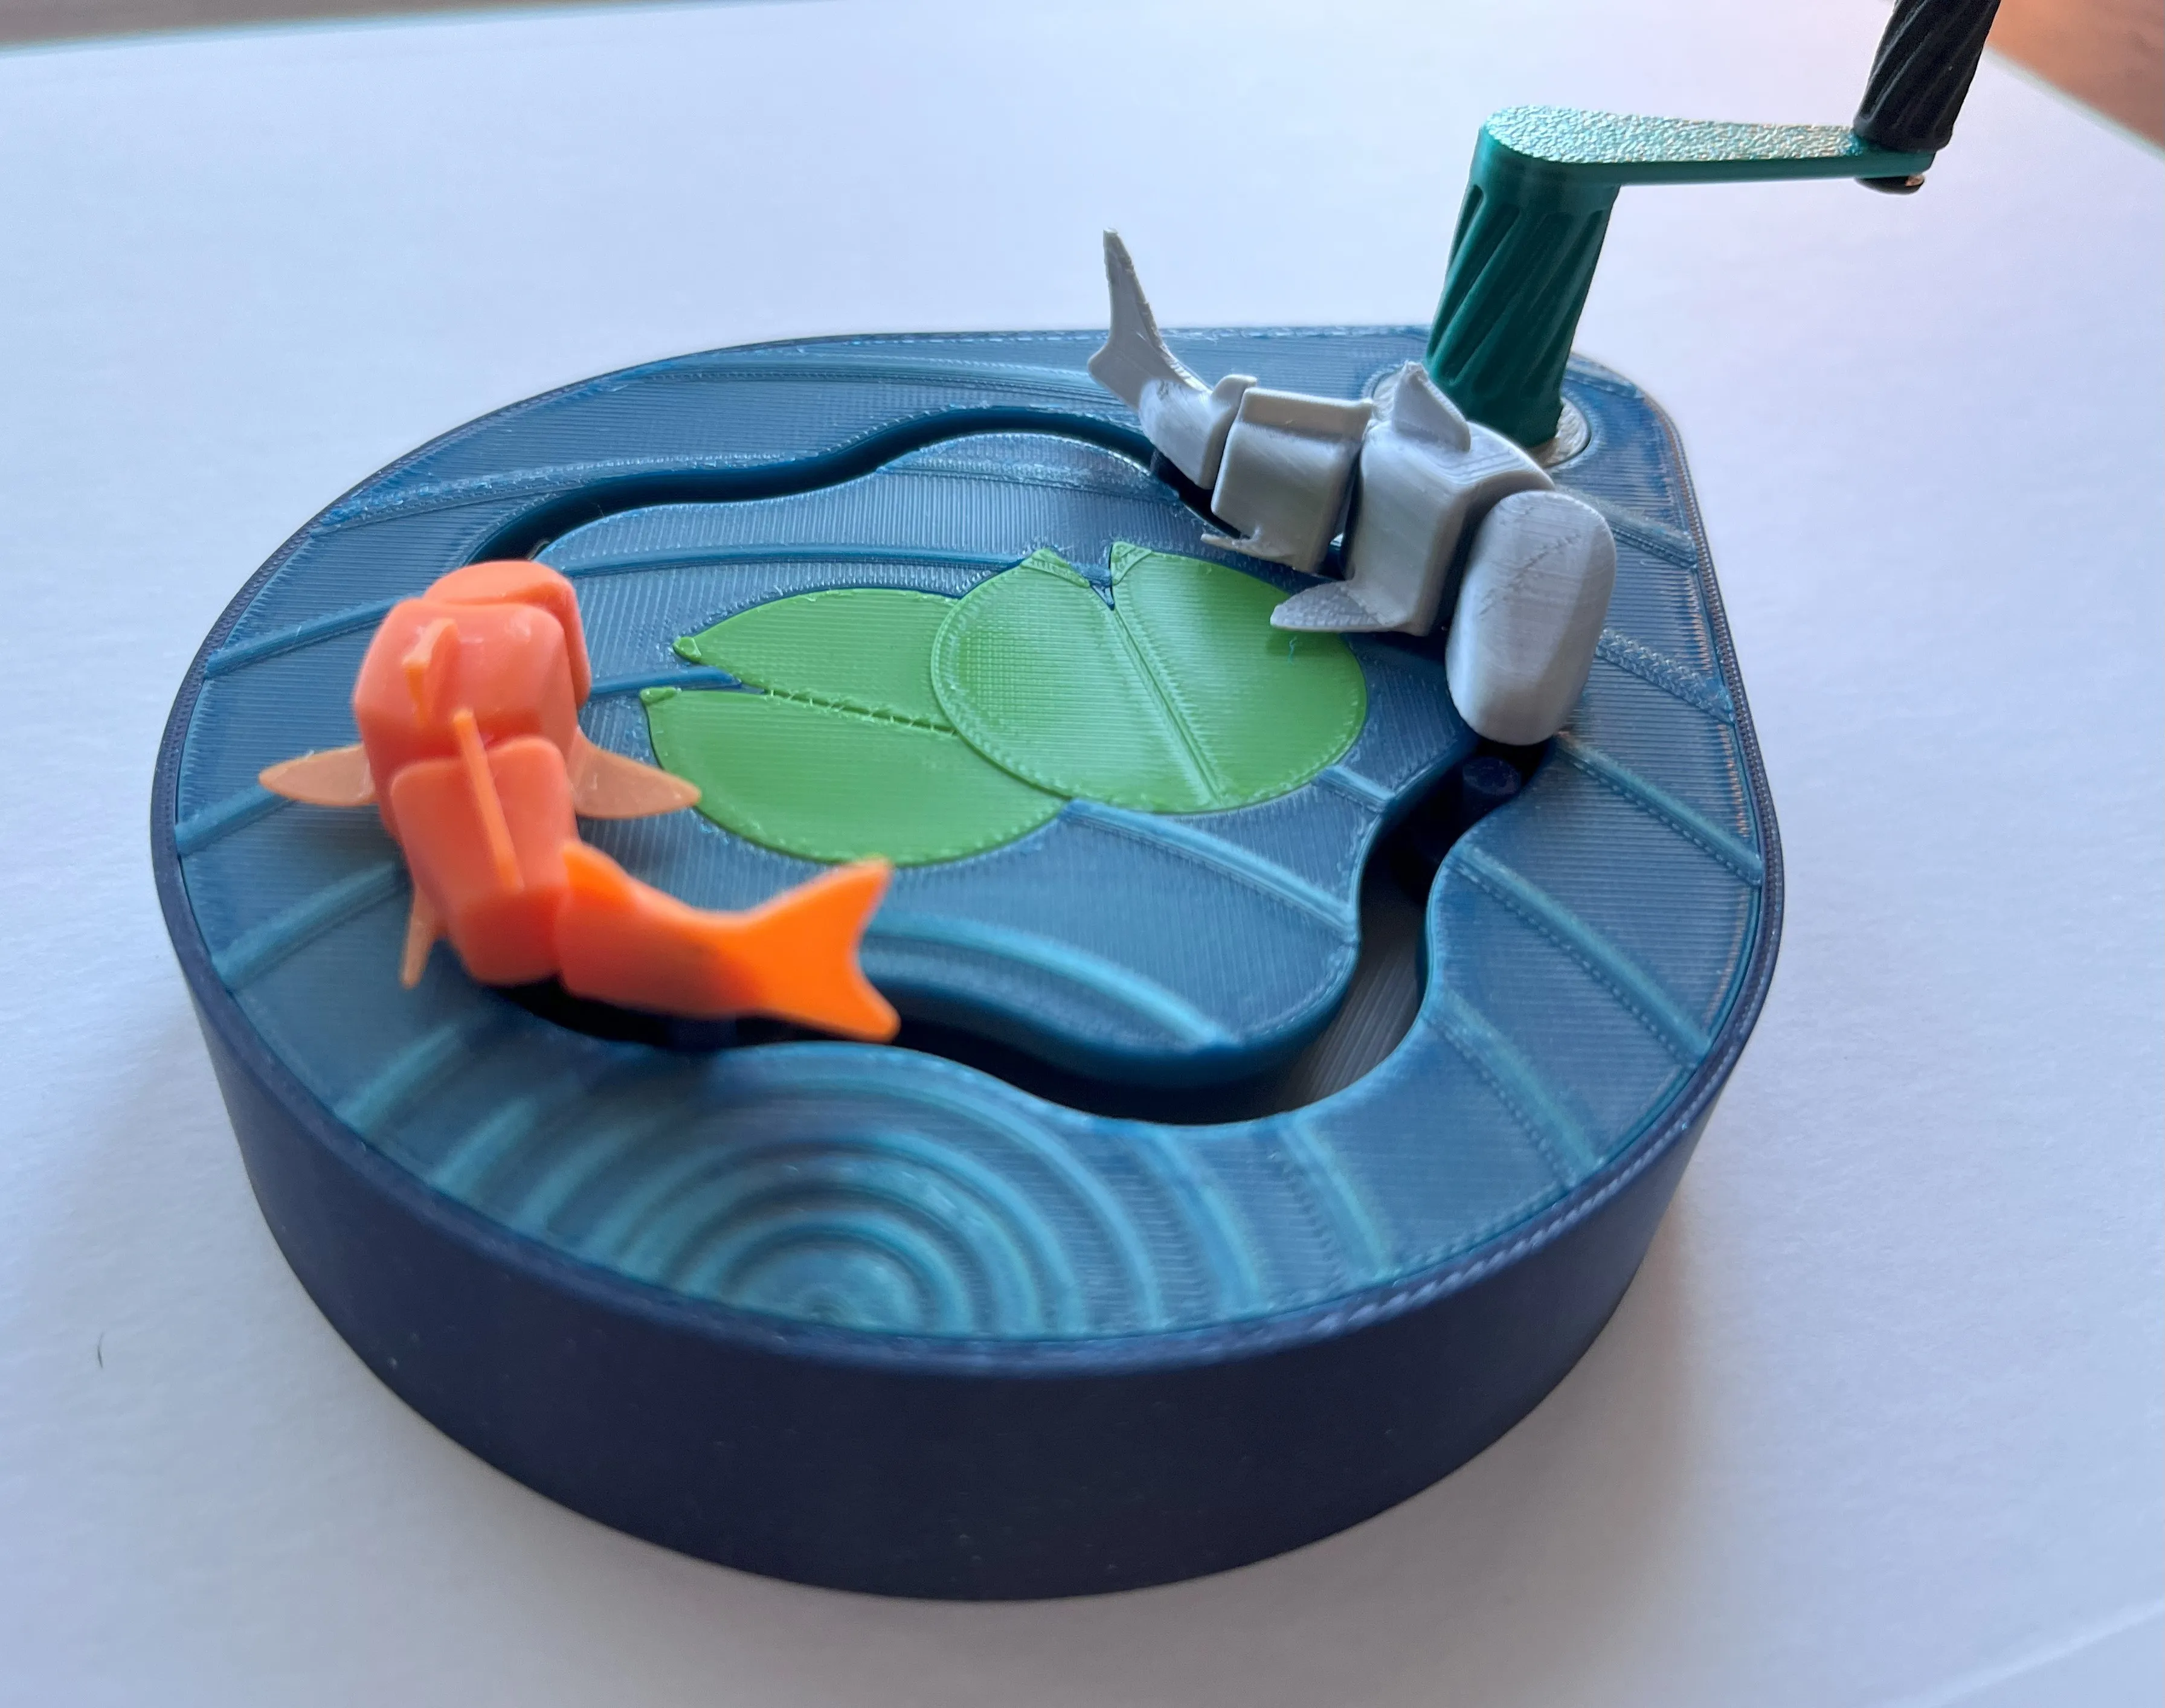
And its done!
Good luck, and let me know if you run into any issues!
Boost Me (for free)
love making things to share. I’d do it regardless, but a boost is a great way to supply me with filament for prototyping 🙂
Membership
Not sure anything I make is sellable. But if you'd like to sell printed copies of them, you can subscribe to my commercial membership 🙂
License

You shall not share, sub-license, sell, rent, host, transfer, or distribute in any way the digital or 3D printed versions of this object, nor any other derivative work of this object in its digital or physical format (including - but not limited to - remixes of this object, and hosting on other digital platforms). The objects may not be used without permission in any way whatsoever in which you charge money, or collect fees.


Comment & Rating (313)