
Fractal Bench Vice


Print Profile(10)


Description
The Fractal Bench Vice, designed based on fractal geometry in mathematics, can effectively grip objects of various shapes.
With fewer supports required, the fractal module is print-in-place, significantly simplifying installation compared to other designs. If higher strength is required, the model thickness can be increased and carbon fiber materials can be used.
The Fractal Bench Vice possesses self-similarity and scalability, demonstrating that mathematical concepts can be used to create practical and pleasing designs.
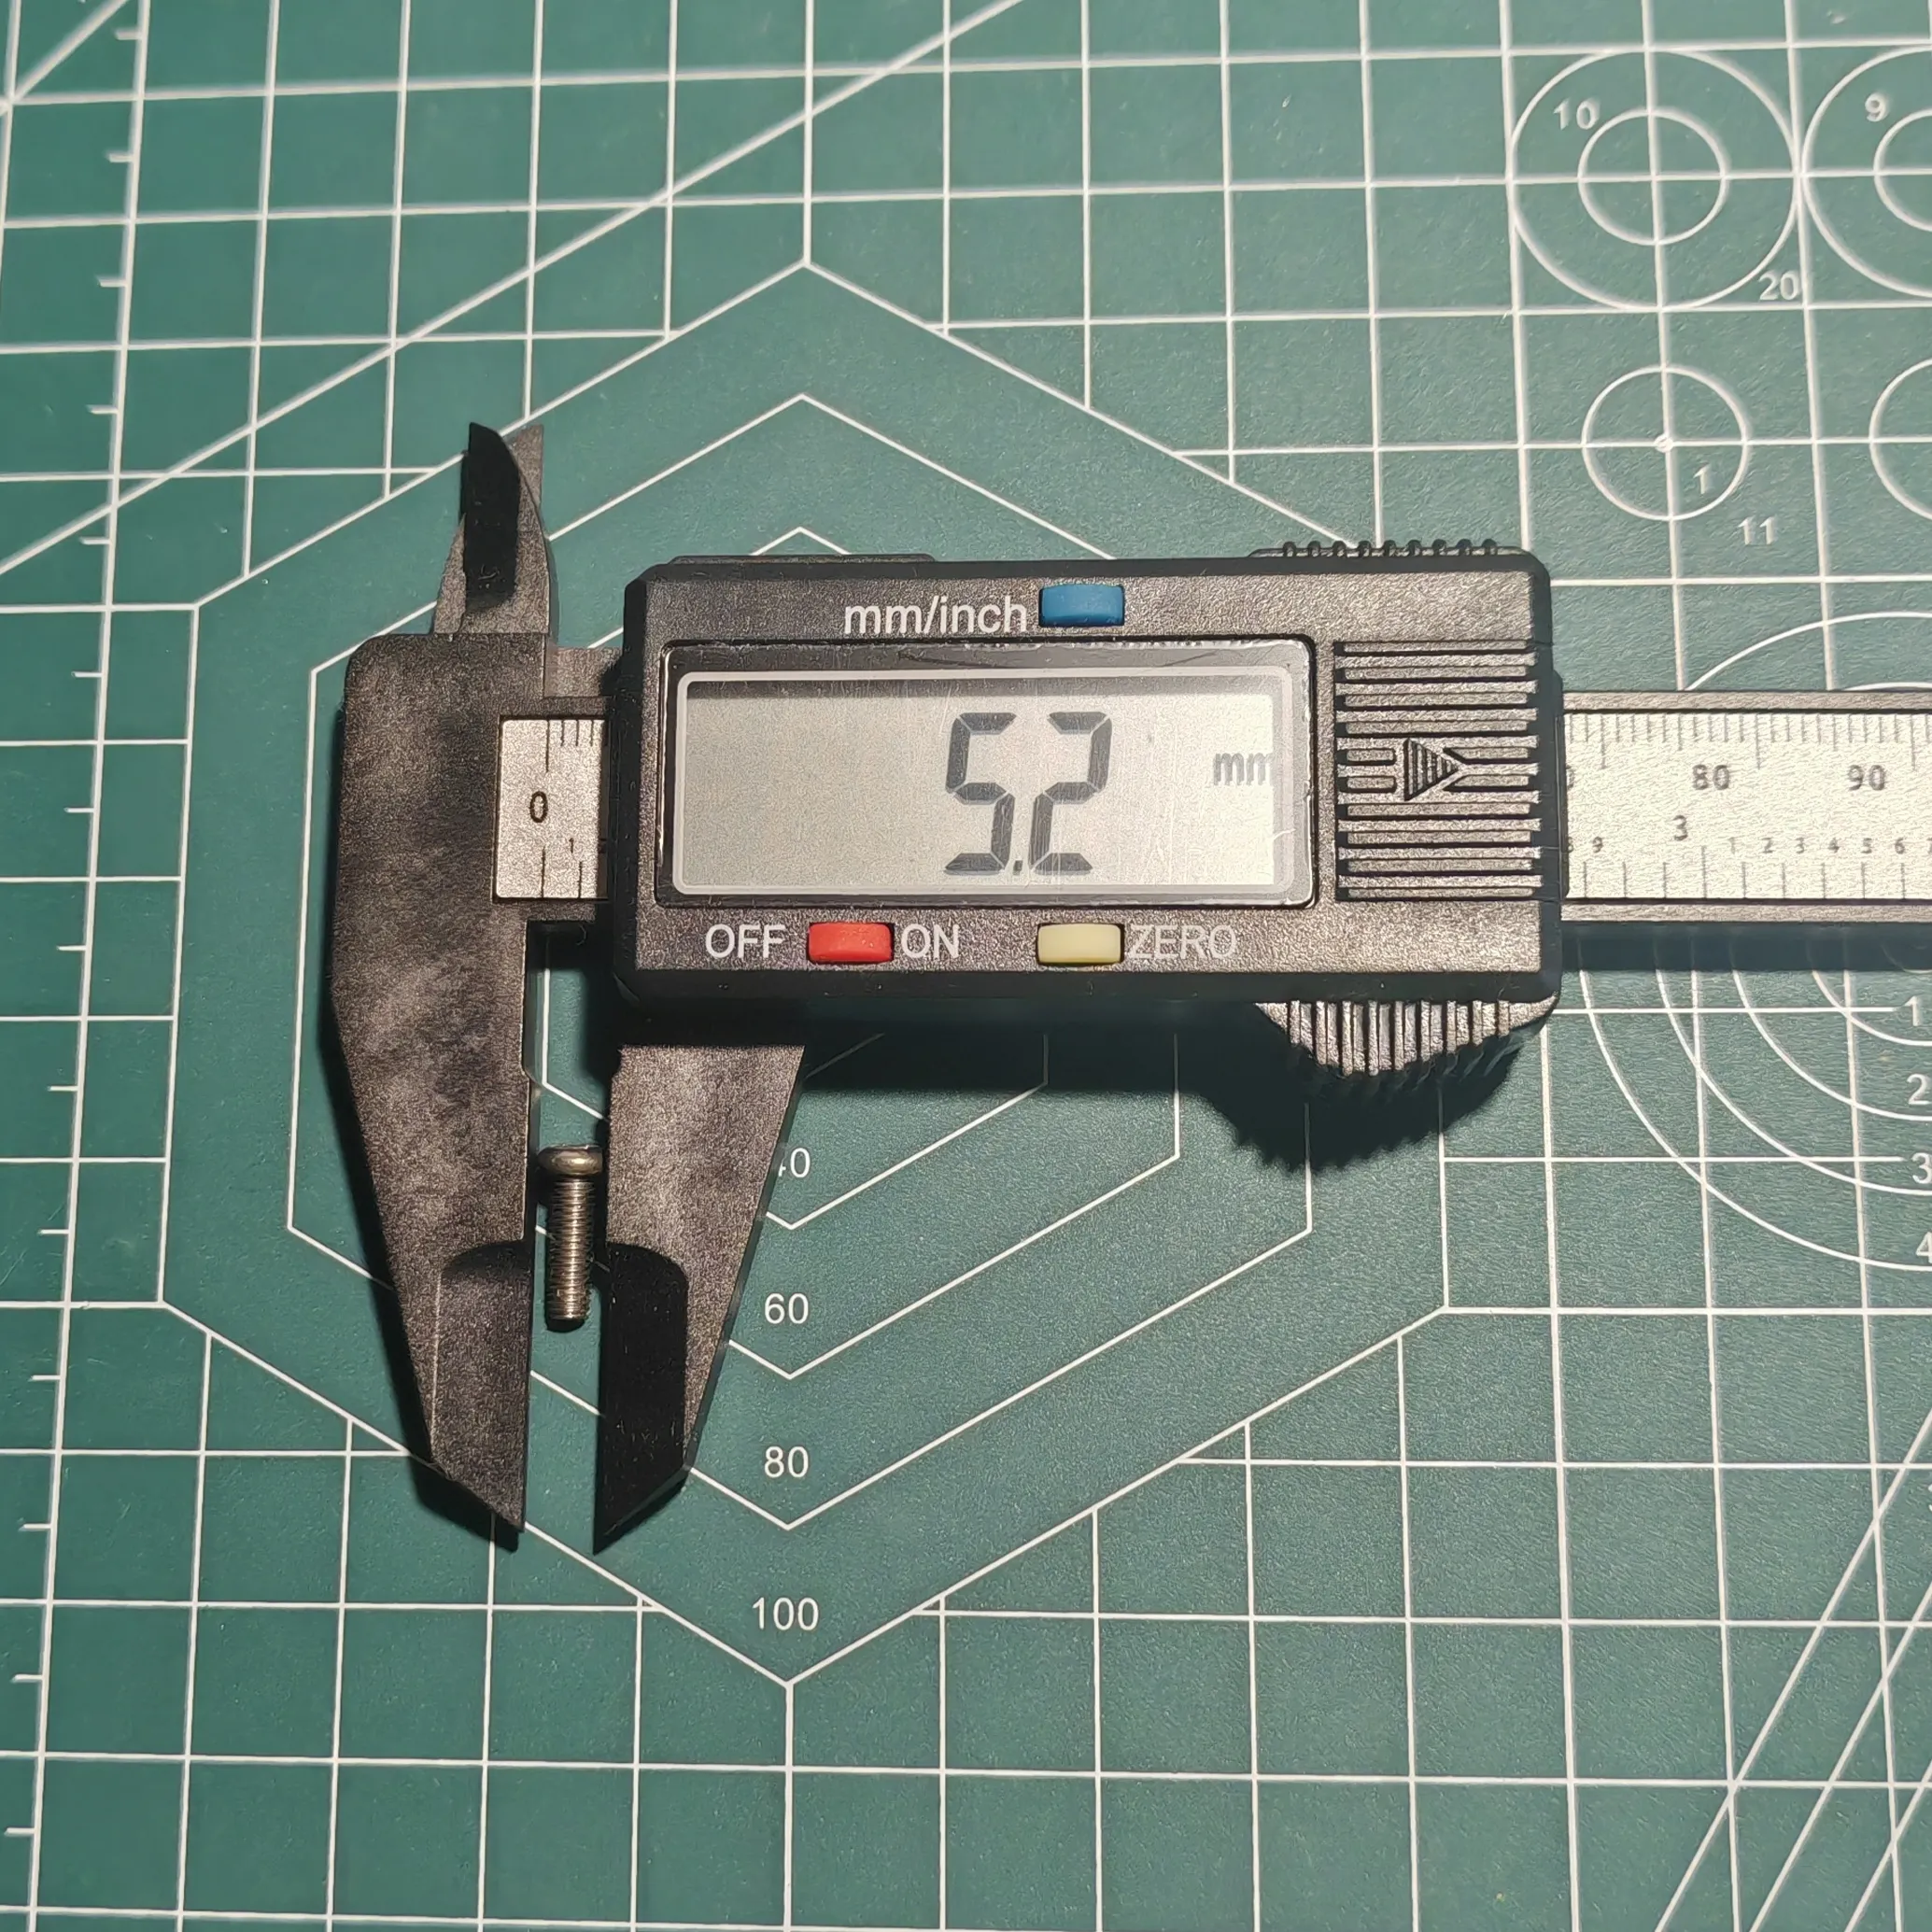
Required components: one 608zz bearing, multiple M3 10mm screws, and M3 12mm screws can be used as partial substitutes.
Designed based on fractal geometry in mathematics, the Fractal Bench Vice can effectively grip objects of various shapes. With fewer supports required, the fractal module is print-in-place, significantly simplifying installation compared to other designs. If higher strength is required, the model thickness can be increased and carbon fiber materials can be used.
The Fractal Bench Vice possesses self-similarity and scalability, demonstrating that mathematical concepts can be used to create practical and pleasing designs.~~
Required components: one 608zz bearing, multiple M3*10mm screws, and M3*12mm screws can be used as partial substitutes.
——————————————————————————————————————————————
Update:
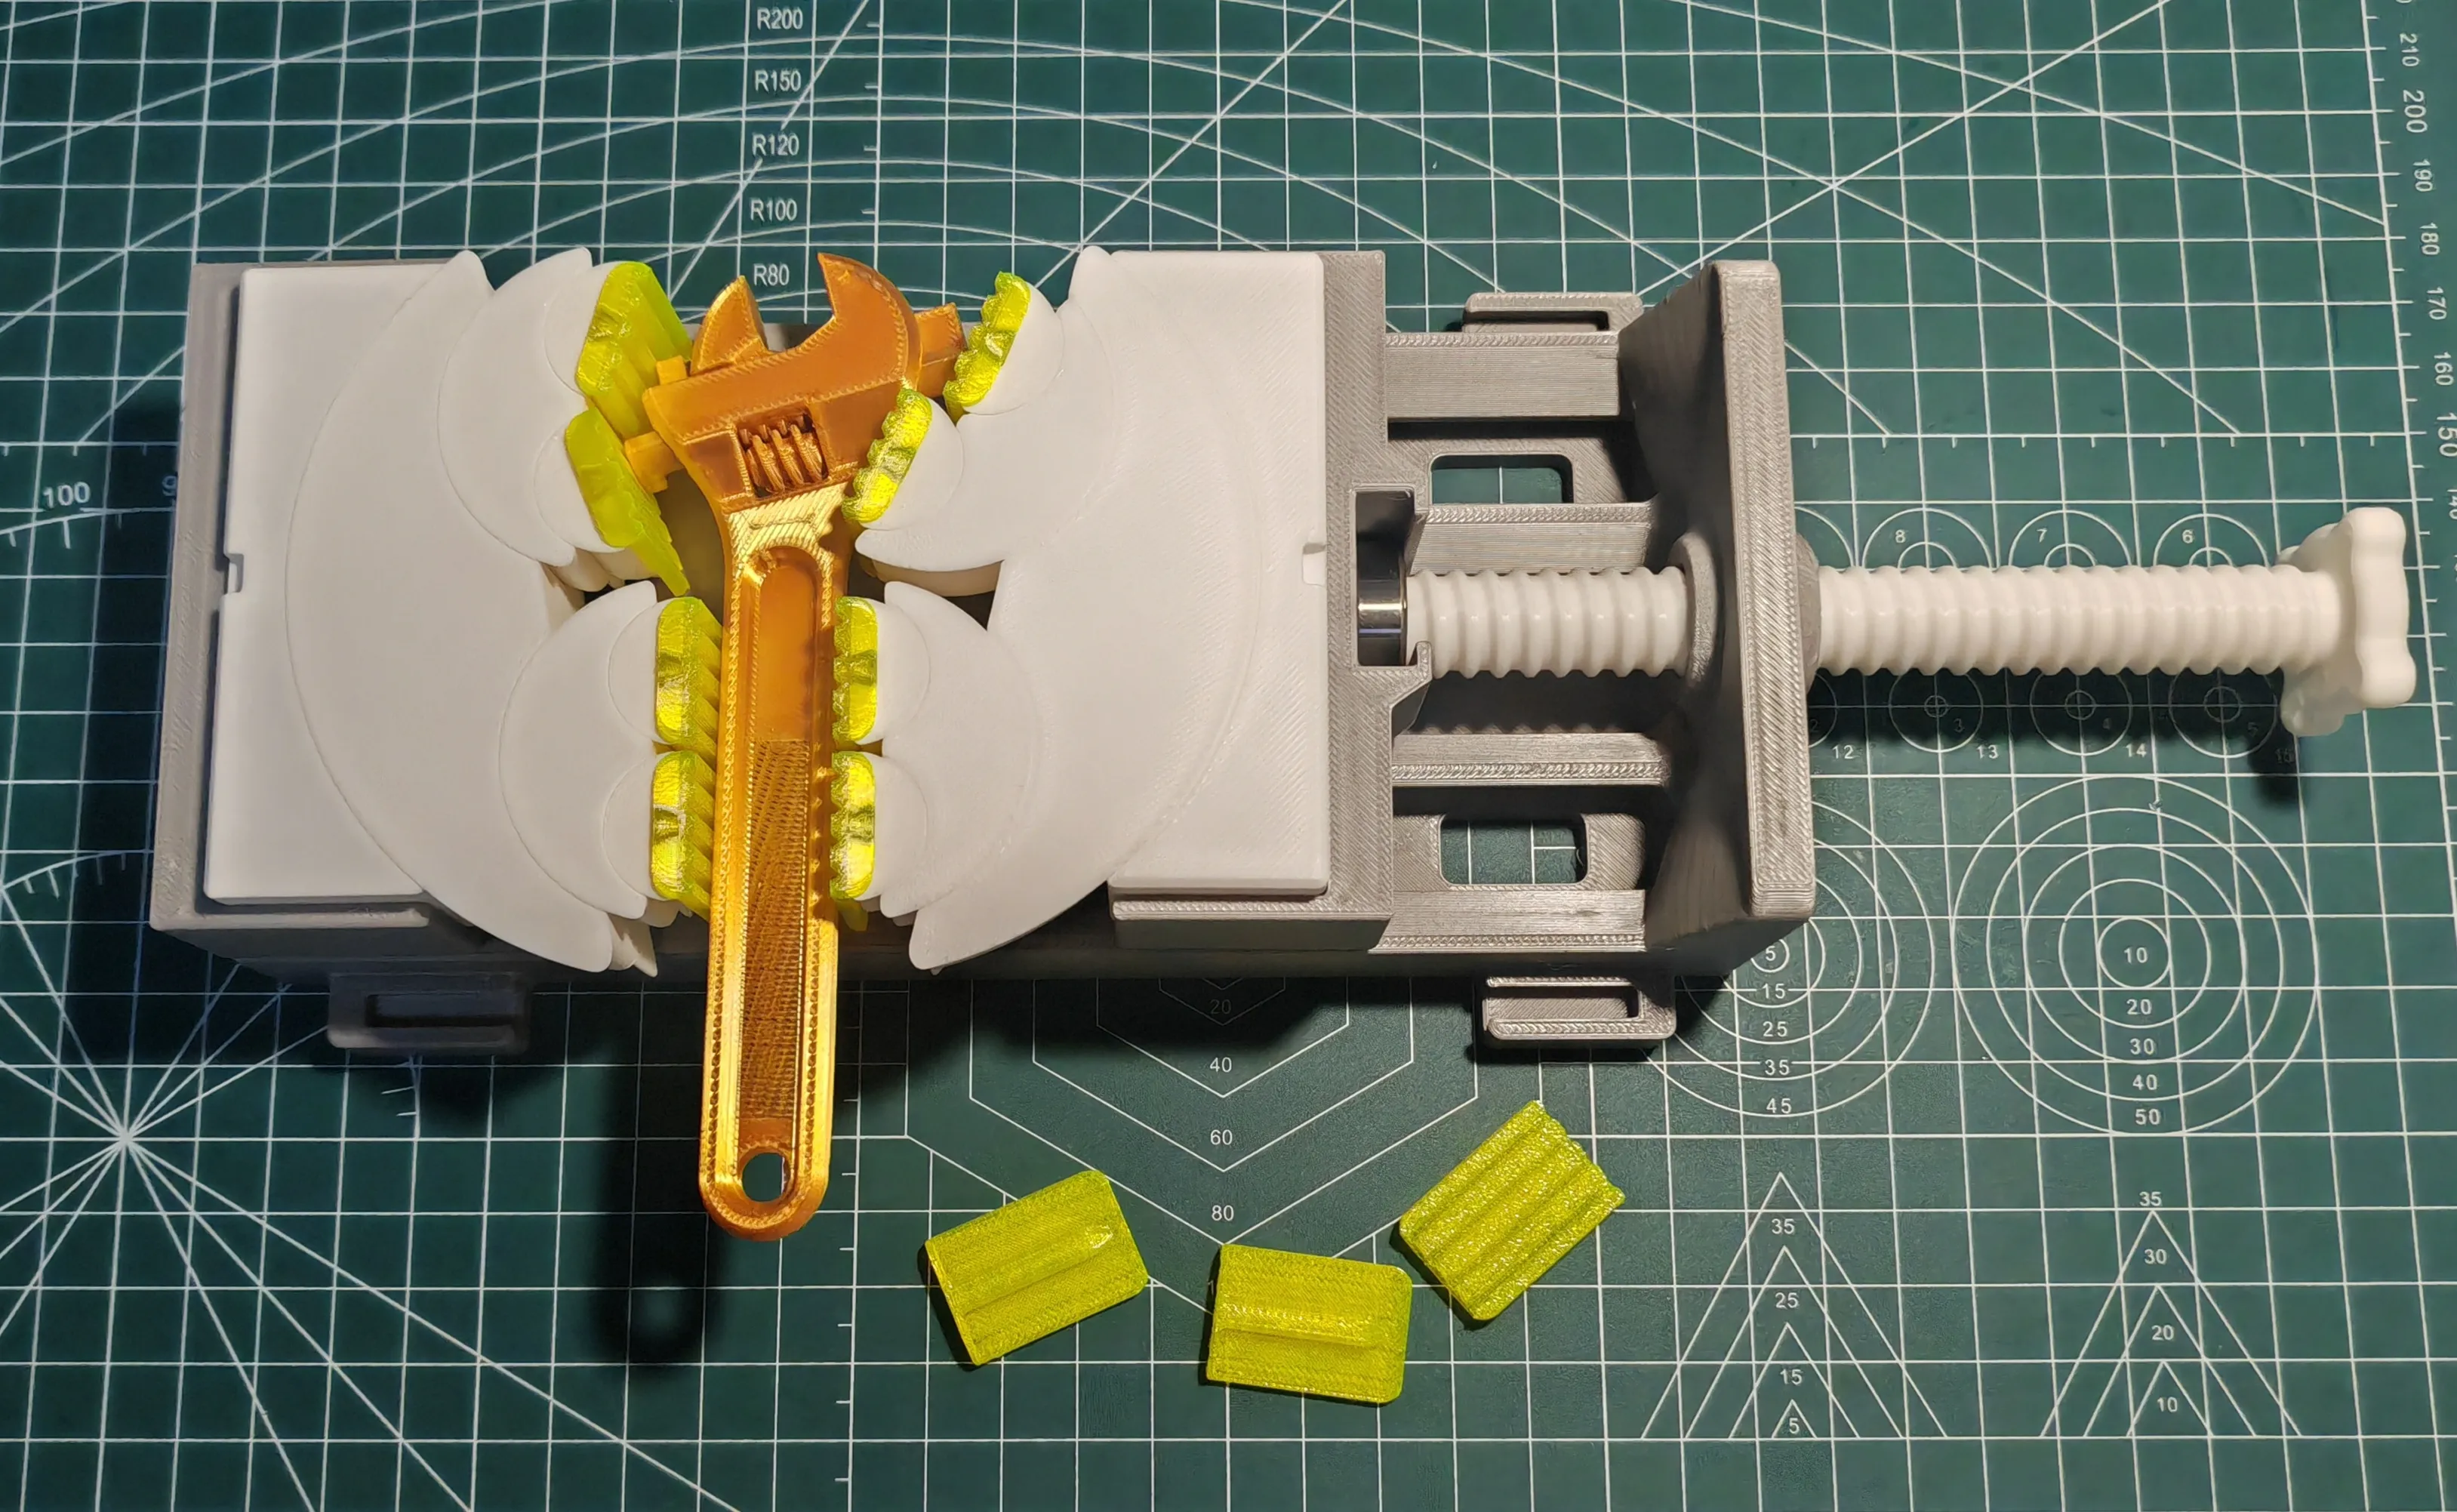
If you have TPU, you can print the new module with better performance.
If I have time, I'll add new modules to it, so let me know in the comments.
If you have TPU filament, you can print the new module with better performance. If I have time, I'll add new modules to it, so let me know in the comments.
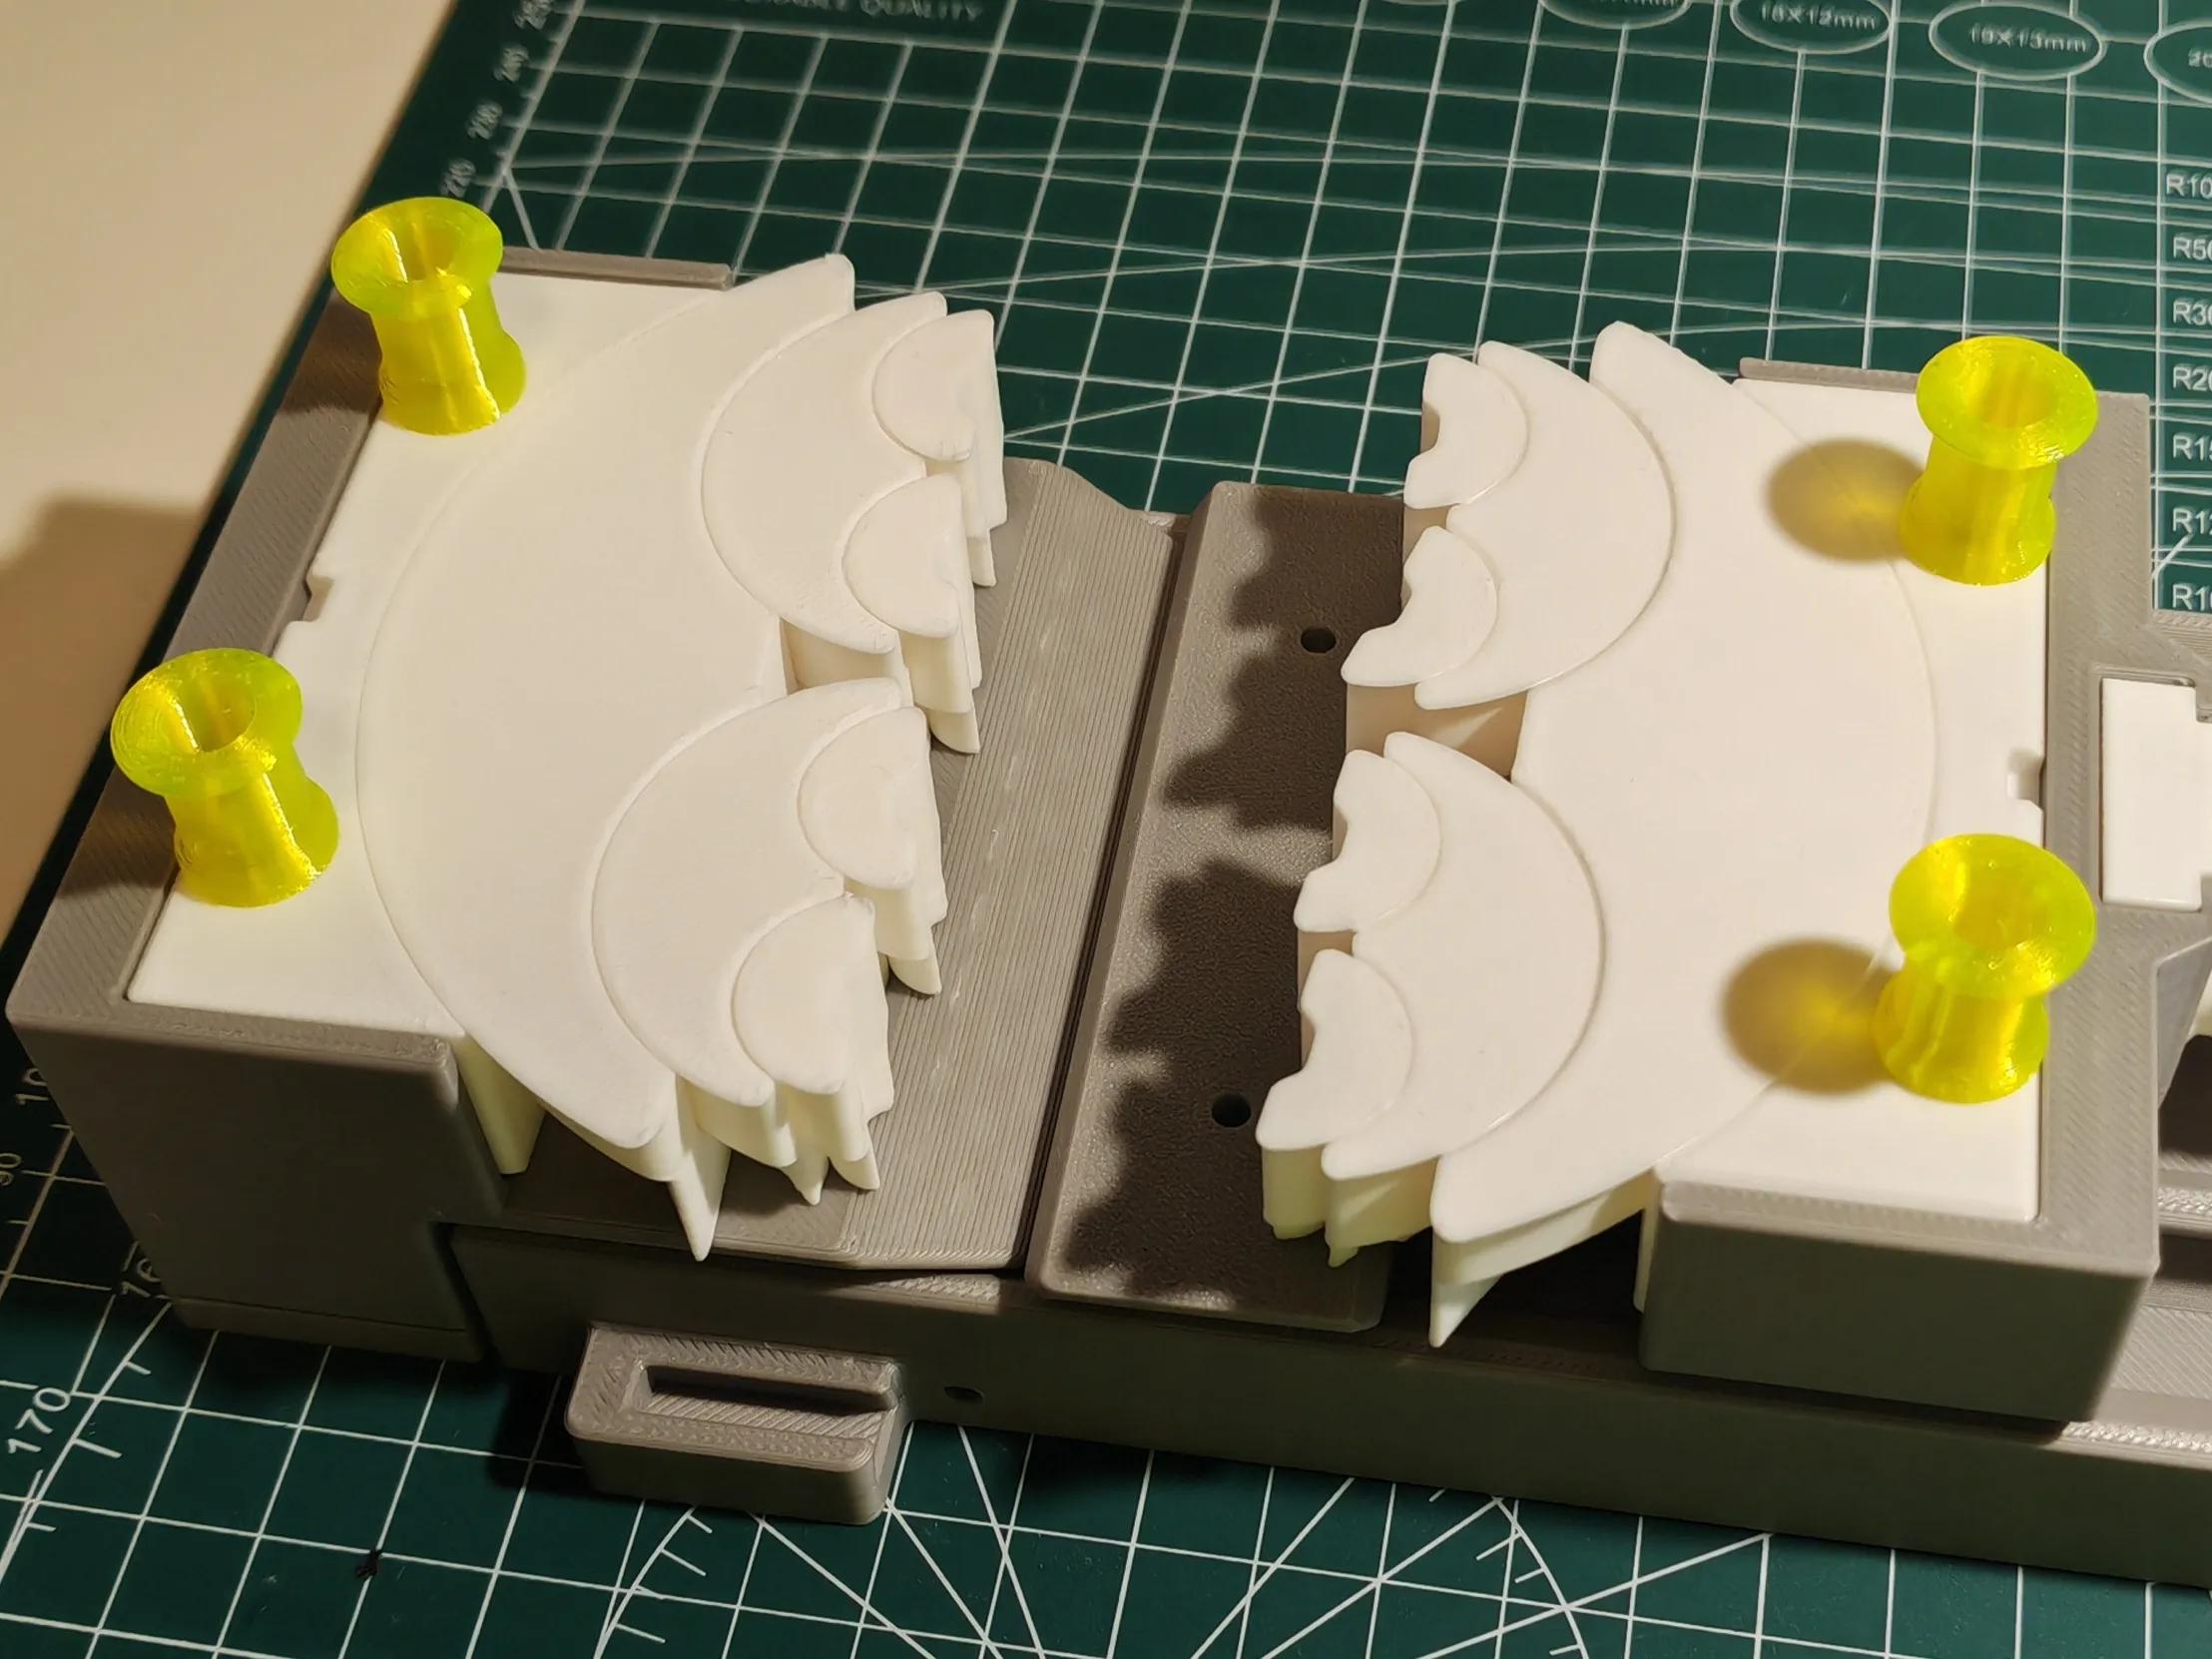
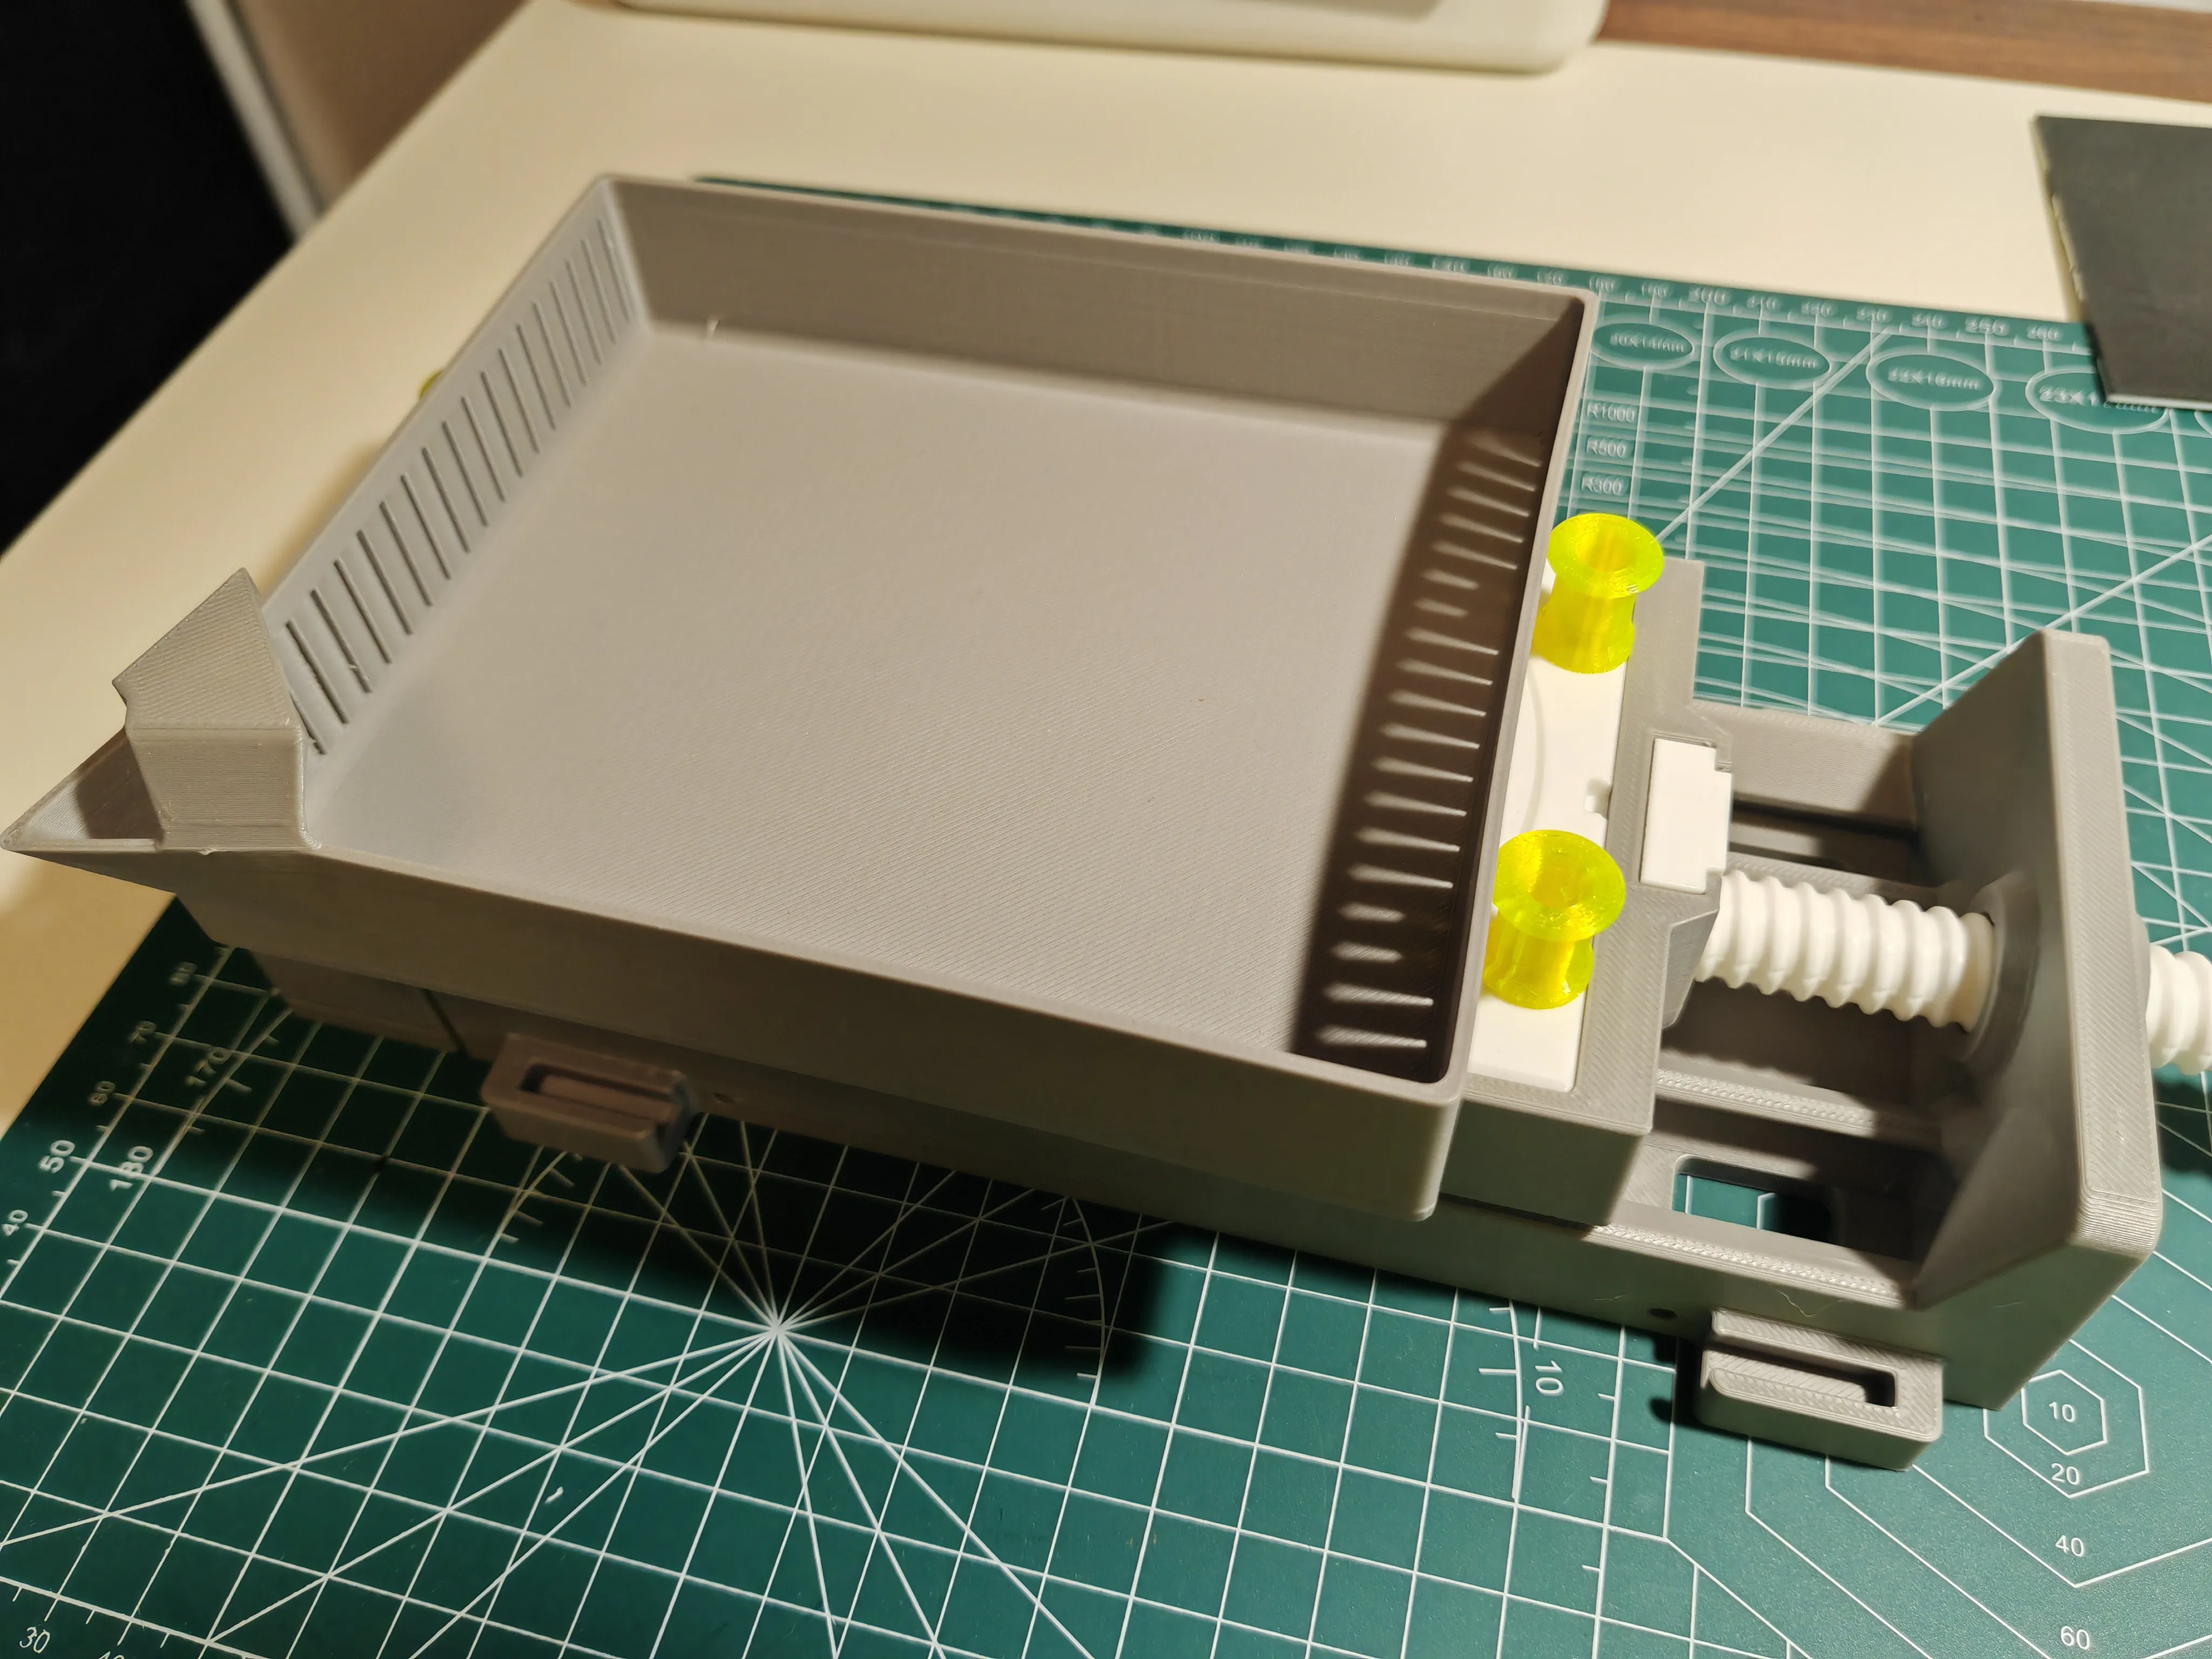
Adding columns allows for securing larger objects. Unfortunately, the old version of the “TPU module” did not have pre-drilled holes. All models are now updated to the new version, which includes this hole.
Adding columns allows for securing larger objects. Unfortunately, the old version of the “TPU module” did not have pre-drilled holes. All models are now updated to the new version, which includes this hole.
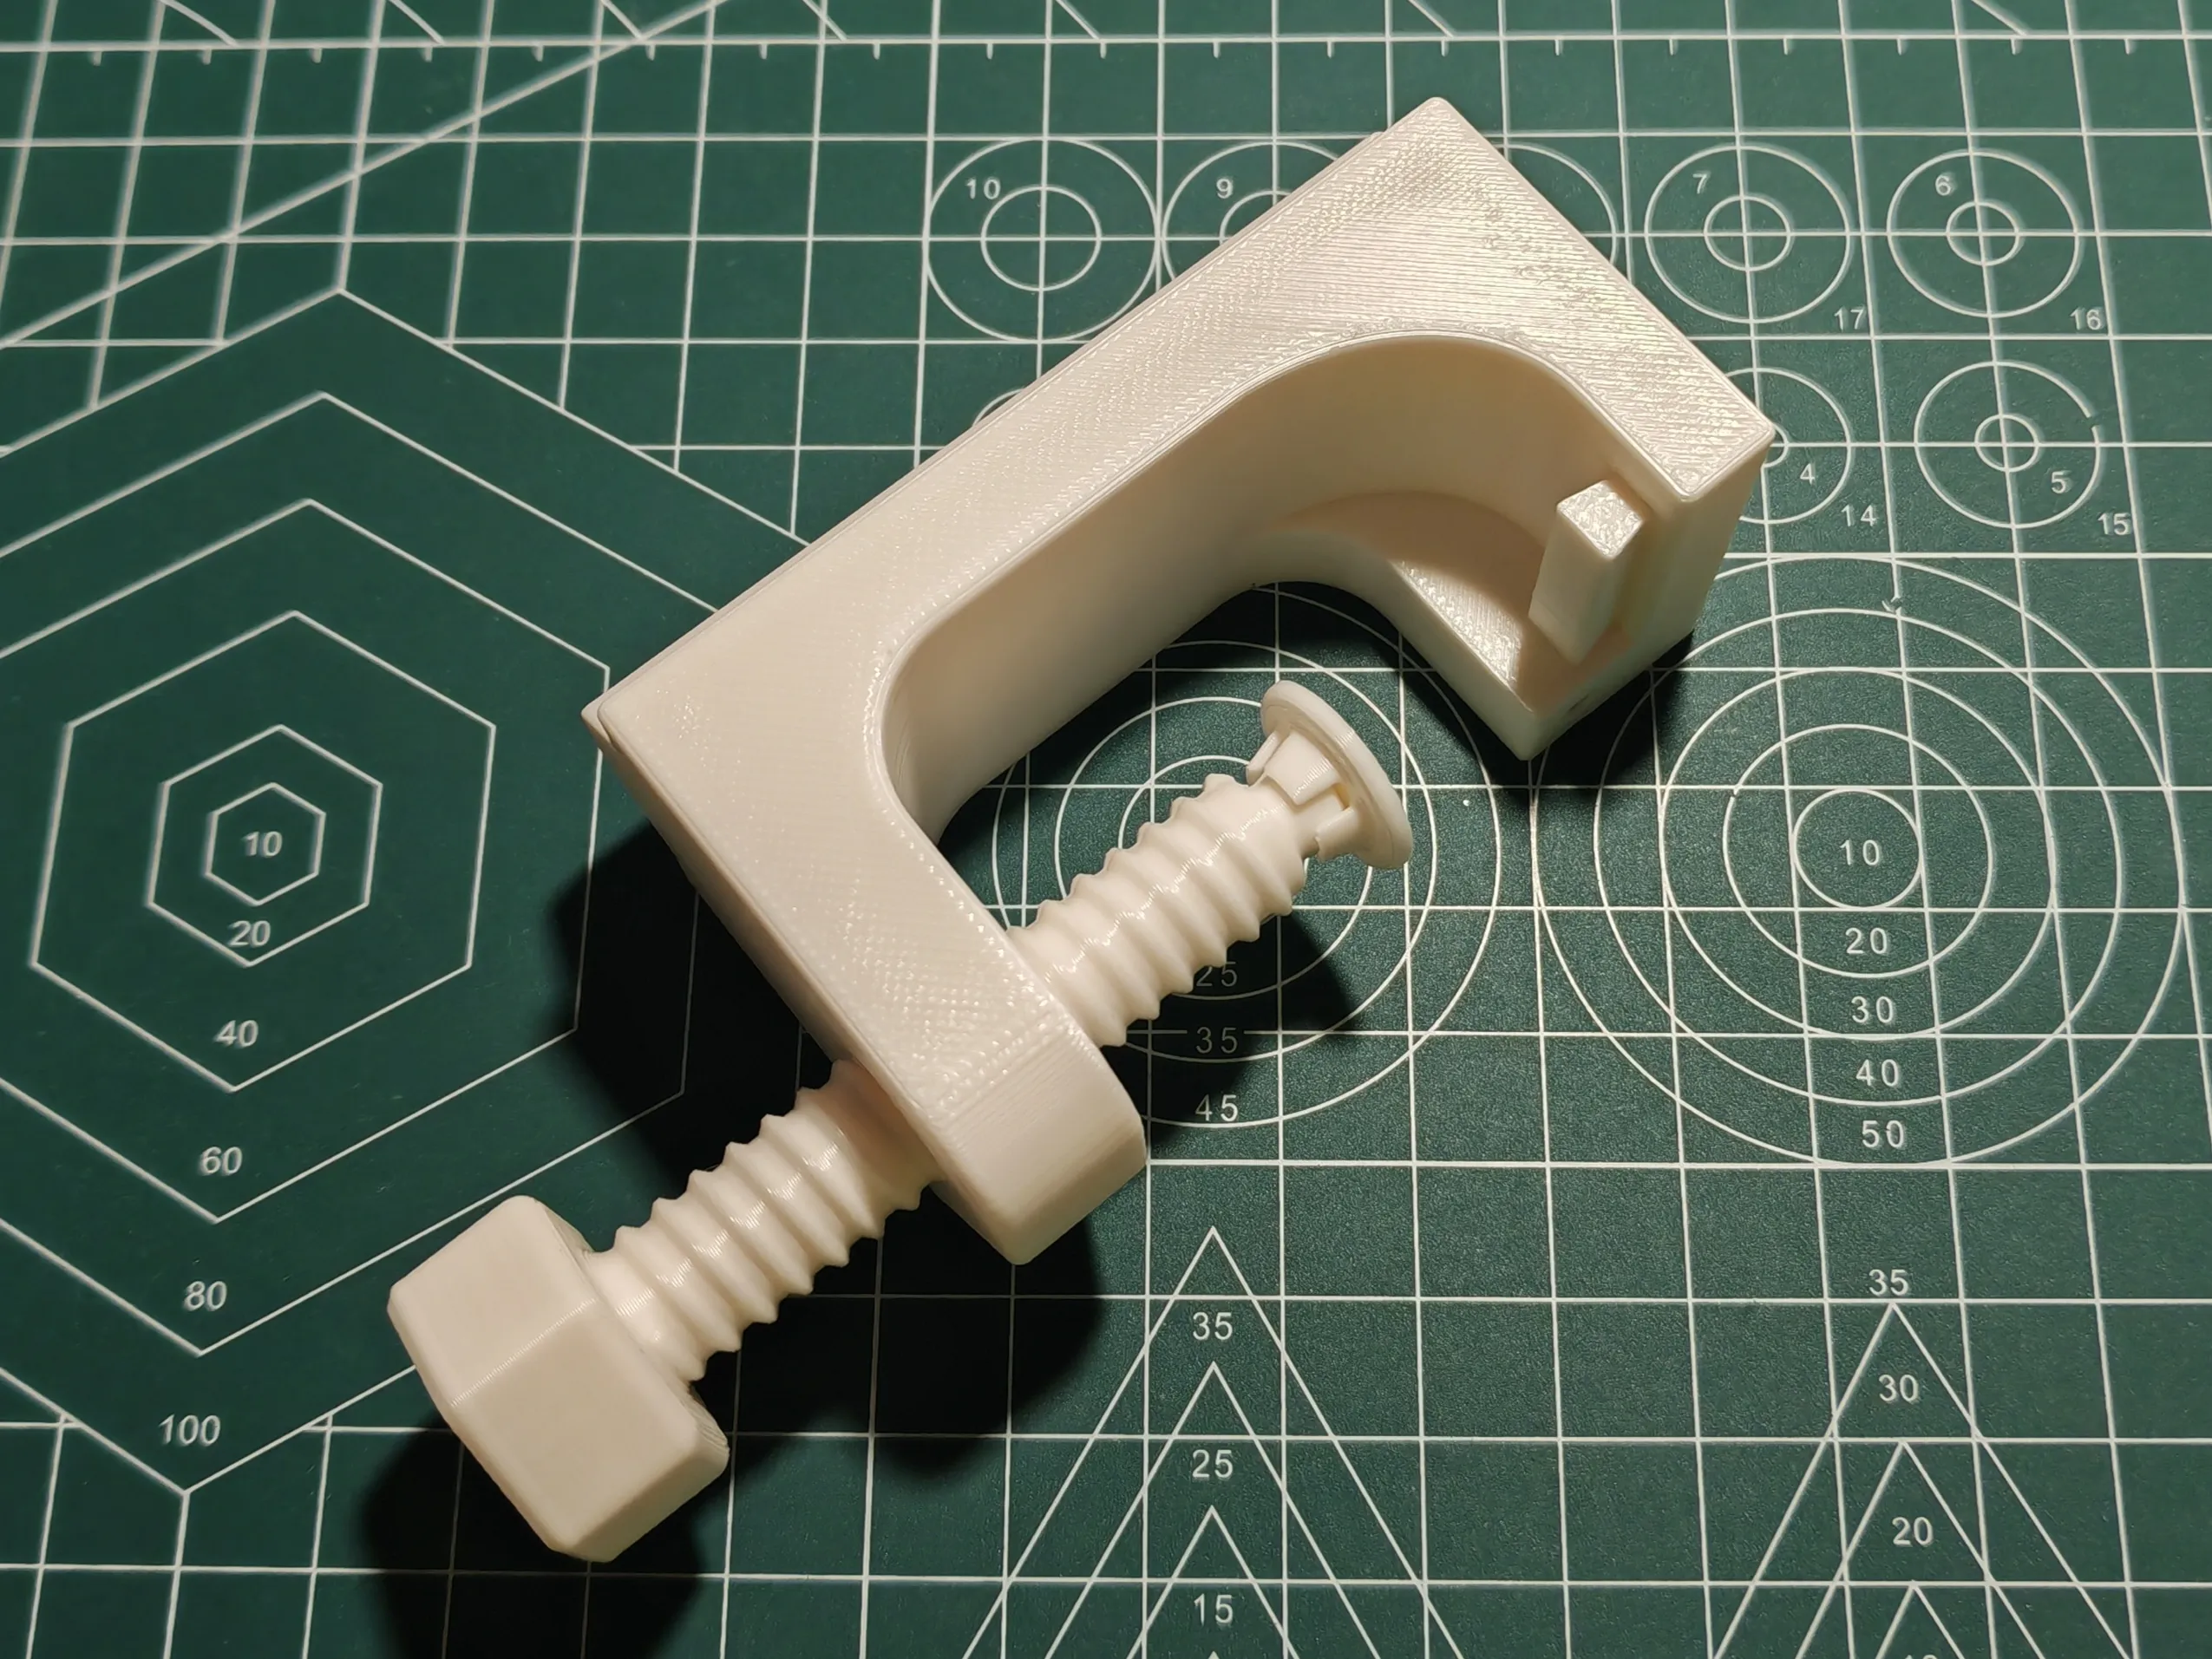
Add a “Bigger C-clamp” that is suitable for more desktops. Note that if your table edge is a right angle, the default version of the clamp will be more secure, as the lever arm is shorter.
Need longer m3 screws, such as m3*20. Pay attention to the position of the screws.
Add a “Bigger C-clamp” that is suitable for more desktops. Note that if your table edge is a right angle, the default version of the clamp will be more secure, as the lever arm is shorter.
Need longer m3 screws, such as m3*20. Pay attention to the position of the screws.
————————————————————————————————————————
Importment Update:
The printing configuration for A1 mini has been updated! Despite shortening the length of the guide rails, the new extension module has actually increased the available area.
The A1 mini configuration comes with this module. Please let me know if you encounter any printing issues.
The printing configuration for A1 mini has been updated! Despite shortening the length of the guide rails, the new extension module has actually increased the available area. The A1 mini configuration comes with this module. Please let me know if you encounter any printing issues.
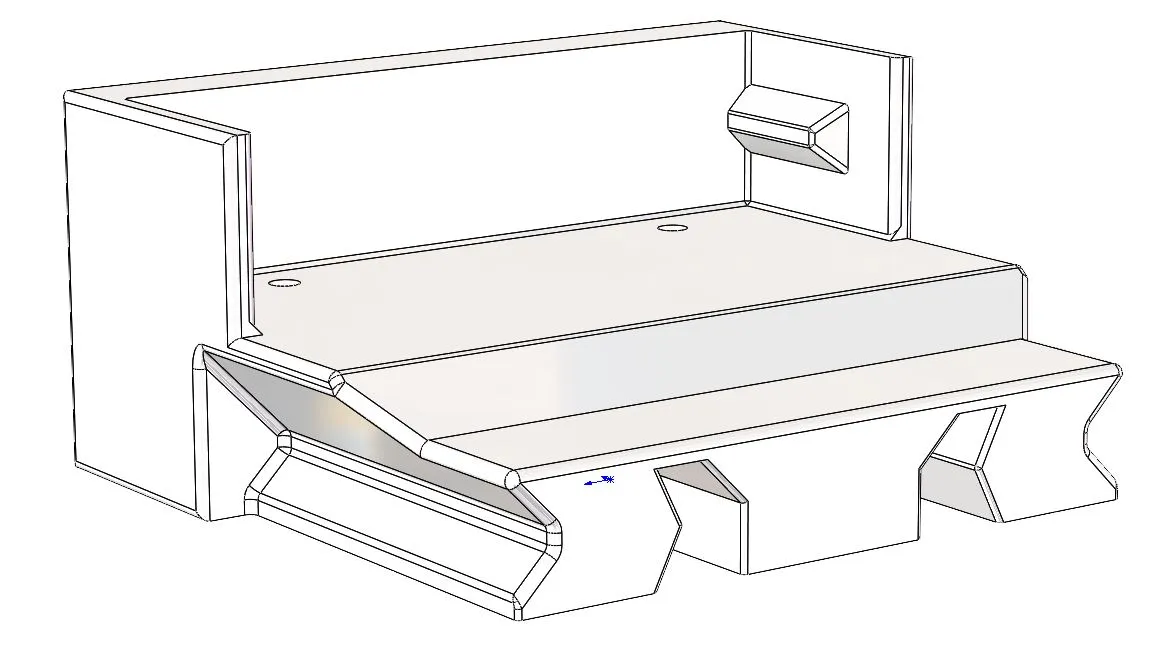
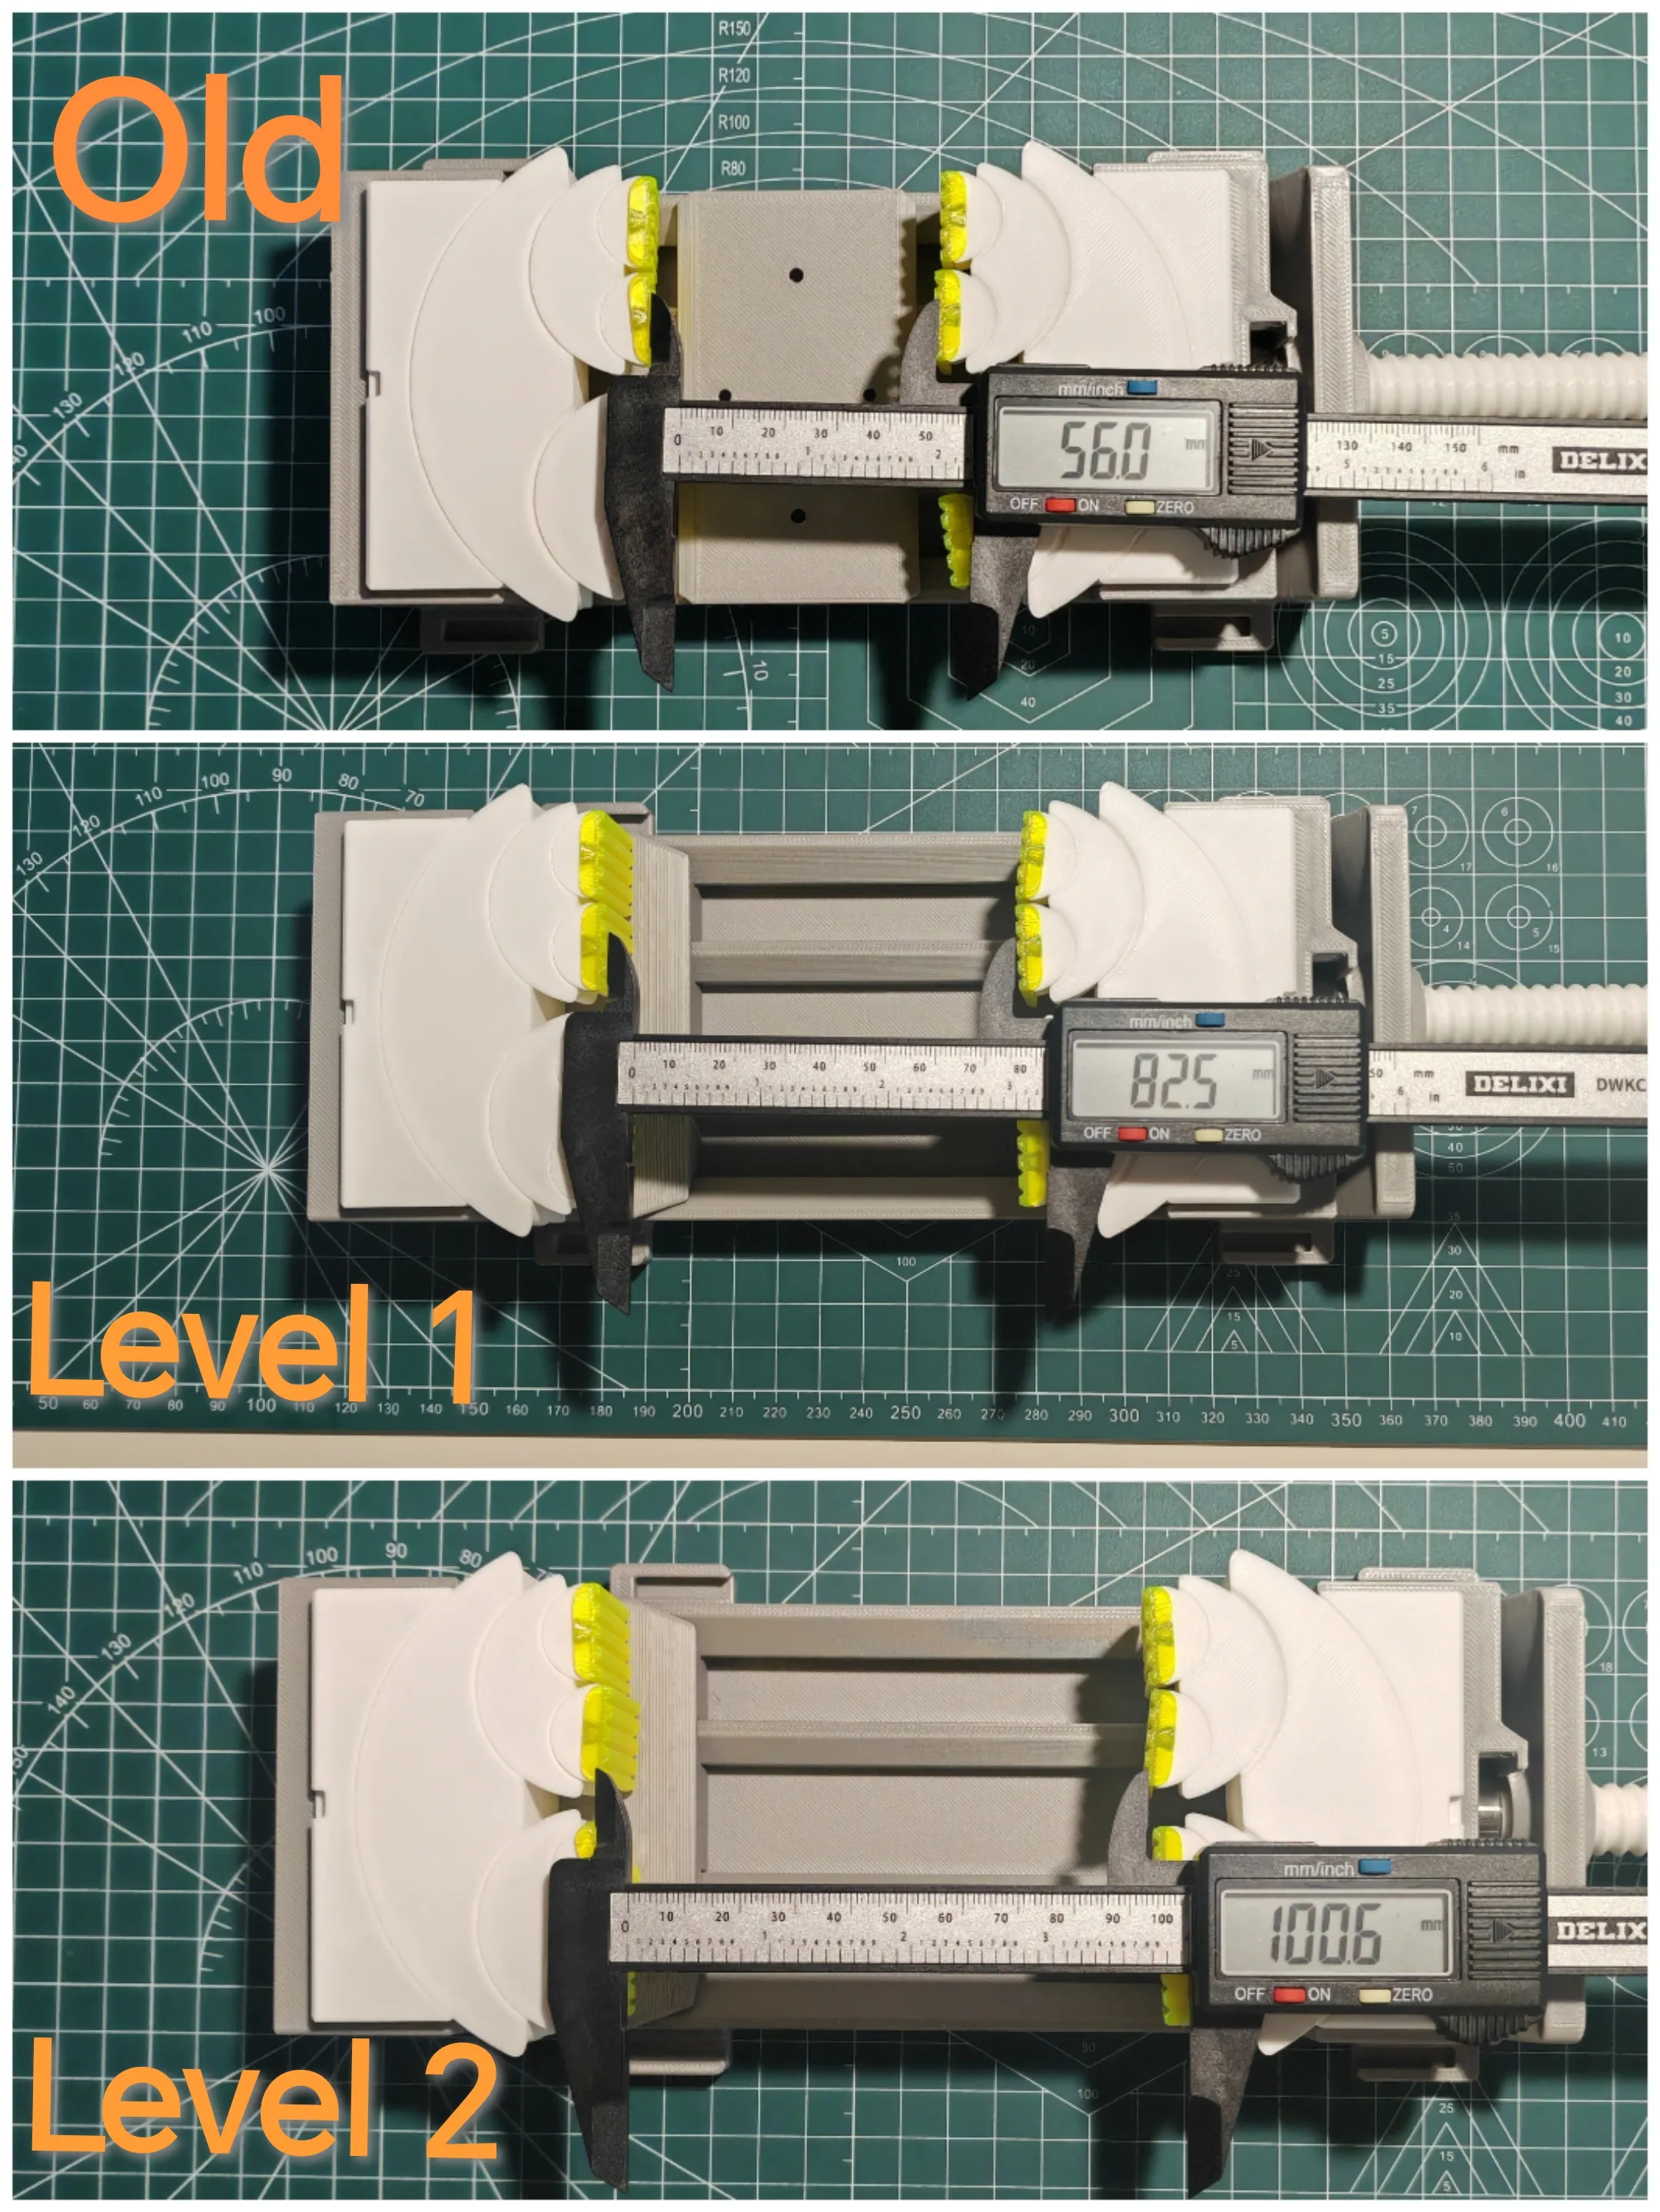
The extension module is compatible, so non-A1 mini users can also use this module to obtain a larger available area.
It is divided into two levels, and the images show that this module significantly extends the area.
The extension module is compatible, so non-A1 mini users can also use this module to obtain a larger available area. It is divided into two levels, and the images show that this module significantly extends the area.
——————————————————————————————————————————————
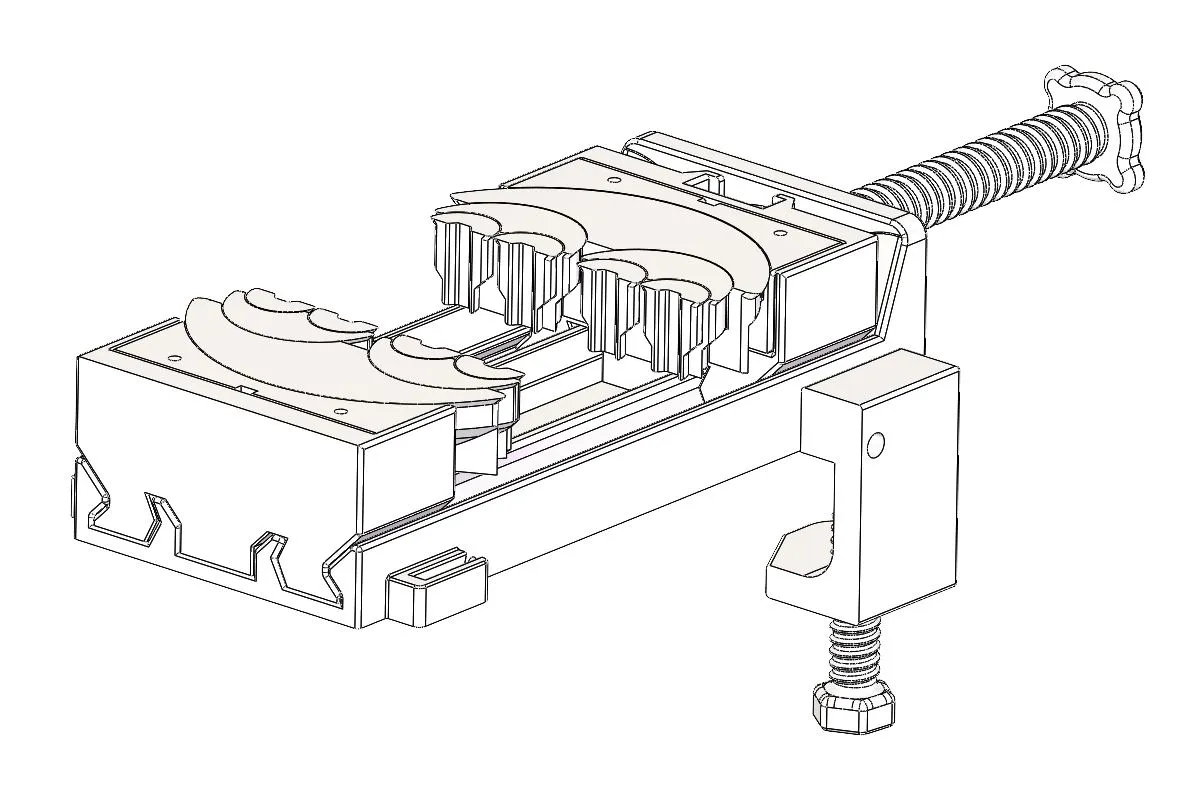
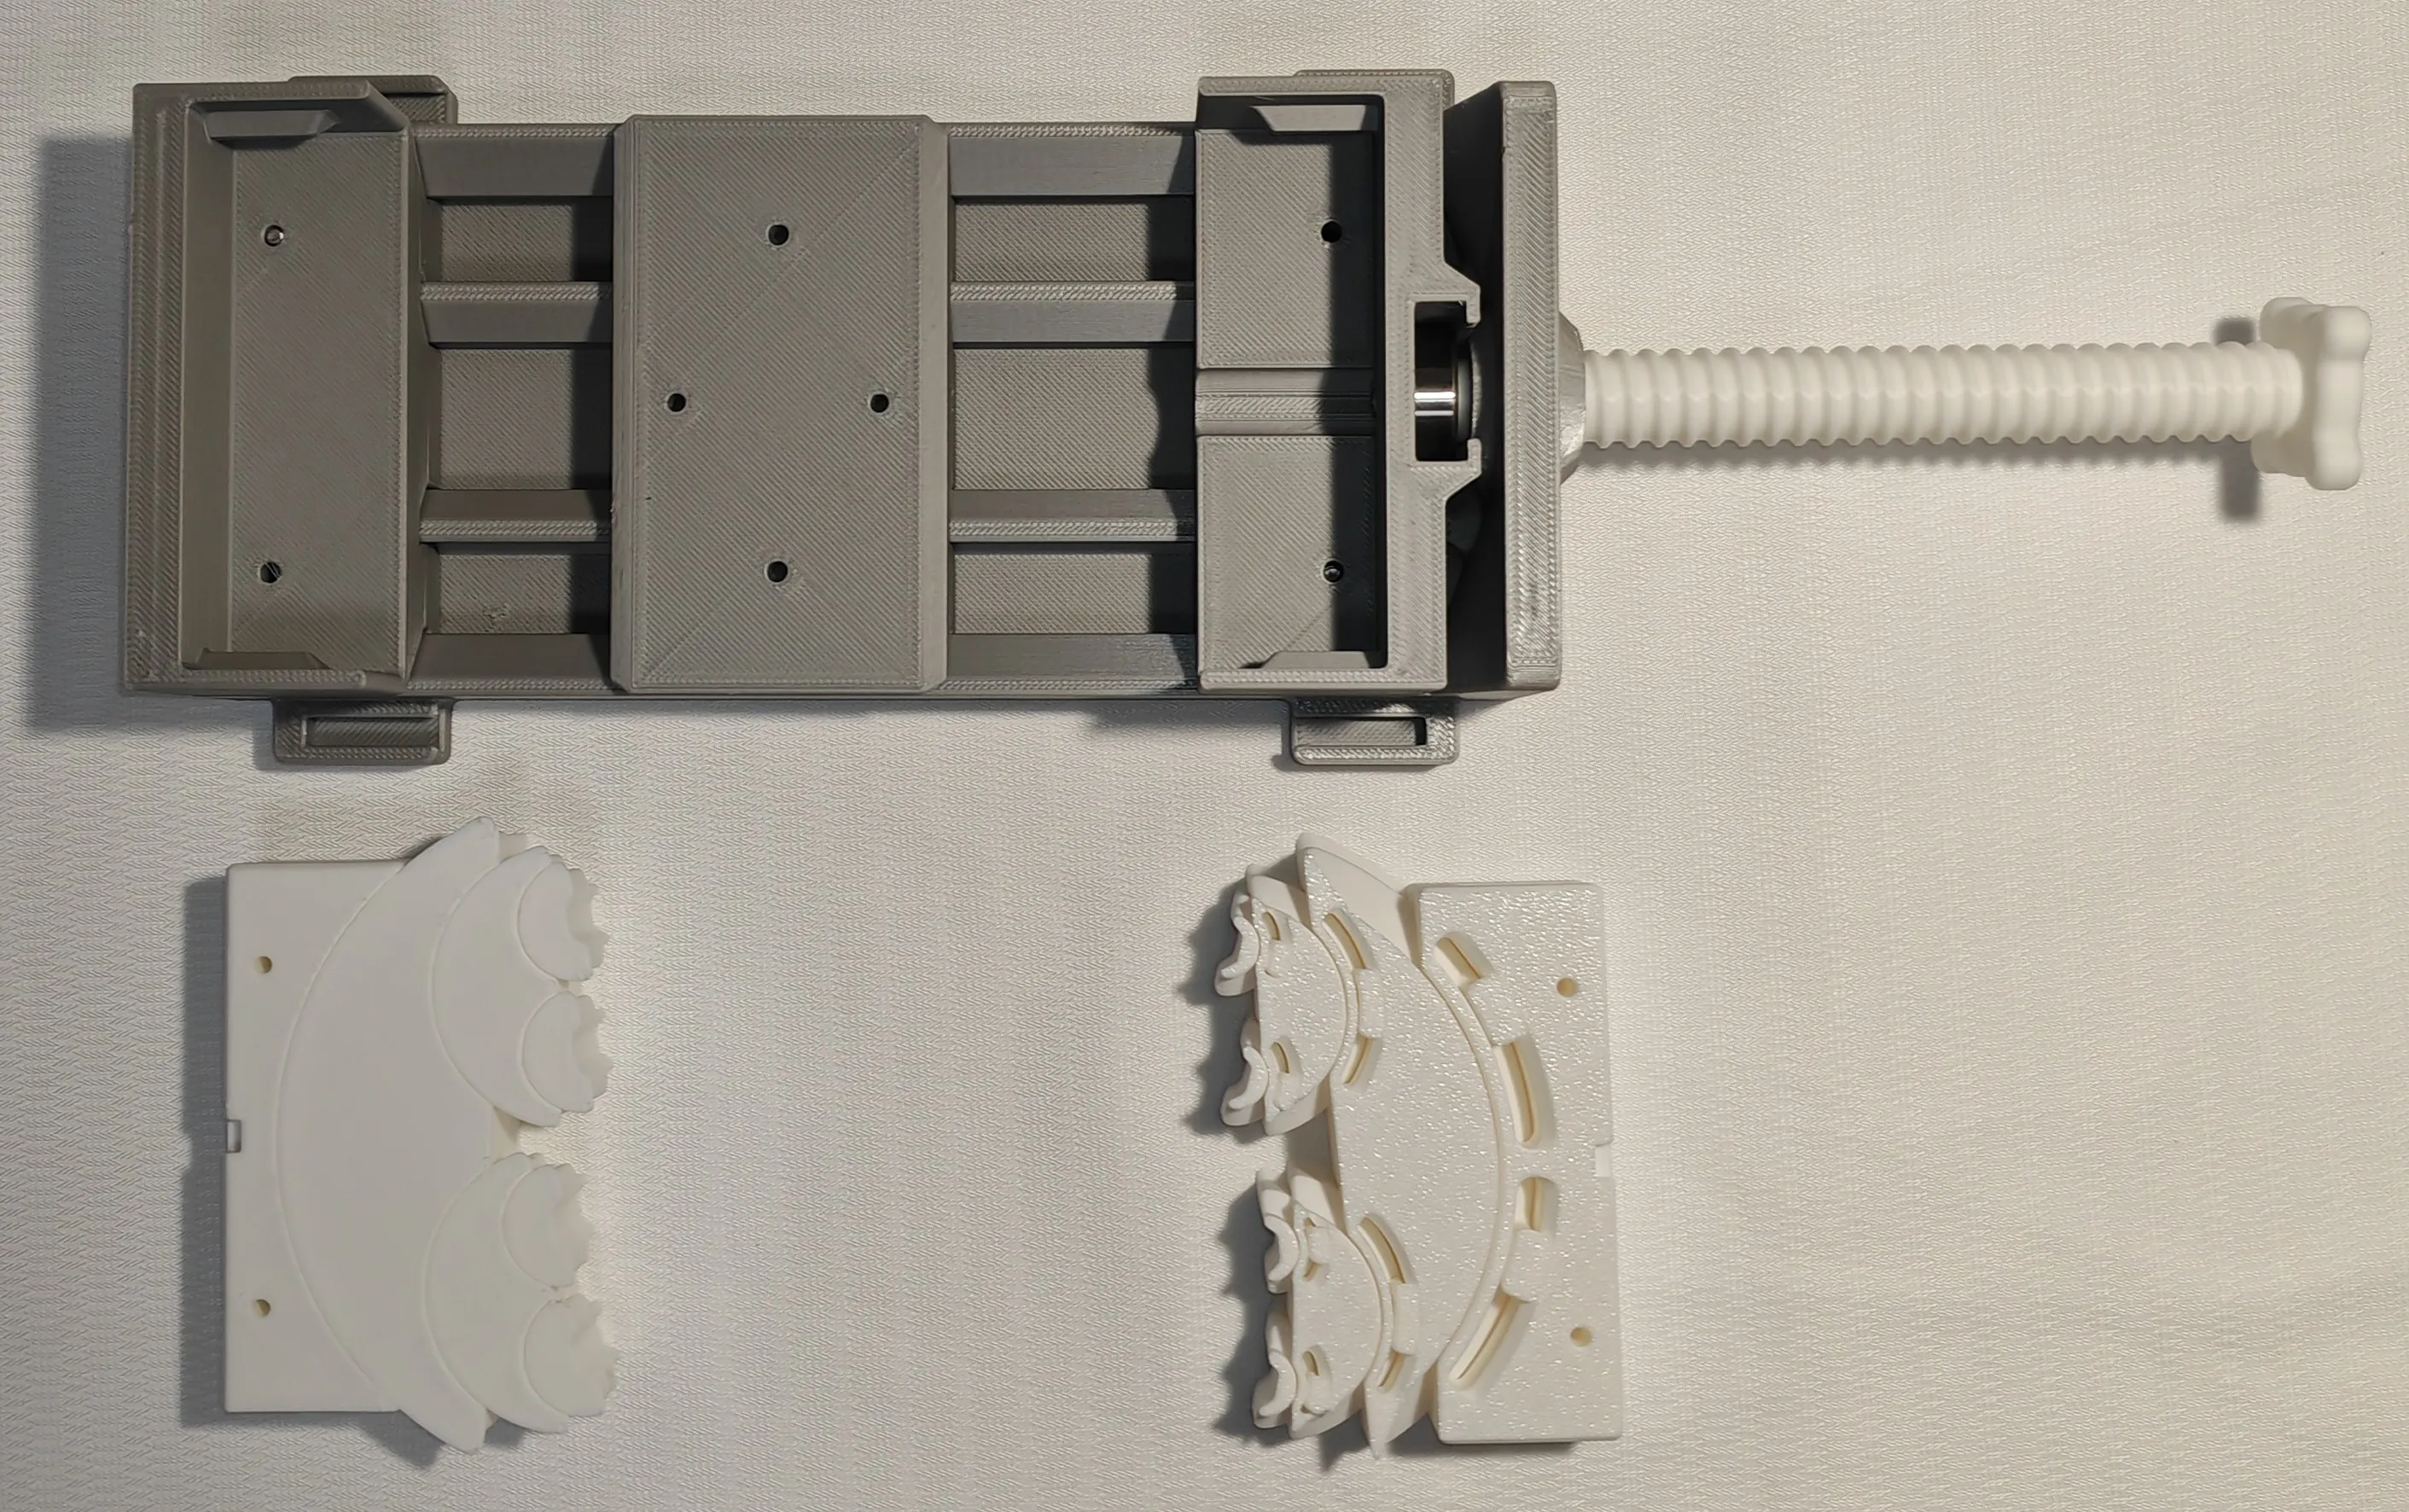
The design adopts a modular approach, divided into a base and detachable modules. Among them, the fractal gripping module is print-in-place, which can be printed and assembled directly. As the precision requirement is high, it is recommended to reduce the printing speed and perform flow calibration in advance. The module can be printed separately to increase the success rate.
The design adopts a modular approach, divided into a base and detachable modules. Among them, the fractal gripping module is print-in-place, which can be printed and assembled directly. As the precision requirement is high, it is recommended to reduce the printing speed and perform flow calibration in advance. The module can be printed separately to increase the success rate.
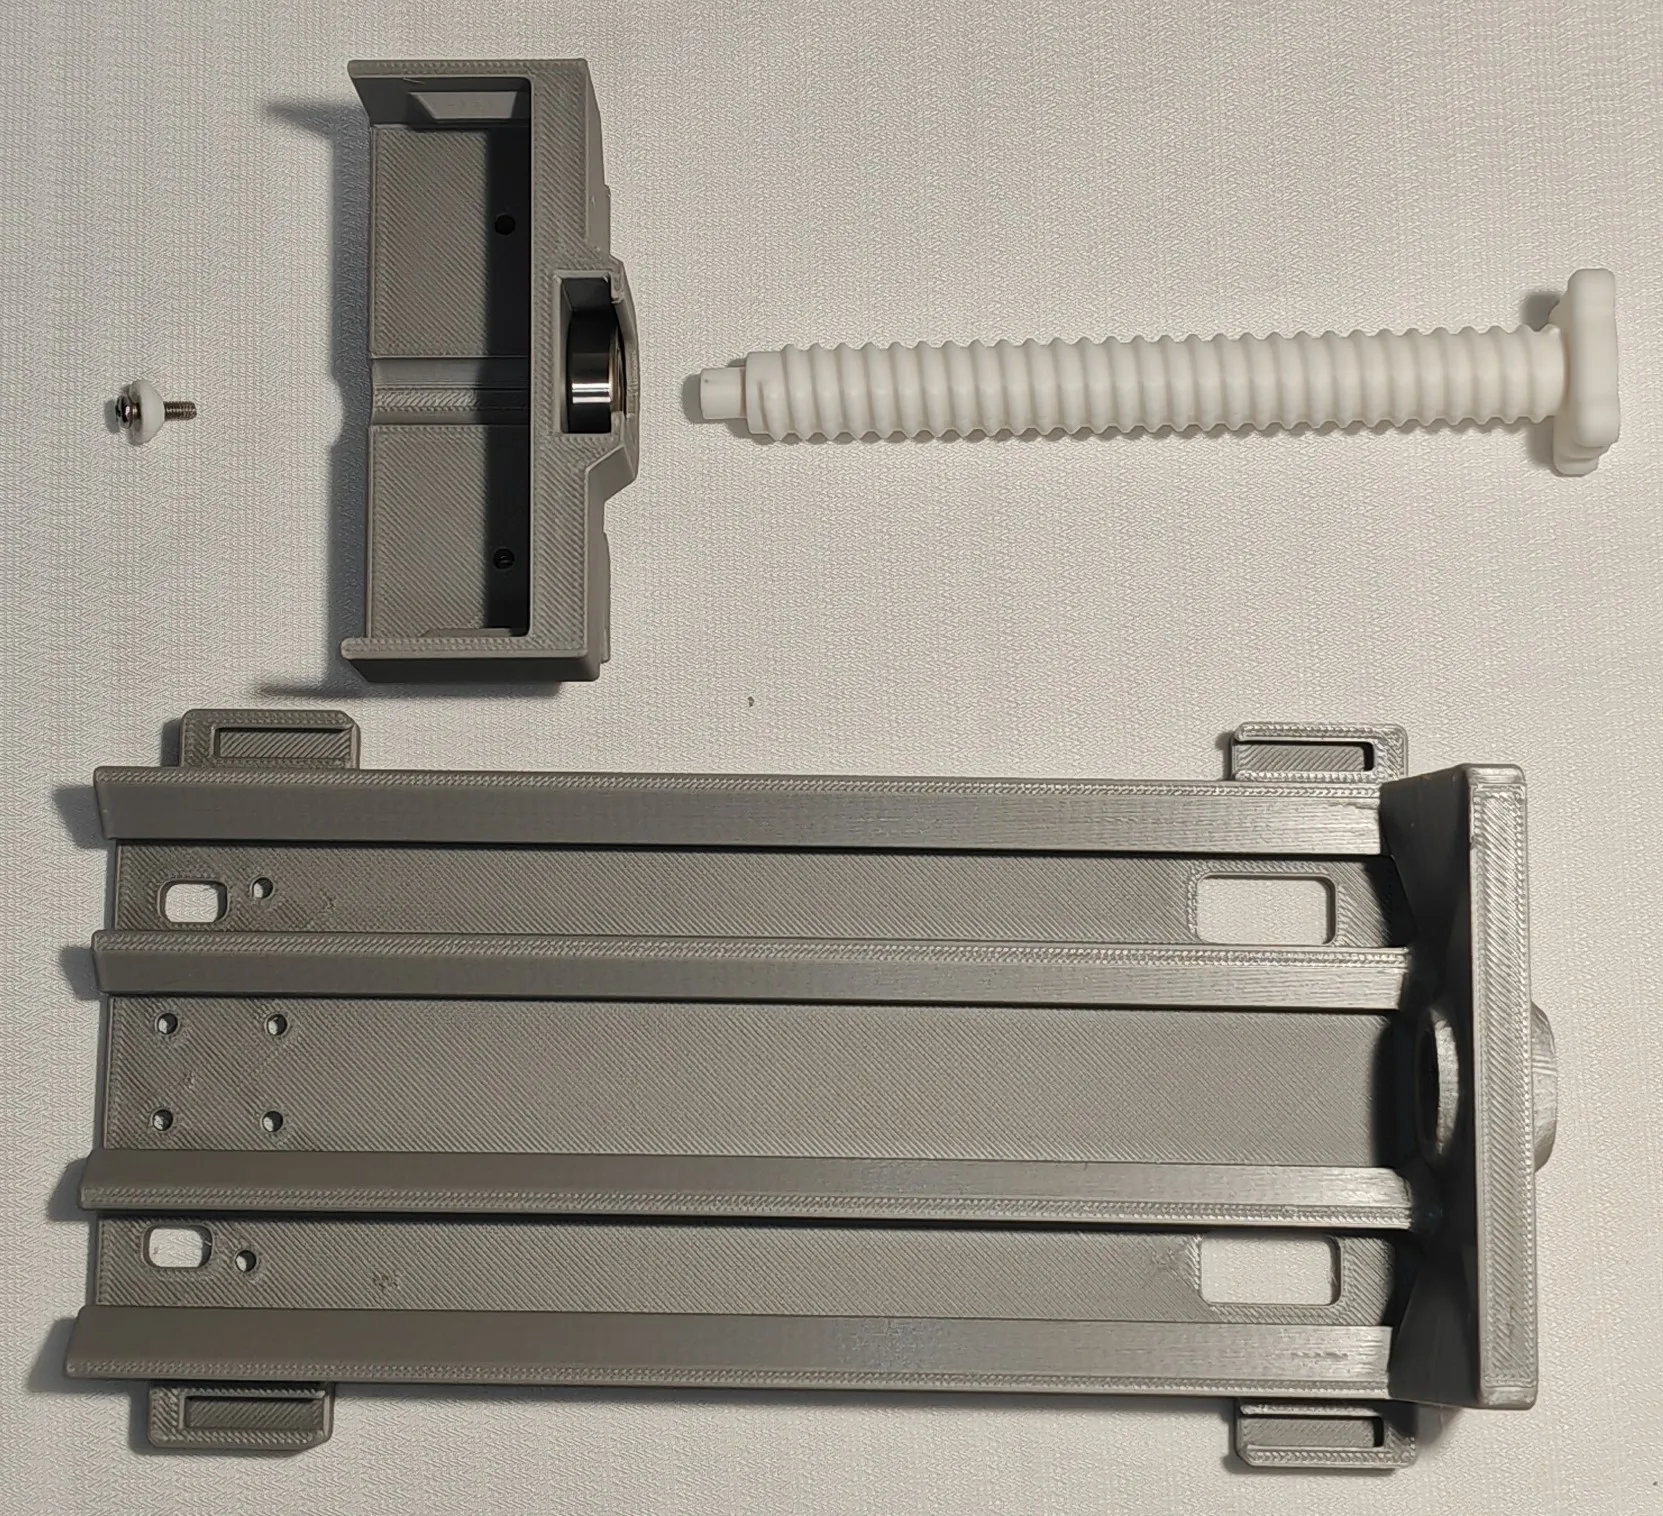
Embed the 608 bearing into the groove of the slider, and use screws to connect them as a whole.
Then, attach the base plate and fixed blocks, and secure them with screws. The module has reserved holes, allowing for easy installation at any time.
Embed the 608 bearing into the groove of the slider, and use screws to connect them as a whole. Then, attach the base plate and fixed blocks, and secure them with screws. The module has reserved holes, allowing for easy installation at any time.
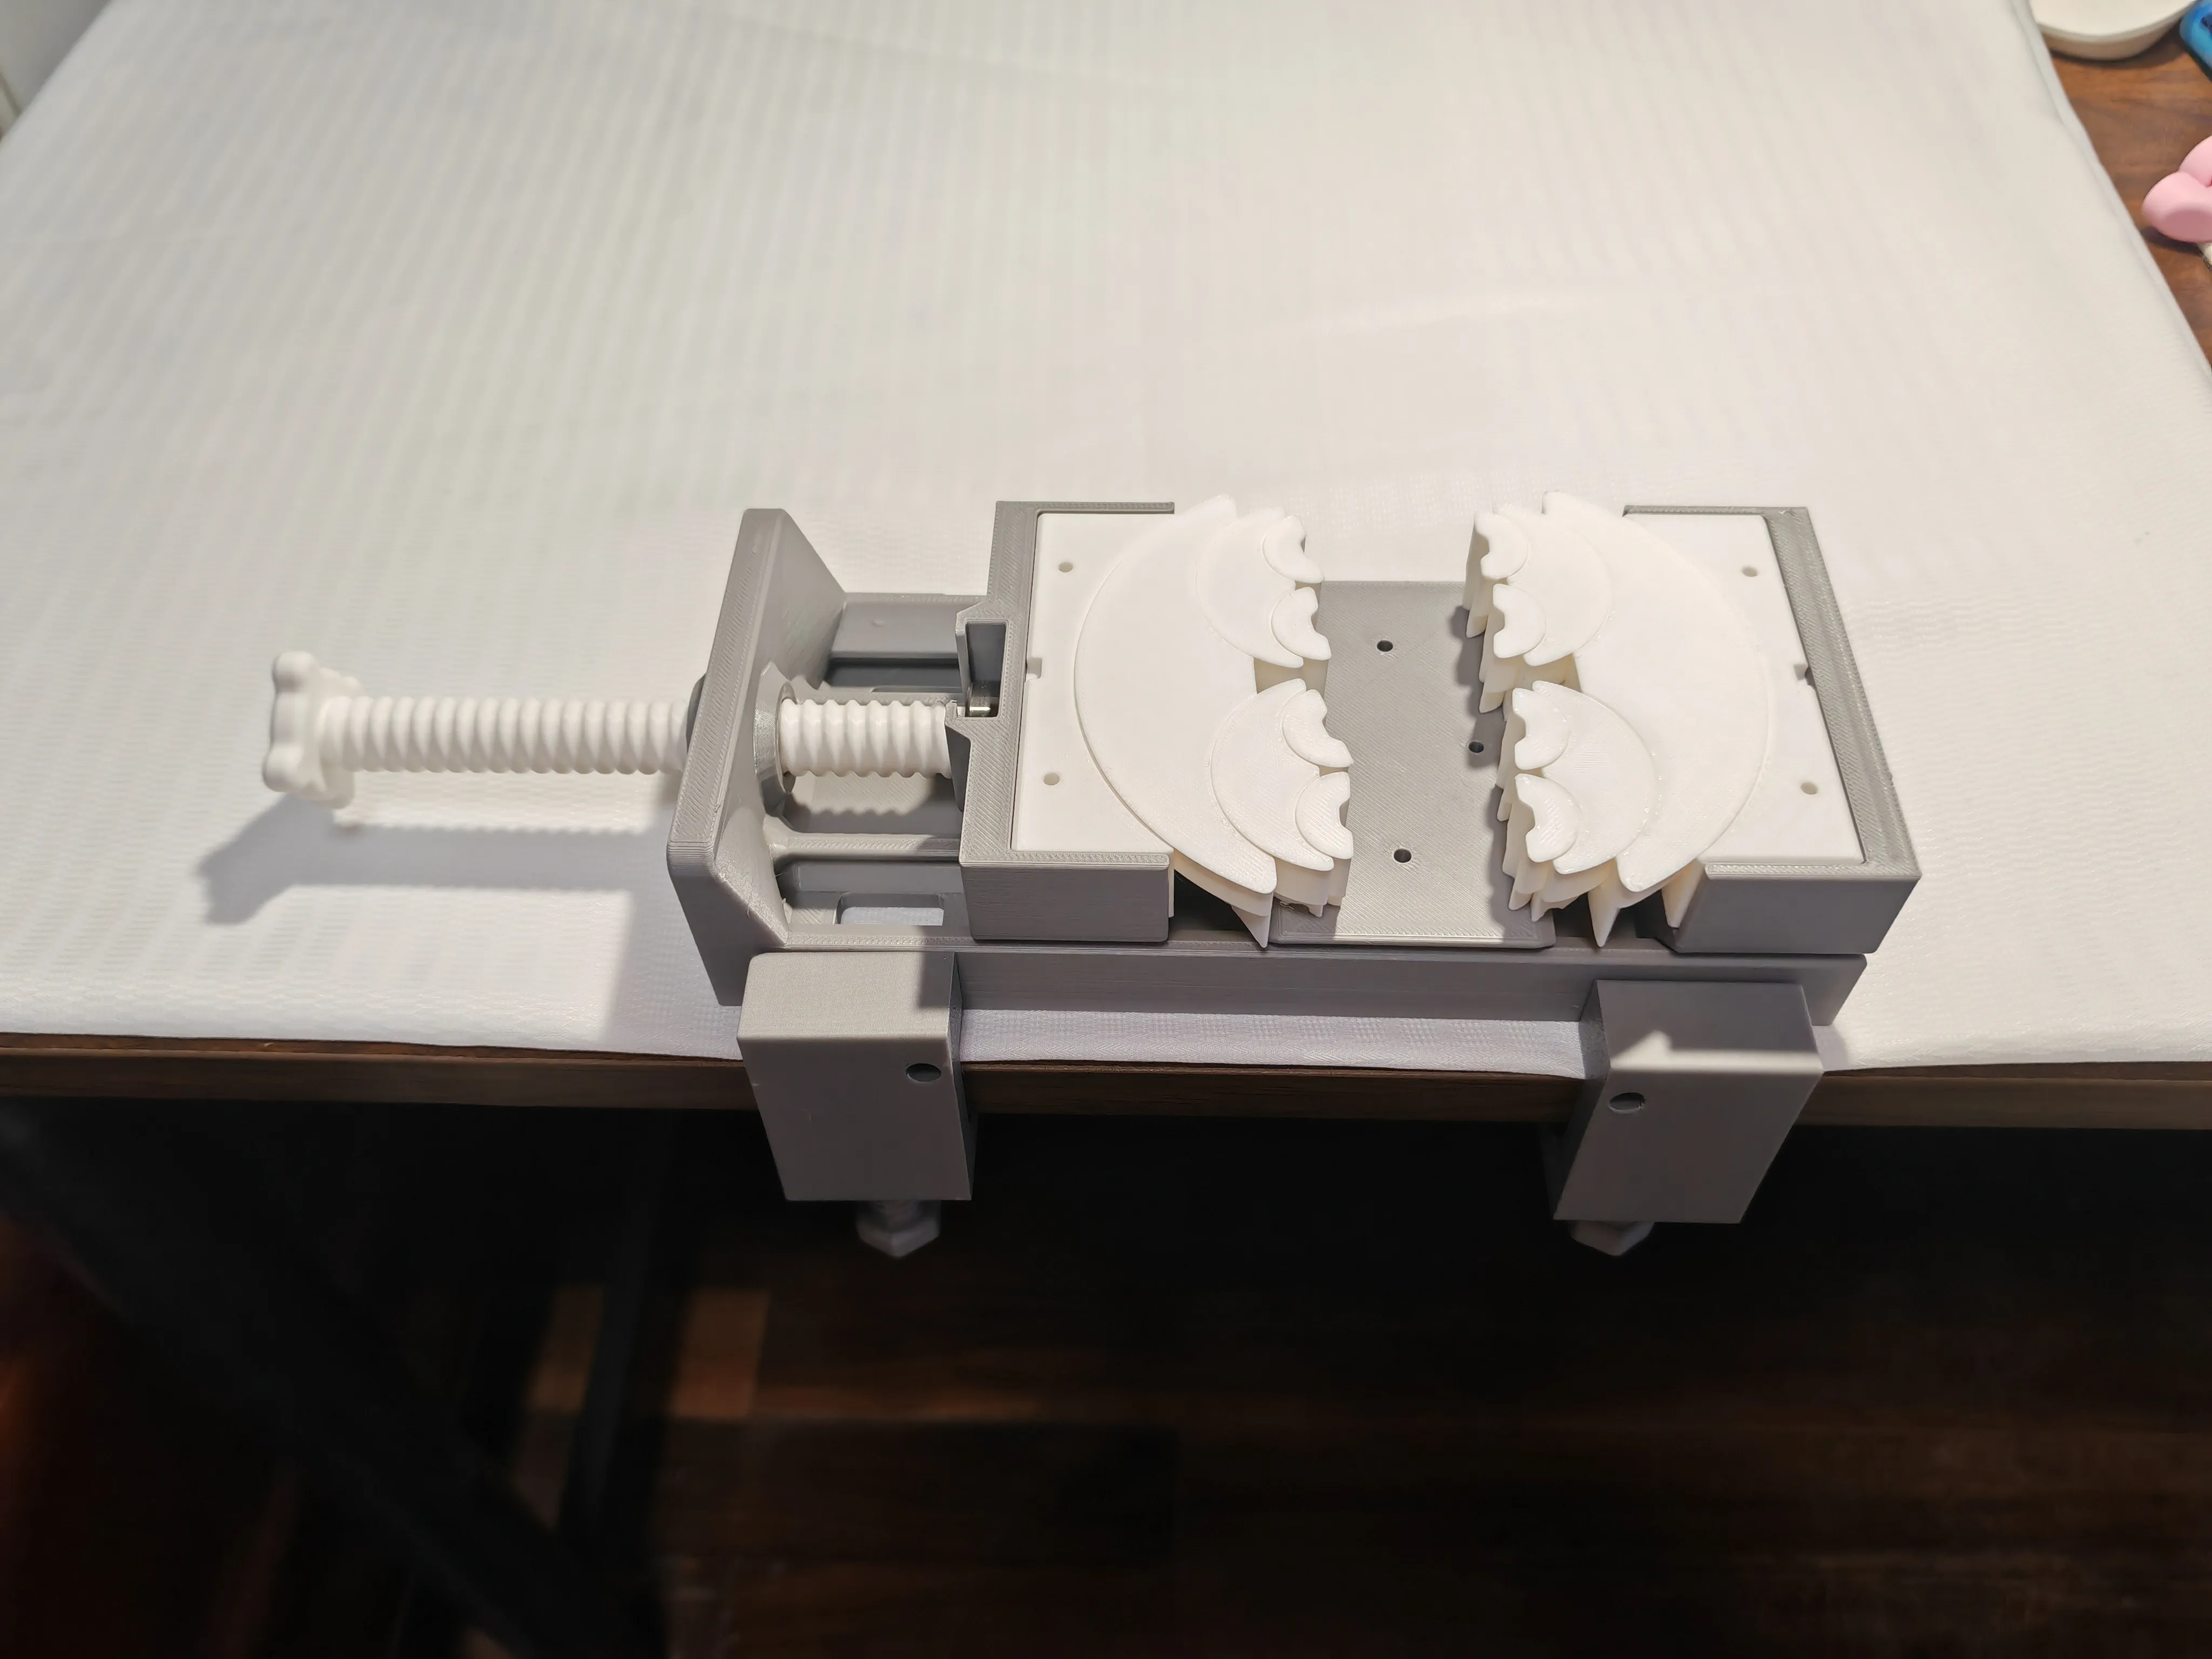
The C-type clamp is included, which can be fixed to a table. Insert the slot into the base and secure it with screws, and there are fixed screws at the bottom.
You can add plastic lubricant as needed, I used PETG to print the base, and PLA+ to print the fractal module and screws. This makes it convenient to fix small models in place.
The C-type clamp is included, which can be fixed to a table. Insert the slot into the base and secure it with screws, and there are fixed screws at the bottom. You can add plastic lubricant as needed, I used PETG to print the base, and PLA+ to print the fractal module and screws. This makes it convenient to fix small models in place.
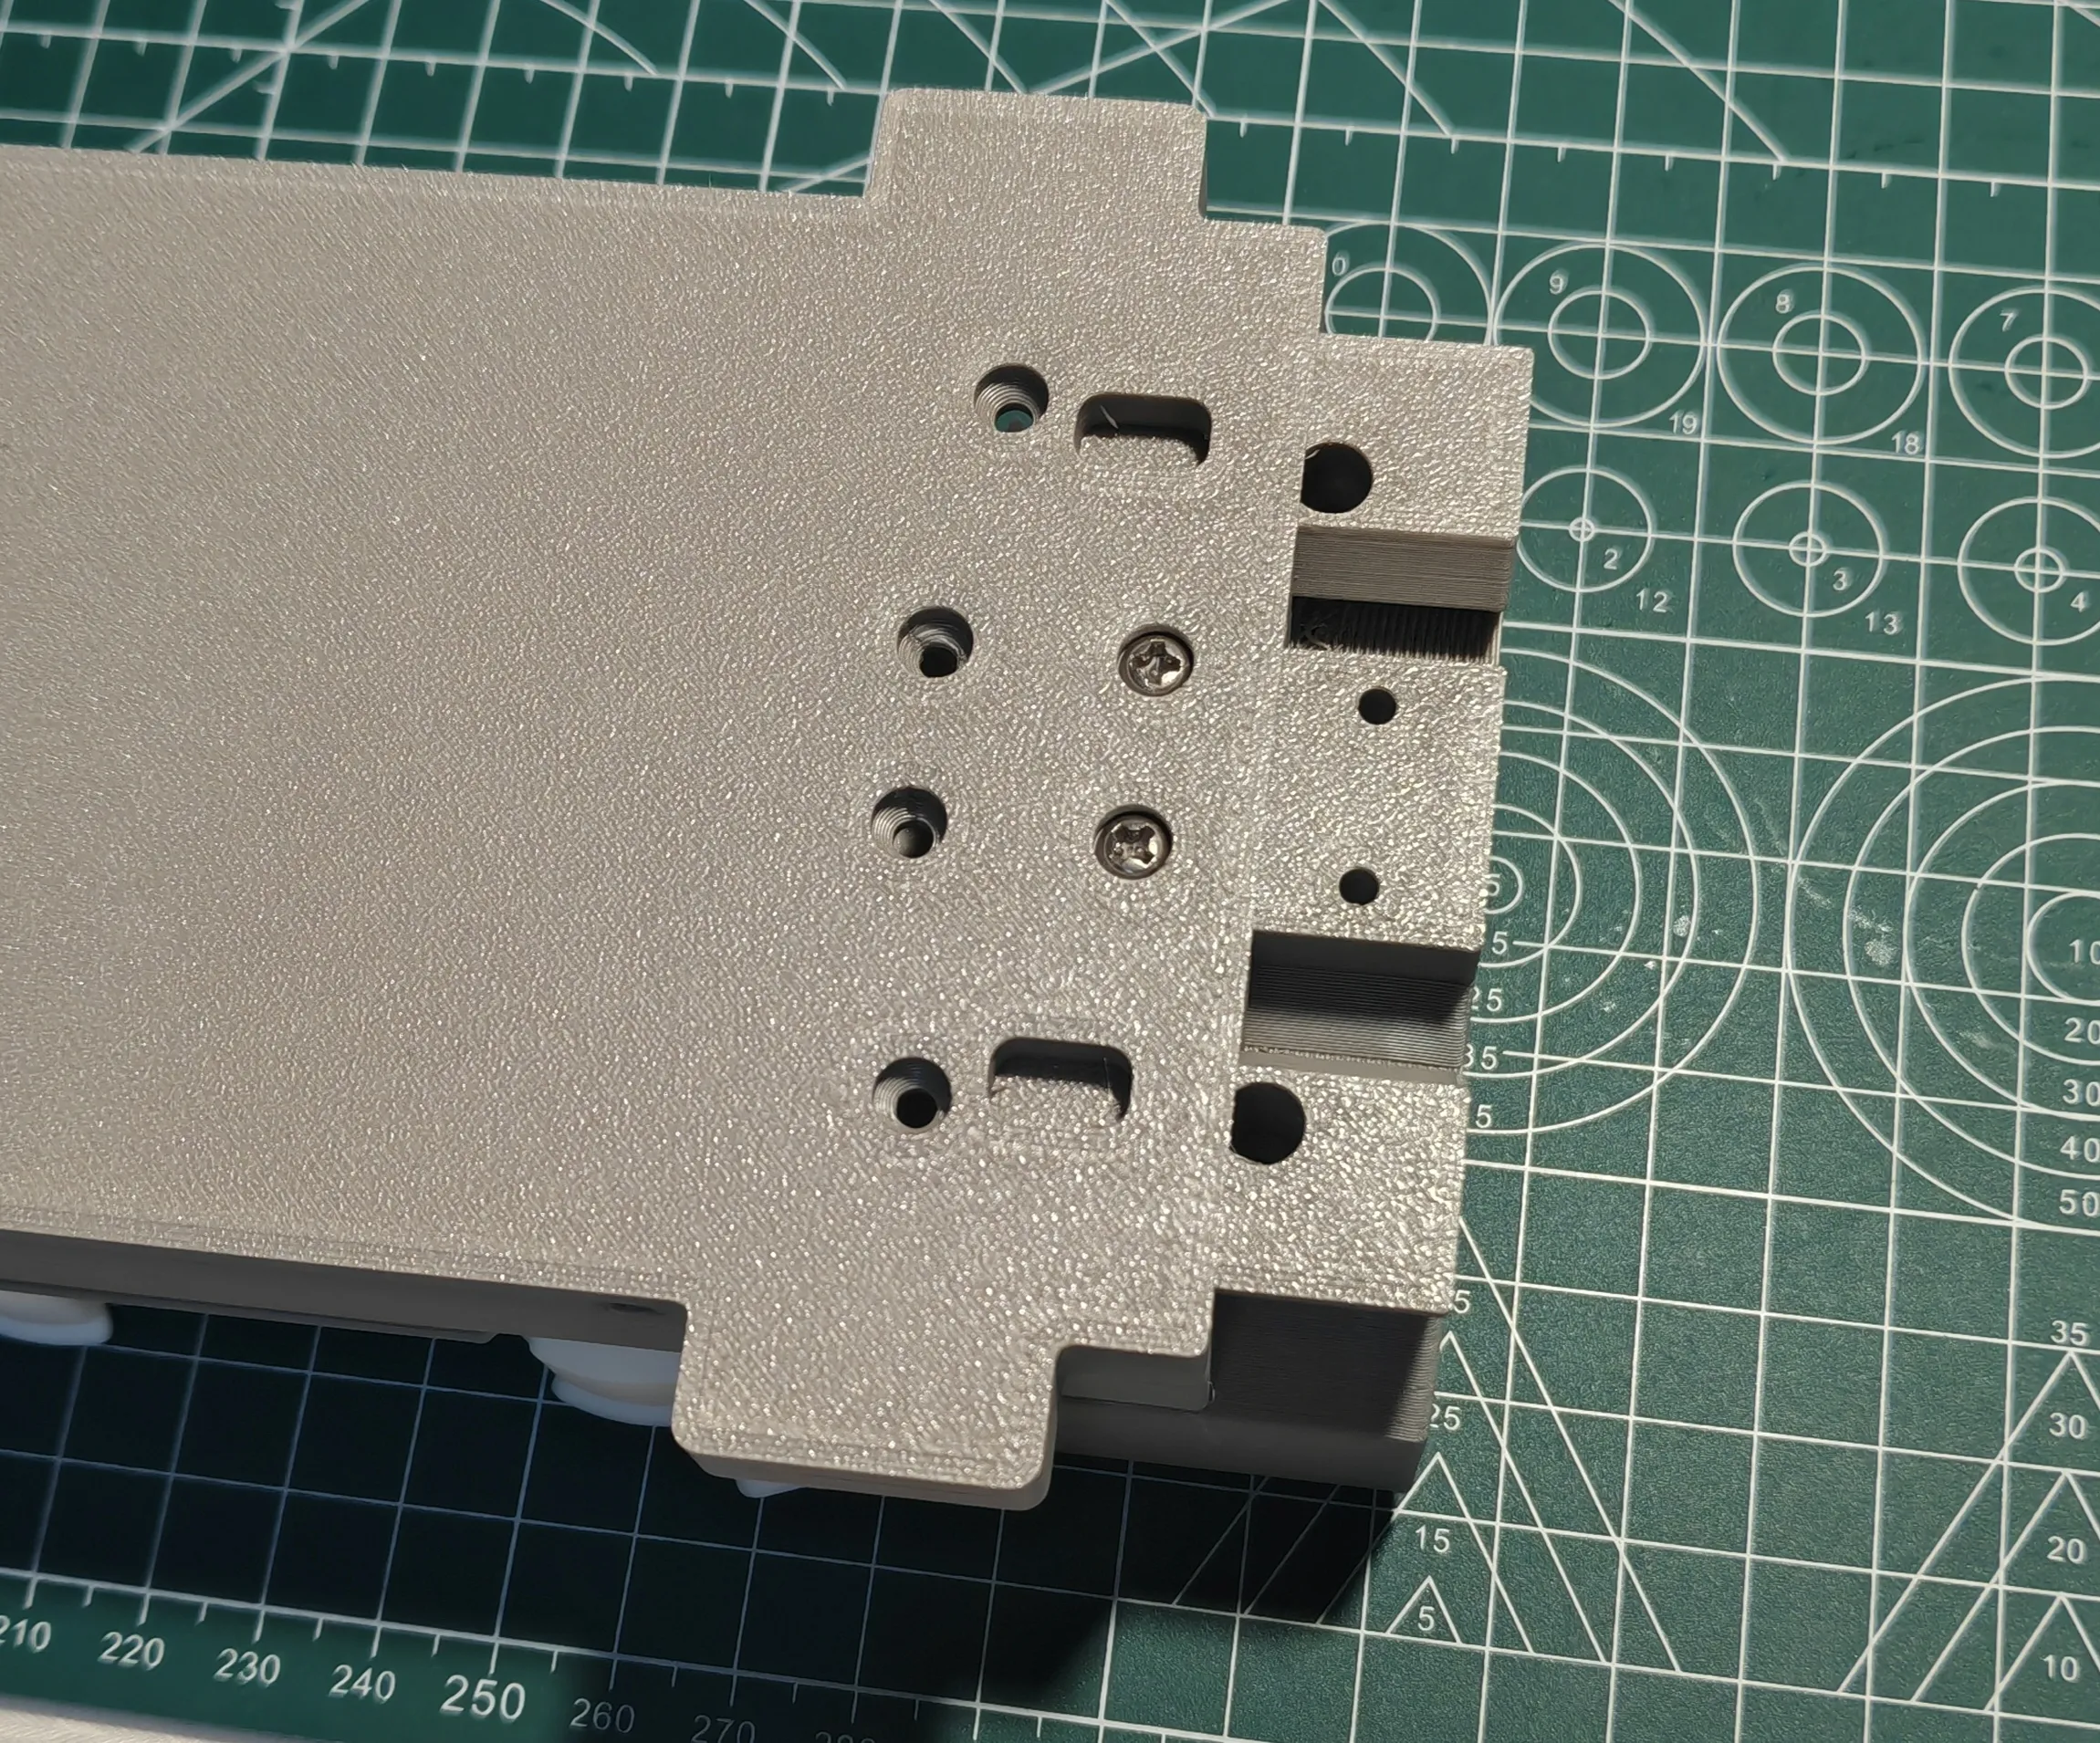
Need it longer? Do like this. However, structural strength will be lost, and reliable extension modules will be updated soon.
Need it longer? Do like this. However, structural strength will be lost, and reliable extension modules will be updated soon.
License

You shall not share, sub-license, sell, rent, host, transfer, or distribute in any way the digital or 3D printed versions of this object, nor any other derivative work of this object in its digital or physical format (including - but not limited to - remixes of this object, and hosting on other digital platforms). The objects may not be used without permission in any way whatsoever in which you charge money, or collect fees.


Comment & Rating (854)