DF83 Espresso Grinder - Magnetic Chute


Print Profile(1)
Description
I found the design of the chute for the DF83 less than ideal in a few ways which I aimed to solve in this design.
- disassembly for cleaning (should be much quicker)
- stock chute has deep internal ridges and narrows toward the exit which promotes retention
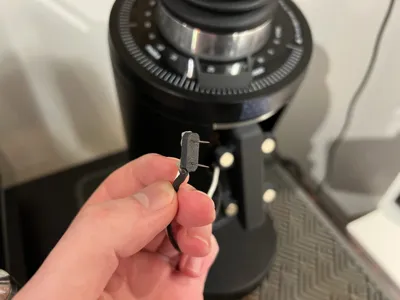
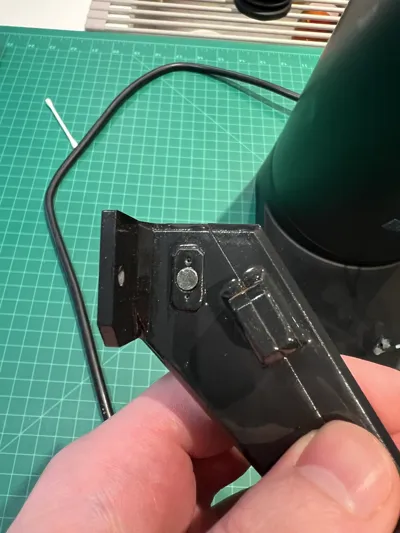
- unable to quickly disconnect the air ionizer pins when disassembling
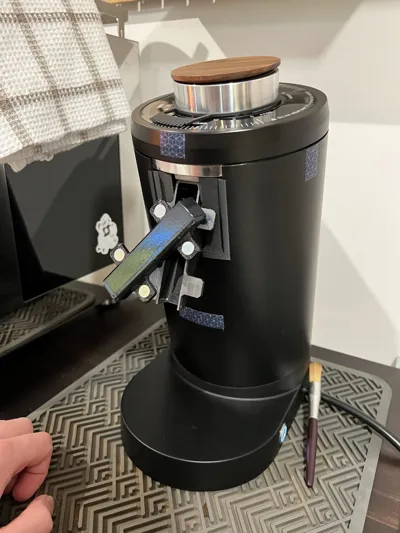
There's a well known design by Camperista3D which does a good job addressing some of this and I am the owner of one of their chutes. I wanted to try my own hand at solving the other issues with my own design. Note that this design forgos the use of the original bezel/shroud included with the grinder (see photos) though as I found this impossible to work the design while retaining.
Concerns
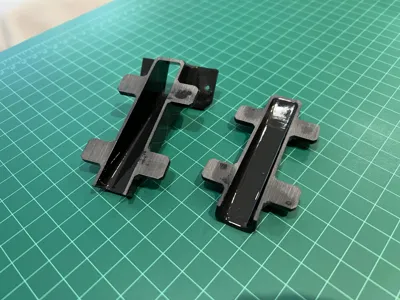
3D printed parts aren't ideal for prolonged contact with food stuffs partly due to all the crevices and ridges formed during the printing process. To help alleviate the issue I recommend sealing the print in a food grade epoxy. This has the added benefit of smoothing the print considerably which reduces the clinging of grinds. No matter what though I can't really guarantee this is a safe to use solution to the problem so use at your own risk. :3
Printing
The attached profile worked near flawlessly for my Bambu P1S through many prototypes. I did find there was a bit of an issue with the support material affecting the print quality of the Lower part's wings which hold the magnets. Nothing major though so I have yet to figure out the fix. There is an alternate model including a snap-off tab for hanging during epoxy curing, swap this one in if you want to go that route like myself.
Materials and Assembly
I used 8 10x3mm and 2 5x2mm magnets and (optionally I guess) Art Resin which bills itself as food safe epoxy.
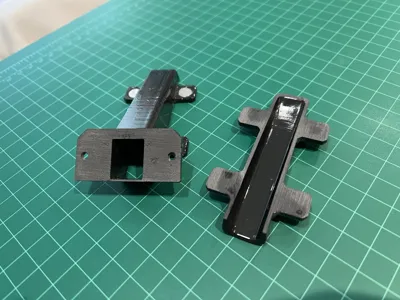
Magnets - Check and double check the direction before squeezing (or gluing) them in as I made a few mistakes with this and it's a pain. The fit is fairly tight but I liked it like that. ;3
Air Ionizer Quick Disconnect - The ionizer contacts should fit through the two small holes. I recommend extending the wires if they have no slack as it makes the process a whole lot easier. Tack down the pins on the back side with a small dolop of hot glue.
Body (Upper and Lower) - I would highly recommend sealing this in resin. Do this after figuring out and inserting the magnets. Once sealed I sanded both the mounting surface and inside faces to be flat so that they had no gaps (check with a flash light).
Shroud - I included the raw file for this but it needs improvement. A stand in for the original shroud. Needs to be slid up underneath (as the last step in installing this mod) to prevent grinds from entering motor space.
I wanted to note that there's also another major flaw which I tried to solve but wasn't able to. The flaw is with how the grinds enter the chute. They fire perpendicular to the left wall of the chute ping ponging back and forth. This causes a build up of cemented fines on the left entrance to the chute. I have made a chute which is tilted to the direction the grinds fire out but it's not very pretty and is very difficult to install due to blocking the mounting screws. I gave up on fixing that for this design but maybe someone else can figure it out.
Comment & Rating (5)