
Slime VR Case and Extensions






Print Profile(0)
Description
The Documentation on how to build my slimeVR Trackers is Still incomplete!
but all of the uploaded files are final and can be printed to build a full set of Trackers!
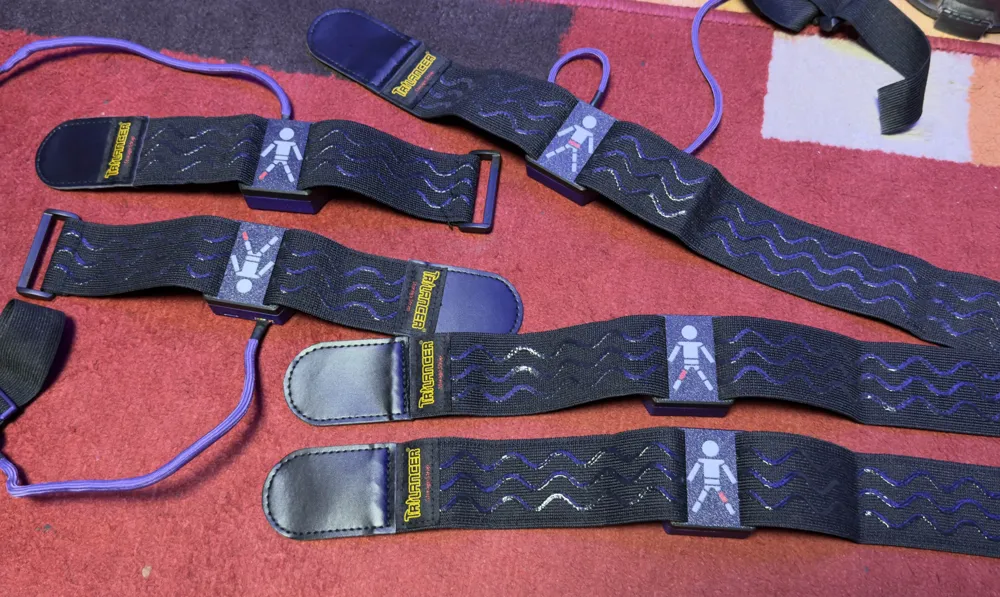
Edit 2: Added new bottom version so you can add better straps, the DIY straps sucked. i now use those straps https://www.amazon.de/dp/B09T5YDMTR
but all 5cm wide straps should work, just try it.
(Edit 03.11.22: added a quick assembly video, i will add a better explanation video some day in the future)
Yeah, just as said above, I'm struggling to upload my trackers now since over 7 months, i want to finally upload them so other people can build them too.
The only thing holding me back was writing how everything fits together.
i will add more info from time to time (Depressions Suck)
if you can figure it out by yourself go on and build a set, step and f3d files are as always included so you can add your own logo and/or edit stuff.
The uploaded case has my SkyZet Logo and a small SlimeVR logo on it, if you want only the SlimeVR Logo you can edit it, i also added a DXF file with the SlimeVR Logo to the files.
if you are new, here are the docks of SlimeVR itself, with a lot of informations about how everything works: https://docs.slimevr.dev/
The PCbs are fixed in place with double-sided tape,
IMPORTANT: use a thick double-sided tape to prevent shorts between the MPU/BNO and d1 mini
Most important stuff to know for printing:
- 0.16 layer hight or lower.
- PLA as printing material is enough
- Everything that needs support has break away supports, DO NOT USE SUPPORTS FROM YOUR FDM SLICER, the top case is easiest to print with good bridging settings.
- Everything is already orientated correctly for printing, but it seems like the bridging orientation is sometimes different when slicing. Make sure it will bridge to the shortest side.
- the bottom case is a multicolor print with filament swaps, i used black for the main case, white for the not used body parts and Red for the body part the tracker is for, you can use whatever color combinations you want.
- the top case has also a (optional) filament swap for the logo and on/off symbol, but if you want you can just color it with a pen afterwards.
Part List:
- 2x6 PH Screws (Needed/Designed for, color bronze)
- IMU-either BNO08X (Has Best Tracking But Expensive af because of chip shortage) or MPU6050 (Has a lot of drifting but is cheap)
- Wemos D1 Mini v3
- USB-C Lion loading module with protection
- JST2,0 PH 5pin. Female and Male, i used male with 90 degree bend
- JST2,0 PH 2pin. Female and Male, also 90 degree
- Schottky 1N5817 Diodes (at least 10, buy a 100pack)
- 180k Ohm Resistor (also buy a 100pack)
- Mini Switches needed
- Elastic Straps (important, needs to be 30mm wide)
- 3.7v Battery 103450 2000mah (maximum size 10x50x34mm)
Wires, i used these for non 5v (30AWG for non 5v, the ground with 5v needs to be thicker)
ADDED 01.02.2025
- Straps For the new bottom version (they are 5cm wide)
if a link dies or you have other problems you can send me a dm on Discord StriK3FoRC3#0001 or make a comment here
Donate if you want, need more Filament for other Projects/Prototypes ;)
my Discord Server: https://discord.gg/Fhm6XFVCZN
License

You shall not share, sub-license, sell, rent, host, transfer, or distribute in any way the digital or 3D printed versions of this object, nor any other derivative work of this object in its digital or physical format (including - but not limited to - remixes of this object, and hosting on other digital platforms). The objects may not be used without permission in any way whatsoever in which you charge money, or collect fees.


Comment & Rating (0)