
Beach Volley Ball Keychain






Print Profile(3)


Bill of Materials

Description

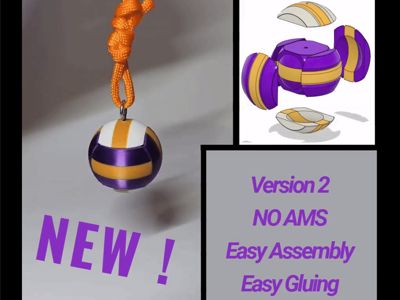
Do you want to show a unique and particular keychain this summer? This is a Beach Volley / Volleyball keychain, you can print it in every color combination you desire, I suggest at least 3 colors but it's up to you!
You can attach it to you car keys or use it as an accessory for your smartphone.
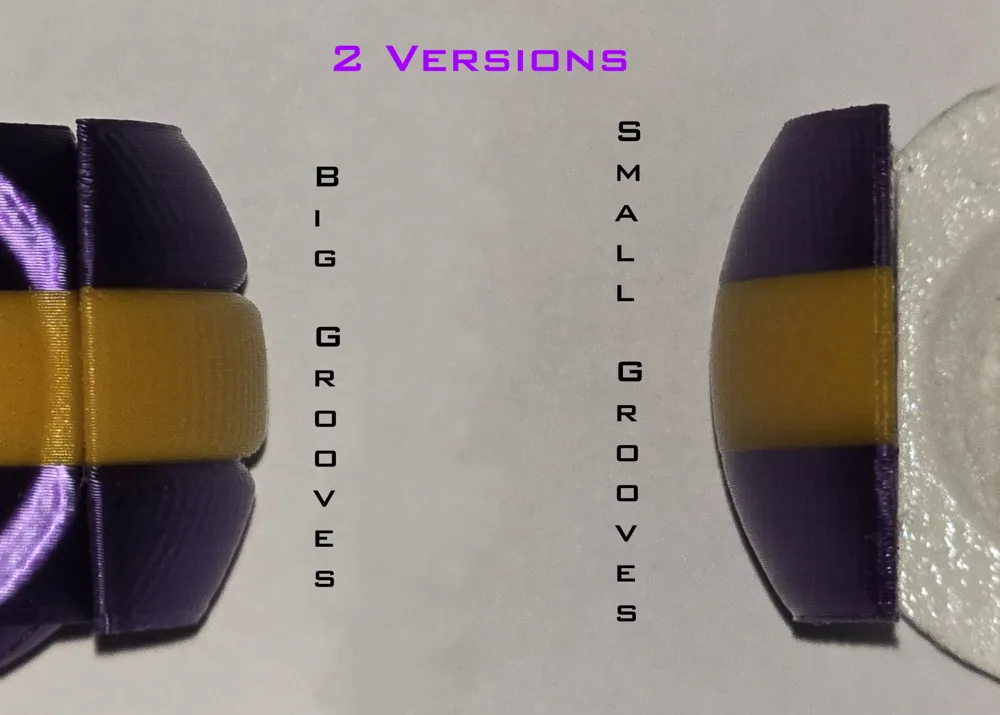
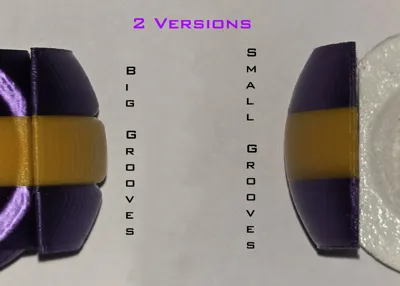
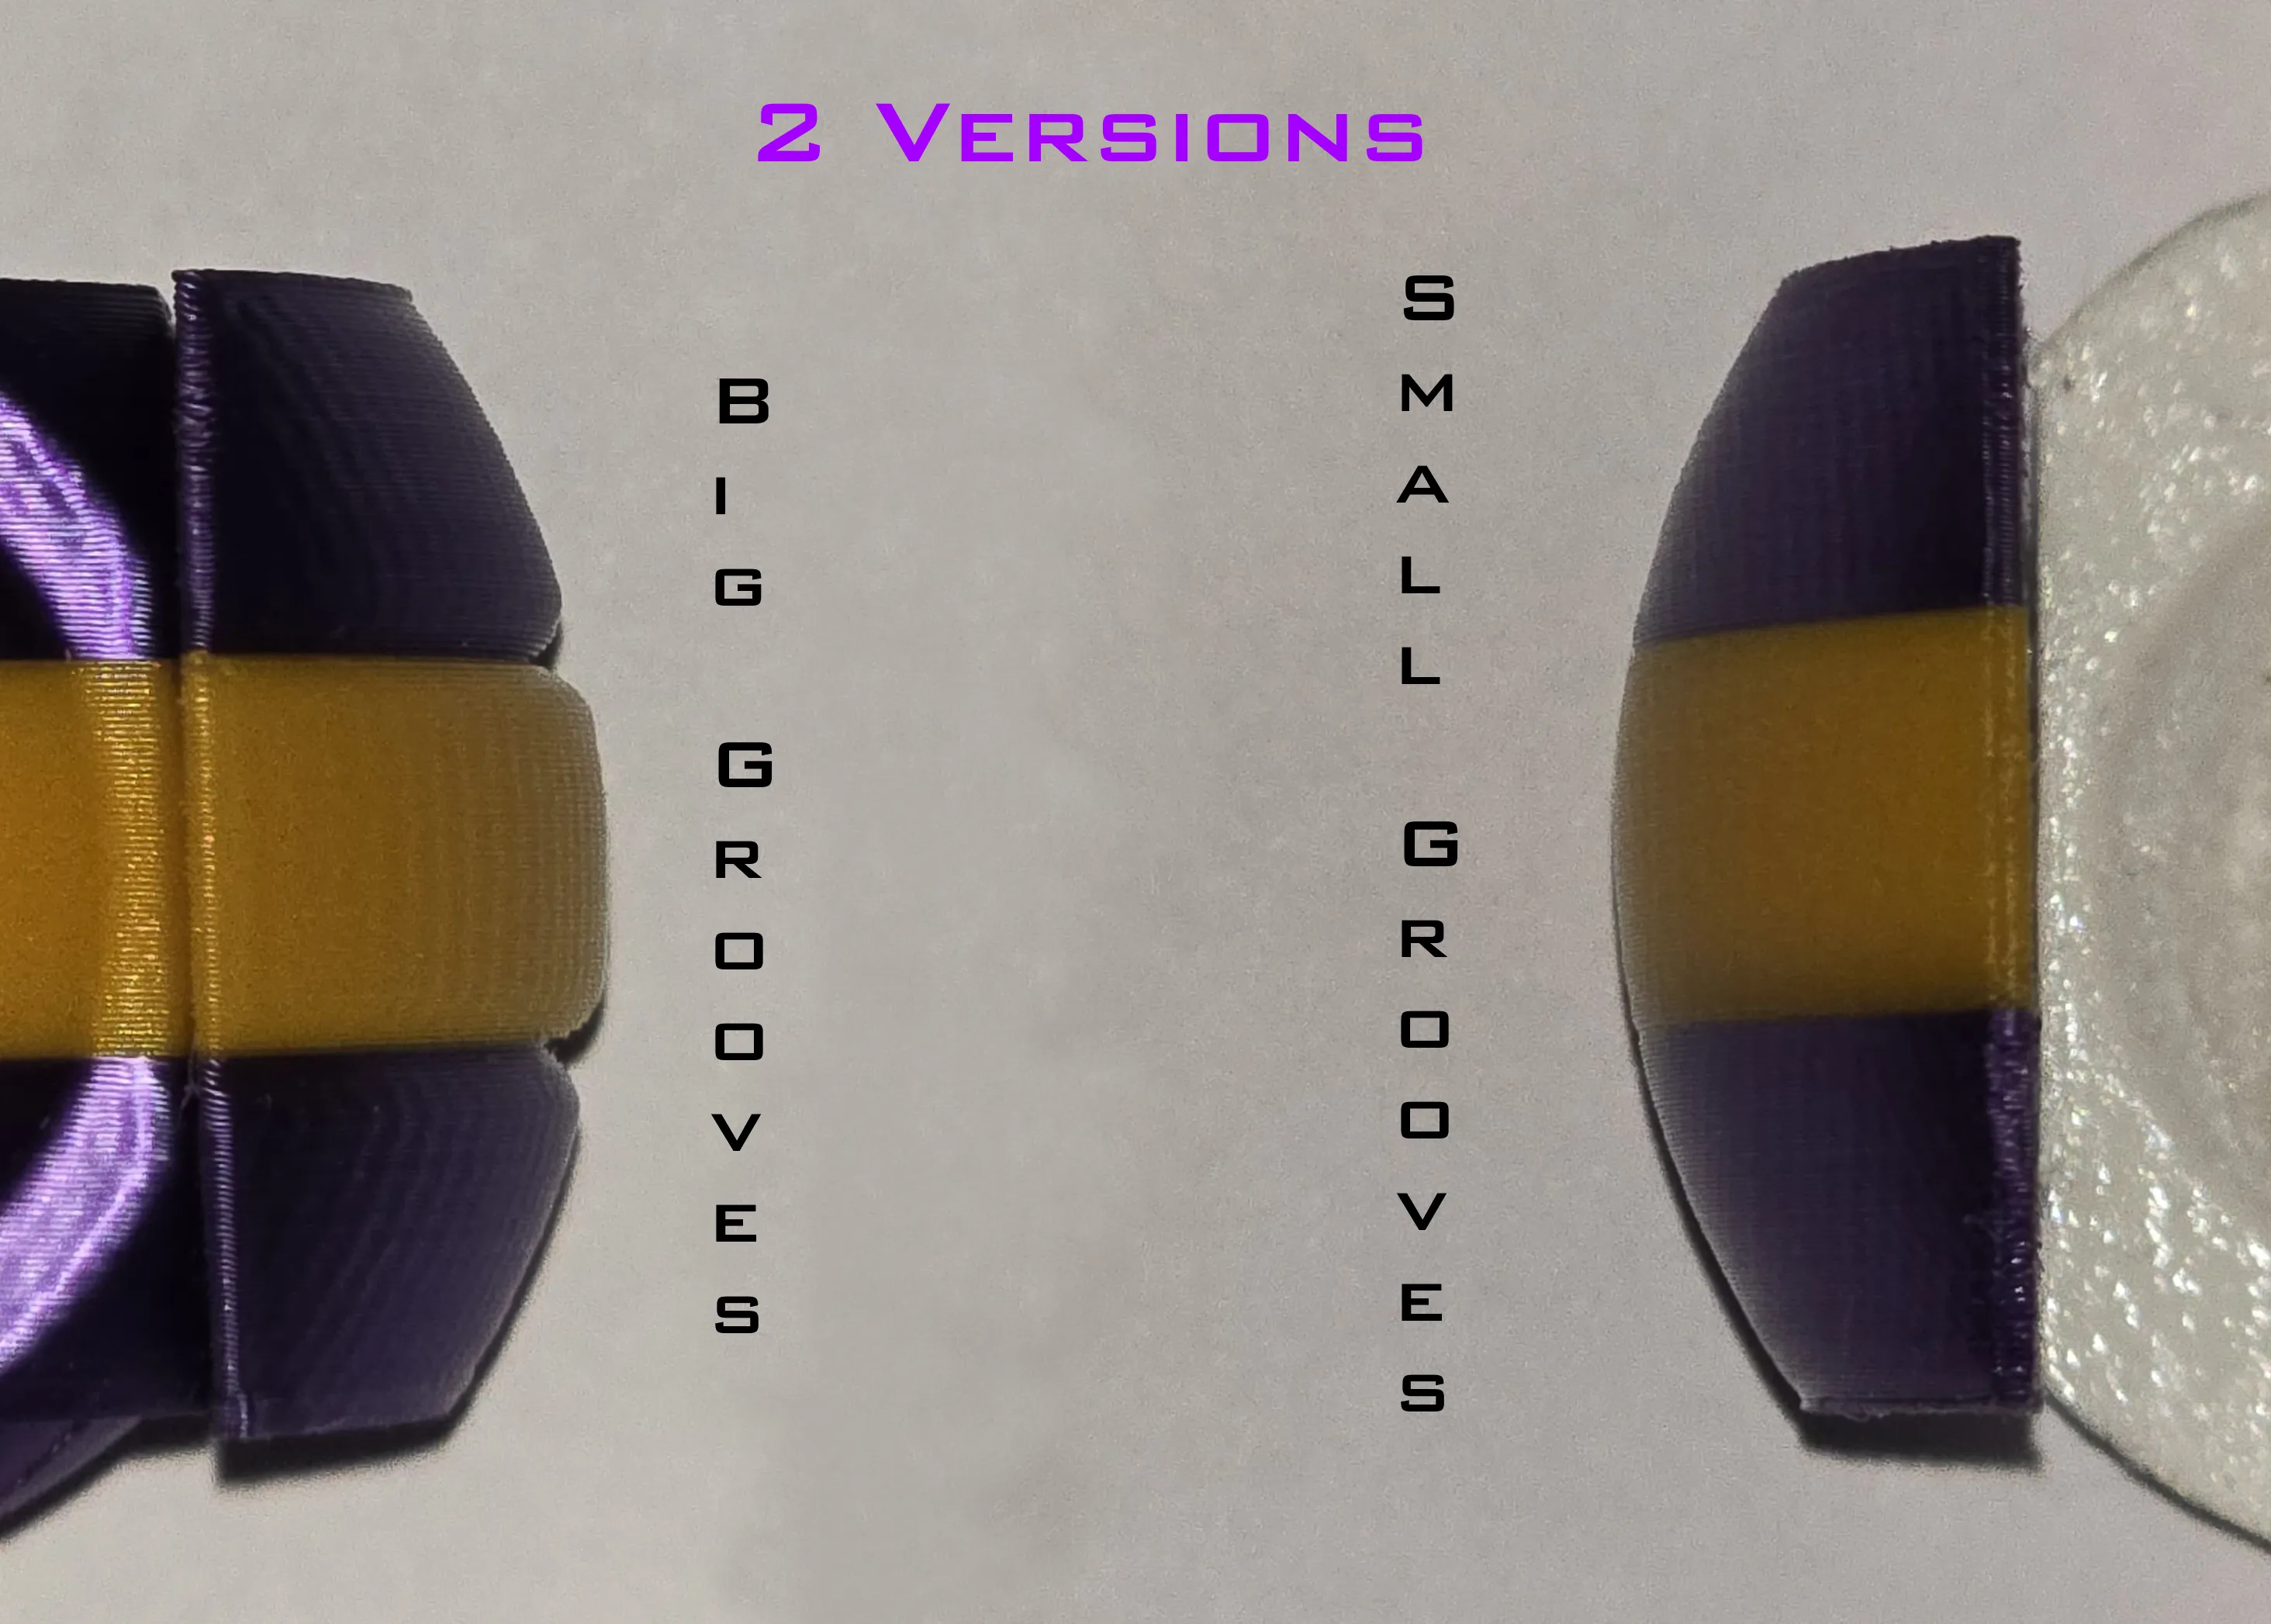
I've uploaded an improved version of the keychain, now easier to assemble. Additionally, there are two versions available: one with larger grooves and another with smaller grooves, similar to version 1, here is the comparison.
INSTRUCTIONS FOR VERSION V2
- CHOOSE YOUR VERSION (SMALL OR BIG GROOVES) AND PRINT IT
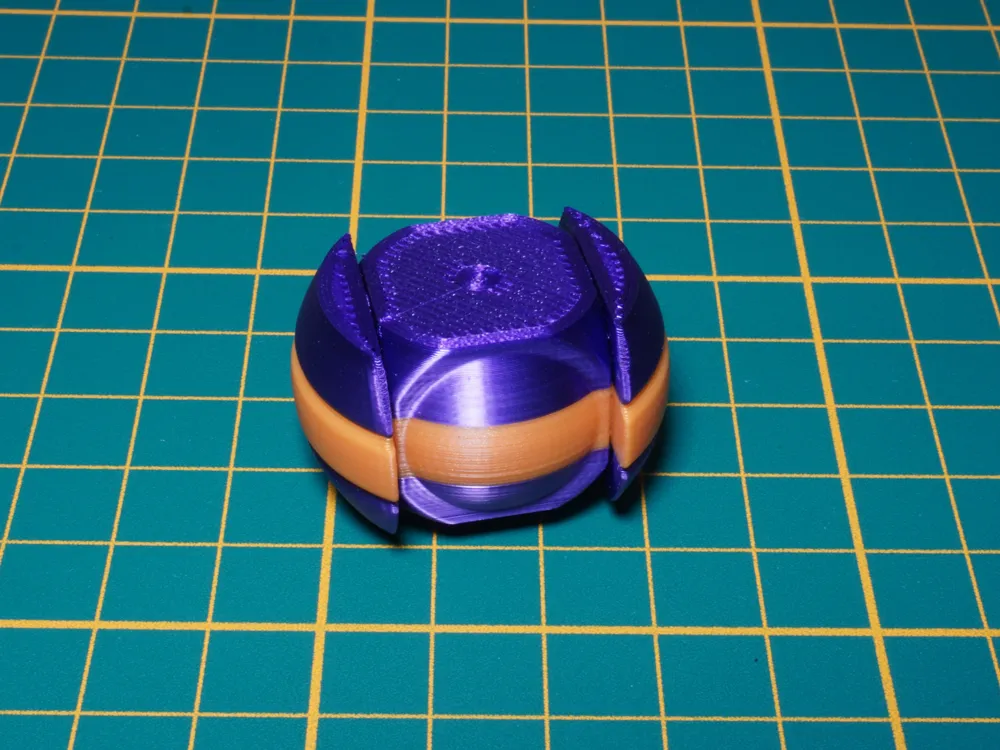
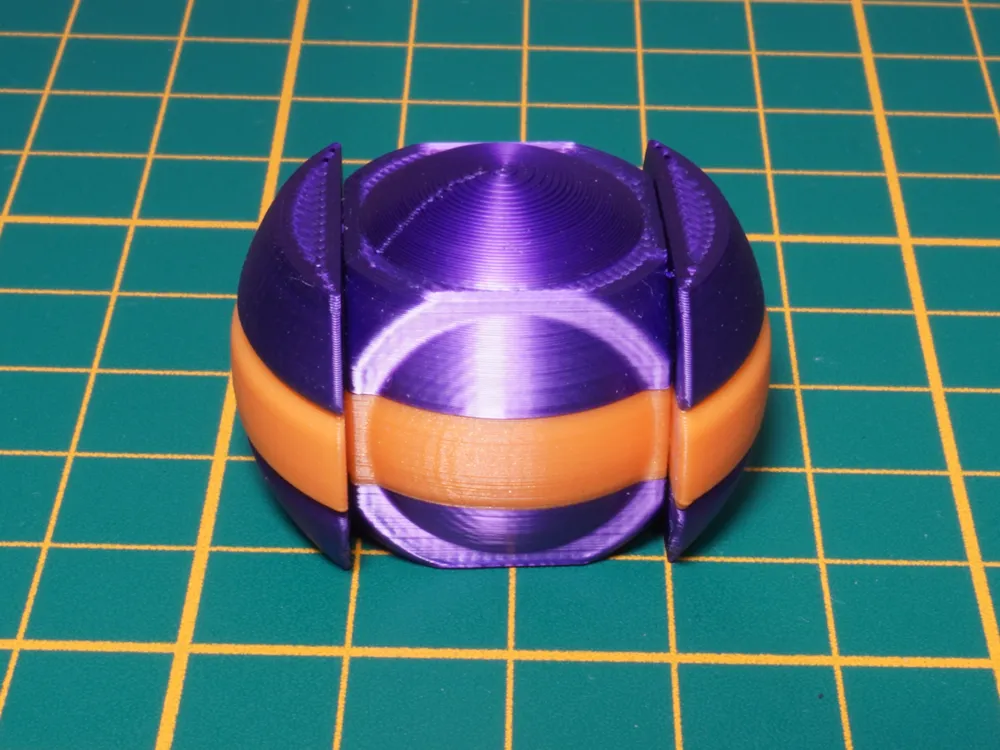
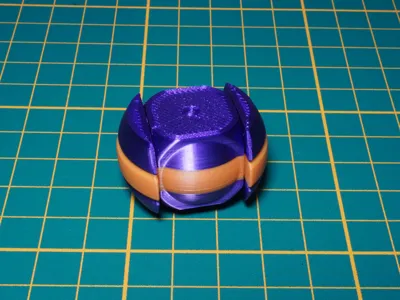
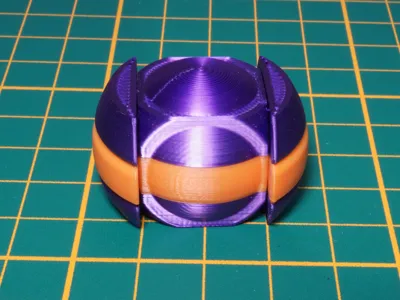
- USE THE CORE PIECE AS A GUIDE AND TEST FIT THE 2 VERTICAL SIDES (The parts printed in the same plate of the CORE)
- IF THE PRINTER IS WELL TUNED THE SIDES SHOULD SNAP IN THEIR PLACE, OTHERWISE USE A LITTLE FILE OR FINE SANDPAPER
- TEST FIT BOTTOM PART
- TEST FIT THE TOP PART (The top part goes on the flat side of the CORE )
- IF EVERYTHING IS OK PROCEED TO GLUE THE PARTS AND ENJOY YOUR NEW KEYCHAIN!
I've considered and listened your precious feedback, I've improved the keychain for easier assembly. Your boosts mean a lot, as I invest time and enjoy refining my designs based on your input!
Boost Me (for free)
Your support means A LOT to me, if you like my models consider giving me a BOOST, it will help me to keep upgrading old prokects and making new ones!
(OLD INSTRUCTIONS FOR VERSION 1)
(Print the 6 pieces separately, sand down a little the flat faces and use a couple drops of Gorilla Glue or any other Cyanoacrylate or PLA Glue to glue the pieces Together.
Now you can use a thin fishing wire or a hook screw on the small hole in the top part of the Plate 02. I used a hook screw.)
License

You shall not share, sub-license, sell, rent, host, transfer, or distribute in any way the digital or 3D printed versions of this object, nor any other derivative work of this object in its digital or physical format (including - but not limited to - remixes of this object, and hosting on other digital platforms). The objects may not be used without permission in any way whatsoever in which you charge money, or collect fees.


Comment & Rating (59)