
Daisy Pinwheel




Print Profile(2)


Description
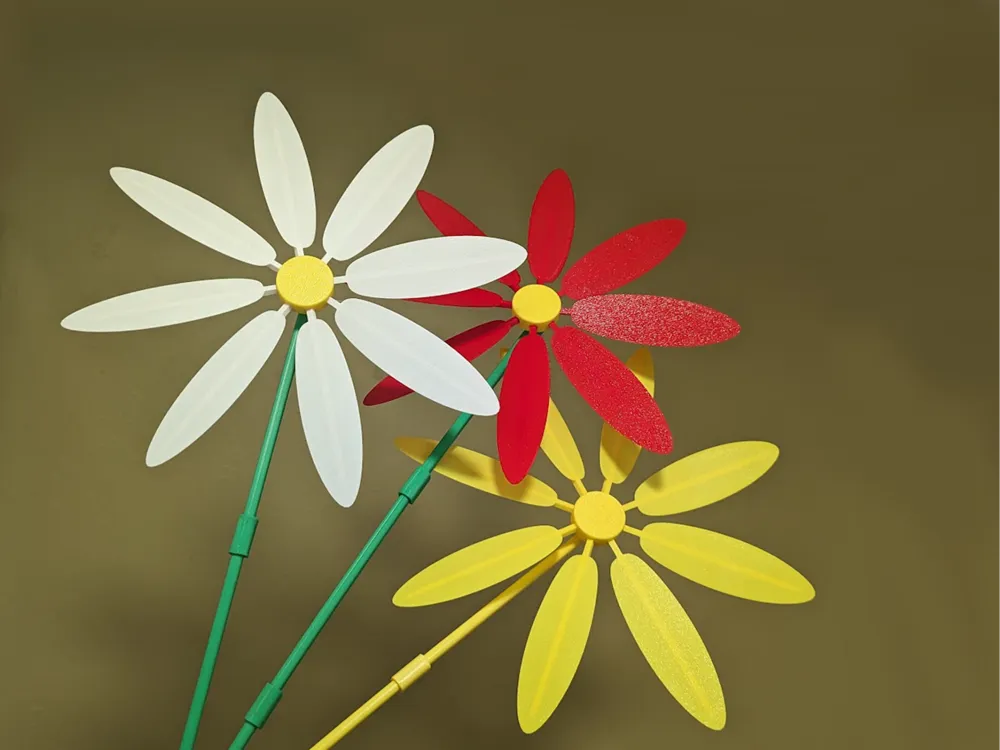
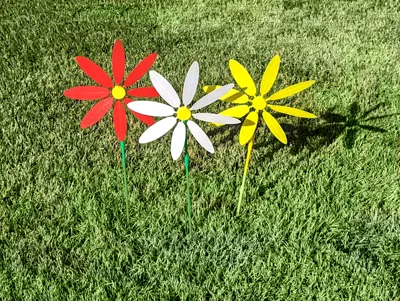
Daisy pinwheel to use as a garden decoration and as a kid's toy.
The daisy has eight, slightly angled petals that act as windmill blades.

When assembled the daisy is 29.5cm in diameter and, with optional extensions, up to 62cm tall.
Prints without supports and easy to assemble.
Mix and match colors by printing petals using different filaments.
Daisies shown in the picture were printed using Bambu Lab's PLA filaments:
- PLA Basic Bambu Green
- PLA Basic Red
- PLA Basic Yellow
- PLA Matte Ivory White
Assembly instructions
While supporting the back, connect the pin of the center-hub to the hole at the top of the handle.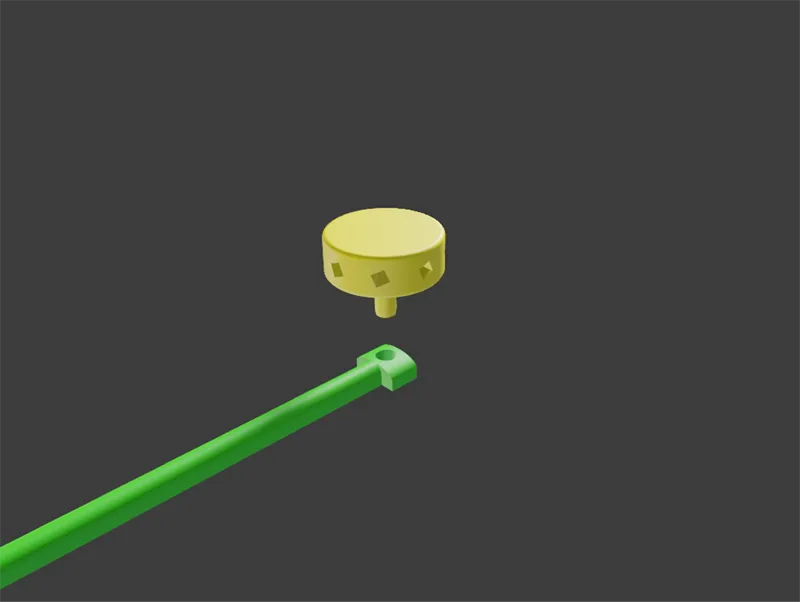
Insert the eight petals on the hub.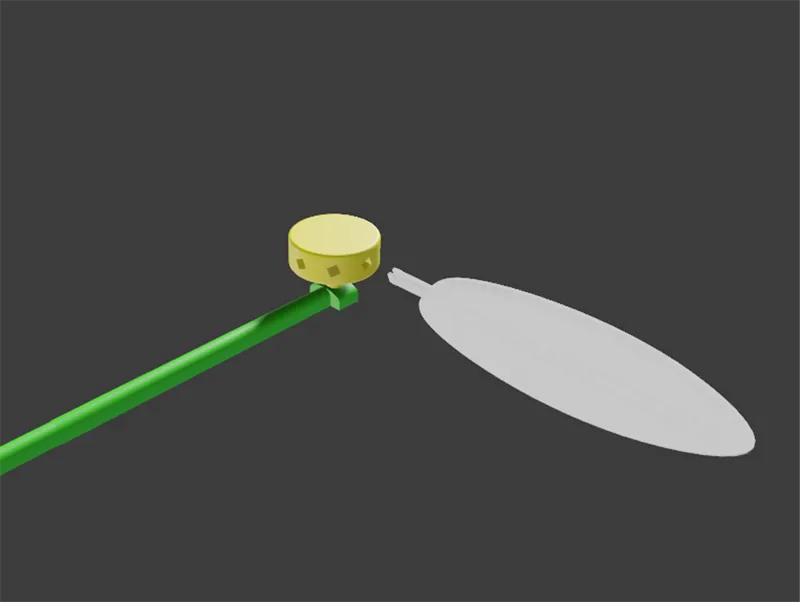
Add one or more connectors and extension for a longer handle.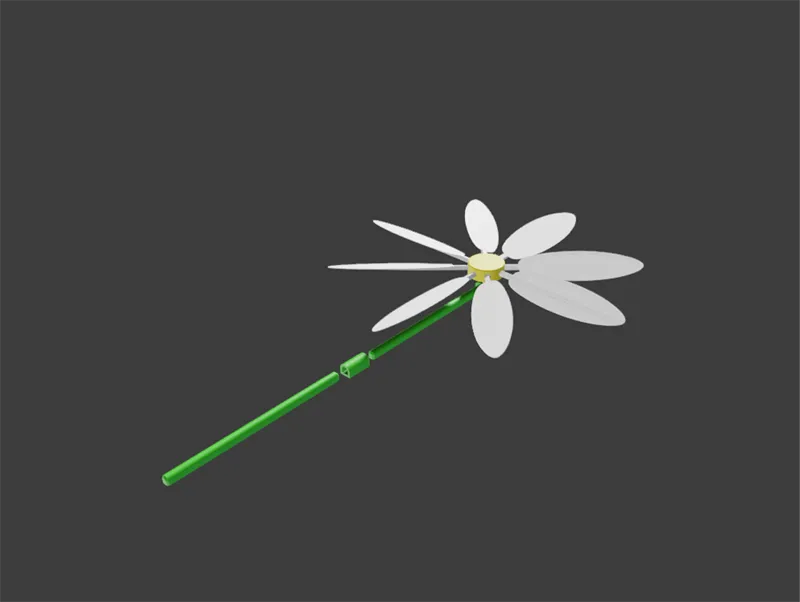
For smoother operation you can add a drop of oil at the base of the center-hub's pin, but it is not necessary.
Please remember to rate your prints!
Profile ratings are not only important for other users but also serve as valuable feedback for designers!
Click here to see my other models
Boost Me (for free)
If you like this model, please boost! It's free to you, but it's a meaningful way to support me and my designs.
General 3d Printing Tips
- Make sure your printing plate is clean! Oils from your skin can cause adhesion issues for your prints. Regularly wash your print plate with a detergent like Dawn, and avoid touching the surface when removing prints from the bed.
- If it's an option on your printer, always level the bed before each print. If you have to perform this manually, do so after every few prints. It takes a bit of time and patience, but it's a fair trade for reliable results.
- Ensure bed and nozzle temperatures are within the expected range for the material you're printing. Temperatures that are too high or too low can negatively affect the print, causing warping, malformed layers, or adhesion issues.
- Reduce your printing speed. Slower speeds are especially important for overhangs, as they give the material more time to cool as it's deposited.
Membership
Click here to obtain a commercial license to sell physical prints of my 3D models.
License

You shall not share, sub-license, sell, rent, host, transfer, or distribute in any way the digital or 3D printed versions of this object, nor any other derivative work of this object in its digital or physical format (including - but not limited to - remixes of this object, and hosting on other digital platforms). The objects may not be used without permission in any way whatsoever in which you charge money, or collect fees.


Comment & Rating (65)