
NOT a Brembo Drinks Coaster Set

Print Profile(5)










Description
Boost Me (for free)
Love This Design? Give It a Boost, It's FREE! Boosting this design not only helps it reach more creators but also motivates me to keep crafting innovative models for the community. Your boost is a simple way to show love for 3D printing creativity, and it means the world to me! Hit that boost button and help this project thrive! 🚀 Thank you for being part of this amazing journey! 🙌
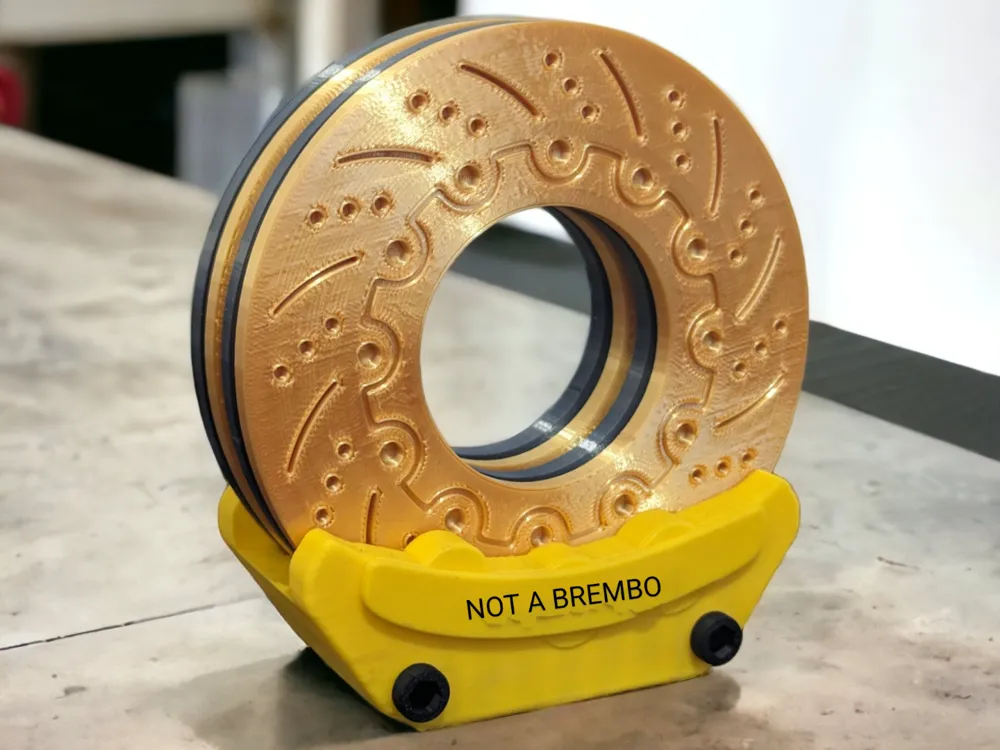
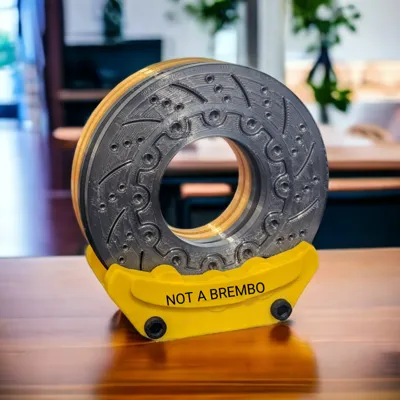
UPDATE - I've had to change the design to prevent copyright infringement this is now NOT a Brembo Drinks Coaster Set.
Model
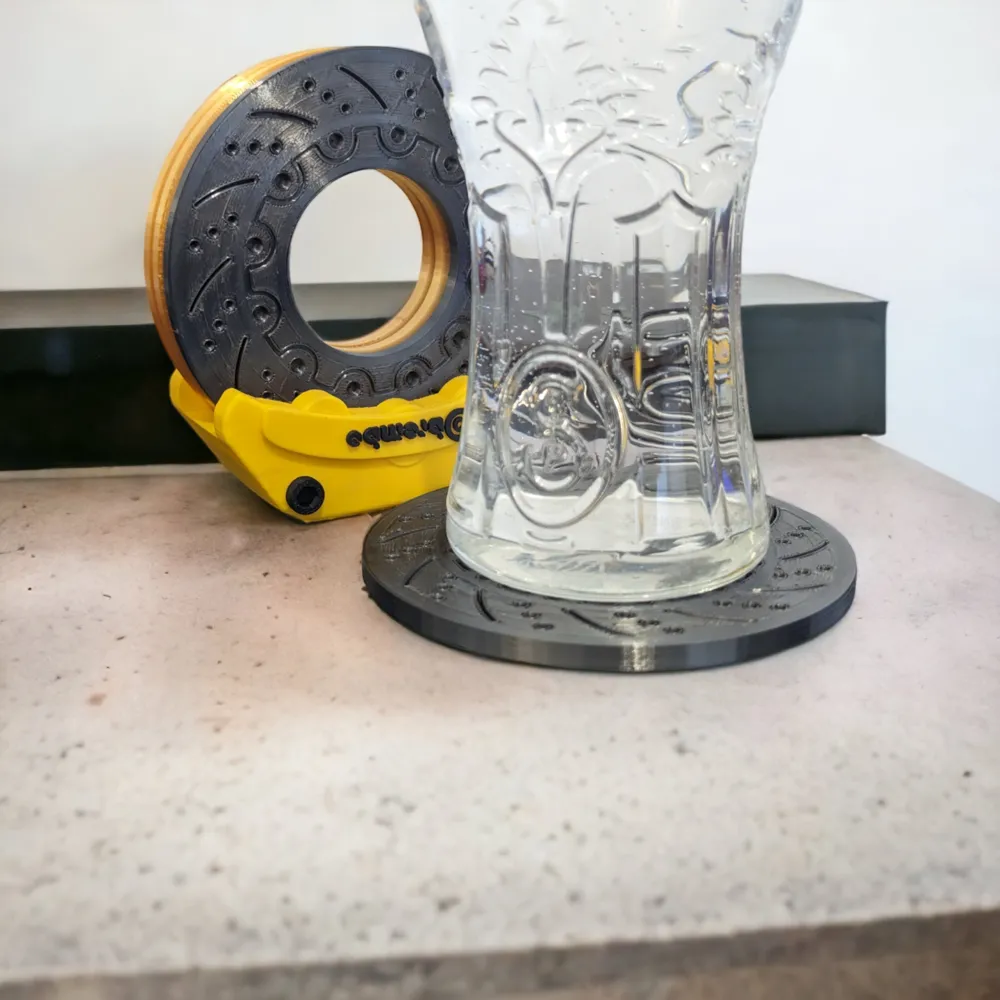
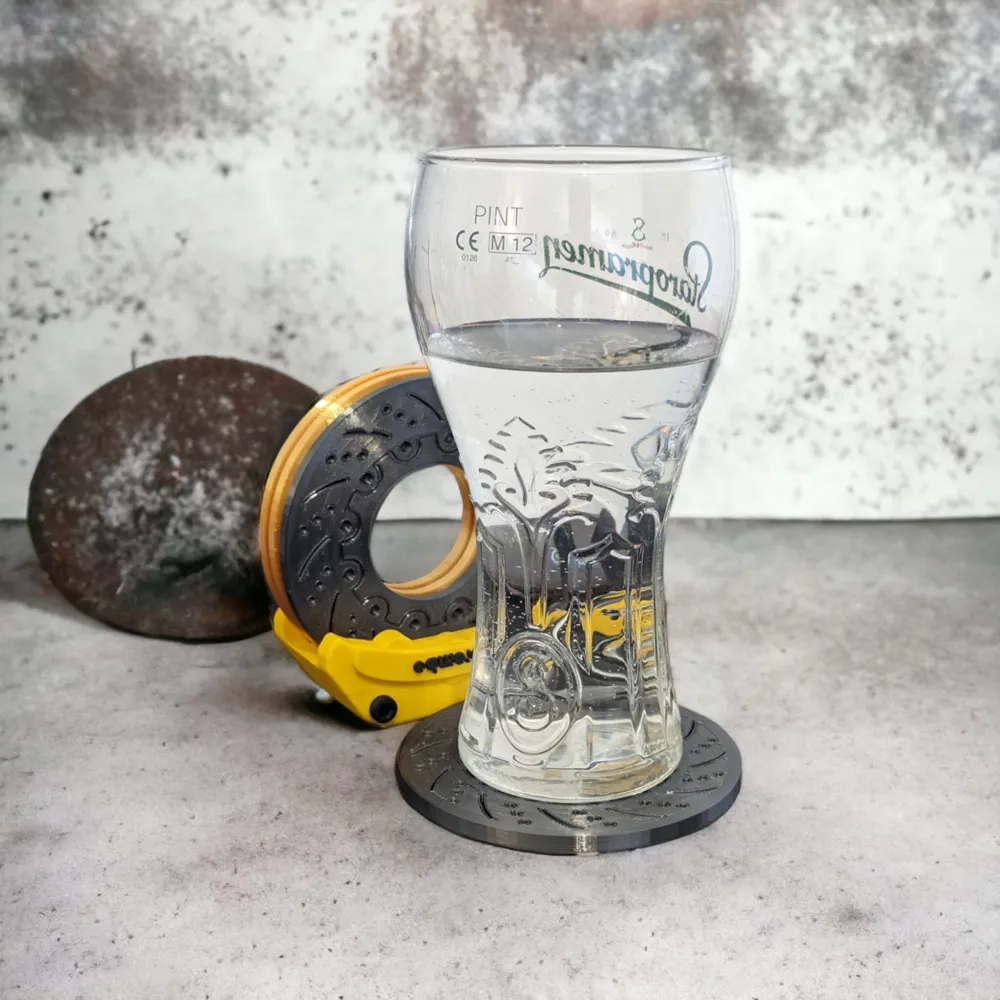
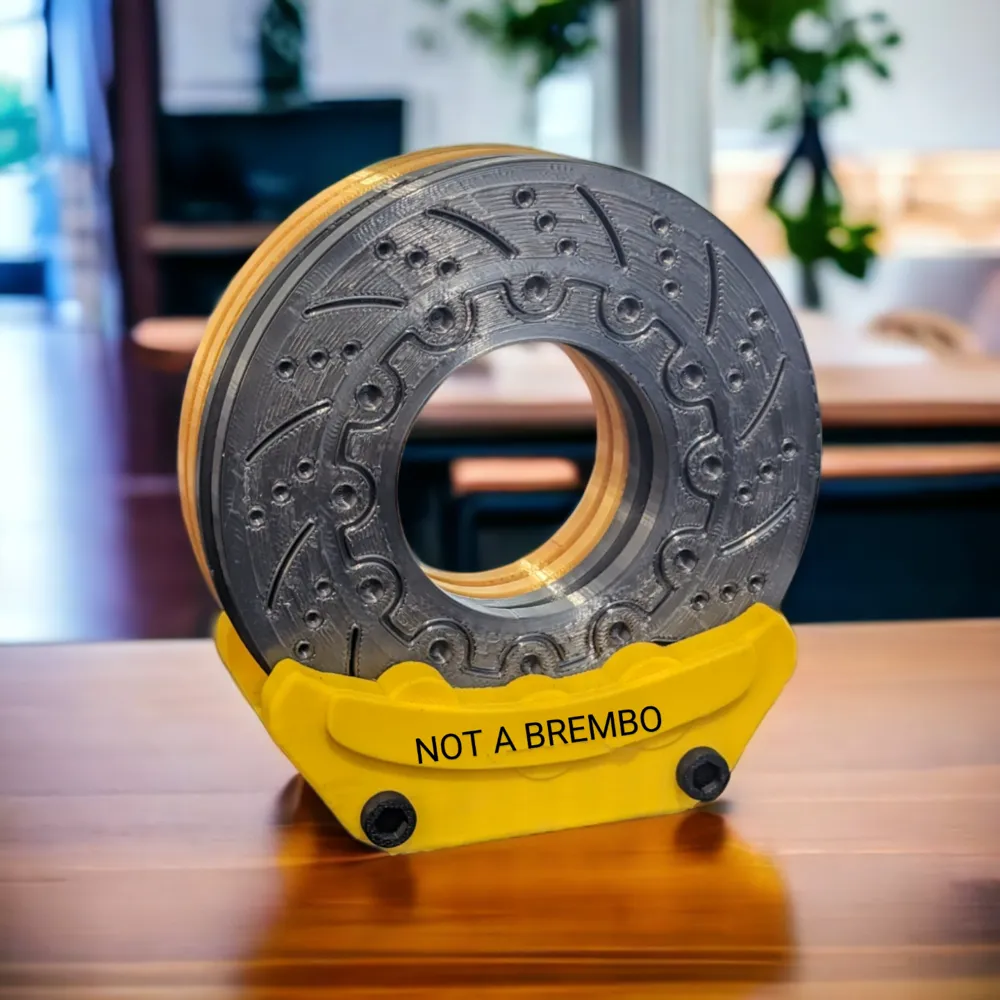
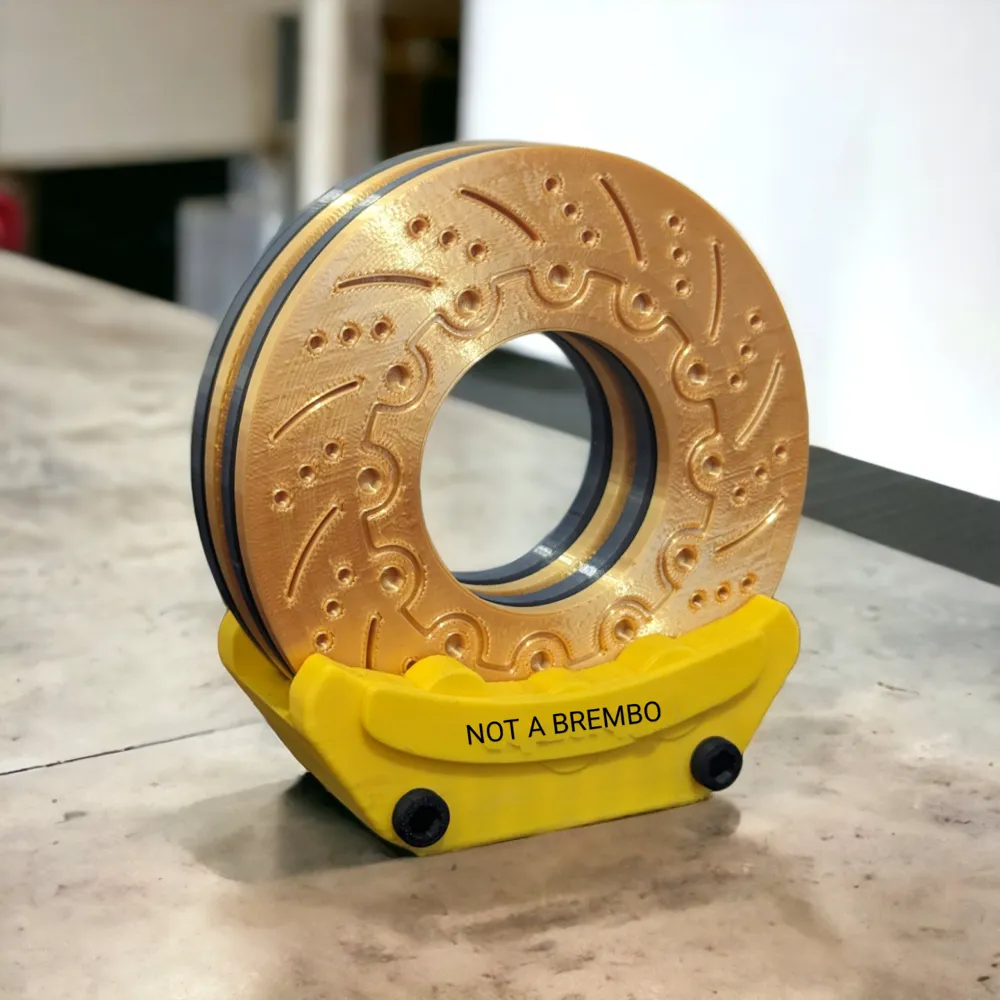
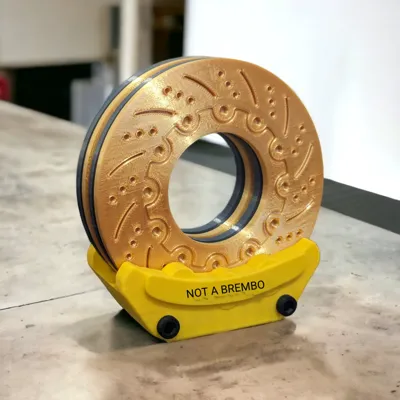
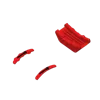
Drinks coaster set designed to resemble Brembo Racing Brakes, unique and functional, great for any workshop, desk, or garage. It's a great conversation starter for anyone who loves cars. Always adds a touch of car scene to your surroundings.
Membership
Want early access to prototypes, a full commercial license, and a say in what I design next? ➡️ [Become a member] and get monthly behind-the-scenes updates & exclusive files.
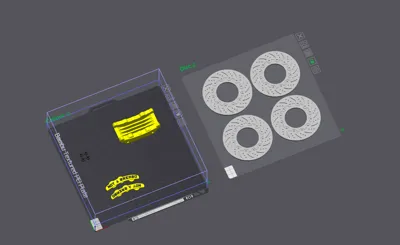
To complete the phone holder you'll need:
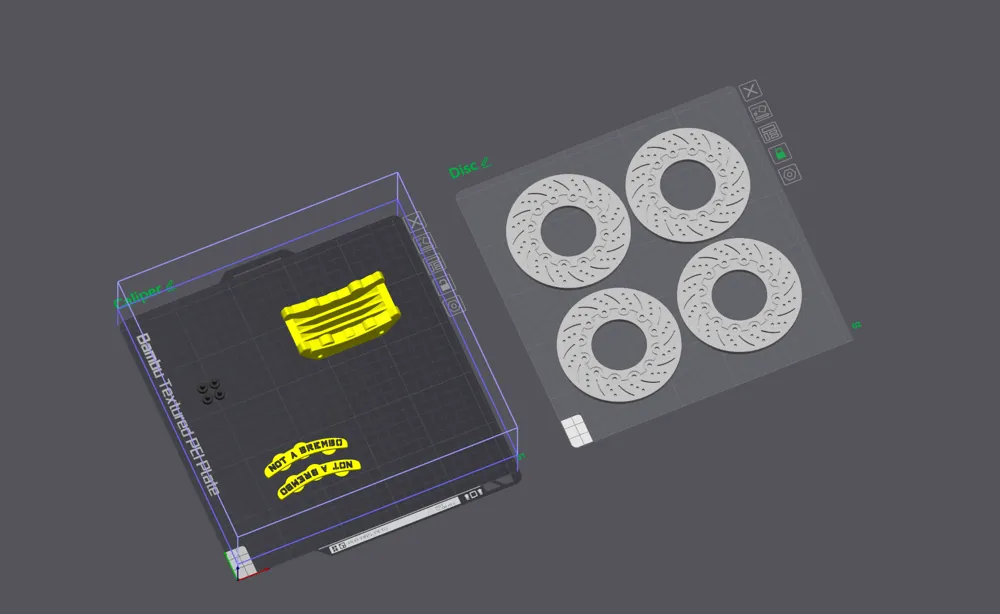
- 1 x Caliper (printable)
- 4 x Brake Discs (printable)
- 4 x Display Screws (printable)
- 1 x Brembo Vanity Plate (printable)
Print Settings
I usually go for the BBL “Standard” 0.20mm settings. It seems to strike the right balance between quality and speed compared to other profiles. I'm a fan of the consistent layer height of 0.2mm, but variable layer height is good too! Feel free to play around with the print quality settings to see what works best for you. I've had success with BBL Filaments and various other brands, but for Silk PLA, slowing down the outer walls and top layers to around 50mm/s seems best.
- Caliper: Use a 15% rectilinear infill—it's sturdy enough to hold all four of the coasters. And, I set the seam position to “back”. Essentially can't see any of the seams from the front.
- Brake Disc: Gone for a 5% infill, saving print time. I also read that a lot of the thermal transfer gets stopped by air so the more holes in the coaster the better (especially when using hot drinks) so I figured less infill could = less melted PLA. From the PLA I've used hot drinks work great on these coasters, the contact patch between the coaster and the cup/glass is actually remarkably small and hasn't melted anything at all! The bottom surface pattern is concentric to give it that super-consistent smooth look and the top layer is Archemedian Chords I find this gives the discs a nice partially worn look.
- Display Screws: Use a 15% infill. This part is mostly for show and serves no real use other than aesthetics. I use a standard PEI Plate and haven't had a problem with them being knocked over while printing. If you do I'd suggest using a brim and that'll fix that issue.
- Brembo Vanity Plate: There are two Brembo branded plates that you can stick on to the caliper. You can use CA glue to attach it, and it'll work perfectly. One plate has the Brembo logo upside down, simulating how it would be on an actual brake caliper. The other plate is right side up, making it easier to read the branding when the coaster is on your desk.
Assembly is straightforward; you can easily get it from the photos. Insert the display screws into the holes, adding a dab of glue before inserting them. Apply some glue to the Vanity Plate and attach it to the front; it's super simple to align.
Happy Printing!
License

You shall not share, sub-license, sell, rent, host, transfer, or distribute in any way the digital or 3D printed versions of this object, nor any other derivative work of this object in its digital or physical format (including - but not limited to - remixes of this object, and hosting on other digital platforms). The objects may not be used without permission in any way whatsoever in which you charge money, or collect fees.


Comment & Rating (549)