
Hex-key L-Handle Set (metric - customize tools)




Print Profile(2)


Description
| Welcome to GlennovitS3D. Join the Club on Printables.com to support creation of new models, get access to exclusive models, and get commercial rights, to sell prints of my models. Join today - GlennovitS3D - or check out my model collection 🗂️ and my popular models 🔥 |
EXCLUSIVE Styles available here: https://www.printables.com/model/902710-hex-key-t-handle-set-premium-supporter-pack-metric
Want a stand for your hex-keys?: https://www.printables.com/model/902726-hex-key-t-handle-stand-simple-functional-multiple
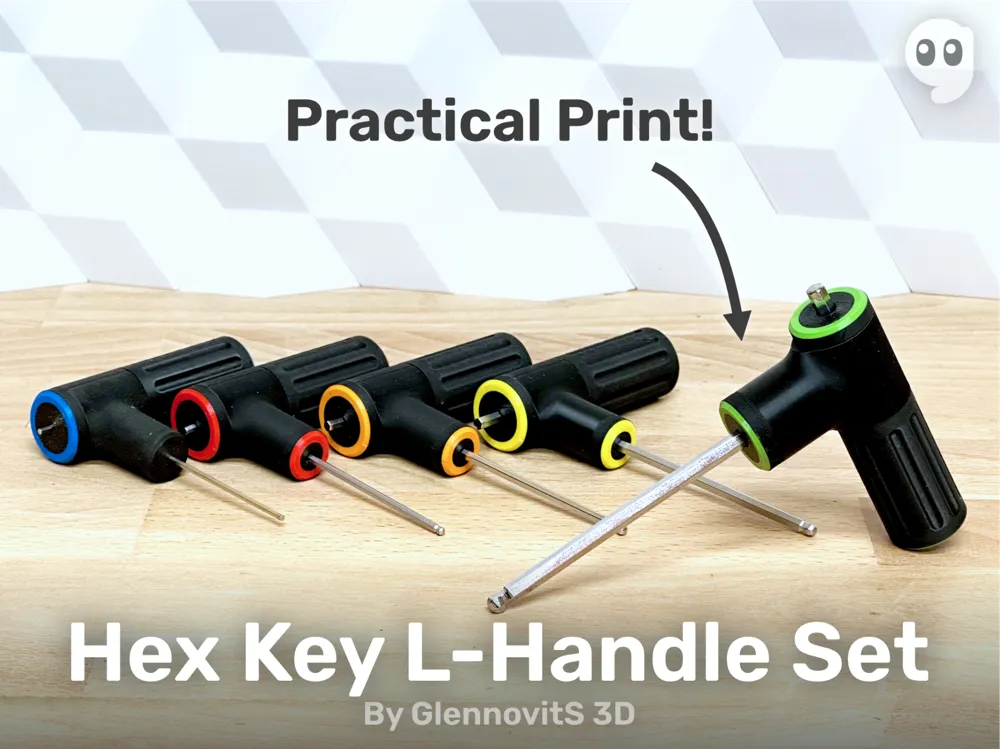
The grib on a standard hex-key is .. mheh.. and with a bunch of them on the desk, finding the right one can seem almost impossible … until you print and use this set!
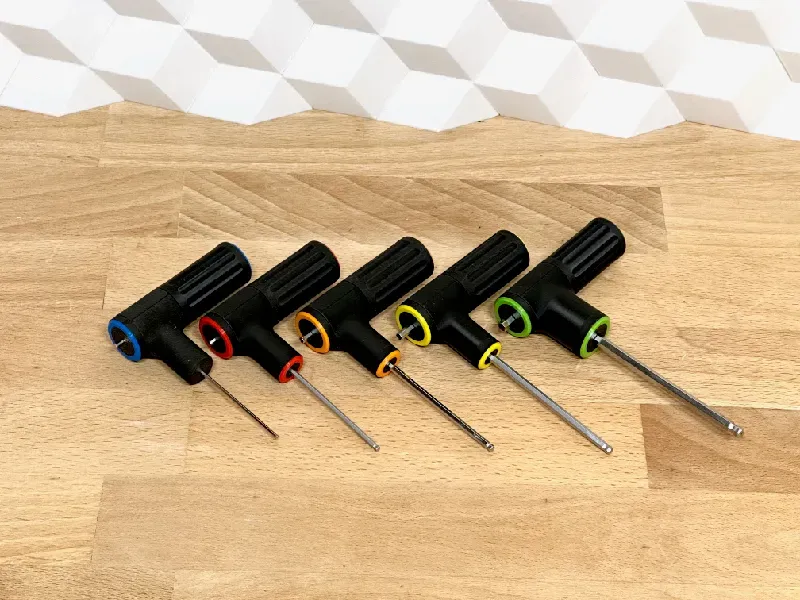
The grib instantly improves - feels great in the hand! And organizing the hex-keys and finding the right one is way easier. Use color, numbers or both to quickly findwhat you need, when you need it.
Overview
The set is currently made for the following 10 sizes:
- 1.5 mm
- 2 mm
- 2.5 mm
- 3 mm
- 4 mm
- 5 mm
- 5.5 mm
- 6 mm
- 8 mm
- 10 mm
(If a specific size is missing - please let me know in the comments!)
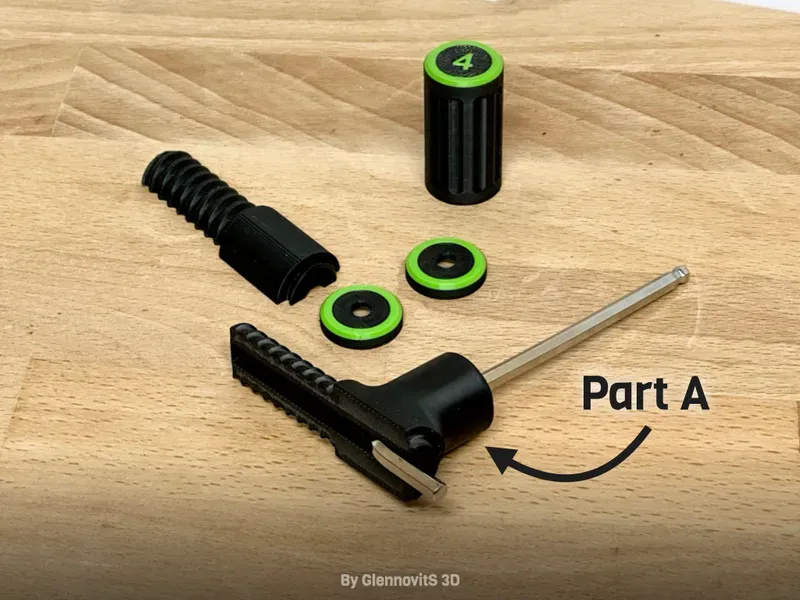
For 1 hex-key handle, you need to print the following:
- 1x Part A
- 1x Part B
- 1x Cap Handle
Below 3 mm you need:
- 1x Cap Tip
- 1x Cap Side
Above 3 mm you need:
- 2x Cap Tip
Assembly
It is easily assembled with the hex-key inside - no glue or other tools needed.
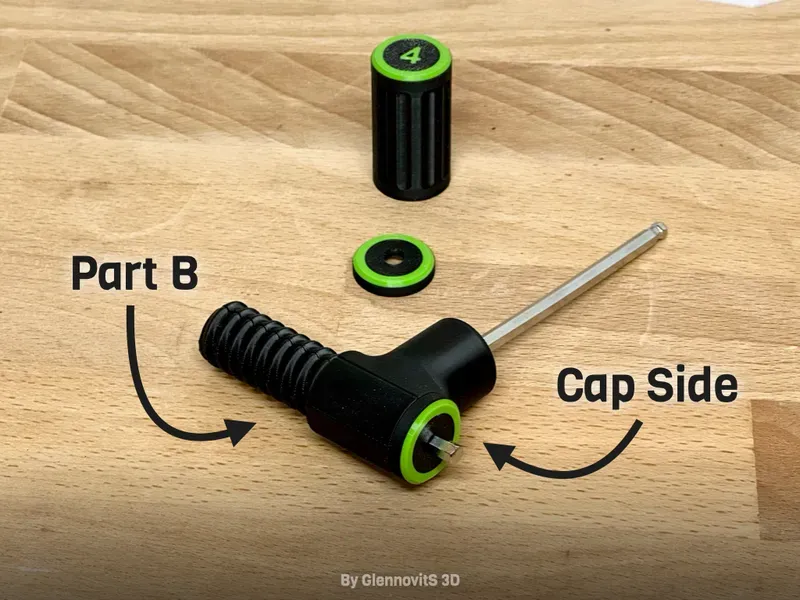
- Insert the hex-key in Part A
- Place Part B on the opposite side
- While pressing A and B together, screw on the Cap Handle on both ends
- Screw on the Cap Tip around the hex-key
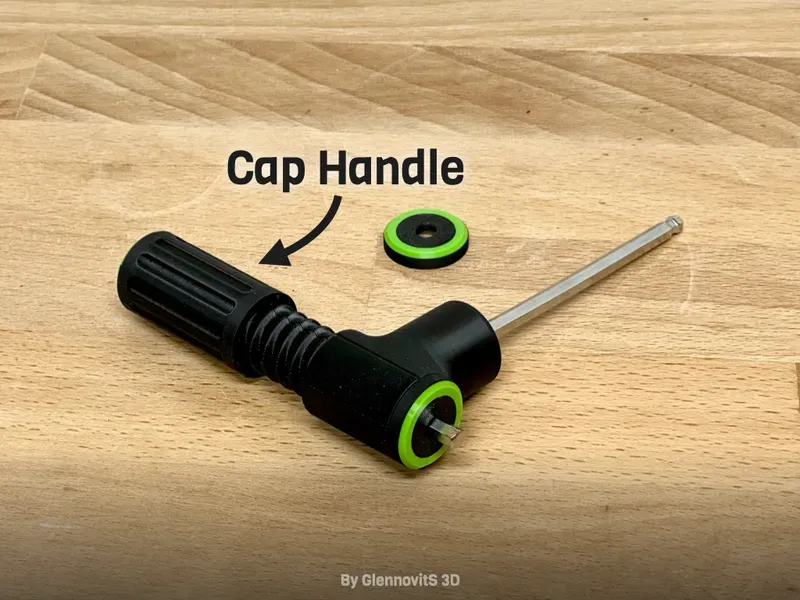
Enjoy working with the hex-key from now on!
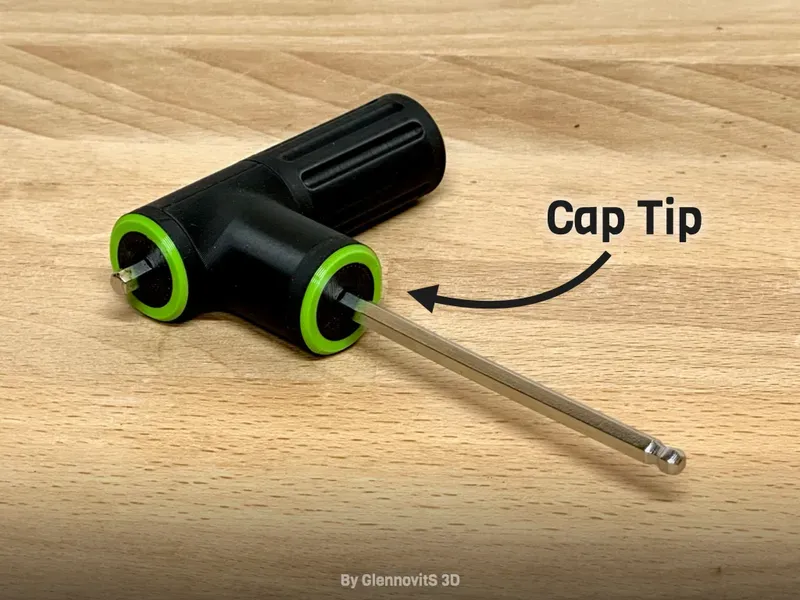
Multicolor prints
This is optional - but looks nice and help you take the right one in first try. You can do like this (in Bambu Studio):
- Insert the Cap Handle / Cap Tip in correct size
- Right click on the model and click on Split > To parts
- In the left pane Process click on Objects
- Select individual parts of the Caps and choose filament for each.
Print instructions
To make these strong enough for practical use, consider stronger-than-average print settings. Suggestions:
- Walls/perimeters: 3-5 - the more walls, the stronger - so test and see what you find the best.
- Infill: 20-40% - the more infil, the stronger it will be.
- Supports: No - the print-in-place hinge prints without supports!
- Orientation: Press Auto Orient (in top bar in Bambu Studio. Should place Part A and B on the ‘cut’ side, and the Cap Handle and Cap Tip should be places with the opening up)
Filament
I printed these in filament sponsored by FormFutura - and they work great! To be sturdy enough for practical use I used their Tough PLA mostly - and their Easyfill PLA for color organizing. If interested, check out their products here:
- Tough PLA (aff): https://formfutura.com/product/tough-pla/?aff=11
- Easyfil PLA (aff): https://formfutura.com/product/easyfil-pla/?aff=11
Happy printing!
| More practical prints? I got you covered! Check out this collection of practical models - everything from tools to storage solutions. Or maybe see this collection of tool models |
License

You shall not share, sub-license, sell, rent, host, transfer, or distribute in any way the digital or 3D printed versions of this object, nor any other derivative work of this object in its digital or physical format (including - but not limited to - remixes of this object, and hosting on other digital platforms). The objects may not be used without permission in any way whatsoever in which you charge money, or collect fees.


Comment & Rating (206)