Search models, users, collections, and posts

PetruziaMini - 40% Handwired Mechanical Keyboard
IP Report
Print Profile(2)

0.16mm layer, 2 walls, 15% infill
Designer
6 h
2 plates
A1 mini 0.16mm layer, 2 walls, 15% infi

6.9 h
2 plates
Open in Bambu Studio
Boost
65
134
8
5
79
23
Released
Description
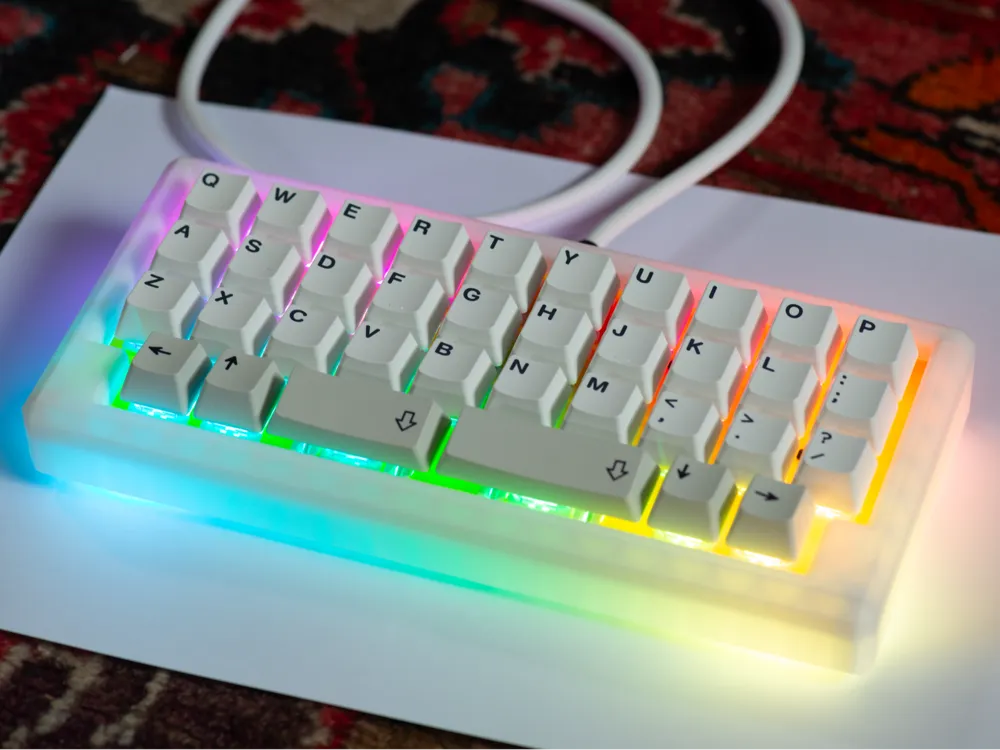
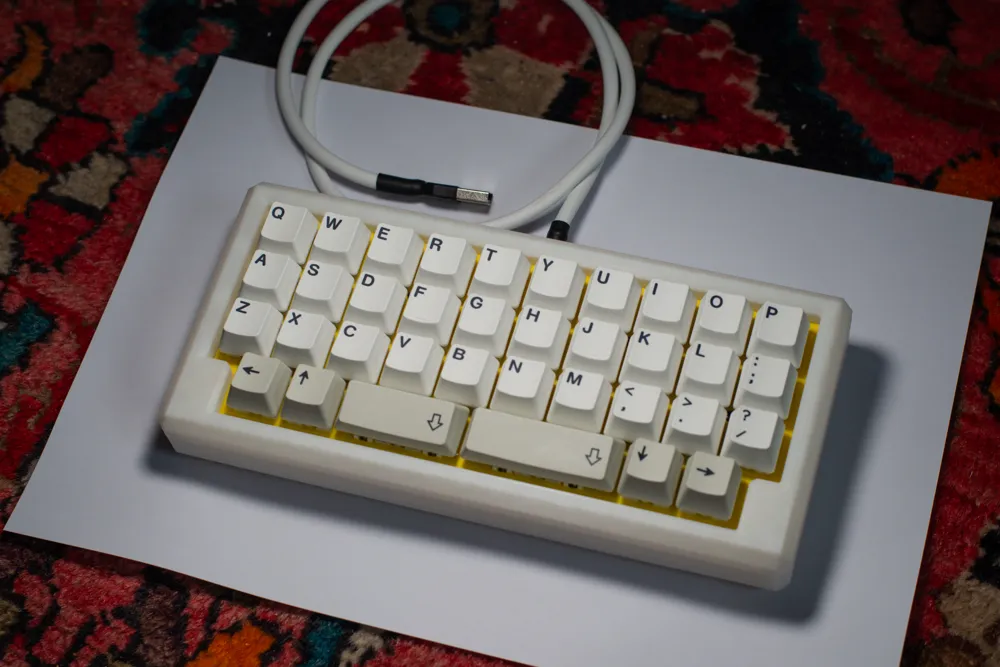
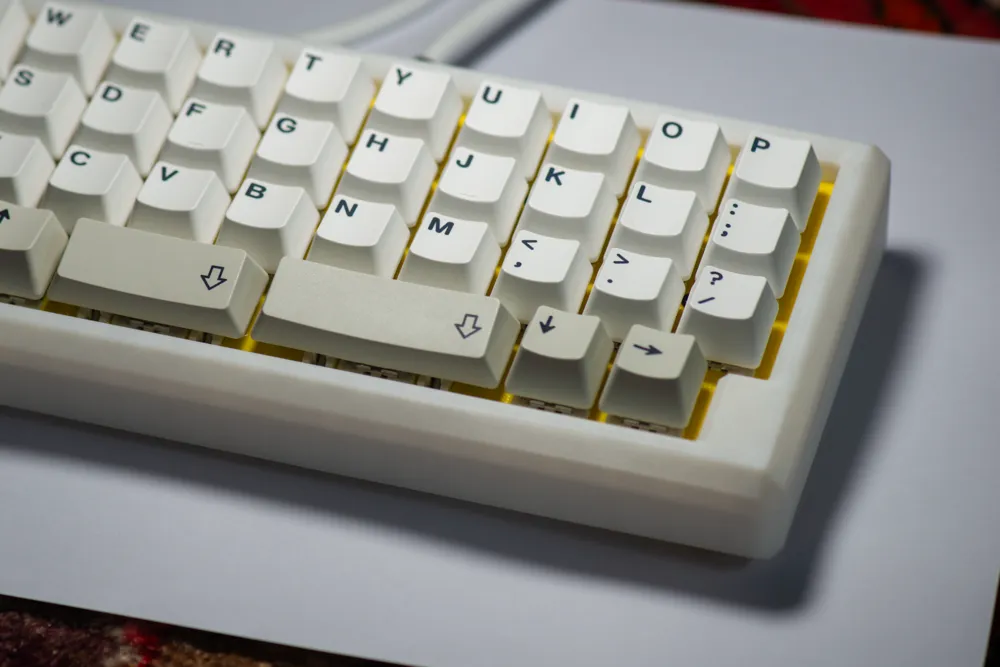
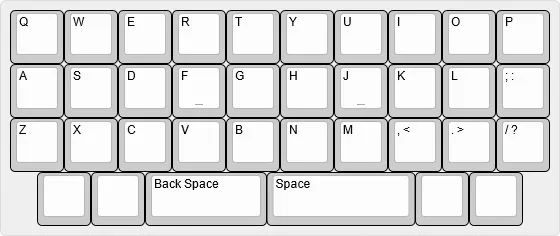
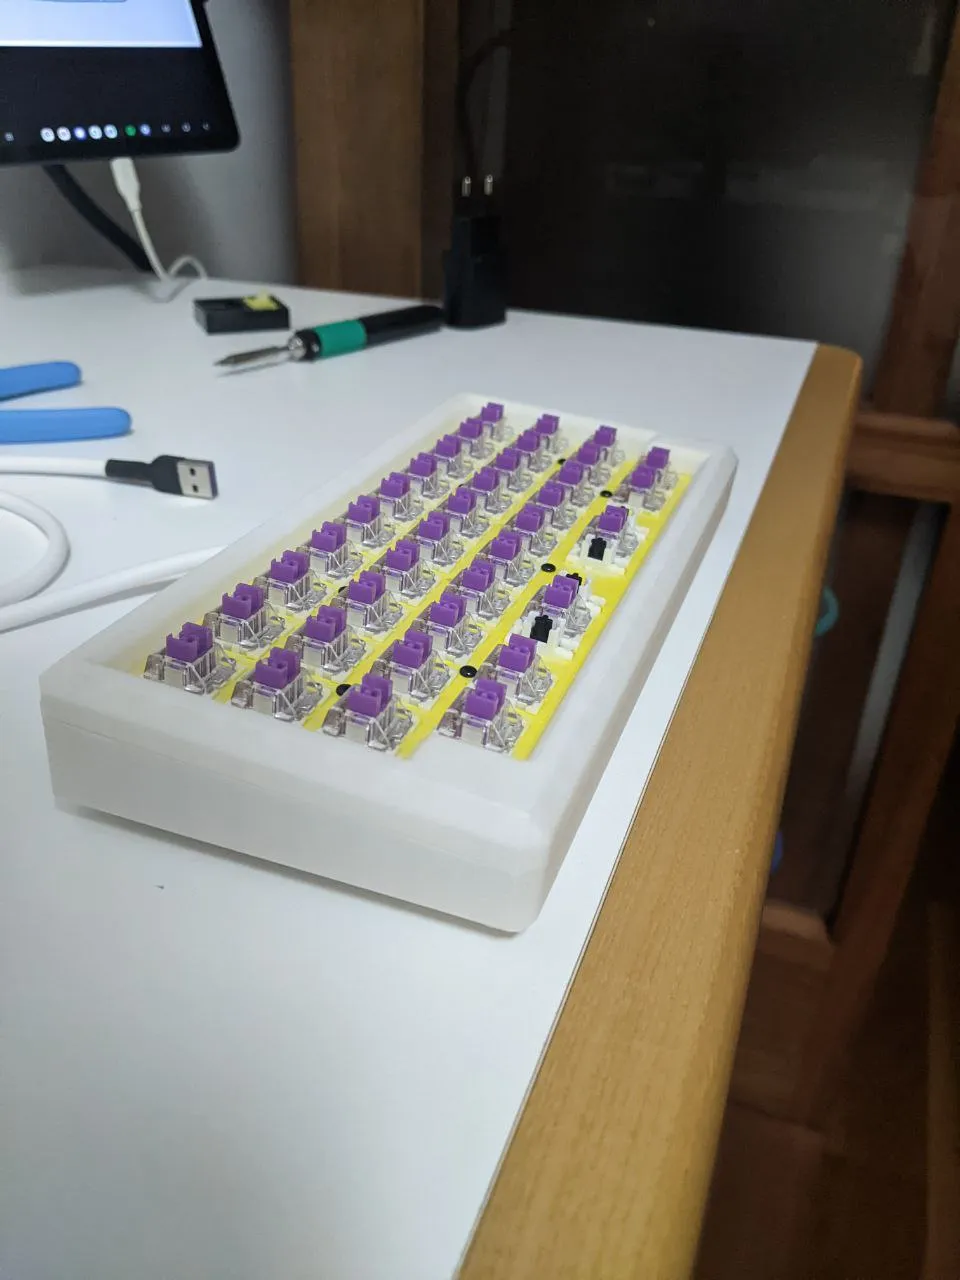
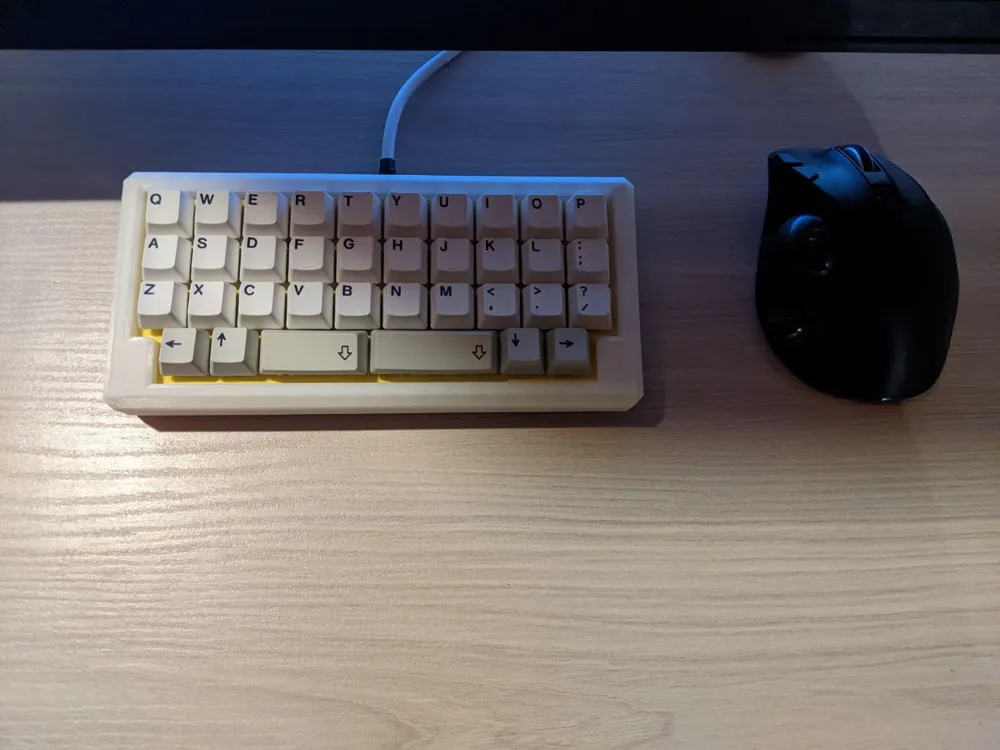
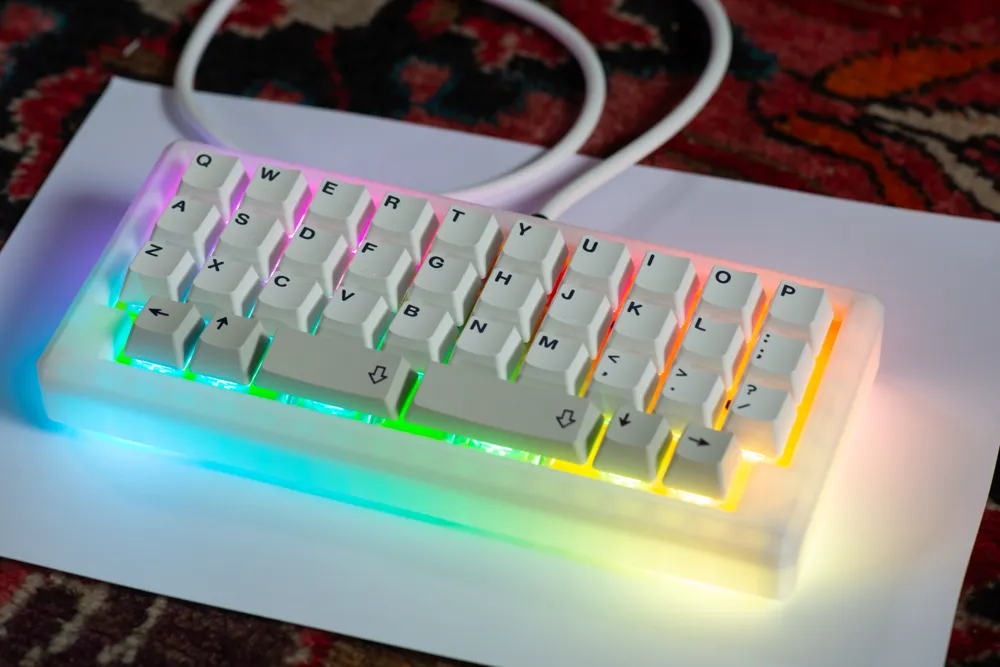
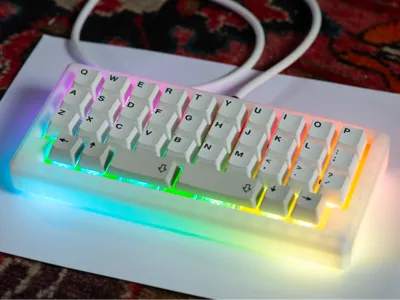
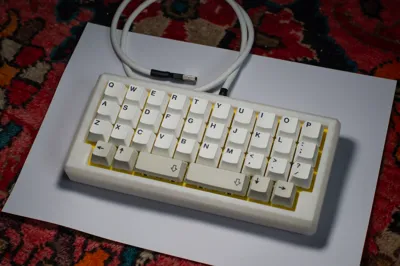
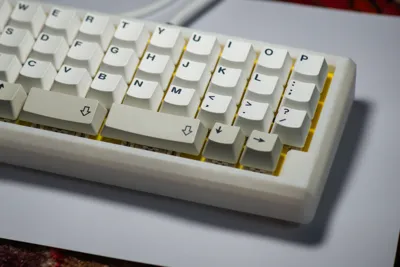
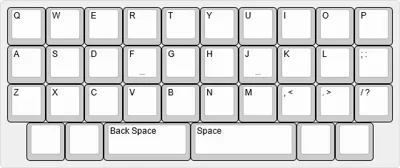
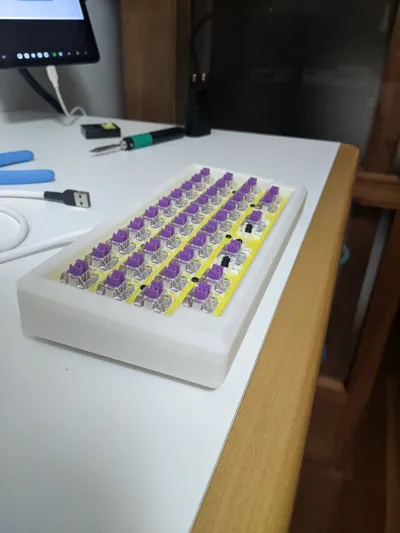
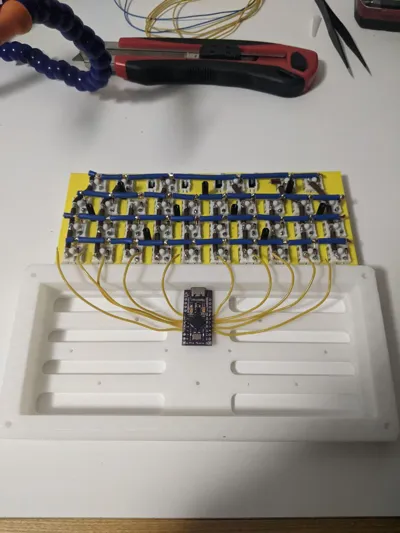
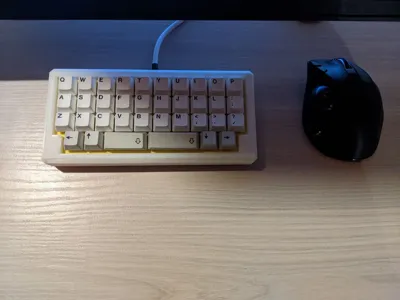
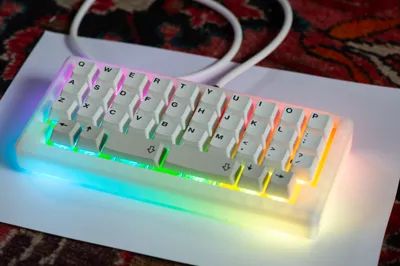
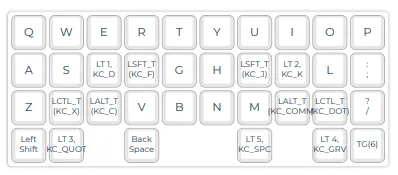
The PetruziaMini is my first handwired ortholinear mechanical keyboard, fully 3d printed (except switch, cables, screws and controller obviously), inspired in the number of keys and keymap from some 34/36 keys split keyboards (like the ferris/the corne).
The aim of the project was to create a printable keyboard in as few pieces as possible, even on a 220x220 printer plate.
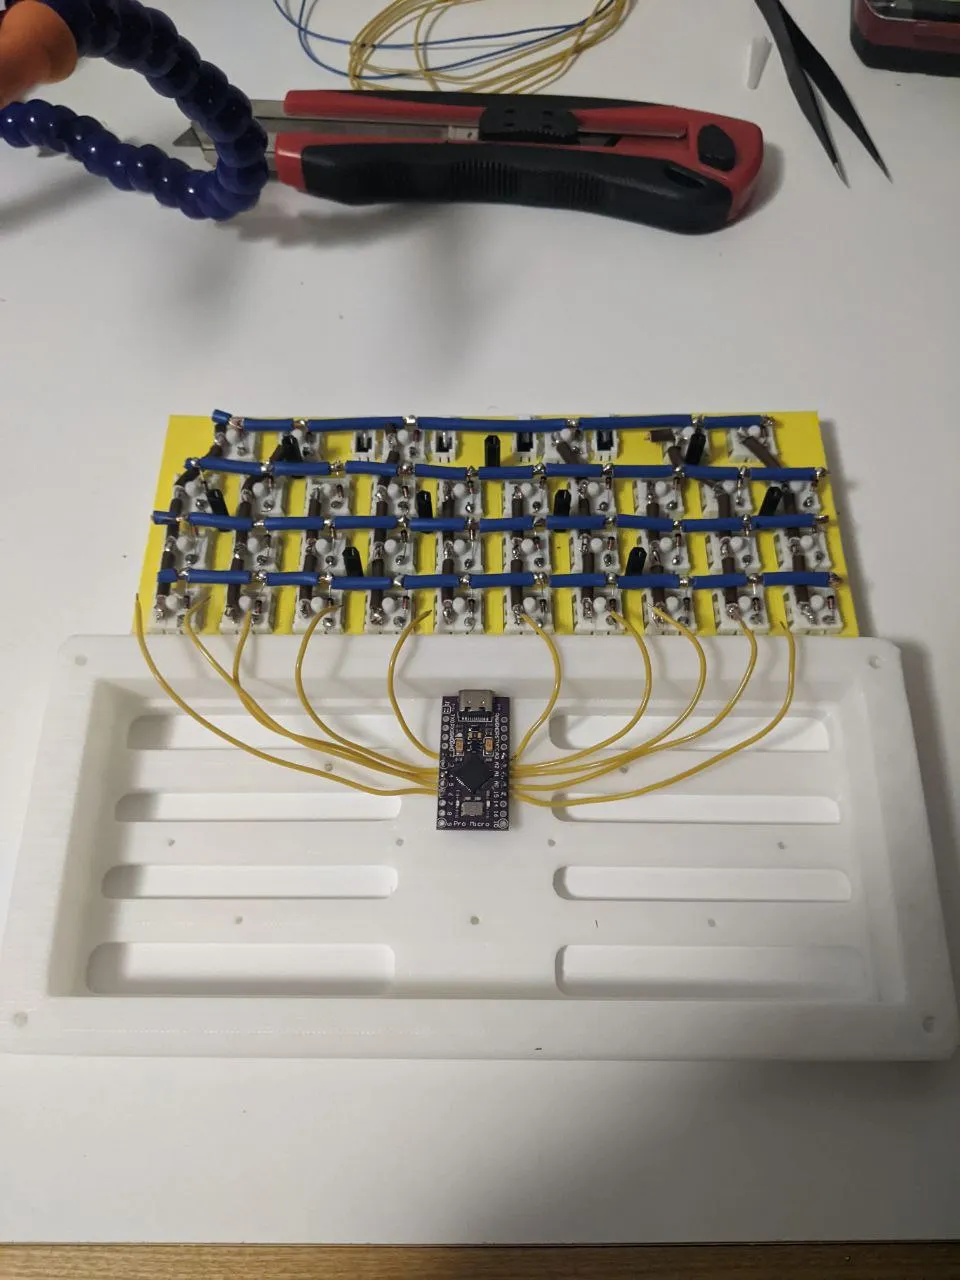
If you follow the pinout order i used soldering the matrix to the promicro you can use the QMK configurator to create your keymaps or you can write your own qmk firmware!
| Column | Pin | Row | Pin |
|---|---|---|---|
| 0 | D7 | 0 | B4 |
| 1 | C6 | 1 | E6 |
| 2 | D4 | 2 | B3 |
| 3 | D0 | 3 | B2 |
| 4 | D1 | ||
| 5 | F4 | ||
| 6 | F5 | ||
| 7 | F6 | ||
| 8 | F7 | ||
| 9 | B1 |
If you are new in handwiring you can find guides i used here and here! Good luck and have fun!
Some print instructions:
- All pieces are printables in PLA with 0.2 layer height
- Print the Frame.stl upside down, you wont need any support
- In the Case.stl you can just put a custom support on the usbc hole from your slicer, the other parts don't need any
- Consider use brims! They can save your bigger pieces from warping
You will also need:
| x1 | Pro Micro compatible controller |
| x9 | M2 x 15mm spacers |
| x18 | M2 screws |
| x4 | M3 threaded inserts |
| x4 | 12mm long M3 screws |
| x36 | 1N4148 Diodes |
| Cables on your choice | |
| x36 | Mechanical switch |
| x2 | 2u plate mount stabs |
| x34 | 1u keycaps |
| x1 | 2.25u keycaps |
| x1 | 2.75u keycaps |
I printed mine with a Creality Ender 3 V3 SE
License

This user content is licensed under a
Creative Commons Attribution-Share Alike


Comment & Rating (8)