
IronDummy 13 Model - 3D Innovators Studio


Print Profile(3)


Description
Visit my 3d Printing Essentials list in notion: Essentials List :)
Here is a general overview:
Model Details:
- Base Model: Dummy 13 (Original Creator) https://makerworld.com/en/models/183780?from=search#profileId-202639
- Head: Custom Model (@Maker81) https://www.printables.com/model/243642-lucky-13-ironman-head/files
Chest and hands: Custom Model: (@Mici) https://makerworld.com/en/models/190609?from=search#profileId-242406
- Frame: I recommend using PETG material for the frame, as it provides better durability and flexibility, which is ideal for articulated figures. Amazon Link
- Armor: Any color and material would work for the armor pieces, allowing for full customization based on your preferences. I used White Matte: Amazon Link
Edits:
Modified biceps, shoulders, internal bicep, and stomach to resemble Mk42 suit. Arms now look bigger as I extruded several angles, also added a bigger shoulder to give the model some more volume.
I included the stl files for reference. Edits were made in Fusion 360.
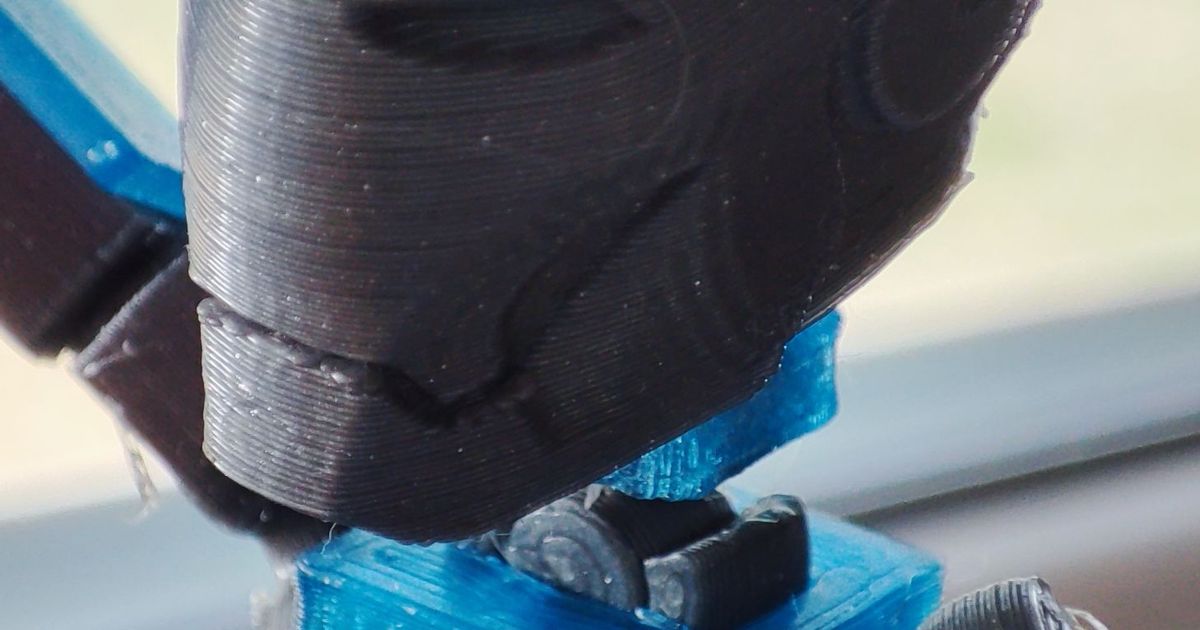
Hands still need some work, as the top layer is too thin. If we get some traction with this model I could make time to work on the hands and some other ideas I have for the legs.
Note: I added a thin layer of hair spray to each bed to help with adhesion. Here is the one I use: Hair Spray
Note: With my setup I'm having a hard time to get the calves to print right so I print them separately in another bed with tree supports and brim, then I carefully remove these, I often break these when I'm not being careful.
For the head, I printed supports for the inside part, and these were easily removed. I painted the head so I could multicolor print.
The profile has 5 plates,
- Print each plate with or without supports/brim according to the plate title.
- Plate with the calves and mask ensure you use brim and tree supports and carefully remove these from the calves, the calves are a challenge but can be done carefully.
- Follow Original Dummy 13 video for guidance on assembly.
Additional Notes:
- Post-Processing: After printing, I carefully removed the supports.
I'm printing in PLA however it is recommended to print in PETG 15 mm layer height infill 15%.
Boost Me (for free)
Boost Me (for free)
🚀 Love this design? Want to see more like it? Boost this post! 🔥
Every boost helps my work reach more makers and helps me keep creating awesome 3D designs to share with you all. Your support means the world to me—whether it's a boost, a like, or even trying out my designs yourself. Let's keep pushing the boundaries of what we can make! 🙏💡✨
Enjoy,
I wanted to share some pictures of how it looks and compared to other figures I had for comparison. I also wanted to share that it printed and the settings I used to put it together and how it worked out, I did not edit anything on the models on this profile, my work was limited to sharing my profile and a brief guide to people who want to print it. Please consider this profile with this lense. I also want to thank the original creators and give them appropriate credit which is why I point you to those original models in this briefing.
Boost Me (for free)
If you enjoyed this model, you can boost me, to support future designs, Thanks!
🔧 Want to level up your 3D printing setup? I’ve compiled a list of essential tools, filaments, and accessories I personally use and recommend:
👉 🛠️ MS 3DPrints Essentials – Amazon Buying List (Affiliate link – helps support the project at no extra cost to you!)
💬 Feedback, remixes, and makes are always welcome. Let’s build smarter, together!
You can buy me a coffee here, any support is much appreciated!
This remix is based on




License



Comment & Rating (46)