Search models, users, collections, and posts

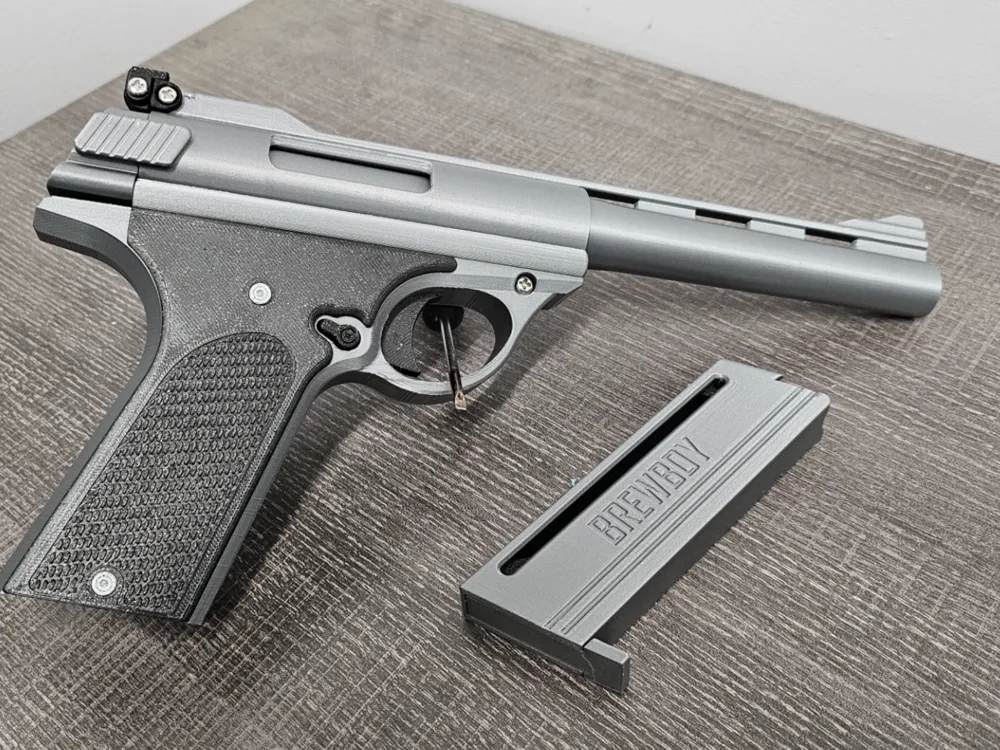
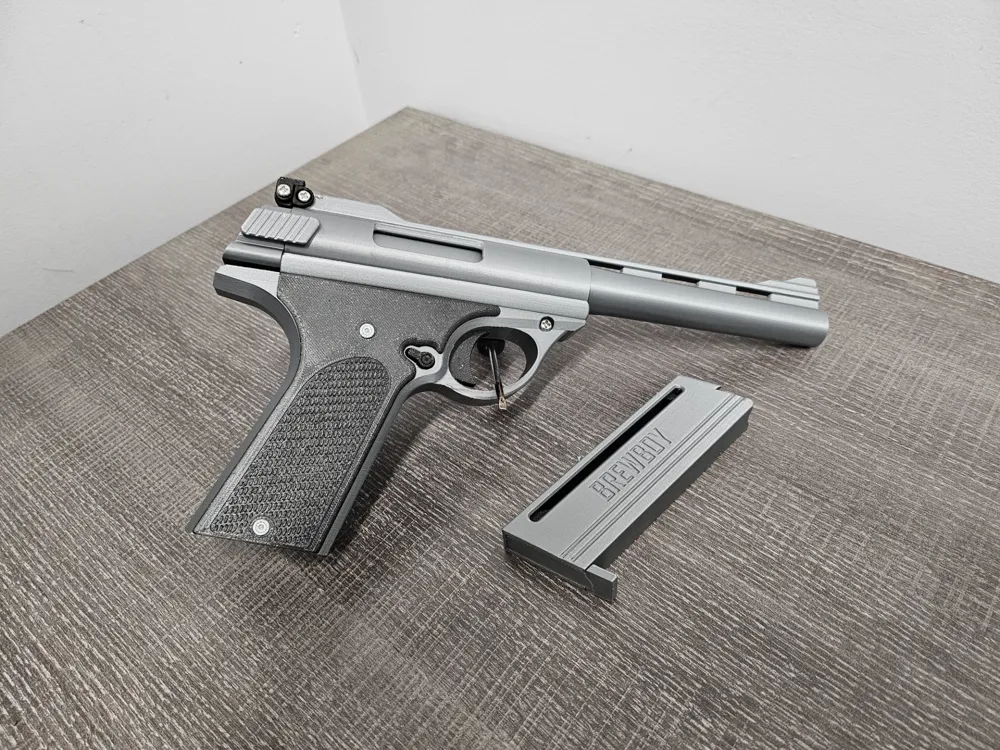
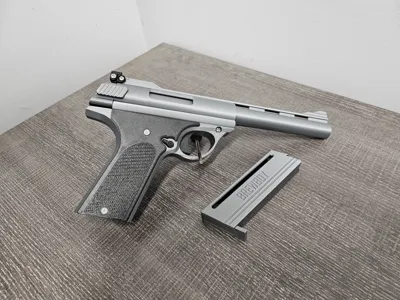
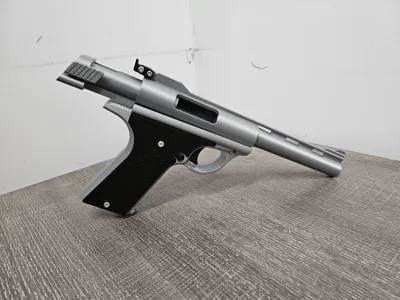
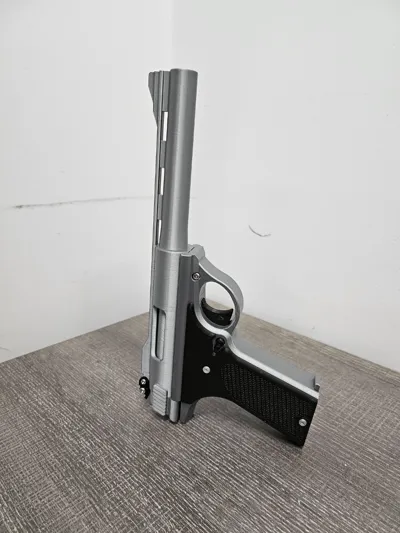
Automag .44 Prop/Replica Gun

Print Profile(1)

All
P1P
P1S
X1
X1 Carbon
X1E
A1
H2D
H2D Pro
H2S
P2S
H2C
X2D
A2L

0.16mm layer, 3 walls, 15% infill
Designer
11.7 h
2 plates
4.8(22)

Open in Bambu Studio
Boost
851
1744
66
25
1.2 k
259
Released 

Description

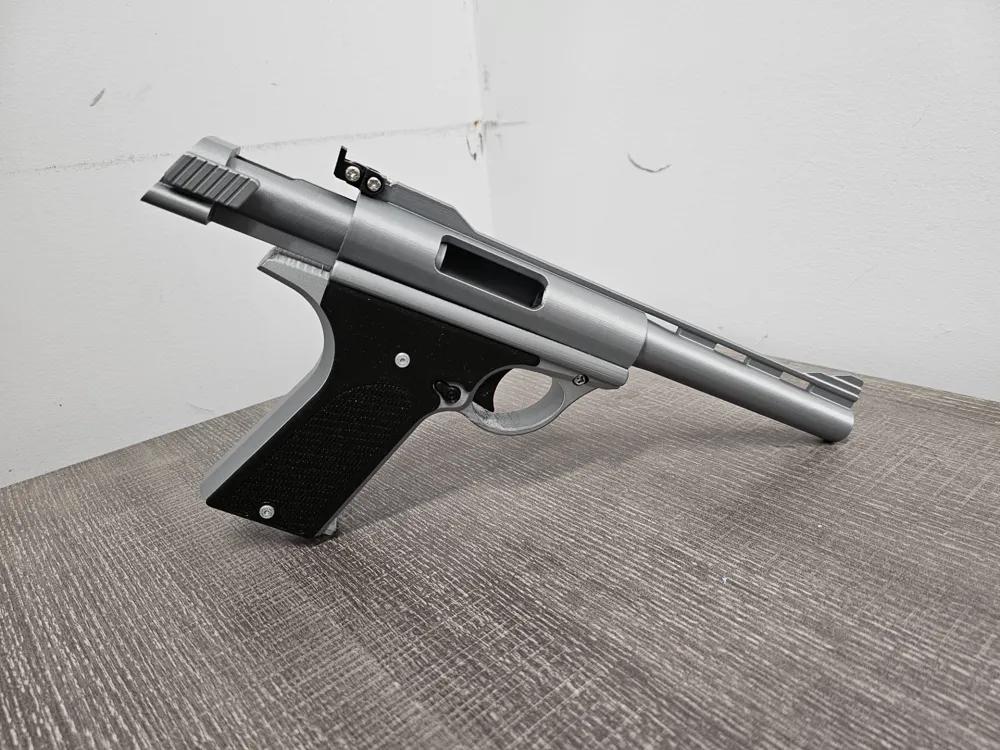
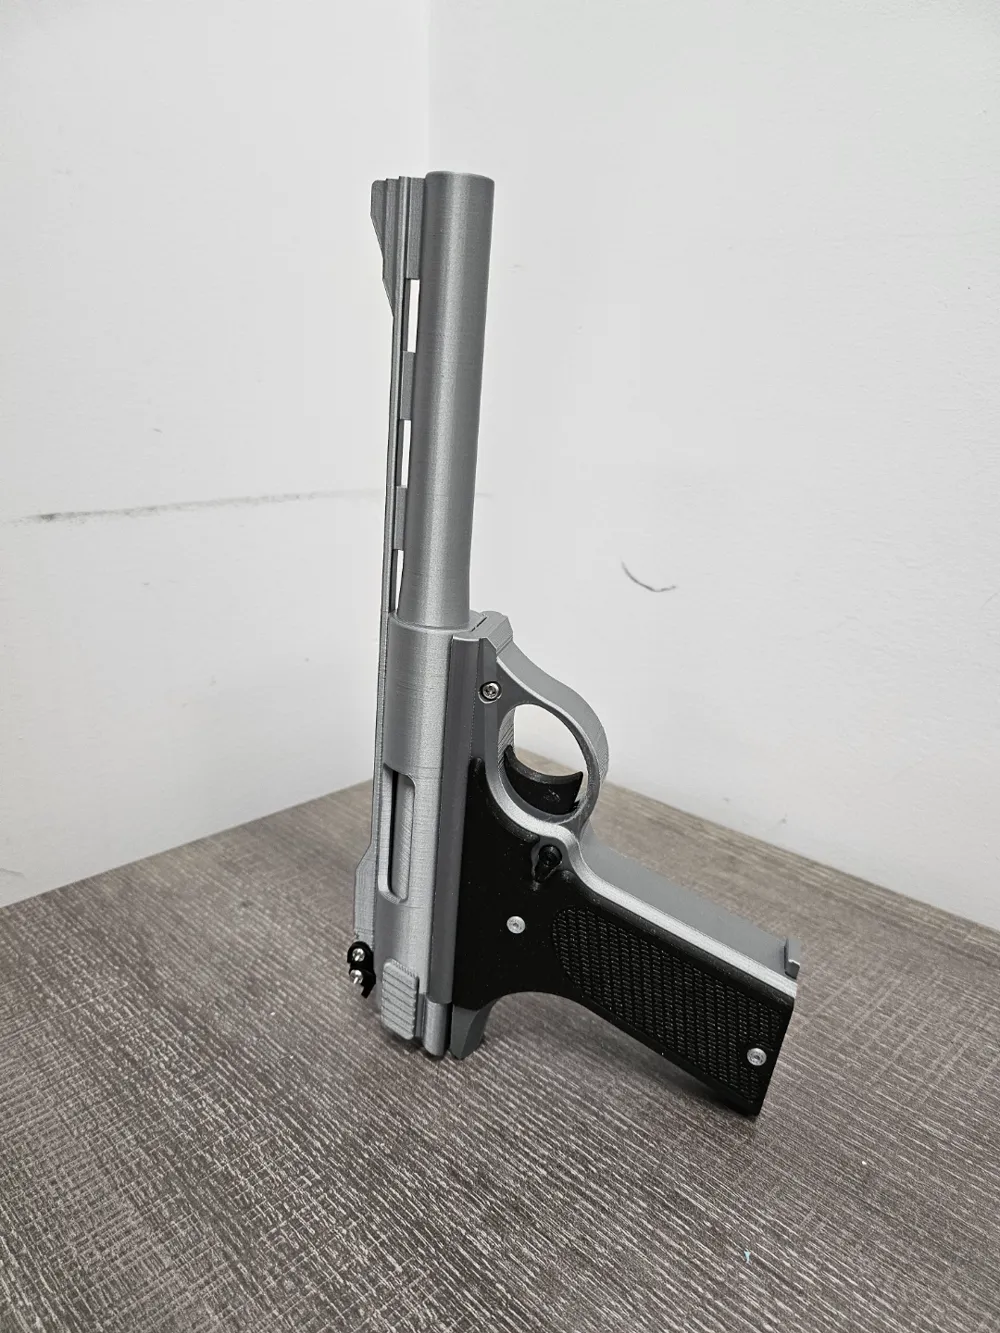
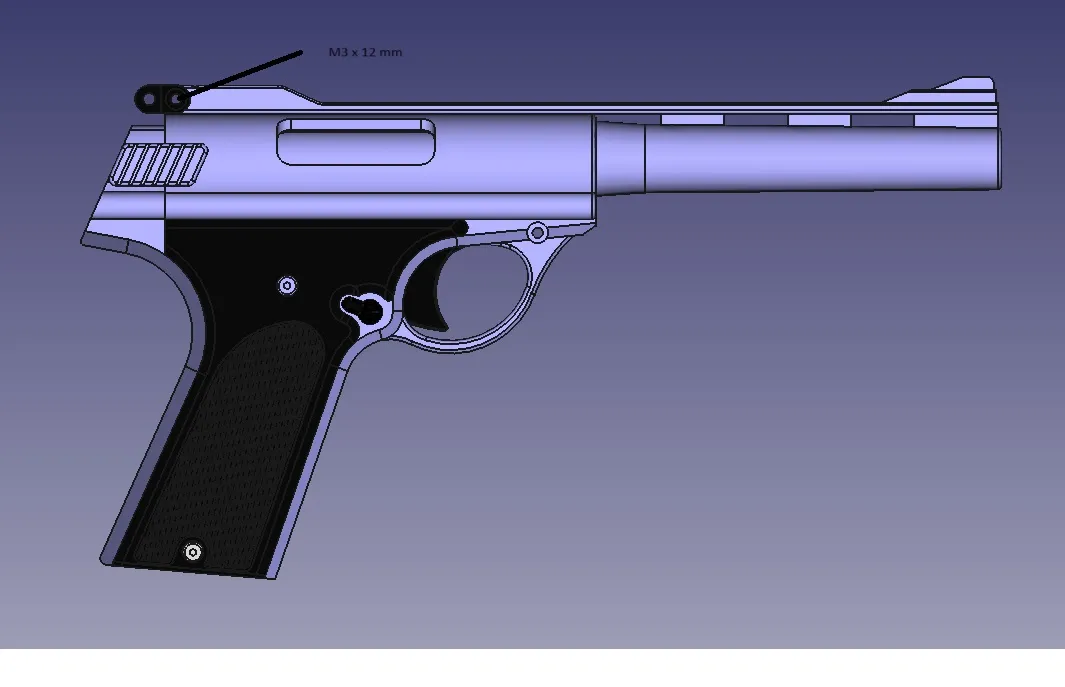
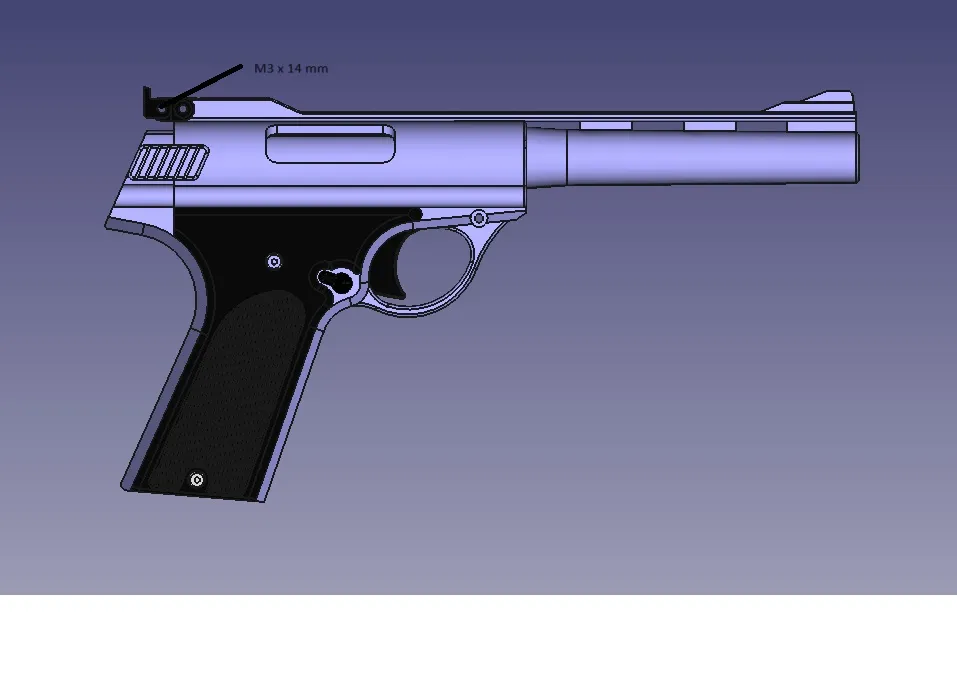
Automag .44 prop gun with moving parts:

This was a quick model I made to help hone my skills. A pretty good look-a-like of the Automag .44 but I realized to late that I forgot to give it a hammer. Oops. I hope you enjoy it anyway.

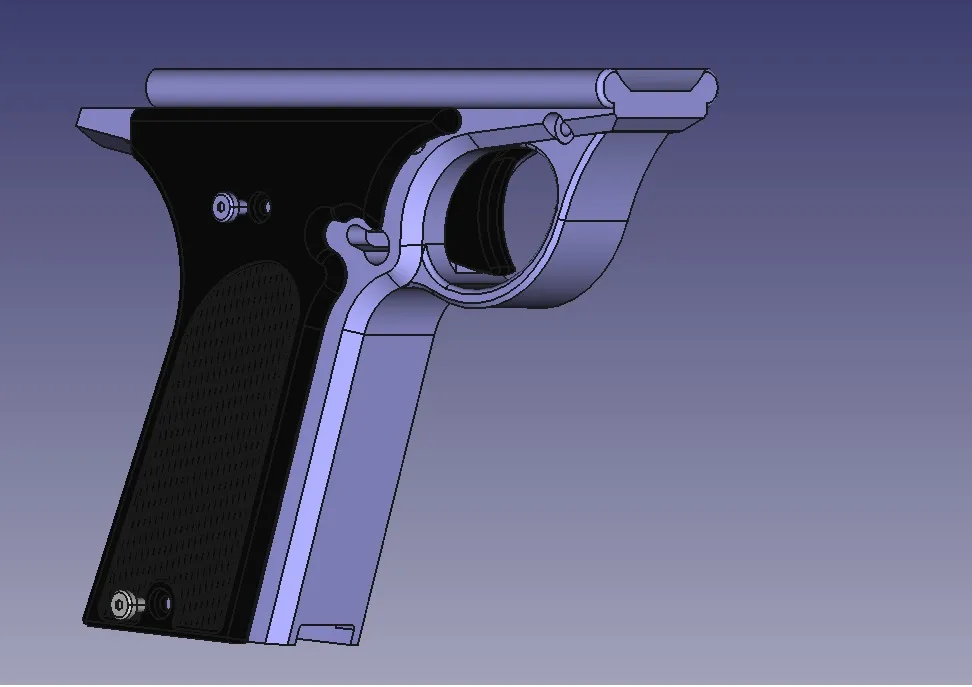
STEP files have been included for your remixing pleasure.

CHECK OUT THE RUBBER BAND REMIX BY @srgaboury: https://makerworld.com/en/models/536537#profileId-453472


Features:

  • Moving slide.
  • Working magazine and magazine release.
  • Moving trigger.
  • Folding rear sights.

Hardware Required:

1 x M3*10 mm bolt.

1 x M3*14 mm bolt.

1 x M3*16 mm bolt.

2 x M3*20 mm bolt.

1 x M3*22 mm bolt.

4 x M3 nut.

2 x Pen Springs (For magazine catch & trigger)

1 x Compression Spring: OD - 10 mm, WD - 0.6-0.8 mm, Length - 65 mm (For the slide)

Super Glue (For grip panels)
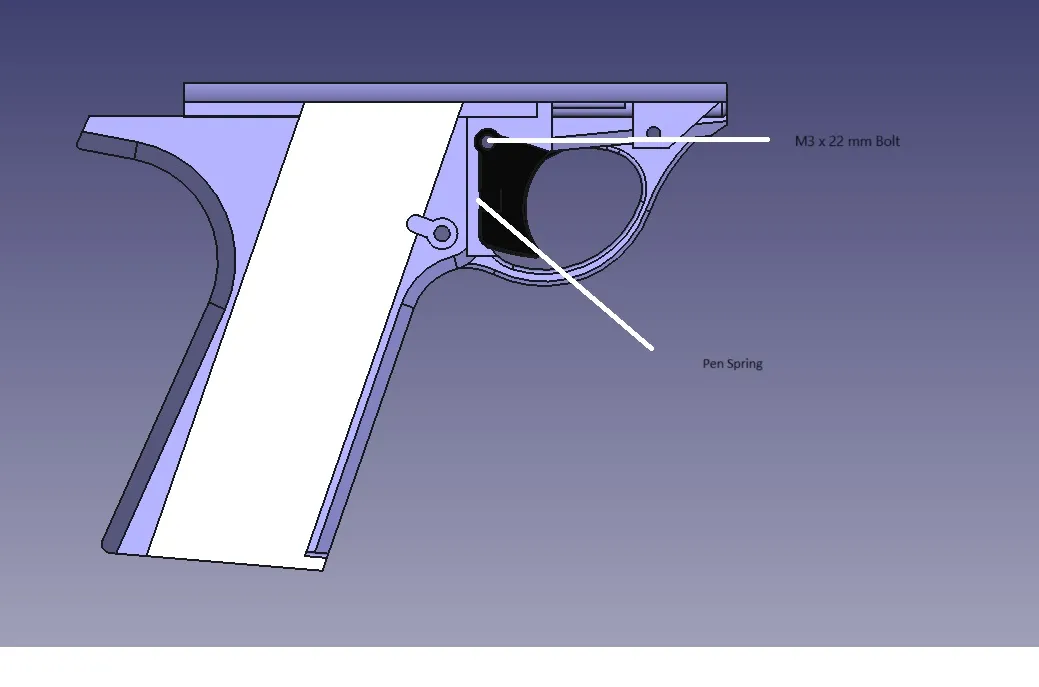
Step 1: Superglue pen spring to the back of the trigger, push into the lower frame and secure with a bolt and nut.
Step 2: Push the paddle alignment pins through the holes in the grip paddles. Apply super glue to the backs of the paddles and place them on the sides of the lower frame.
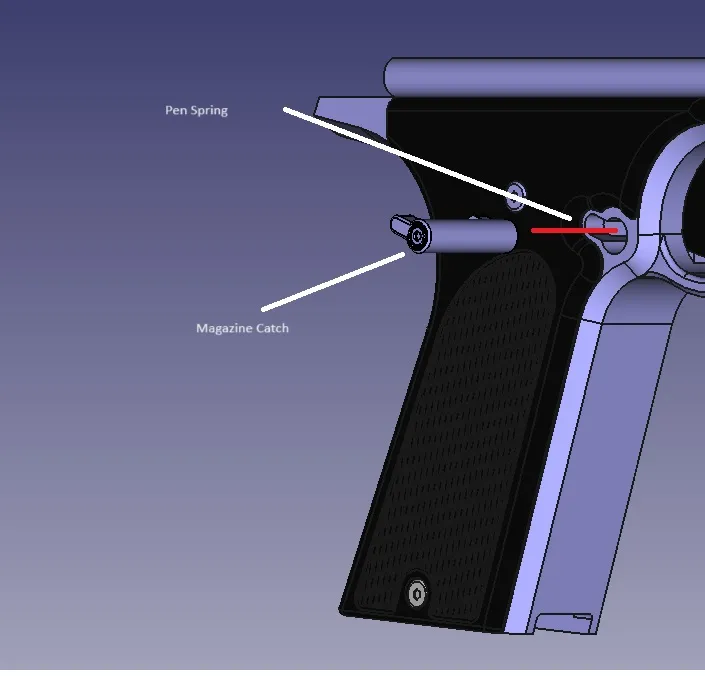
Step 3: Push an M3 x 12 mm bolt through the hole in the left side of the frame, and place a pen spring over the protruding part in the magazine catch slot. Place the magazine catch in the slot and tighten the bolt until the catch slide backwards and forwards easily. This can be adjusted to your preference.
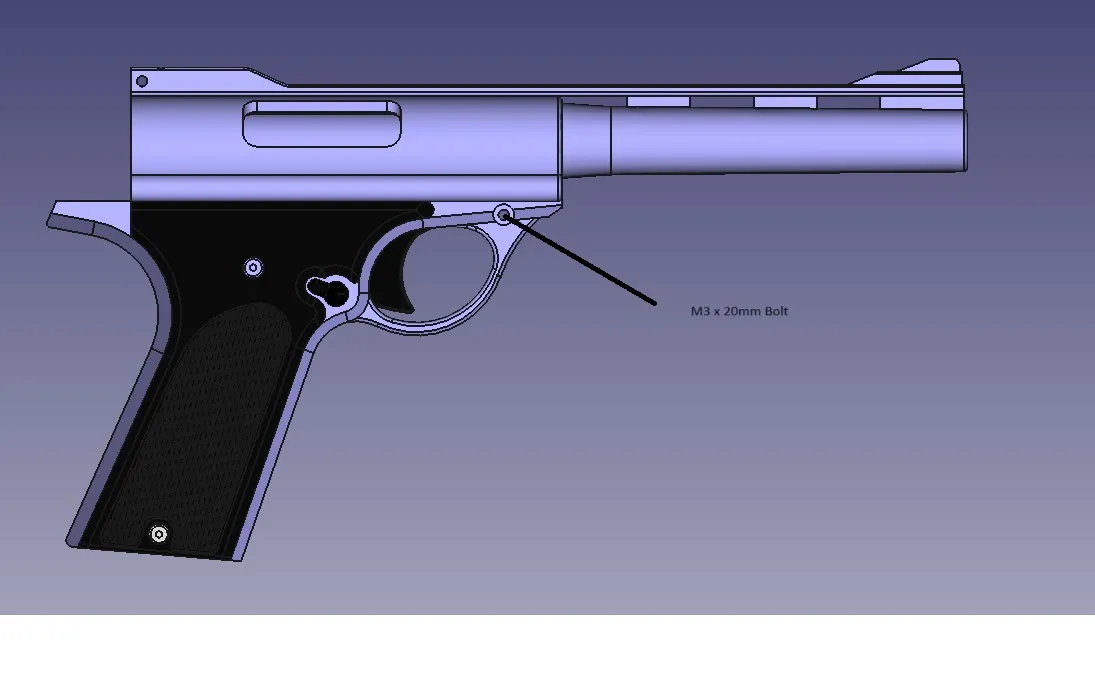
Step 4: Place the Barrel/upper frame onto the lower frame and secure with a bolt and nut.
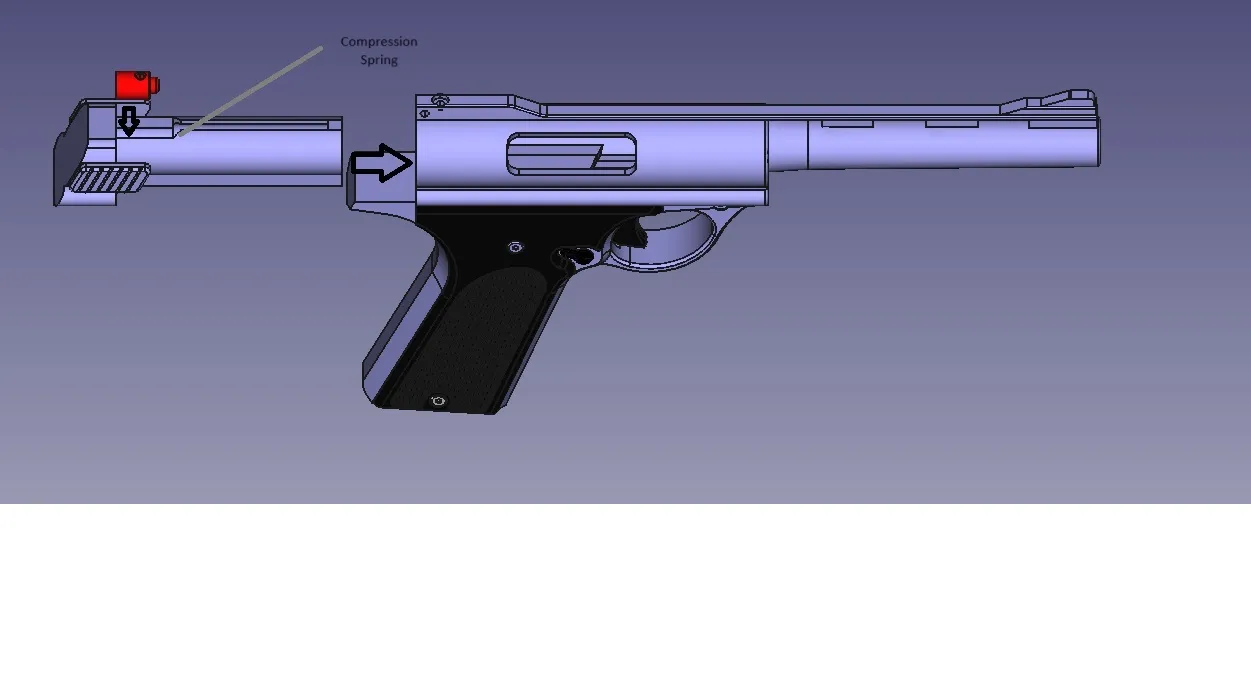
Step 5: Slide the compression spring into the slot int the bolt, then place the spring follower into the bolt with the hole in it facing directly upwards. Slide the bolt assembly into the back of the upper frame.
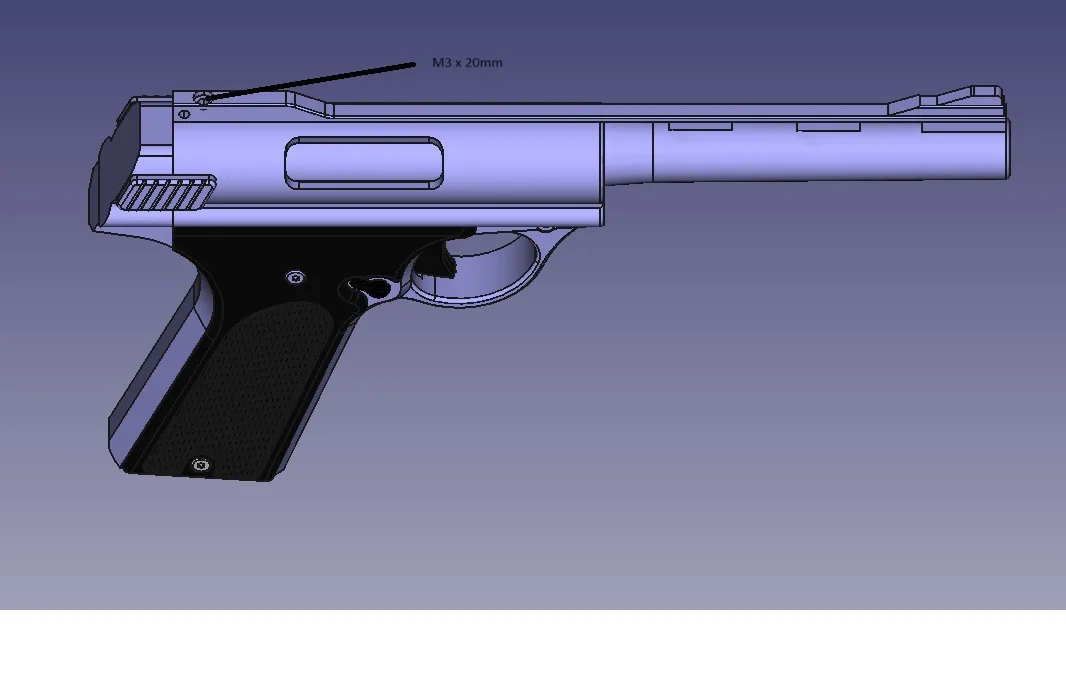
Step 6: Use an M3 x 20 mm Bolt to secure the upper frame to the spring follower. Test your slide/bolt by pulling it back and seeing if it snaps forward.
Step 7: Attach the rear sight mount.
Step 8: Attach the rear sight.
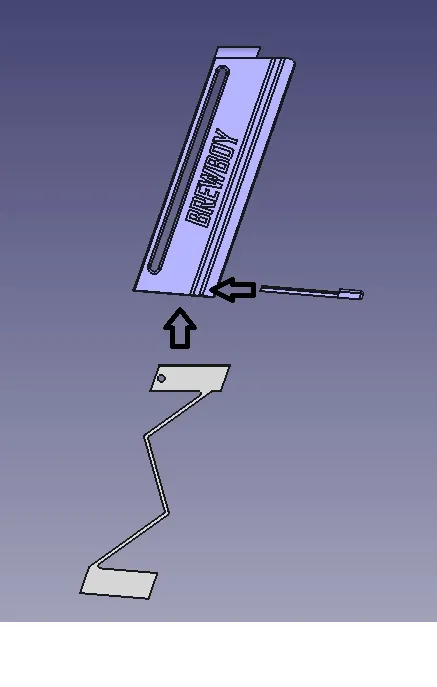
Step 9: Insert the magazine spring/lift table into the magazine and then slide the magazine base into the grooves on the bottom of the magazine.


Comment & Rating (66)

(0/1000)