Search models, users, collections, and posts

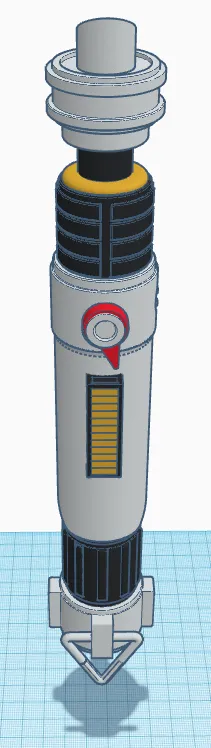
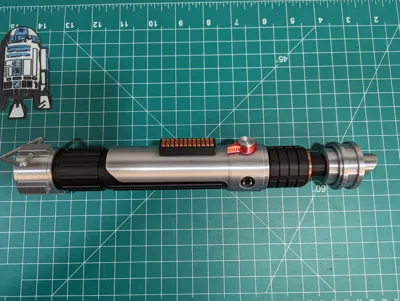
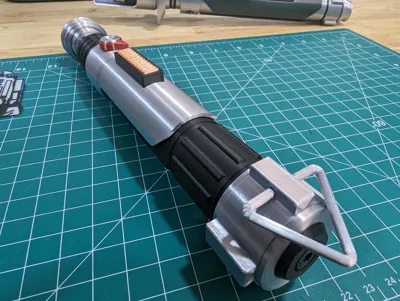
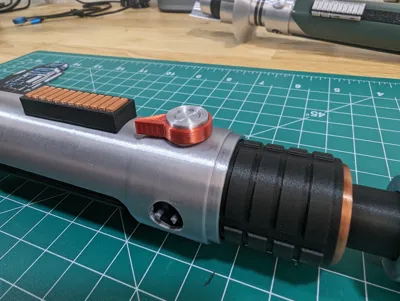
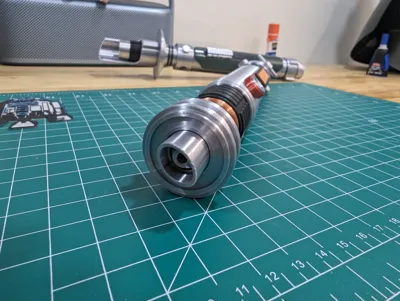
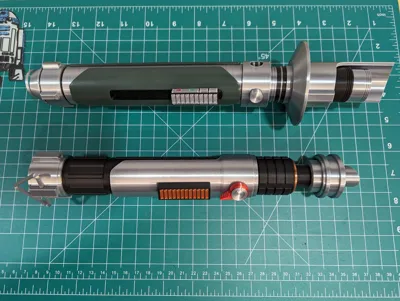
Ezra Bridger's 2nd Lightsaber
IP Report
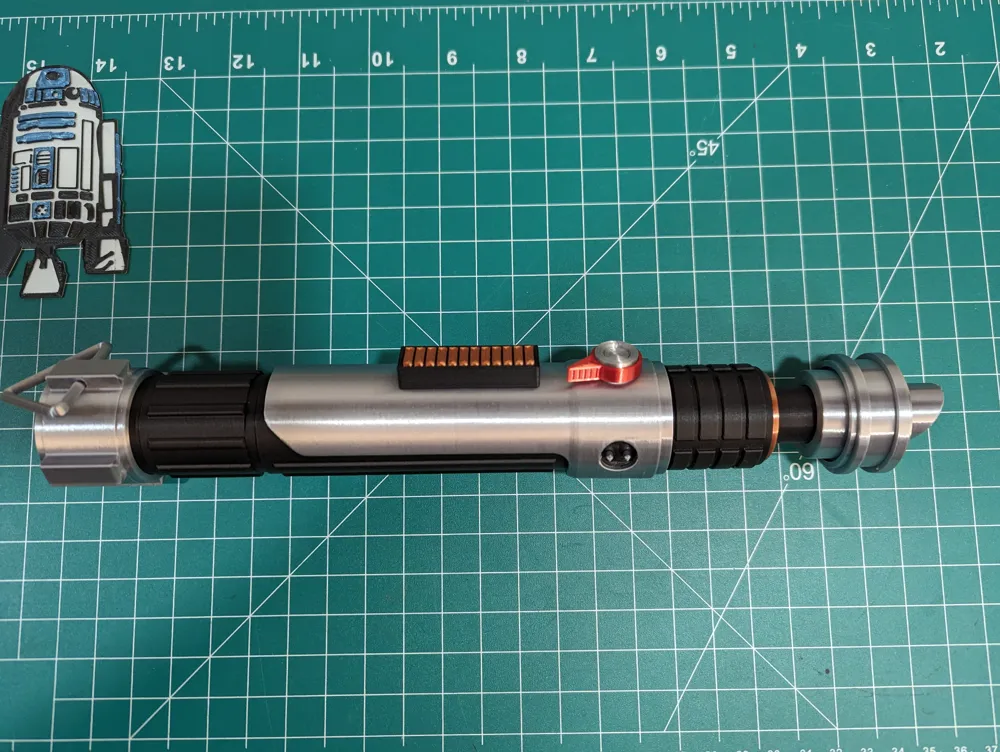
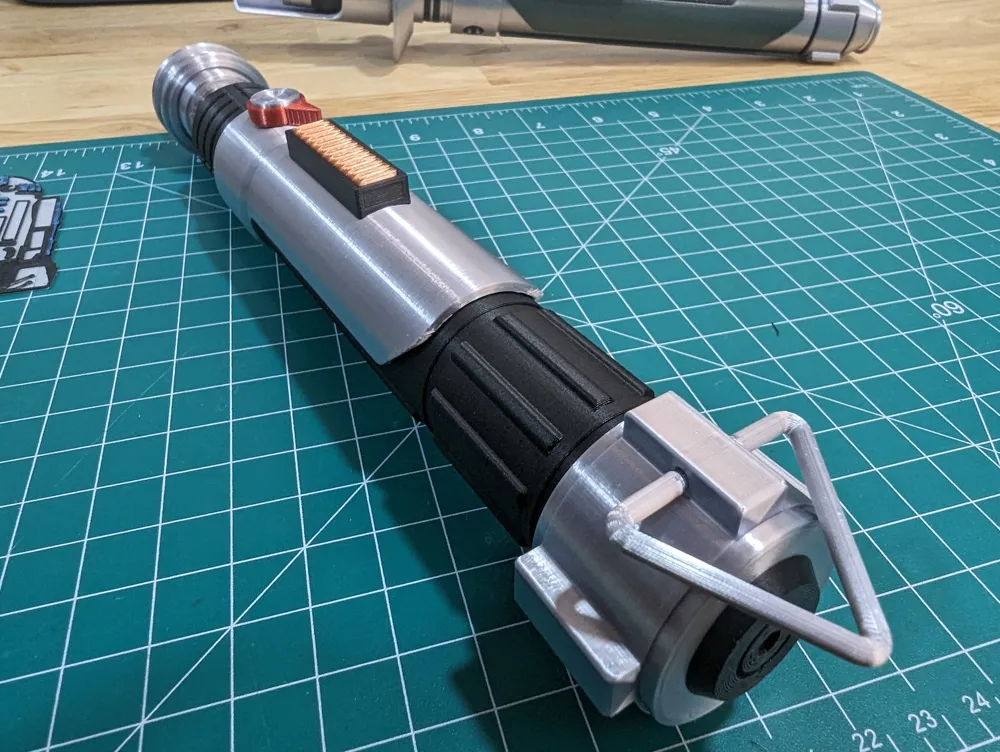
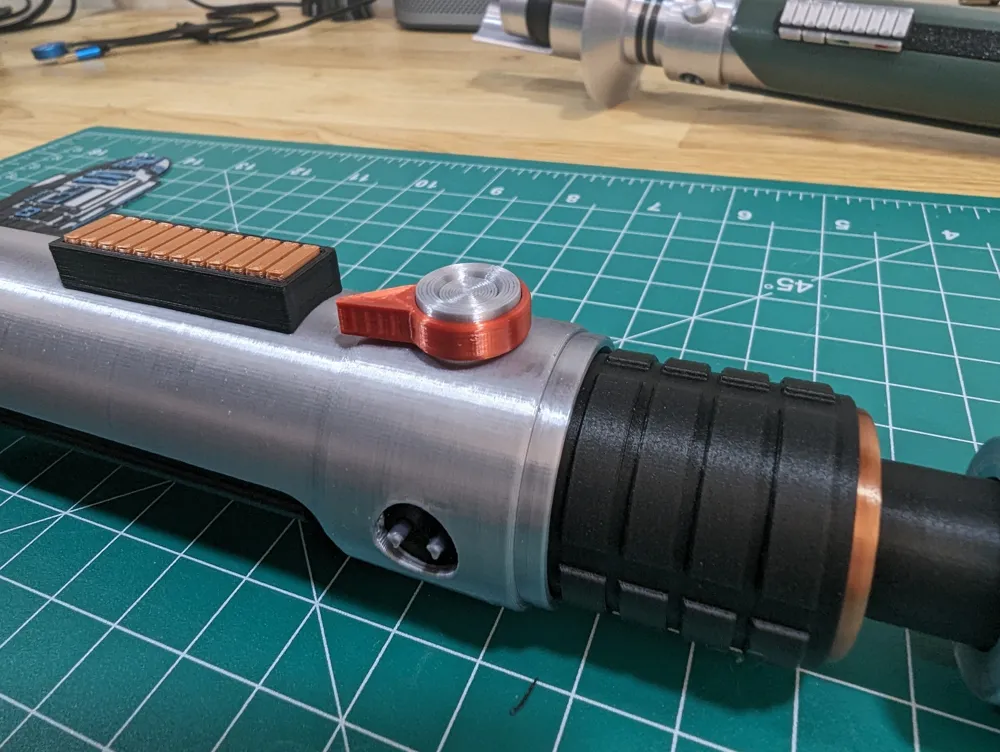
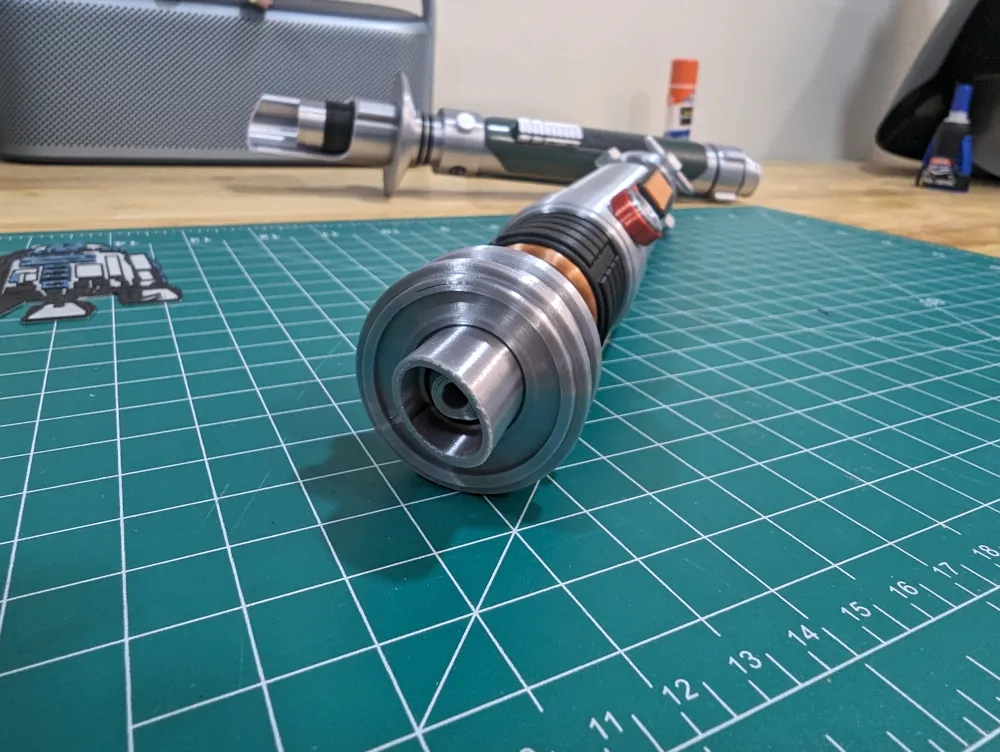
Print Profile(1)

0.12mm layer, 2 walls, 7% infill

10 h
5 plates
Open in Bambu Studio
Boost
138
350
40
28
191
110
Released
Description
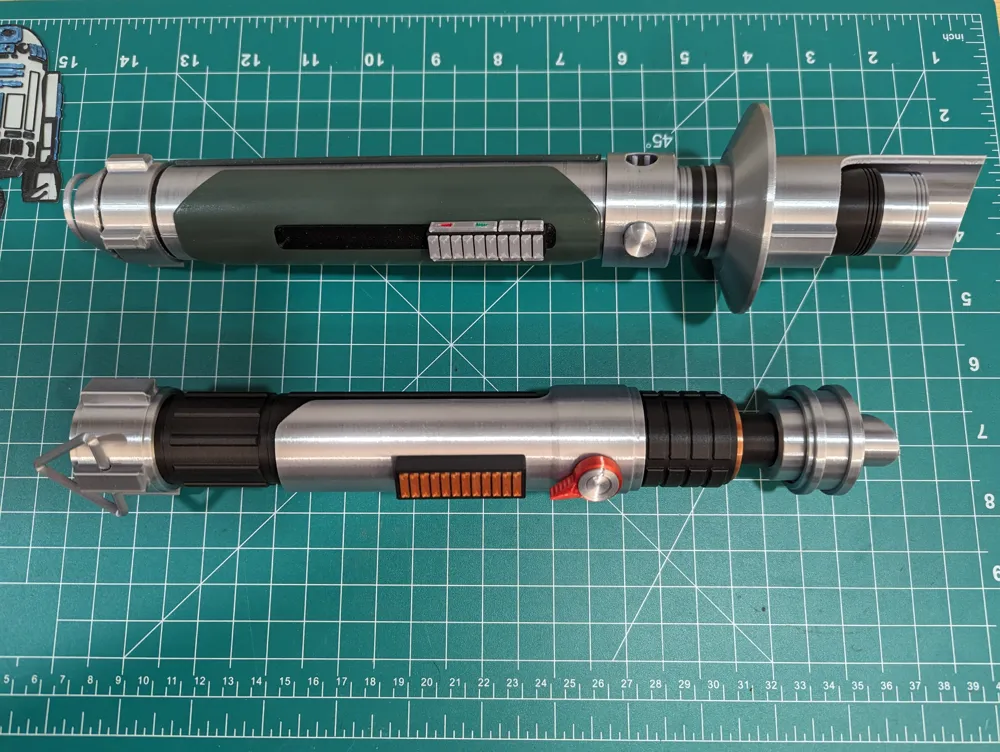
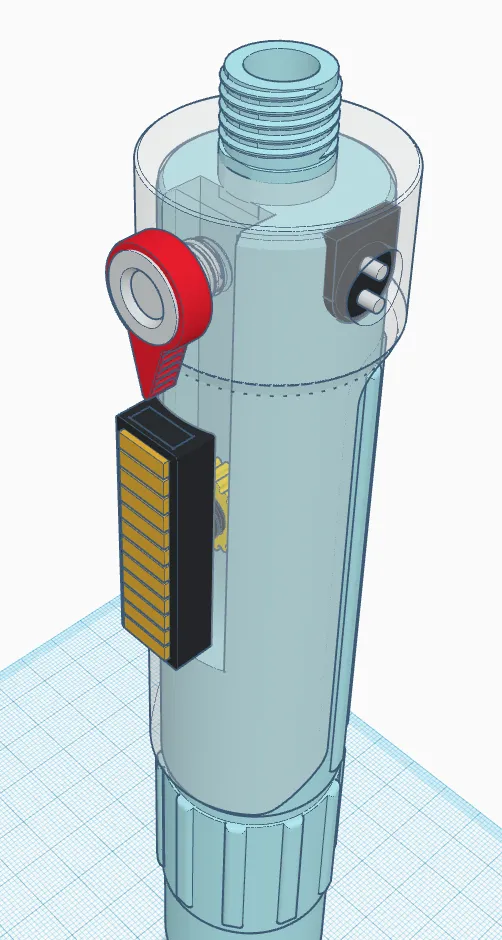
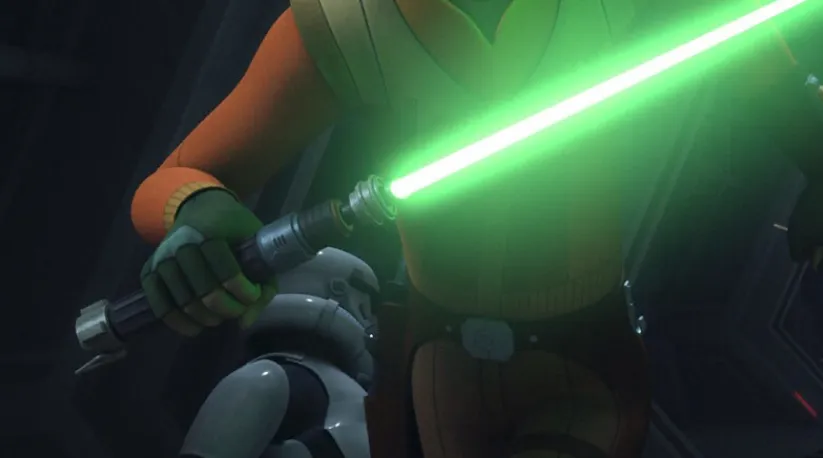
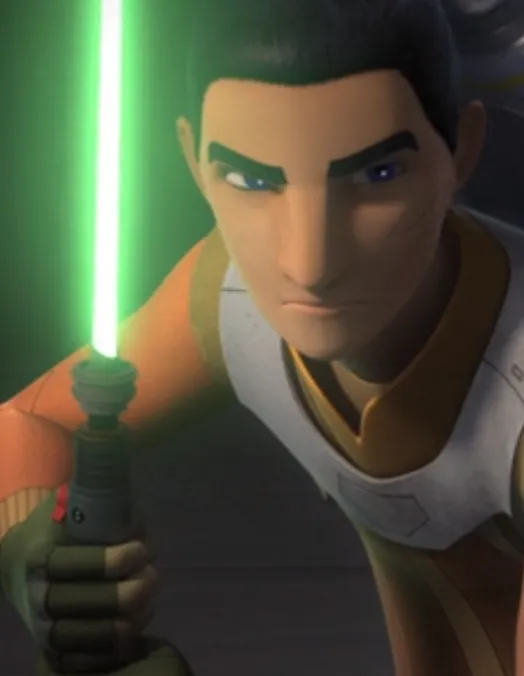
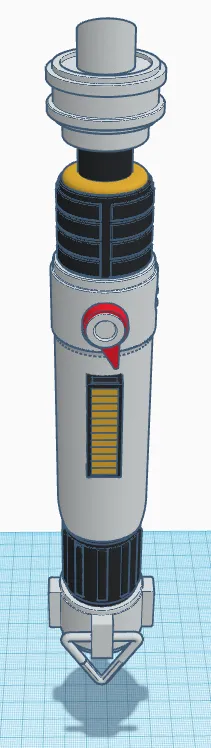
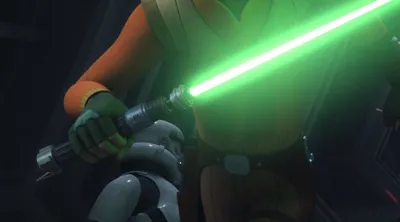
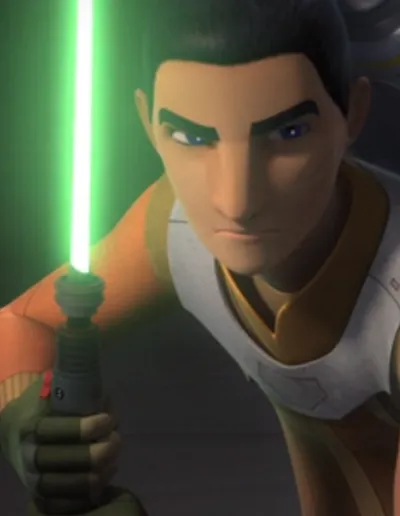
This is my take on Ezra Bridger's second lightsaber from Rebels. It was difficult finding good images from the series but I made do with a handful of screen shots. I used @ReProps Sabine Wren saber for scale, screenshots from Rebels and Ahsoka - and @UnimatrixRed needs a shout out for the charging pins he remixed on my Kanan Jarrus saber since I incorporated that design into Ezra's.
I did my best to keep with my code of using no glue, or supports - but alas, I broke down and accepted defeat. You will need supports for one (small) part of this model; the Activation Box.
Print Settings:
- .15mm for all parts - 0.1mm for the charging pings
- 3 walls
- 15% infill
- NO GLUE NEEDED!
Filament Used:
- Sunlu Silk PLA - Silver
- Sunlu Silk PLA - Red Copper
- Ziro Silk PLA - Red
- Overature Matte Black PLA
Assembly Notes:
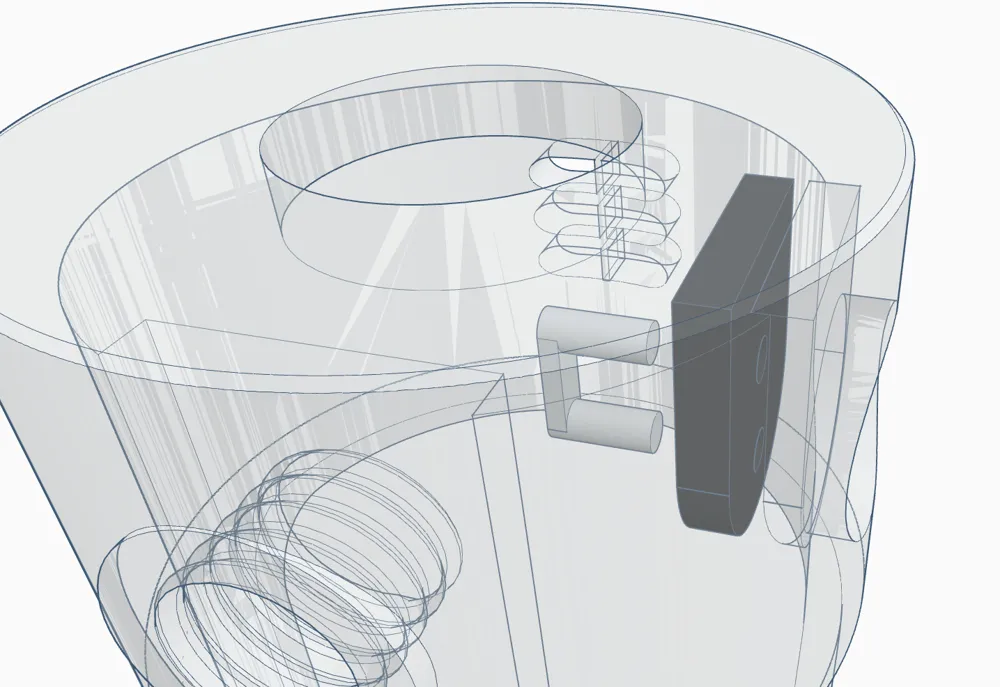
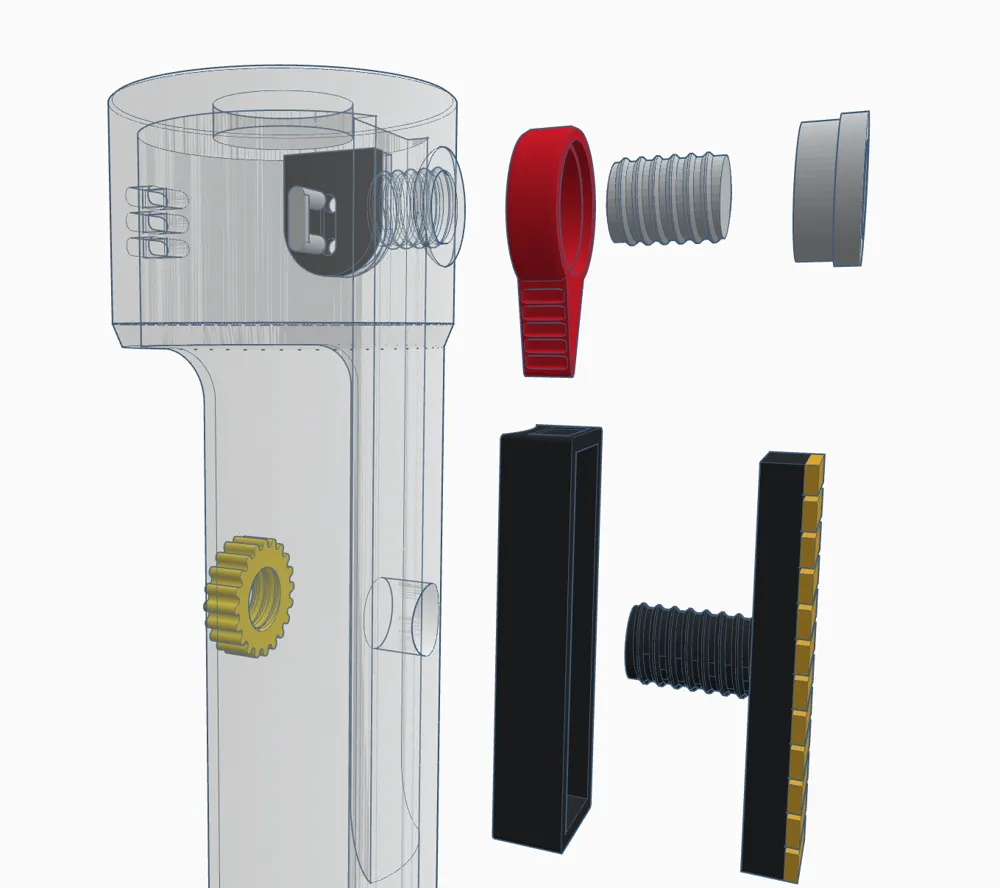
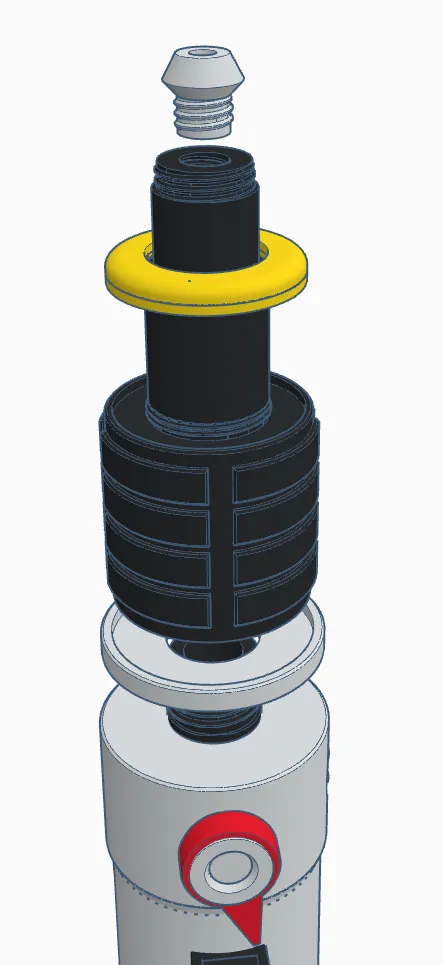
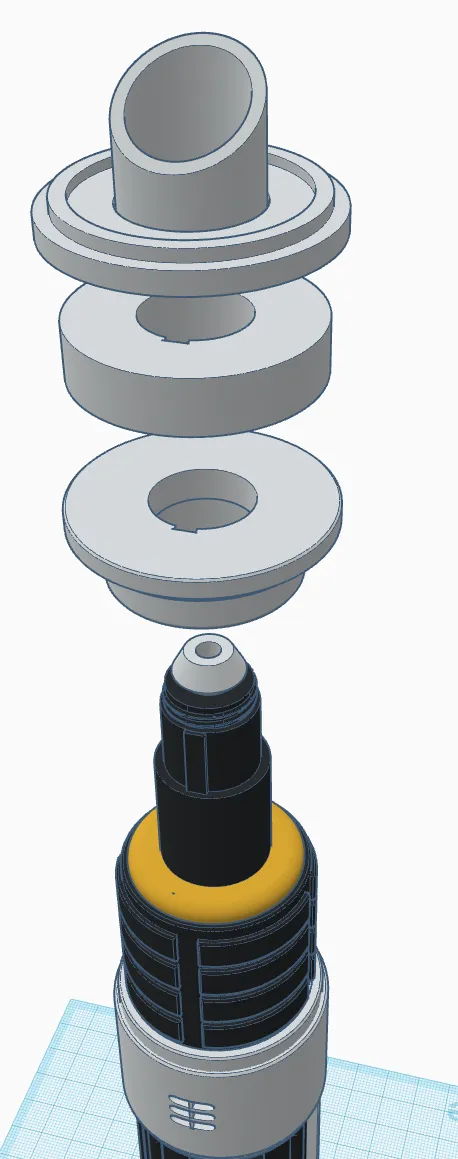
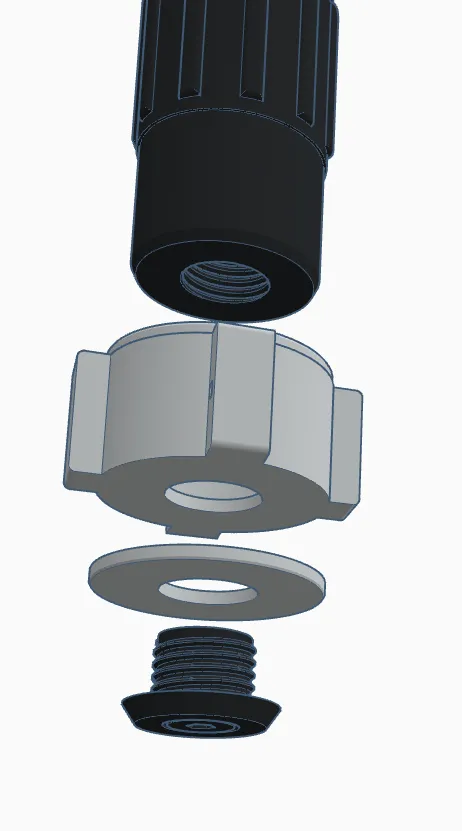
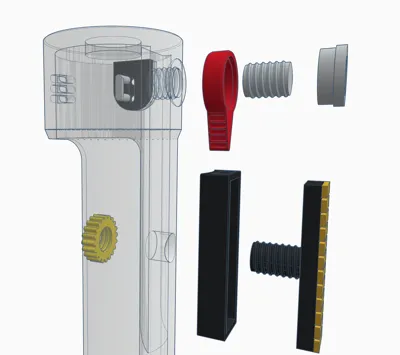
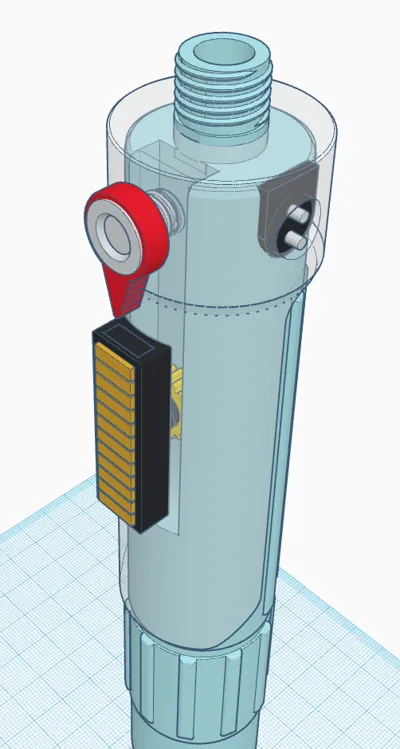
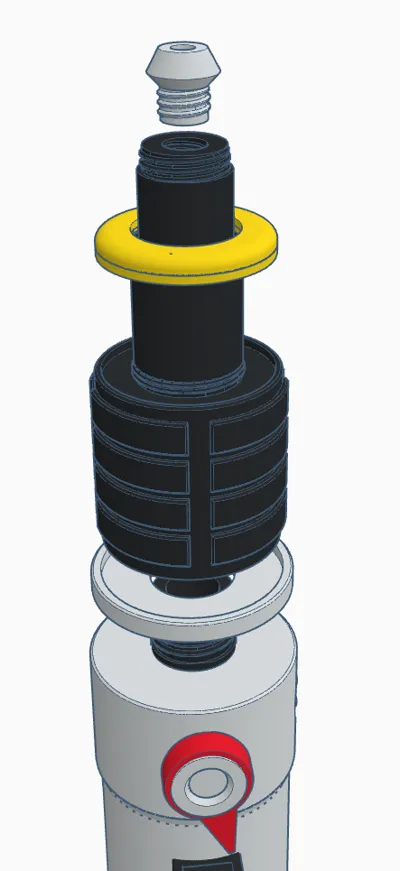
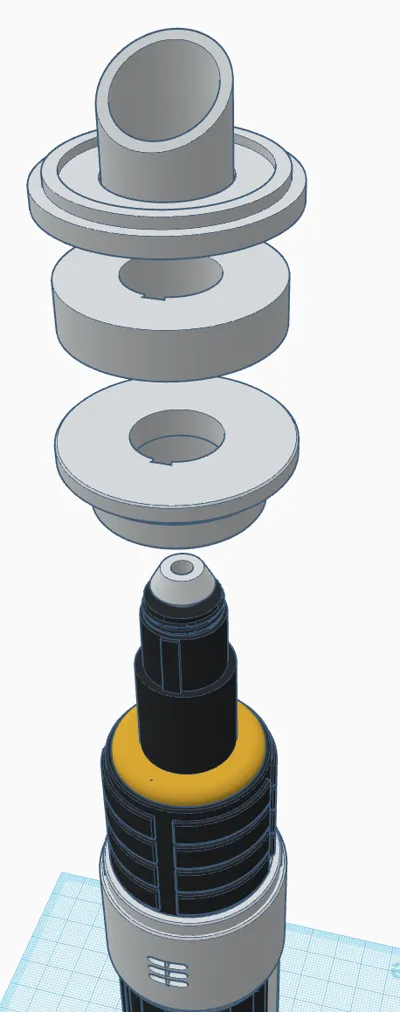
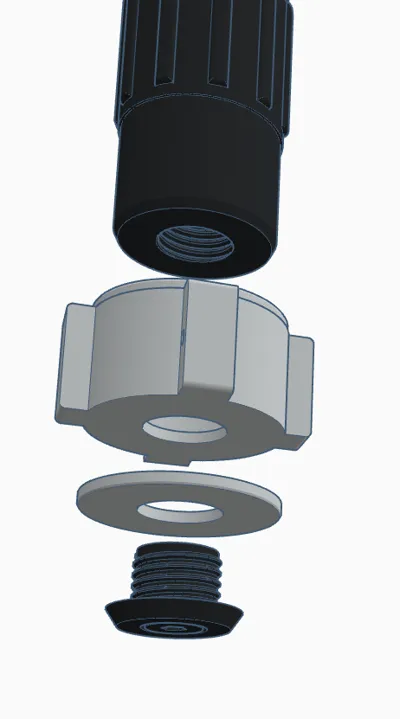
- Reference the pictures attached for assembly
- The Activator Box is the only part that will need supports
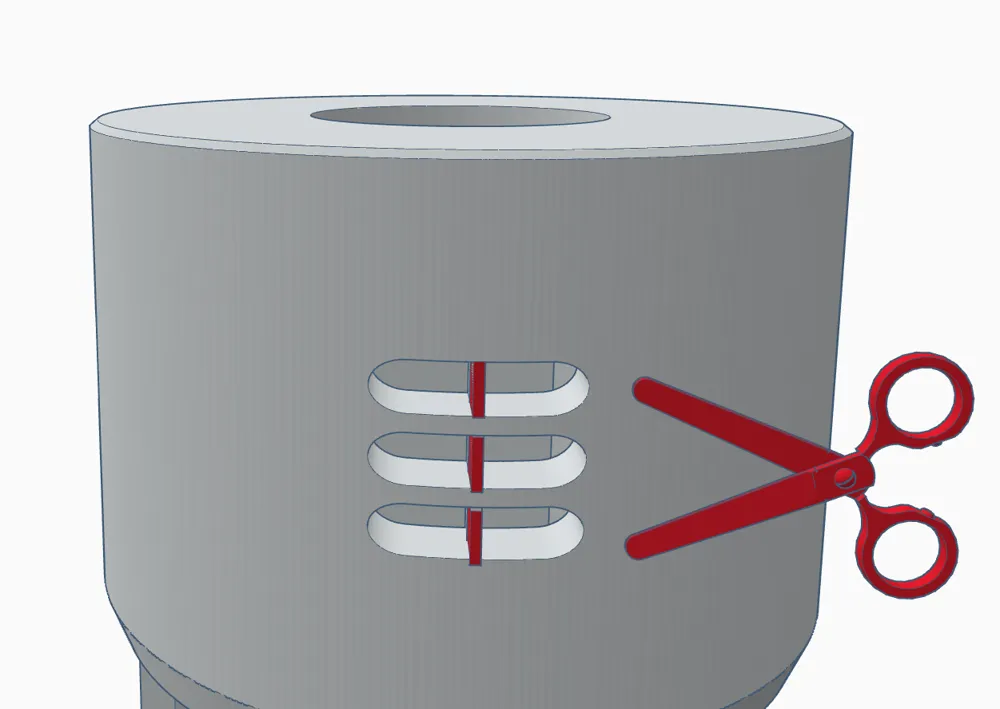
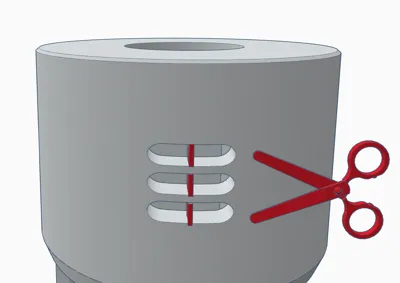
- The 3 vents on the back side of the hilt shroud have supports built in that can be snipped off.
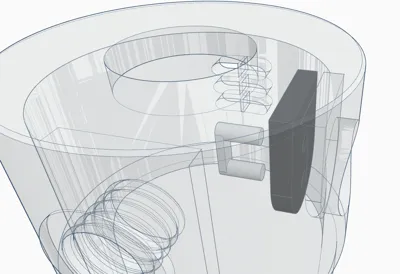
- Attach the activator box, red lever assembly, and charging port assembly to the shroud before you slide the hilt into place. The hilt will hold the charging port parts in place.
- The shroud might be tight fit on the hilt depending on your filament/print settings. The shroud is pretty strong so don't be scared to beat it into submission. Make sure it is fully seated or the upper grenade grip will not line up properly.
- All of the parts are positioned to hide the seam where possible.
- For the activation plate, I did a color change at level 8 (from copper to black) in CURA but YMMV depending on what resolution you're printing at.
- I have include a tool you can use to tighten the bottom 4mm hex screw and ream out the threaded hole in the shroud (red lever assembly) if the threaded hole prints out a little rough.
Boost Me (for free)
If you like my work, consider giving me a boost!
Or you could always…

License

This user content is licensed under a
Creative Commons Attribution-Noncommercial-Share Alike


Comment & Rating (40)