
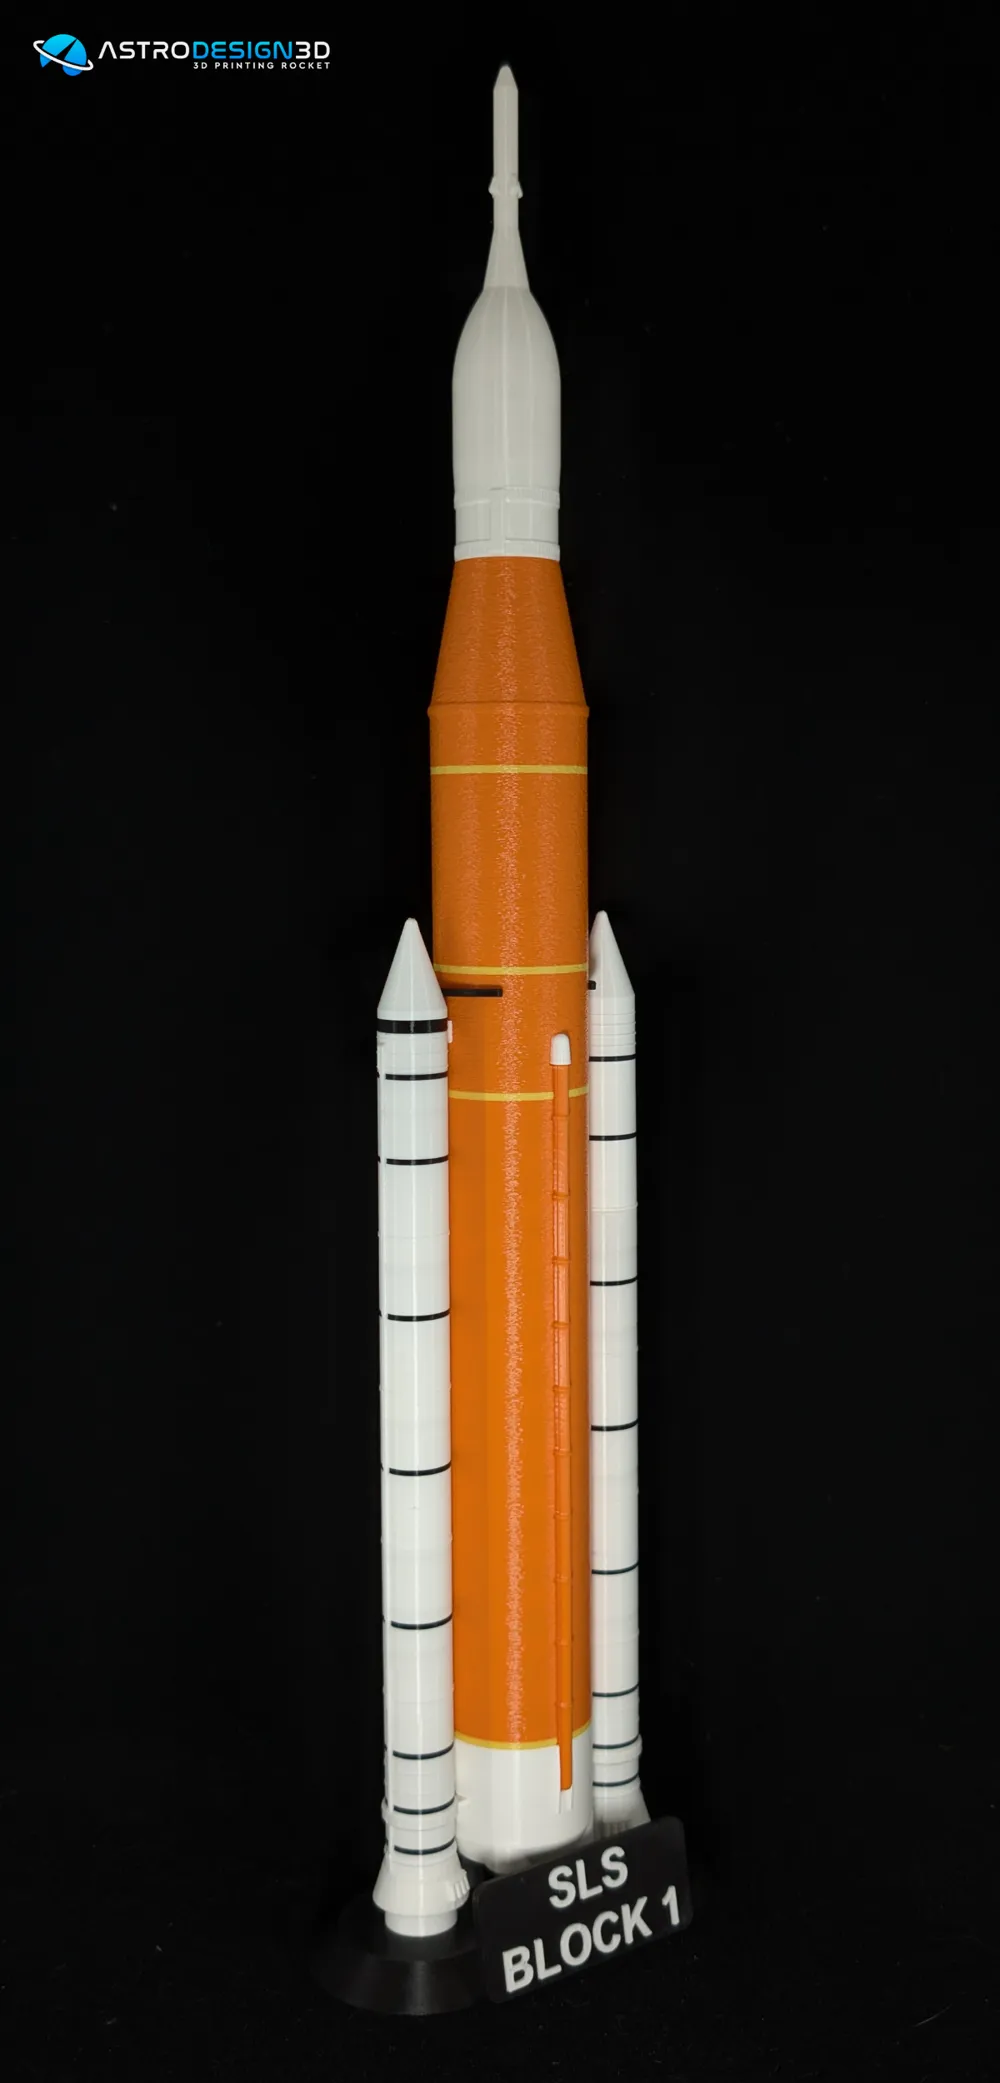
SLS BLOCK 1 (ARTEMIS)




Print Profile(8)



Bill of Materials







Description
I'm looking to improve the publication of my models on makerworld, if you like or dislike my models and if you have 5 minutes to lose, can you please fill out this form.
Boost Me (for free)
If you can, please feel free to boost my model so that more models will arrive! 5...4...3...2...1...0...Liftoff! !!
Membership
If you like my 3D models and want to take part in this journey into space, subscribe today! Your support is essential to help me expand our collection!
Information
All pictures you see were taken before the color "modifications", so use the colors of the parts as a reference.
Description
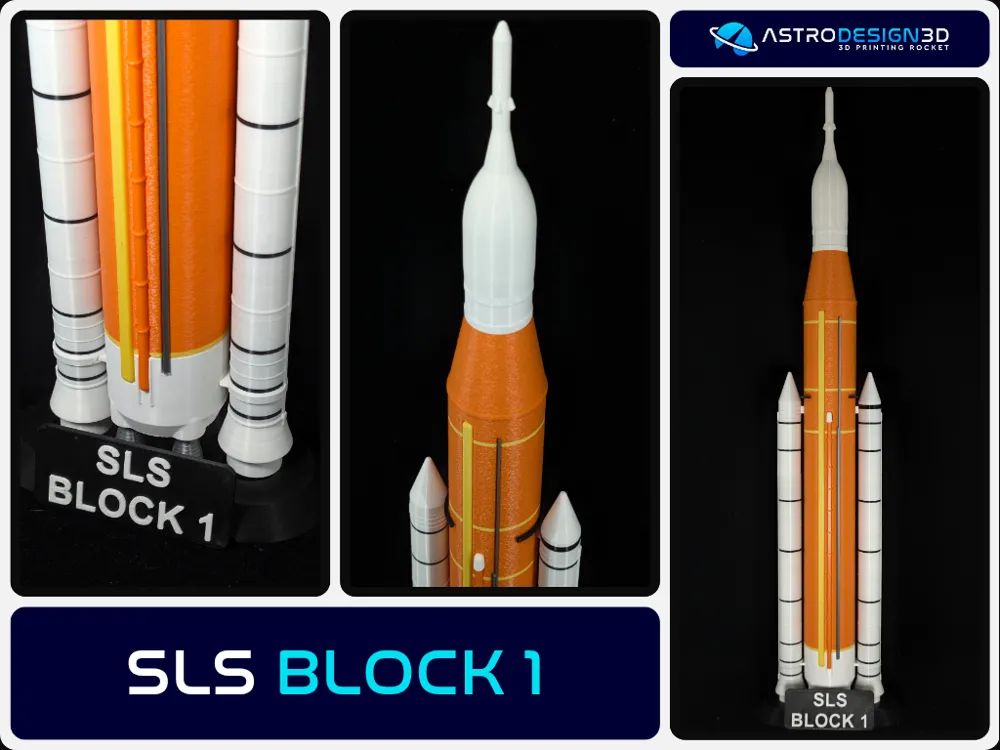
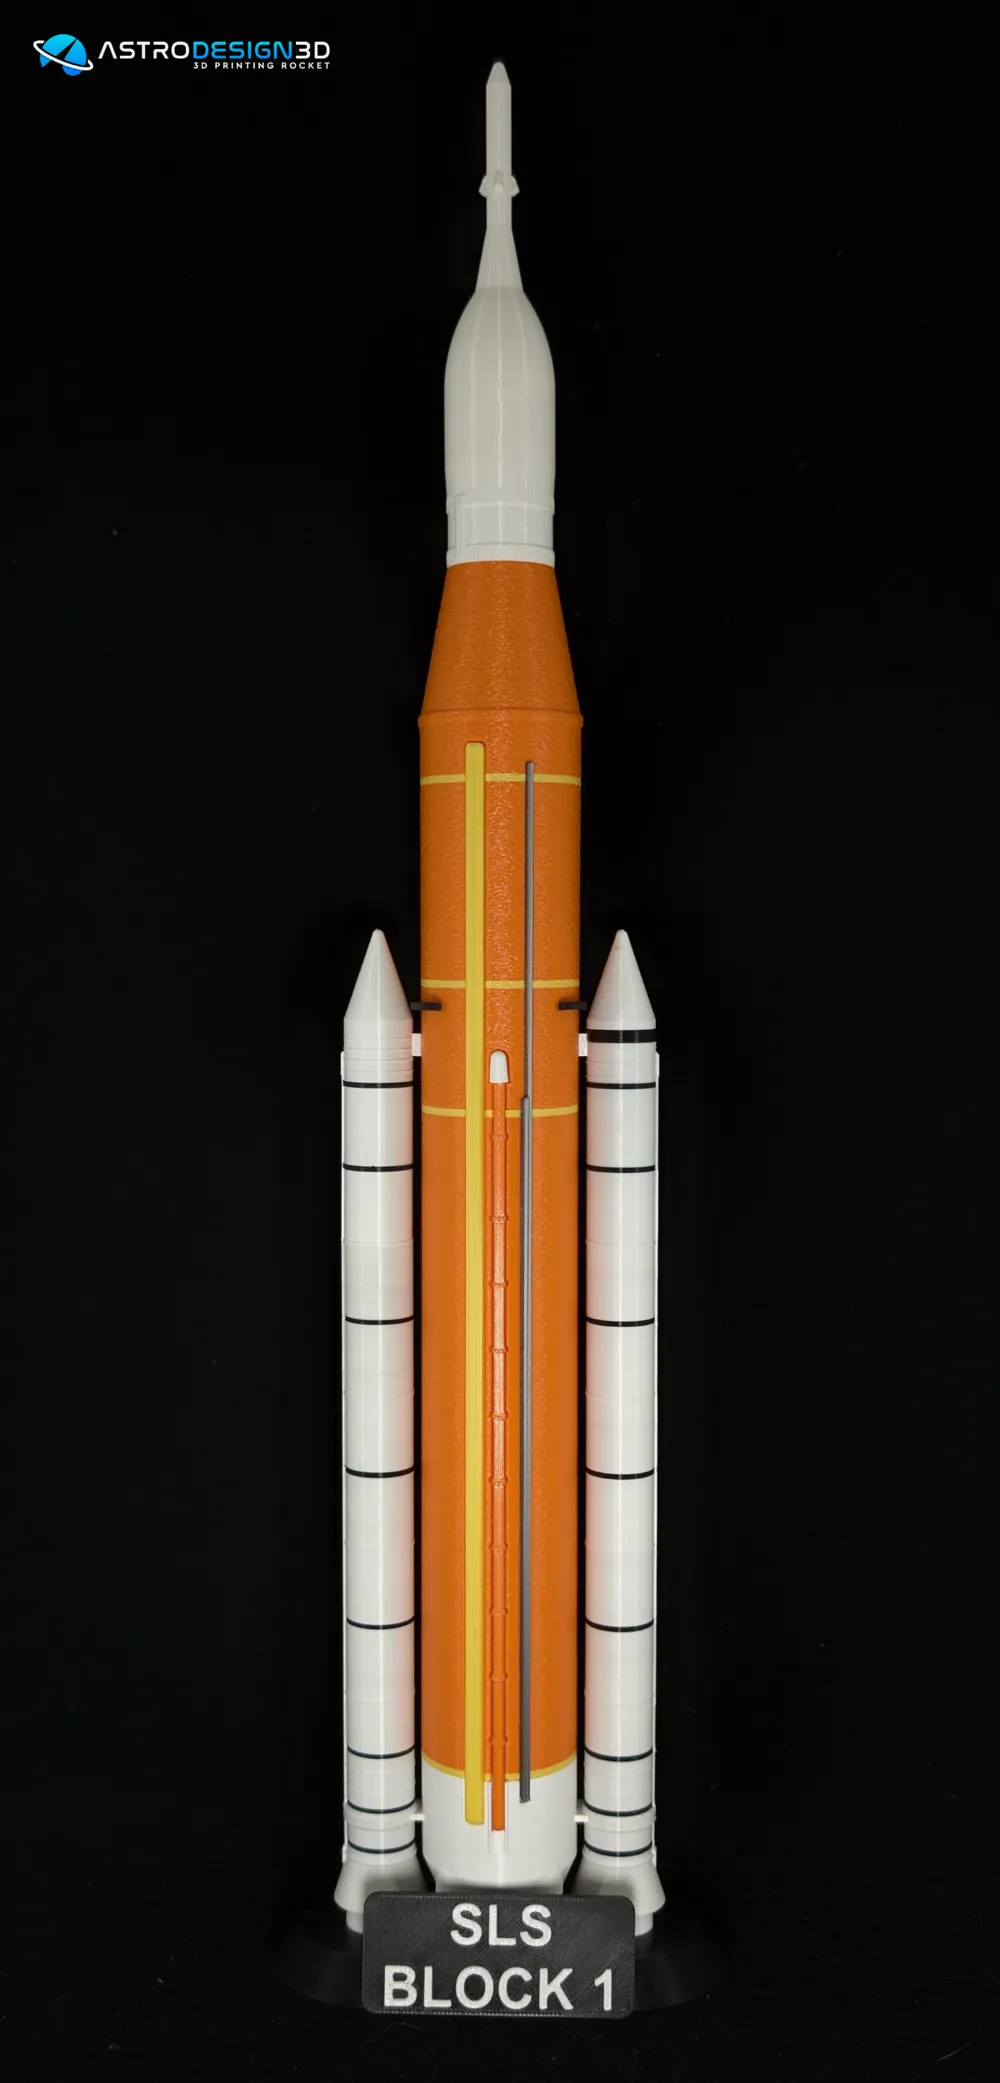
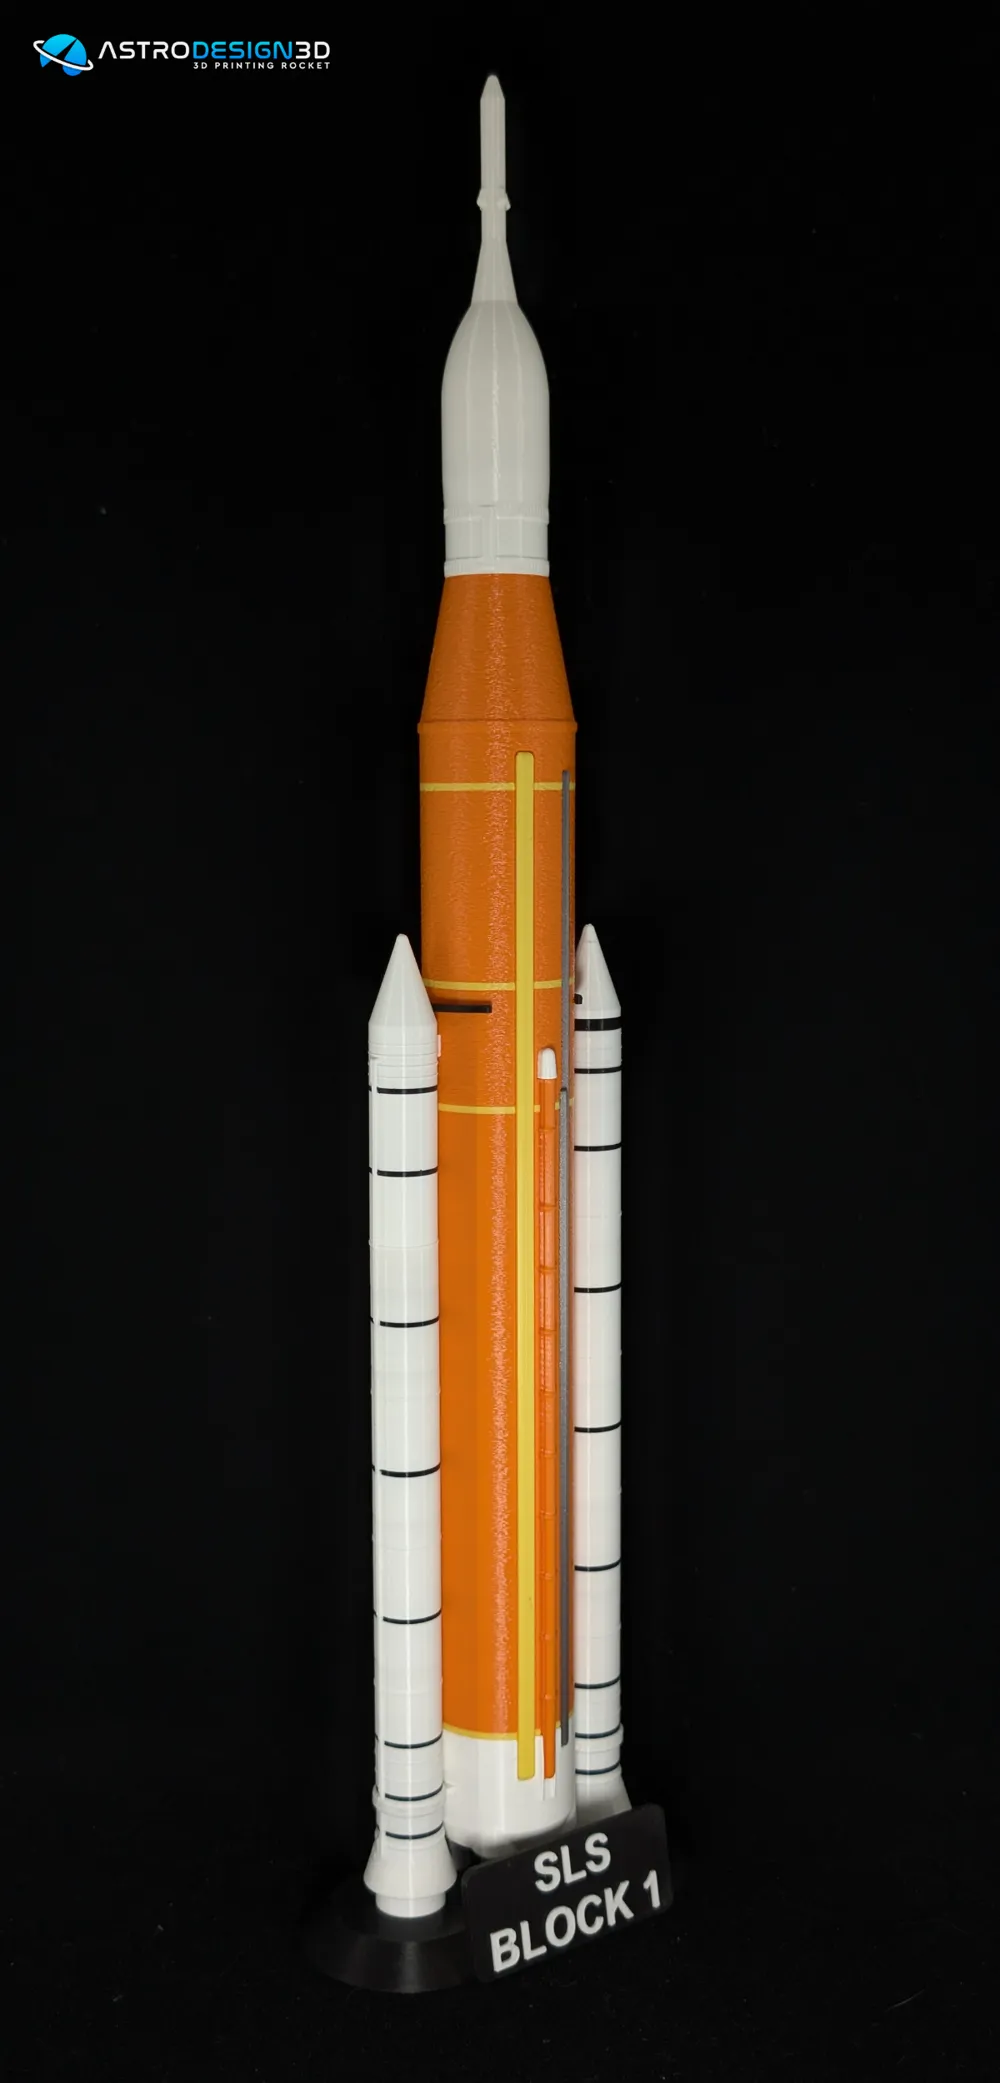
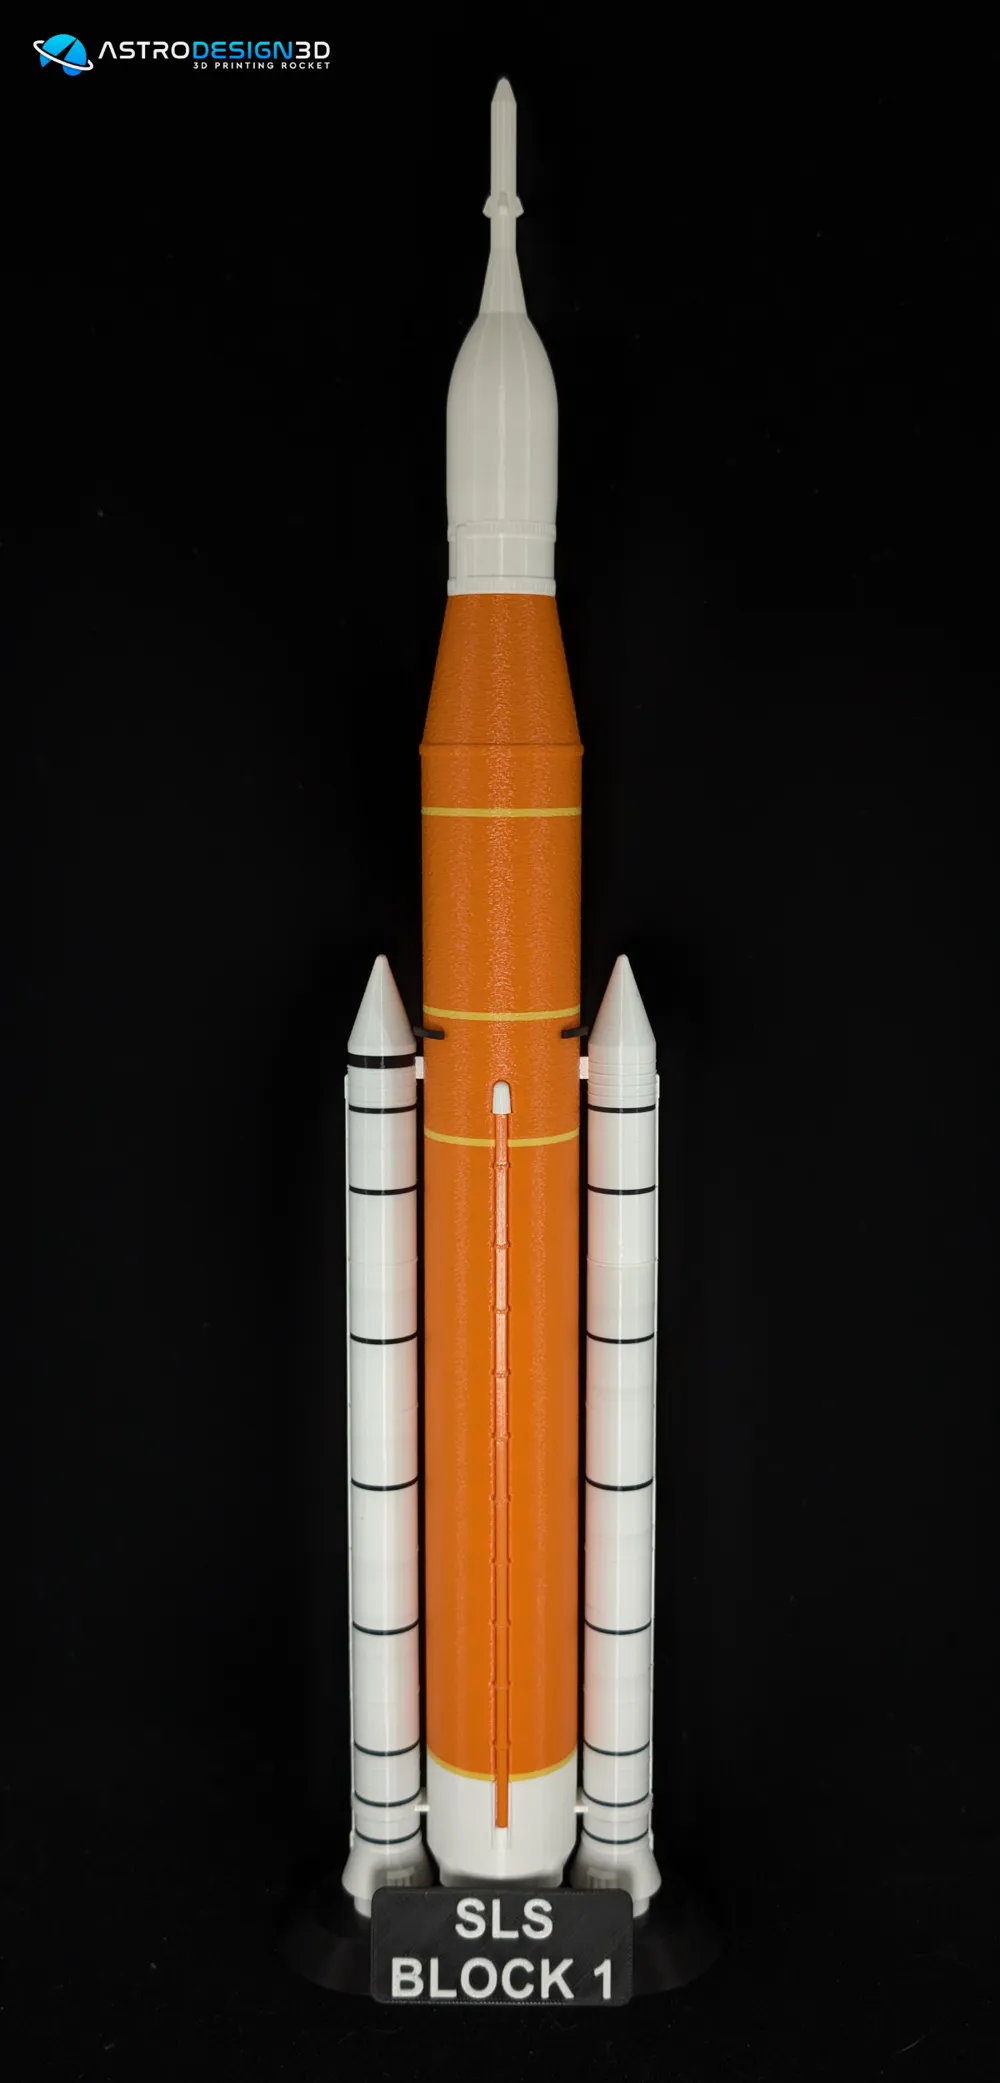
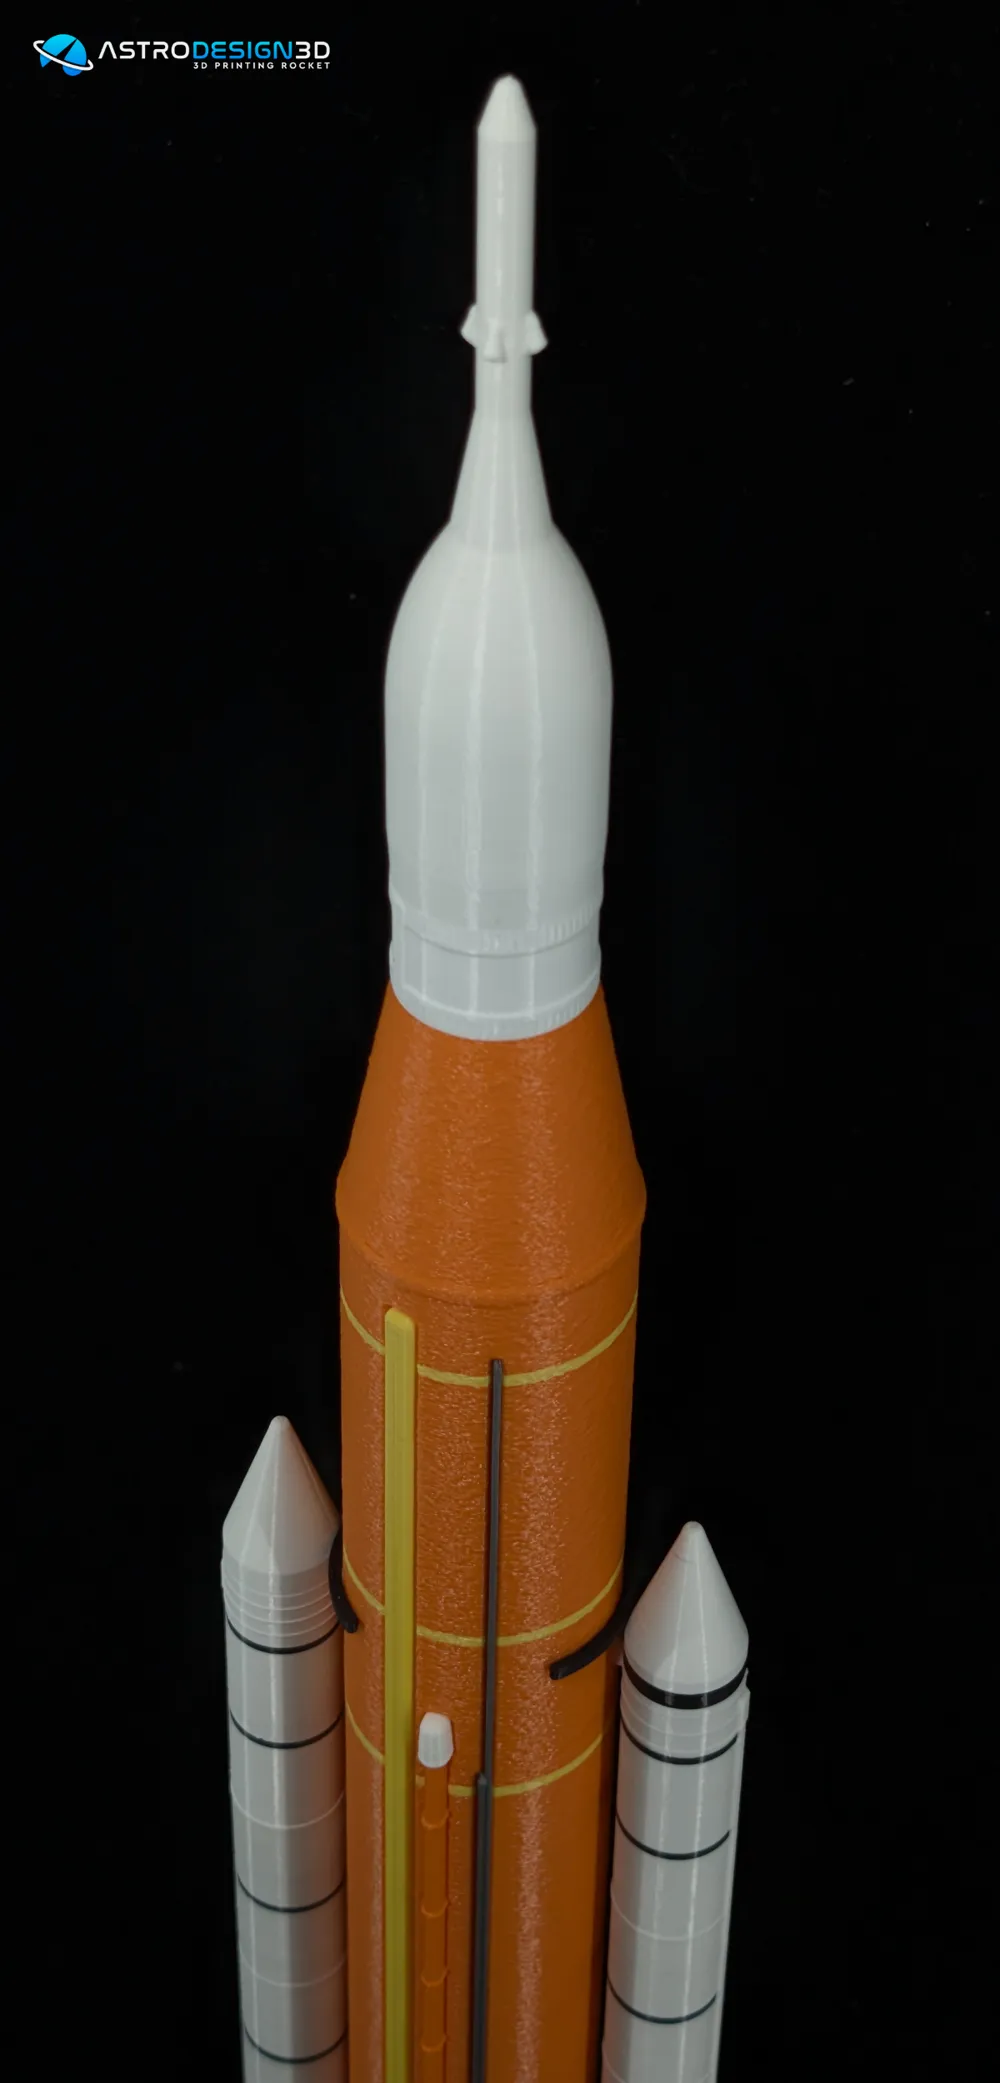
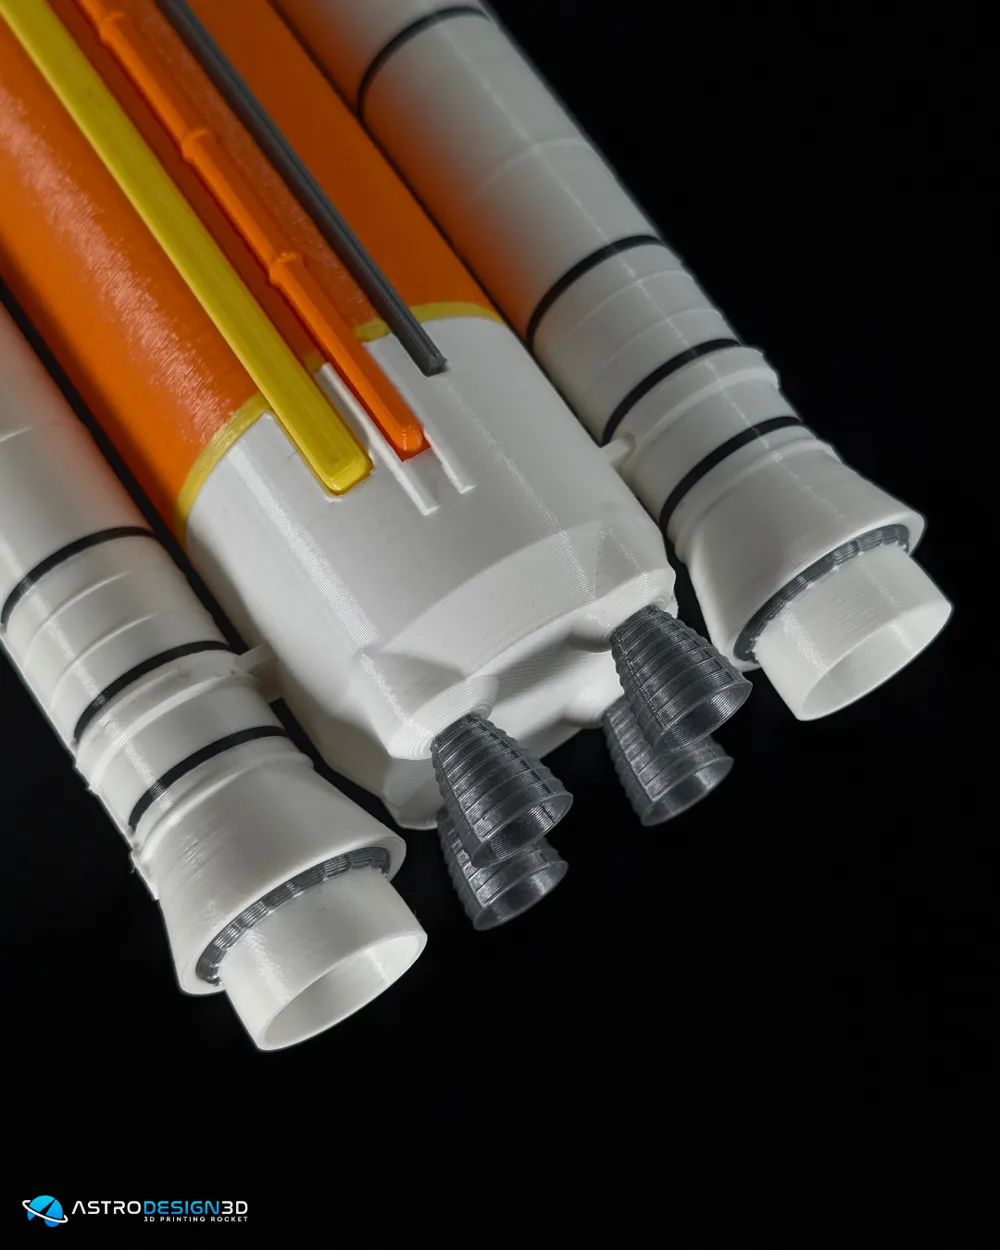
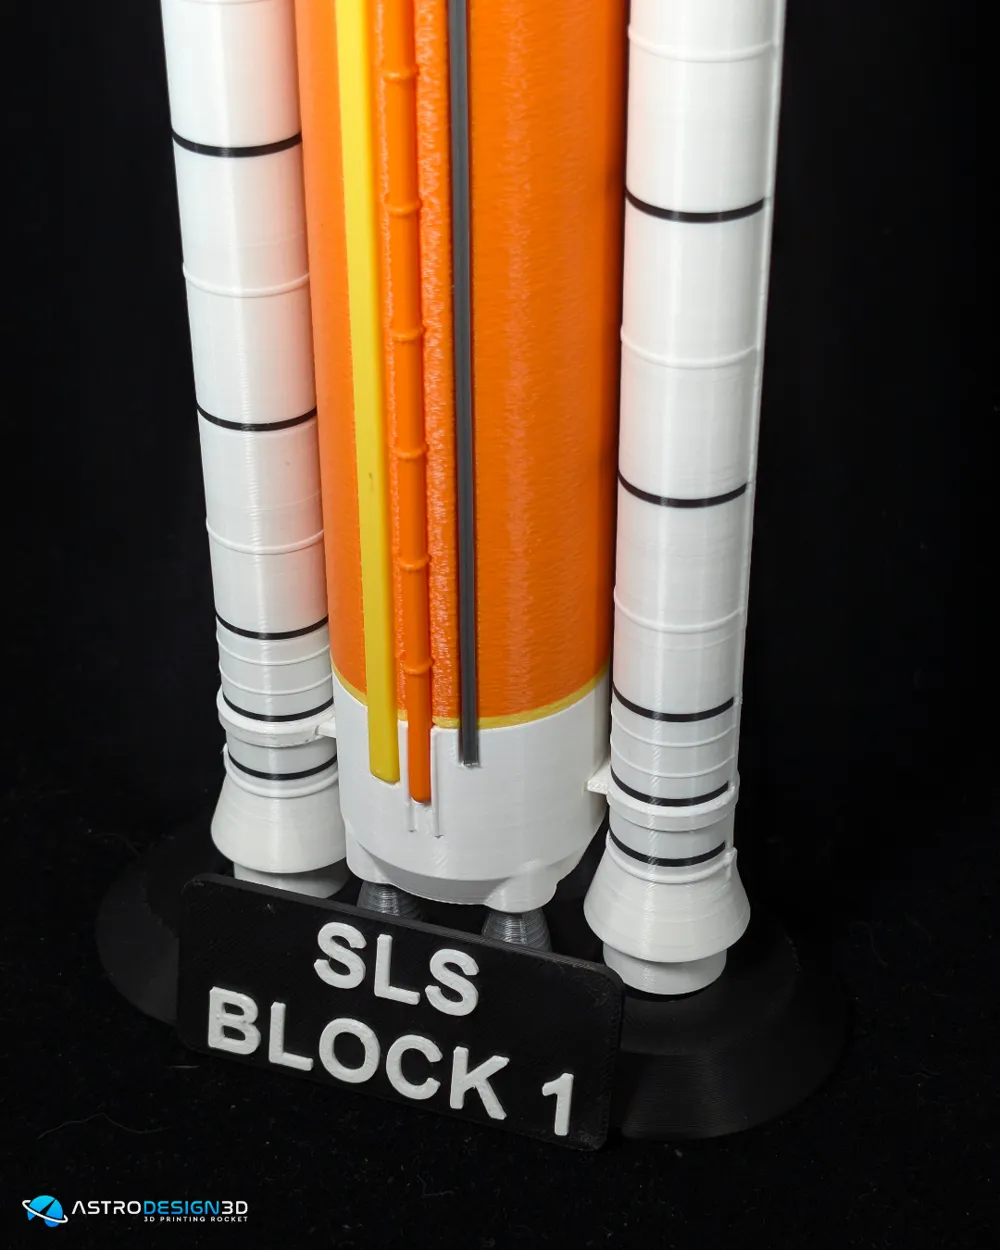
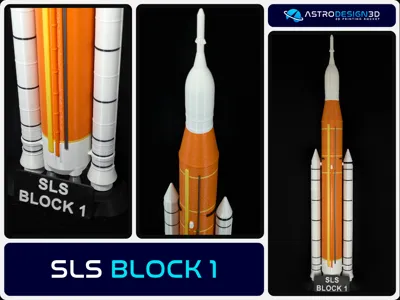
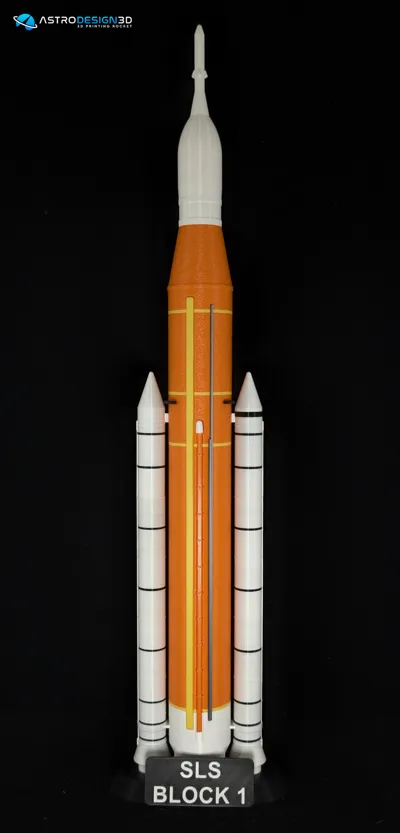
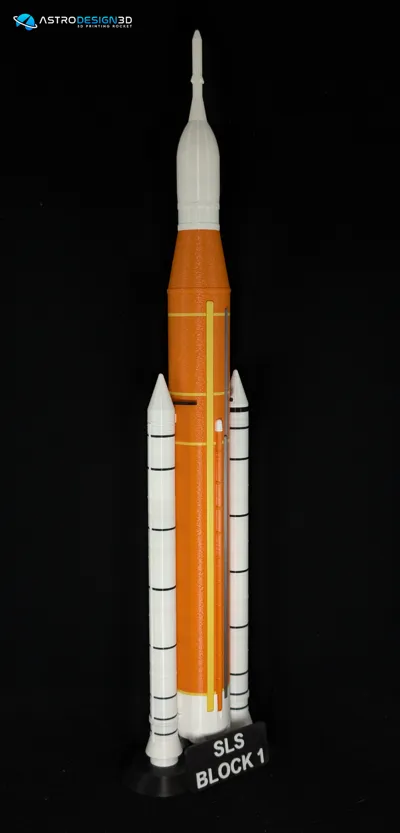
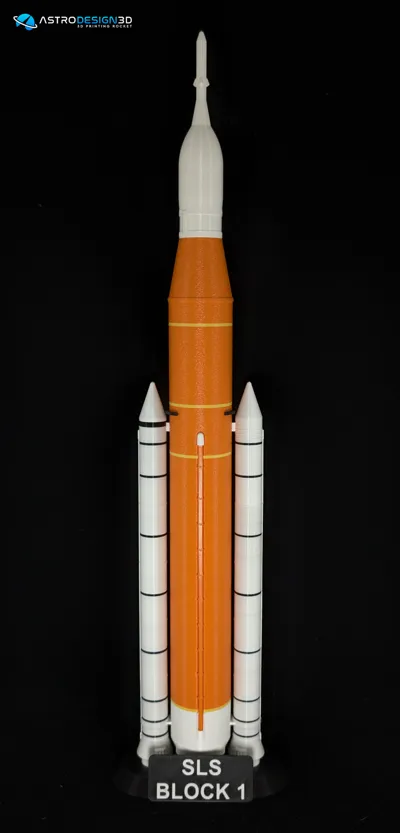
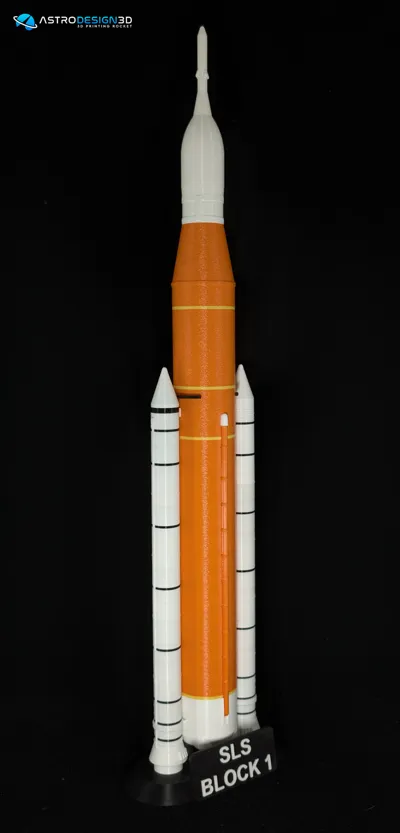
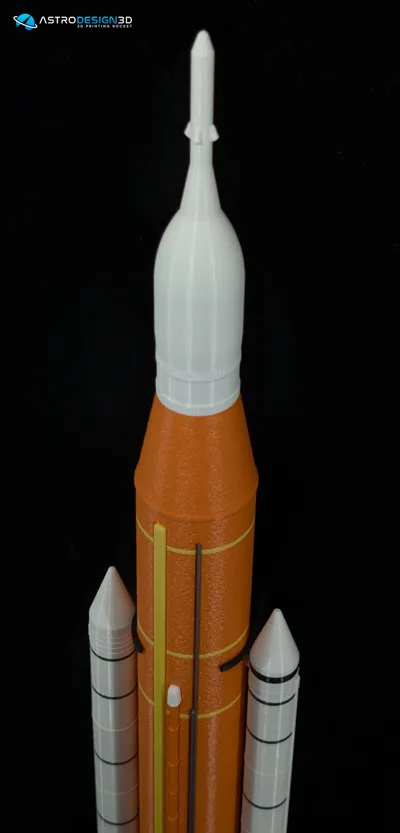
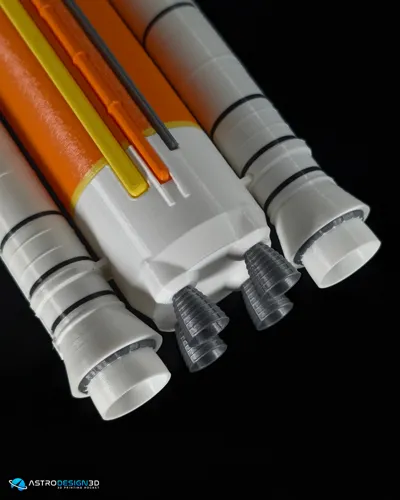
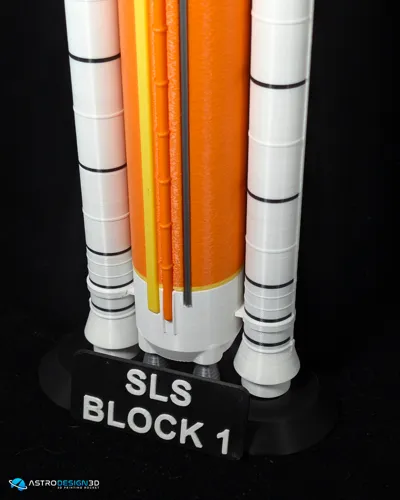
The "Space Launch System" model is a highly detailed 1:200 scale reproduction of the rocket currently under development by NASA for the Artemis missions to the moon; the first and only test flight took place in November 2022. The model consists of several pieces printed separately, which are easy to print and assemble.
- The finished model dimensions are approximately 50cm high and 10cm wide for the Space Launch System.
- There are 64 pieces to print, including 13 pieces for the Solid Rocket Booster and 17 pieces for the Core Stage.
- The total printing time for the entire model is approximately 40 hours.
Assembly and Printing Guide
I haven't (yet) made a guide for this model, but I've put the images with all the parts referenced. If you see colors that don't match, follow the part names.
Tips
Settings
- For infill, 10% is sufficient for a decorative object, and you can also use PrusaSlicer's "Lightning" infill settings.
- For some parts, support will be necessary.
Printing
- For a better final result, I recommend printing the Jonction_Block last so that you can adjust their size according to your print and have a better fit during assembly.
- If some parts are loose or don't fit, you can change the scale by +/- 1% in the slicer to get a better fit.
- The parts are positioned in the optimal direction for printing.
Post Printing
- You may need to sand the junction areas between the parts for a smoother finish.
- Additionally, I recommend using glue for better strength and durability.
License

You shall not share, sub-license, sell, rent, host, transfer, or distribute in any way the digital or 3D printed versions of this object, nor any other derivative work of this object in its digital or physical format (including - but not limited to - remixes of this object, and hosting on other digital platforms). The objects may not be used without permission in any way whatsoever in which you charge money, or collect fees.


Comment & Rating (313)