
Ergonomic Ajustable solder tool - Solder Scroll

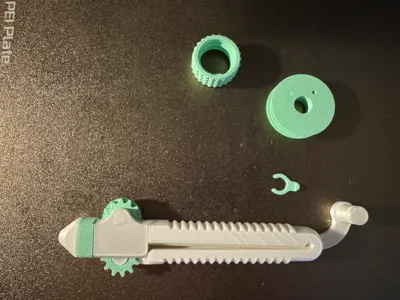
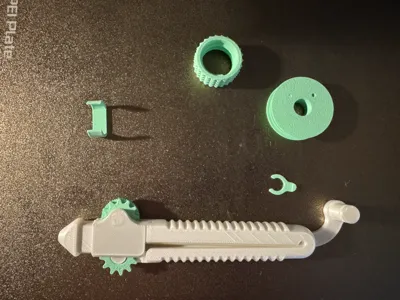
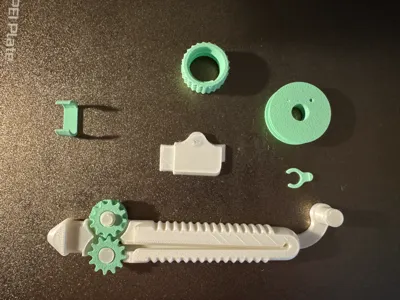
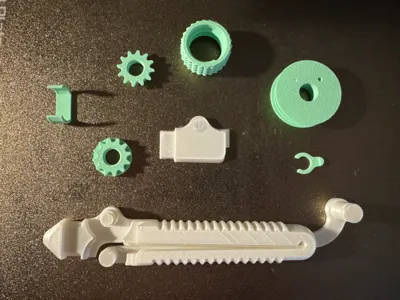
Print Profile(2)


Description
Visit My Collections:

If you want infos on filaments used or other stuff presented in photo or description please PM me, I will share them with pleasure.
Thanks to the original creator , a remix based on this extraordinary model. @victordesigns that I thanks for first
Remixed parts:
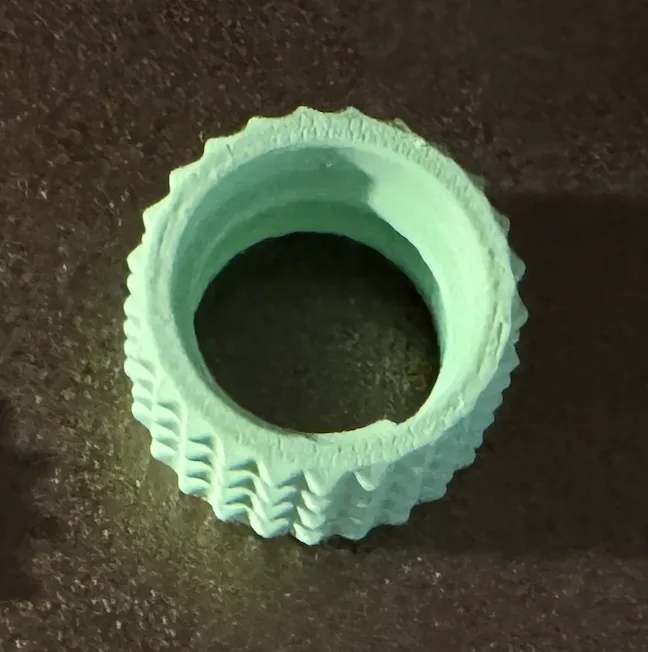
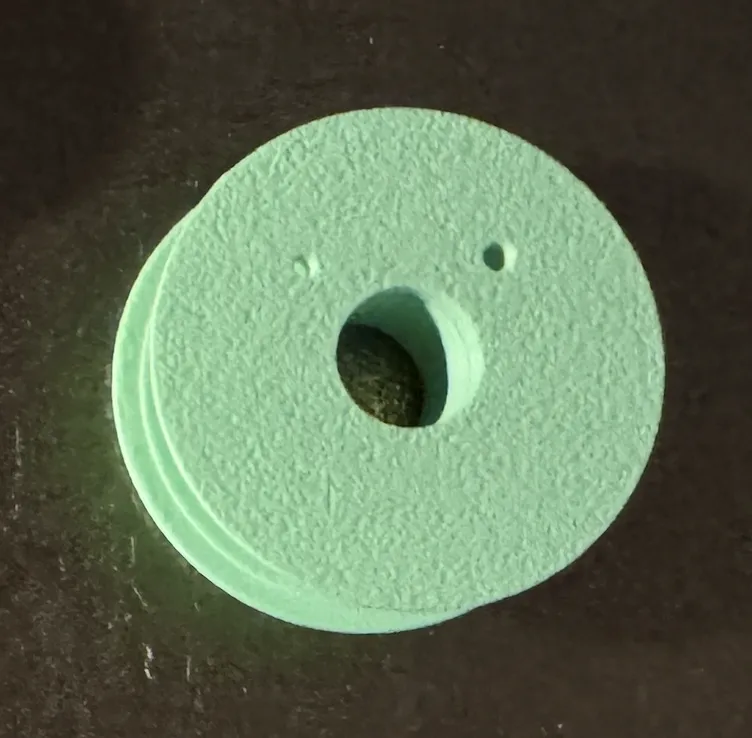
I made many modify on tolerance and adaptation for print simply with bambulab because my 1st profile was not good at all.
they were too tight.
many mounting point and screw diameter , and also the internal diameter I had to correct to print safely with bambu petg and pla
I suggest PETG for screw
I consider this mode a must have for all makers.
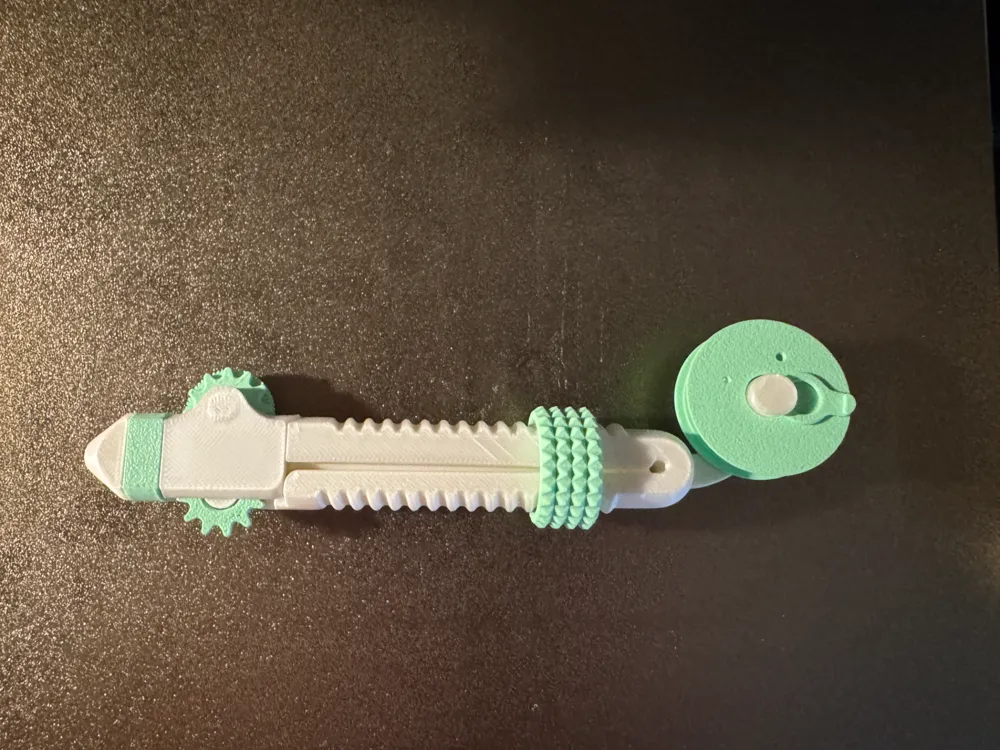
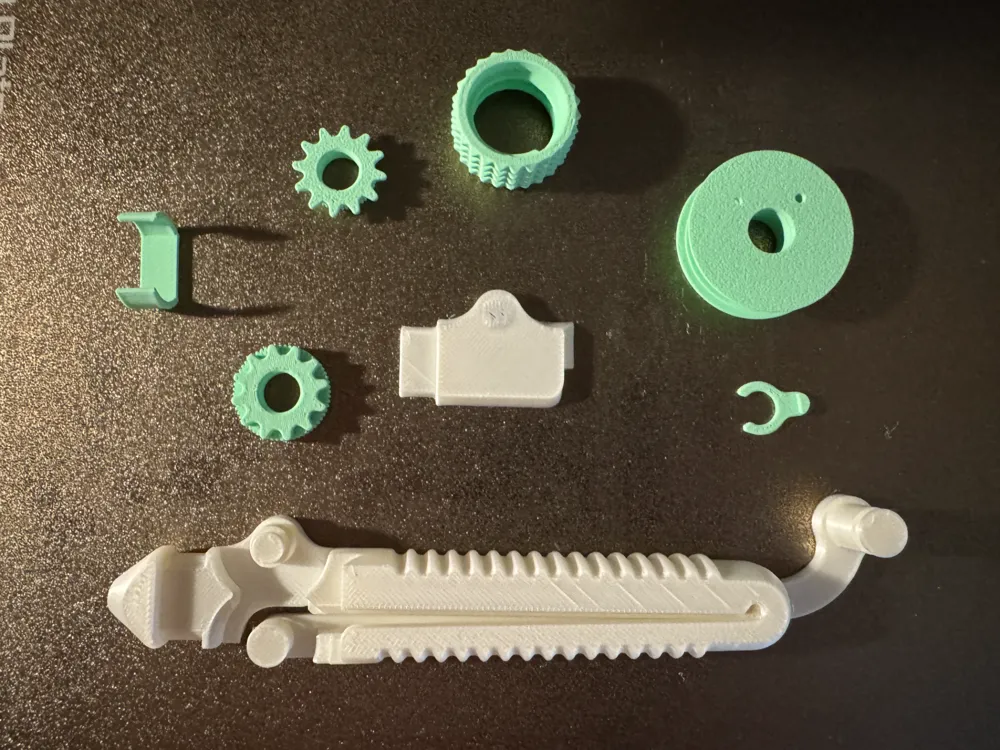
no screws, print in place. you can change some parts color at your desire.
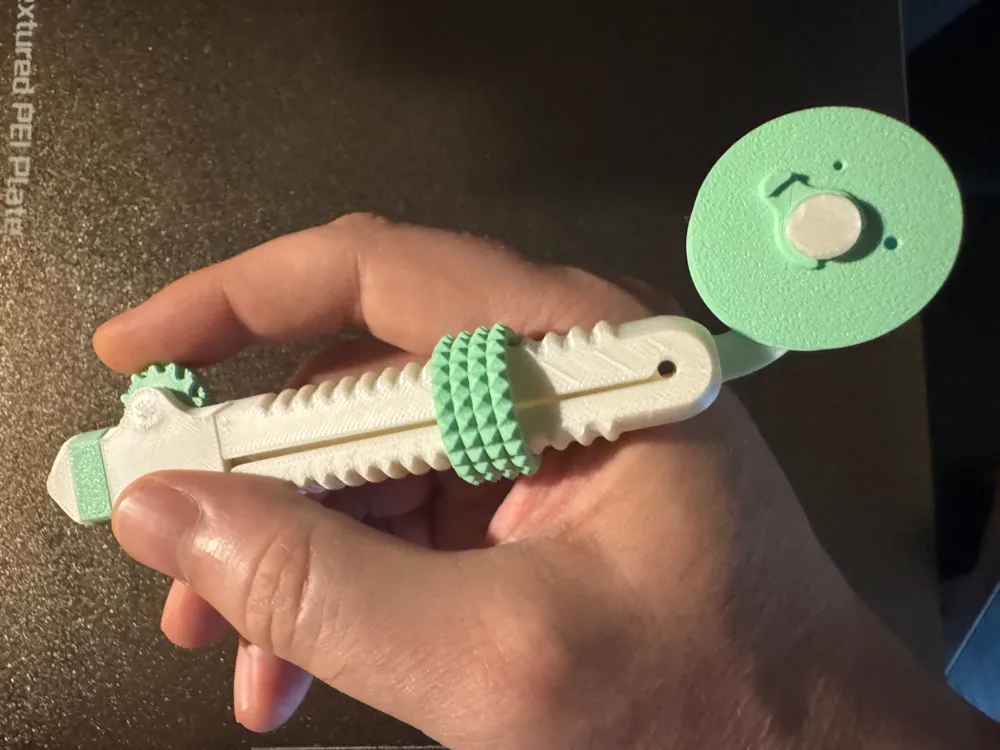
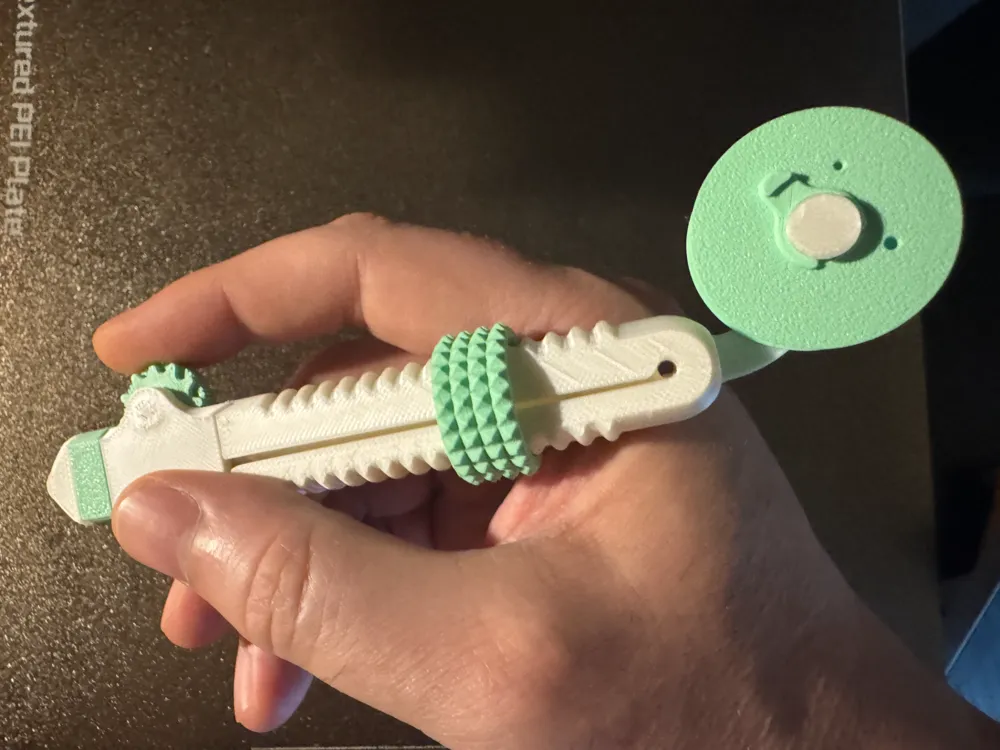
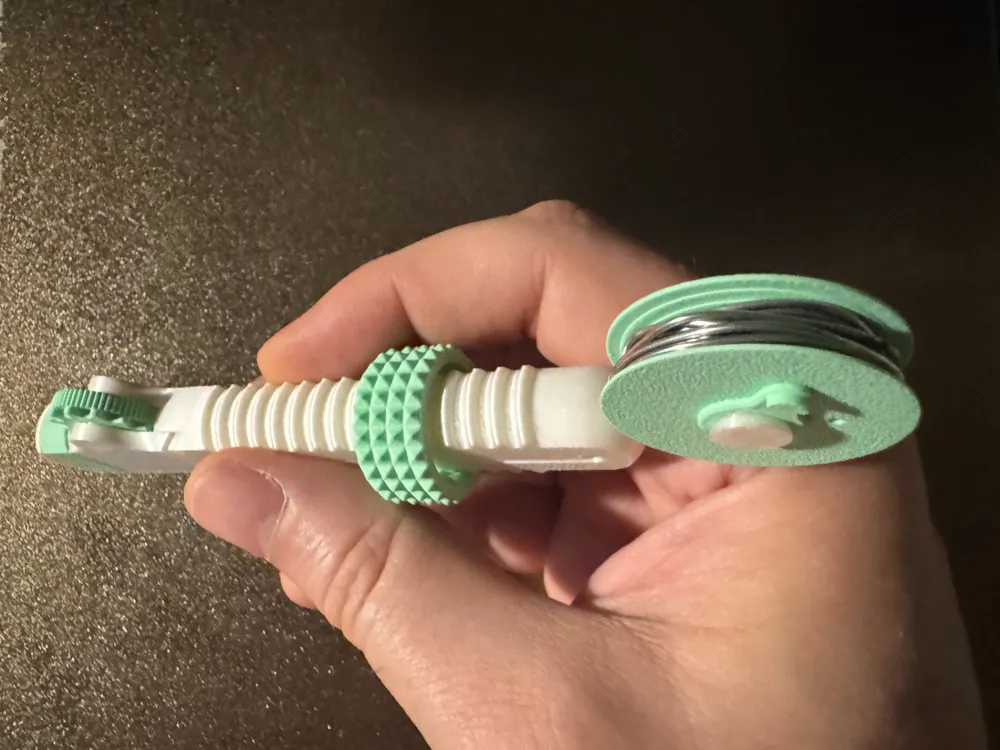
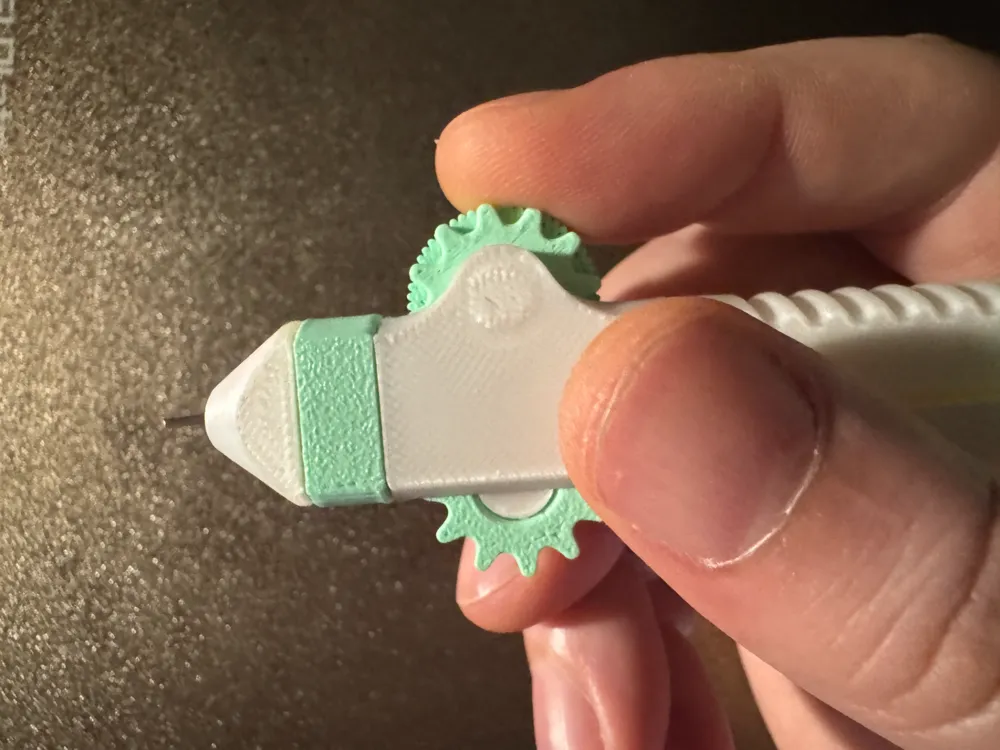

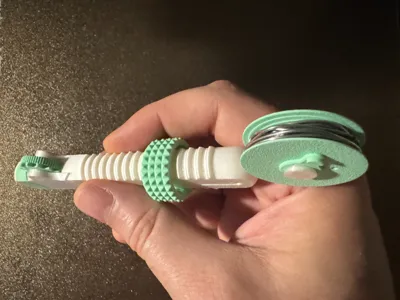
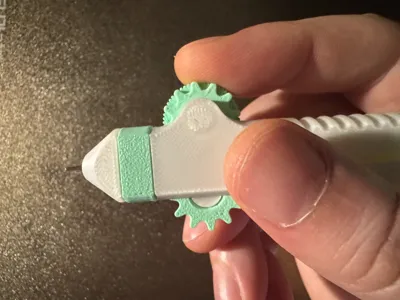
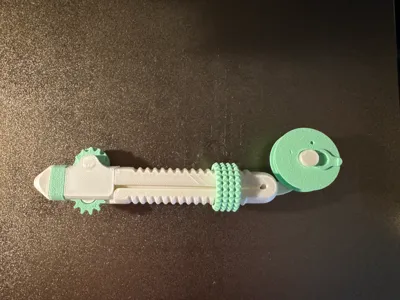
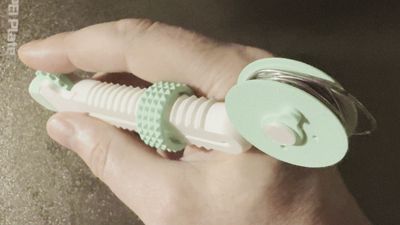
The Solder Scroll makes soldering more ergonomic by allowing you to just scroll on the pen shaped tool to add solder. By rotating the knob, the tool can be adjusted to accomodate different diameters of soldering wire (0.3 - 1.5mm). A length of soldering wire is stored on the back and can easily be refilled.
All parts are easily printable without support on an FFF/FDM 3D-printer. The assembly requires no glue or metal fasteners.
The Solder Scroll was designed as an entry for the Ergonomic Workshop Aids contest.
How to use the Solder Scroll
Adjust the tension KNOB ROTATION.
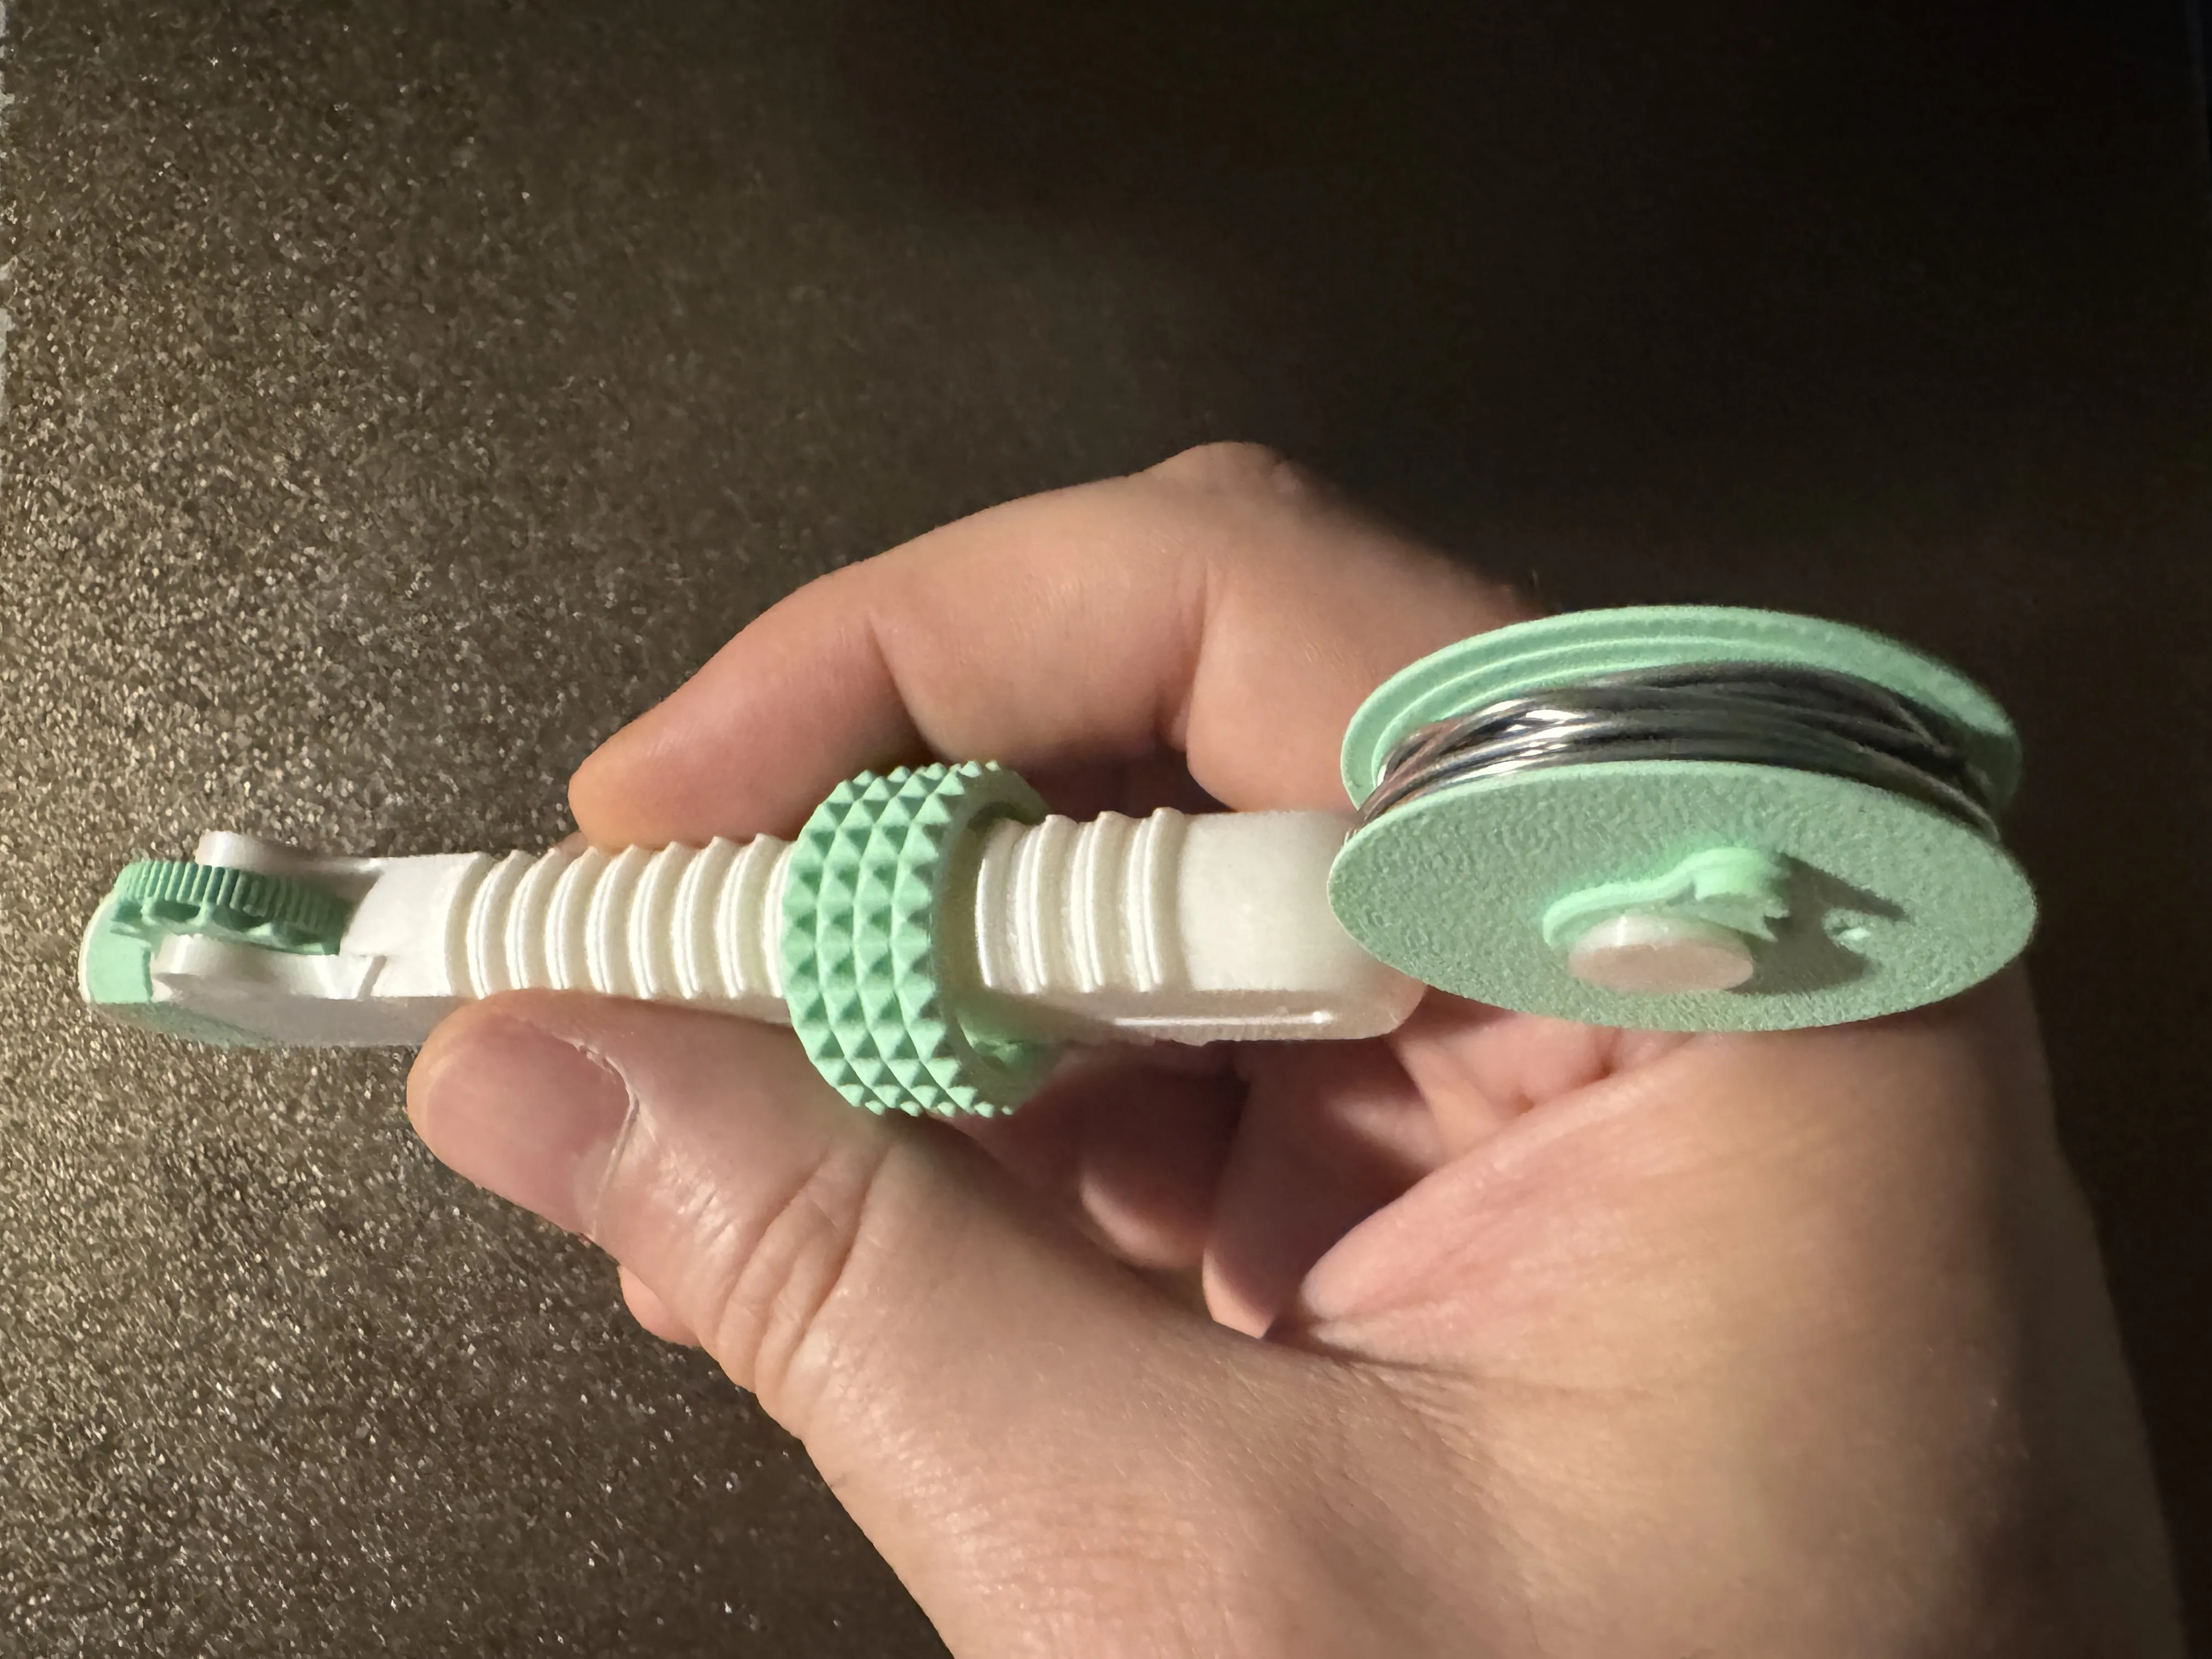
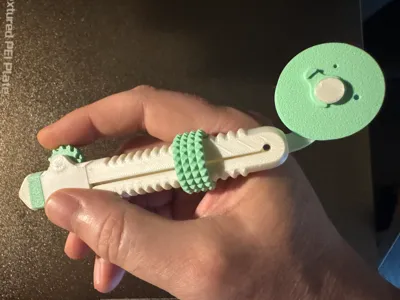
Grip it like a pen in your left or right hand.
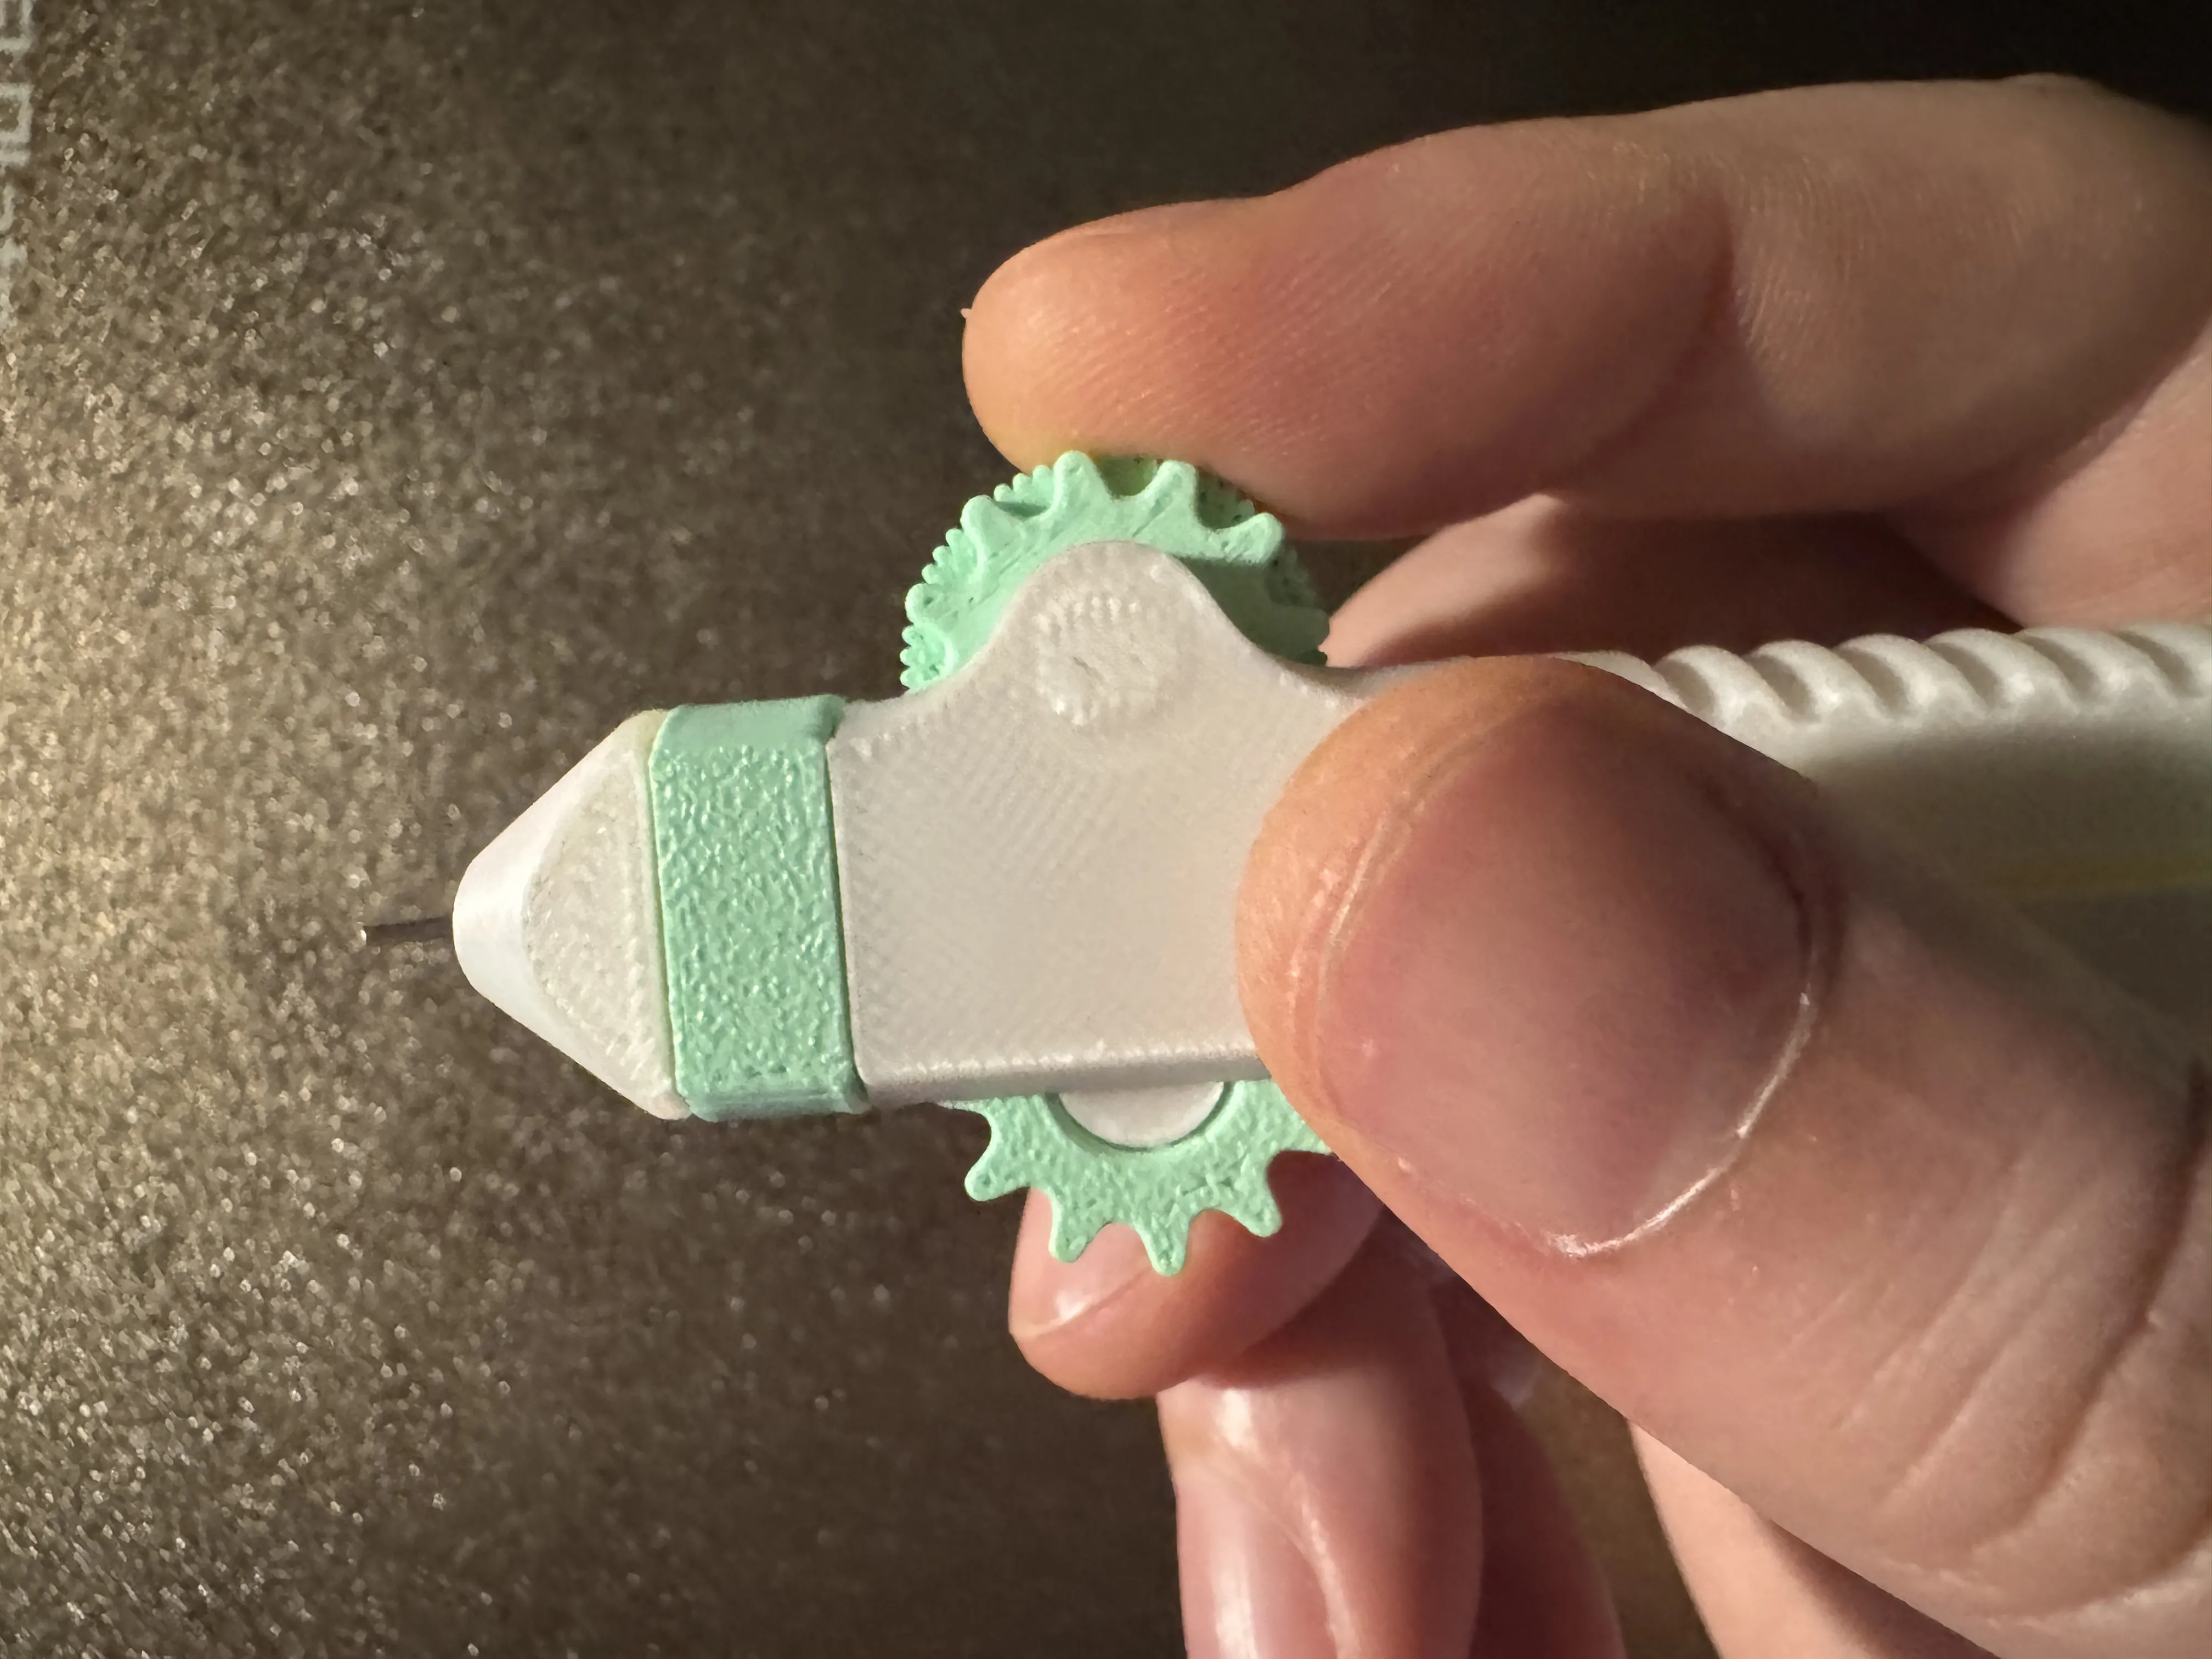
Add solder to your solder joint by rolling the scroll wheel towards you. Adjust the knob if scrolling requires too much force or the solder slips.

How to print, assemble and load solder
Printing
USE SUGGESTED PROFILE, no support needed.
Assembly
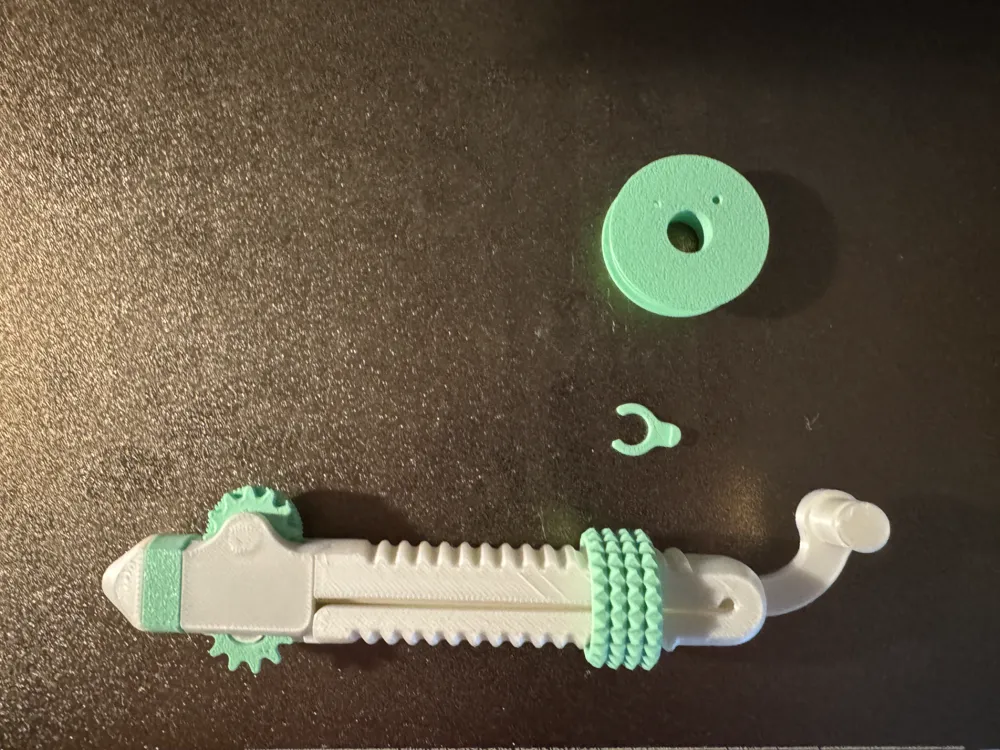
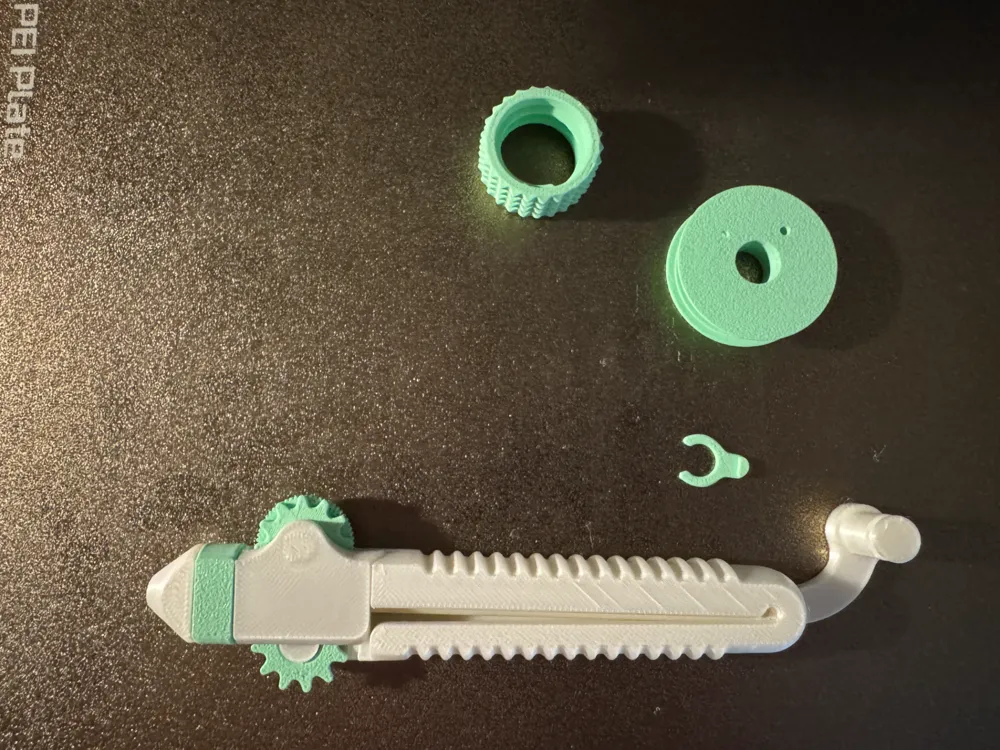
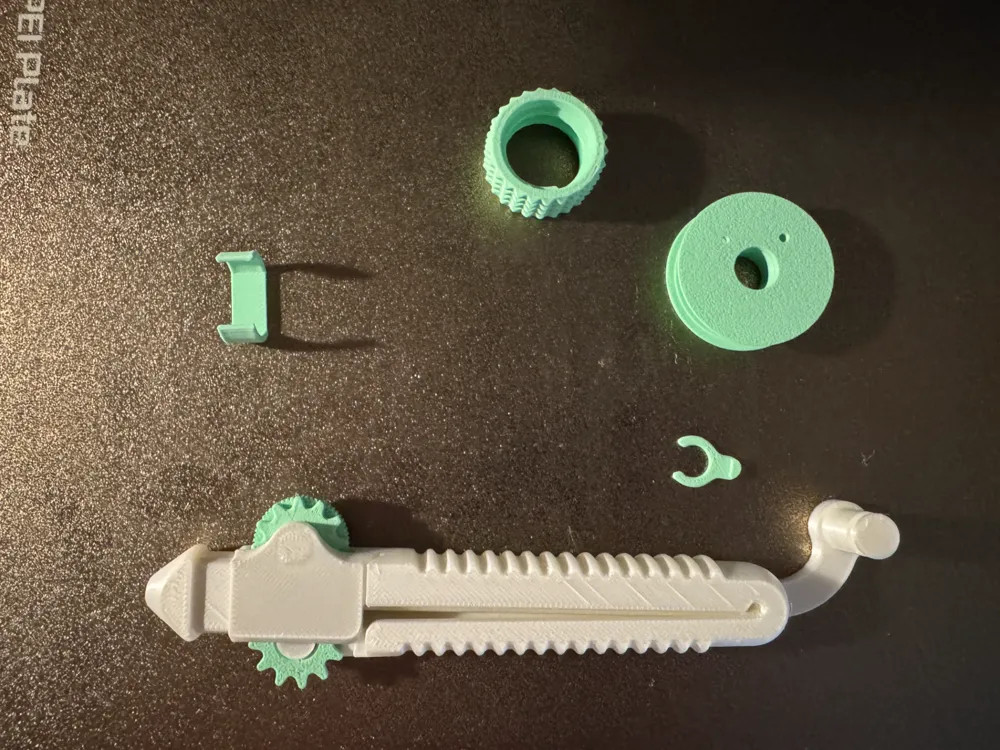
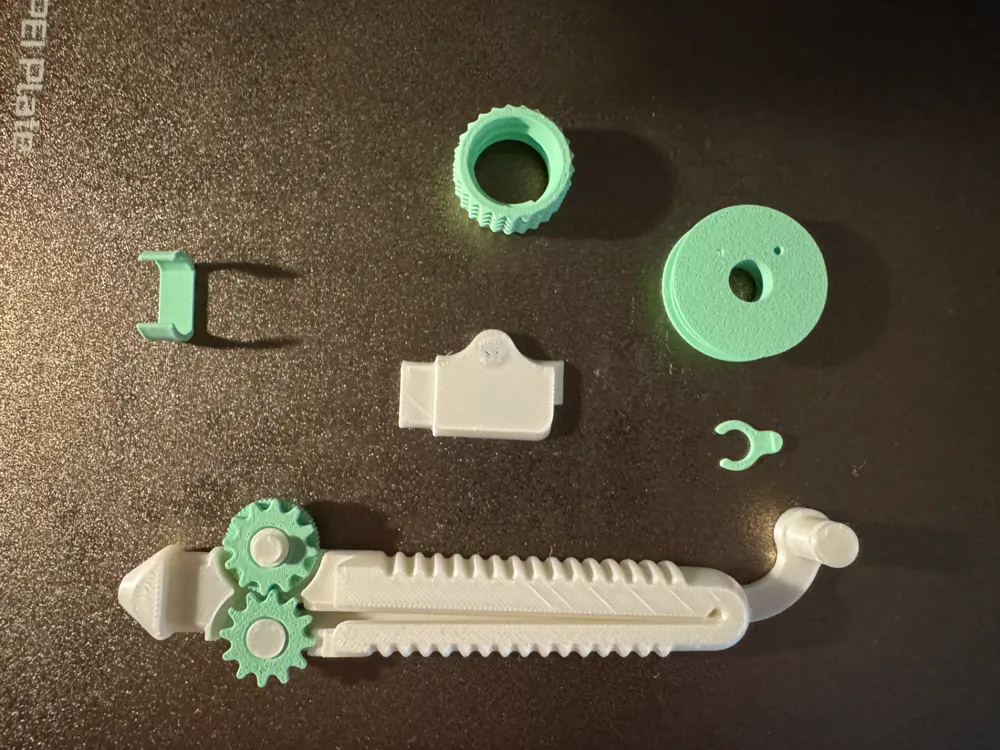
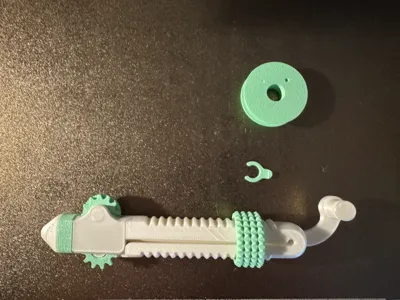
Assemble the wheels on the main body.
Tip: Carefully adding a bit on lubricant on the bearing surfaces will reduce the friction (I used PTFE spray).
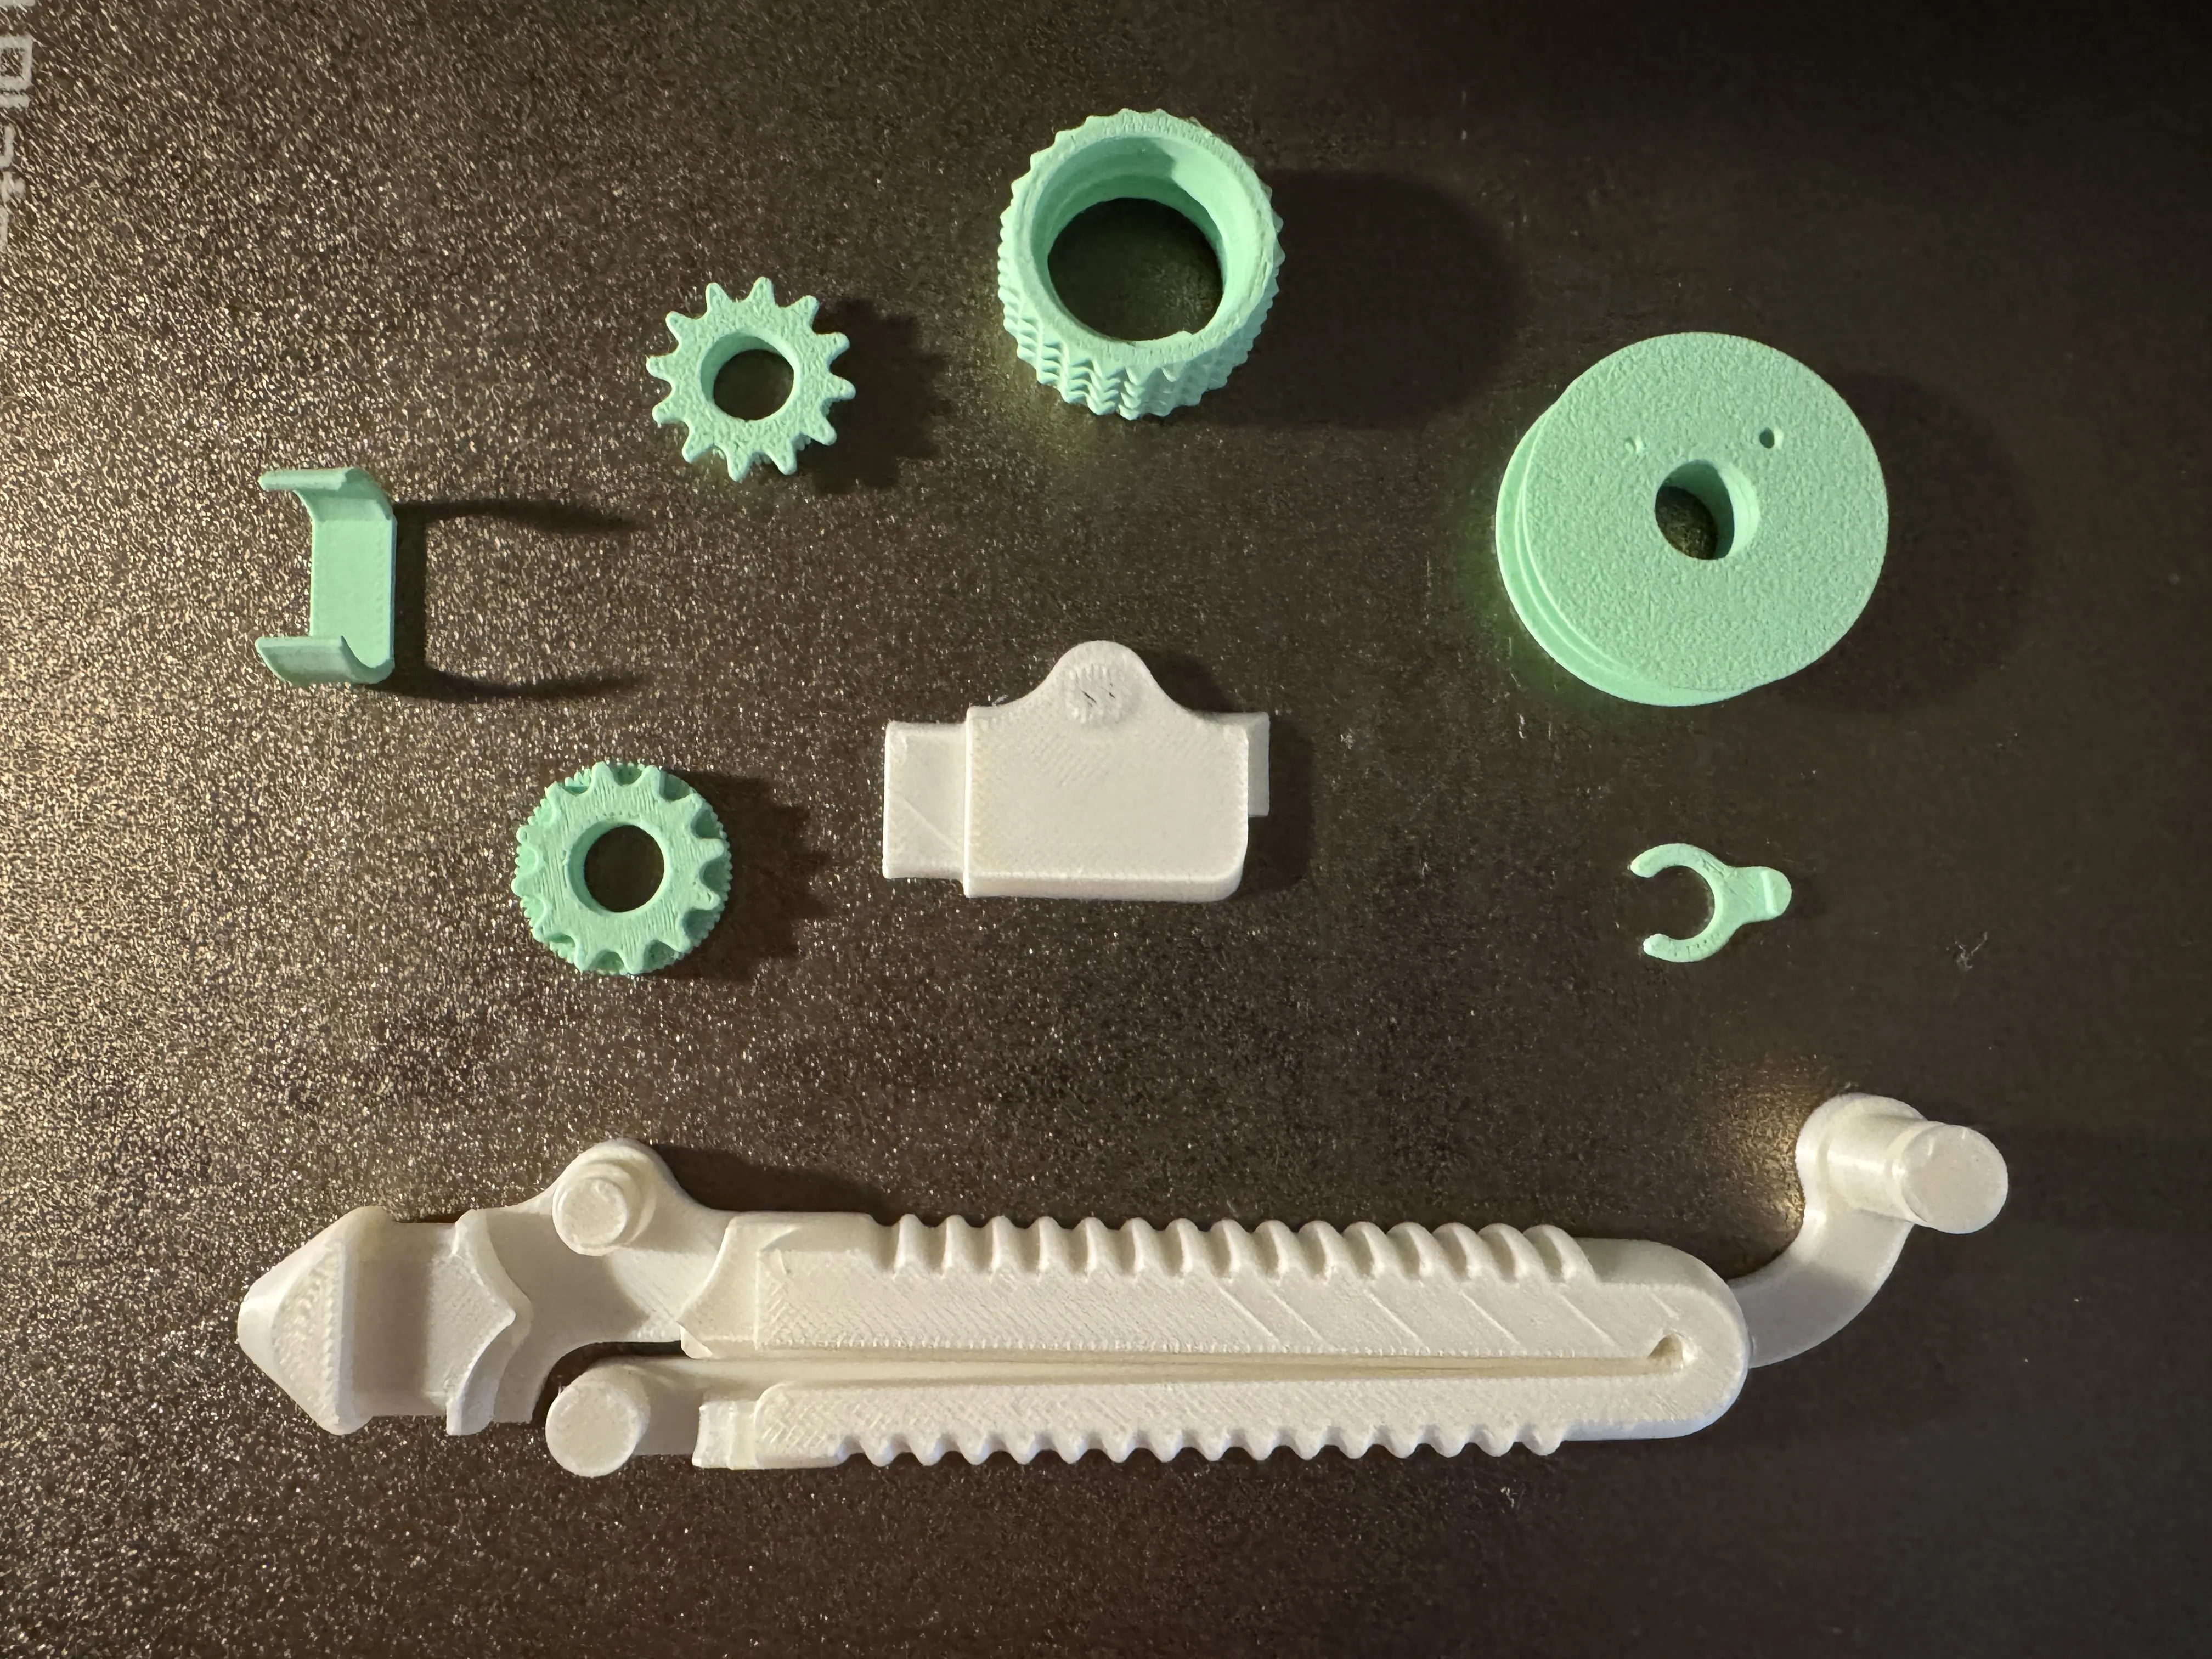
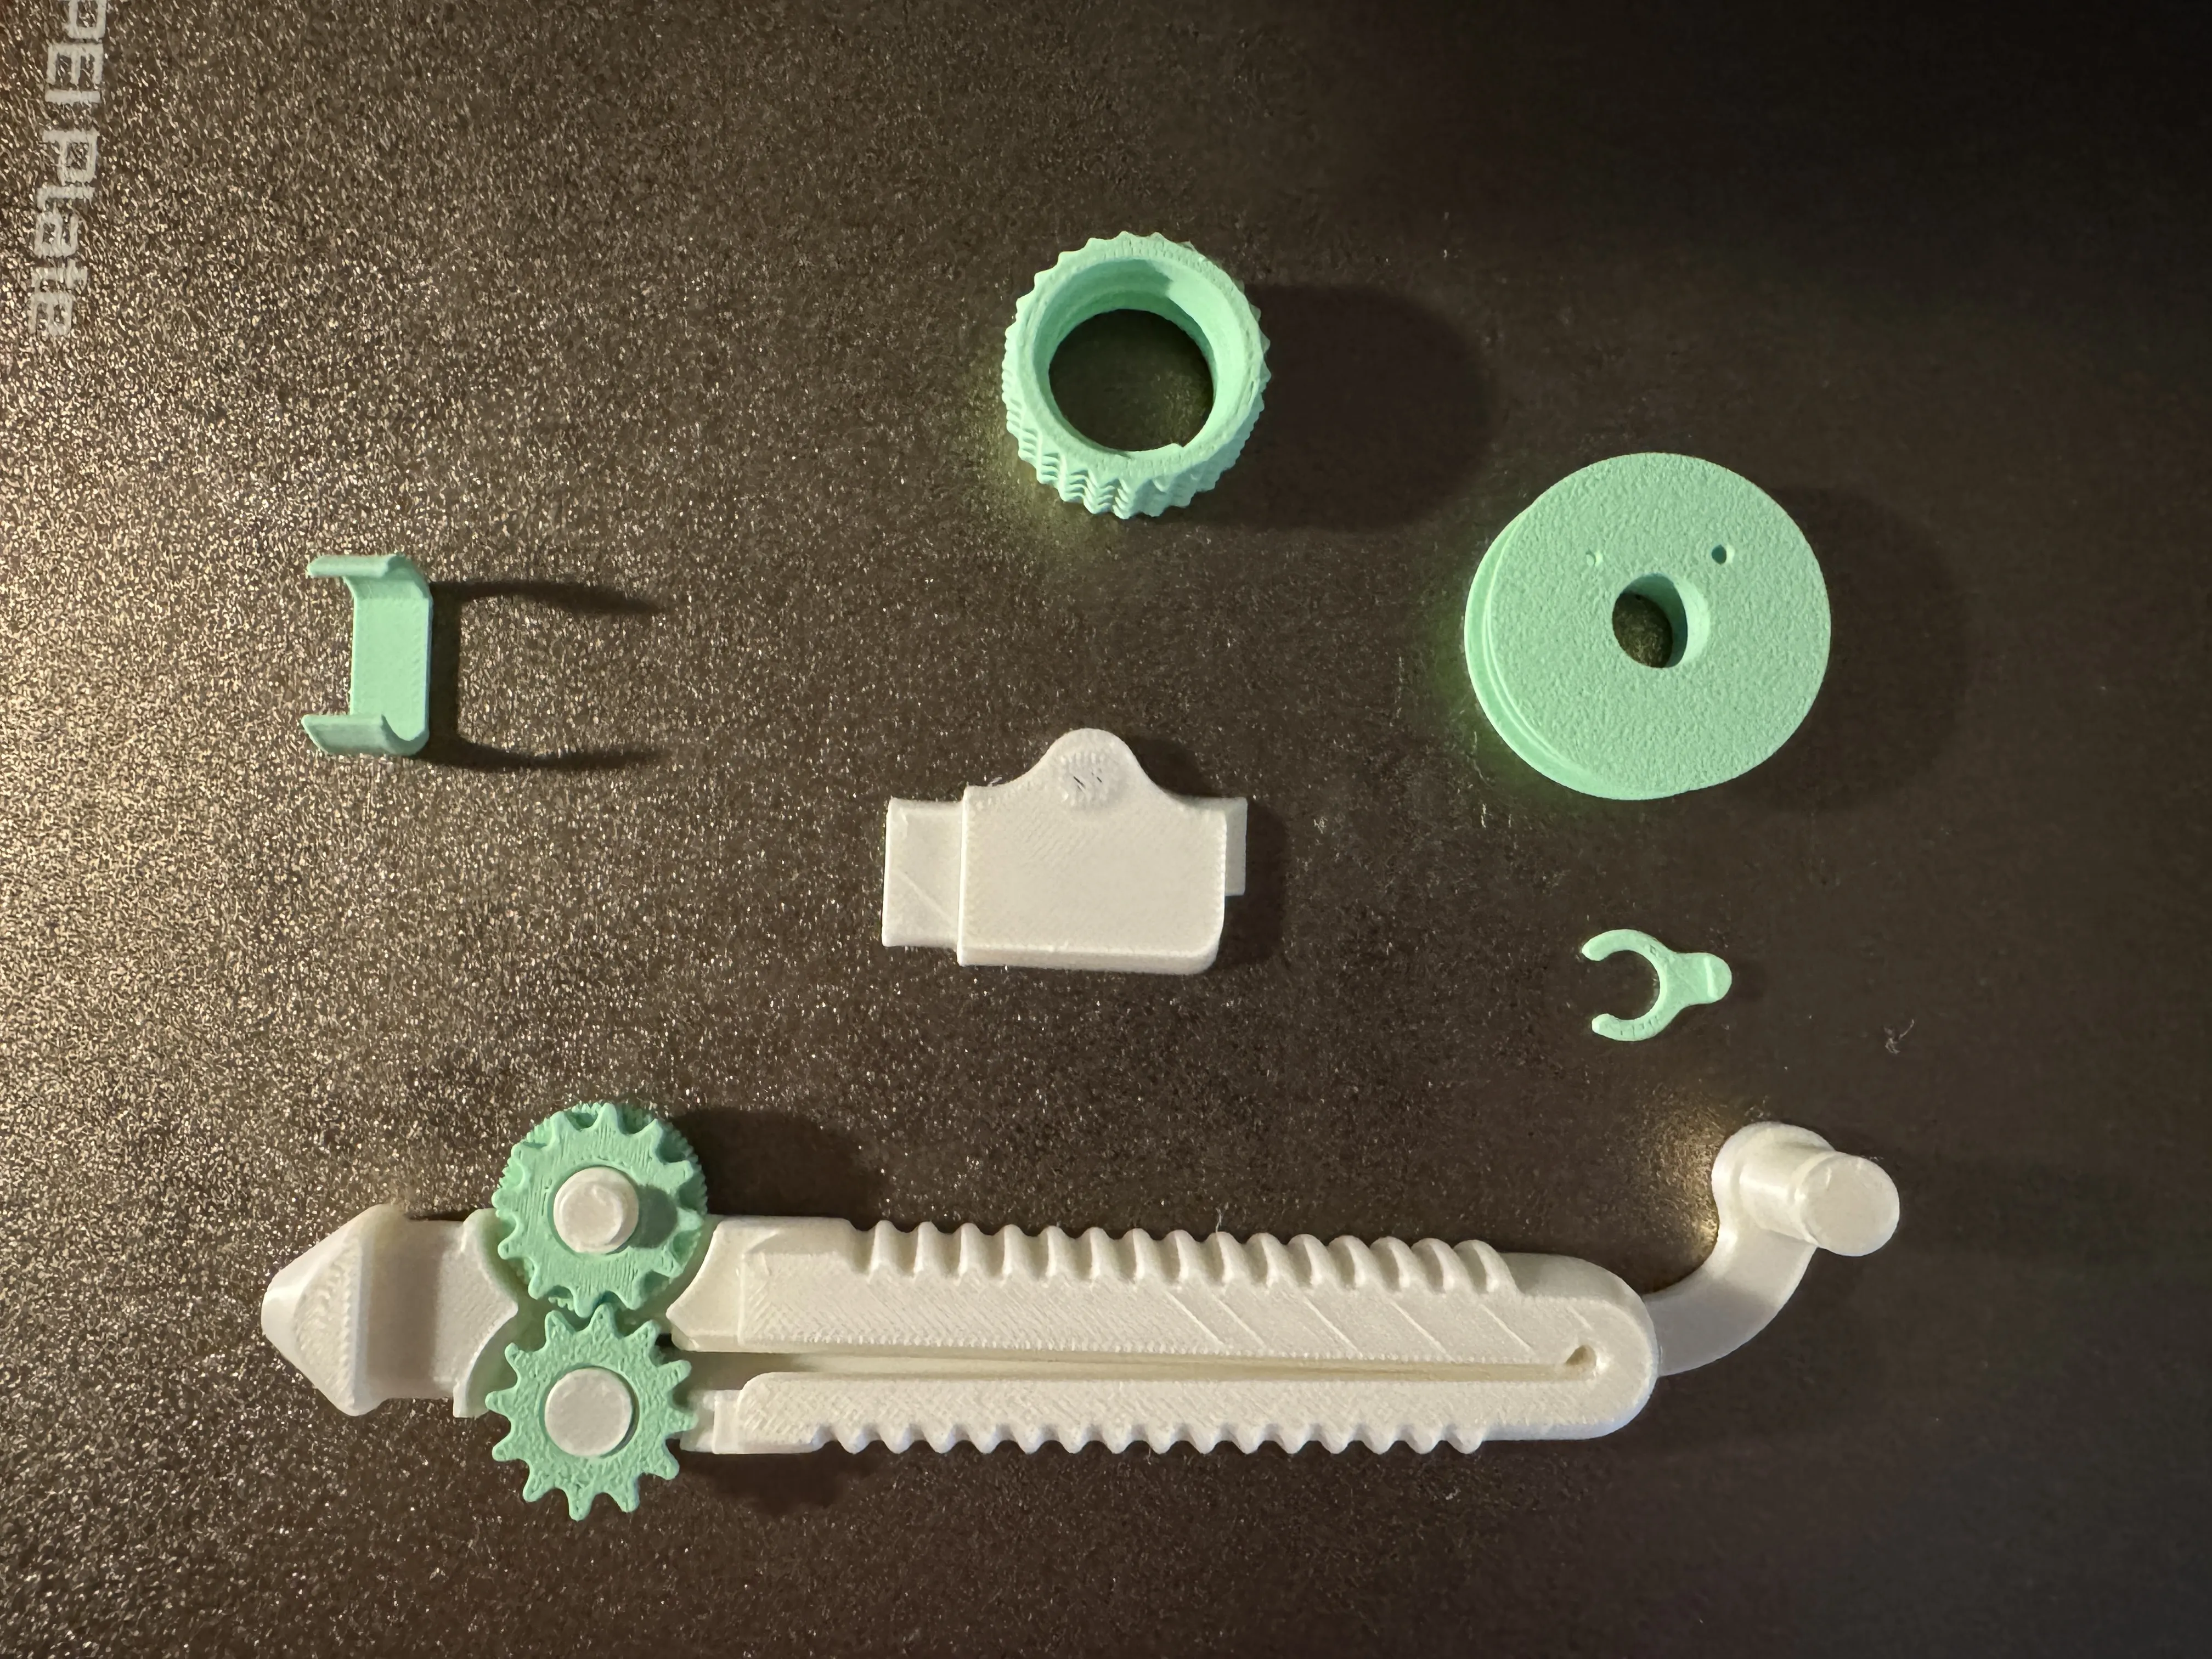
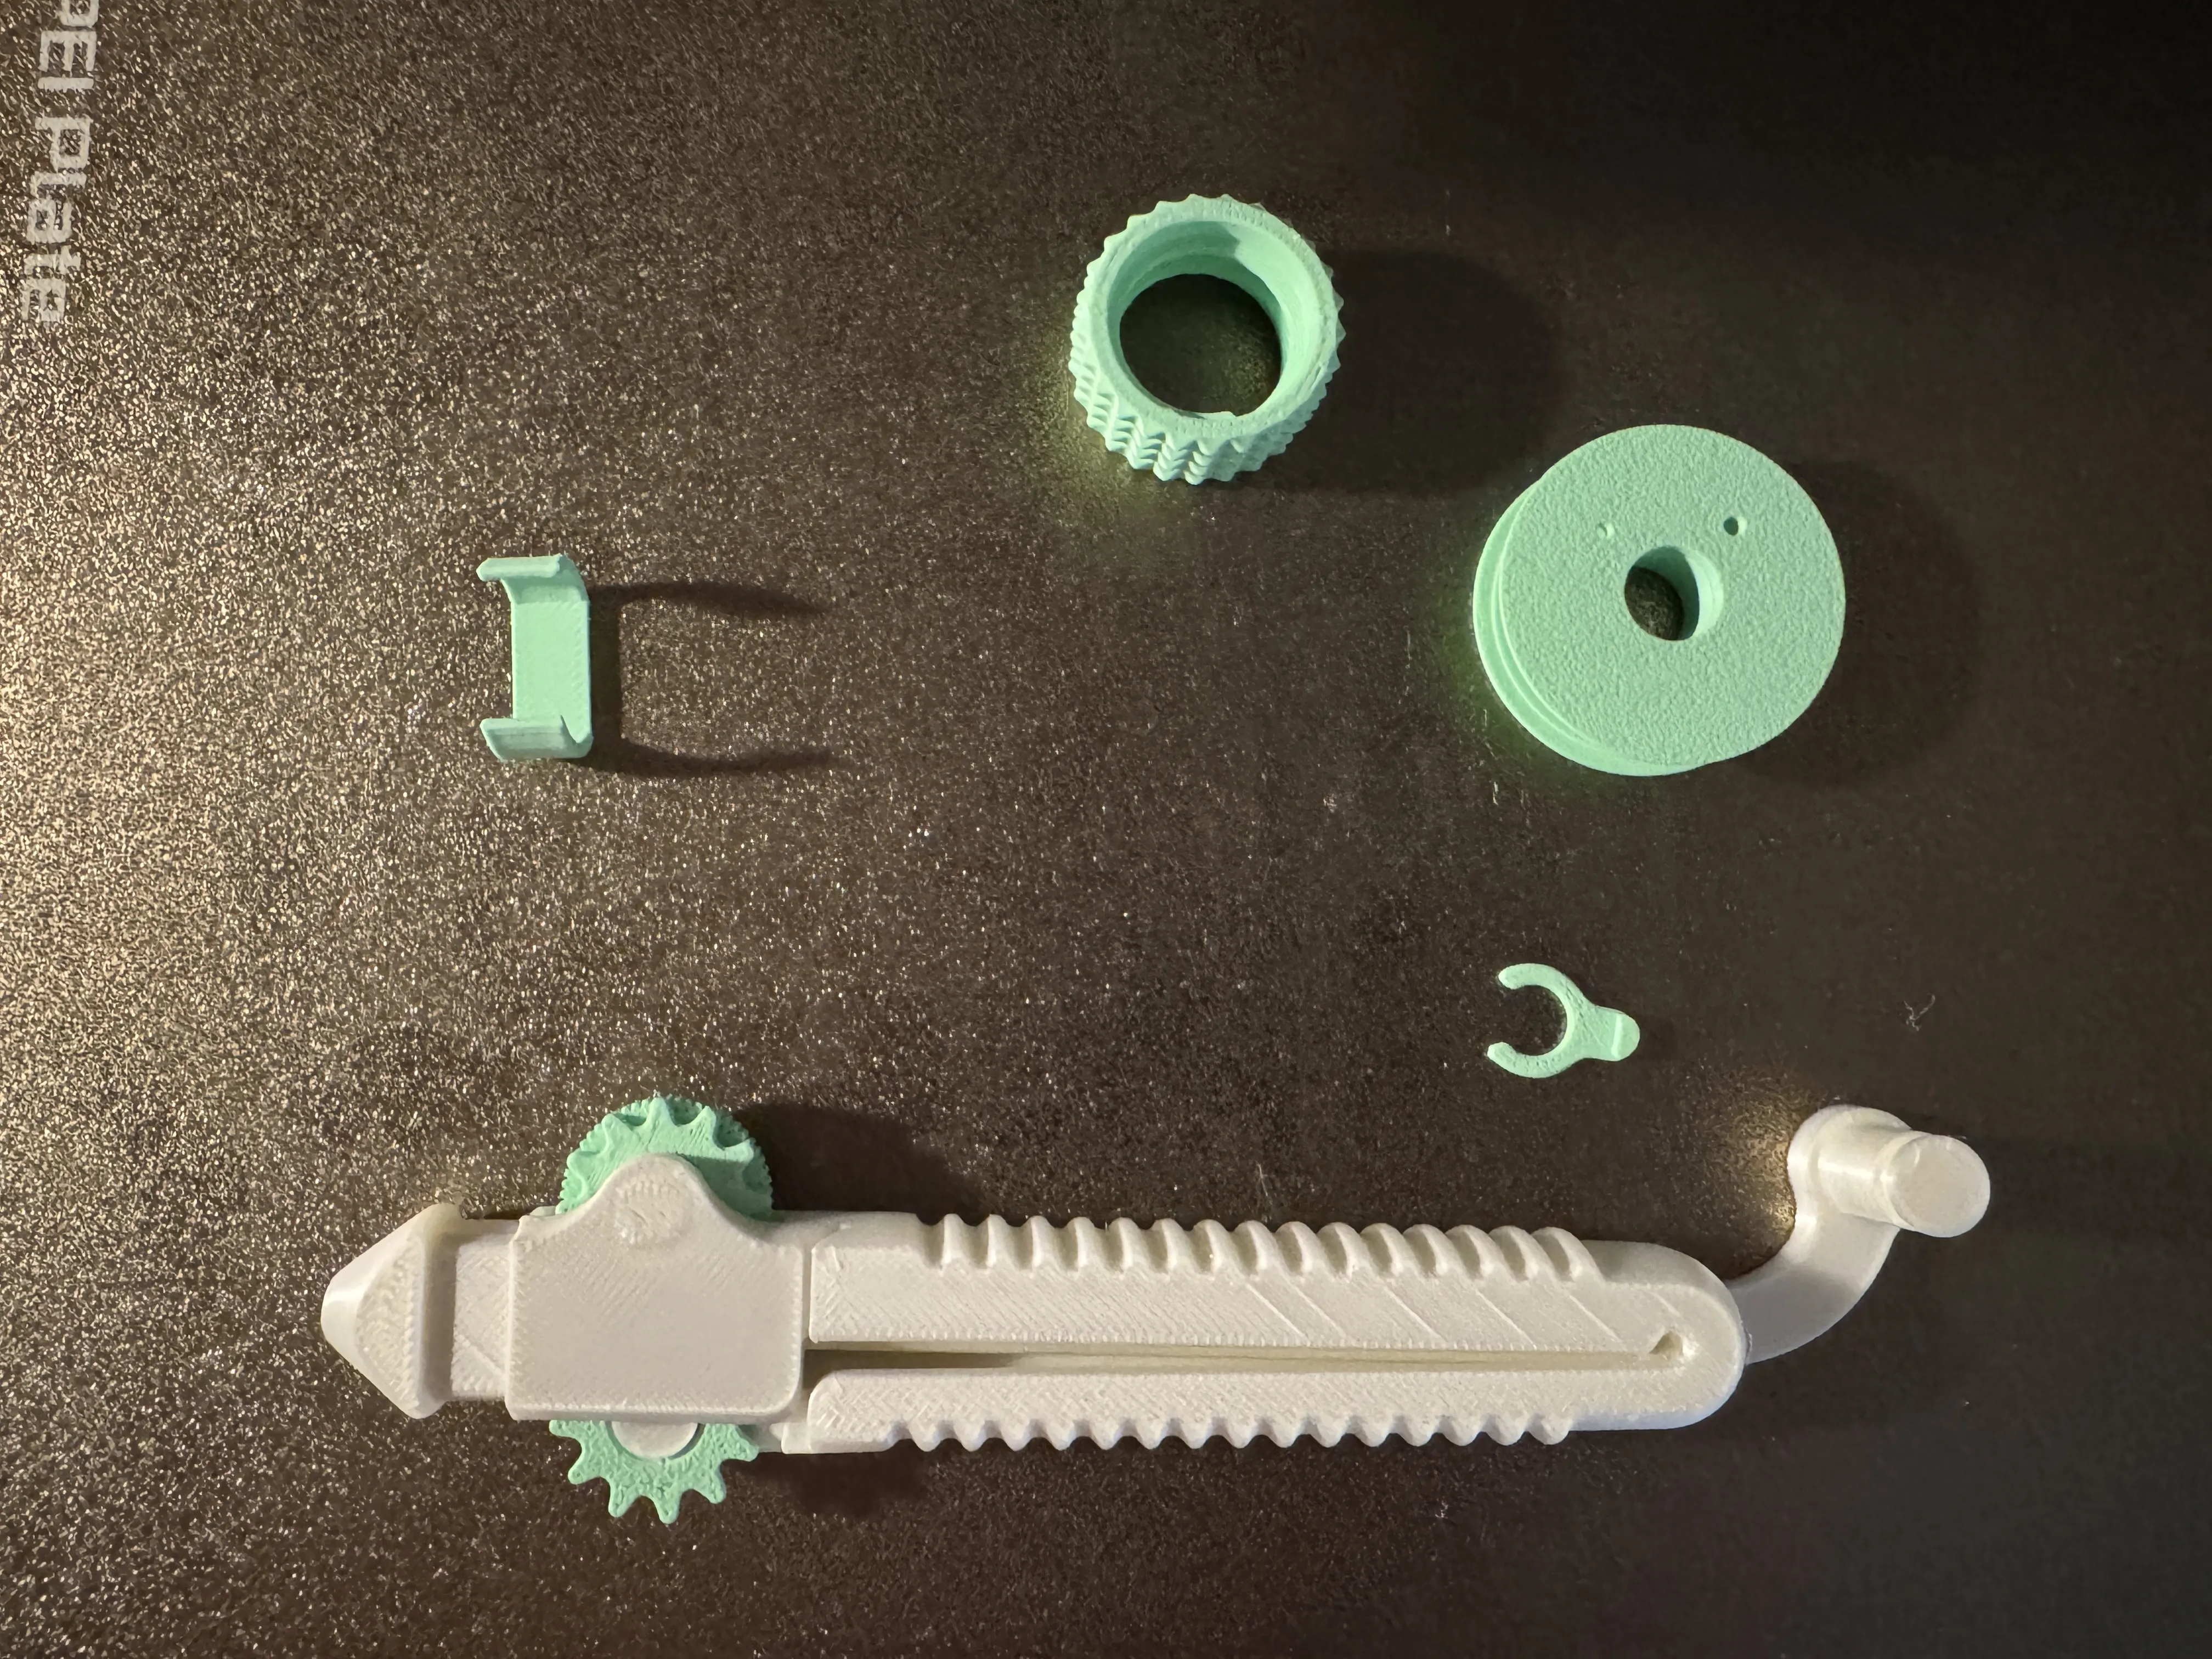
Install the cover and add the clip.
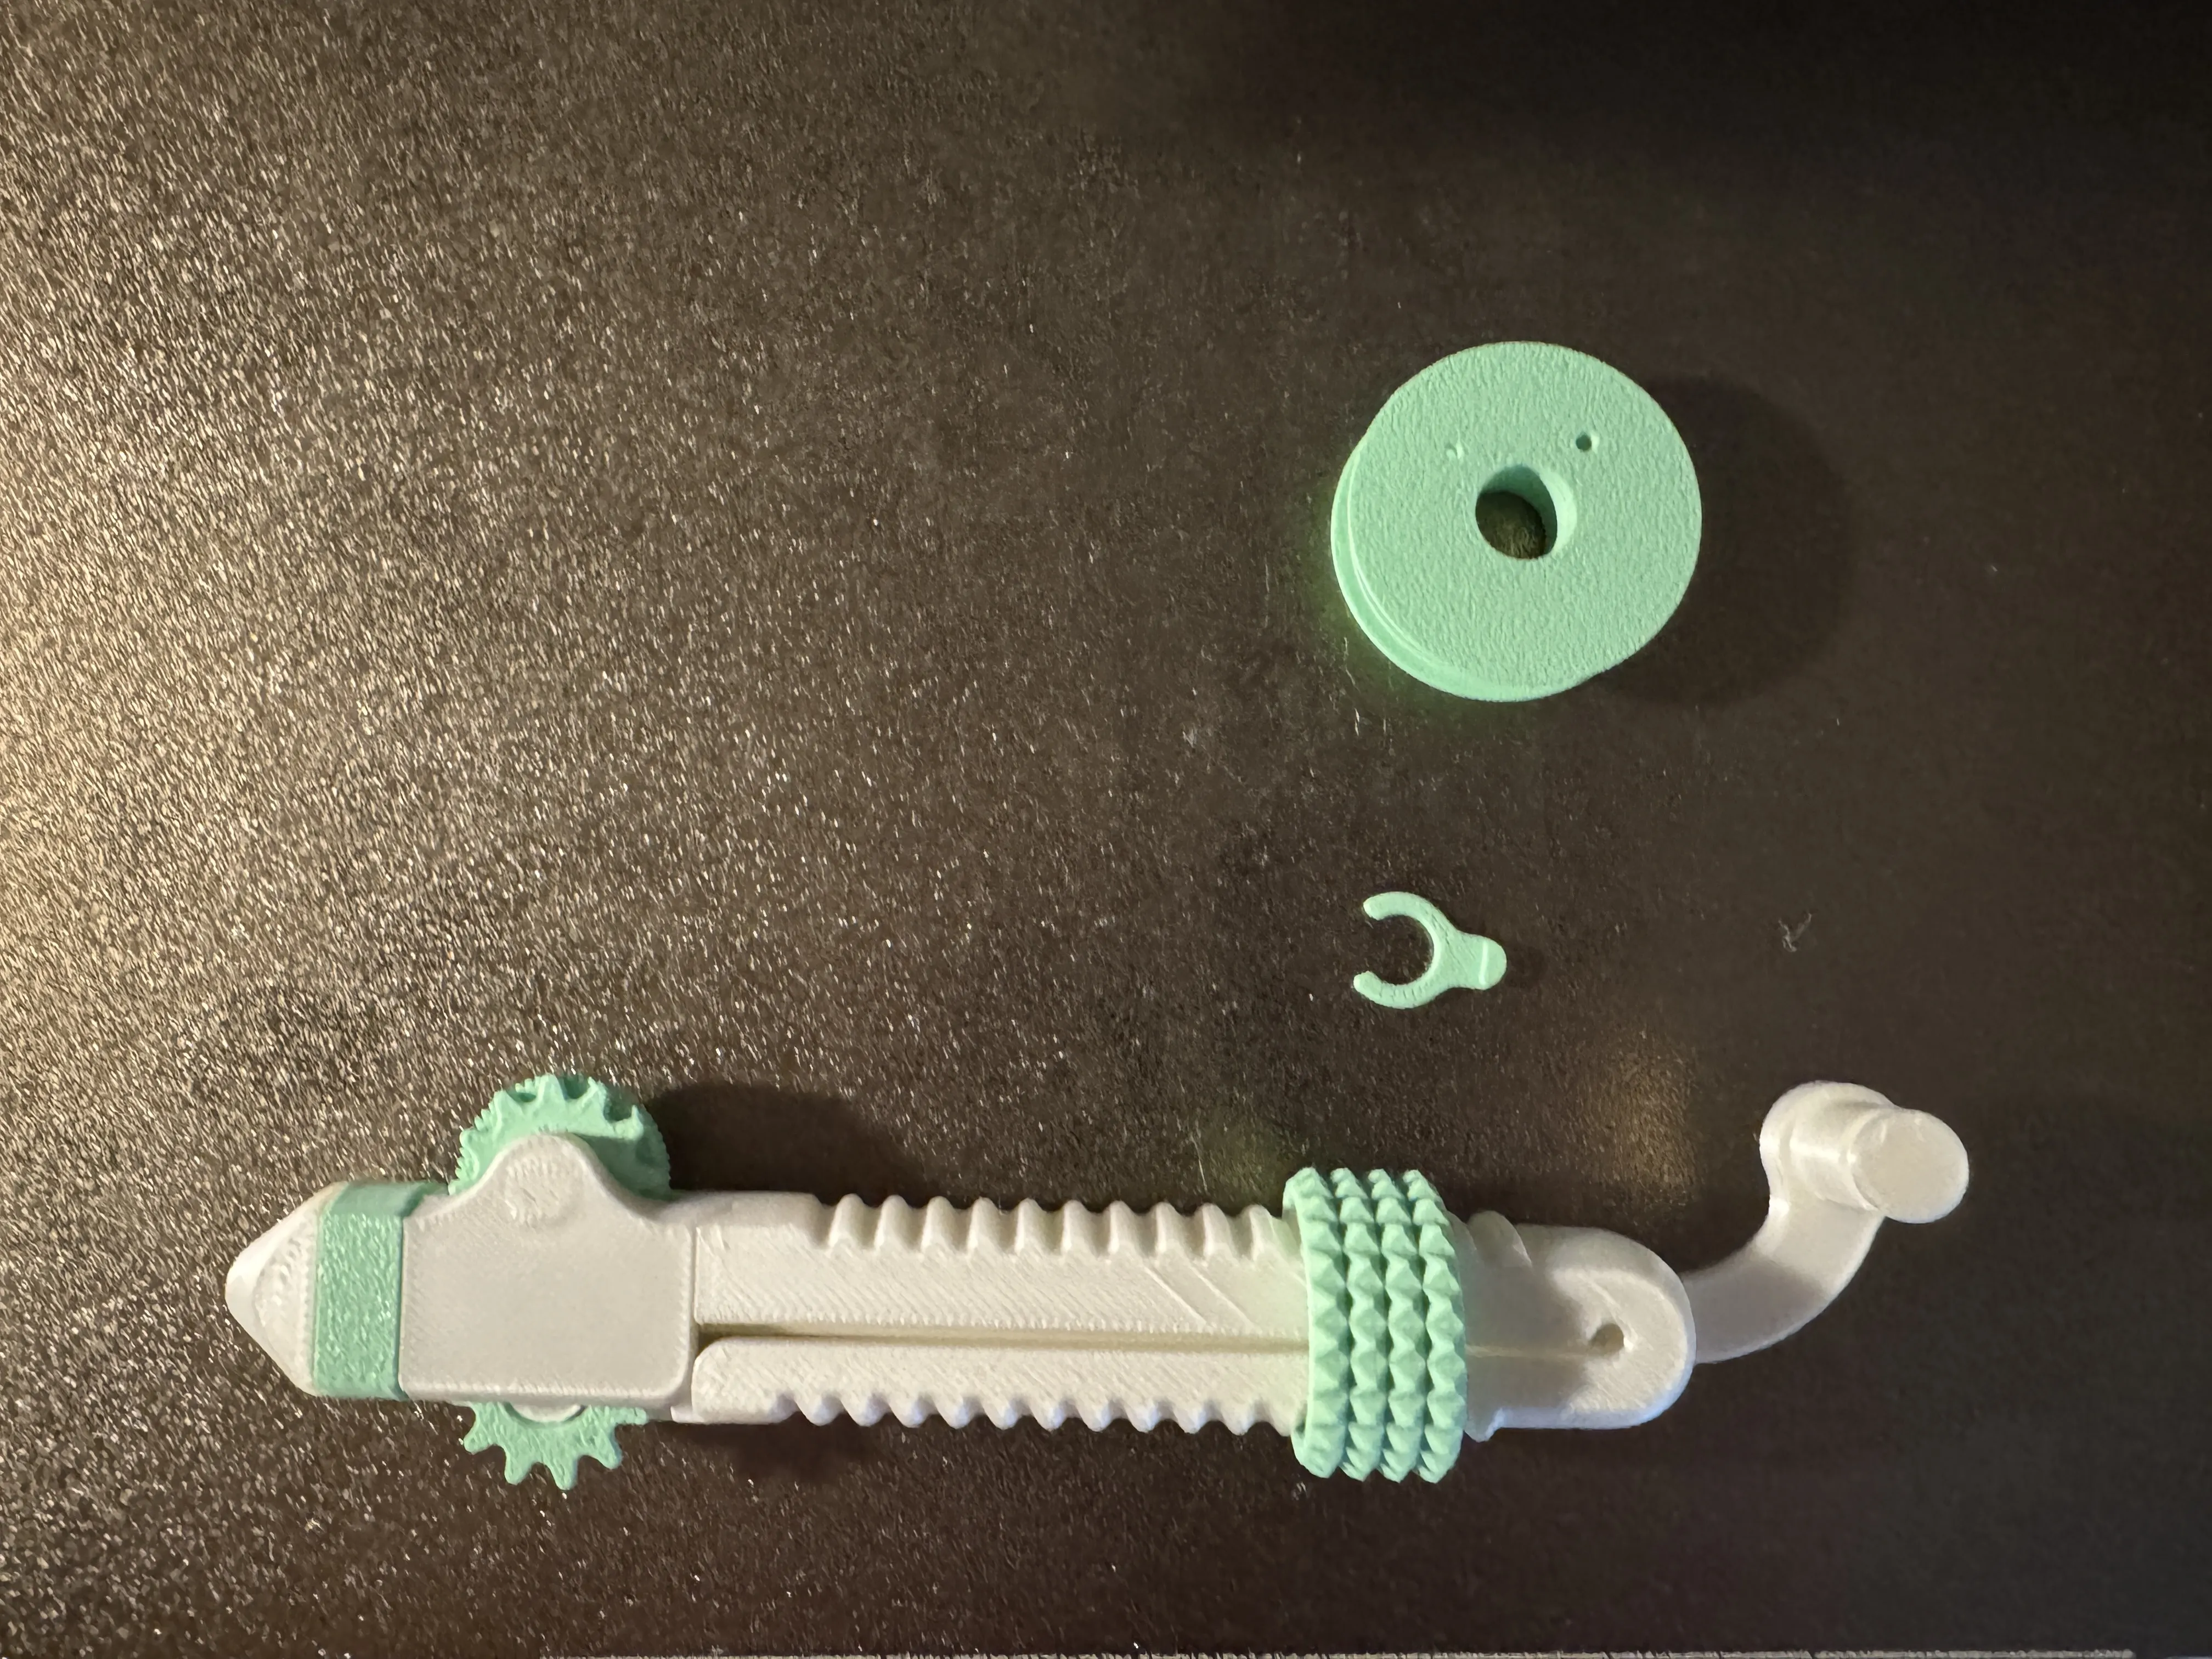
Loading the solder
Stick the end of the solder wire into the hole on the spool and roll some wire on it.
Feed the solder in the back of the main body until it comes out at the tip. Install the spool and add the clip.
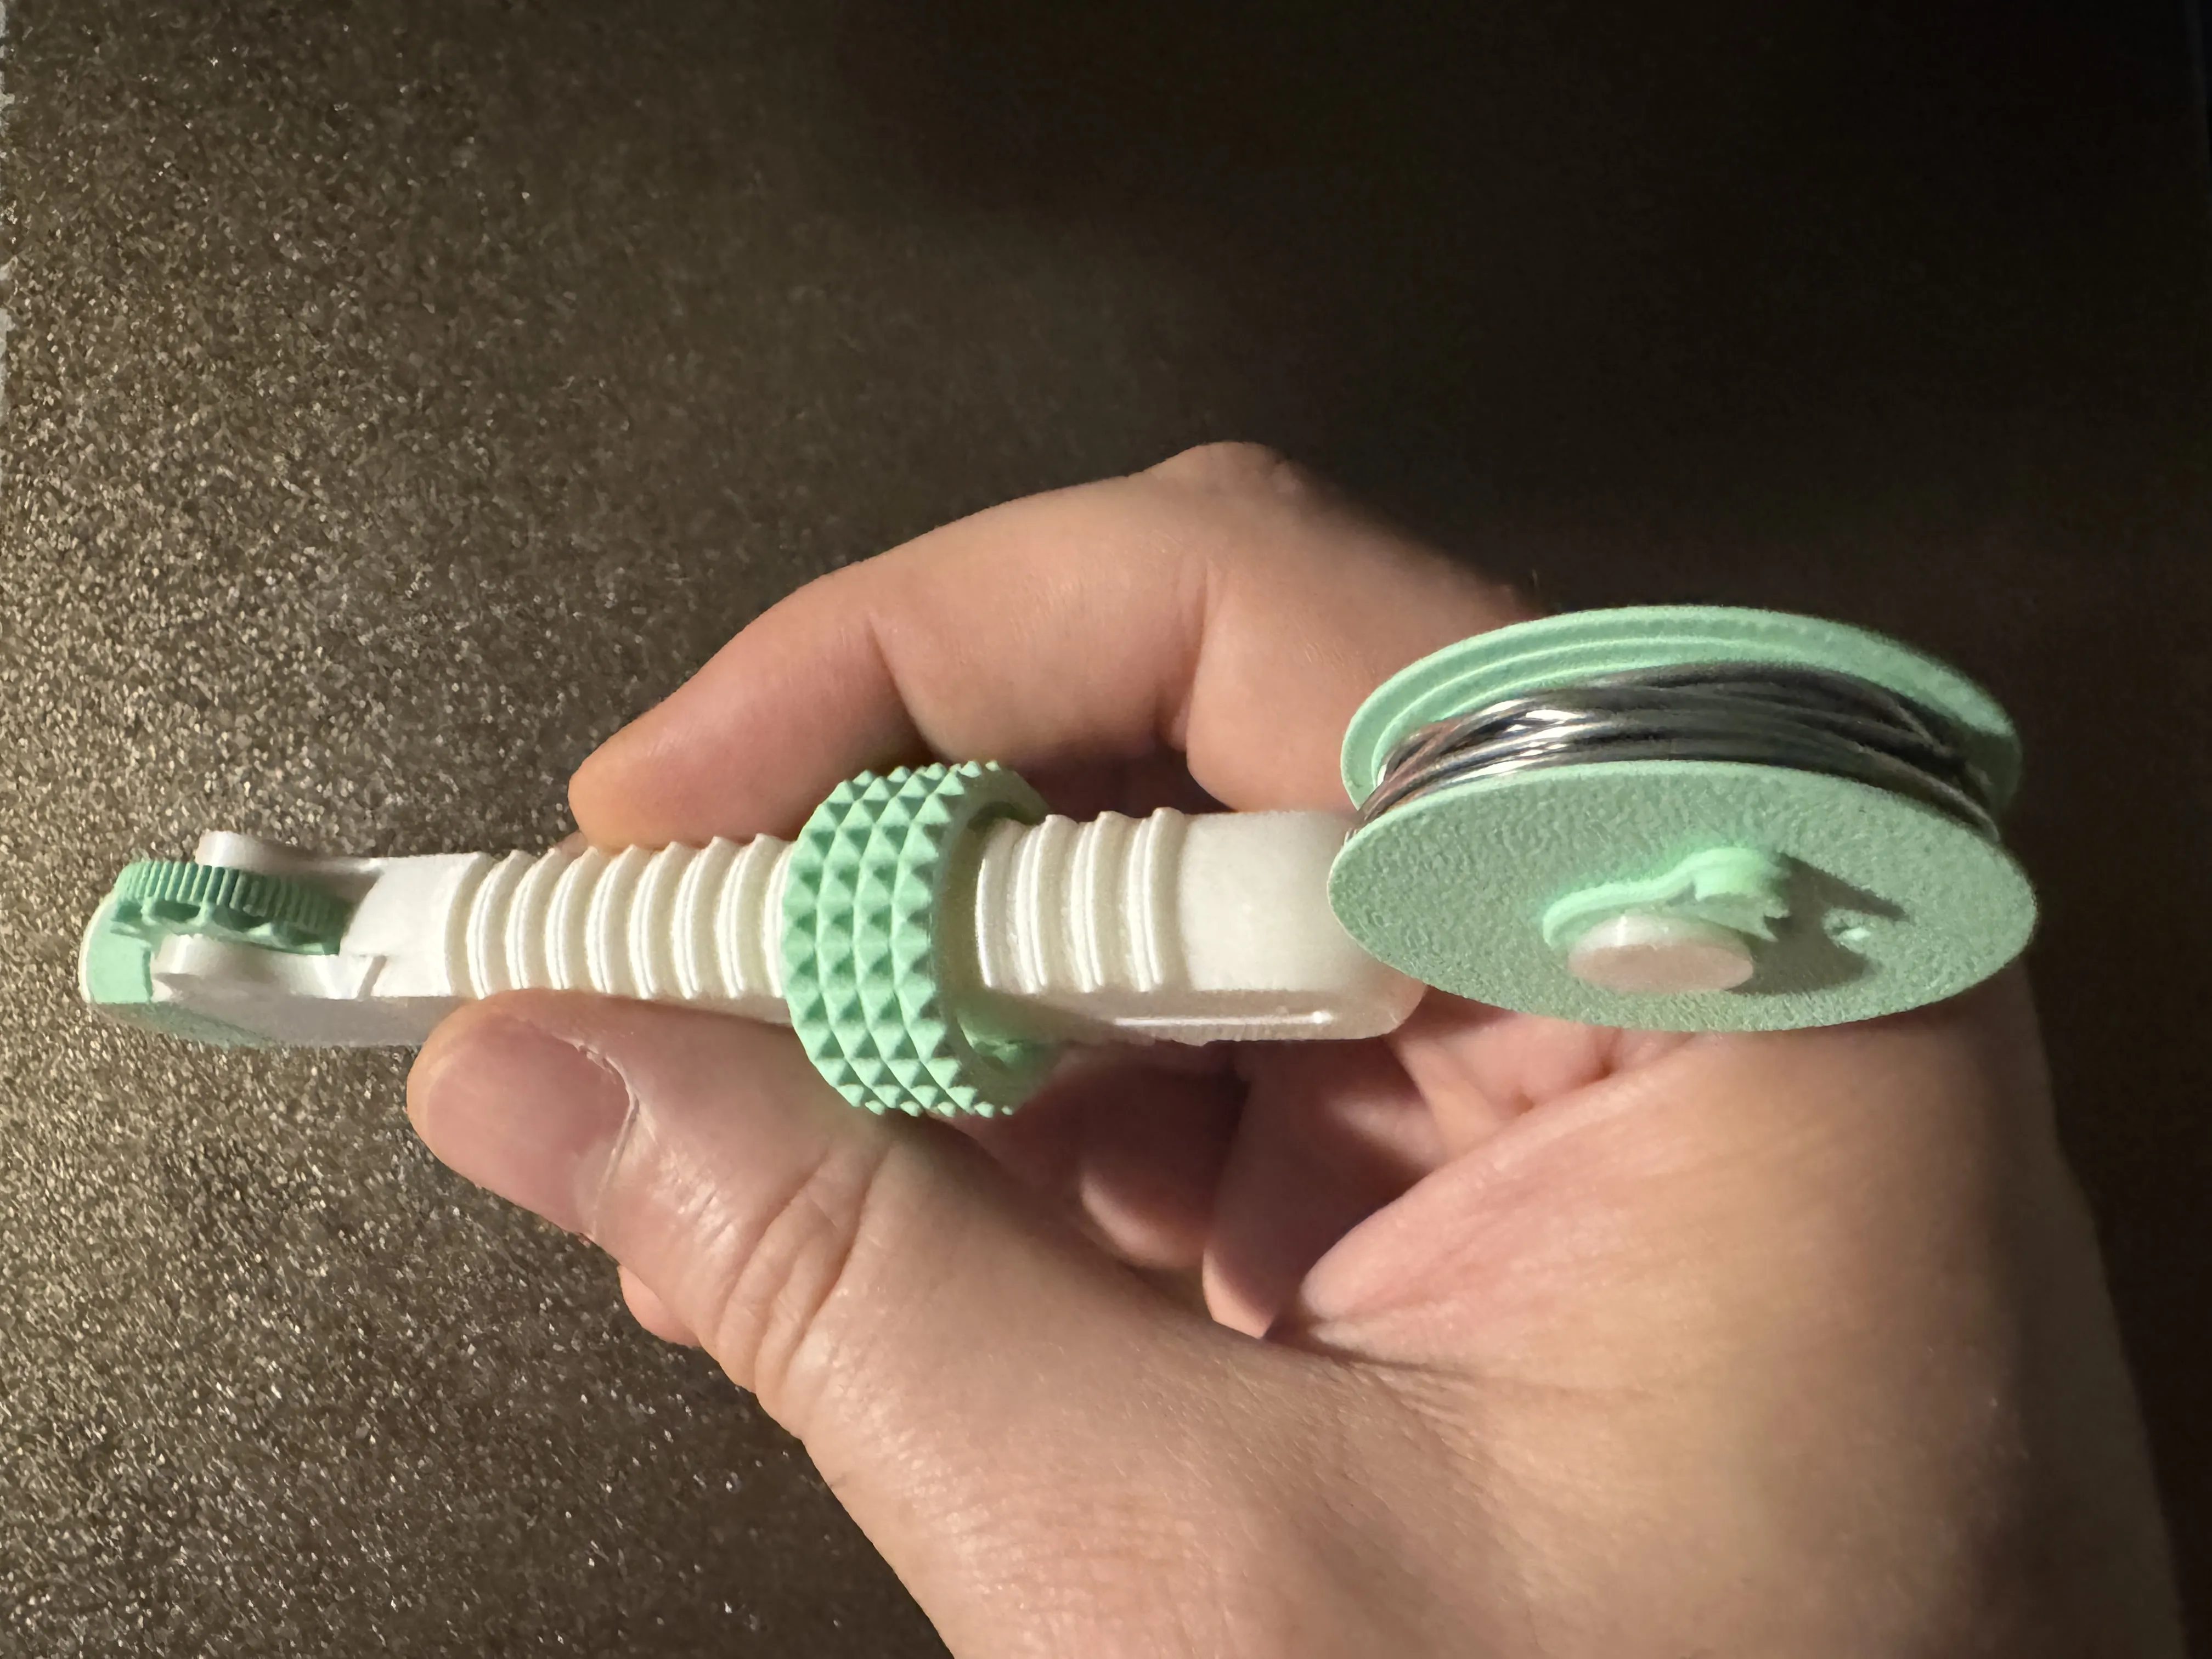
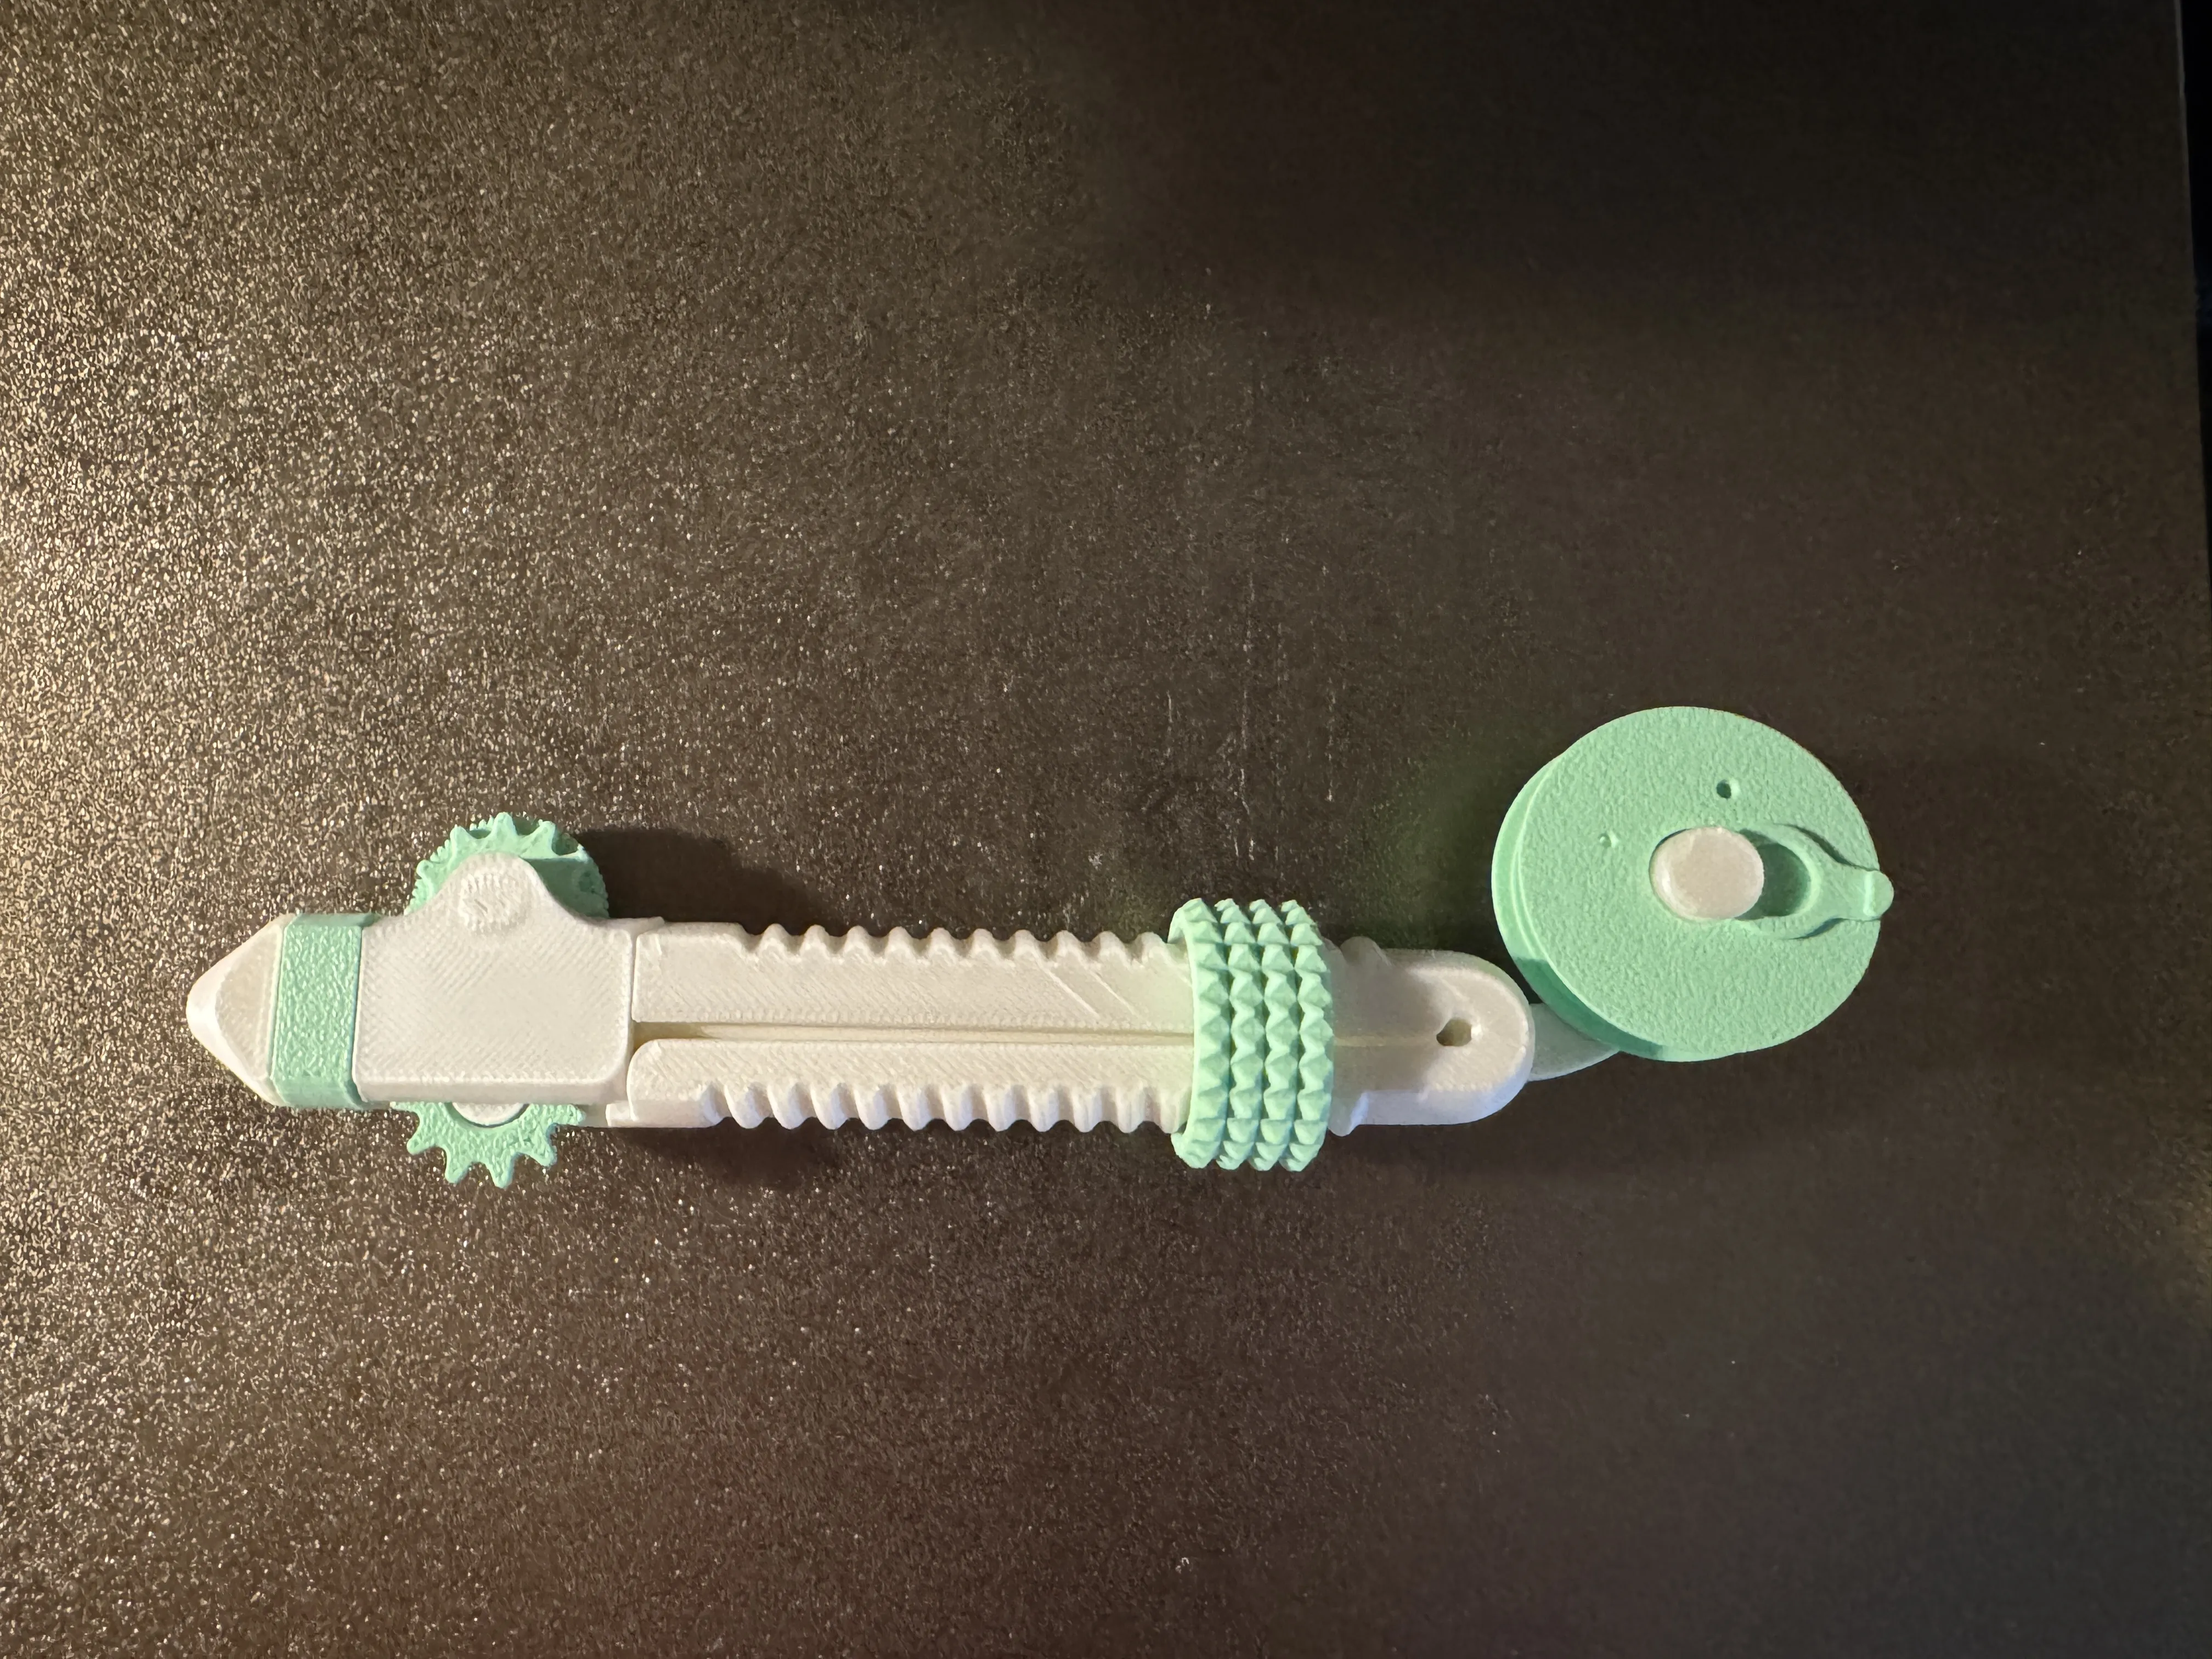
The assembly is done!
If you download or print my model. PLEASE rate it! You will help me.
If you like it, help me fund the design and filament for the prototypes PLEASE consider downloading this model and supporting it, It's FREE FOR YOU and it supports my work.
thank you
Boost Me (for free)
Boosts help me make these models available for free on the site, so every boost is greatly appreciated. Thank you!
MembershipPlease if you can add your membership to help me in my work.
This remix is based on

License



Comment & Rating (1720)