
NAU Modular Desktop Stand


Print Profile(1)

Description
NAU Modular Desktop Stand Instructions
NAU Modular Desktop Stand Instruction Manual
Most features are mentioned in the video.
There are also several other places where you can fix the wiring, looking forward to you unlocking more new features.
Overview: The NAU Modular Desktop Stand boasts a myriad of functions, many of which have been highlighted in my video, with additional cable management features awaiting your discovery for even more utility.
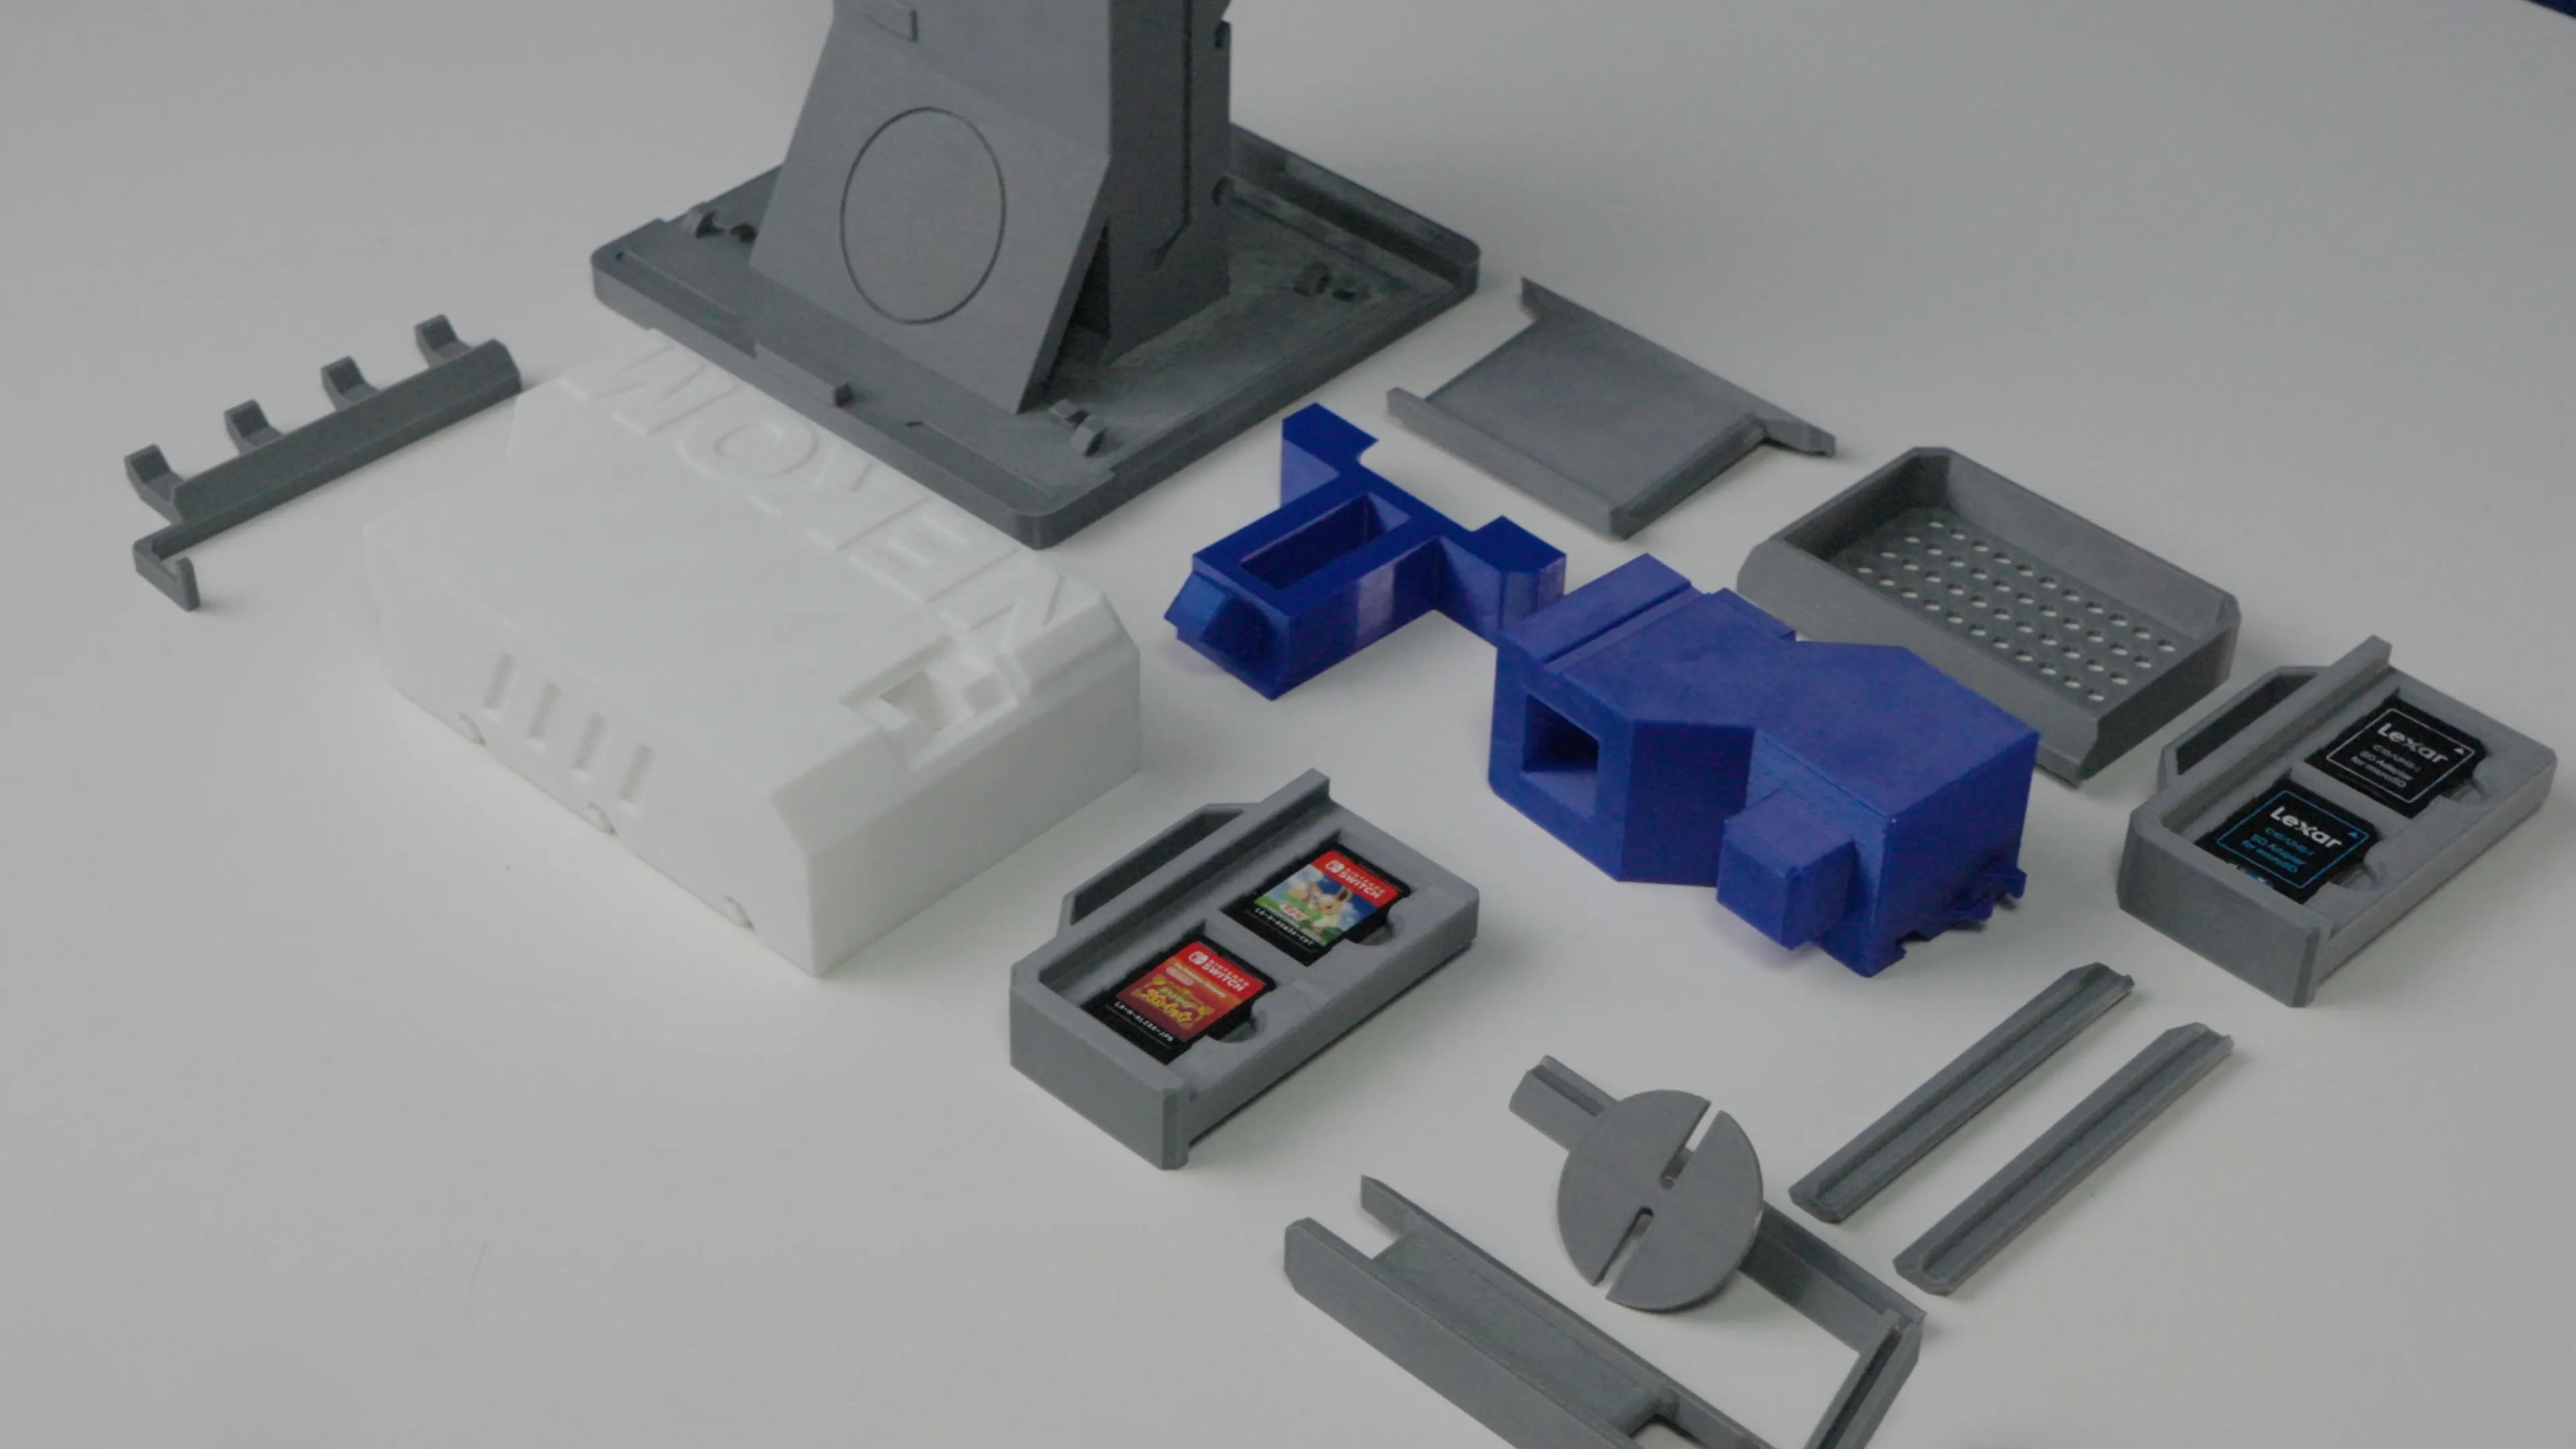
**Printing**
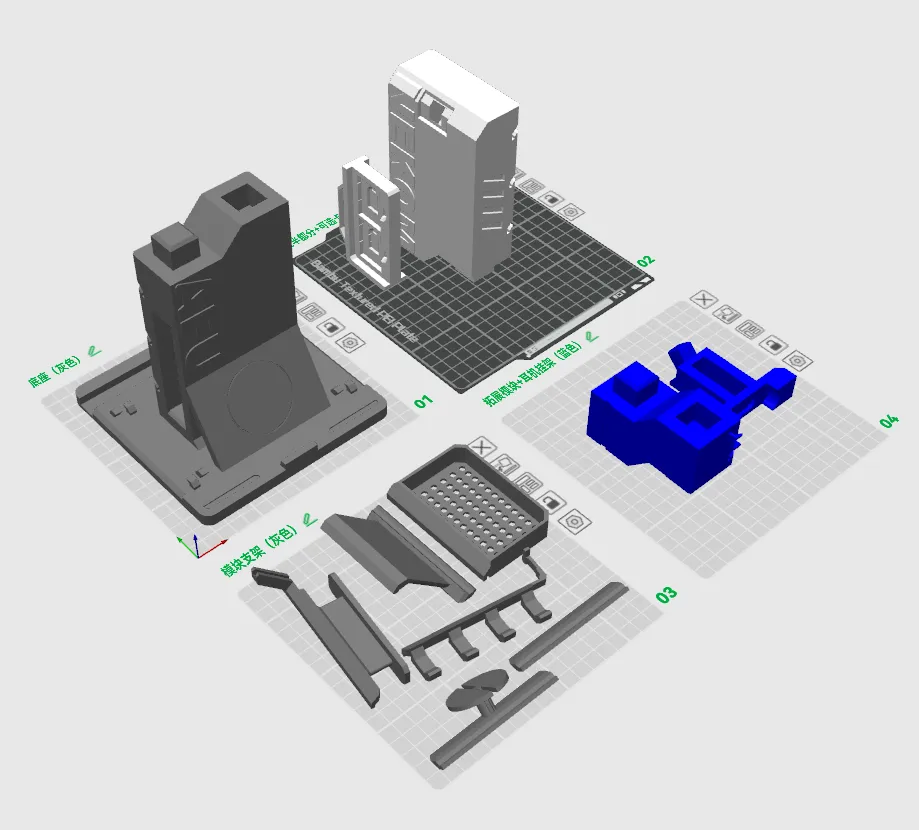
The print file is a 3mf file, which includes the slicing parameters I have set up, designed based on the 180mm printing plate, so it is compatible with most printing plate sizes.
Match your printer model, printing plate type, and filament, and you can print it.
I use PETG, which requires glue on the bottom plate, otherwise it will warp.
The assembly components are:
Base + upper body + headphone hanger + expansion riser module + card holder (optional) + optional components
Following my recommended white-gray-blue color scheme, you don't need AMS (multi-color printing module).
Printing Guidelines:
- File & Settings: The provided 3mf file includes pre-configured slicing parameters tailored for a 180mm print bed, ensuring compatibility with most bed sizes. Adjust your printer model, bed type, and filament choice accordingly. I utilized PETG, requiring bed adhesion to prevent warping.
- Components: Assemble with the base, upper body, headphone hanger, expansion riser module, card holder (optional), and any chosen accessories. For aesthetics, follow my recommended white-gray-blue color scheme without the need for multi-color printing modules.
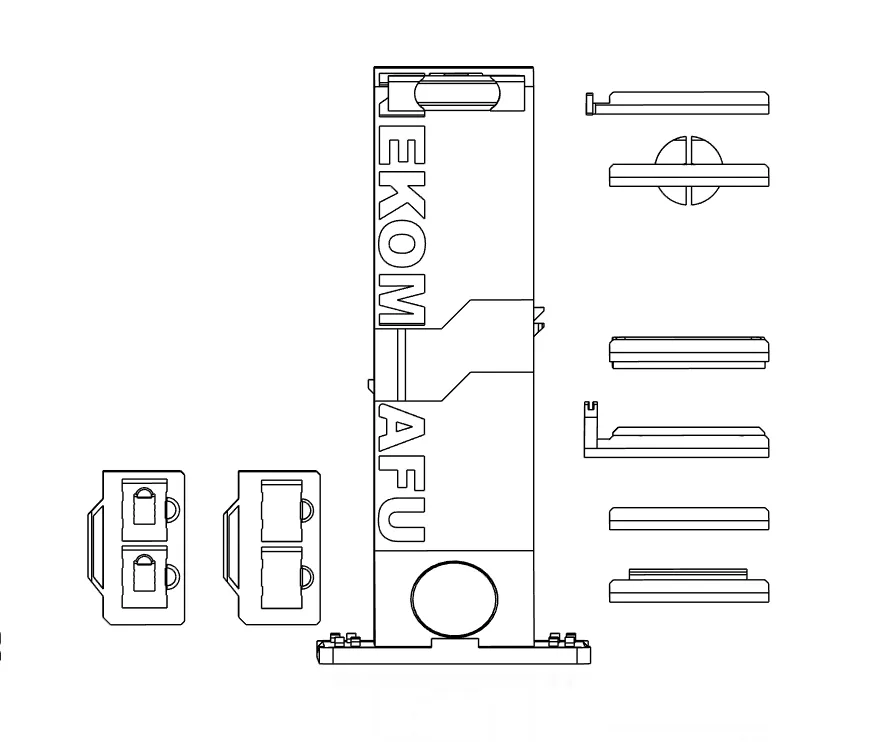
**Installation**
After testing, I used a zero-tolerance design. The stand's slots have a certain degree of deformability, providing sufficient holding force when using PETG material. PLA has not been tested.
However, even with the same type of material, the shrinkage of different brands varies,
So it may cause some components to be too loose or too tight. Here are my suggestions:
If the components are too tight
Please try sanding the edges that mate with the slots.
Especially those with brims.
If the components are too loose
For load-bearing components, if they are too loose, they will directly cause them to fall off. The best way is to determine the position and do not need to replace it, then use glue to fix it.
Second, it is recommended to pad some thin paper to reinforce, which will not lose flexibility.
After printing, you can stick adhesive pads at the four circular holes reserved at the bottom to prevent slippage.
If you want the stand to be more stable as a whole, in addition to placing items on the bottom, you can increase the percentage of sparse infill of the base during printing (the default is 10% adaptive cube).
Assembly Instructions:
- Design Tolerance: After thorough testing, a zero-tolerance design was adopted. The stand's slots possess some flexibility, providing ample retention with PETG; PLA no tested. Due to varying shrinkage rates across brands, components may fit too tightly or loosely. Here are my recommendations:
- If Too Tight: Gently sand the edges that mate into the slots, particularly those with brims.
- If Too Loose: Glue is ideal for load-bearing parts if they're excessively loose after positioning. Alternatively, consider slipping thin paper shims to reinforce without compromising adjustability.
- Anti-Slip Measures: Attach adhesive pads to the four designated circular holes on the base for added stability. Enhance overall sturdiness by increasing the infill density of the base during printing (default is 10% adaptive cubic).
**Customization:**
I provide source files based on Fusion360. If you have some basic knowledge, you can open them to customize components.
Possible future upgrade options:
1. Portable SD card holder design
2. Rotatable base platform
3. Super modular + more replaceable components
Customization:
- Source Files: For advanced users, Fusion360 source files are included, enabling customization of individual components.
Future Upgrade Possibilities:
- Portable SD Card Holder Design
- Rotatable Base Platform
- Enhanced Modularity + Additional Swappable Components
Thank you for your support. I'm YOTURN, remember to drop by my Bilibili space at https://space.bilibili.com/313019007 for fresh content and videos!
Please note that this translation captures the essence of your original text and aims to maintain clarity and technical accuracy for English readers.
License

You shall not share, sub-license, sell, rent, host, transfer, or distribute in any way the digital or 3D printed versions of this object, nor any other derivative work of this object in its digital or physical format (including - but not limited to - remixes of this object, and hosting on other digital platforms). The objects may not be used without permission in any way whatsoever in which you charge money, or collect fees.


Comment & Rating (29)