
The Cardboard Saber

Print Profile(2)


Description
MAKE SURE TO PRINT THE TOLERANCE TEST BEFORE PRINTING THE SABER. THIS SABER WAS TOLERANCED FOR PA6-GF AND MAY BE LOOSE FOR OTHER FILAMENTS
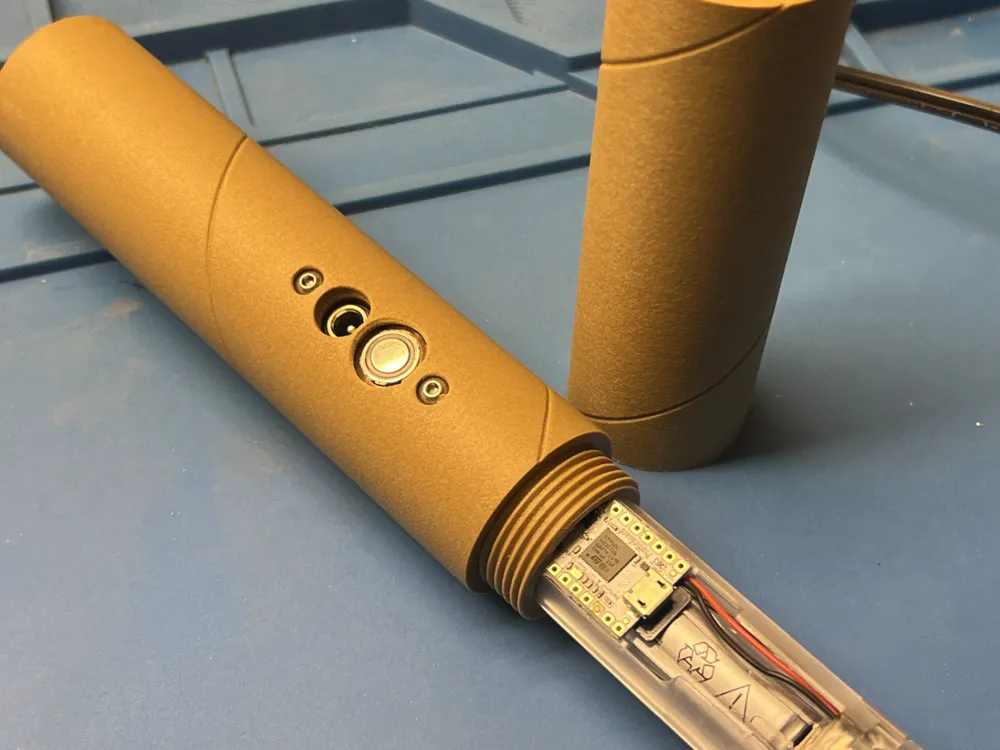
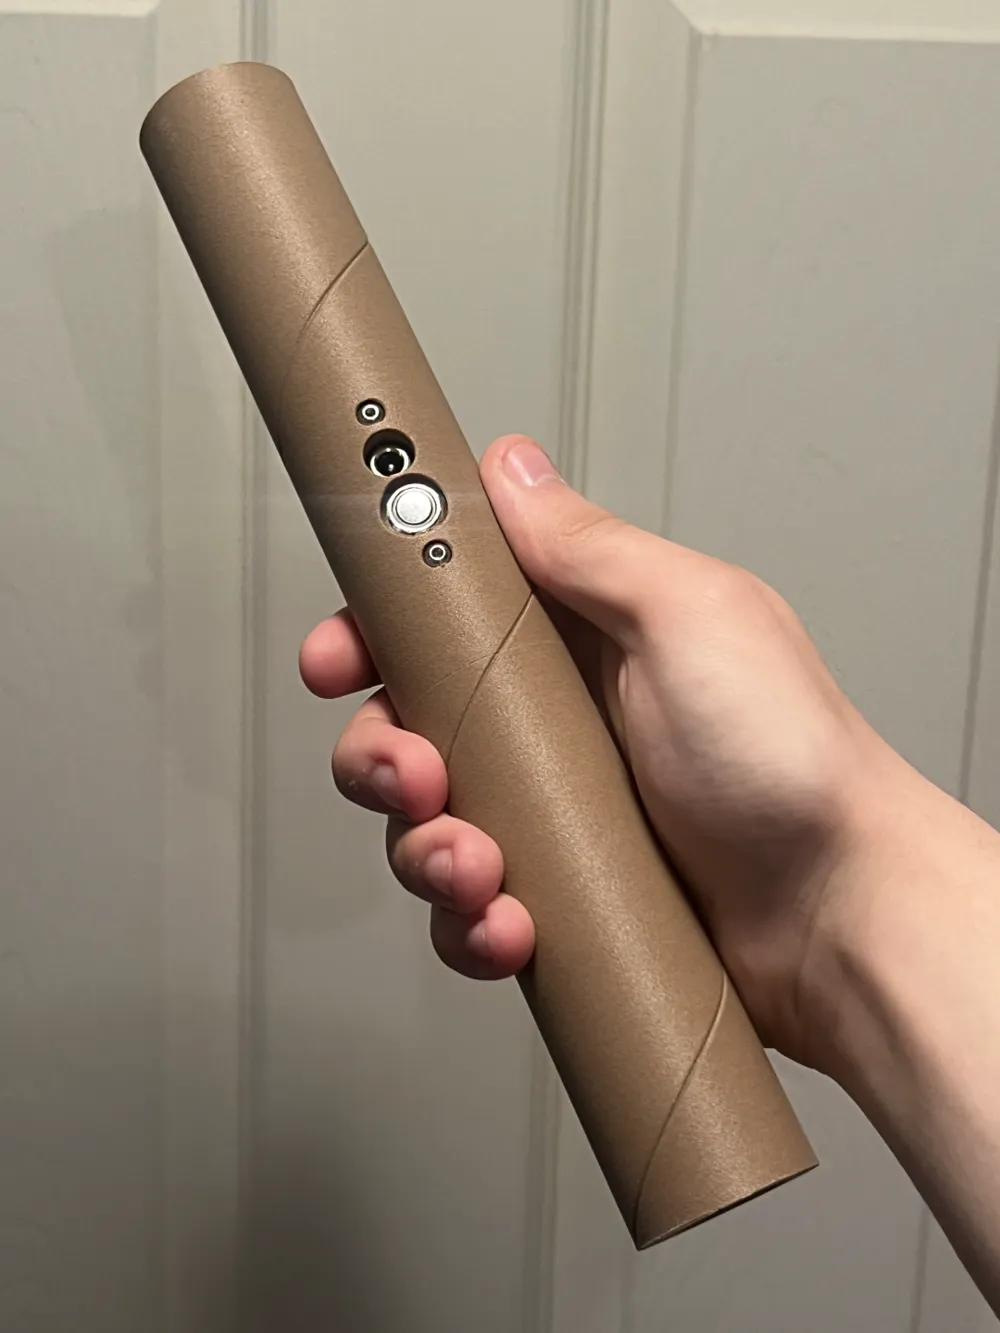
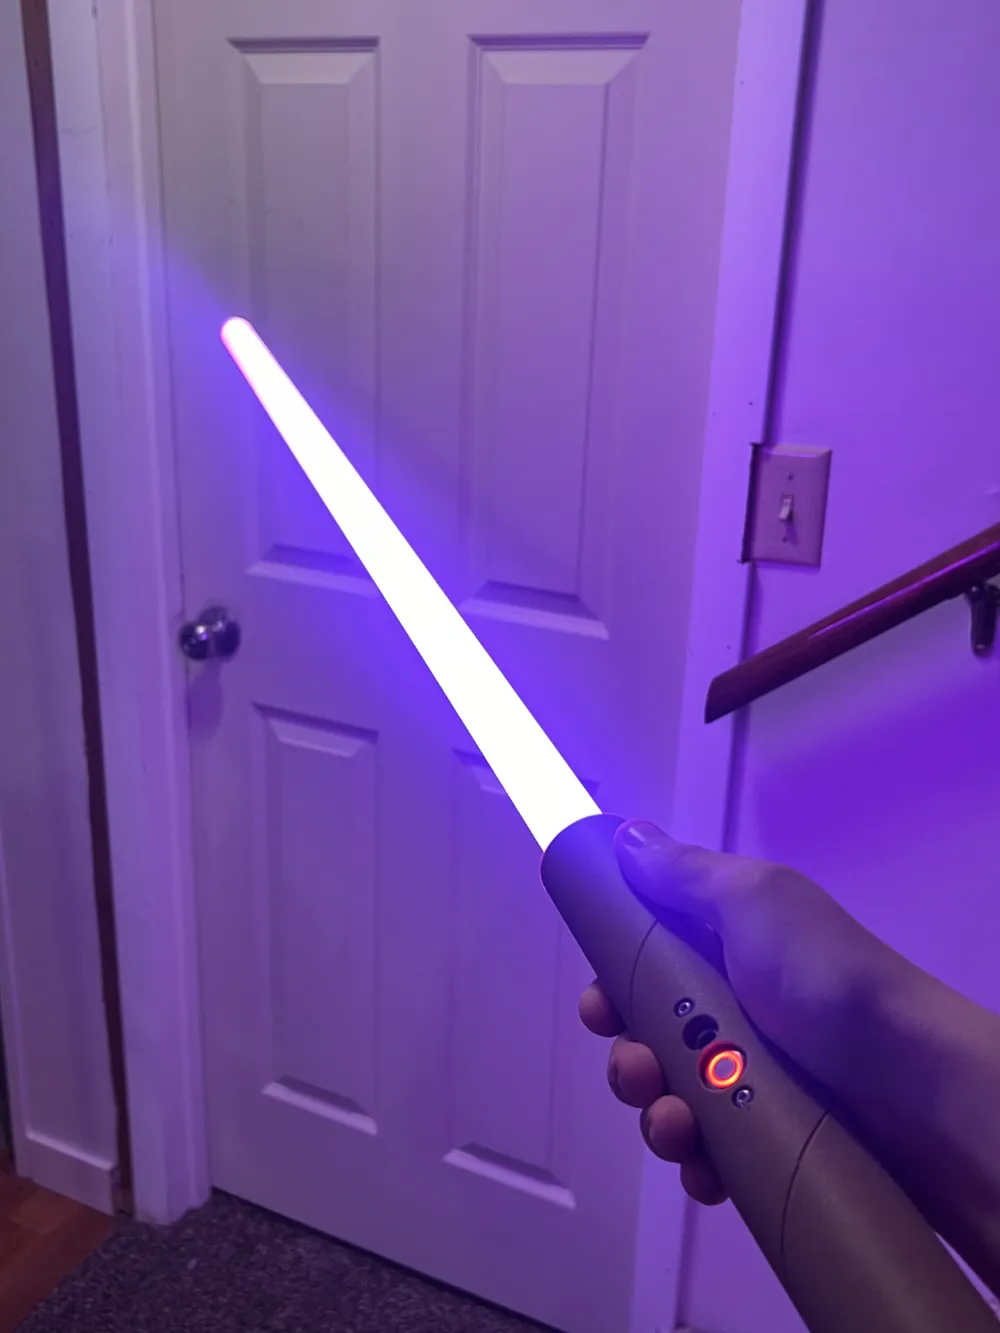
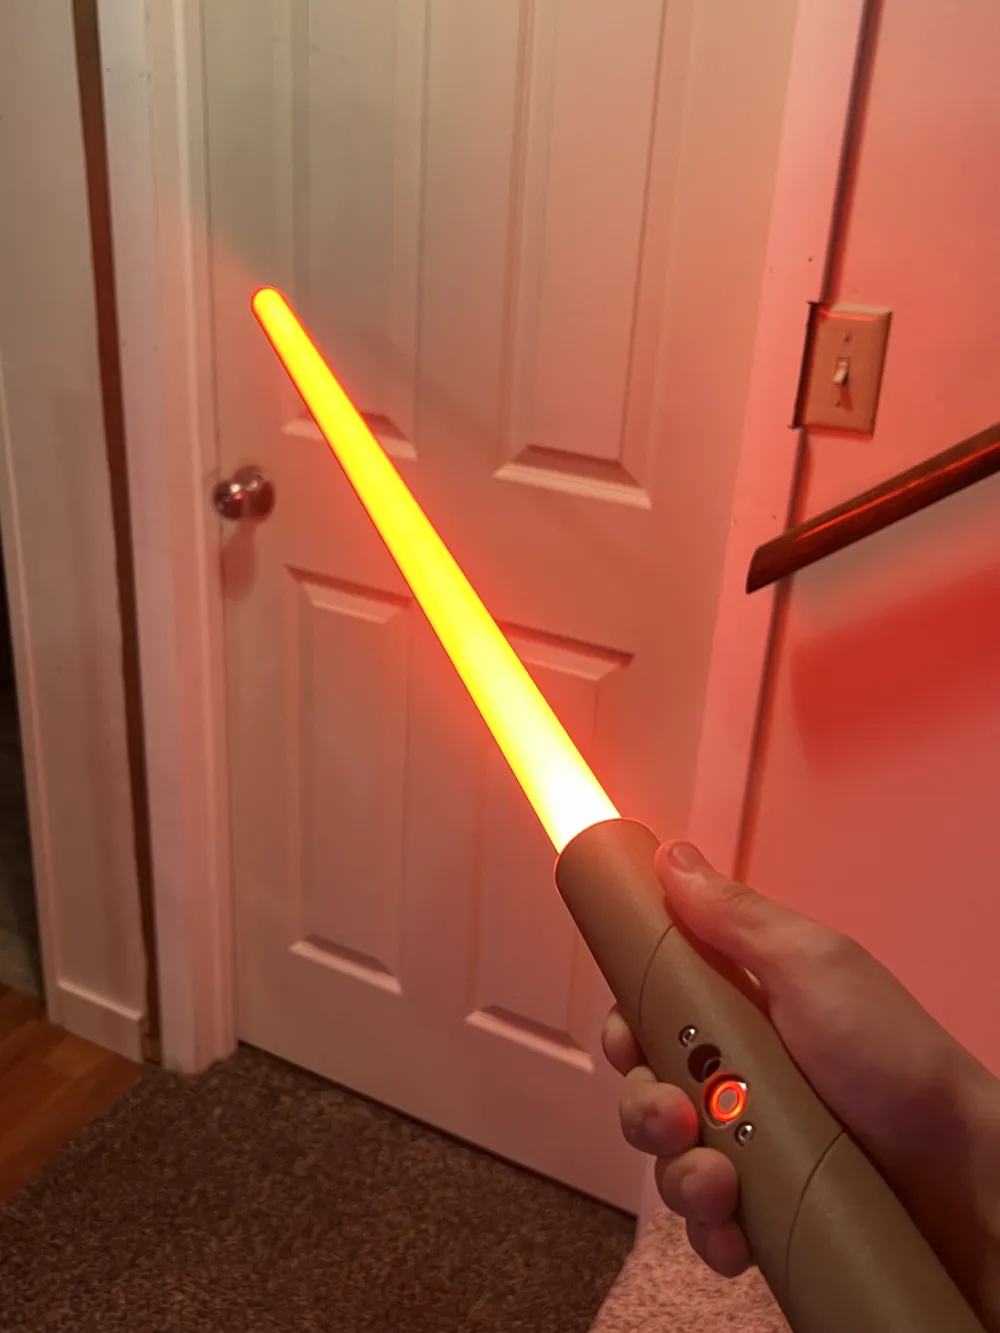
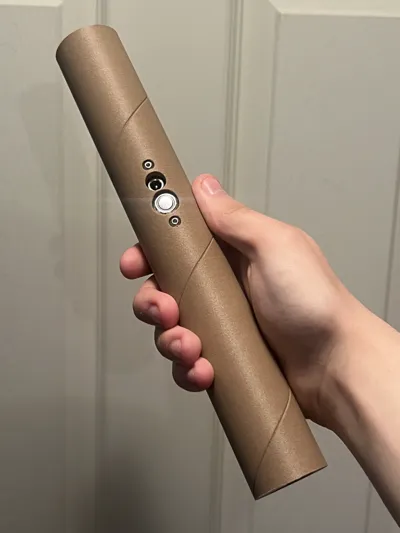
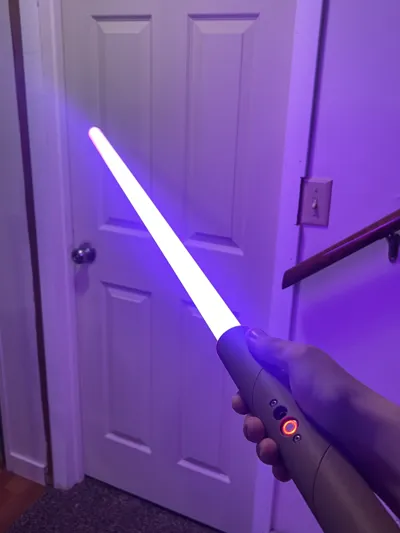
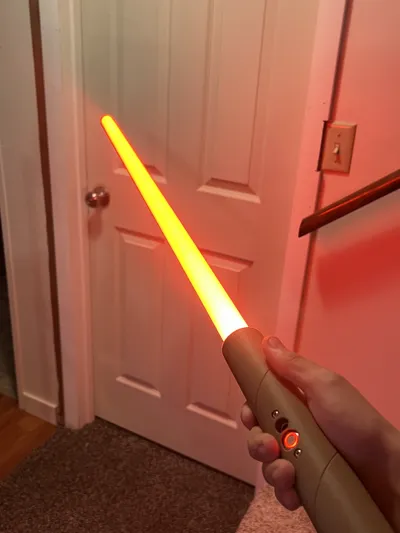
Do you remember picking up a cardboard tube and thinking ‘this is kinda like a lightsaber'? Well now you can print your own Cardboard Saber, inspired by those cardboard tubes used in paper towels or wrapping paper.
This saber is compatible with LGT hilts with circular charging ports and dual m3 screw mounting hardware such as these: https://viresabers.com/collections/standard-cores/products/golden-harvest-ghv3-pixel-core. It's important to note that the hex screws used to mount it should be M3x10 screws in order to properly mount the core to the hilt.
Though any LGT core with the same charging port and mounting setup should work. I use a Proffieboard core personally.
THIS SABER IS NOT FOR DUELING. As much as I would love to claim this hilt will hold up to a Sith attack, it would probably break if you tried to hit anything with moderate force. This hilt is more of a goofy showpiece than anything. 3D printing is great but there are limits and unfortunately for us, layer lines are a weak point for tubes like this. I haven't tested mine which is printed in PA6-GF, and probably has the best chance of holding up.
HARDWARE: This saber uses x1 M3x5.7 heat insert thread and x1 M3x6 headless hex retention screw. These are the ones I used:
These are technically necessary for holding the blade in place, as the fitment of the blade is pretty snug. If you don't have the hardware, you might be able to get away without. I wouldn't recommend spinning it like this though, the blade might fly out.
I should also mention that this saber should be printed with durability and toughness in mind. While I'm sure you could print this in PLA, I cannot guarantee that it will be able to hold a blade. Carbon Fiber and Glass Fiber filaments are recomended, both for surface finish and for strength. I printed mine in brown PA6-GF and it came out great. It needed a little post processing though.
Something of note: I used OrcaSlicer and for this I used “precise walls” to get the accuracy that much closer to what I had designed. For testing purposes I printed one without it and the tolerances were tight for the blade. It may be different for other filaments but at least for PA6-GF, make sure to use OrcaSlicer with Precise Walls. I'm not sure if the feature is available in Bambu Studio.
Let me know what you think! This is my first real attempt at something like this.
License



Comment & Rating (10)