
Filament Flinger


Print Profile(4)


Description
Are you tired of storing a pile of filament waste? well, turn into ammo for playtime with the FIlament Flinger! The Filament Flinger Comes in two variants Print-in-place and Print in two parts with an M3x18mm SCHS bolt used as the hinge. Please note the Print-in-place hinge cannot stay loaded for prolonged periods, or endure harsh loading without braking. an update to fix this is coming soon, for the time being, the M3 variant is the stronger and better option. Build instructions and loading instructions are below (Please read)

Print Instructions
- 15% infill is a must. Changing this setting changes how the trigger mechanism works.
- The print-in-place version assumes you are using a 0.4mm nozzle. I cannot guarantee it will work with other sizes
- If prompted to repair the model declines or the hinge will fuse to the body
- the model struggles to adhere to, I recommend using filaments with which you have good reliability with.
(3mm Bolt version)
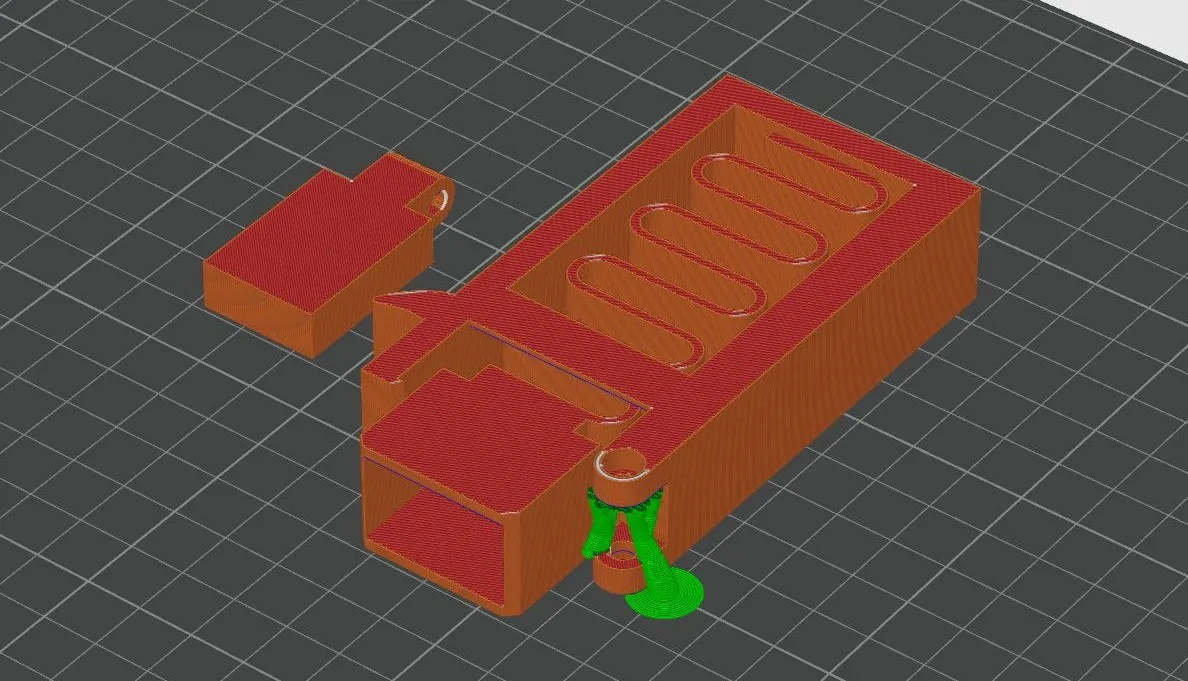
1. Print both the body and lid of the flinger, The body will need support so I highly recommend using my attached profiles as I have already worked out how to support the hinge mechanism for successful printing. Example pictured below
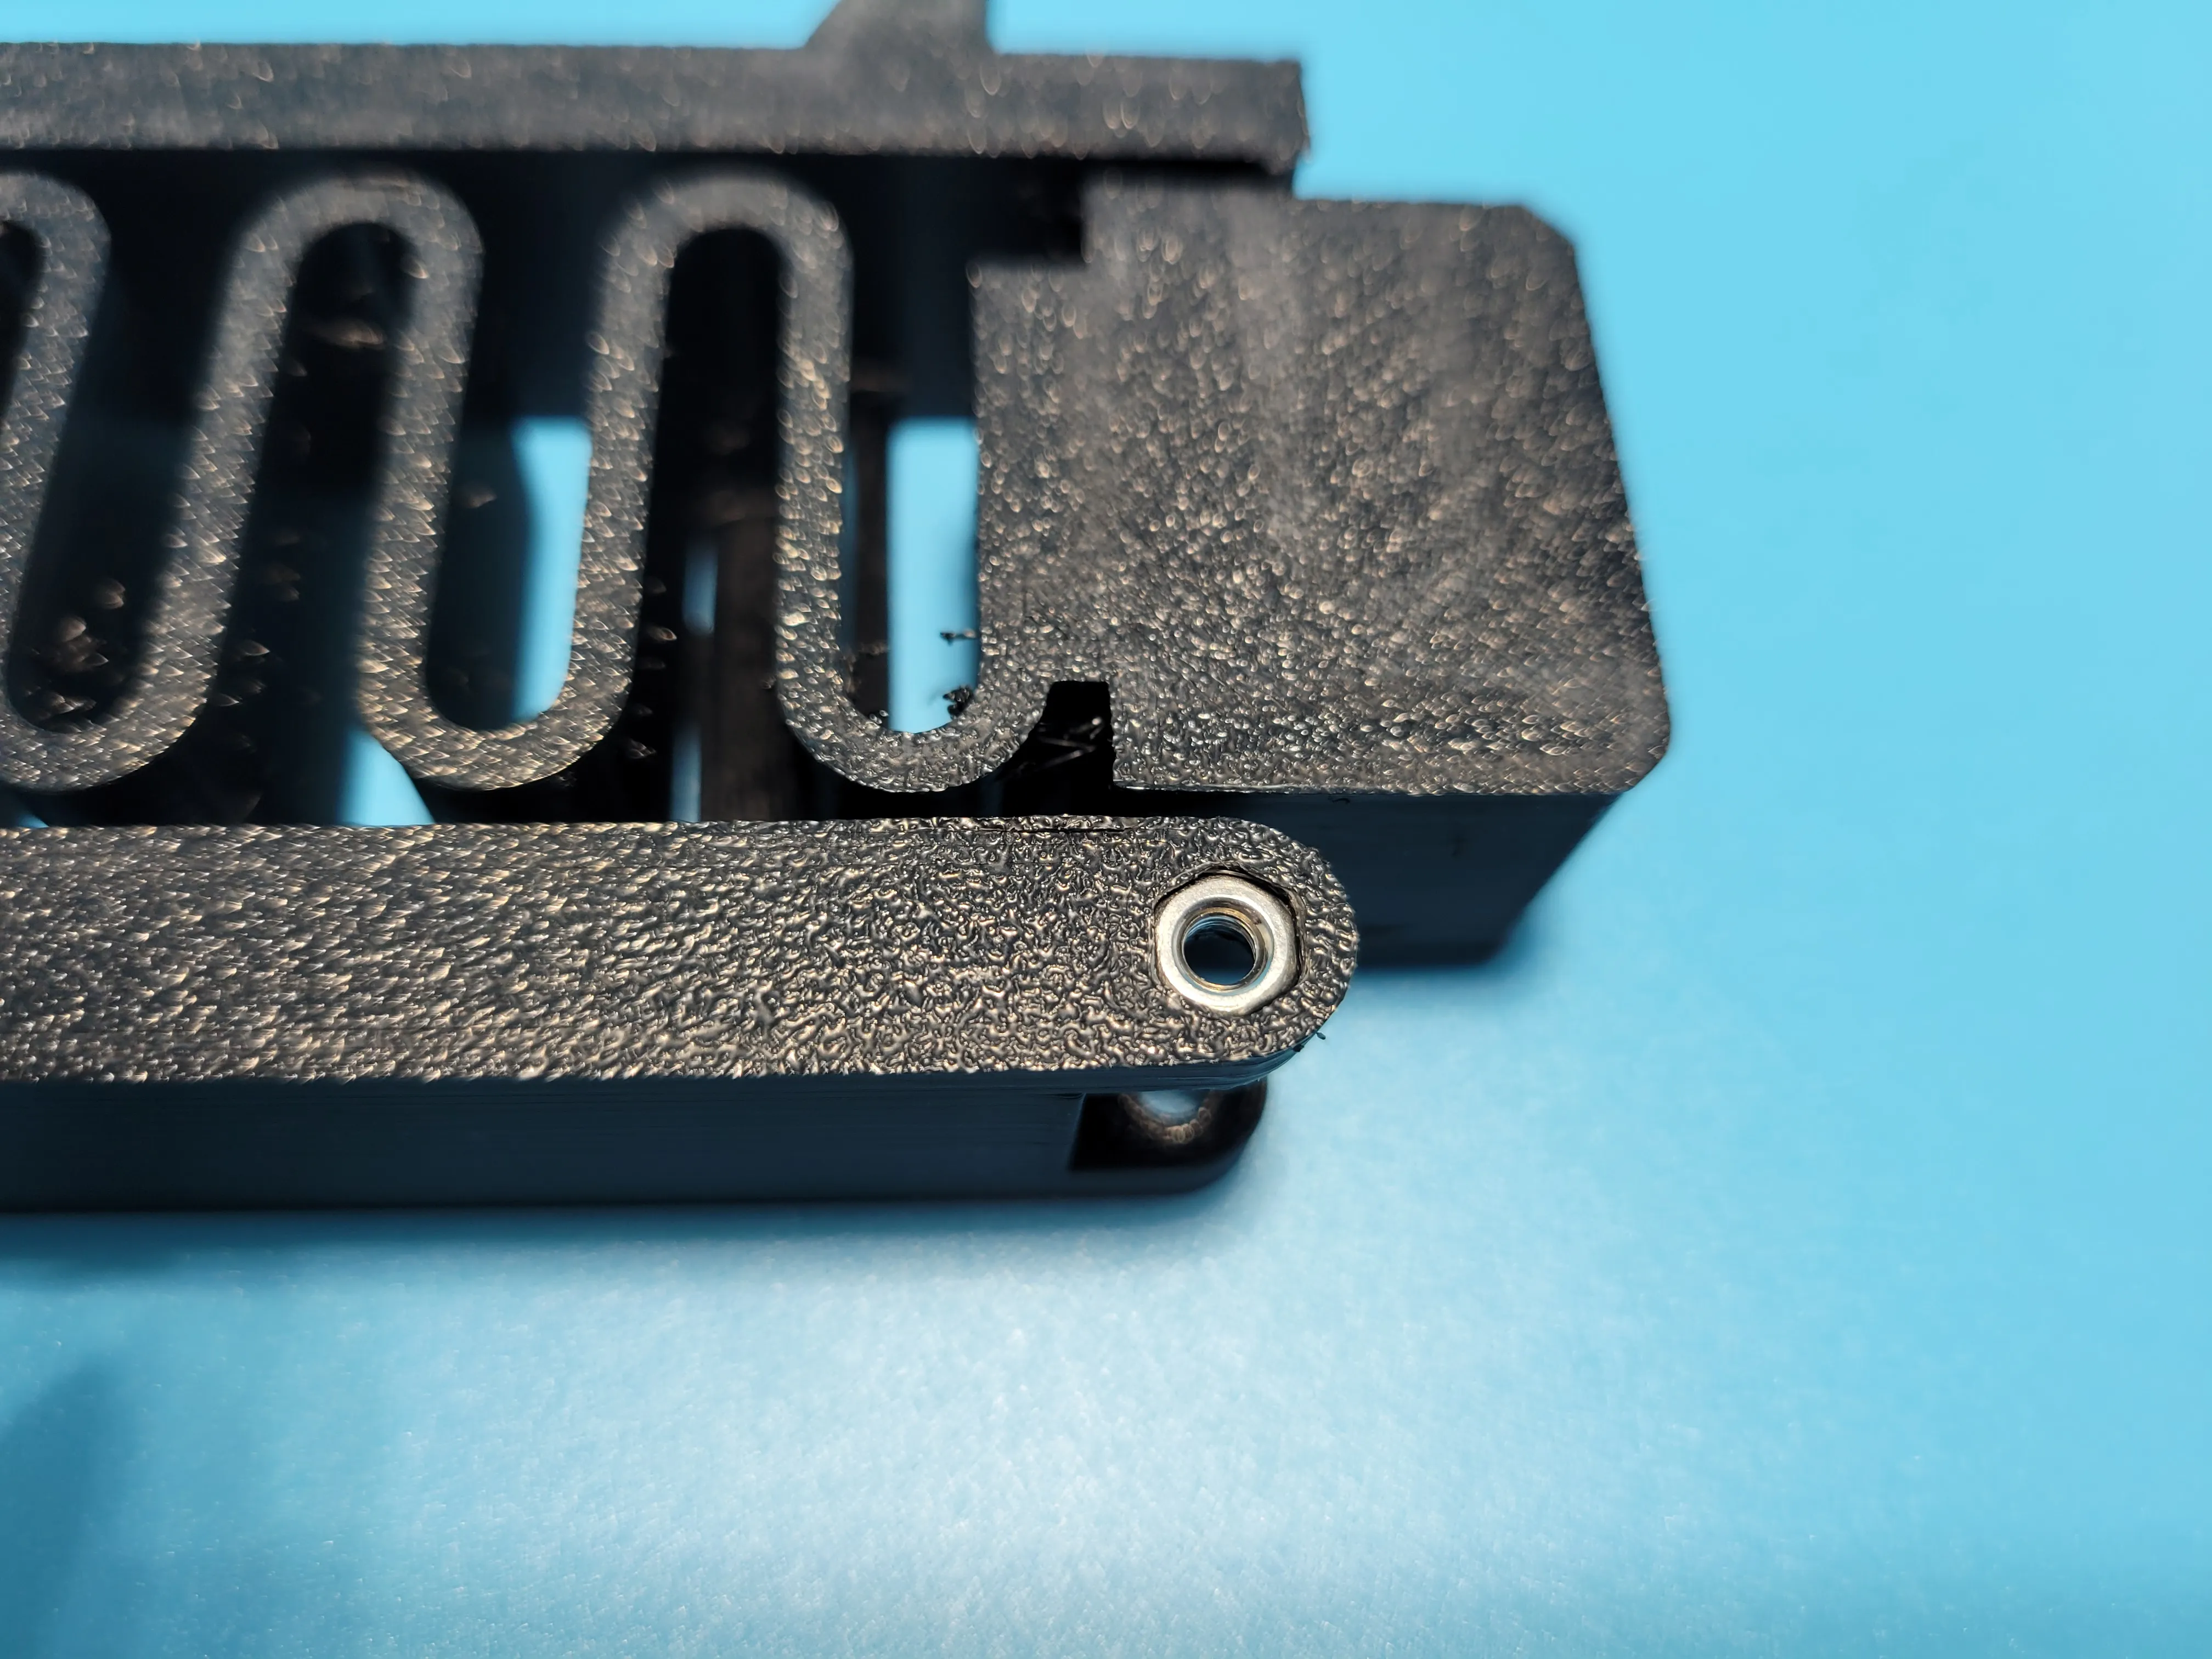
2. insert a M3 bolt in the hexagon slot of the body
3. Place the lid in between the two hinges of the body
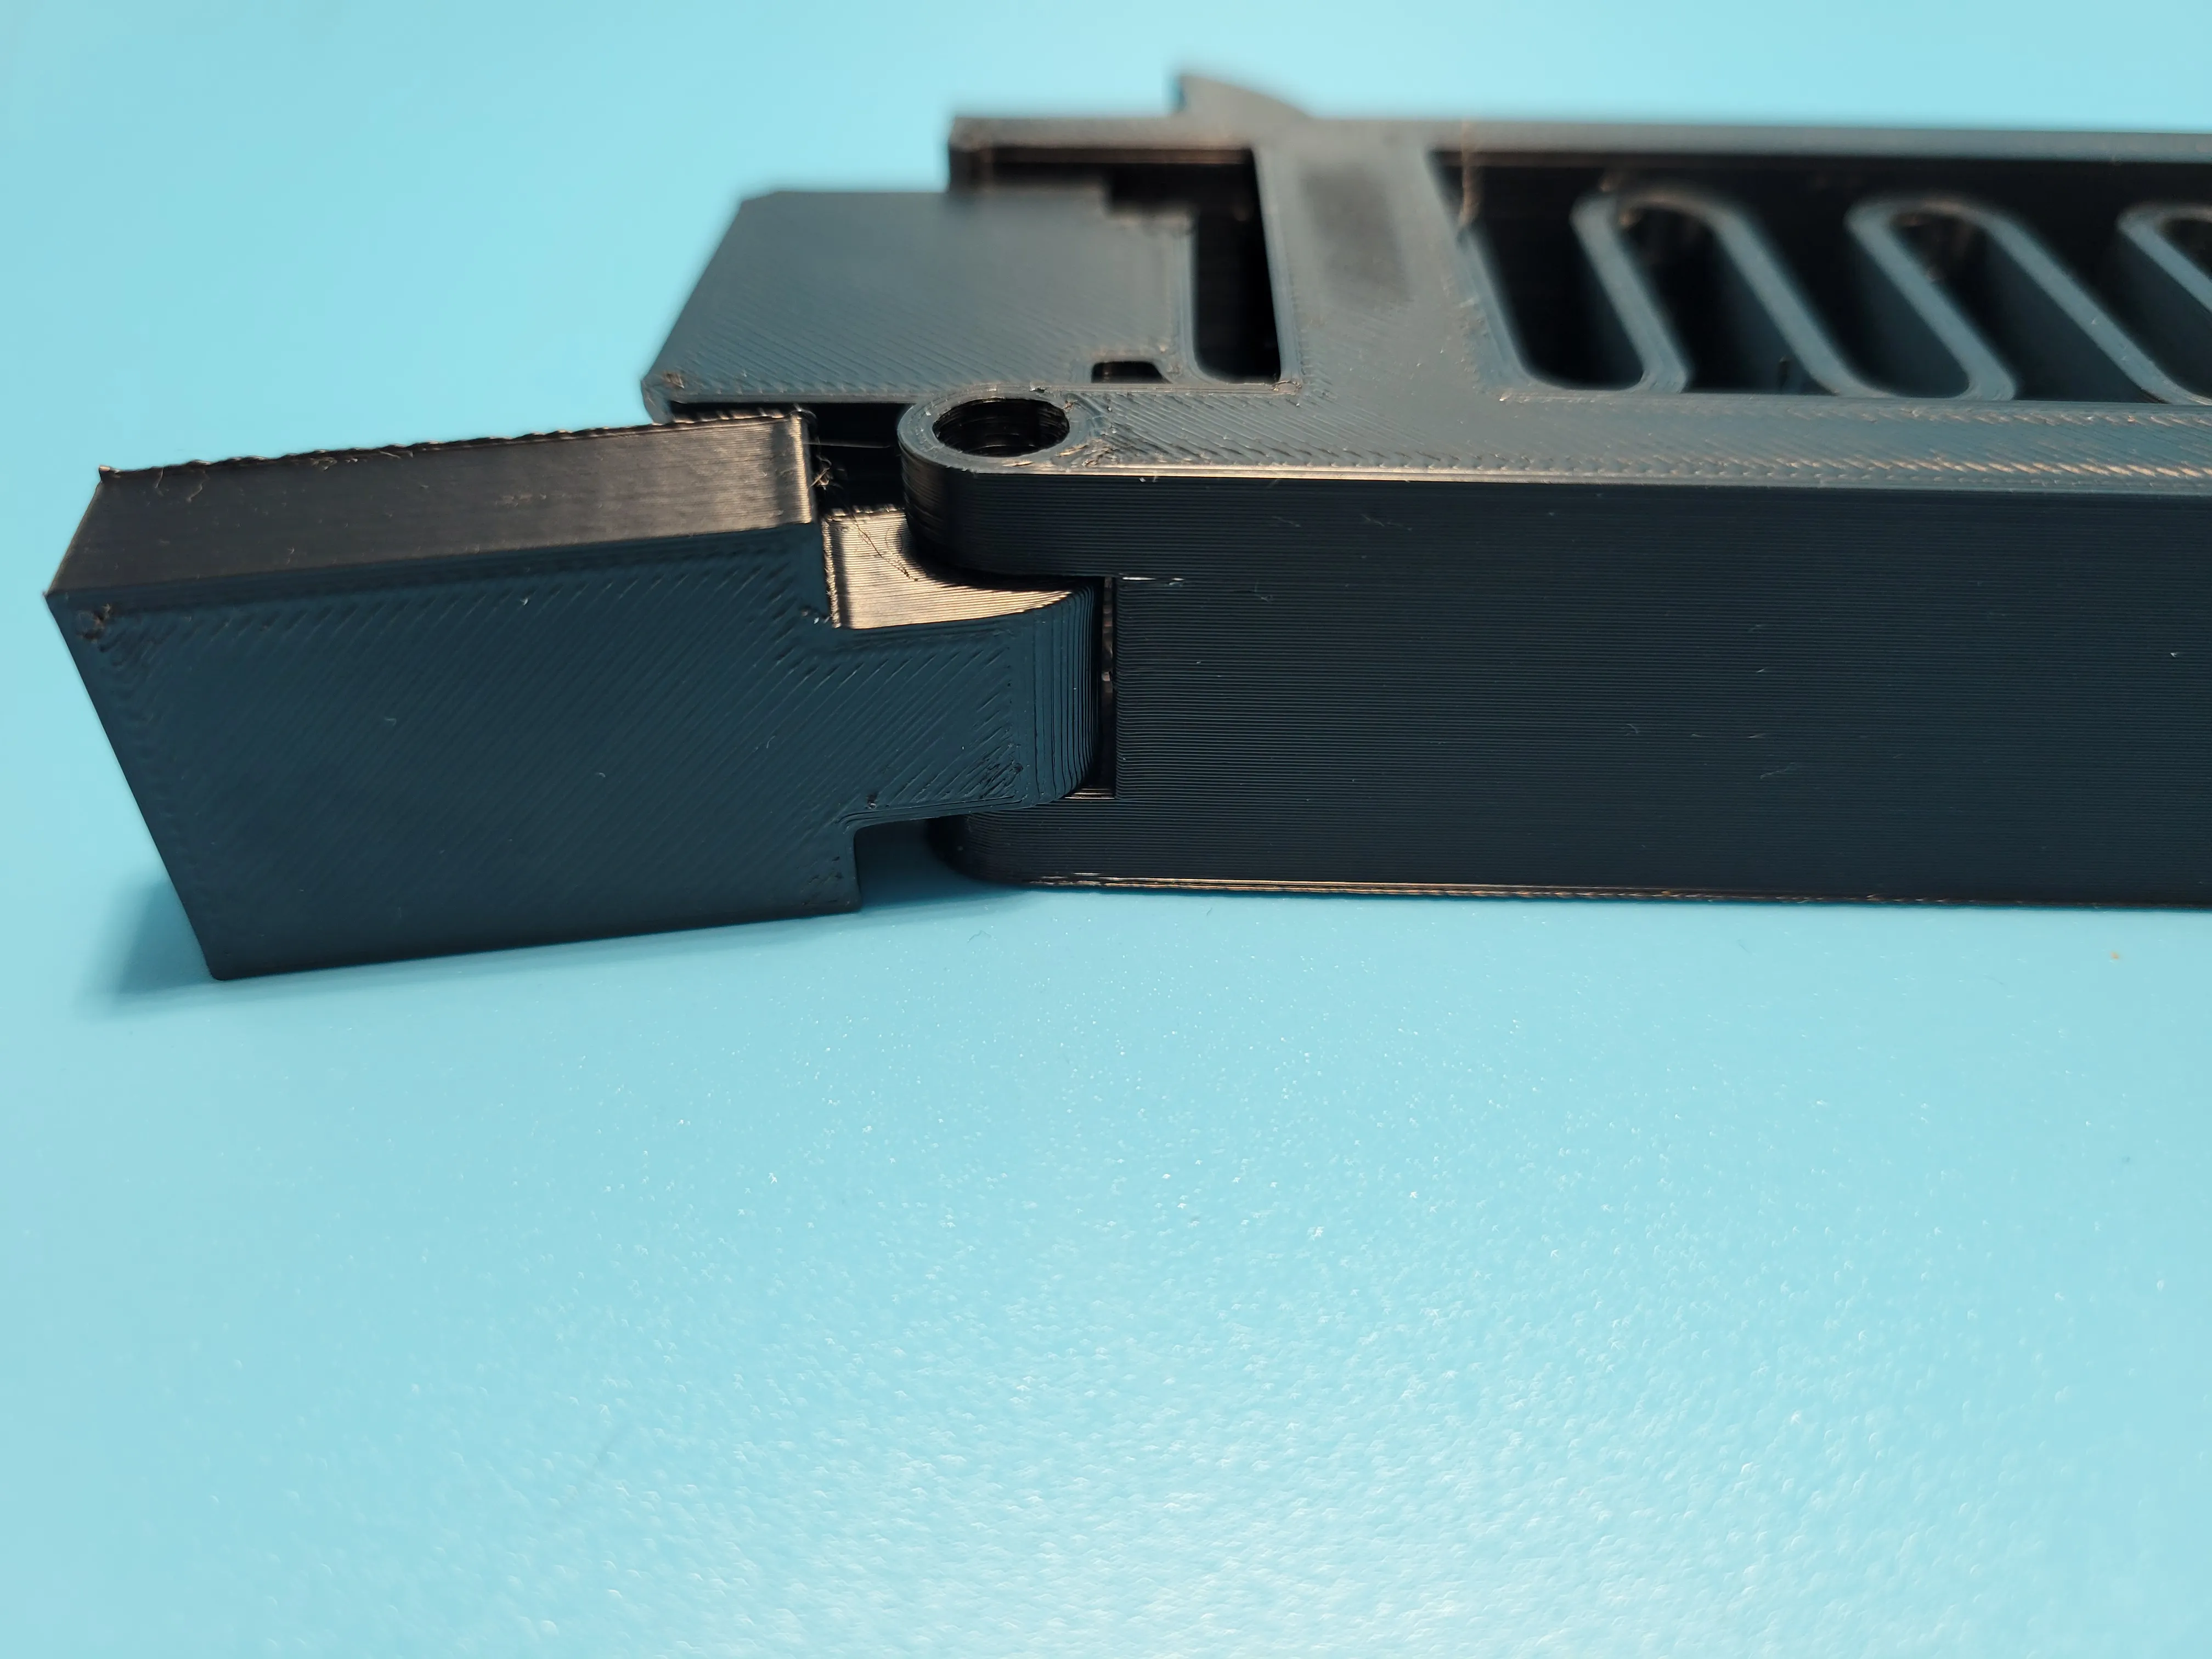
4. Place the M3 x18mm SCHS bolt (M3x 20 also works but is slightly oversized).
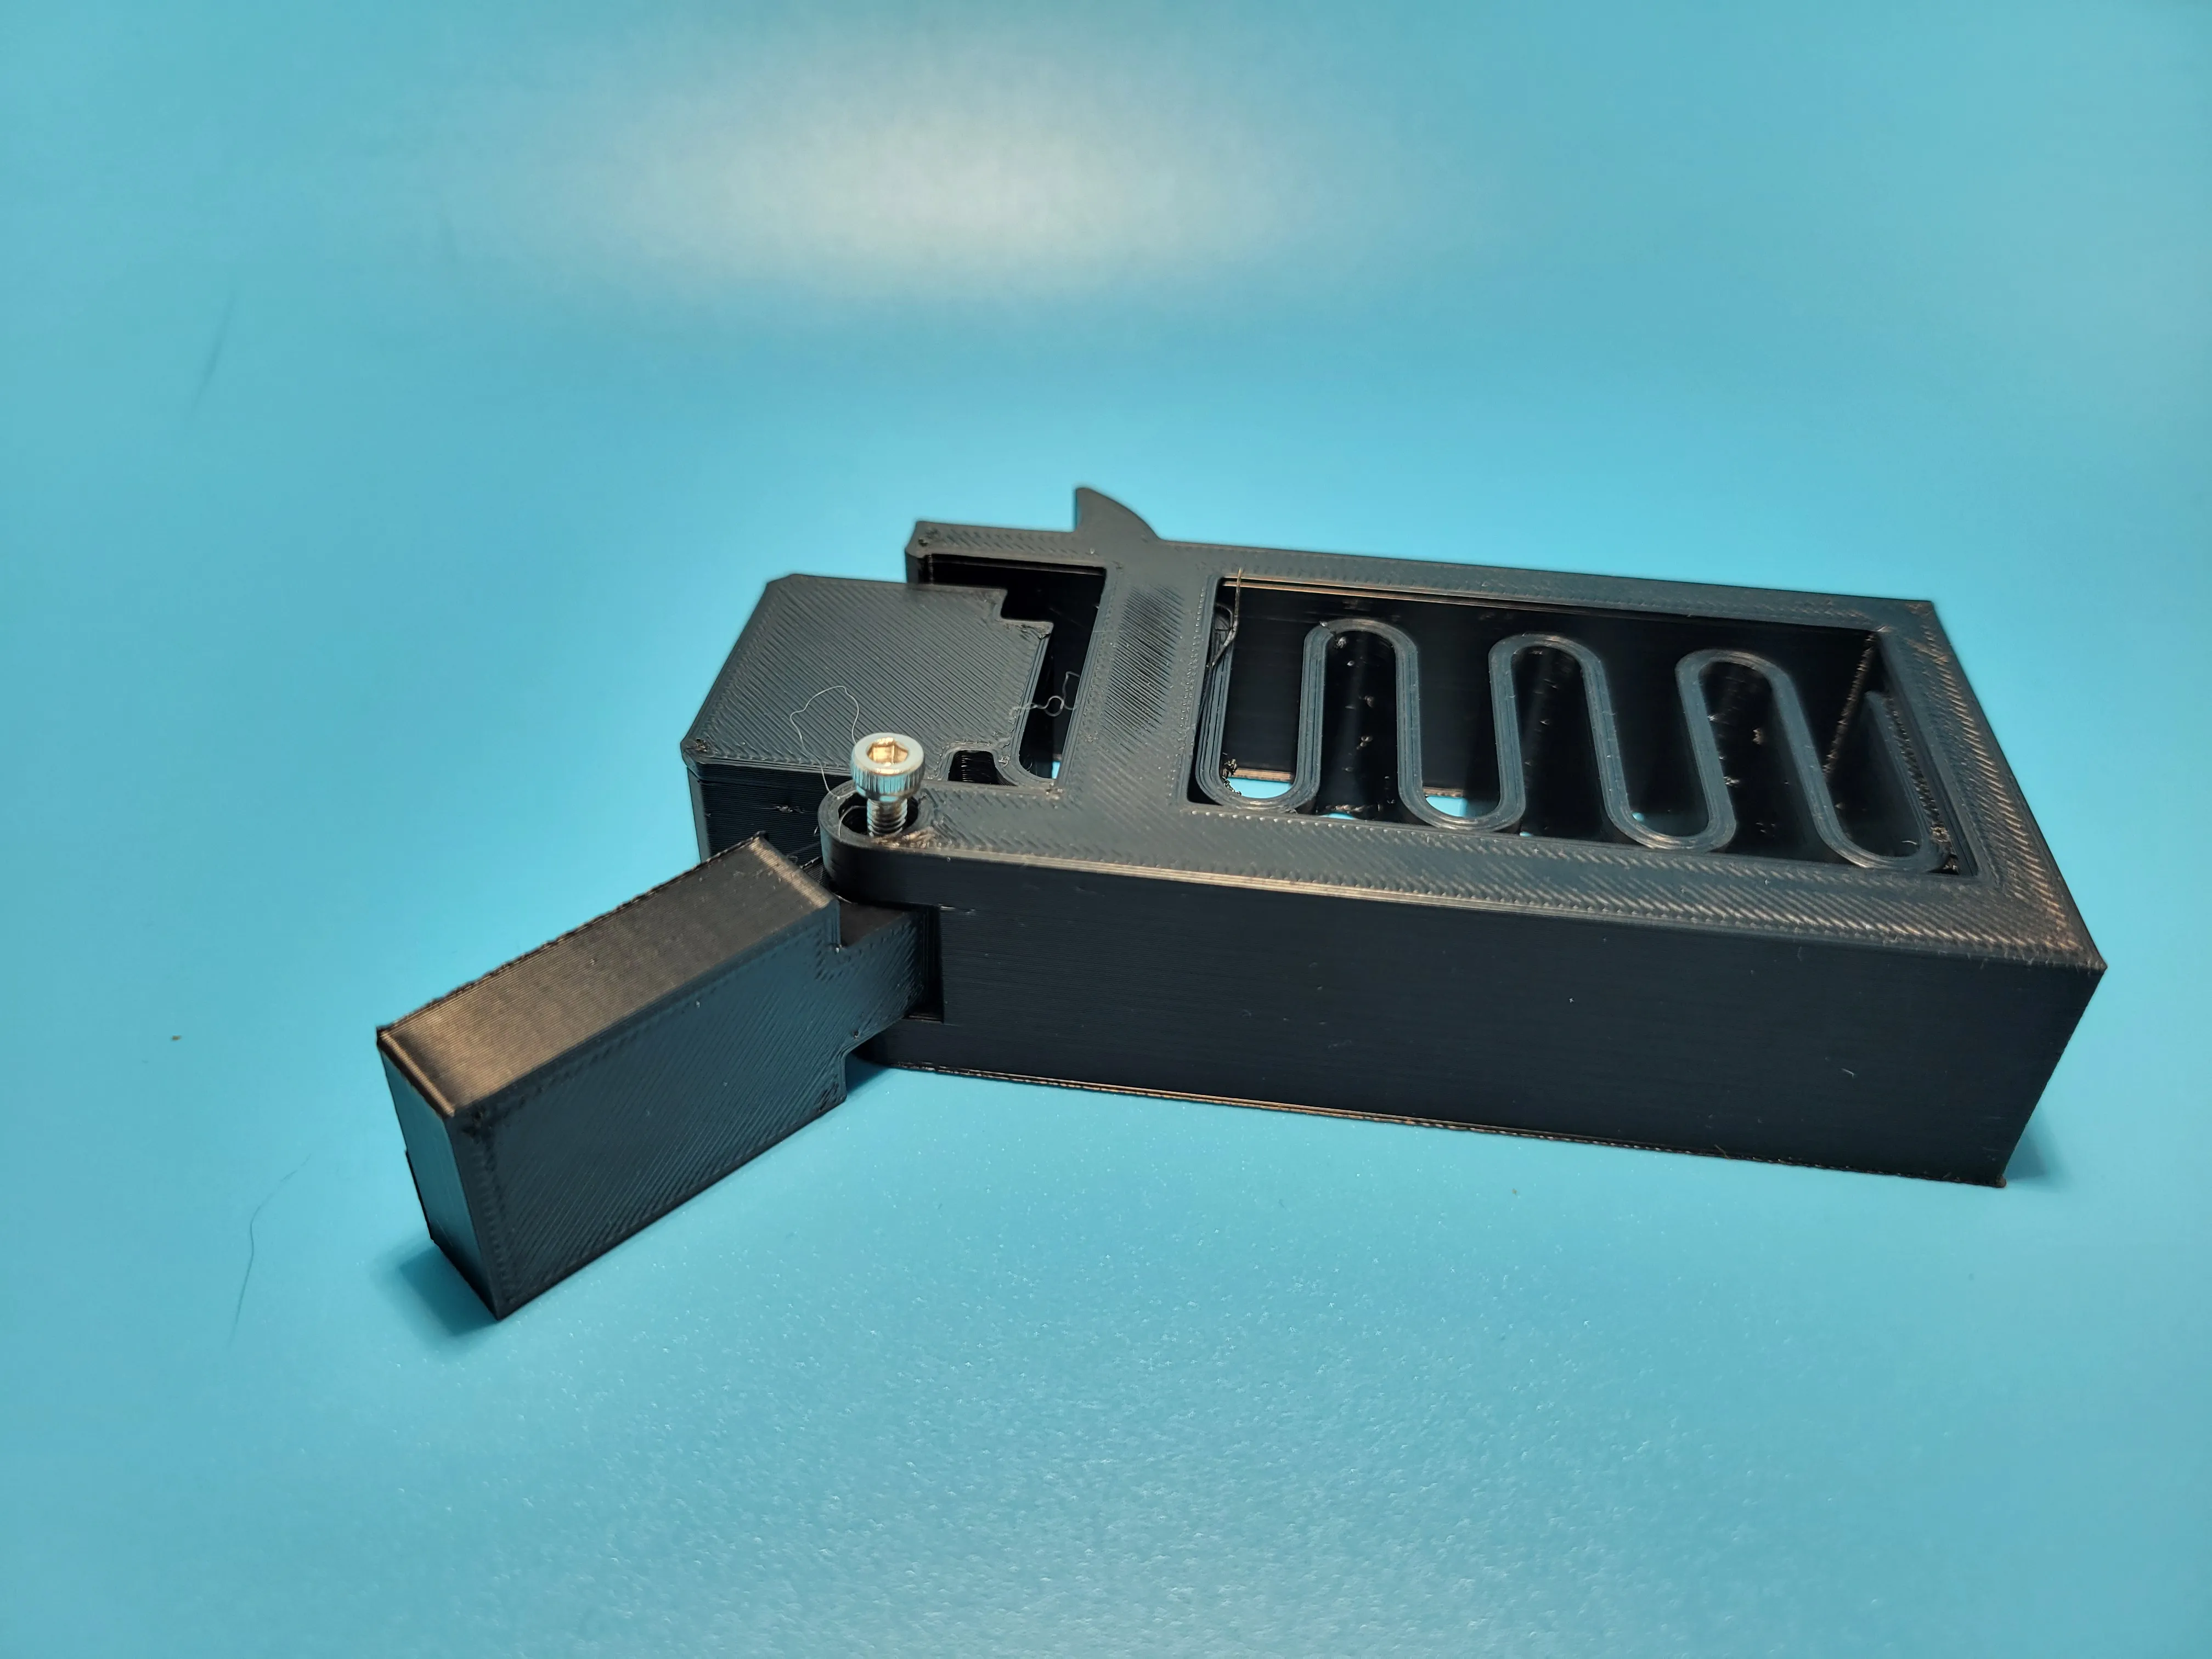
5. Screw the M3 bolt
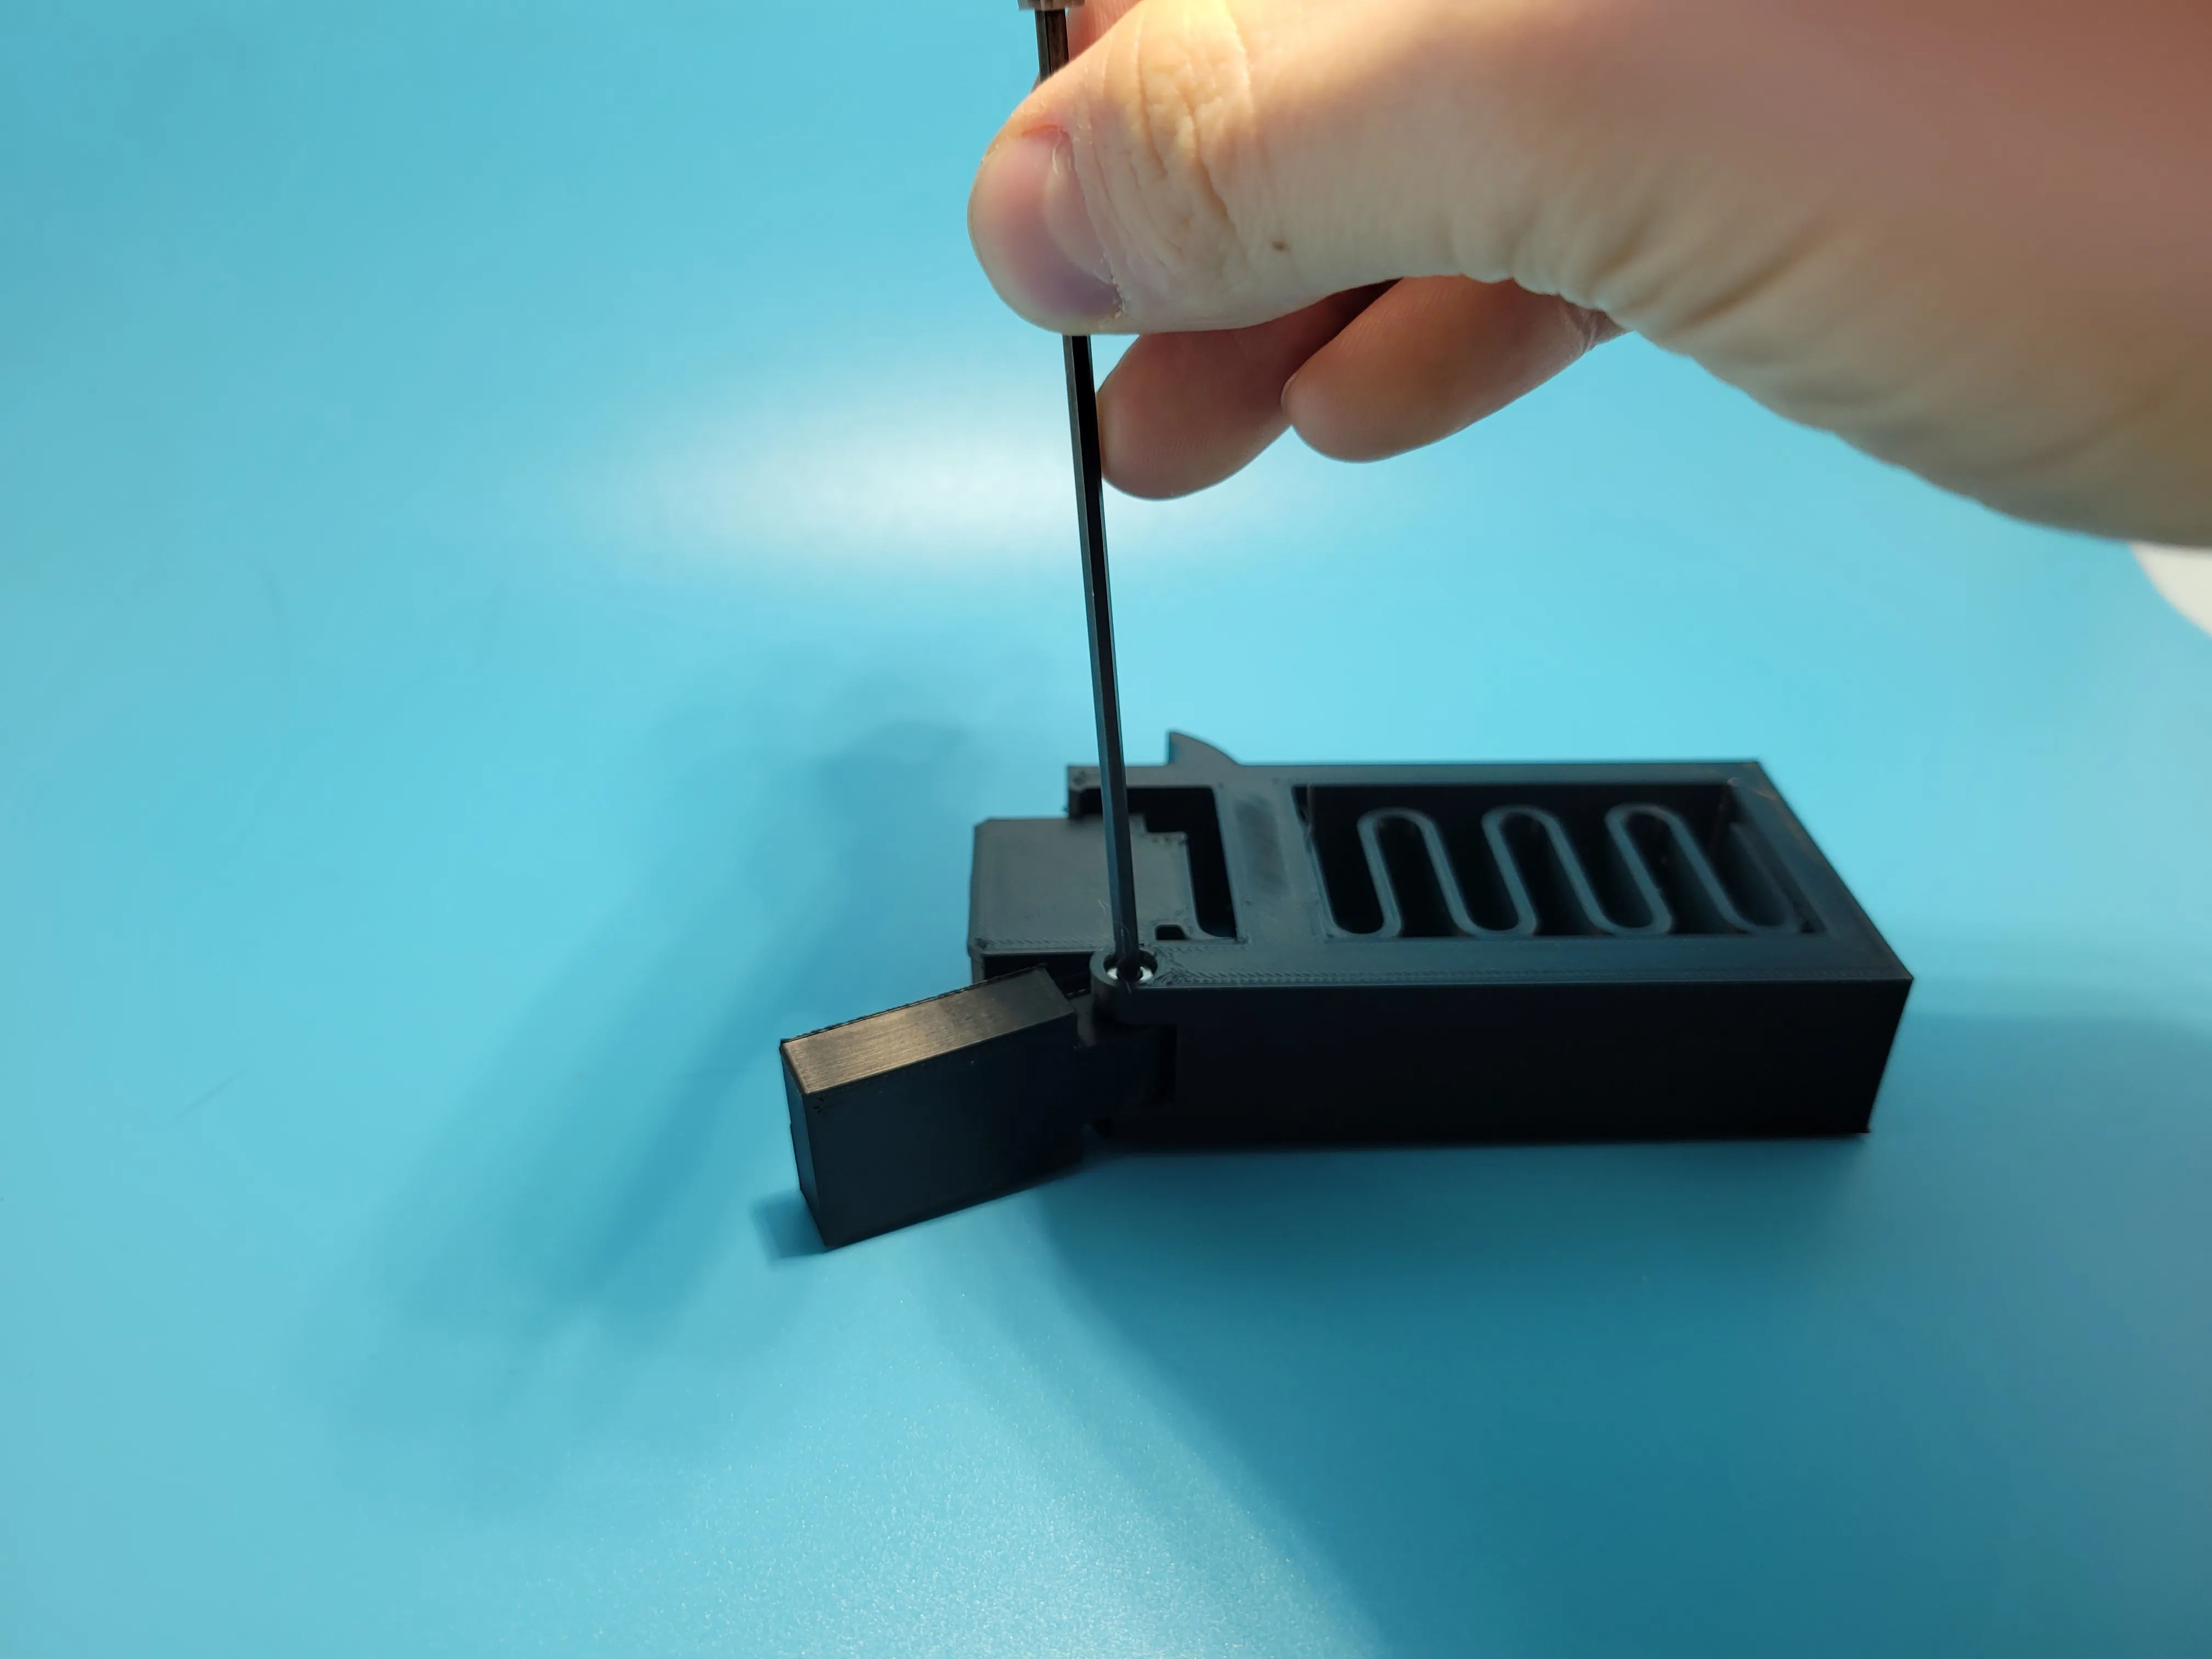
6. Ready for play!
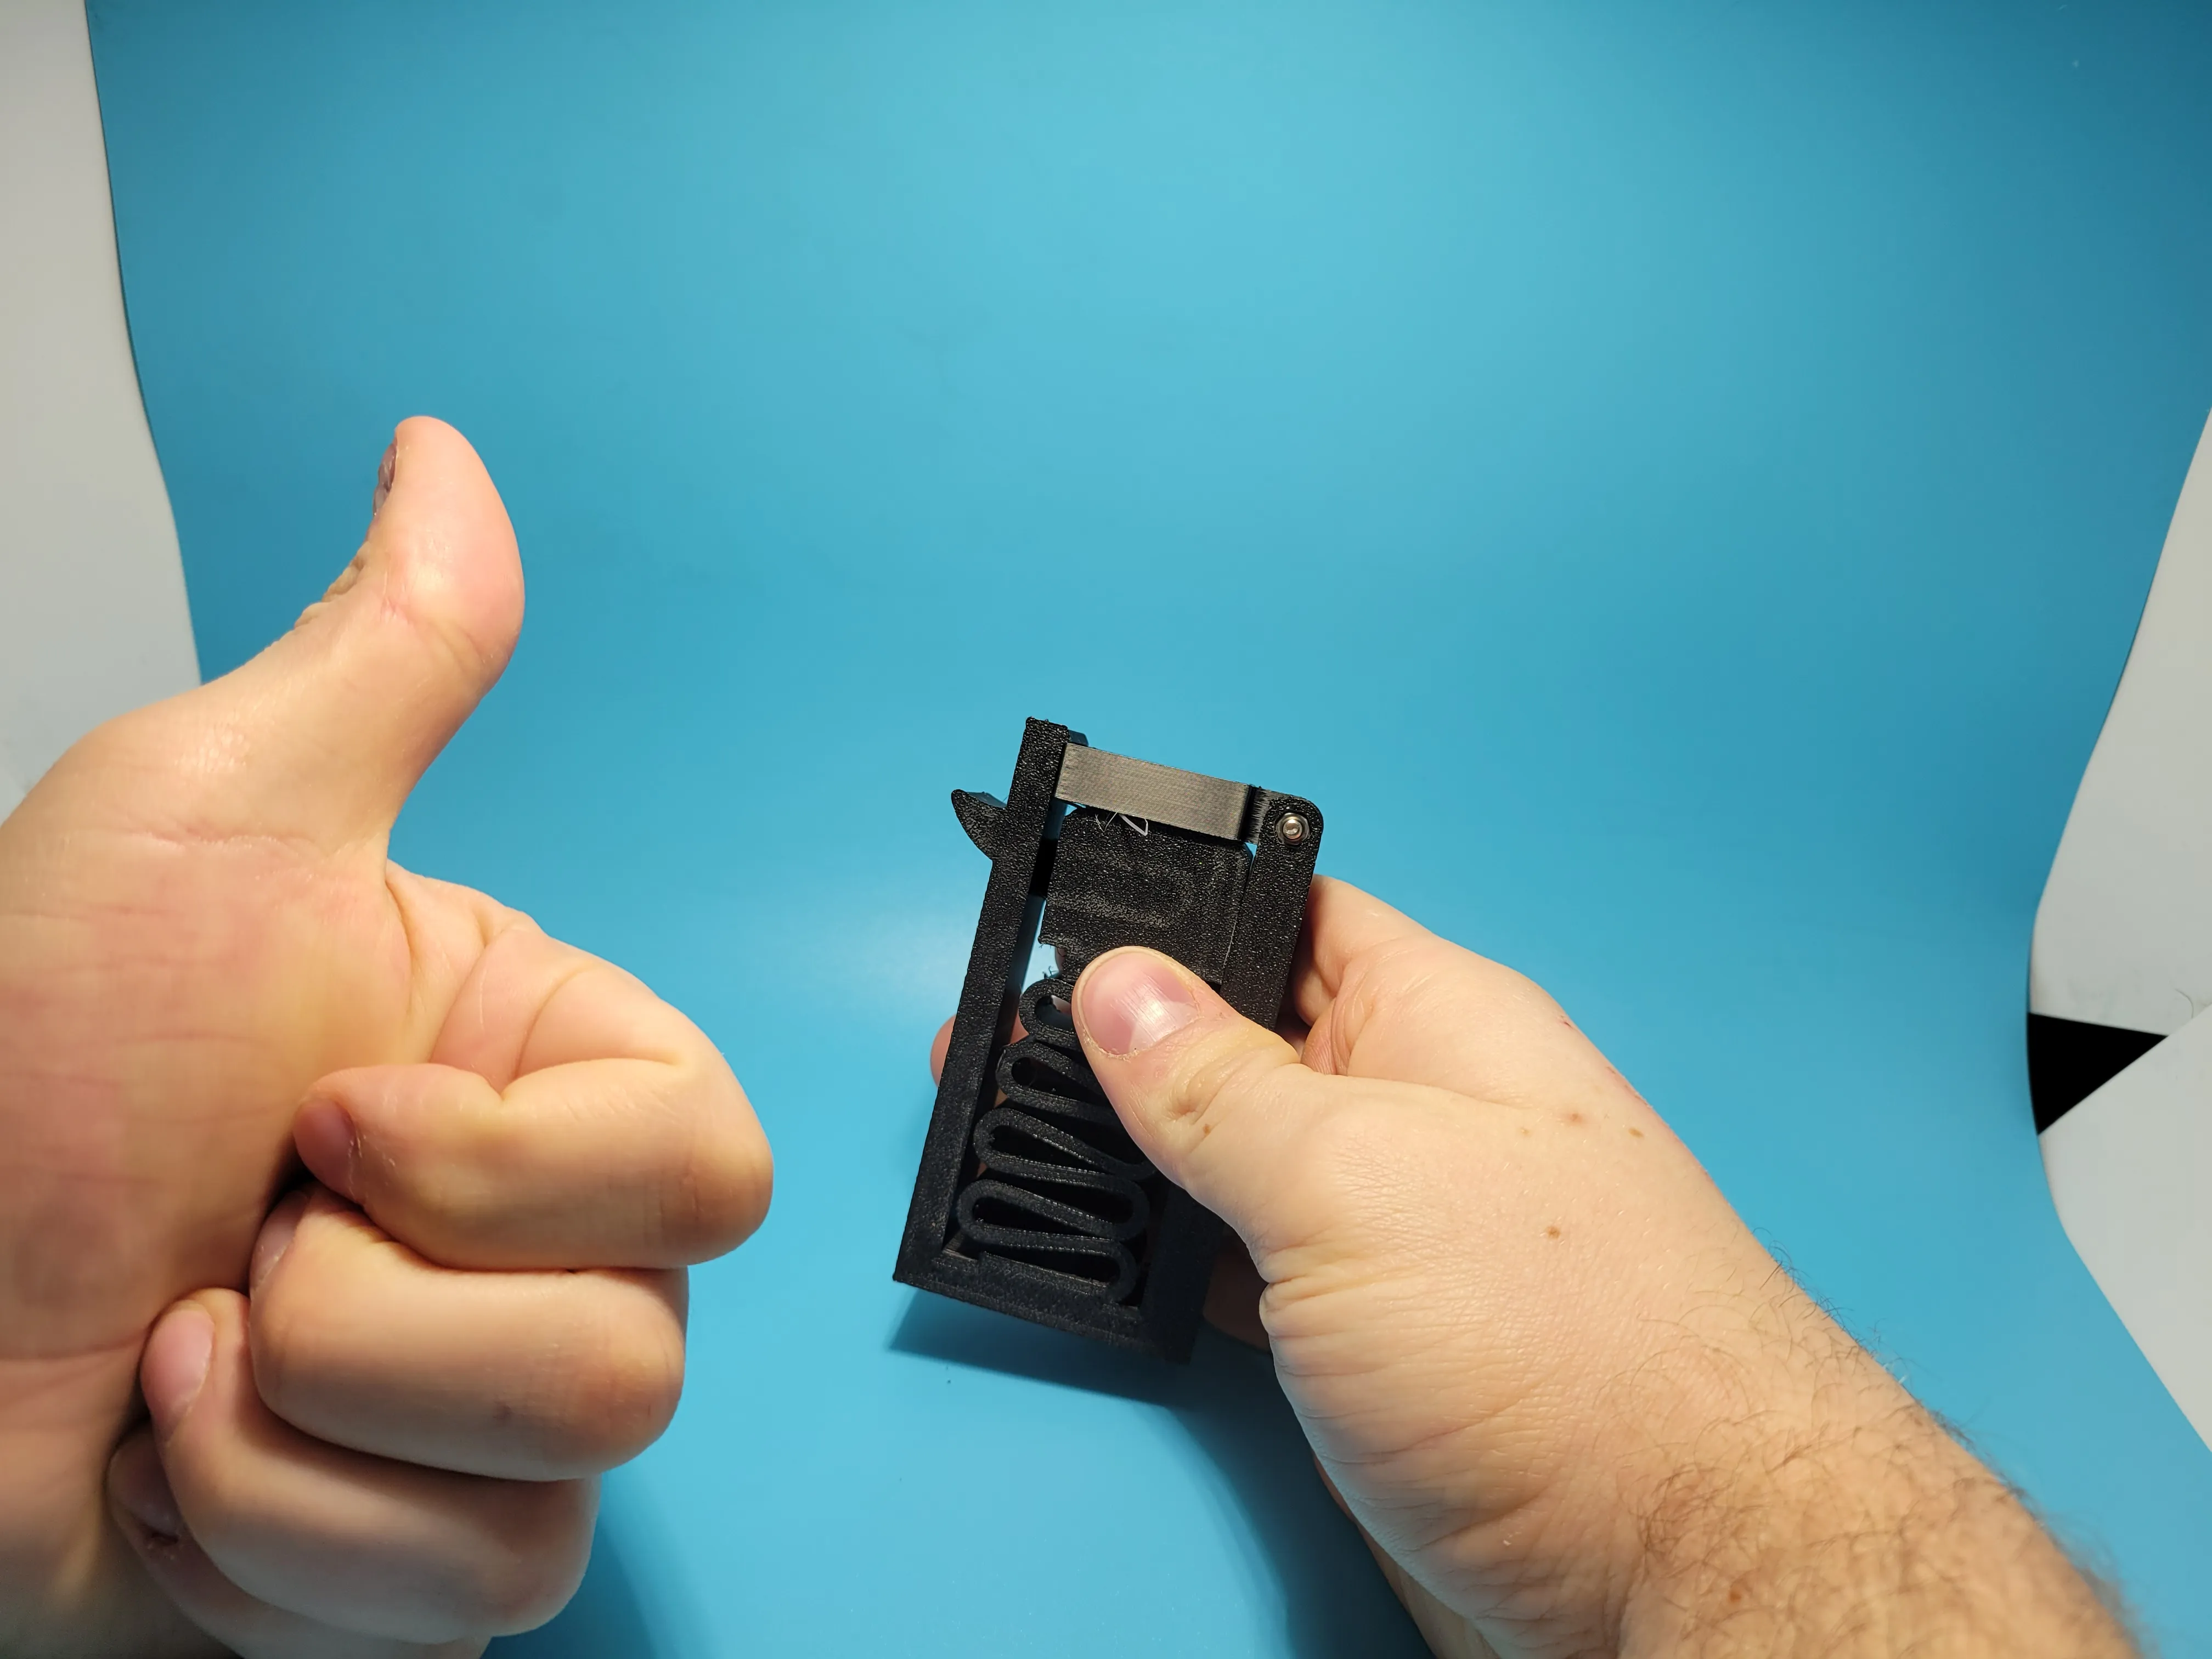
Loading Instructions
1. fill the basket with filament poop
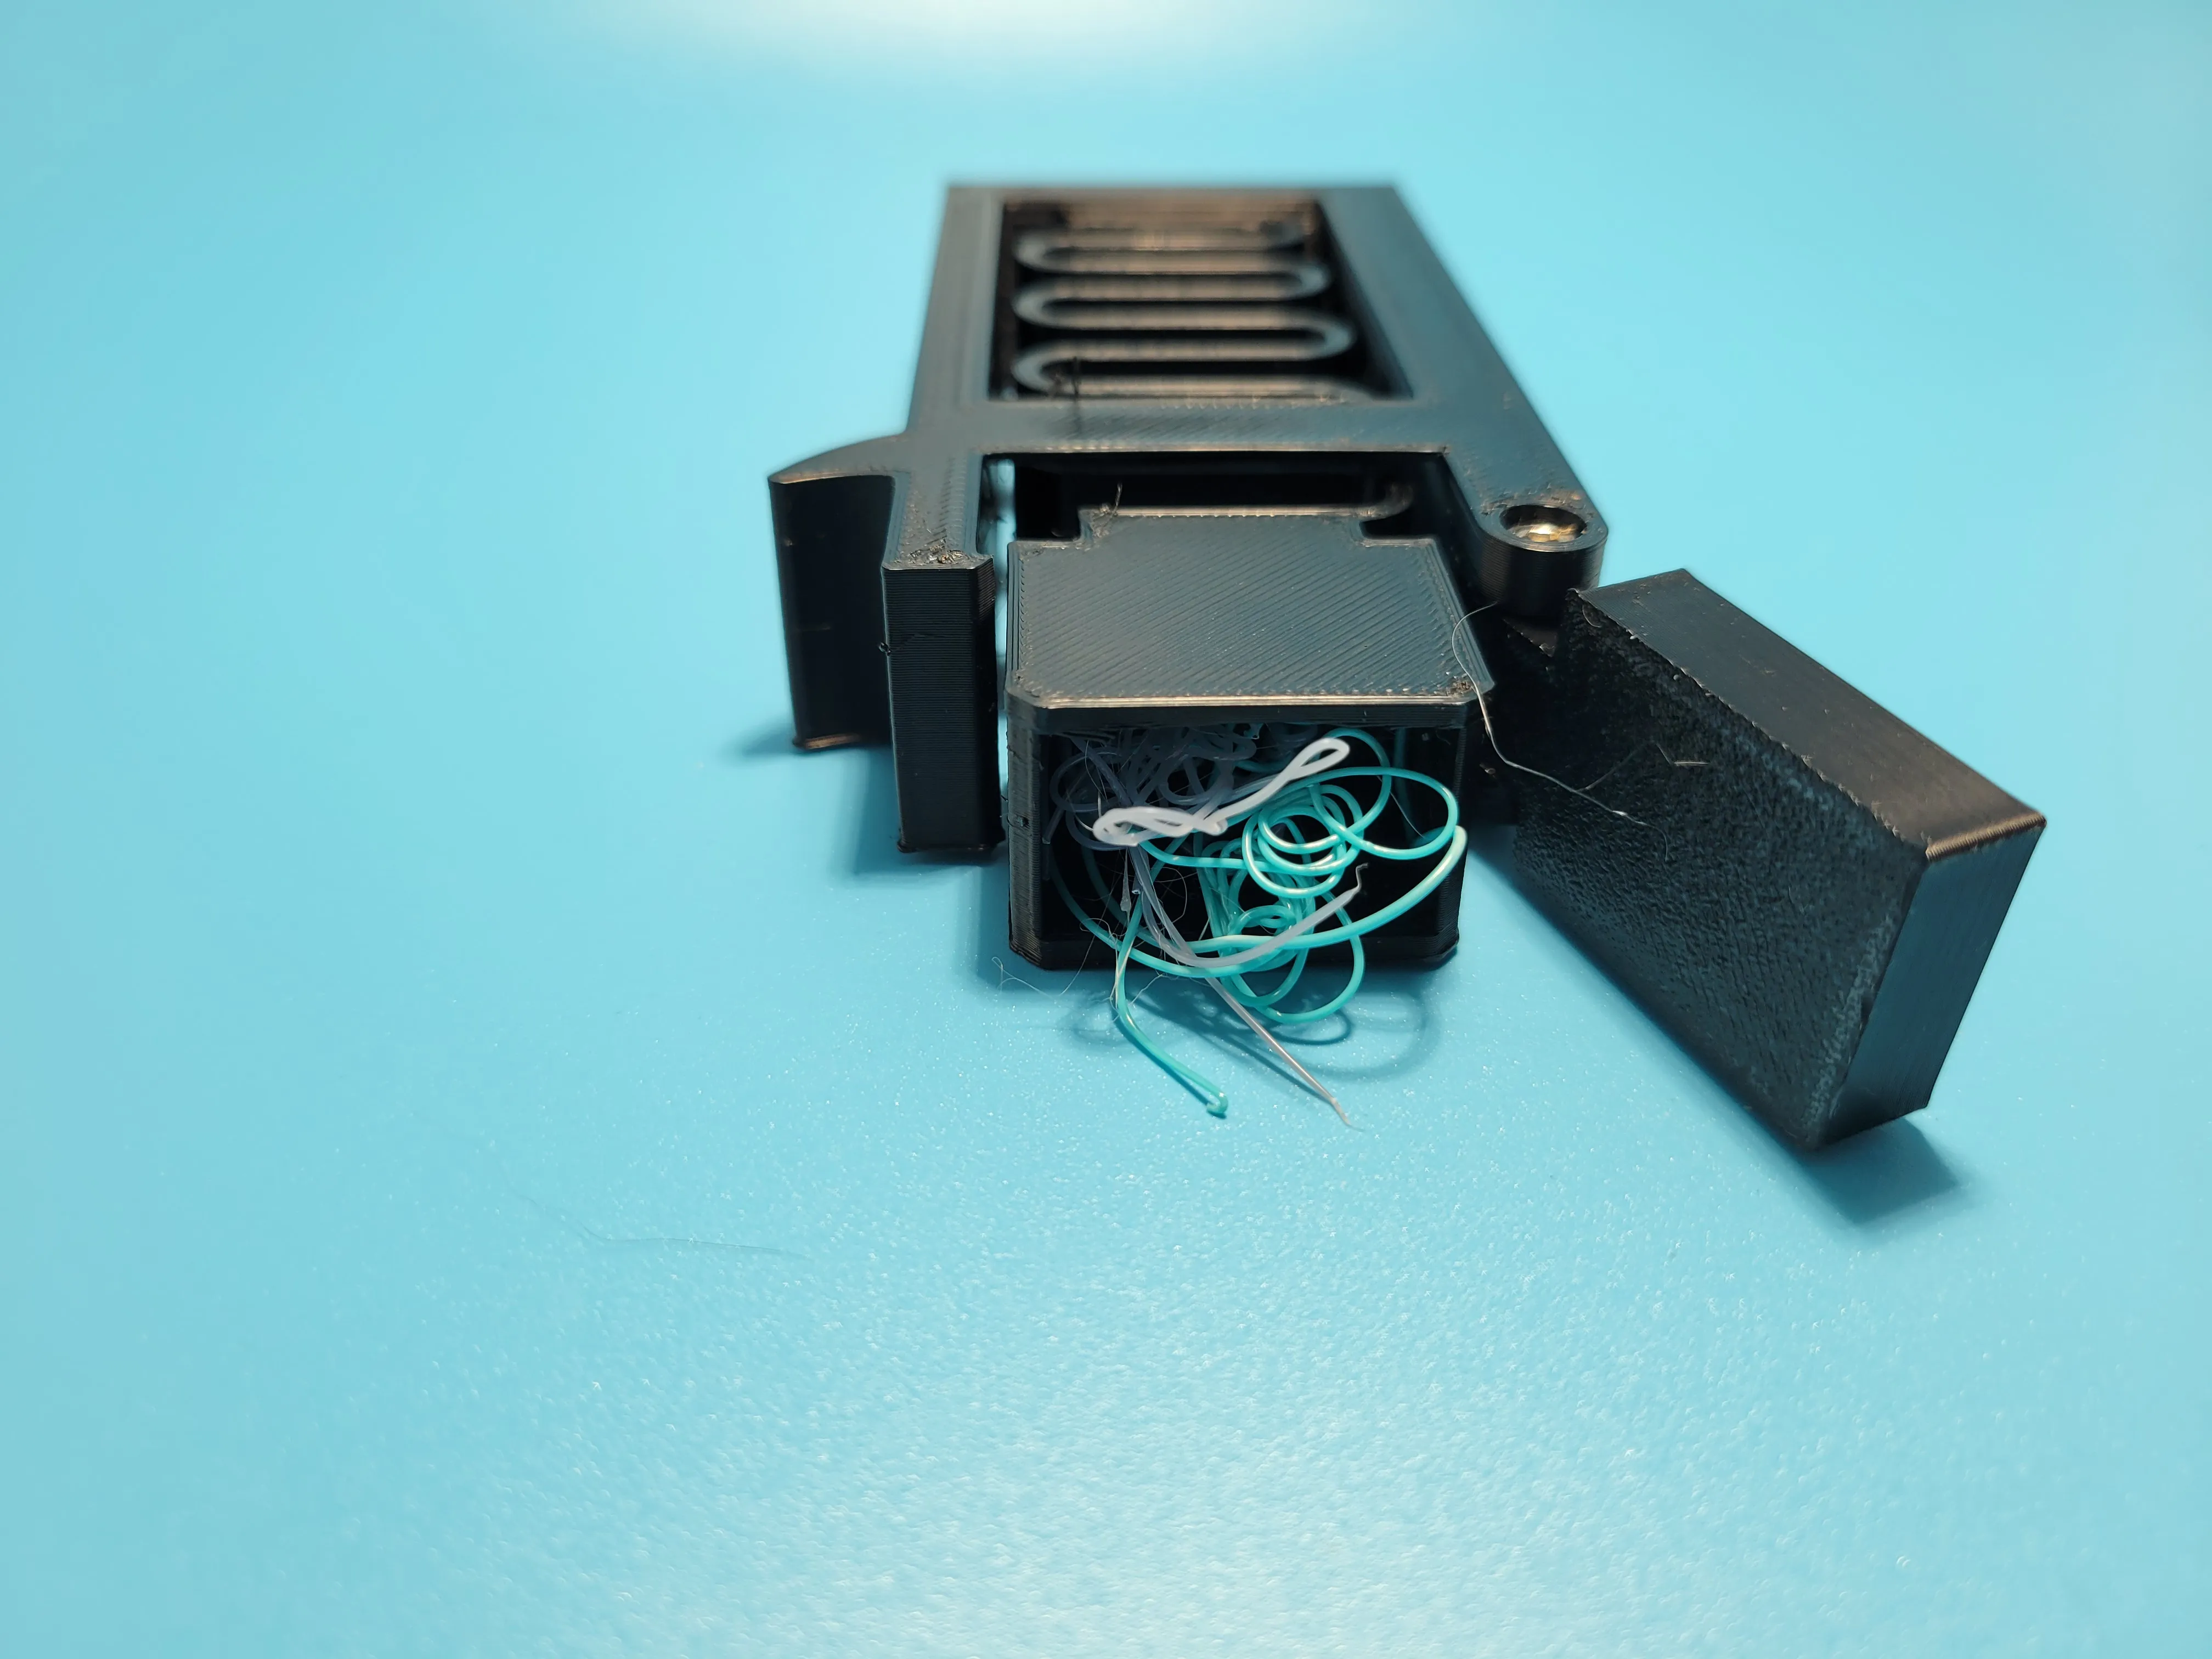
2. compress the spring with the thumb
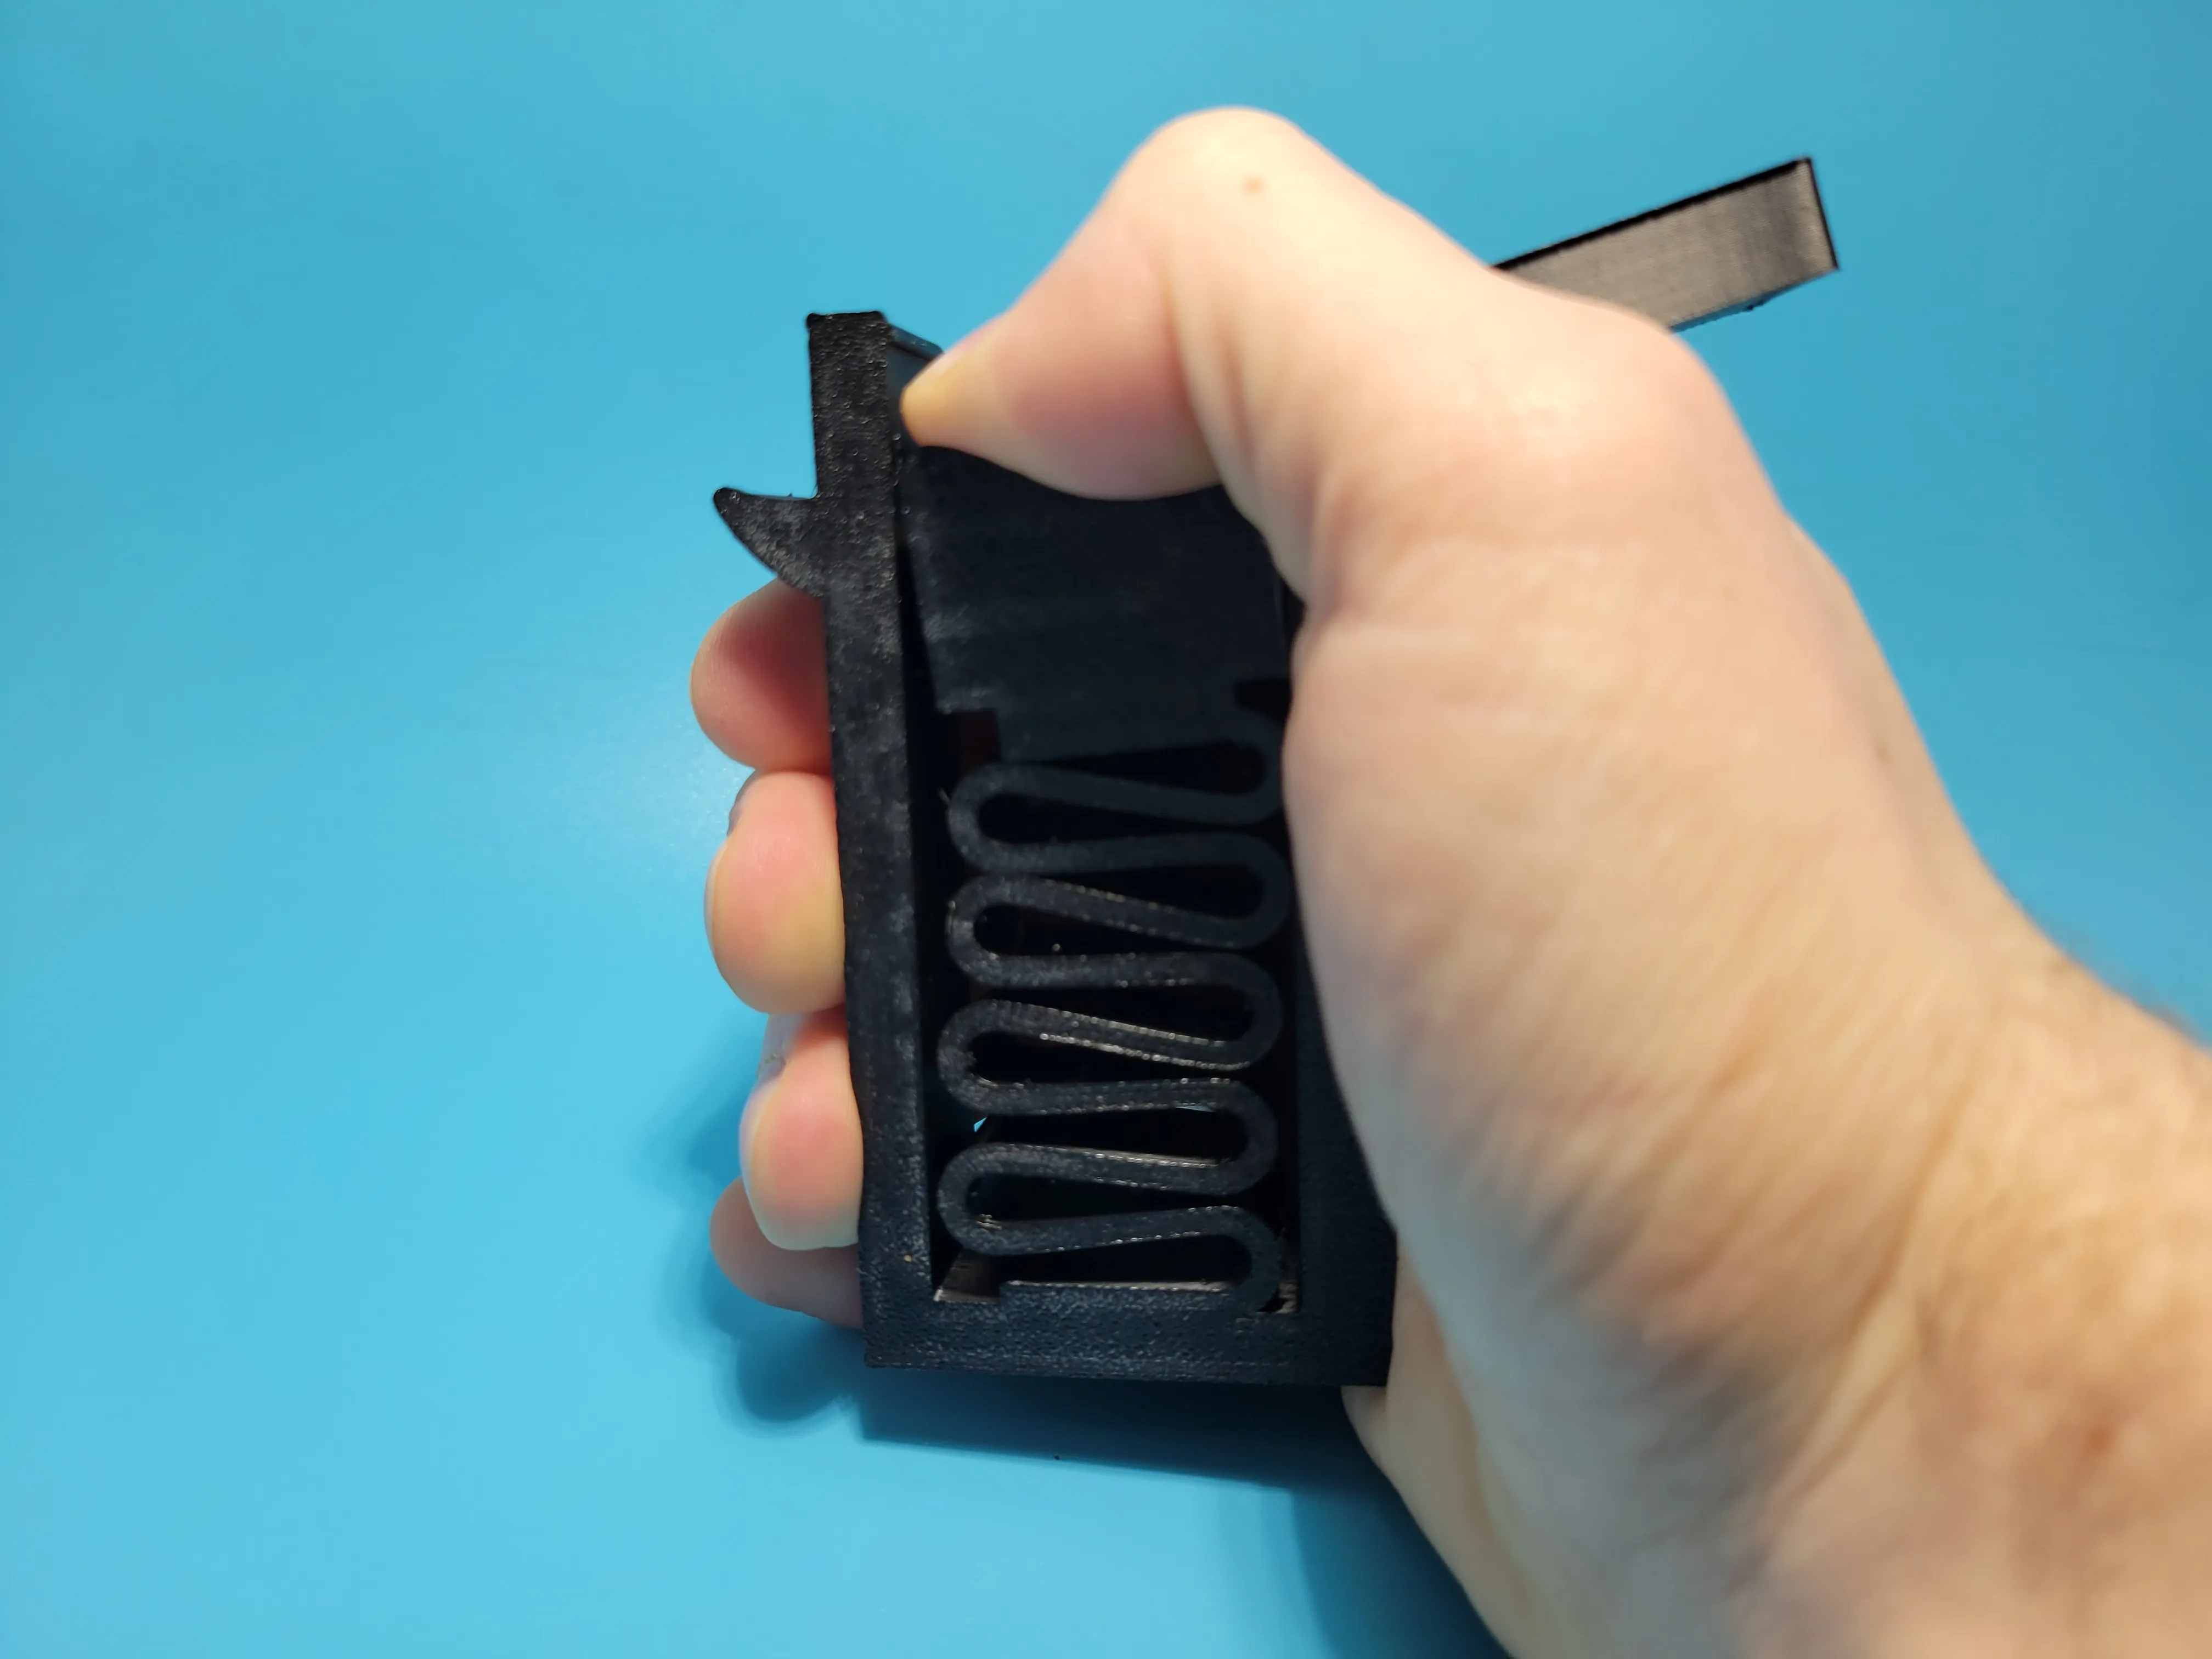
3. push the lid down until it clicks into place.
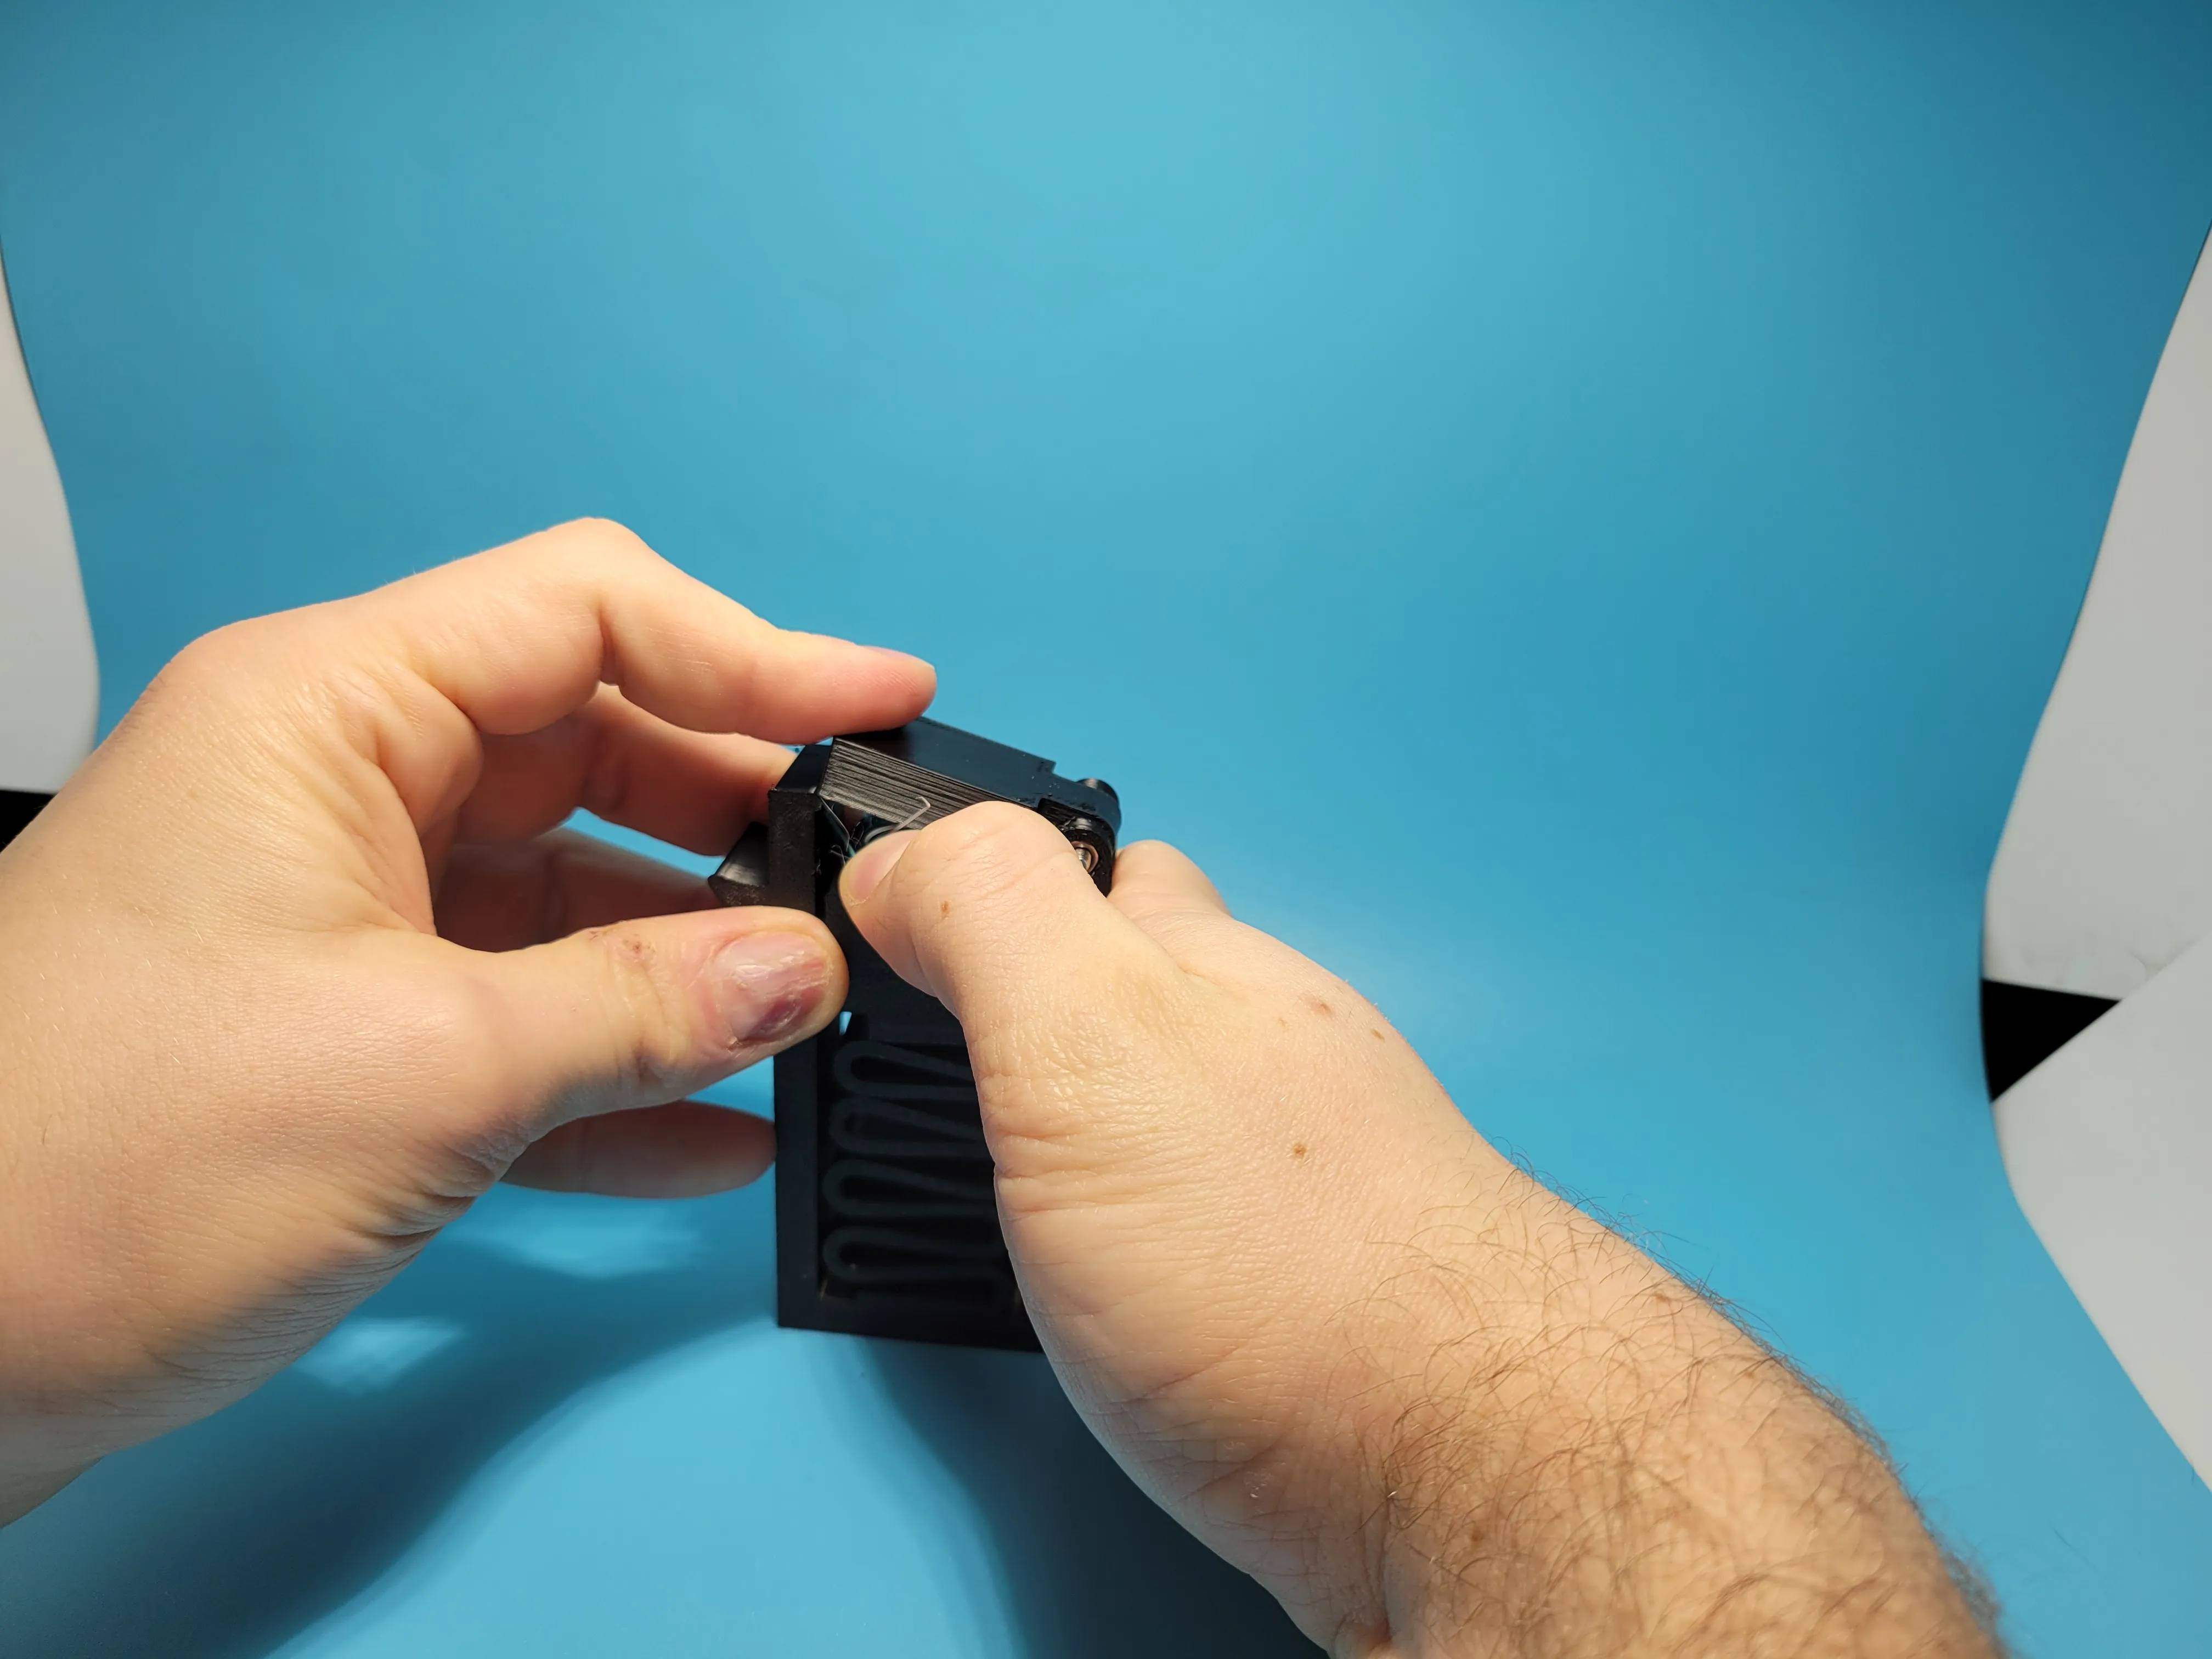
4. pull the trigger and launch!
If you like the model be sure to follow to see updates for the print-in-place model! I also plan to make a few ergonomic changes to make it more comfortable to use one-handed!
Disclaimer - the spring is quite powerful, if you intend for young children to play with this model I recommend it only be used under direction supervision. DO NOT launch filament directly at another human or animal.
License



Comment & Rating (13)