Search models, users, collections, and posts

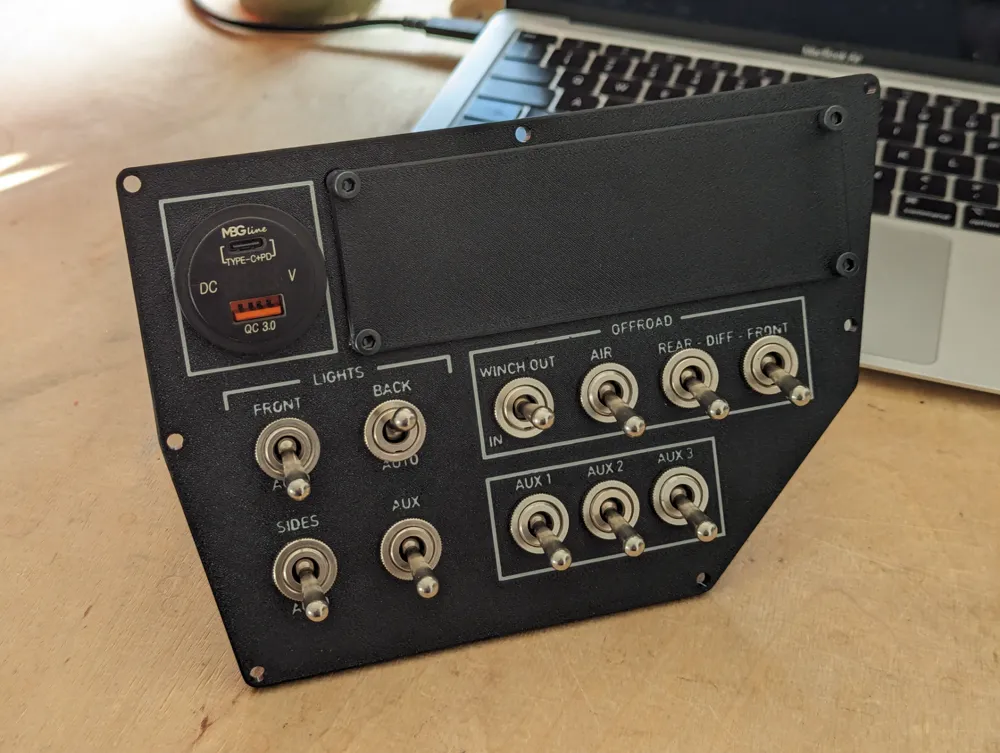
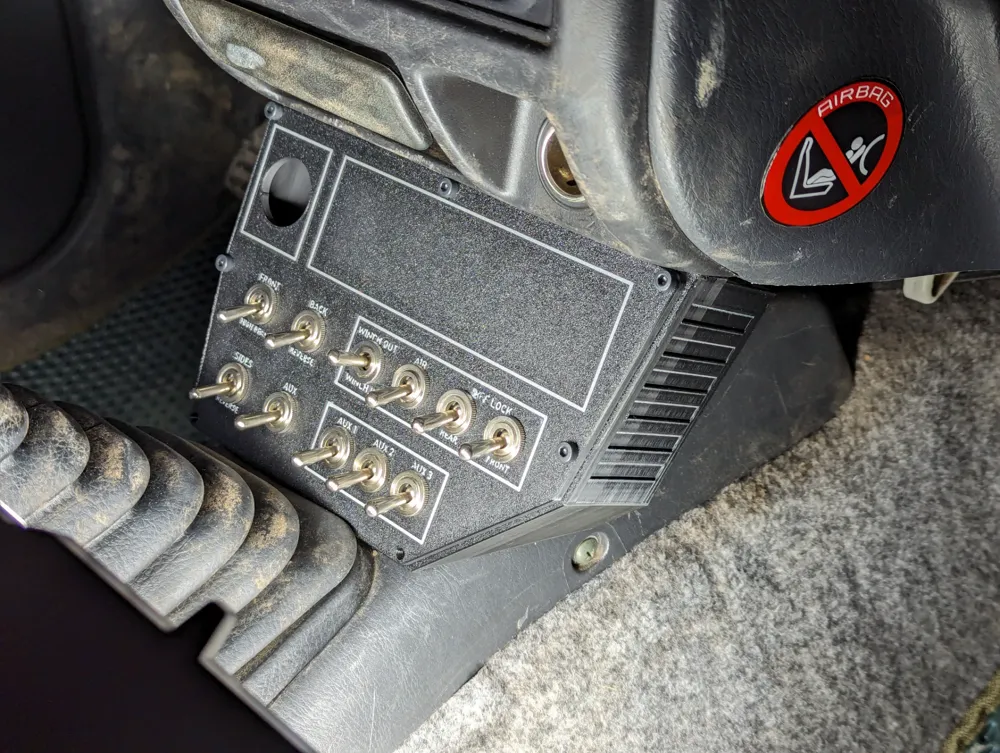
Suzuki Jimny JB33/JB43 Dash Aux Switch Panel
IP Report

Print Profile(2)

Empty facia, download .step to modify
Designer
4.8 h
2 plates

12V + CB + 11 toggles
Designer
2.2 h
1 plate
Open in Bambu Studio
Boost
66
141
11
1
96
32
Released
Description
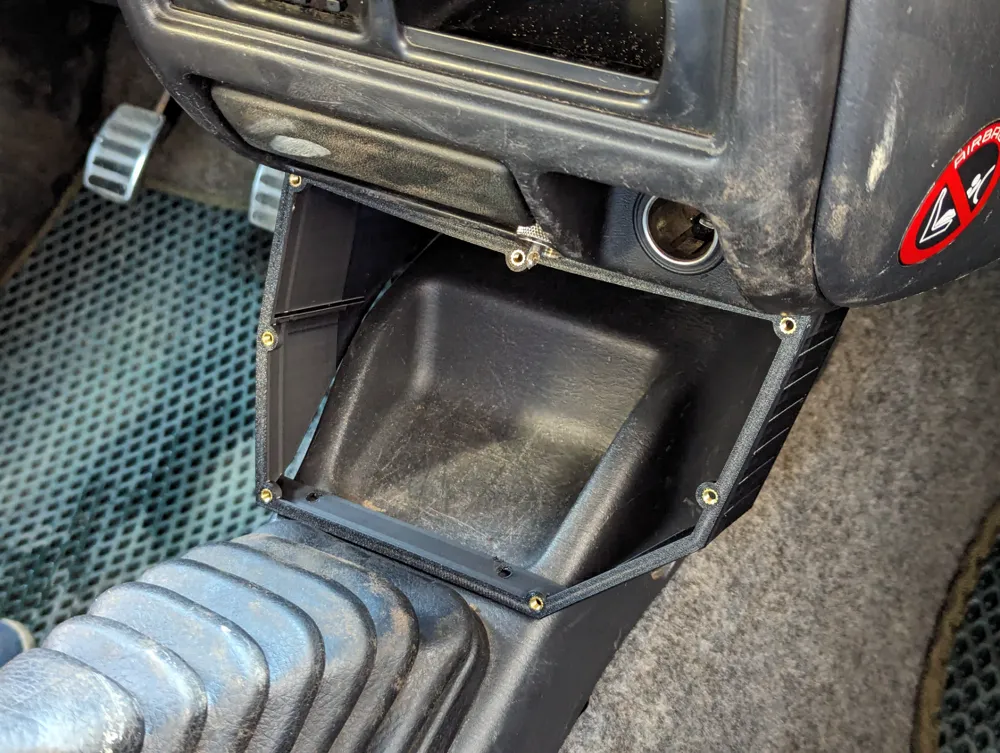
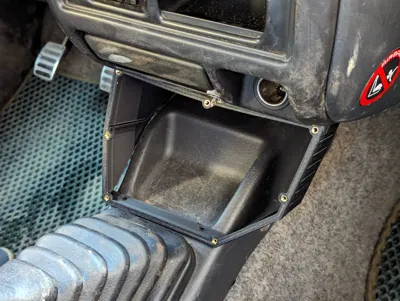
Mounting the frame:
- The frame mounts using the two screws under the dash (you can feel it with your fingers)
- At the bottom you either use double sided tape if you don't want to drill hols or just use two self-tapping screws to screw into the trim piece
- I suggest you print and fit both elements before drilling anything
Modifying the facia:
- I include the .step file with empty facia for you to design your own
- Depending on the switch size (back part) be mindful of the space at the bottom – if you put your switches to close to the bottom edge, it will hang on the frame
Hardware:
- You can glue this thing together but for servicability I'd recommend screws :)
- The brass inserts I used are 4x4x5mm. Pretty shallow, but the important dimention is 5mm diameter
- Screws are any that fit your insers (M5x10 are perfect)
Share your creations!
License

This user content is licensed under a
Creative Commons Attribution-Noncommercial


Comment & Rating (11)