


Print Profile(2)


Description
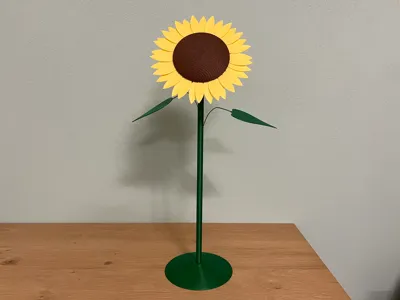
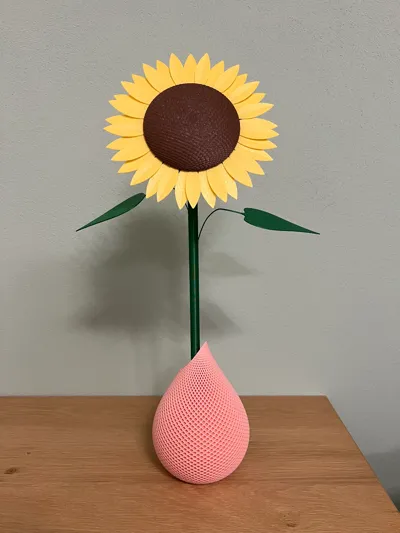
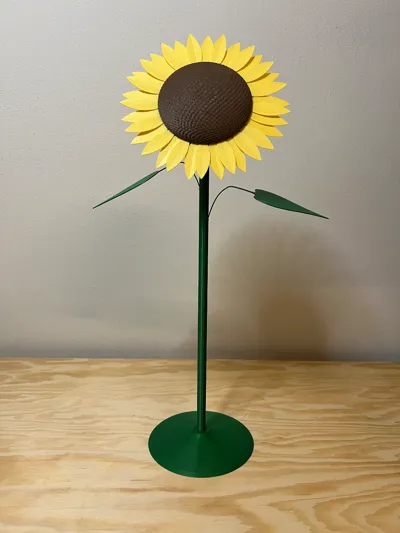
Build your own beautiful sunflower!
You can print it on all Bambulab printers just hitting a button from the app.
All you need is:
- yellow PLA
- brown PLA
- green PLA
- small rasp/sandpaper
- lighter or hot water
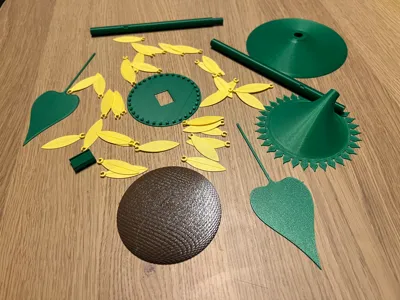
First, you have to assemble the rear crown, the central part and the kernel using the clip.

If you have difficulties in snapping the clip to the rear crown or the kernel, you have to buff it a little bit, until it snaps without putting too much pressure (pay attention not to buff it too much, otherwise the parts will be too lose to fit properly).

Optional: if you want to create a more natural shape, you can gently fold the petals with your fingers.

After that, snap all the petals to the pins around the central part.
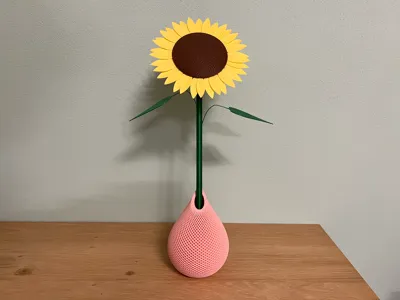
Then, insert the leaves in the sunflower stem's holes, modeling the leaf stem with a lighter (pay attention not to melt it) or soaking it in hot water for a few seconds.
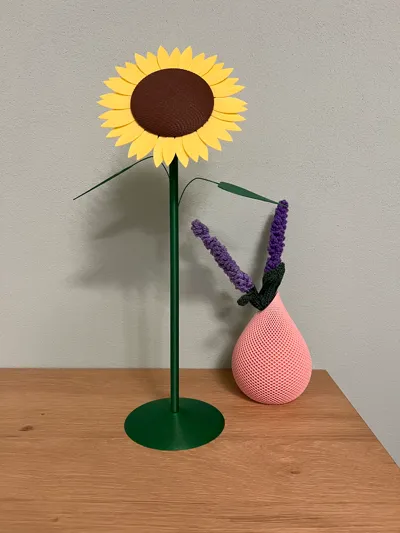
You can make the stem longer by attaching extra stems (with leaves or not).
If you prefer, there is a base that you can insert your sunflower into.
______________________________________
Costruisci il tuo bellissimo girasole!
Puoi stamparlo su tutte le stampanti Bambulab semplicemente premendo un pulsante dall'app.
Tutto ciò che serve è:
- PLA giallo
- PLA marrone
- PLA verde
- limetta/carta vetrata
- accendino o acqua calda
Per prima cosa bisogna assemblare la corona posteriore, la parte centrale e il nucleo utilizzando la clip.
Se hai difficoltà ad agganciare la clip alla corona posteriore o al nucleo, devi limarla un po' finché scatta senza esercitare troppa pressione (attenzione a non limarla troppo, altrimenti le parti si allenteranno troppo senza agganciarsi correttamente).
Facoltativo: se vuoi creare una forma più naturale, devi piegare delicatamente i petali con le dita.
Dopodiché, innesta tutti i petali agganciandoli ai pioli attorno alla parte centrale.
Successivamente, inserisci le foglie nei fori del gambo del girasole, modellando il gambo della foglia con l'accendino (fai attenzione a non scioglierlo) oppure immergendolo qualche secondo nell'acqua calda.
Puoi allungare lo stelo attaccando steli extra (con foglie o senza).
Se preferisci, c'è una base dove inserire il girasole.
License
You shall not share, sub-license, sell, rent, host, transfer, or distribute in any way the digital or 3D printed versions of this object, nor any other derivative work of this object in its digital or physical format (including - but not limited to - remixes of this object, and hosting on other digital platforms). The objects may not be used without permission in any way whatsoever in which you charge money, or collect fees.
Comment & Rating (17)