LED Lighting Management


Print Profile(6)


Description
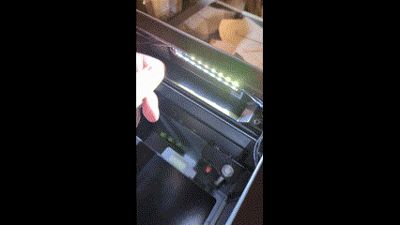
The LED Lighting Upgrade Kit by TH3D Studio is fantastic mod to your Bambu X1C. The included wire clips leave a bit to be desired, which is where this print comes in – provide a cover to tuck away the cables.
Bill of Materials:
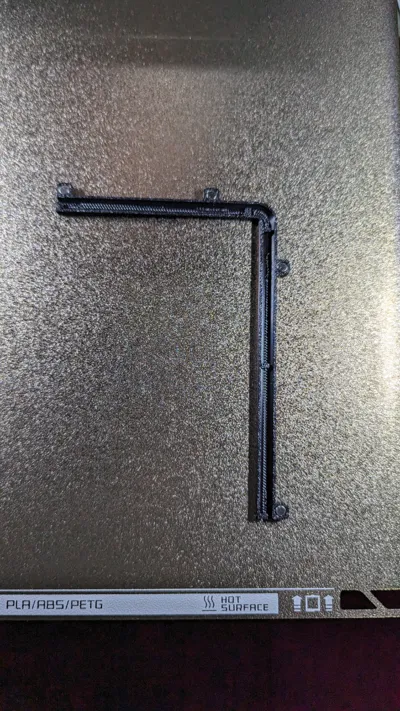
- L-Channel: four 4 x 2 mm magnets
- Straight Channel (any size): two 4 x 2 mm magnets
- Light fixture: four 3 x 1 mm magnets
- Light fixture Angled Bracket: four 3 x 1 mm, and two 5 x 2 mm magnets
If you don't have any of the magnets, the MEALOS Mini Magnets on amazon is a good combo to start with.
The prints are spaced for a interference fit with the magnets (you may need a needle nose pliers to push in a magnet, or a soft mallet to hit them), but you can never be too safe with a dab of epoxy.
When installing magnets into the angled bracket, be sure to note the polarity of the magnets! You wouldn't want to have a pair of magnets repelling each other.
Placement Guide:
You can follow the guide on TH3D's website, or do your own! Once you've decided, you can print the individual components as needed.
Since all the light fixtures are magnetic, if you choice to use them, you'll be able to change the position as much as you'll like without degrading the adhesive backing.
How I placed mine:

- One L channel
- One 40, 80, and 115 mm straight channels
- Three light fixtures
- Three light covers (I used Bambu Labs Clear PETG)
- One Overhang 45deg fixture bracket
- One Dovetailed 45deg fixture bracket
Following TH3D's guide, you'll need:
- One L channel
And you'll stick the LEDs directly to the printer. Alternatively, you could print two of the light fixtures for the second and third LED strip.
Light Fixture Installation:
- Install magnets into their pockets.
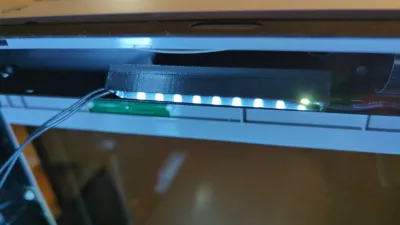
- Remove the adhesive backing from the LED strip and stick the LEDs on the inside of the light fixture.
- Clip in the locking insert to secure
- Optional: If you printed the light fixture diffusion cover, clip that in instead of the locking insert.
Comment & Rating (55)