P1s Nozzle Alignment Jig - Realign bent nozzles


Print Profile(1)

Description
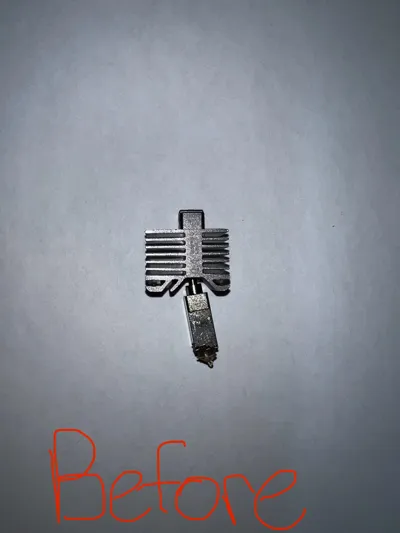
If you have crashed your print head, and the nozzle is bent horrendously (non-perpendicular to printbed, this alignment fixture allows you to more accurately align the nozzle (compared to cranking on it with your ape hands). Although a replacement is the more permeant and robust solution, this will help you out in a pinch, or while the replacement is in shipping.
(Remember that Bambu lab also ships printers with a replacement out of the box)
Assembly Parts:
4x - M5x20mm Screws
2x - M3x16mm Screws
Find M-Screw Assortment here: https://amzn.to/3wYQaaJ
2x - Shim/guard (Protects nozzle from scratching/marring)
“In a pinch” Parts:
1x - M5x20mm Screw (In this setup you remove the screw and replace it to the respective side that needs correction
Alternatively - Print an M5x20mm screw / use any screw that fits (worse case scenario)
Directions:
Step 1: Remove bent nozzle from printer, and inspect to make sure damage is not catastrophic.
-heat break should not be cracked, crimped, or have any damage other than a general bend.
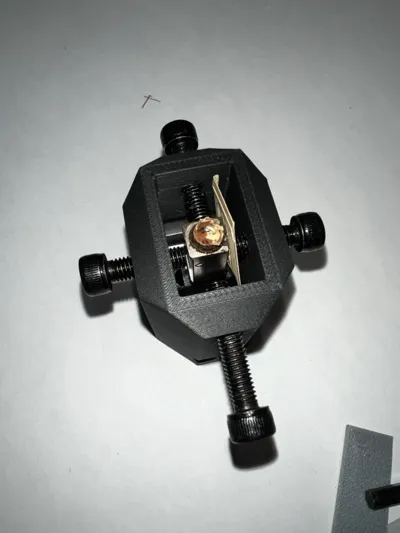
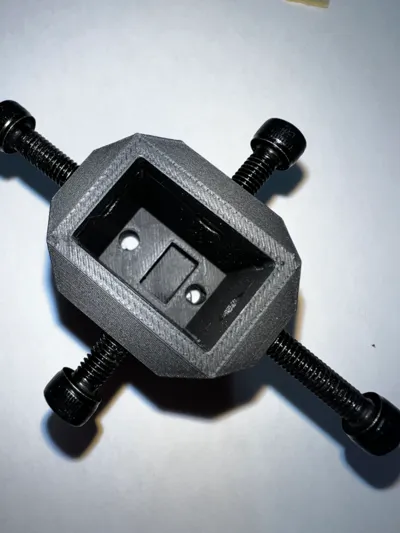
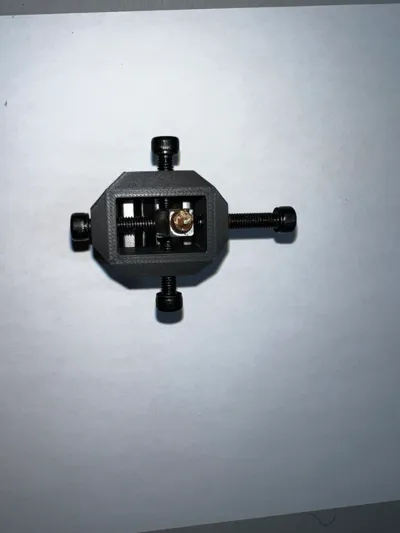
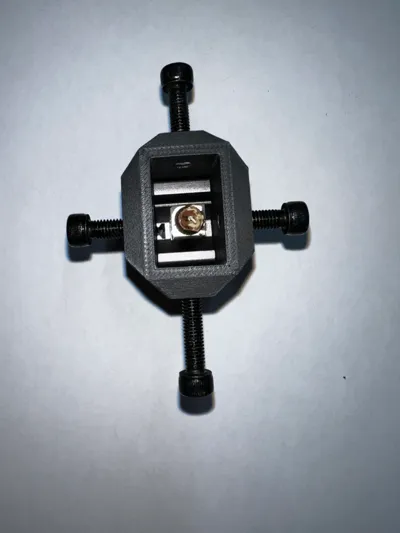
Step 2: Insert nozzle into the alignment fixture, and use 2x M3x16mm Screws to secure the nozzle to the alignment fixture.
Step 3: Insert 4x M5x20mm into top 4 correction holes
Step 4: Identify which directions your nozzle needs correction, begin with the direction that needs the most correction.
Step 5: Insert shim to protect the nozzle's surface
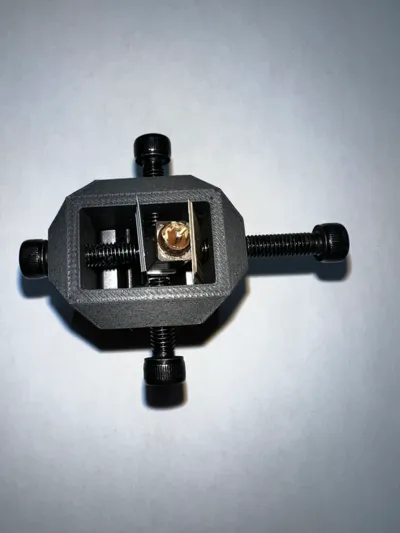
Step 6: Turn correction screw clockwise in steps of 1-2mm, periodically turning the correction screw counter-clockwise to check your progress. The nozzle will likely act like a spring, and will need to be pushed past 90 degrees to achieve the best alignment. It is best to go slow, so you do not need to fix an overcorrection.
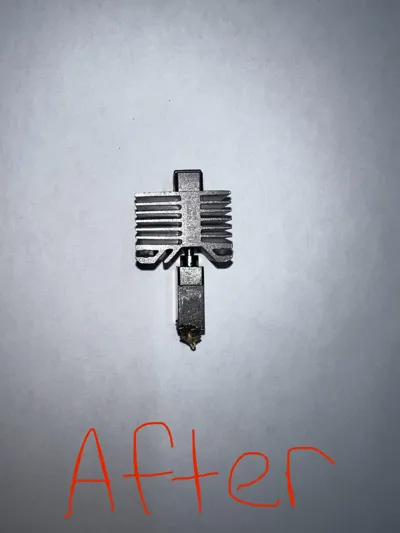
Step 7: Repeat Steps 5&6 until the nozzle is straight and true.
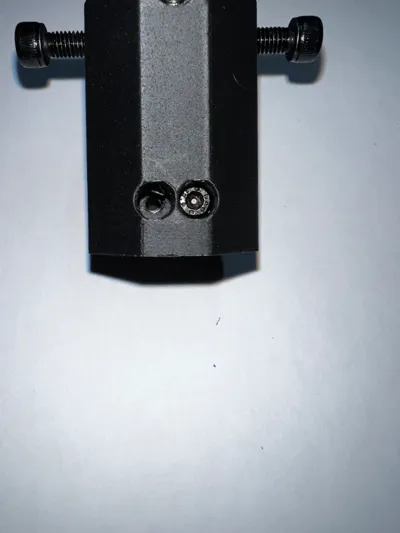
Step 8: Remove the nozzle from the alignment jig by unscrewing the M3x16mm screws located on the bottom of the jig.
Step 9: Visually inspect the nozzle, hopefully that nozzle has been correctly aligned. Understand that this is in no way perfect, and you should replace the nozzle as they only cost ~$15. However, this might get you by in a pinch, and I hope it helps!
-Roberts & DeMonico Engineering
License
You shall not share, sub-license, sell, rent, host, transfer, or distribute in any way the digital or 3D printed versions of this object, nor any other derivative work of this object in its digital or physical format (including - but not limited to - remixes of this object, and hosting on other digital platforms). The objects may not be used without permission in any way whatsoever in which you charge money, or collect fees.
Comment & Rating (24)