Search models, users, collections, and posts

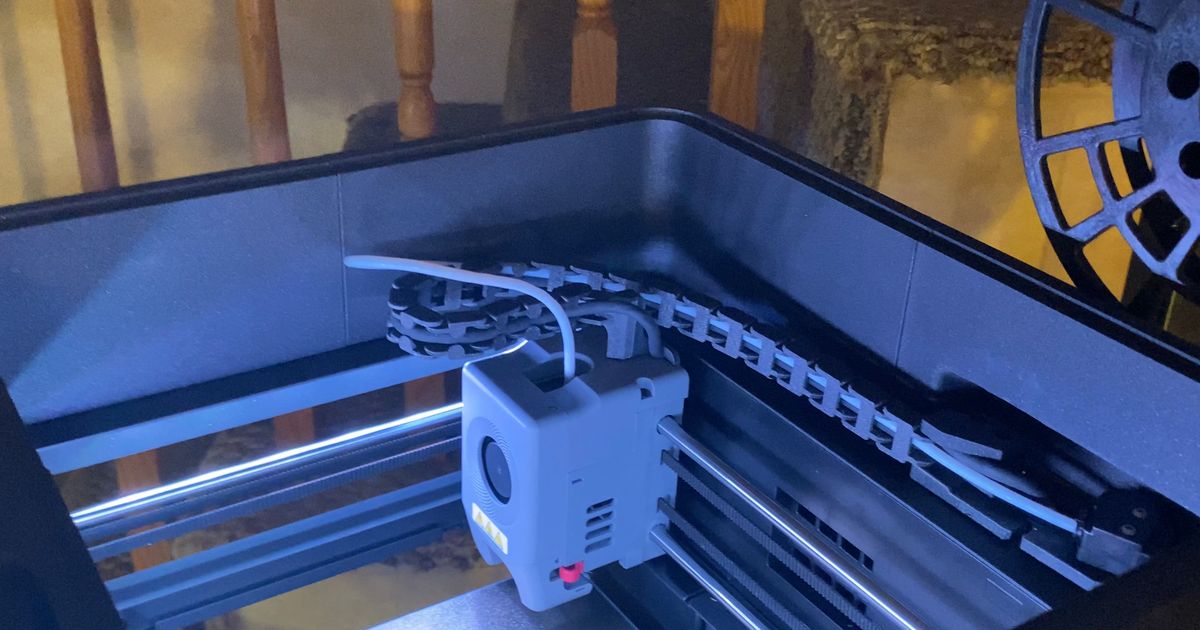
Flashforge Adventurer 5M Drag Chain (AD5M)

Remixed by

Print Profile(1)

All
P1S
P1P
X1
X1 Carbon
X1E
A1
H2D
H2D Pro
H2S
P2S
H2C
X2D
A2L

0.2mm layer, 2 walls, 20% infill
Designer
2.7 h
1 plate
4.8(4)

Open in Bambu Studio
Boost
232
376
33
5
1.8 k
98
Released 

Description

I remixed the drag chain by INQUE and cut off the spool holder portion because I use a side mounted spool holder and don't have a use nor the space for the vertical spool holder. I also added in the drag chain termination part by Doug Joseph (design8studio) because I liked it better than the screw on termination. I took all the parts needed to make the drag chain and added them to one plate for easier downloading and printing.

Comment & Rating (33)

(0/1000)

great works good on my flashforge tweaked the sensor piece a little bit to be like the old one but it works good. i think i was supposed to flip the chains around tho
0
Reply
where abouts is the filiment detecter put im having trouble installing mine into the right place
1
Reply
Replying to @user_3250658701 :
can you send a picture of the area you are talking about? if you are talking about the sensor area, there are the original screws from the base plate that you were supposed to unscrew, i used those to screw down the piece near the sensor area
0
Reply
Replying to @pokogi :
its that i dont have a screw hole in the printer there so ive given up on the chain nice idea though
0
Reply
Here's my make of your design. It's awesome and I am grateful!
1
Reply
Thank you for the clear view of how to mount the dragtrain!
0
Reply
Printed with almost no supports in PETG, fixed the chain holder with total 3 m3 screws. The chain was too long and curling (pic. 1) and removing segments to total of 19-20 helped. Thanks for the model!
0
Reply
you have it mounted incorrectly, see that circle in the base plate where it connects to the outer side of your flashforge? that circle with a cutout goes around the wire and connects there, you need to remove the sensor {MARK WHICH SIDE IS UP BEFORE REMOVING DO NOT PUT IT BACK ON UPSIDE DOWN} and then reconnect it over the bracket. it looks like it's the perfect length.
0
Reply
so the bracket to mount the sensor doesn't seem to work right. the sensor is a 1 way passthrough actually took mine apart attempting to switch it around internally(do not do that, took me forever to find the spring that went flying) The hole for the plug and wire to come through needs to be on the opposite side of where it is. When you mount the sensor its 180 degrees off and wont allow filament passthrough. Anyway you could modify just that bracket to accept the sensor orientation? I thought about using 2 bolts with a nut on both sides of the bracket so I could lift the sensor off the plate and allow the cable to plug in, but there doesn't seem to be enough cable to allow this. so basically I have to leave the sensor mounted where it is if I want to use this model.
0
Reply
so did i
0
Reply
noted, I will try cutting that part in the slicer and reattach it mirrored so it connects the right way around. sounds like there was an oversight in the model leaving the connections in the wrong location 180 degrees from the original spacing on the printer correct?
0
Reply
Replying to @user_1653125793 :
exactly.180 out
0
Reply
The filament run out sensor on top wont work for me, it's backwards, on mine the filament feeds in from the opposite side of how this installs so It wont work right. I see how yours is installed but when I do it that way the filament wont feed through, there is a little nub that only allows the filament to go through one direction and its opposite of how this installs on my 5M. I hope someone addresses this so I can install the drag chain properly.... or am I missing something?
2
Reply
Yeah I noticed that too. Hopefully the maker can come help us out. I also need to know what screw hardware I need.
(Edited)
1
Reply
Greetings to all. Following a brief search, I came upon this useful enhancement. I trust it will prove beneficial https://www.printables.com/model/1304326-flashforge-adventurer-5m-ad5m-filament-sensor-supp
Show original
1
Reply
This is just what i needed, thank you.
1
Reply
But if I only wanted to reprint 2 or 3 shirts, how would I do that? Do I have to reprint everything? Thank you
Show original
0
Reply
just seperate them in orca
0
Reply
Cut the piece in PrusaSlicer, it will work
Show original
0
Reply
how to download the stl file ??????????
Show original
0
Reply
press "open in bambu studio", go to your slicer, and find it in your folder(s)
0
Reply
can you give me the file to your side mount spool holder? I cannot seem to find one that fits. its almost like no one makes a complete "kit" file for modding the ad5m for drag chain,riser/encloser,side spool holder. be a nice thing for someone to throw together a complete print profile for the world.
0
Reply
Was it bad I used supports? Its a pain in the a.. getting them all out of the screw holes.
0
Reply