
KLIPSCH THE NINES DIY
Print Profile(1)
Description
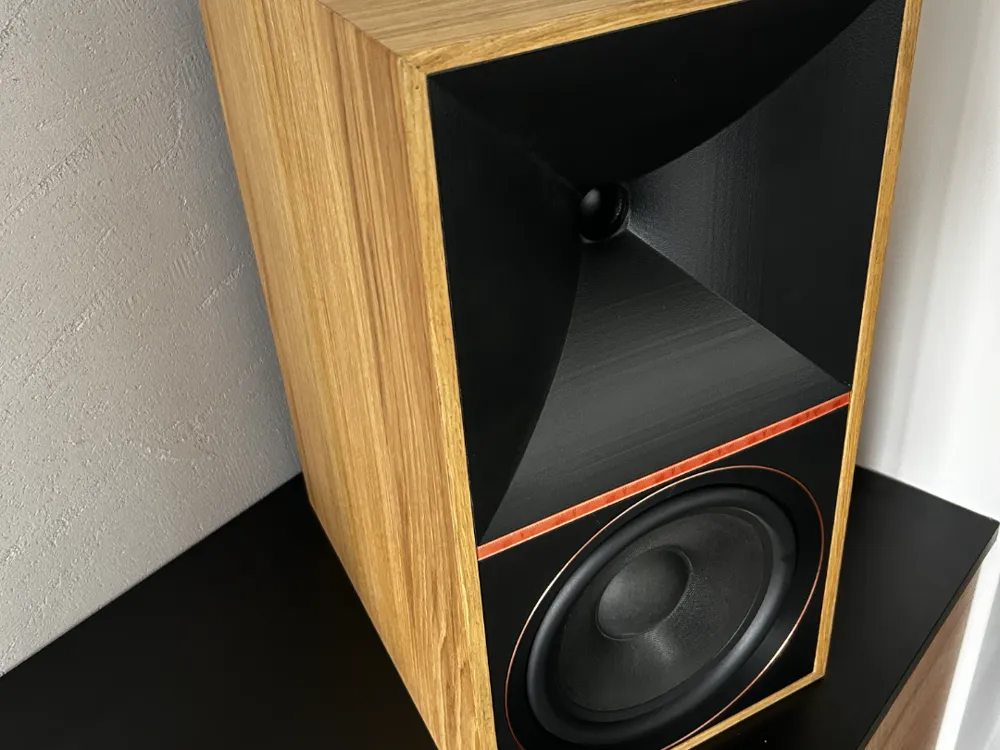
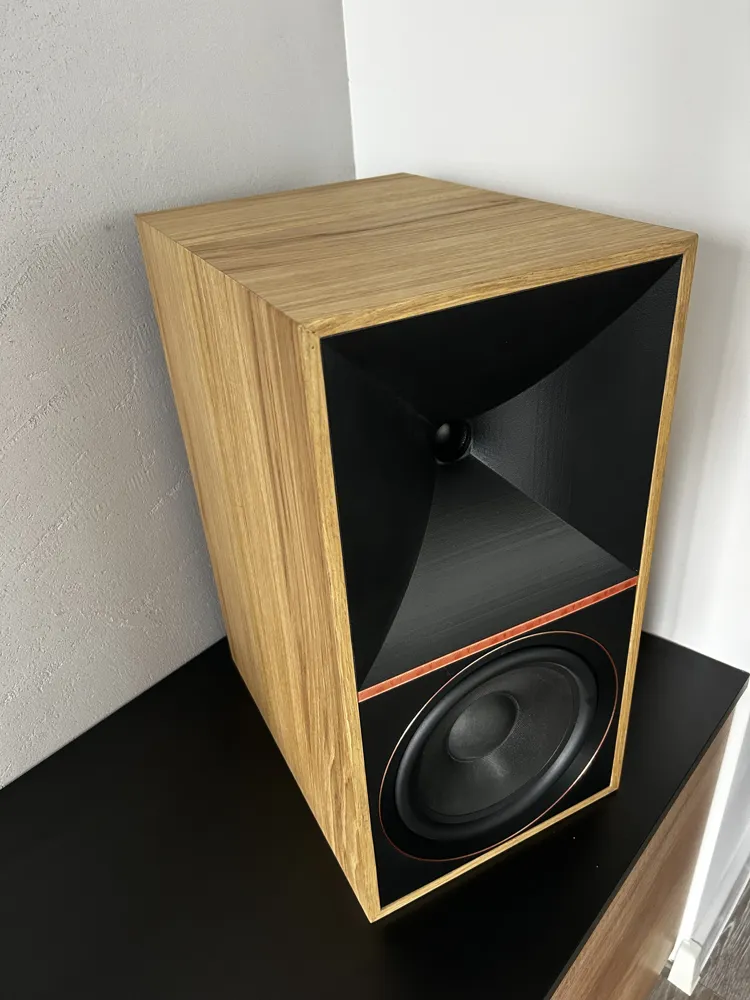
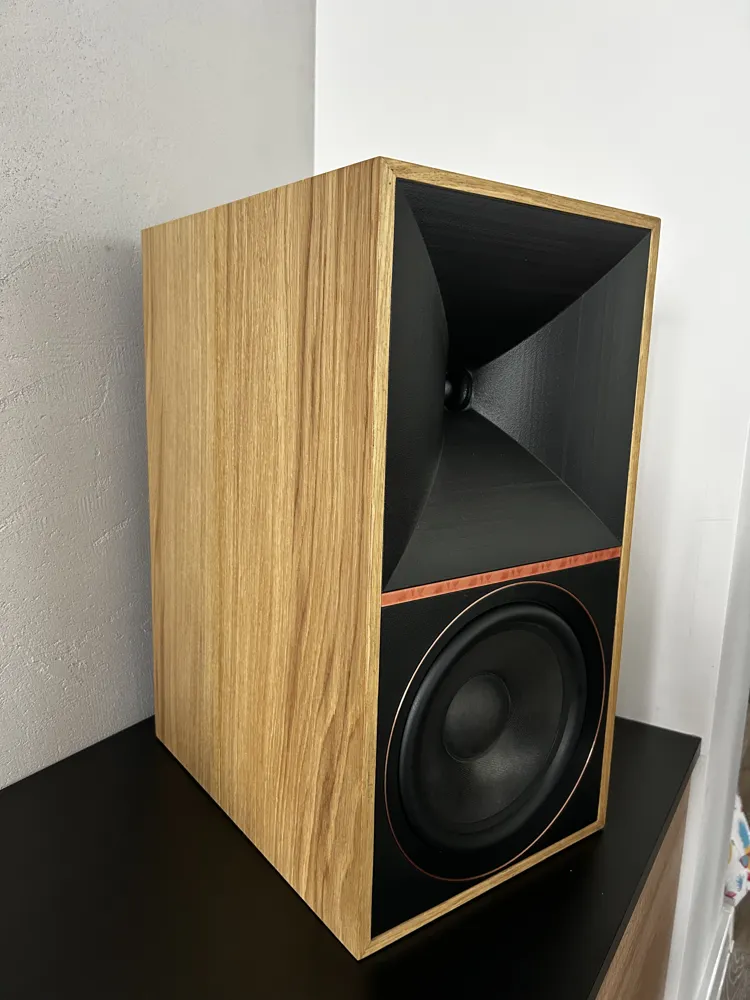
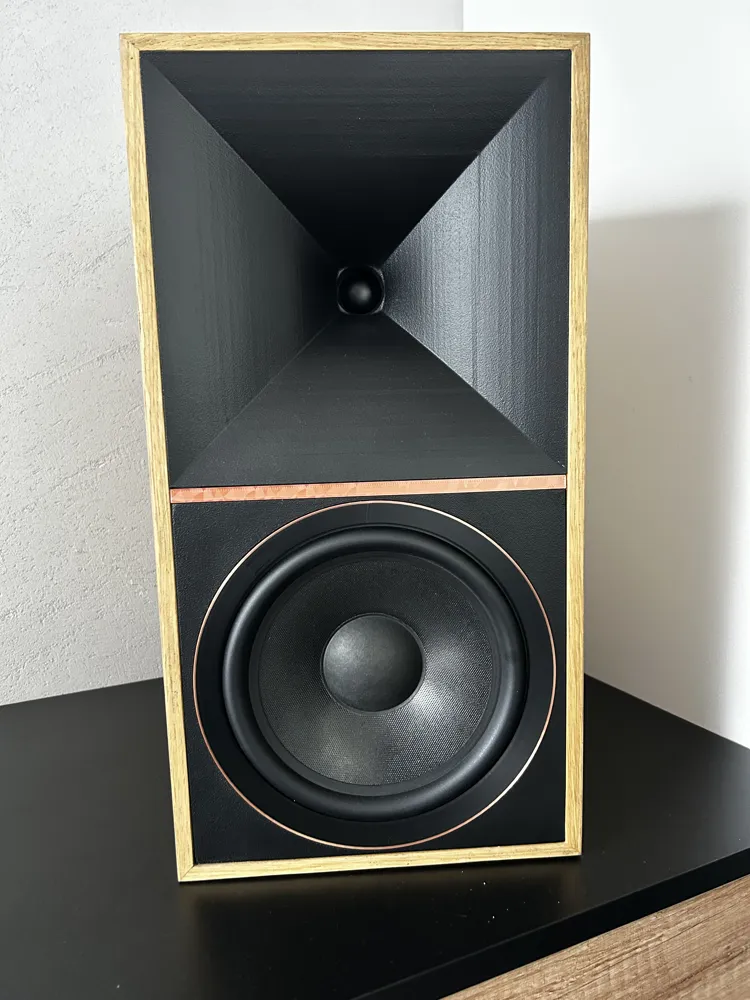
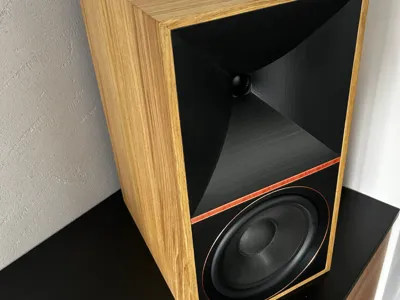
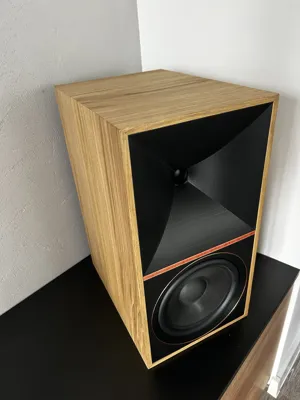
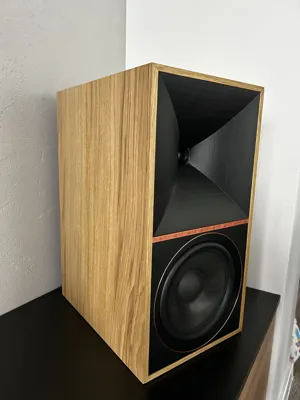
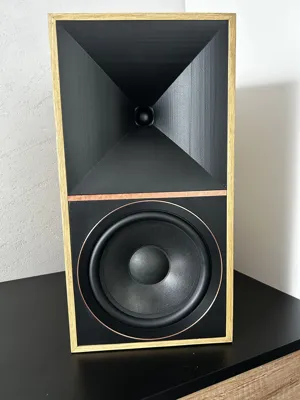
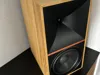
Here is my speaker design, modeled after the Klipsch The Nines, featuring a 200mm woofer.
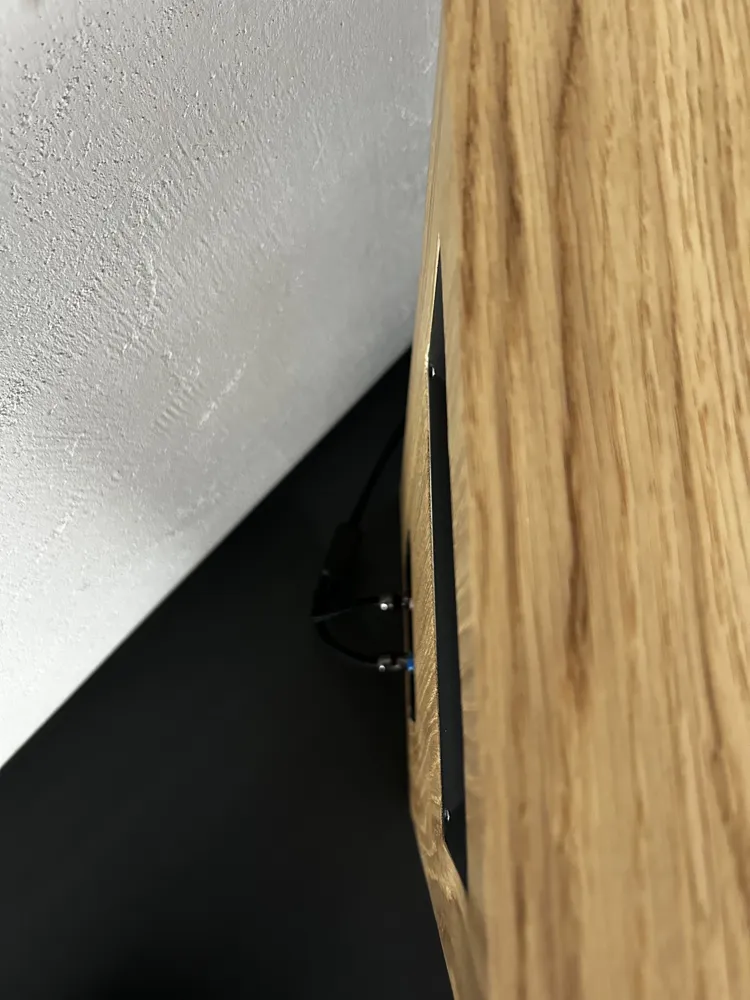
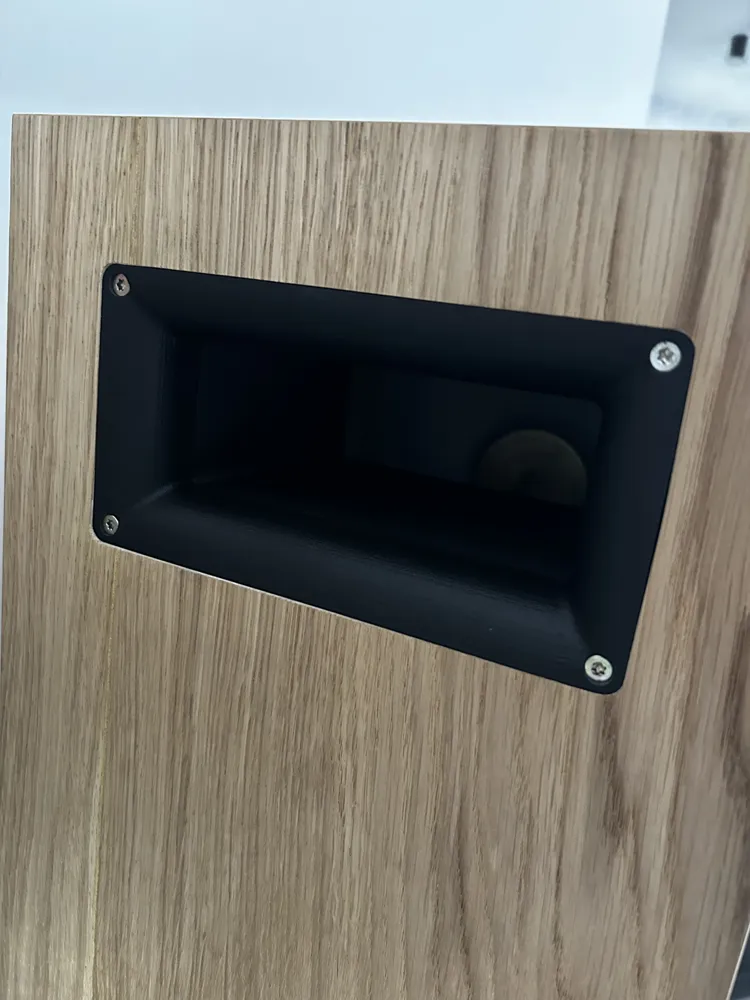
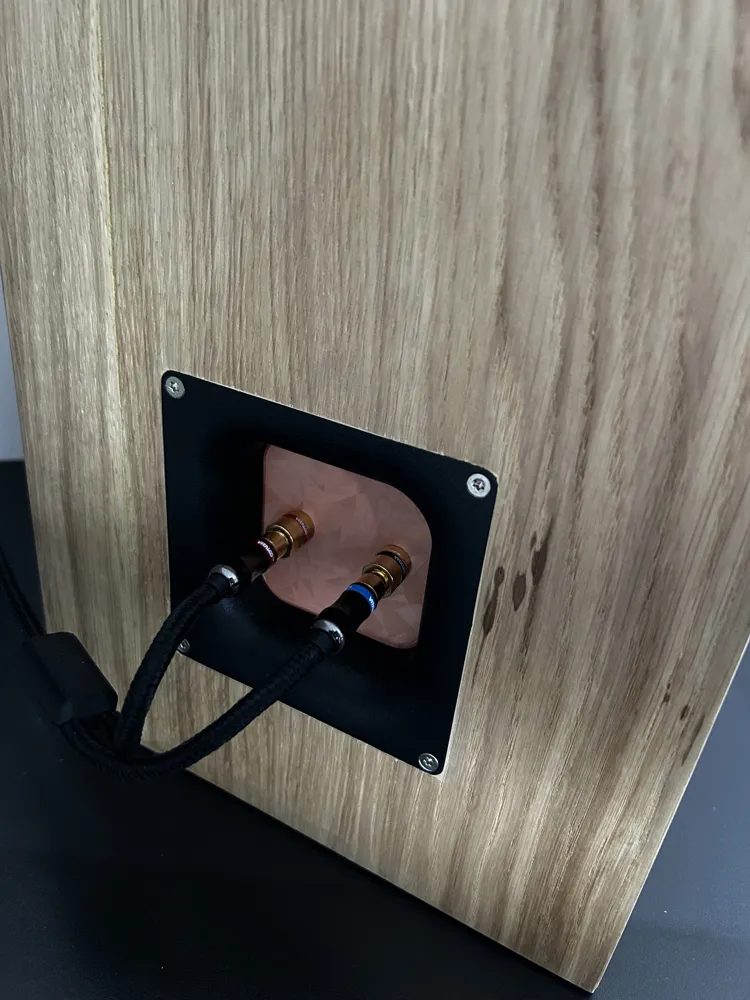
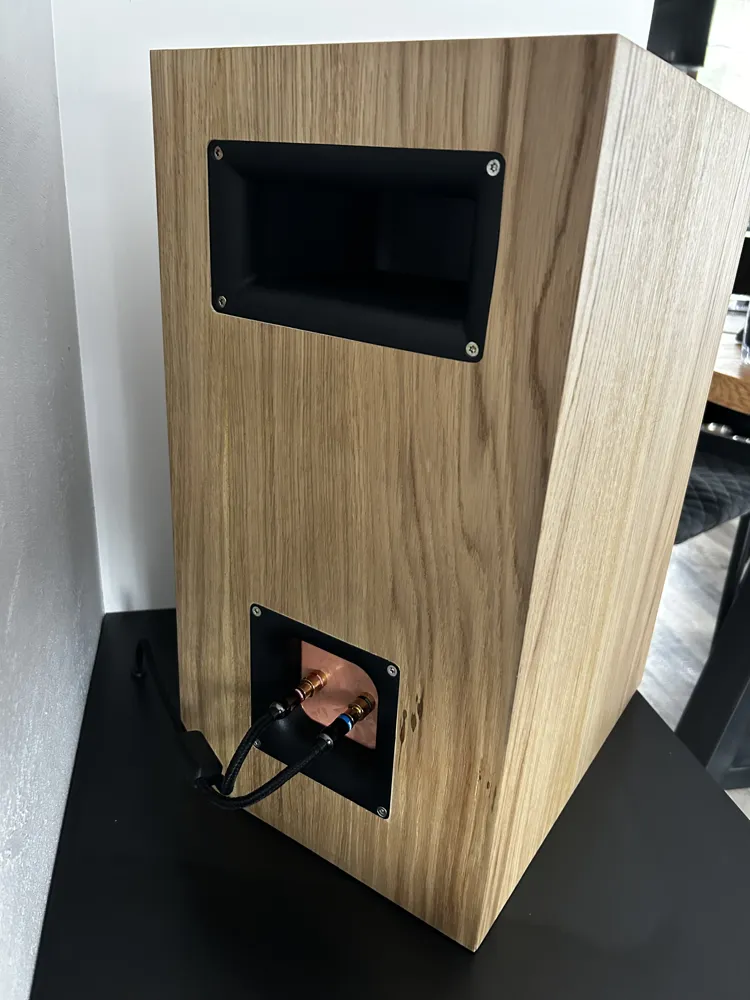
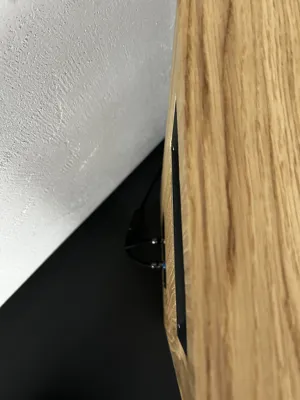
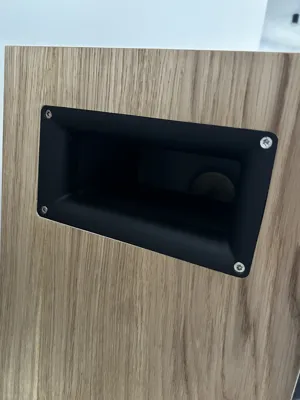
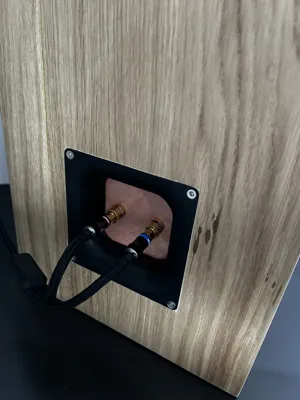
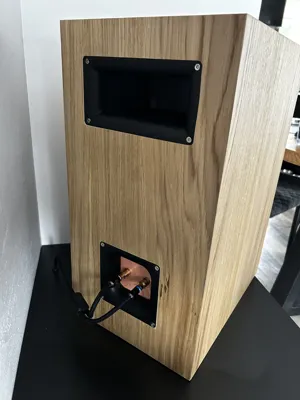
After printing, the bass reflex port sections need to be glued together using construction adhesive or hot glue. The front assembly—consisting of the tweeter mounting plate and the woofer housing—is glued into a pre-cut opening in the 18mm-thick cabinet baffle using construction adhesive. I recessed the baffle slightly so that the printed components would sit flush with the front surface once installed. The back panel is flat, with no recesses. One of the printed parts includes templates for the bass reflex port and the terminal cup. After routing the openings, I masked the edges with painter's tape for easy removal and positioned the parts to facilitate filling any routing imperfections with wood filler. The entire cabinet was finished with 0.2mm natural wood veneer and sprayed with a matte (0-gloss) wood lacquer, giving the speakers a distinct retro look. The woofer compatible with the mounting plate is, for example, the Tonsil GDWK model.
and bass :
https://stx.pl/w-20-80-4-mc.html
Inside, there is a two-way crossover, and the interior is lined with damping material attached to the walls using upholstery staples. You need some basic knowledge of speaker construction, but my design will allow you to build these replicas perfectly. The front grille features variable layer height; after printing, it was coated with spray filler and painted with a textured finish designed for plastic. I printed the brace connecting the top and bottom sections, as well as the terminal insert, on a smooth PEI sheet—which creates a mirror-like finish (depending on the specific sheets you have at home). Have fun with the build—and the sound is truly mind-blowing...
License

You shall not share, sub-license, sell, rent, host, transfer, or distribute in any way the digital or 3D printed versions of this object, nor any other derivative work of this object in its digital or physical format (including - but not limited to - remixes of this object, and hosting on other digital platforms). The objects may not be used without permission in any way whatsoever in which you charge money, or collect fees.


Comment & Rating (0)