
"The Odyssey" - Achilles Ultra Detailed Display!
Print Profile(1)
Description
Boost Me (for free)
Boost me to support the creation of even more awesome models!
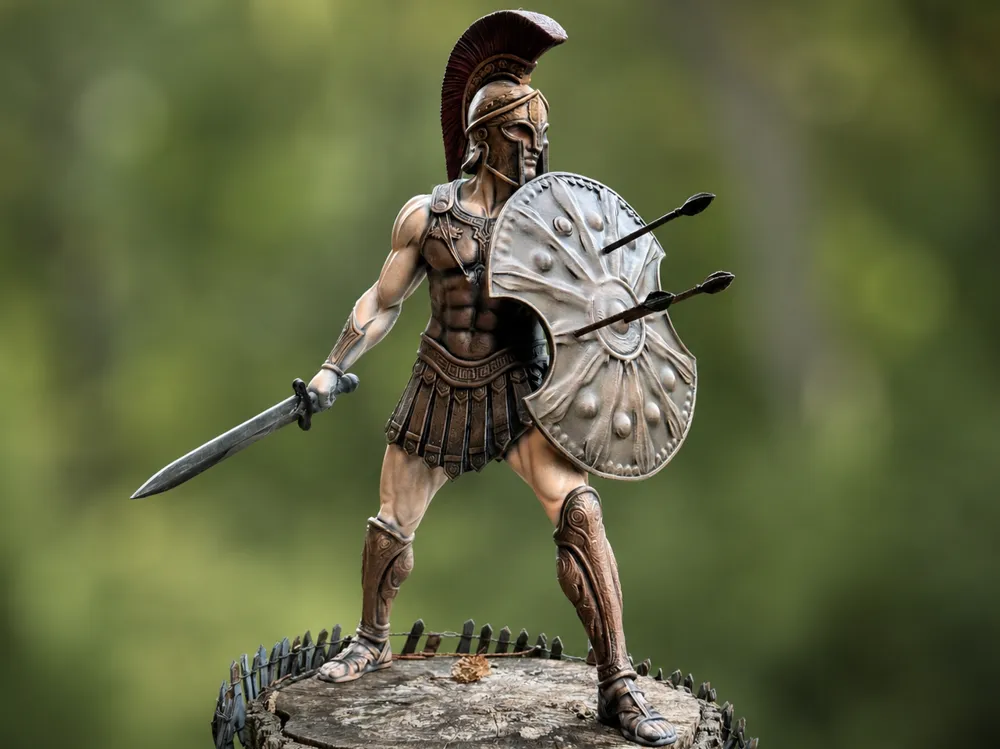
“The Odyssey - Achilles”
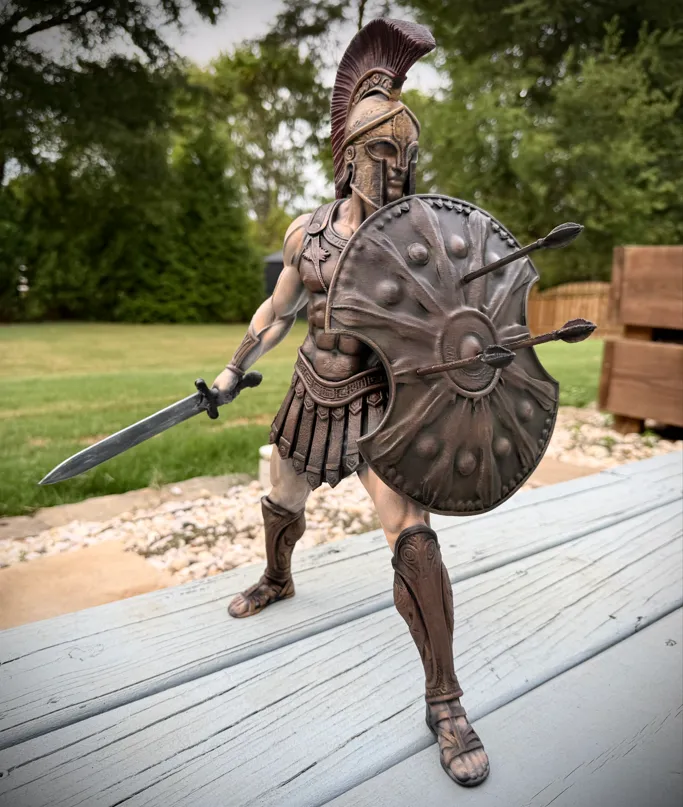
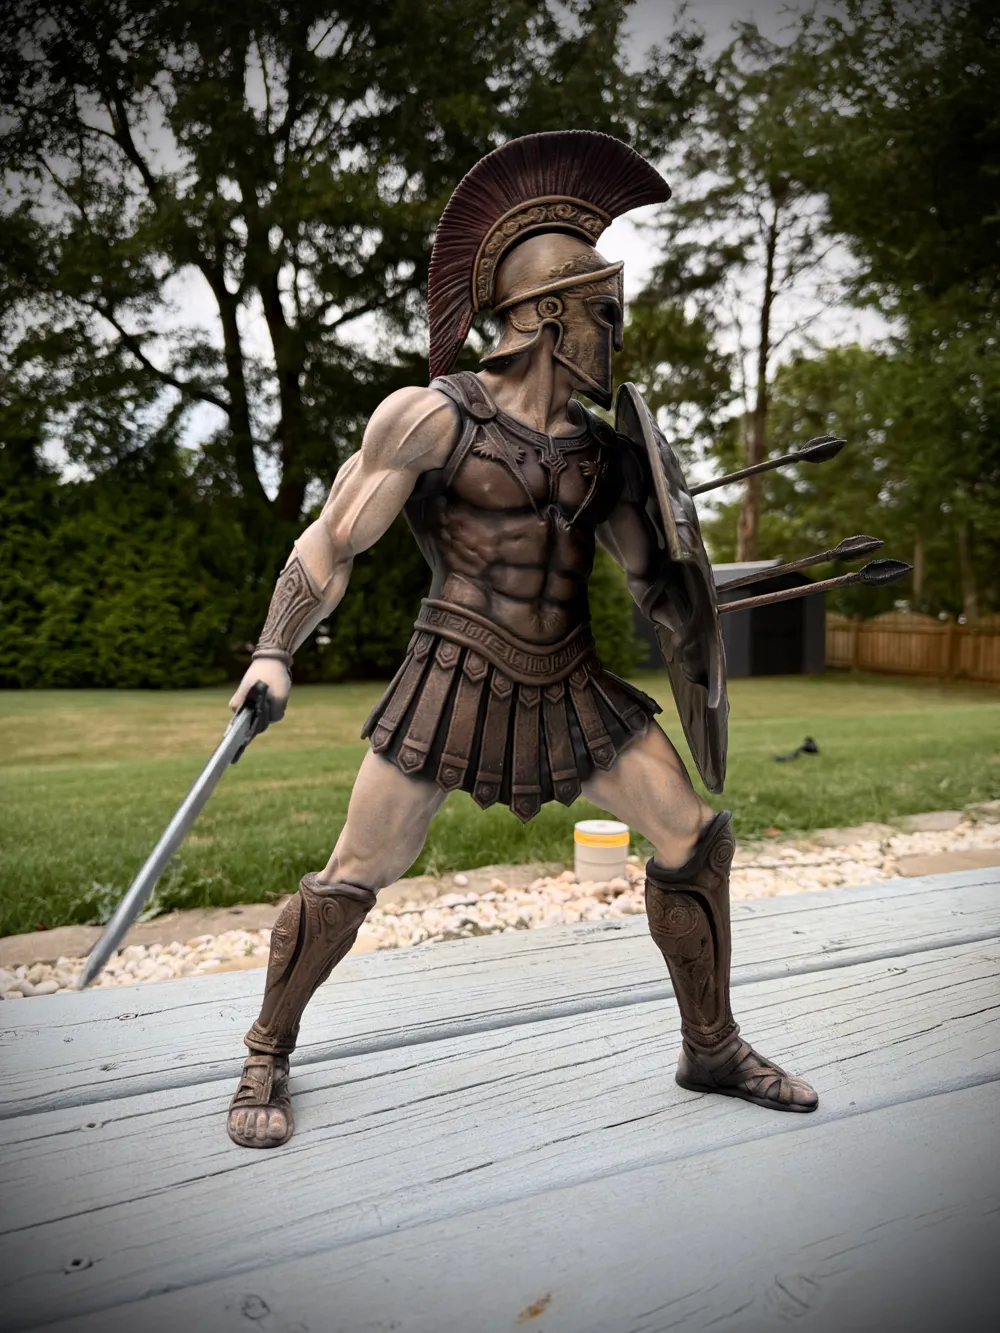
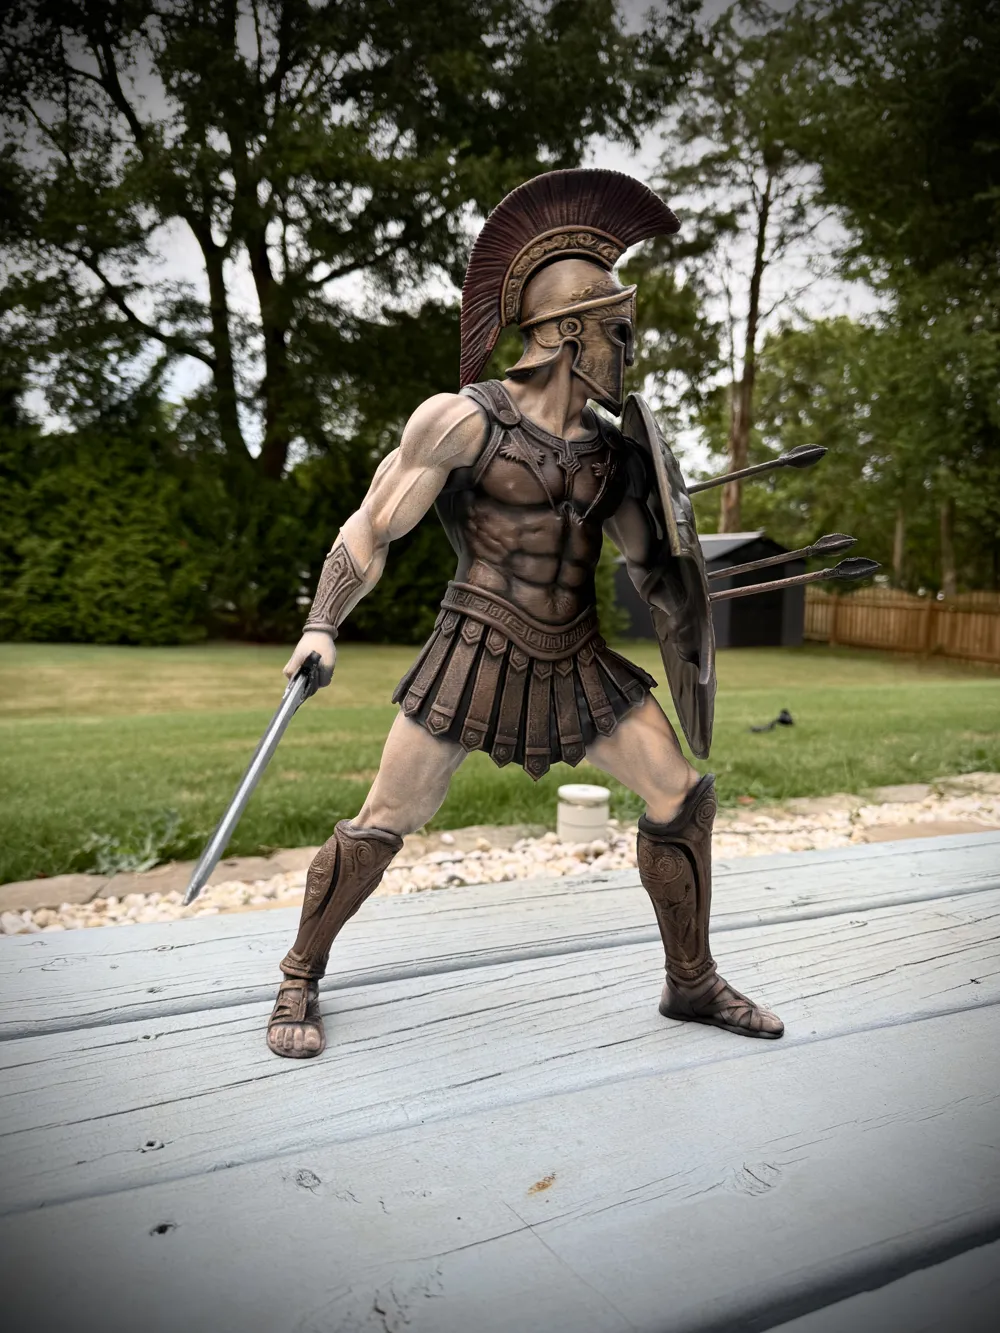
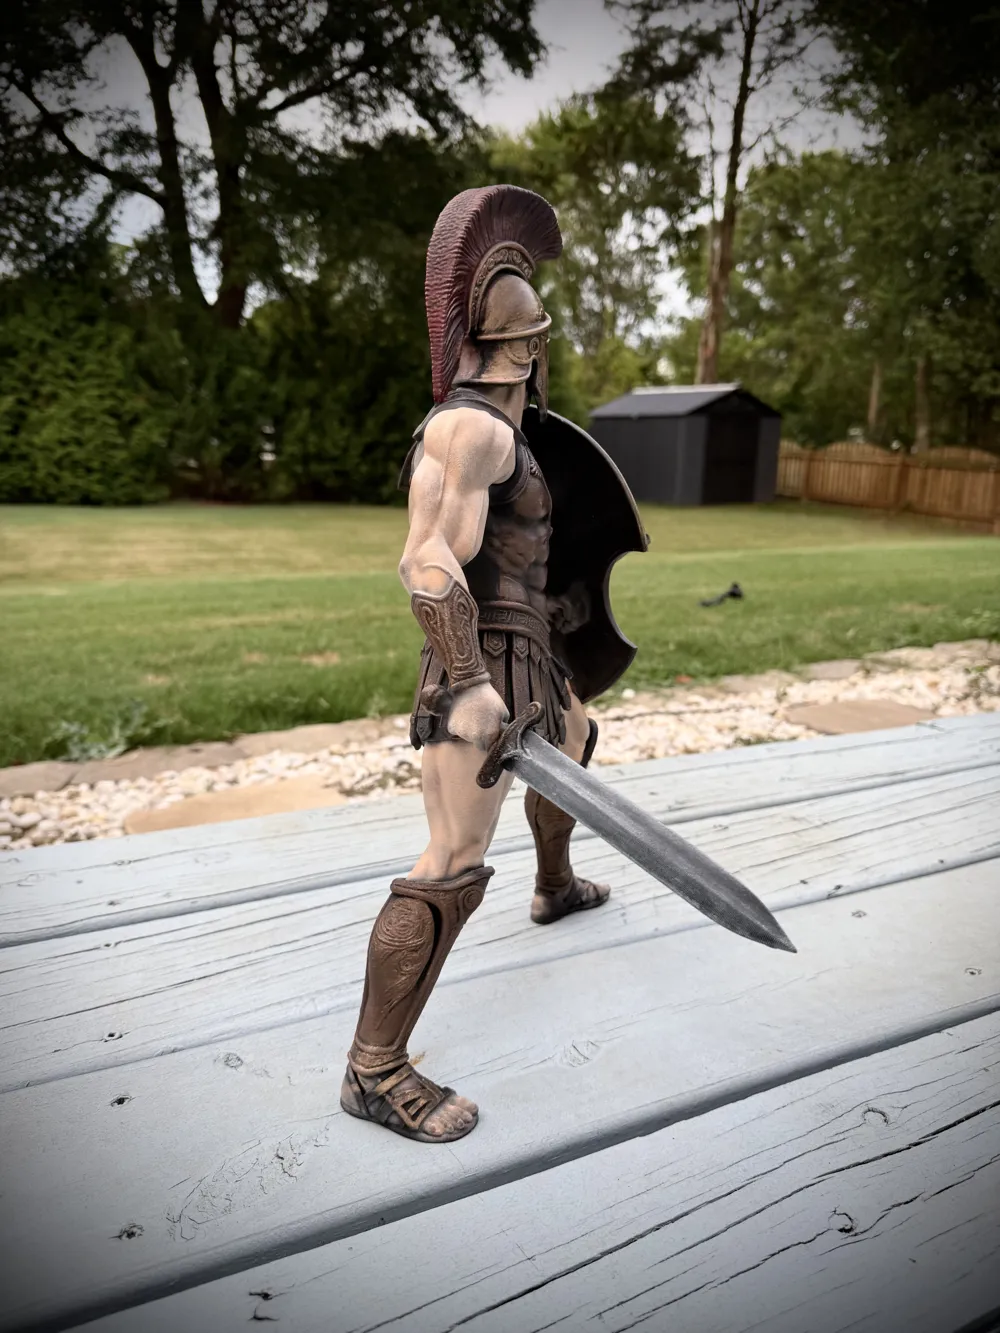
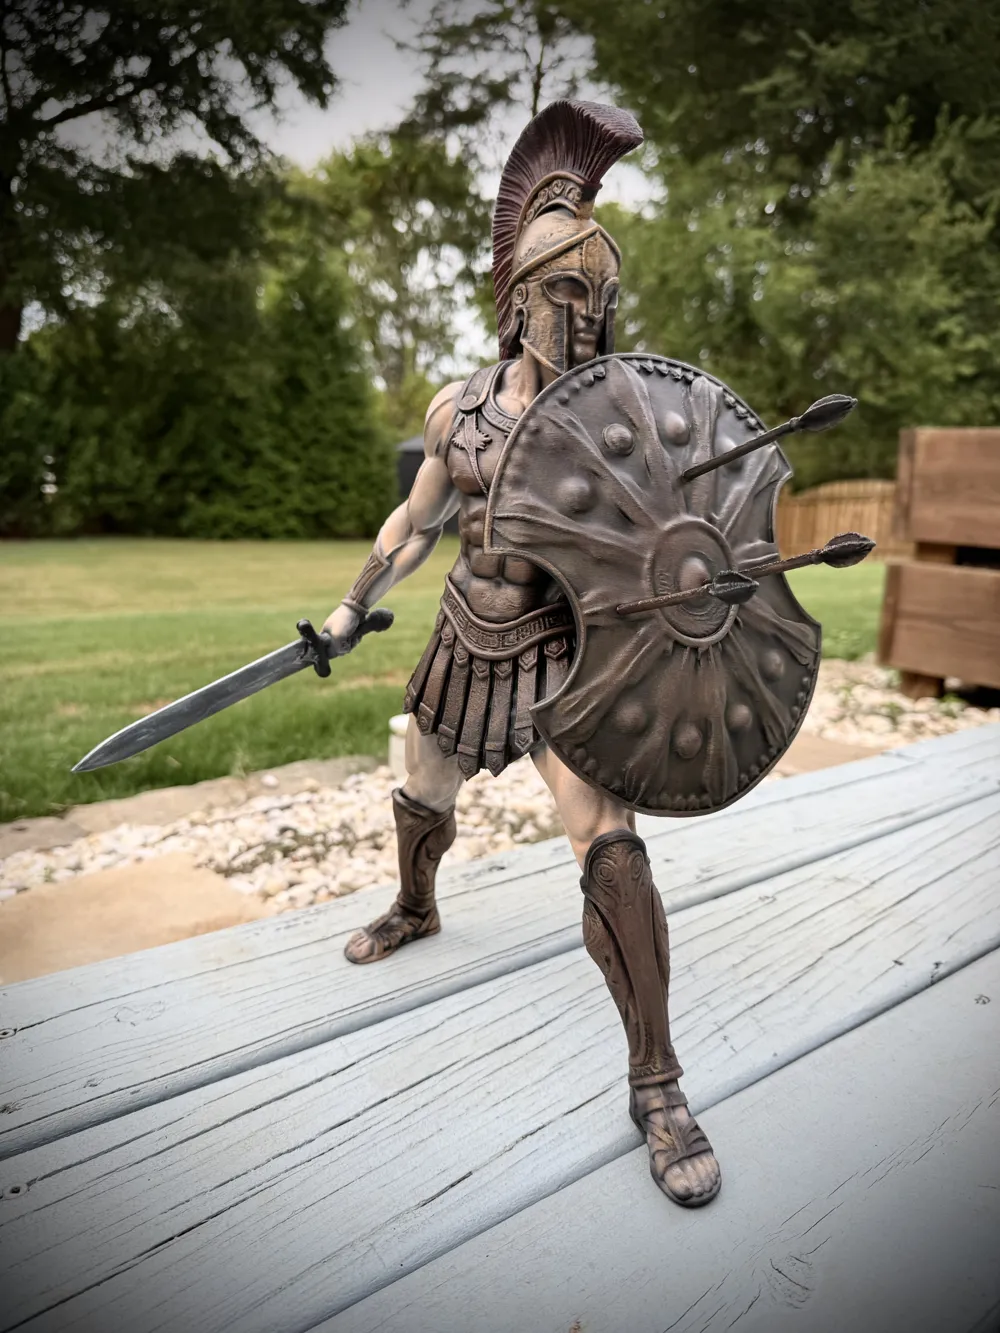
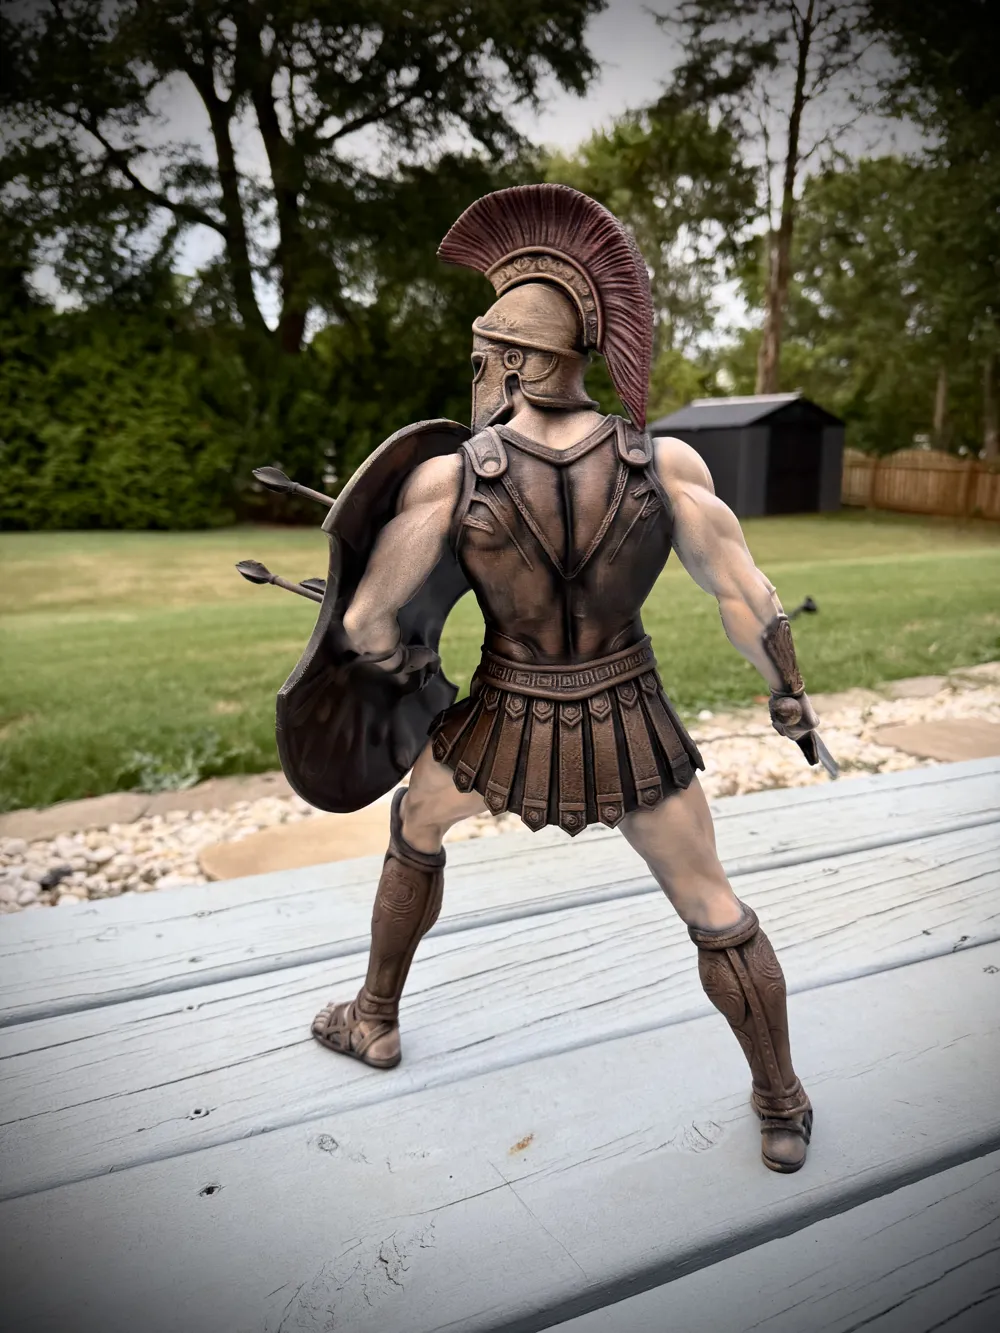
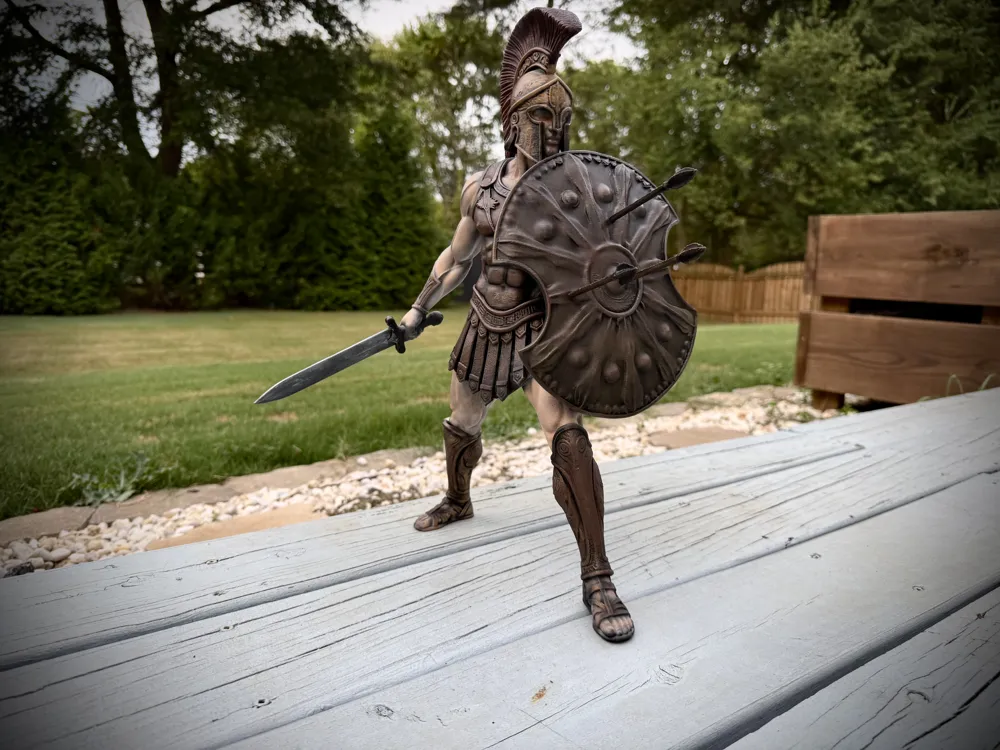
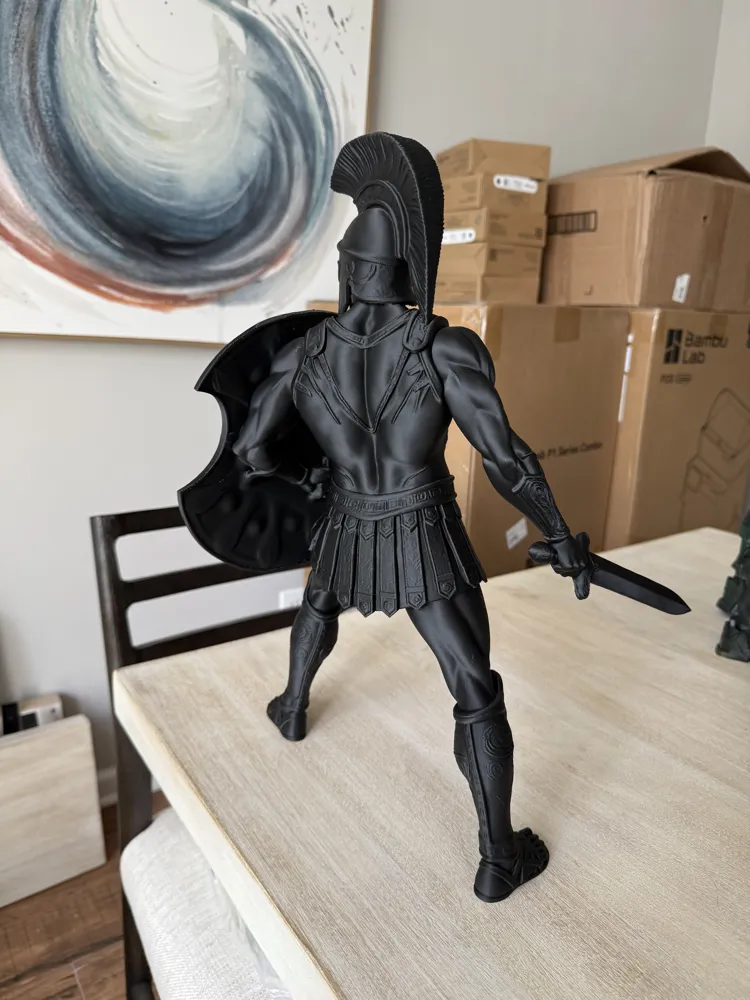
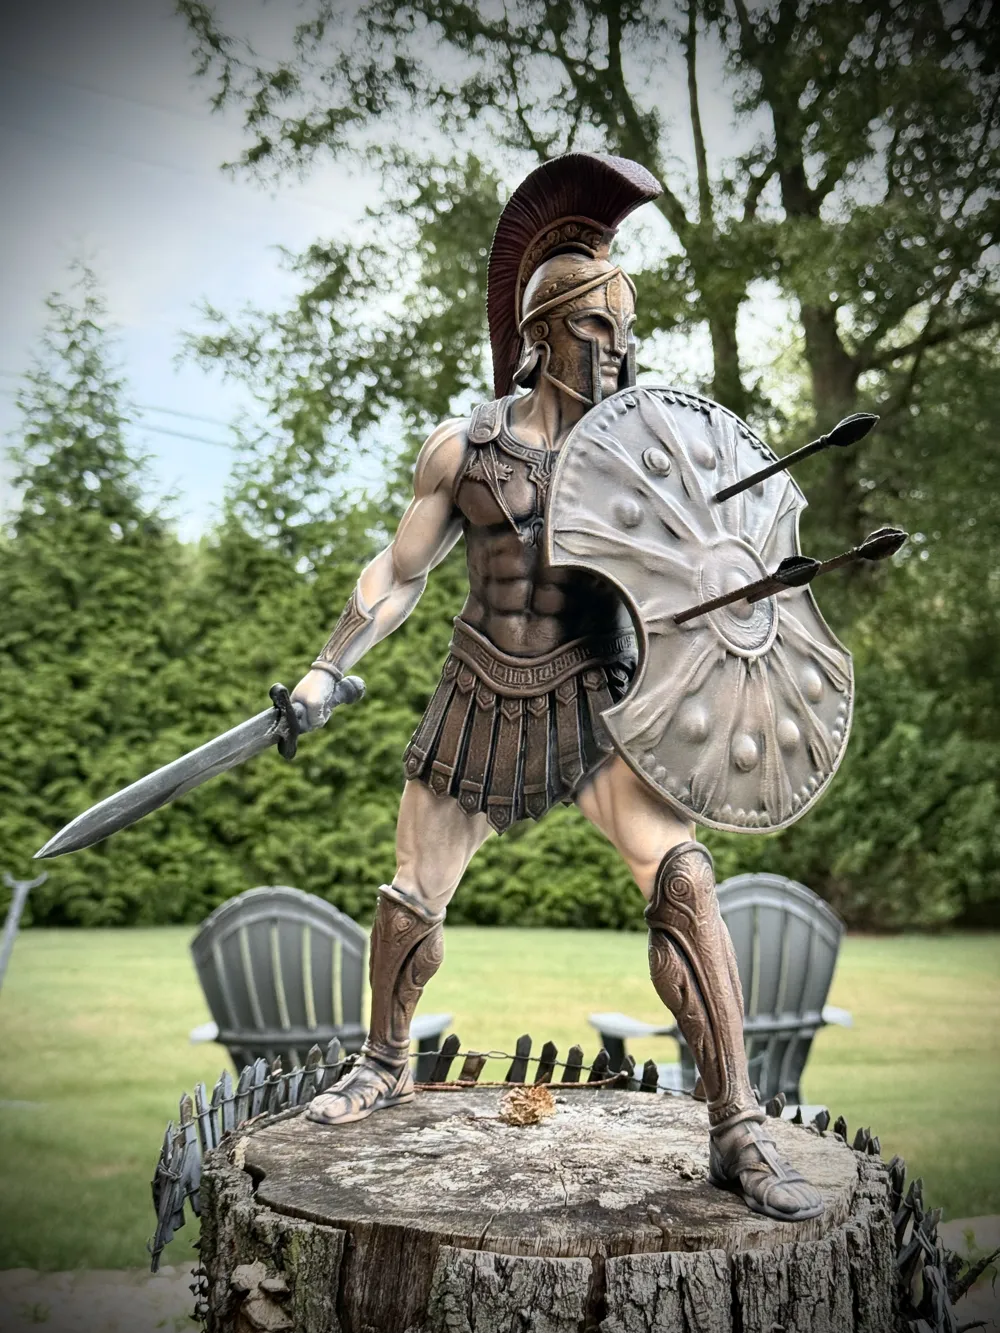
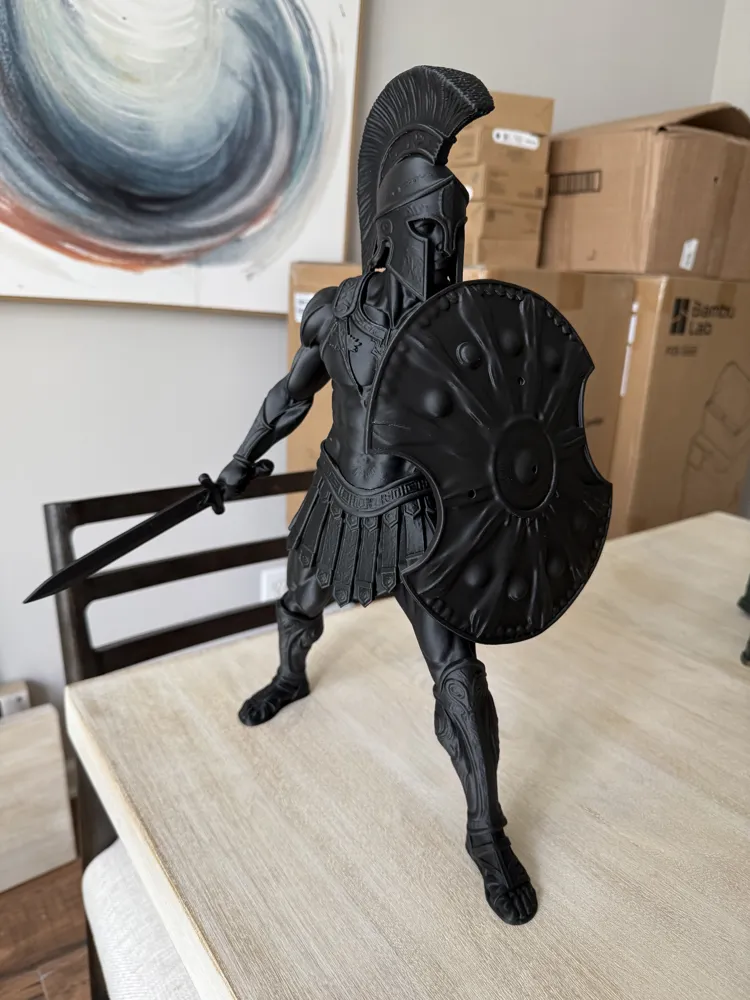
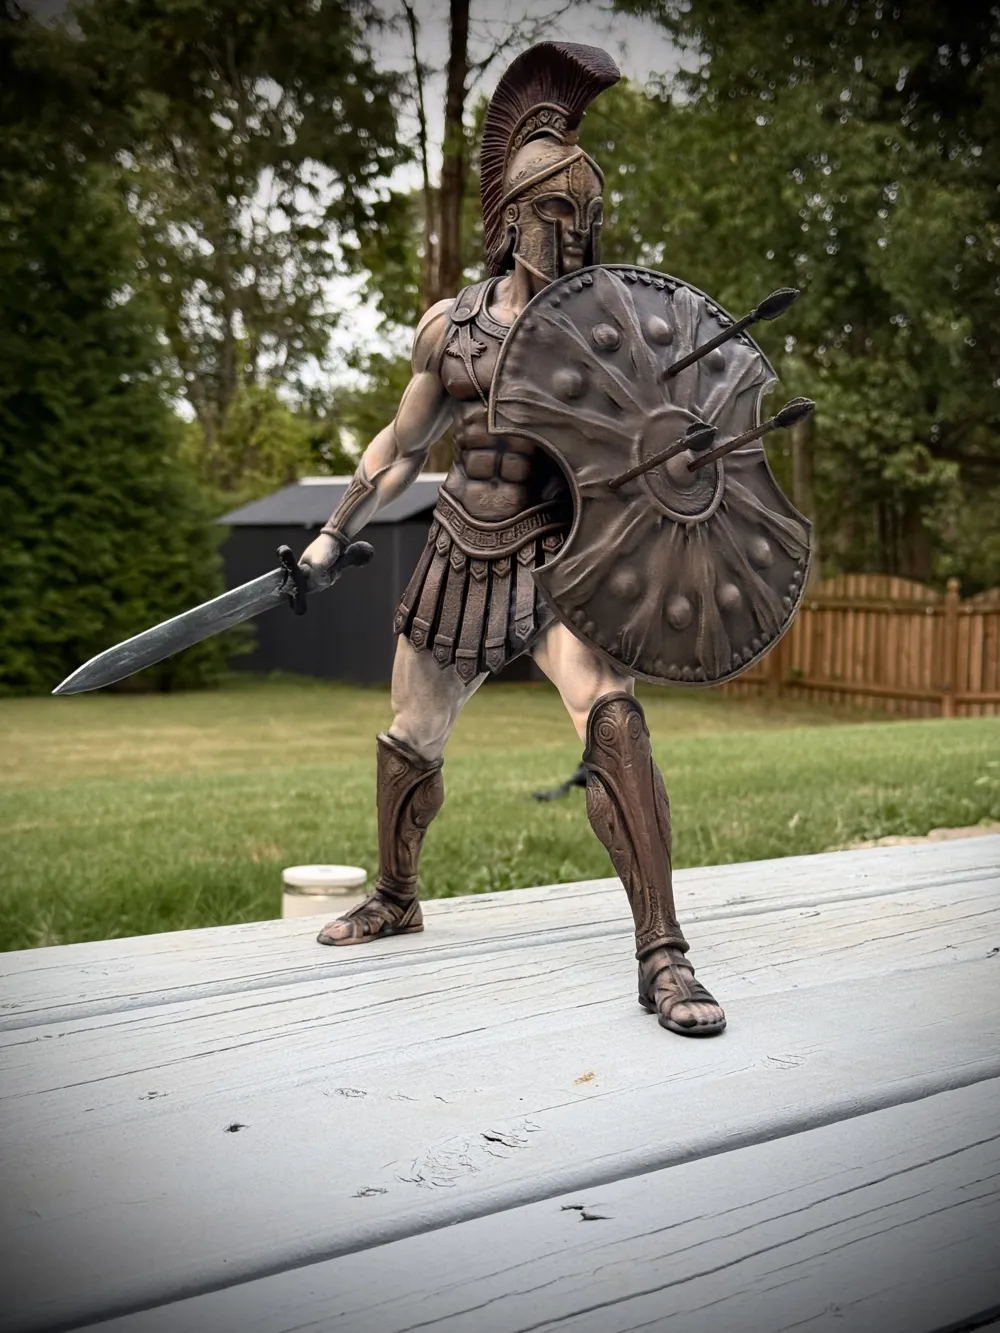
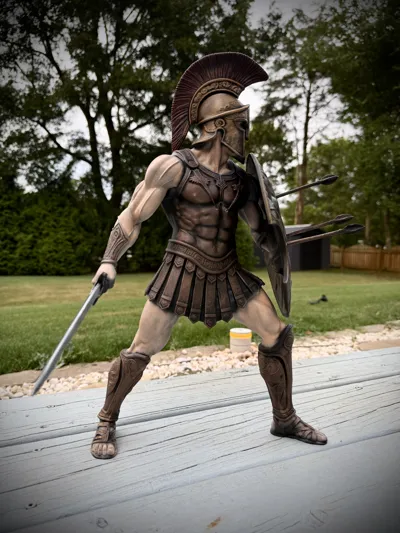
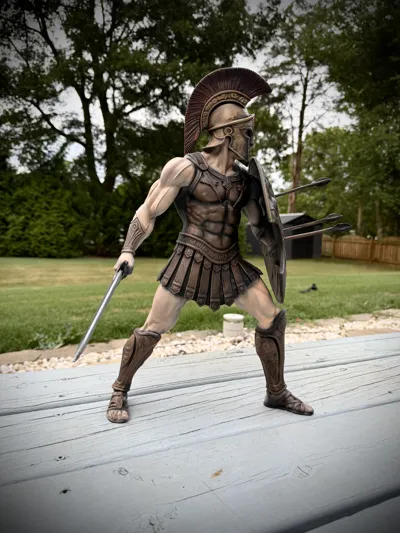
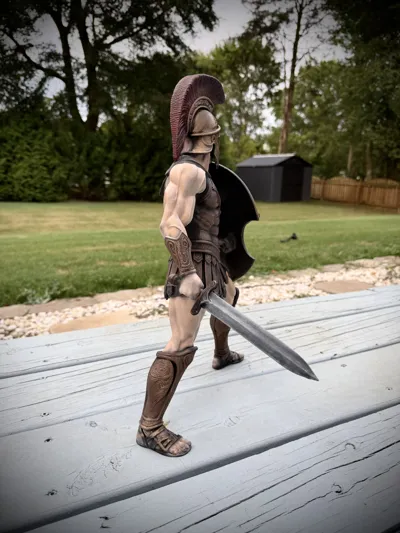
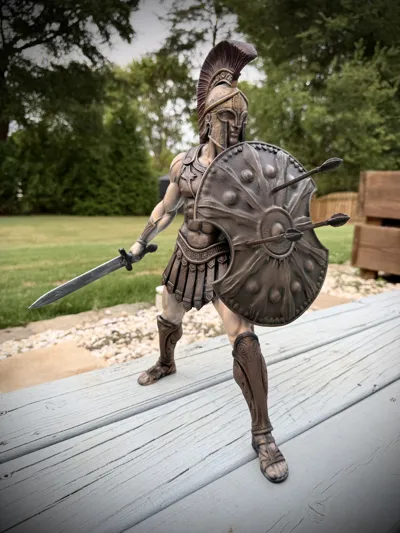
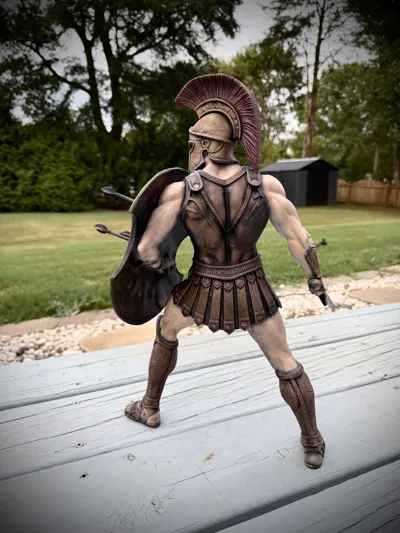
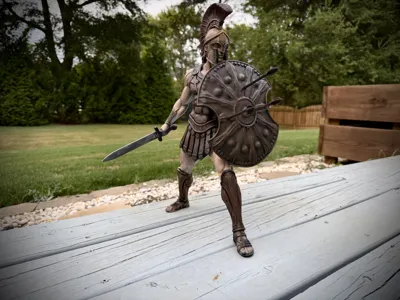
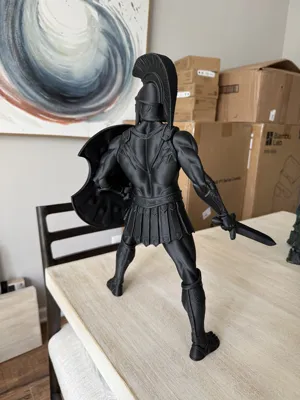
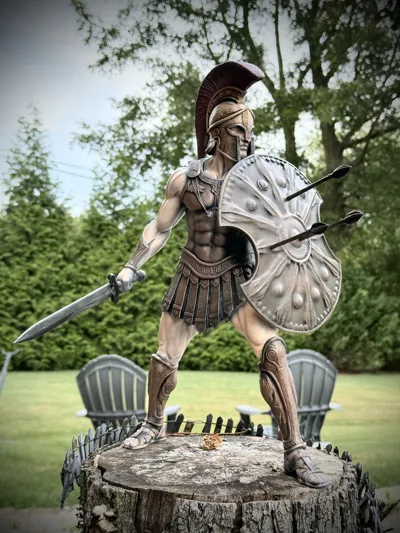
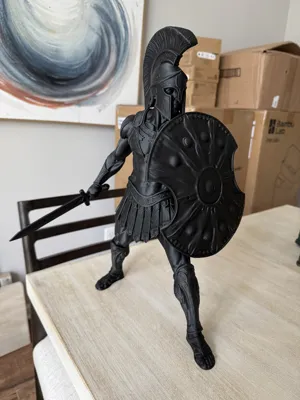
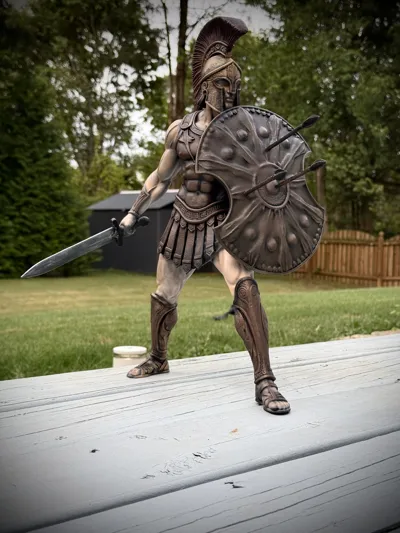
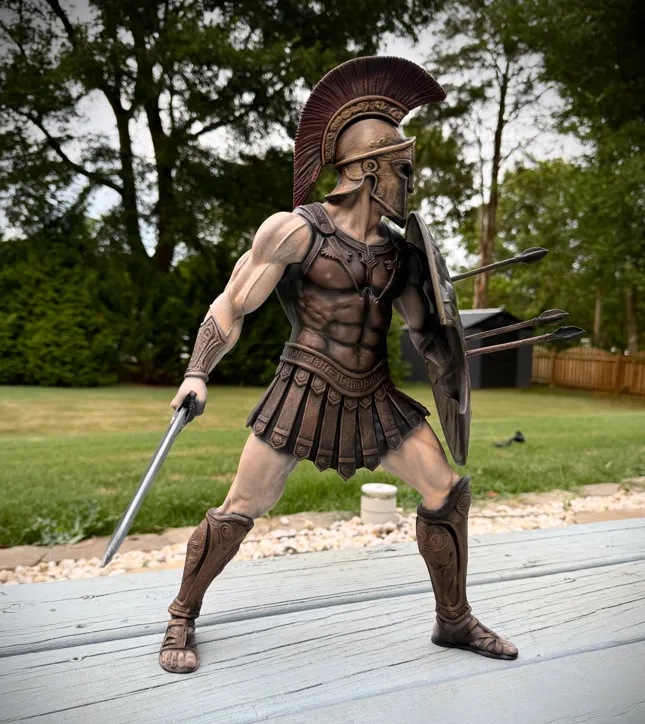
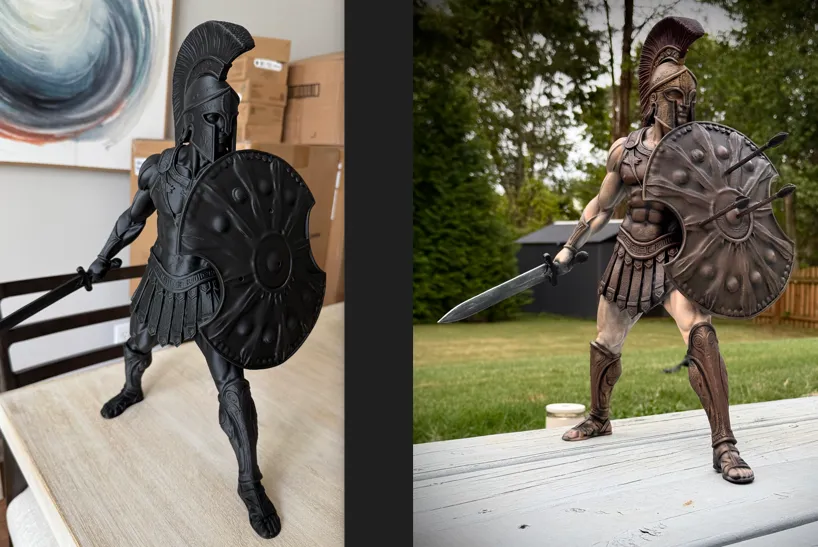
I have wanted to recreate and color my take on Achilles from The Odyssey for quite some time.. and figured what better time than when the contest is ongoing? This is a 20" tall, highly detailed, multi-piece print. Please note that the print profile is SINGLE COLOR ONLY. The coloring of the model was achieved in post-process application of coloring wax, as well as acrylic paints applied via air brush. This is not your typical AI colored model, this is truly what this could look like! I only spent 30 minutes on mine!
The model prints in several pieces in order to maximize the build volumes of the P and X series machines. Some gluing is required.
ASSEMBLY
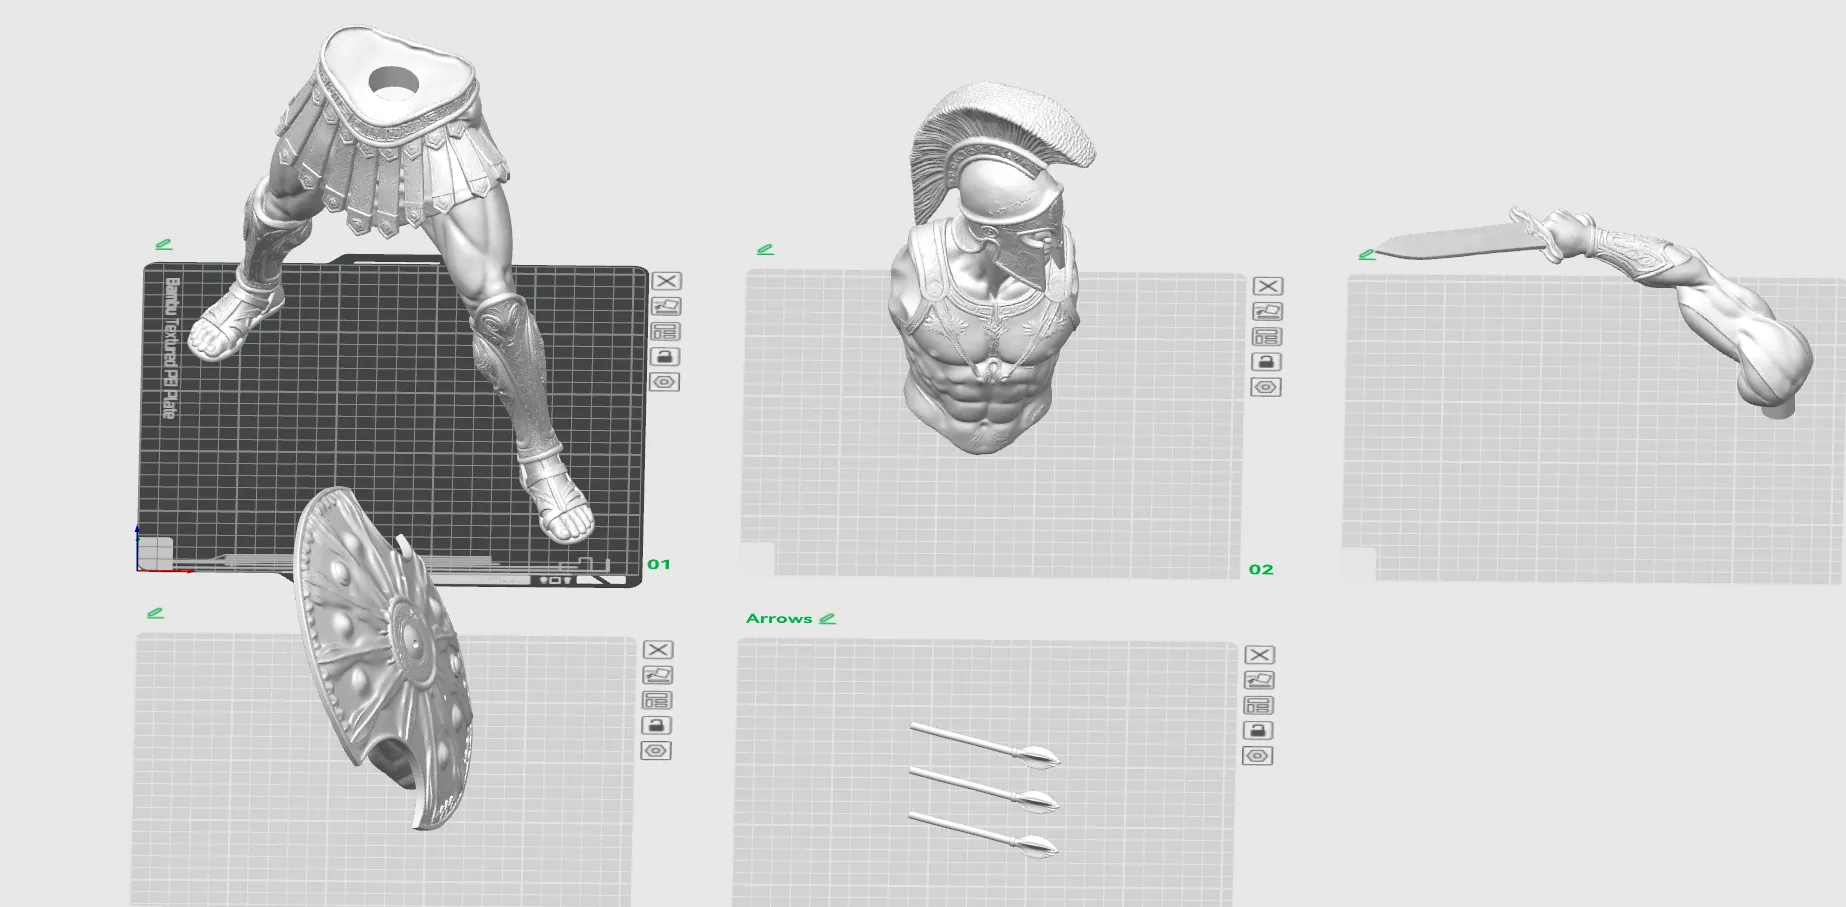
Assembly of the model is very straightfoward - first glue the upper torso to the lower body, and then test fit the arms. The arms stay in place pretty good, and I highly recommend waiting to glue the arms/shield on until after you're doing with painting just so you can have better access. Once the modle is painted, just add a drop of glue on each joing and press them into place.
Wait to glue the arrows into their respective holes until the end of the process.
COLOR APPLICATION
I used a very straightforward process for my coloring via application of some Rub'n Buff waxes - Antique Gold, Copper, Brass, etc. Below is an example of this application process on my Alien model I posted earlier. I simply use a microfiber towel, wear gloves, dab a bit of the Rub'n Buff (I buy mine on amazon) and lightly spread it on the model.
For this particular model I could have stopped at the first Bronze look.. but I decided to try out some acrylic paints and see what I can do to really bring it to life. After about 20 minutes of spraying this was the end result! I use really cheap, hobby store acrylic paints that are water based. I dilute them with distilled water to make them sprayable. Clean up is a breeze, and so far I have been loving the color effects. As a finishing step, I applied to Matte Clear Coat to the model.
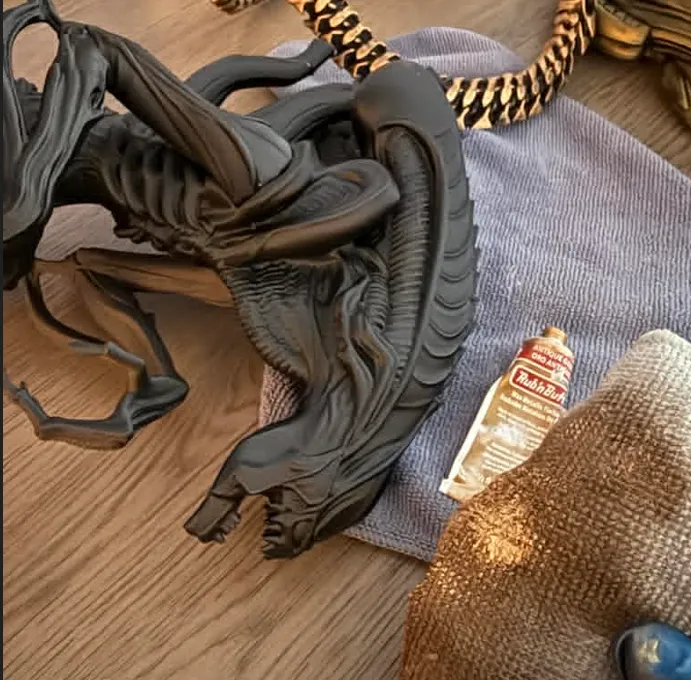
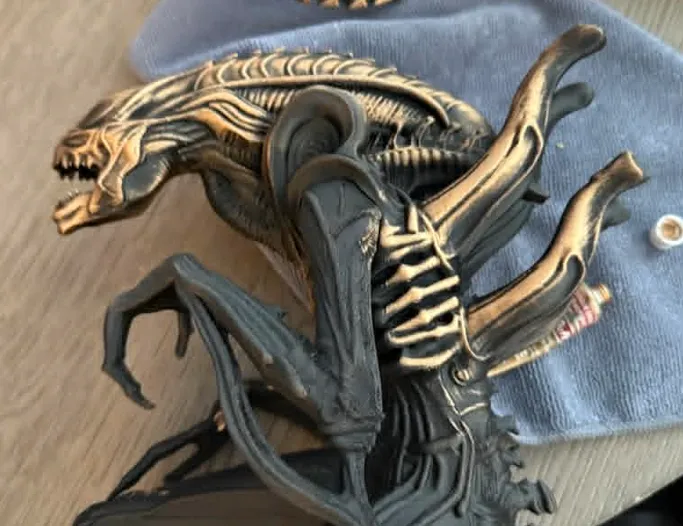
The Before and After really give you a good idea of just a little added effort can REALLY make for an awesome print!
Thank you for visiting my page and taking the time to print my models. Your support is truly appreciated. I never expected to have so many people following me and fueling my passion for creating the models that I create!
License

You shall not share, sub-license, sell, rent, host, transfer, or distribute in any way the digital or 3D printed versions of this object, nor any other derivative work of this object in its digital or physical format (including - but not limited to - remixes of this object, and hosting on other digital platforms). The objects may not be used without permission in any way whatsoever in which you charge money, or collect fees.


Comment & Rating (0)