
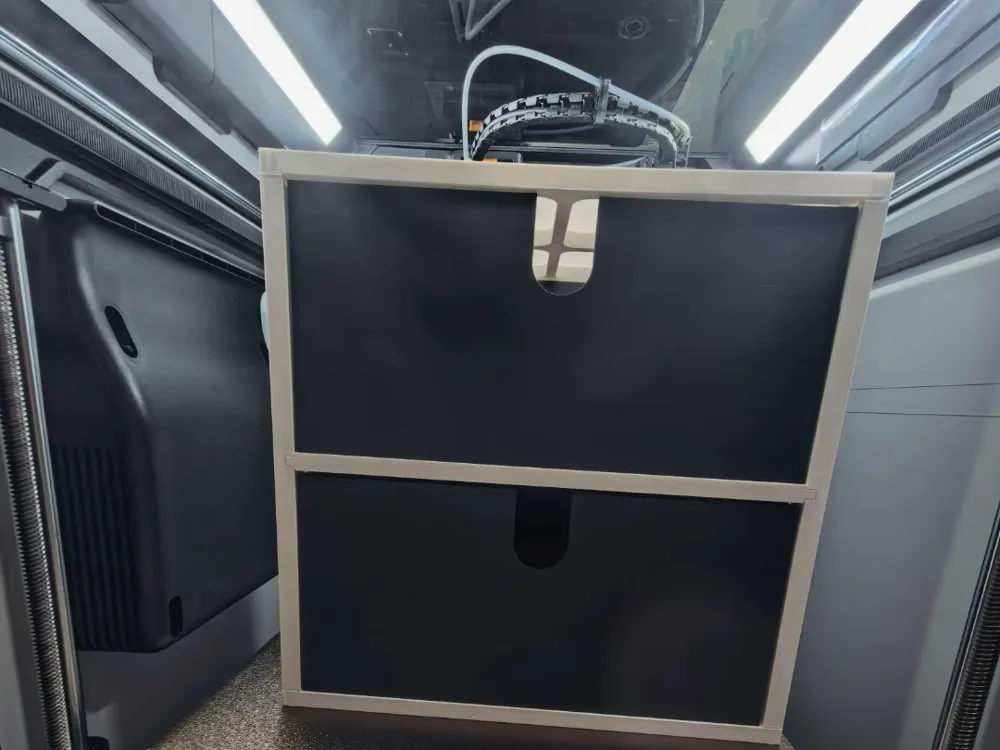
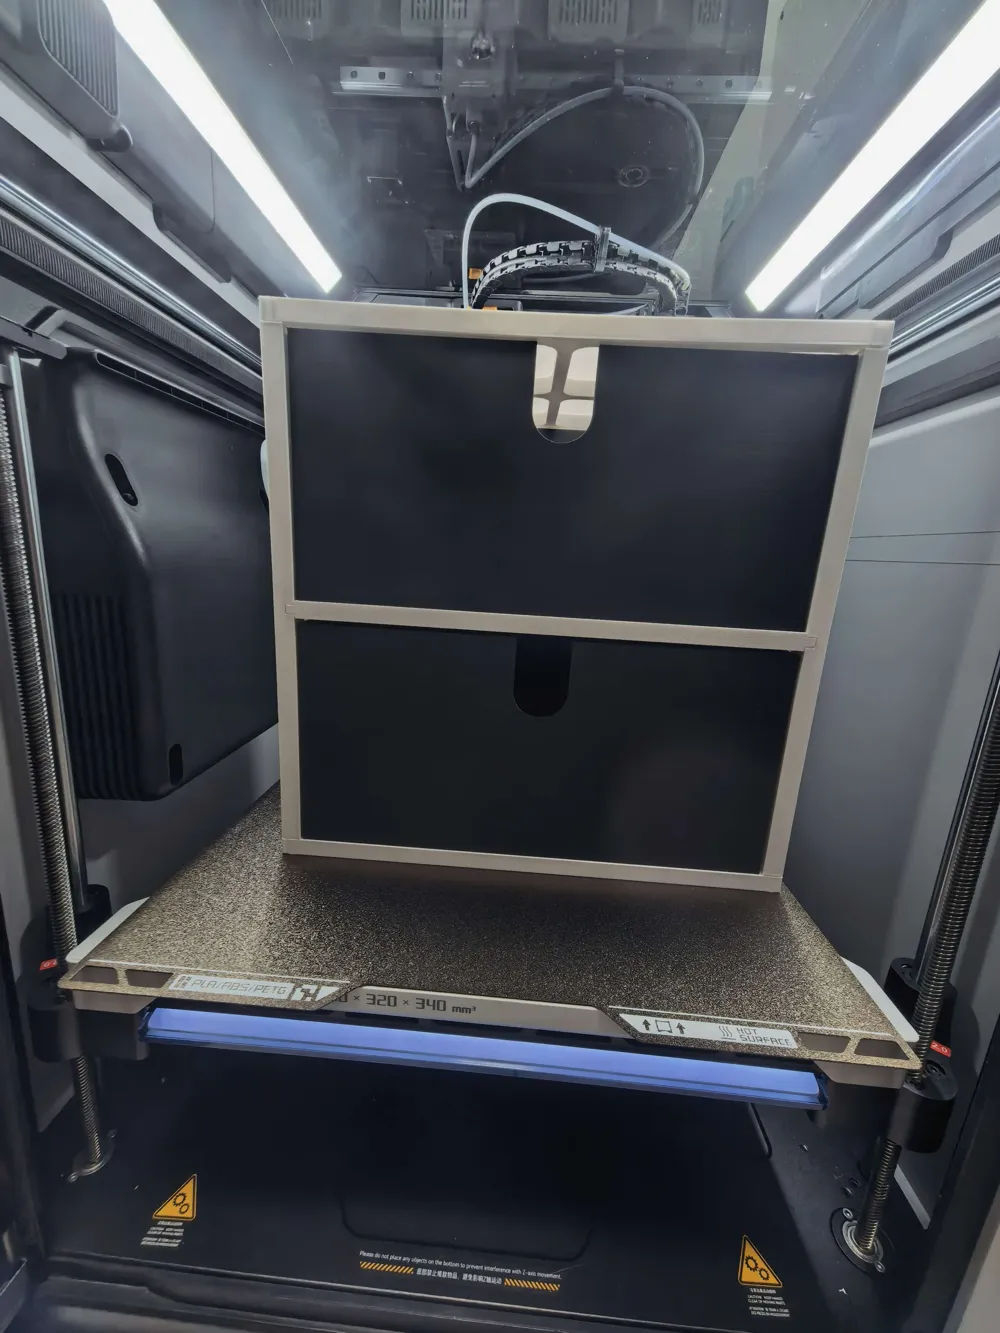
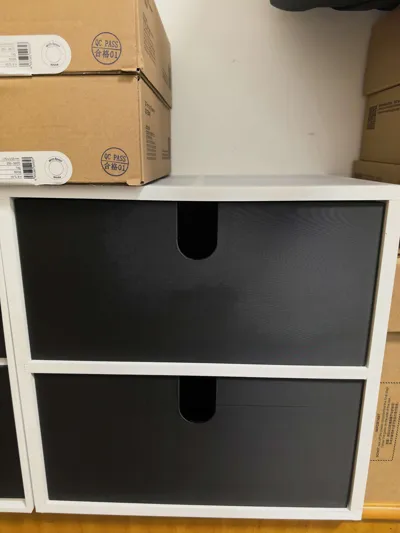
Double Layer Desktop Drawer Cabinet V2
Print Profile(1)
Description
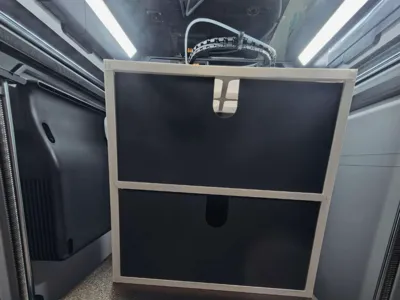
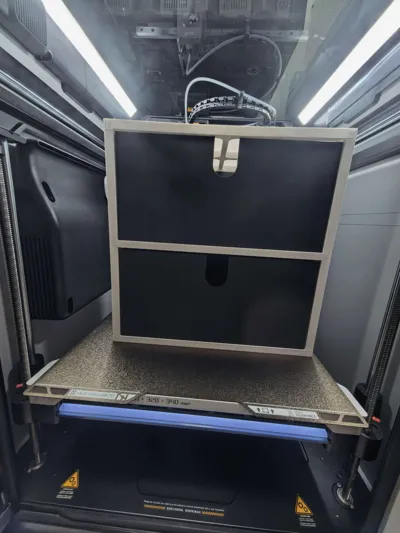
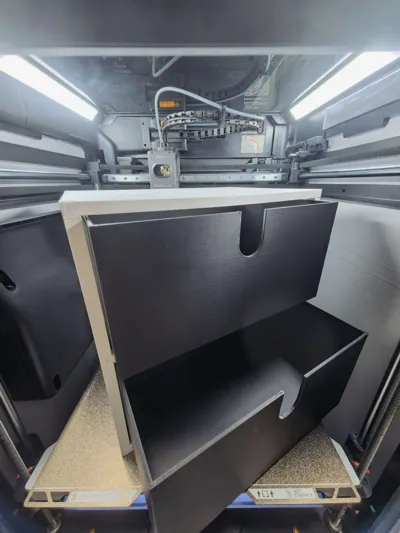
Double Layer Desktop Drawer Cabinet V2
Boost Me (for free)
Please like, collect, and share your feedback. If you have better structural suggestions, size requirements, or functional ideas, please let me know in the comments, and I will consider the feedback for future updates.
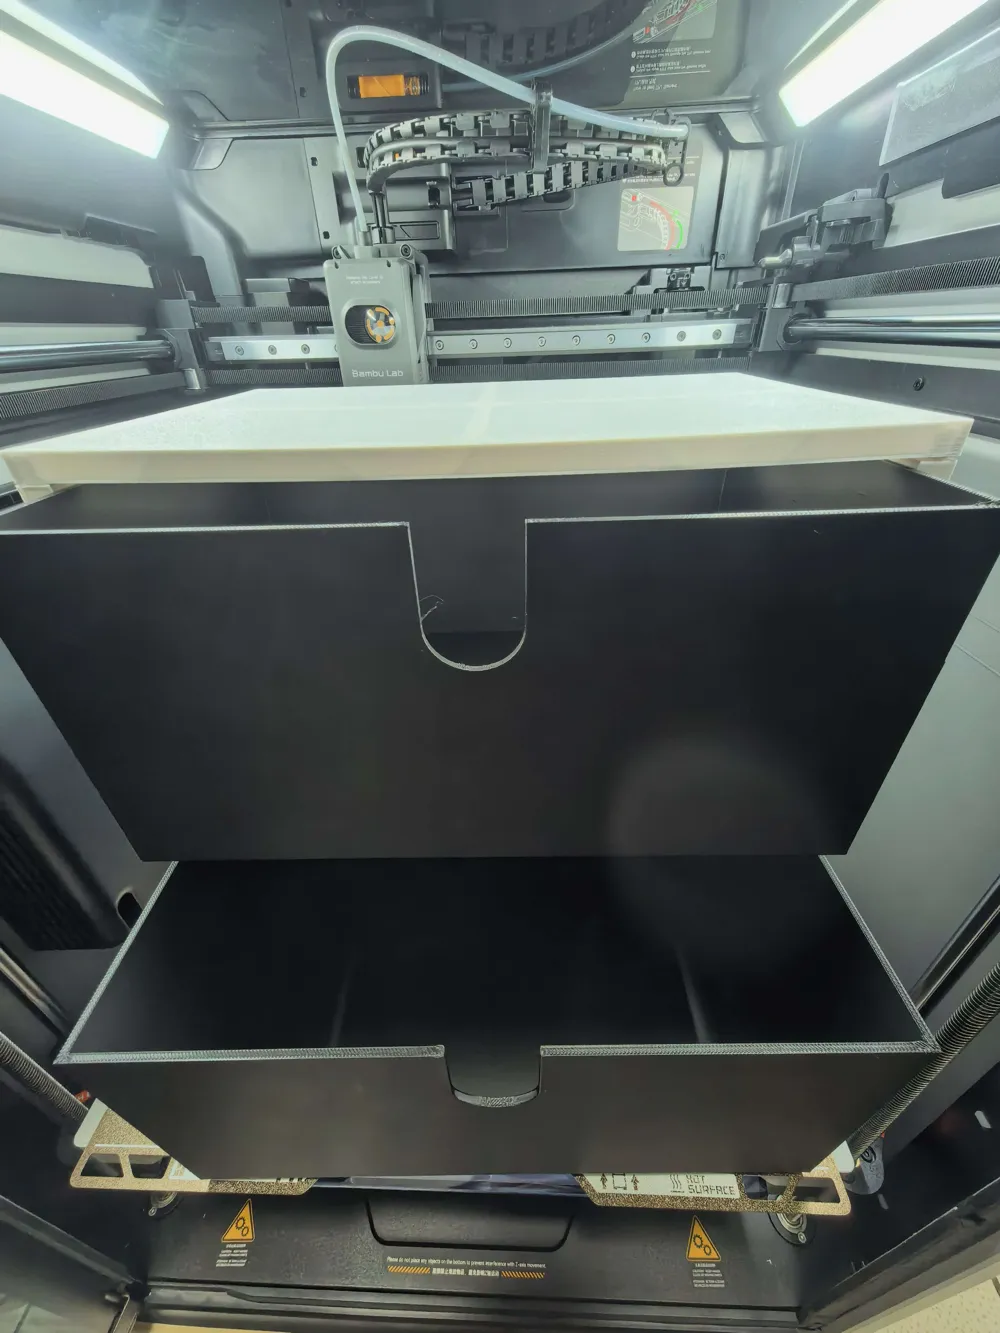
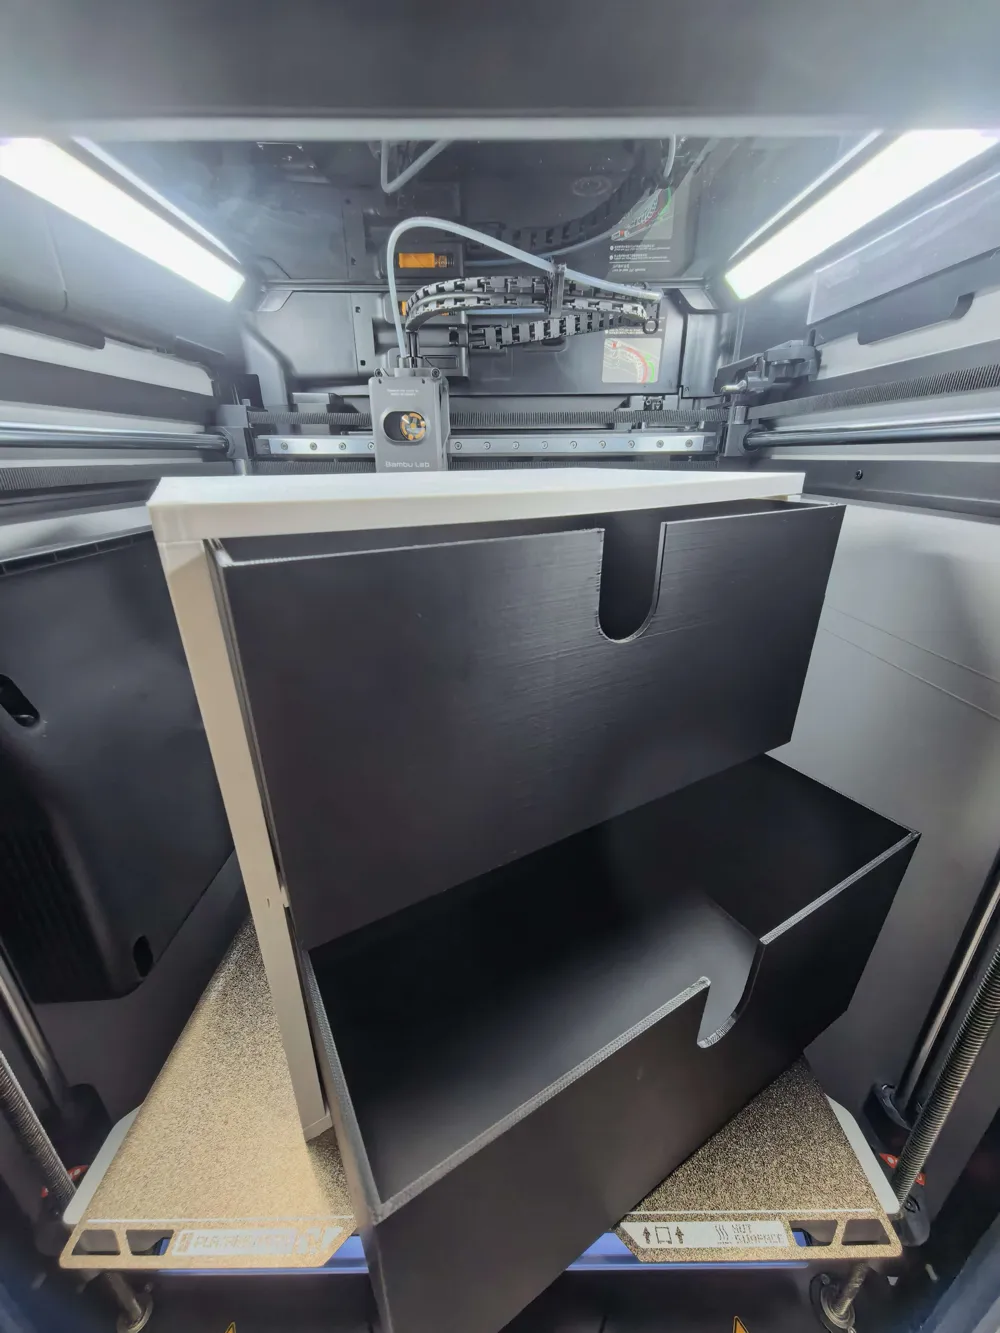
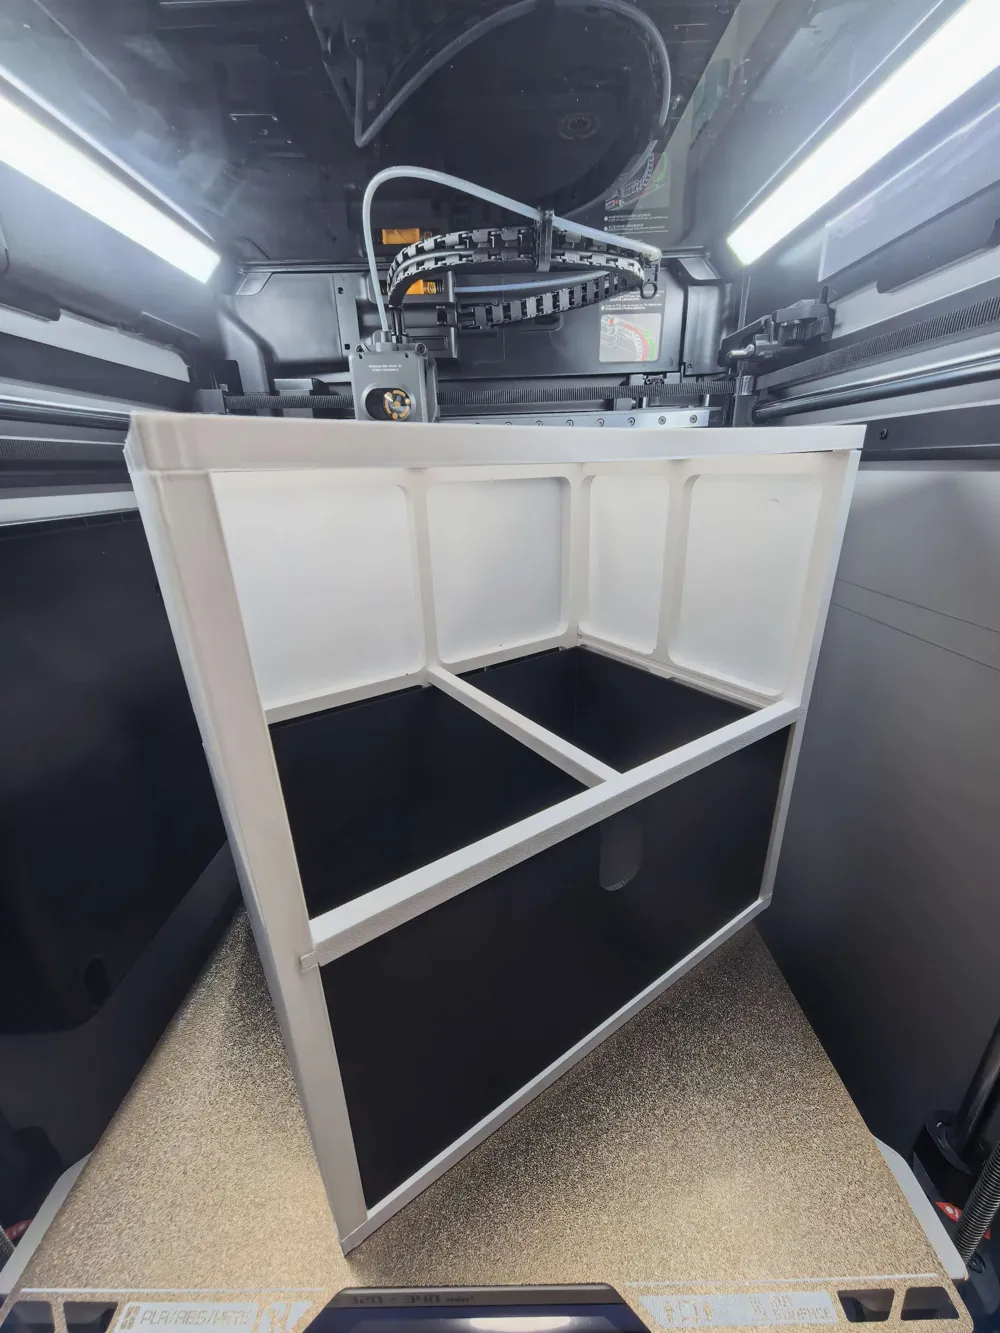
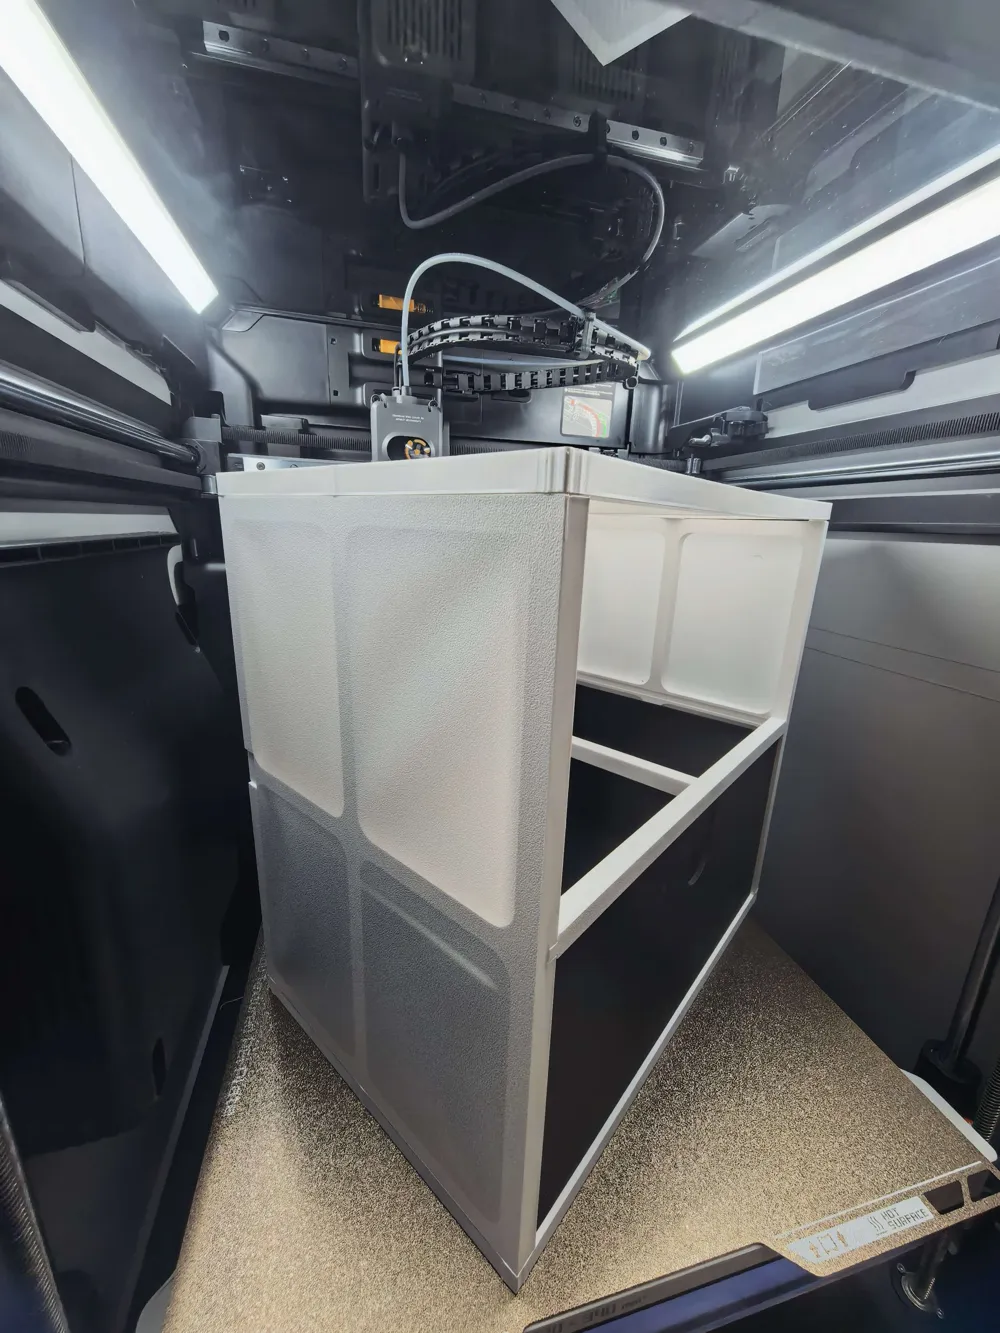
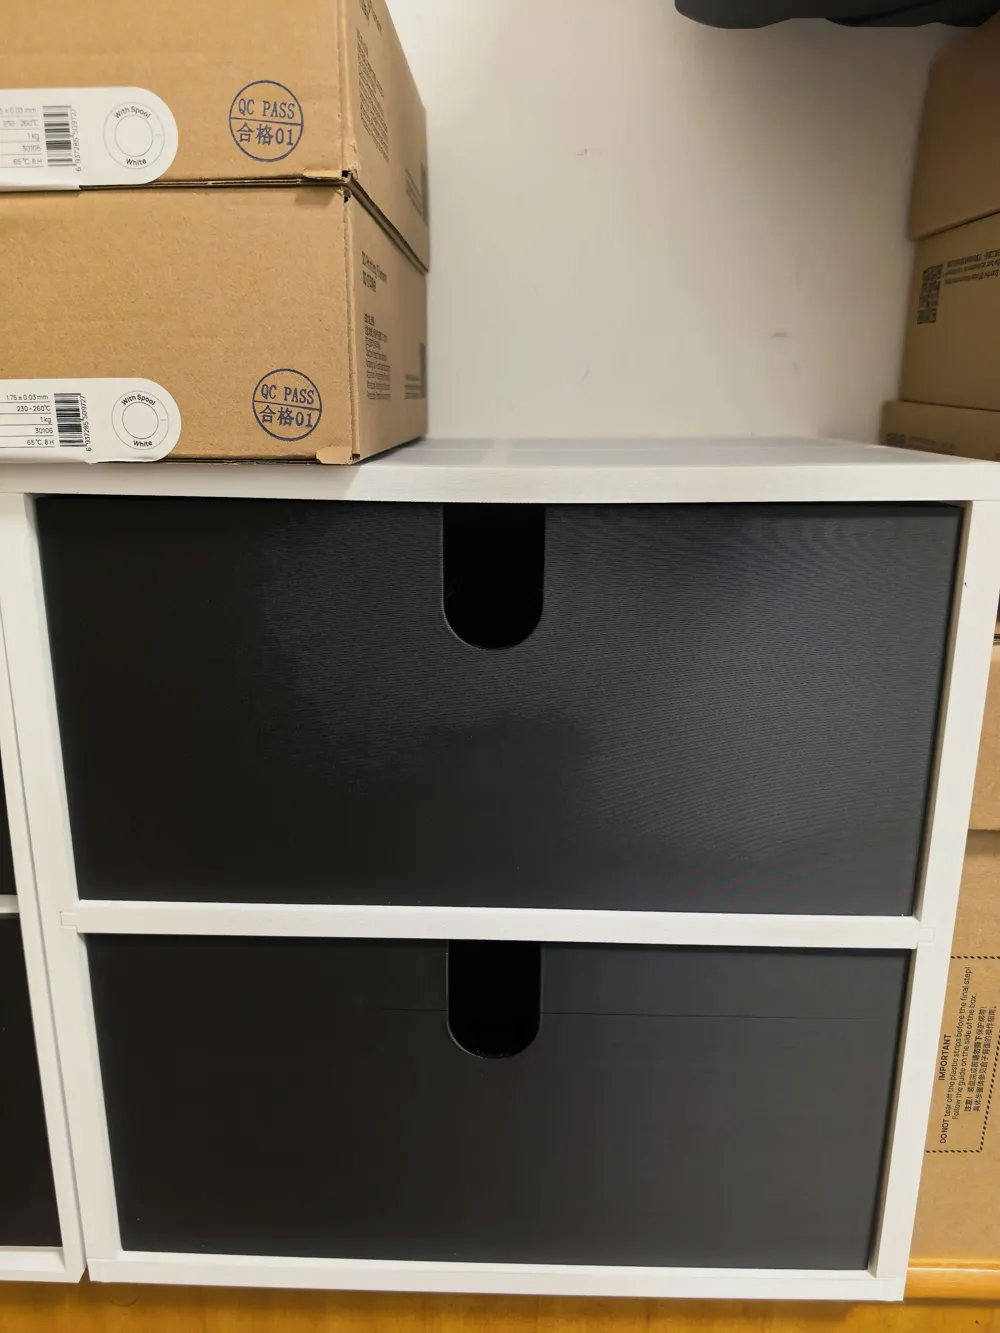
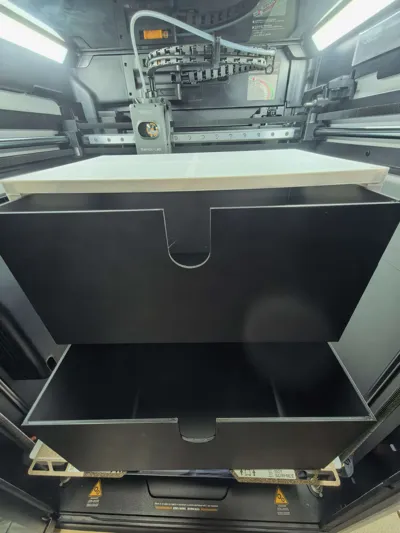
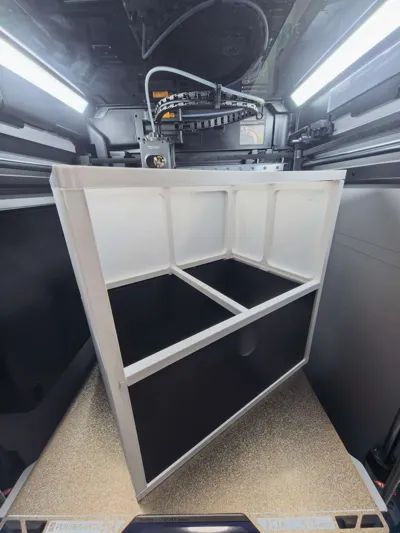
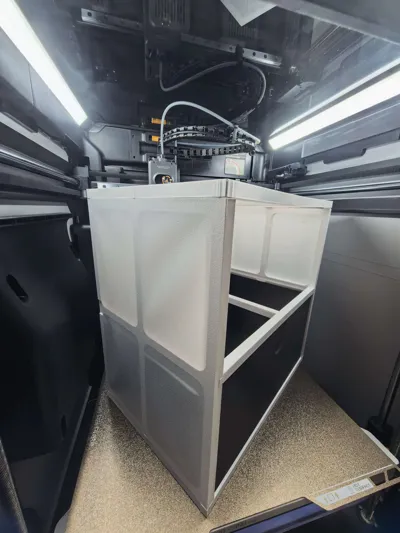
V2 re-optimized the drawer dimensions, wall thickness, and overall structure. Compared to V1, it reduces a large area of unnecessary solid regions, and the shell adopts a multi-part assembly design, retaining a complete front face for a cleaner appearance.
- Total filament: 1256.13g → 950g, filament reduced by 24%: 306.13g
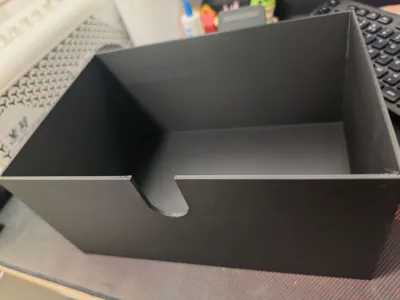
- Single drawer volume: 3.744L → 6.494L, capacity increased by 73.4%
Size Information
- External dimensions: approx. L300 × H300 × W200mm
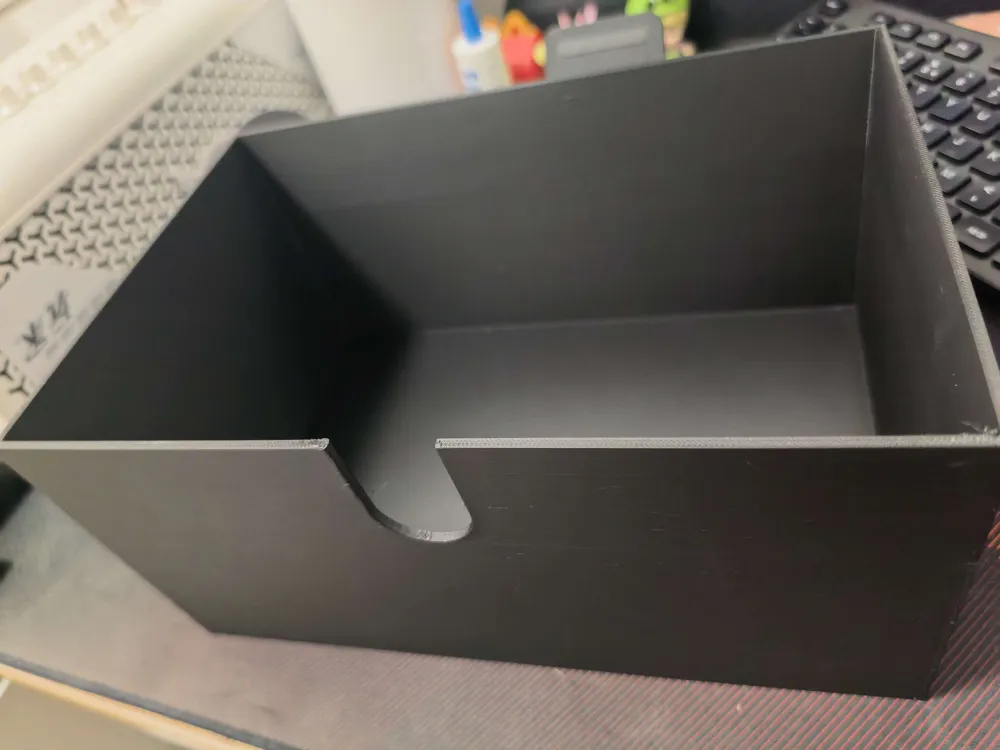
- Single drawer internal reference dimensions: approx. 270 × 185 × 130mm
- Single drawer theoretical volume: approx. 6.49L
- Double drawer theoretical volume: approx. 12.99L
- Print quantity: one set of shell components, two drawers
Main Features
- The shell uses a mortise and tenon structure, making it lighter overall
- Only 1g of support needed
- Supports about 12kg under default parameters
- Can be printed with PLA and PETG
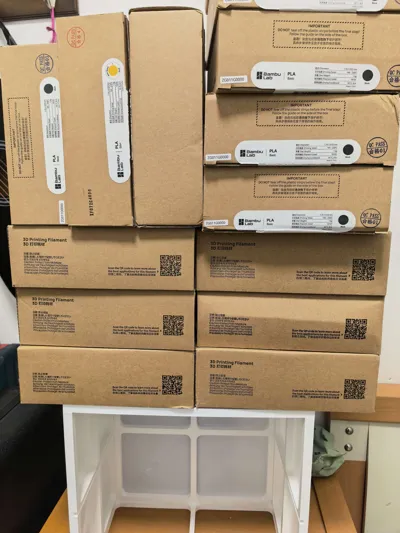
- Suitable for storing stationery, tools, filament, and 3D printing accessories
Recommended Print Parameters & Notes
- Layer height: 0.20–0.24mm
- Walls: Default 2 walls overall, use 6 walls for beams; if extreme load-bearing is required, increase the number of walls as needed
- Infill: Use 15% infill for beams. Since the model itself contains thin plates and solid reinforcement structures, the infill rate may not significantly affect the weight of some parts. The main weight is determined by wall thickness, number of walls, and bottom plate structure. Other infill can be chosen as desired.
- Support: It is recommended to enable support and use default parameters
- After printing, please wait for the build plate to cool before slowly peeling it off. Forcibly peeling it off without cooling can easily damage the film. If the film is damaged and a film cover is not needed, you can scrape it off with a utility knife. Small tears can be smoothed and glue can be applied to the inside.
- It is recommended to print with standard speed and motion speed; using Ludicrous mode can easily lead to failure.
Assembly Instructions
- After printing, first clean the supports
- Align the left and right side panels, then evenly press the rear ladder tenons, insert the beams, and finally assemble the upper and lower parts.
- Do not press only one corner to avoid frame distortion.
- Confirm the overall squareness before installing the remaining parts.
- Finally, insert the two drawers and check the left and right gaps and the smoothness of pulling.
- In my equipment and current material tests, the equipment tolerance has been adjusted for normal assembly. If there are slight discrepancies, it is recommended to use glue.
License

You shall not share, sub-license, sell, rent, host, transfer, or distribute in any way the digital or 3D printed versions of this object, nor any other derivative work of this object in its digital or physical format (including - but not limited to - remixes of this object, and hosting on other digital platforms). The objects may not be used without permission in any way whatsoever in which you charge money, or collect fees.


Comment & Rating (0)