
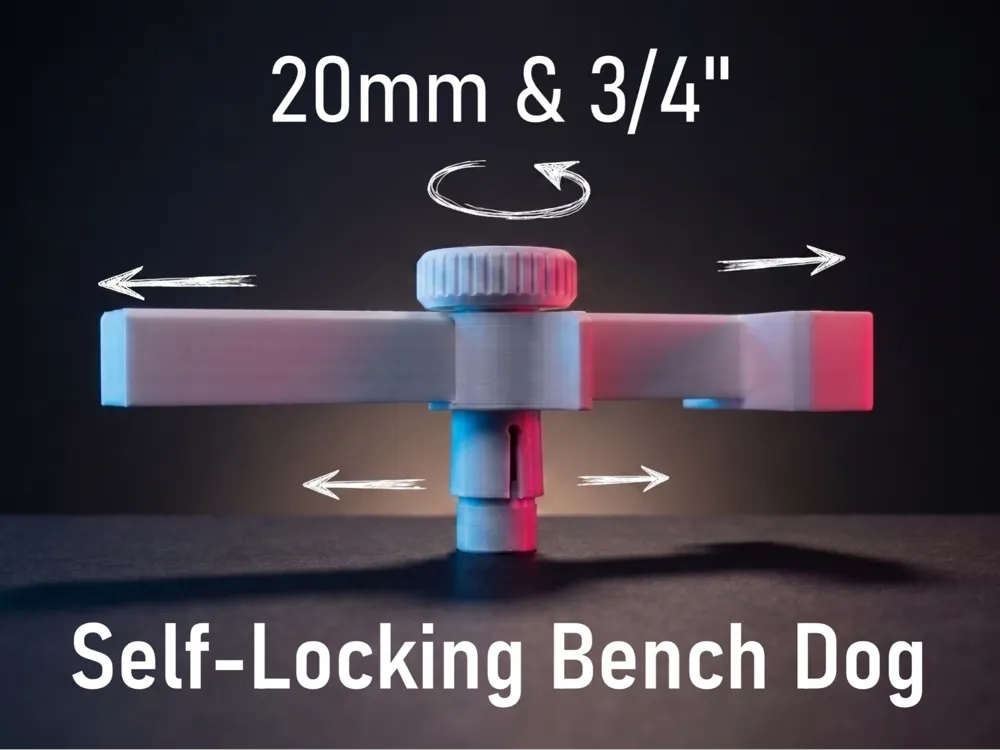
Self-Locking Bench Dog, Expanding Collet
Print Profile(2)
Description
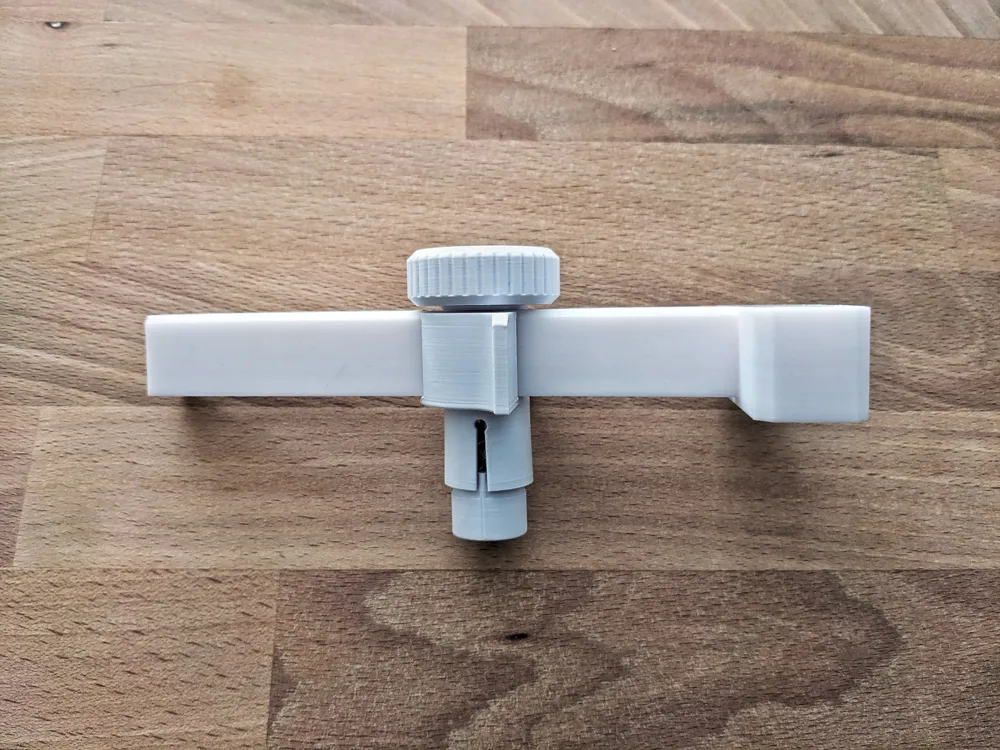
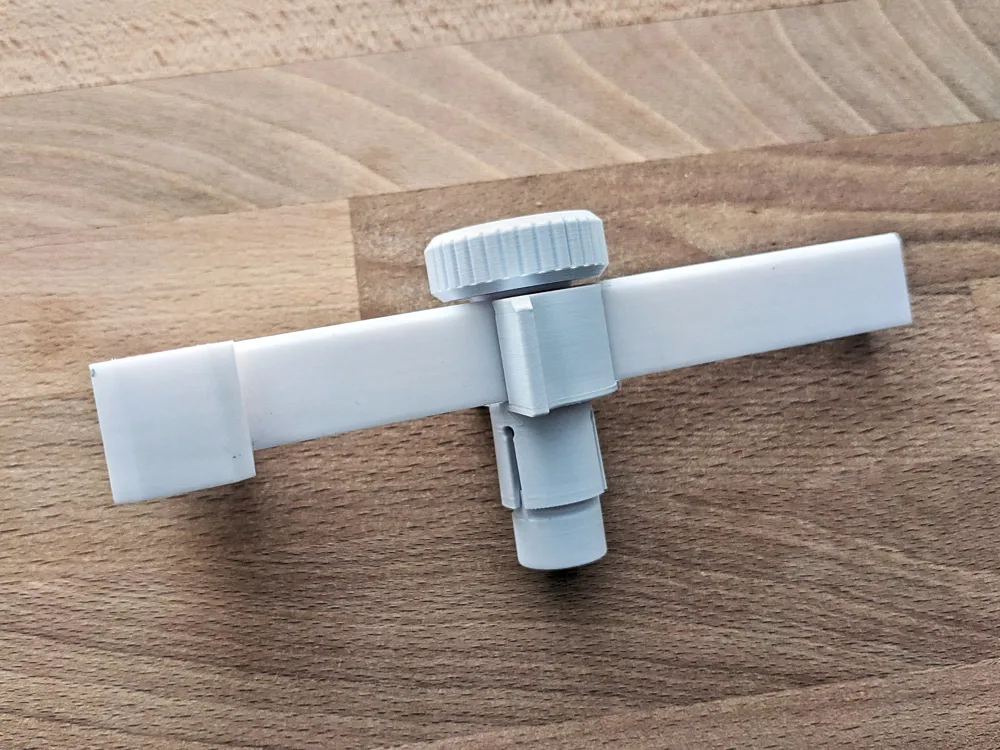
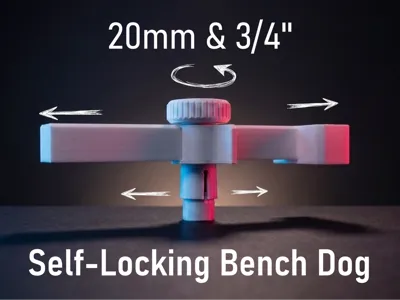
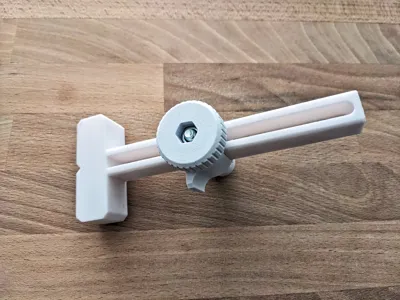
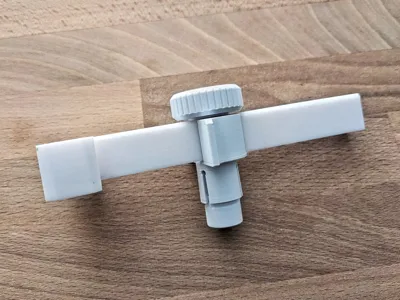
You drop it in the hole, give the knob a turn, and it locks. No wiggle, no lifting out when you plane or sand. A wedge inside the pin spreads three collet fingers against the wall of the dog hole, so the harder your workpiece pushes back, the more the pin bites in. When you are done, back the knob off half a turn and it drops right out.
This is the locking version of my In-Line Bench Dog Clamp. The original held with friction alone, which works for planing but can creep out under vibration from an orbital sander. This one grips mechanically and stays put.
Two variants, pick the one that matches your holes:
- EU / MFT for 20mm holes
- US for 3/4 inch holes
Both use the same cheap M6 hardware.
Key Features
- Locks into the hole, does not lift out under sanding or side load
- One pin covers a range of hole sizes, so slightly worn or oversized holes still grip
- Uses standard M6 hardware, a dollar at any hardware store and available worldwide
- Releases with half a turn, no tools
- Collet body prints support free, only the pusher arms need light support
Which variant
- EU / MFT: fits holes 19.7 to 20.1mm
- US: fits holes 18.8 to 19.2mm
If your holes were drilled with a 20mm bit, use EU. If drilled with a 3/4 inch bit, use US. When in doubt, measure an actual hole with a caliper, the number matters more than the bit that made it.
Hardware you need
- One M6 x 60mm screw
- One M6 nut
A standard hex nut is fine. Both parts press into their sockets, no glue needed.
Assembly
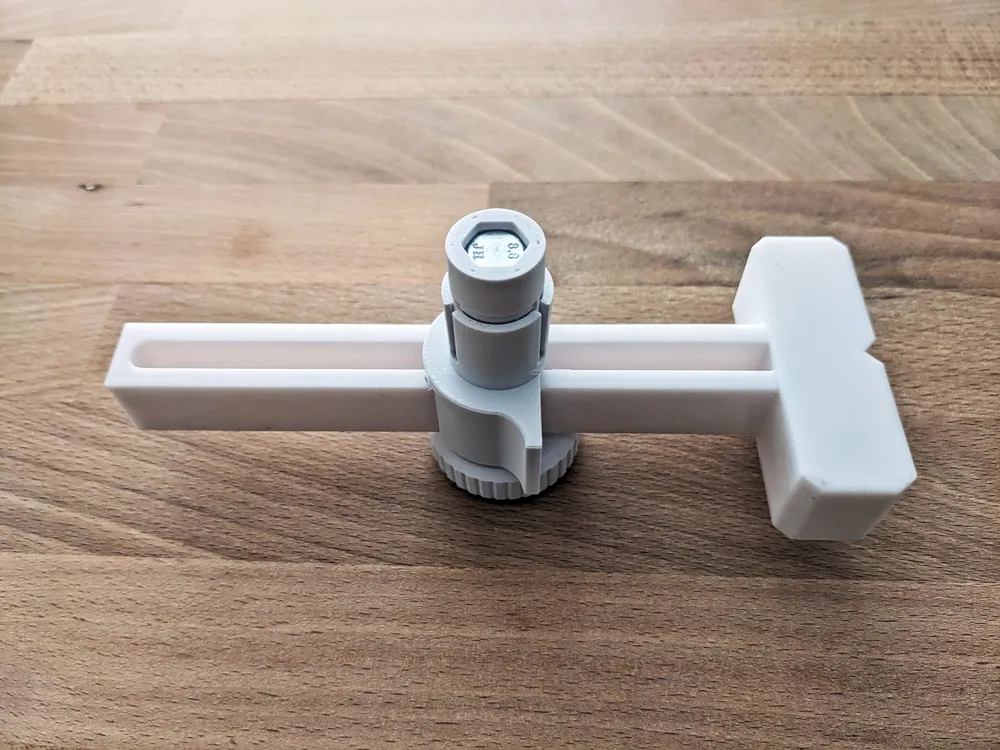
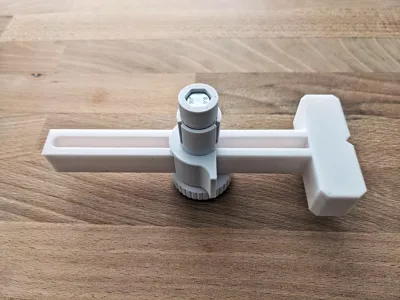
- Press the M6 screw head into the hex socket on the underside of the cone
- Push the cone up into the pin, ribs lining up with the slots
- The screw shaft comes up through the top of the pin
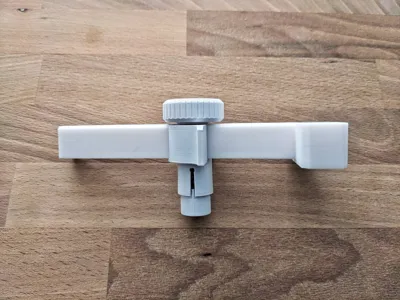
- Set the T pusher onto the pin crown
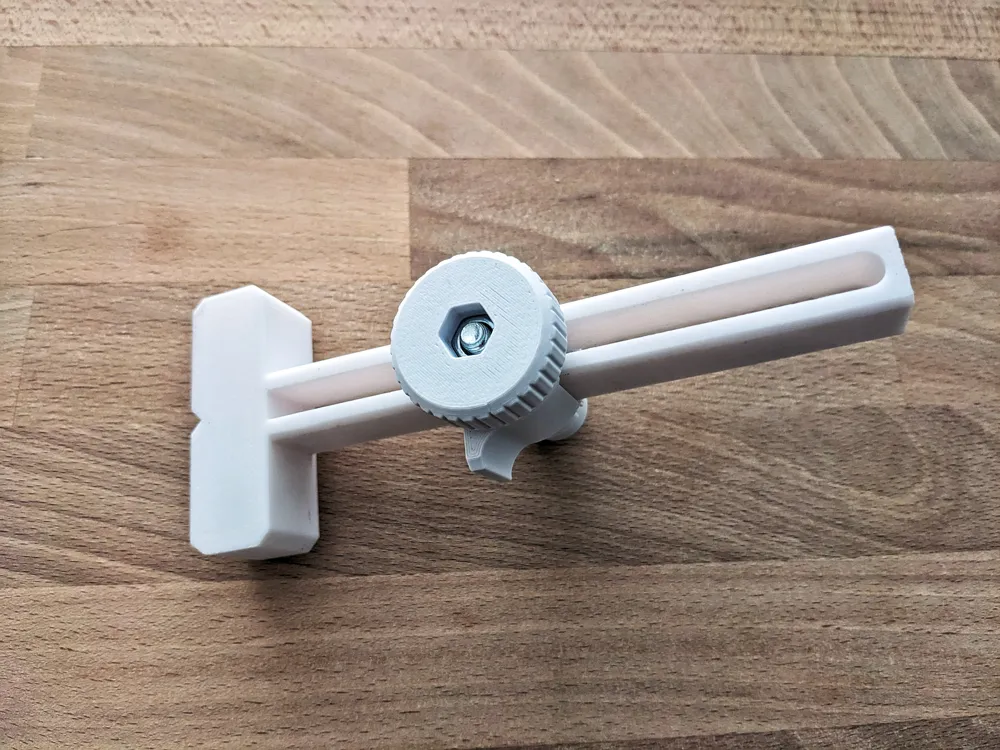
- Press the M6 nut into the knob
- Thread the knob onto the screw and tighten
Using it
Drop the pin into the dog hole. Turn the knob to lock, the cone pulls up and spreads the fingers against the hole wall. The pusher end presses your workpiece. To release, back the knob off about half a turn. If it was cranked down hard and the cone stays wedged, unscrew a bit more and press down on the knob, it pops free.
Hints
- PLA works, tested under an orbital sander with no lift
- The pin prints vertical as oriented on the plate and needs supports
- The pusher prints flat, add brim ears at the narrow tip so it does not lift
- Cone and knob print flat, they only need support inside the nut socket
- Do not leave it clamped down for long stretches, PLA can take a set under constant load. For a permanent setup or a warm shop, PETG holds up better.
If you print it, please leave a rating - it helps a lot.
Boost Me (for free)
Hey! All my models are designed in the stolen hours between work, sleep, and pretending I'll go to bed early. Everything here is free - if something saved you a trip to the hardware store or just made your day a little easier, a boost is a great way to say thanks. Got questions, feedback, or a wild idea? Drop me a DM - I read everything, eventually. Thanks for stopping by!!
License

You shall not share, sub-license, sell, rent, host, transfer, or distribute in any way the digital or 3D printed versions of this object, nor any other derivative work of this object in its digital or physical format (including - but not limited to - remixes of this object, and hosting on other digital platforms). The objects may not be used without permission in any way whatsoever in which you charge money, or collect fees.


Comment & Rating (0)